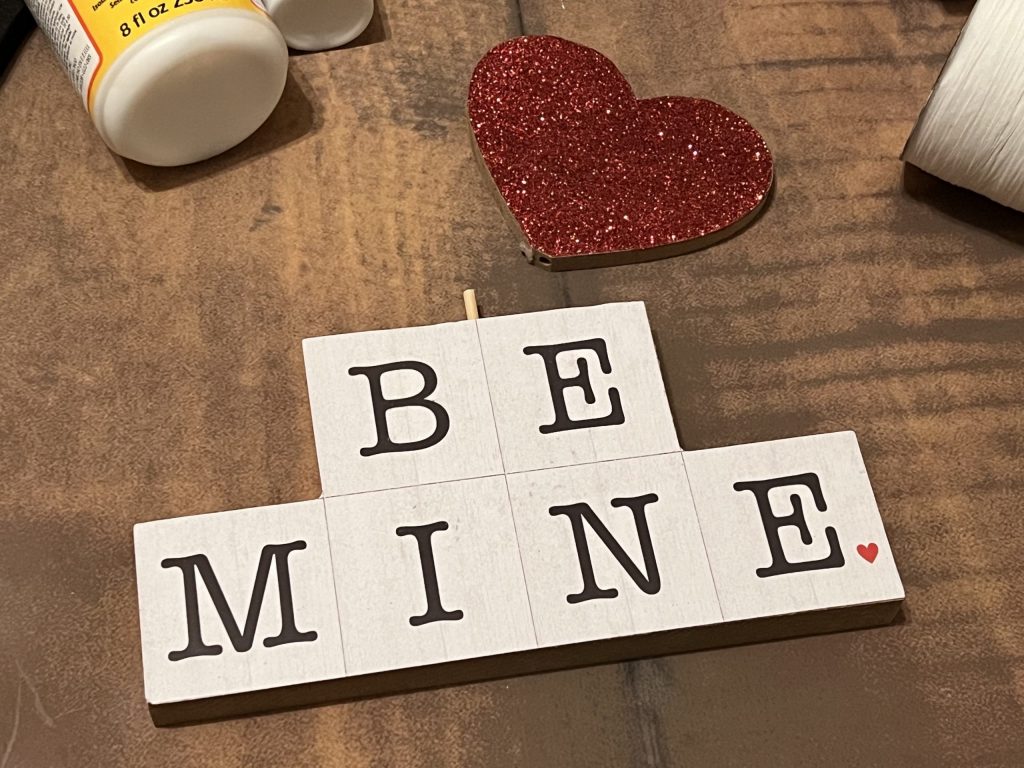
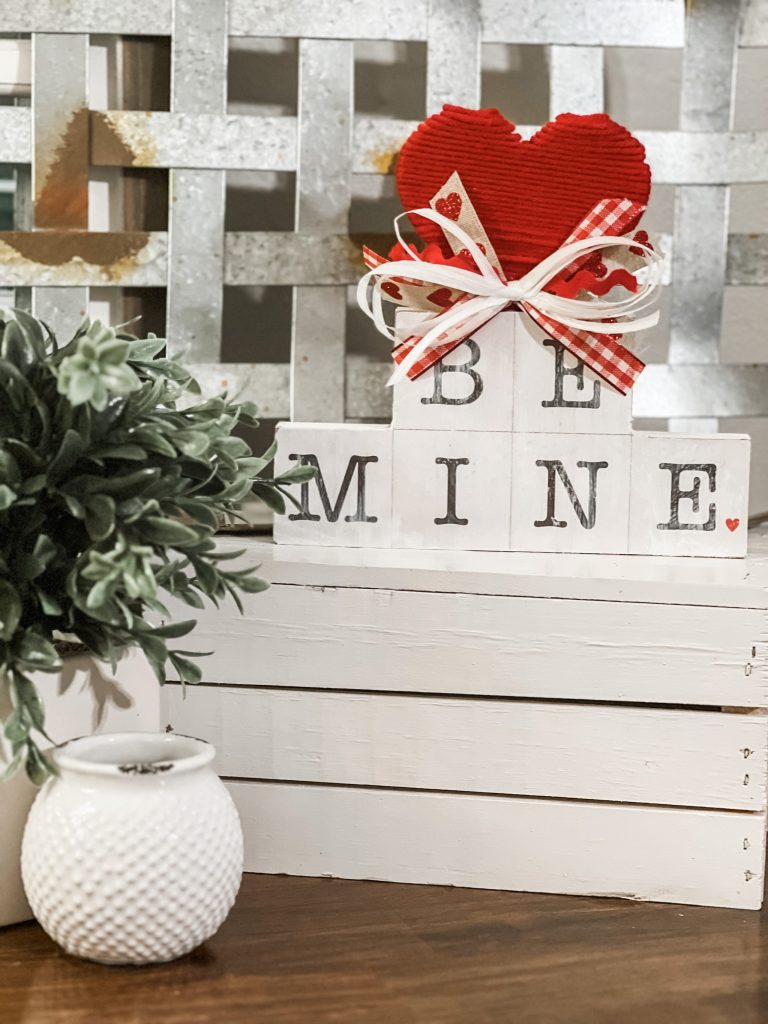
Valentine’s Day is quickly approaching, and the Dollar Tree is THE place to hit up for affordable décor! When I saw this cute little “Be Mine” sign, I snatched it right up! It’s the perfect size to squeeze in on a shelf or set on an end table. I loved the shape and height, but I was not crazy about the red glitter, so I decided to Brooke it up a bit!
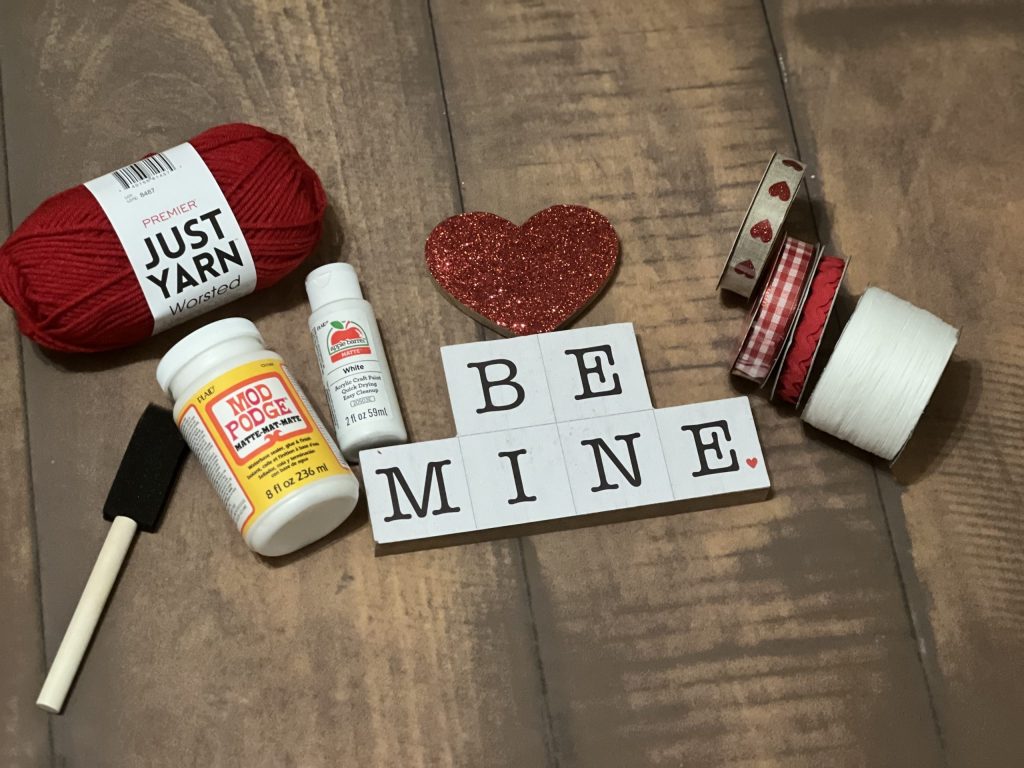
I started with the following supplies:
– Dollar Tree “Be Mine” sign
– Red yarn
– Mod Podge
– White paint
– Foam brush
– Assorted small ribbons
– Scissors
– Hot glue gun
The very first thing I did was pop off the red glitter heart. It was just barely glued on, so it was easy to remove!
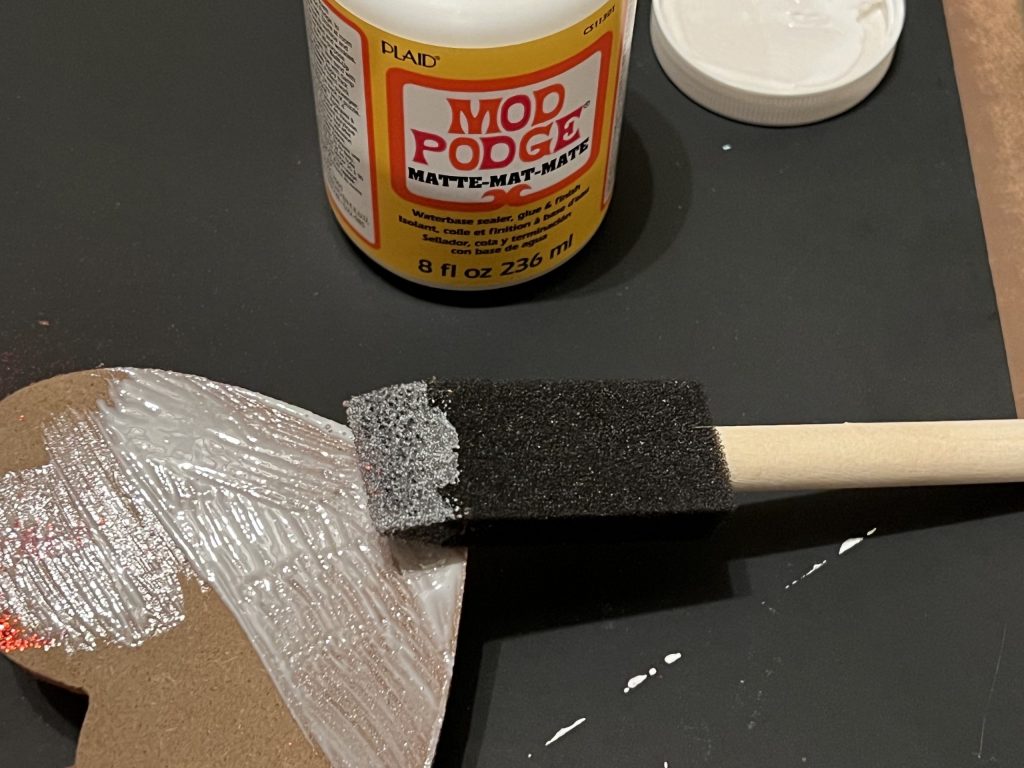
Next, I painted a little Mod Podge on the sides, back and front of the heart. The glitter texture on the front really helped the yarn stick. I took the end of the yarn and started wrapping it around the heart, starting at the base.
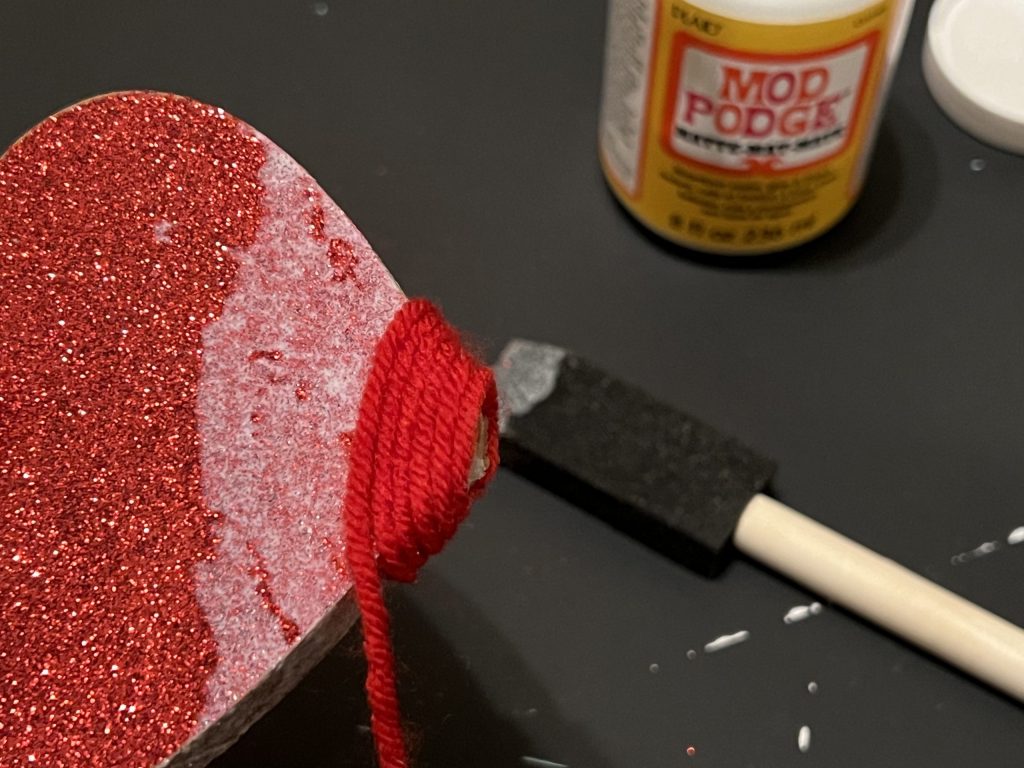
I continued to wrap the heart with the red yarn until I reached the rounded top. Here is where it got a little tricky. I applied more Mod Podge and continued wrapping to the top of one side. I clipped the yarn and pressed the end down at the top.
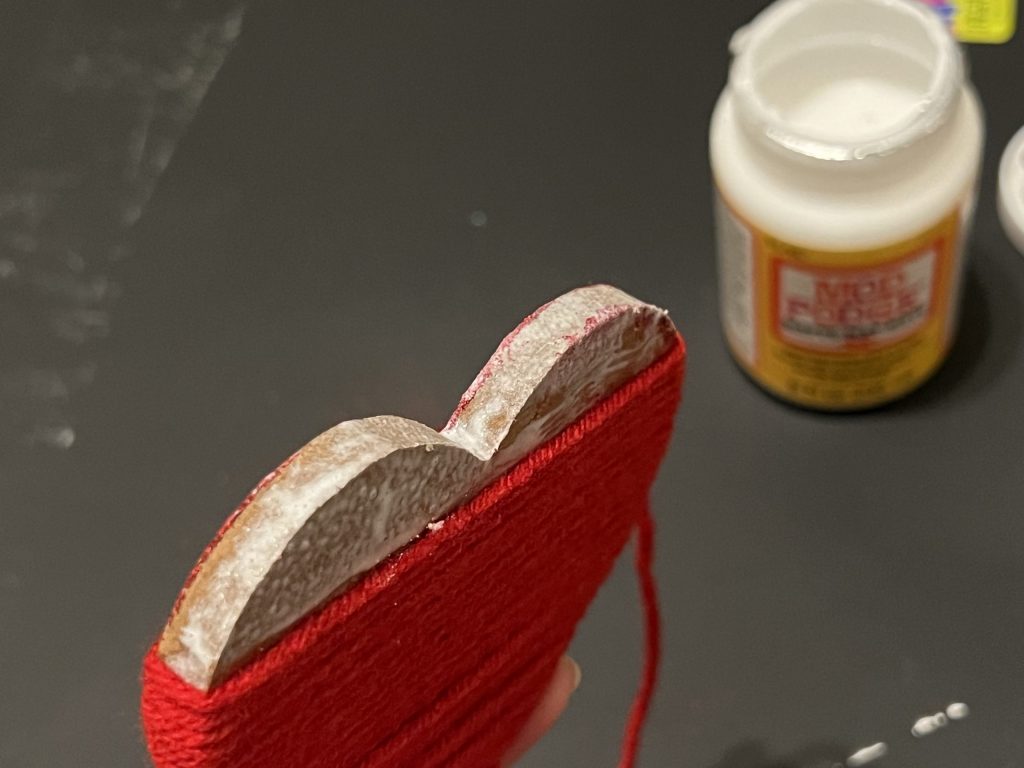
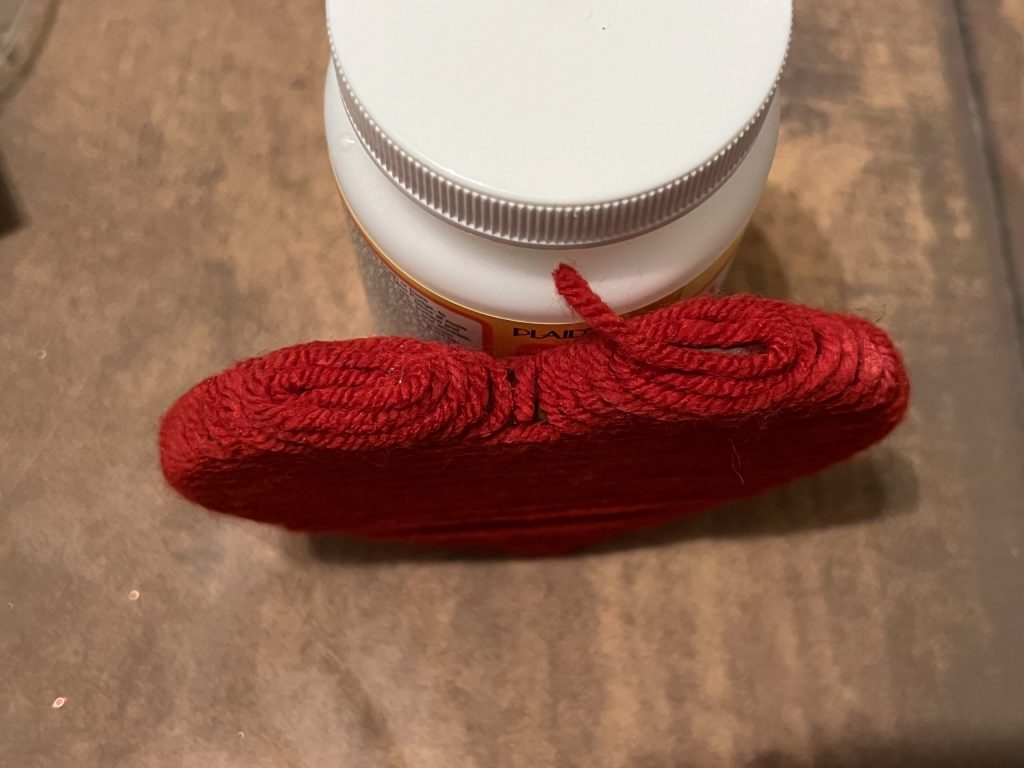
Then, I started a new strand of yarn, gluing the end at the center between the two humps in the heart. Again, I wrapped the yarn to the top, clipped the end and glued it down in place.
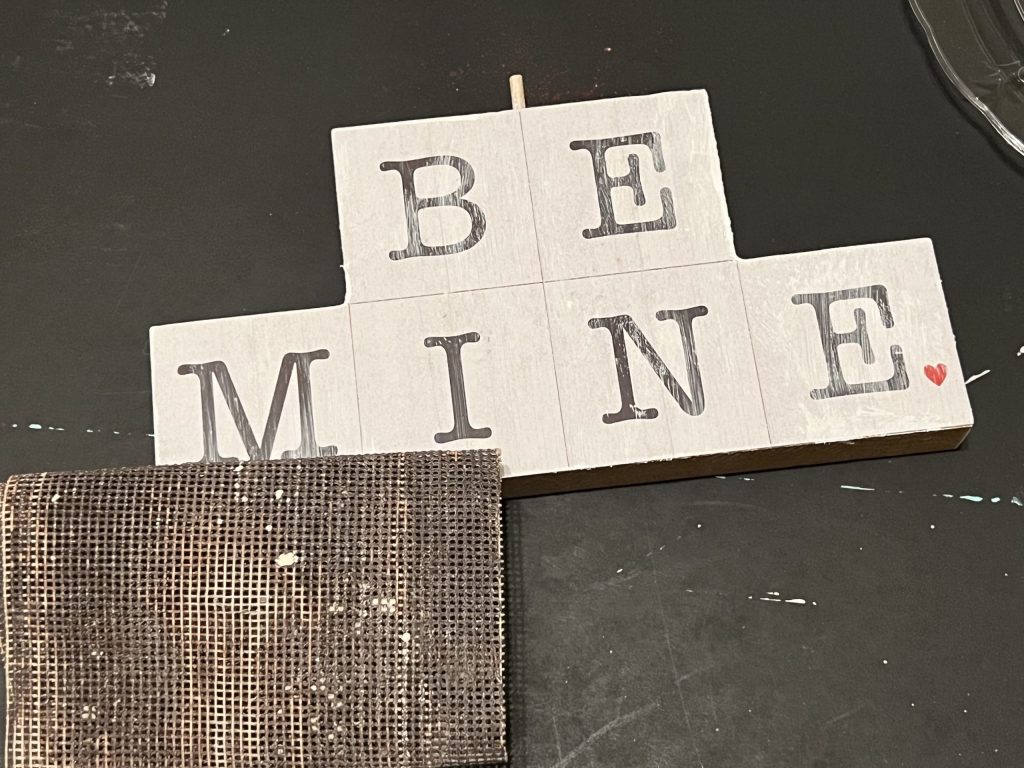
Since the “Be Mine” was just printed on, I wanted to give it a more natural look. To achieve this, I painted the sides white and lightly painted over the printed front as well.

I then took a little sanding piece and brushed the sides and front to roughen it up just a bit and give it a distressed look.
The next step was to glue the heart back on. After the Mod Podge had dried a bit, the yarn strands at the top of the heart were a little loose. I put a dab of hot glue under the ends and secured the ends well.
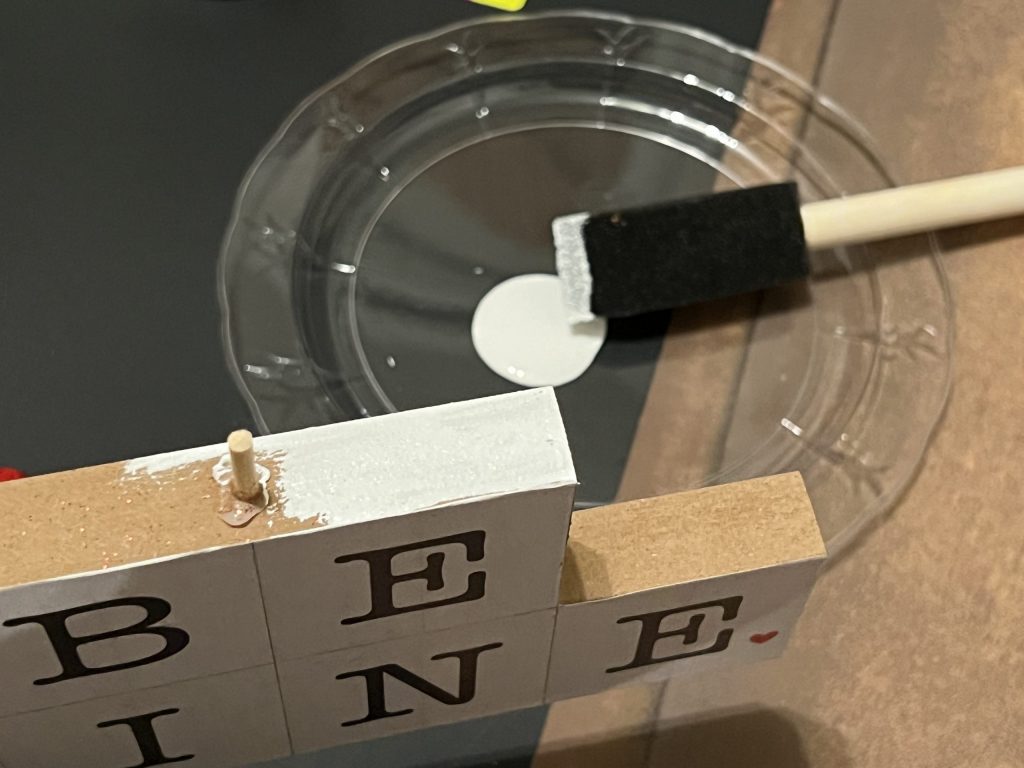
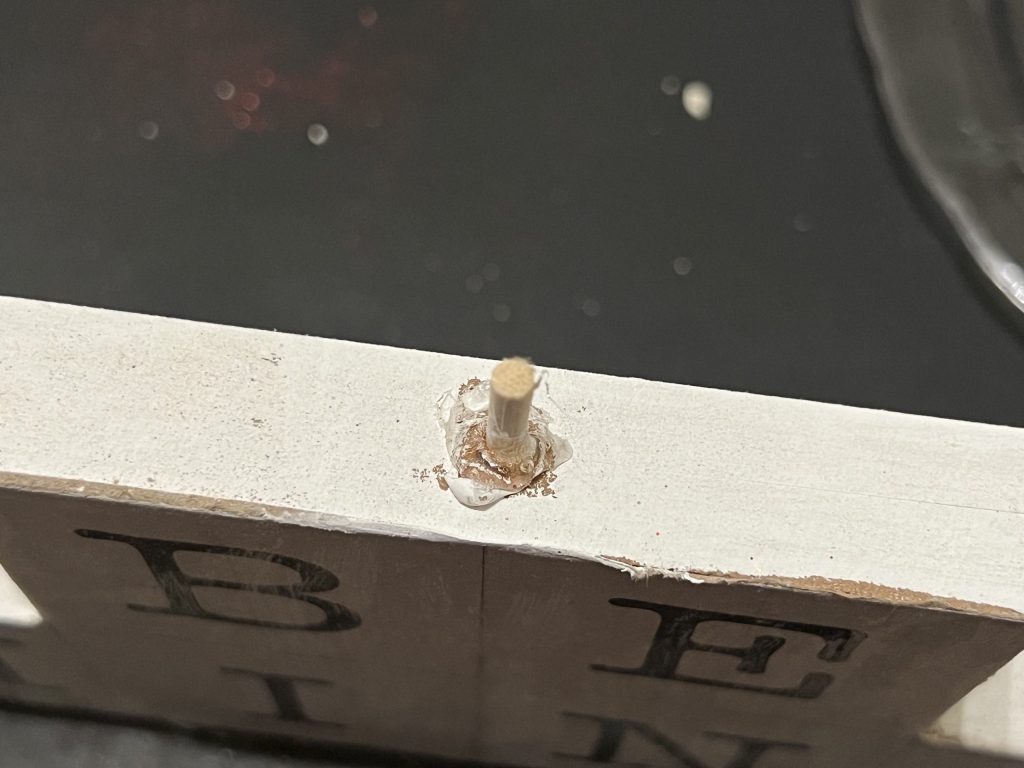
I added some hot glue around the small dowel piece and reattached the heart.
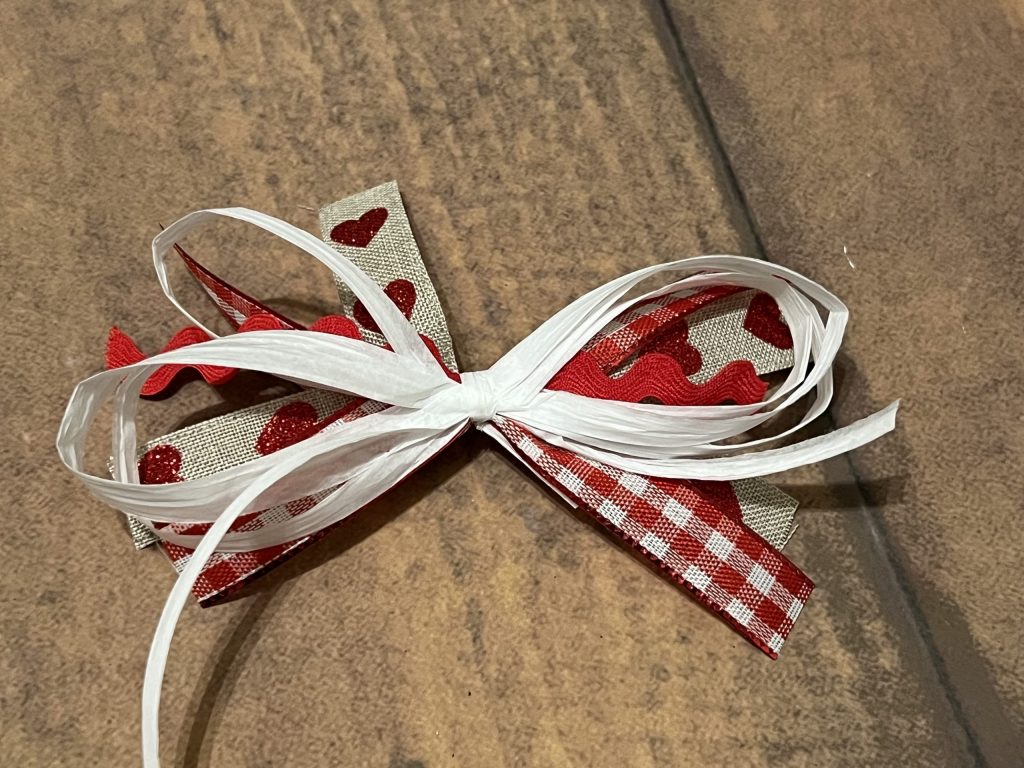
Finally, I took some ribbon and a little raffia and created a bow!
How cute is this?!! I absolutely love the texture that the yarn adds, and the bow really gives it a finished look.
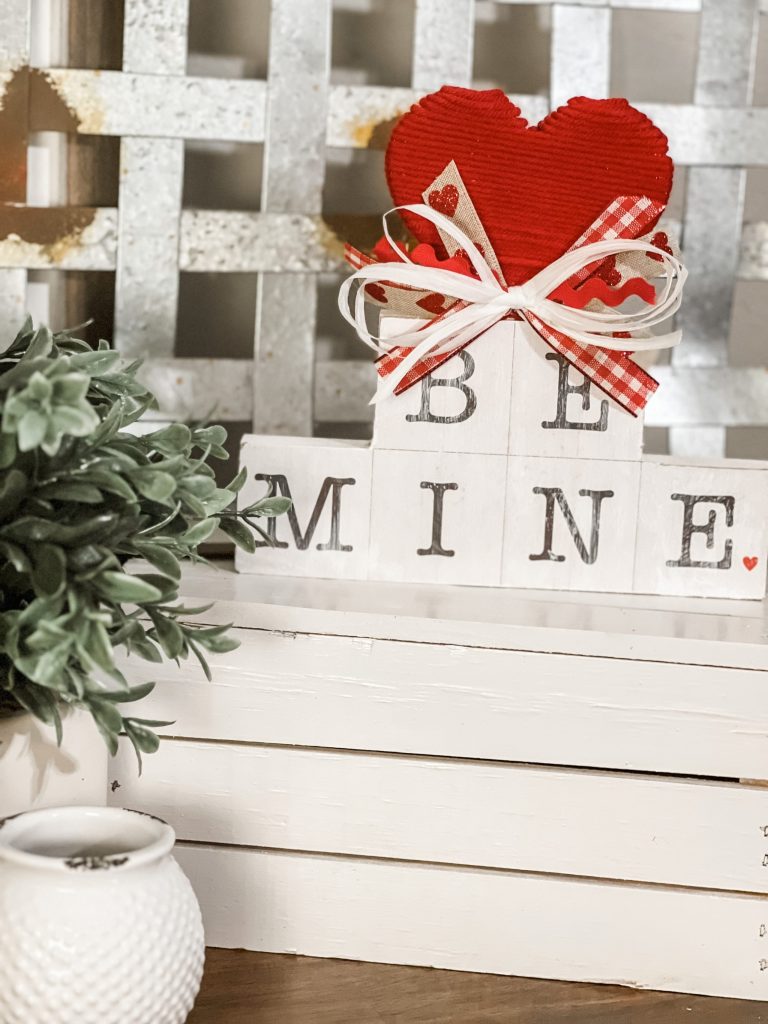

This was so easy, affordable and FUN!!!
Be sure to PIN THIS FOR LATER!

Last Updated on January 12, 2023

Love how this came out ????
You definitely made that sign so much cuter. I love how easy it is to turn something that is a little bit cute to way cuter in just a little bit of time and a few supplies! Great job!!