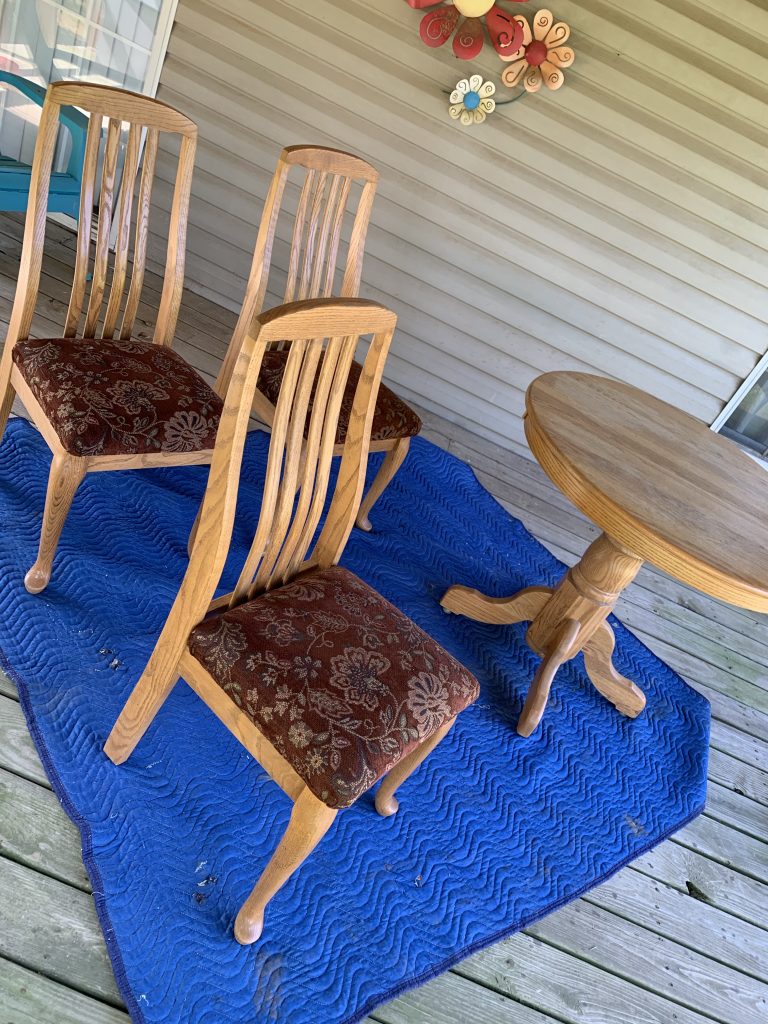
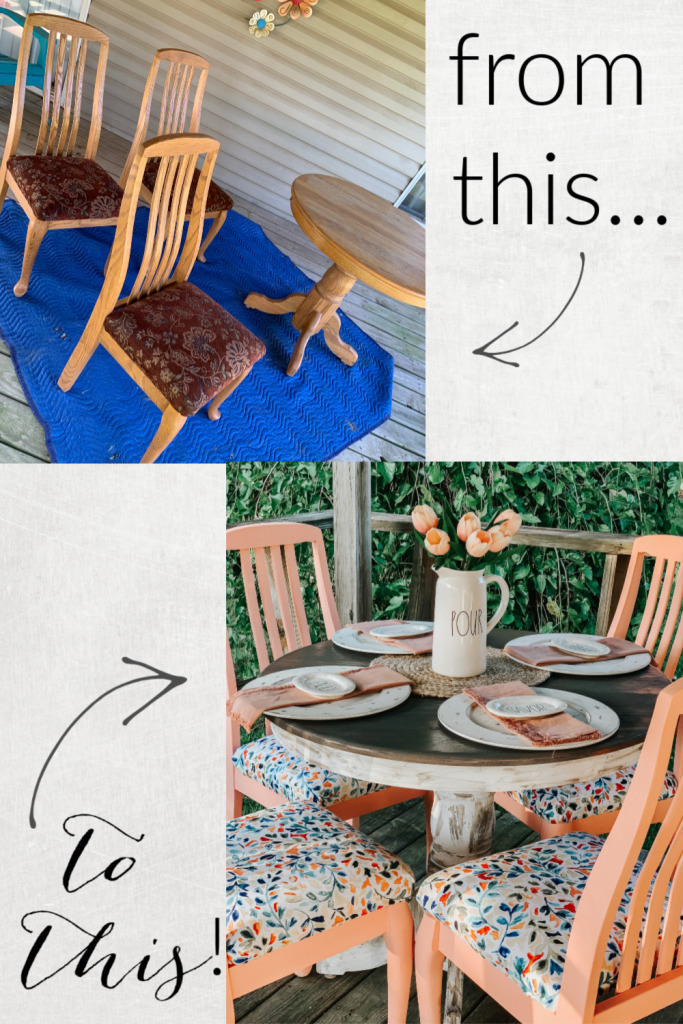
My assistant, Hannah, has taken the challenge to turn her back porch into the perfect outdoor lounge area! The very first step to this big transformation was to create a cute “dining” area. She stumbled across this dining table set, and knew it was the perfect fit… after she remodels it, of course!
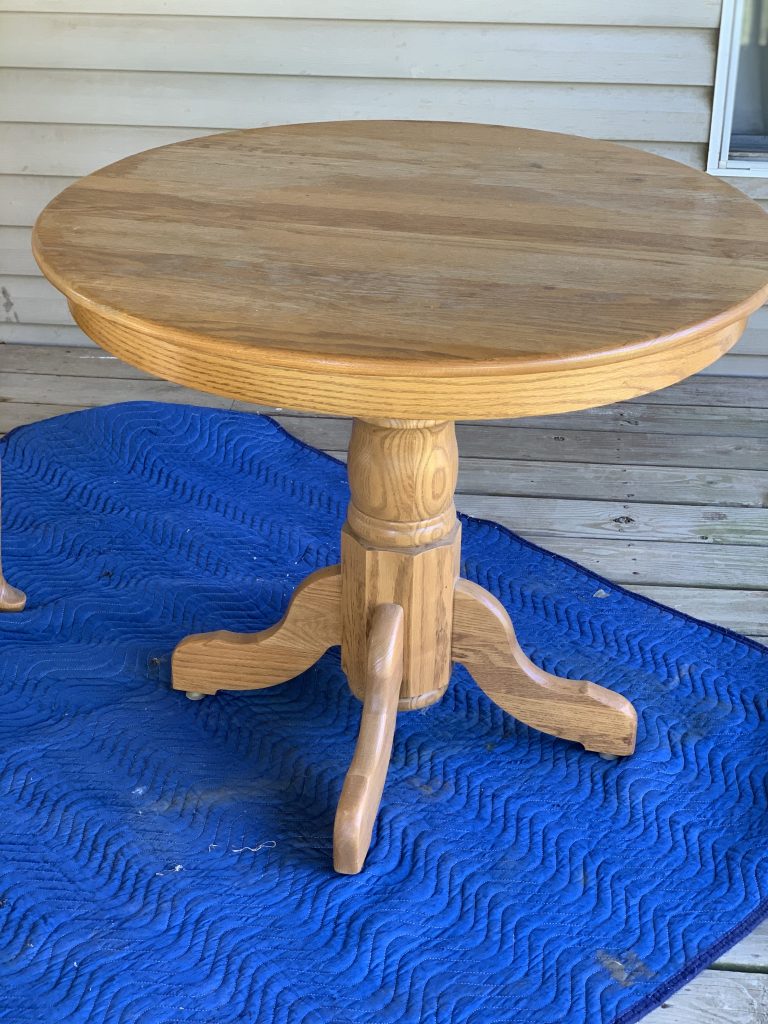
The very first thing she did was wipe down all the furniture. Just to be totally transparent, these things were COVERED in dust and spider webs… This set came from an OLD camper that her parents are in the middle of remodeling, so it has been collecting dust (literally) for AWHILE!
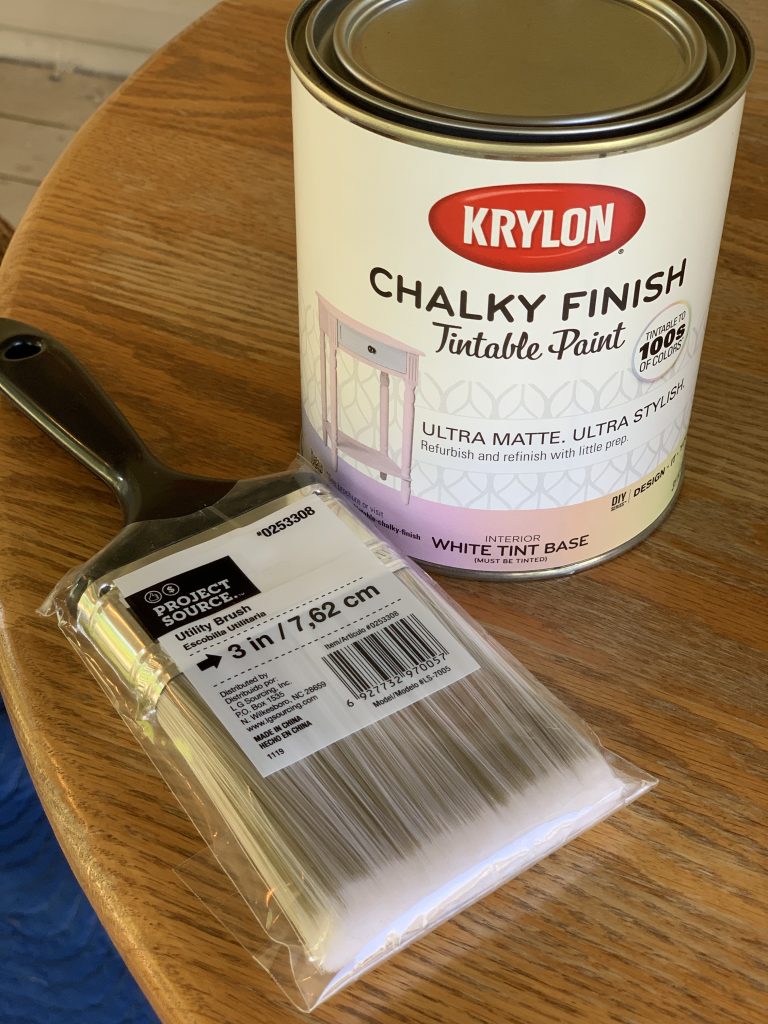
And the fun begins… PAINTING!!! She picked up this paintbrush ($4), and white chalk paint ($17) from Lowes. She said it worked perfectly for this project!
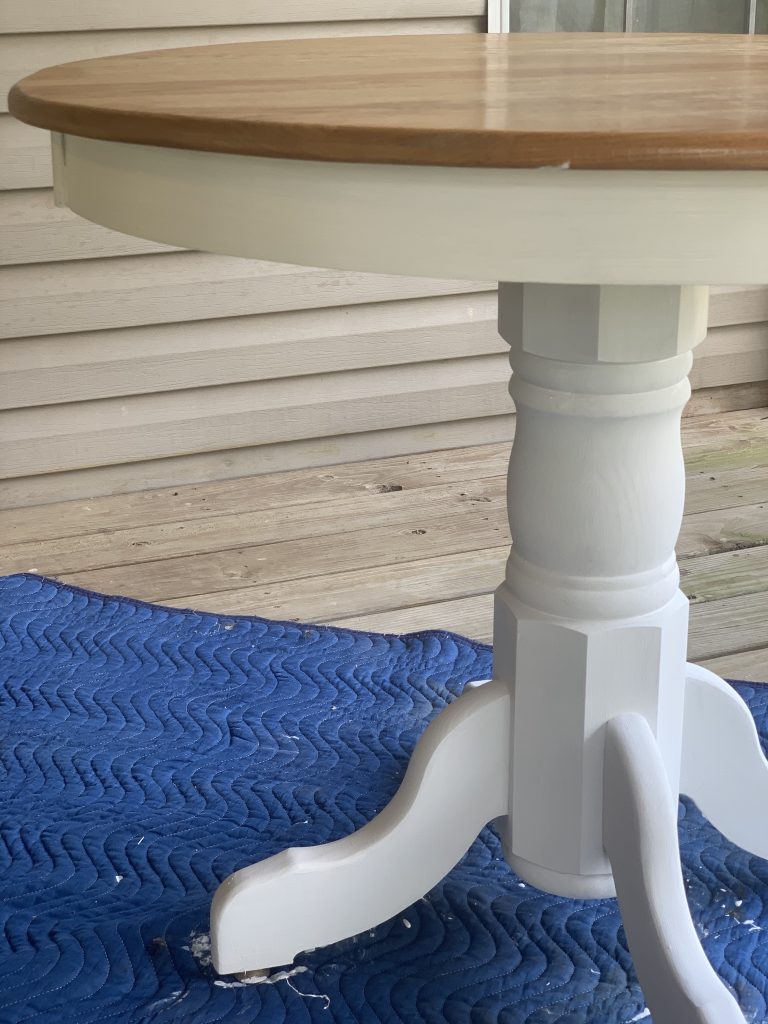
The table ended up taking 2 coats of the paint. While this was drying, she moved on to transforming the chairs!
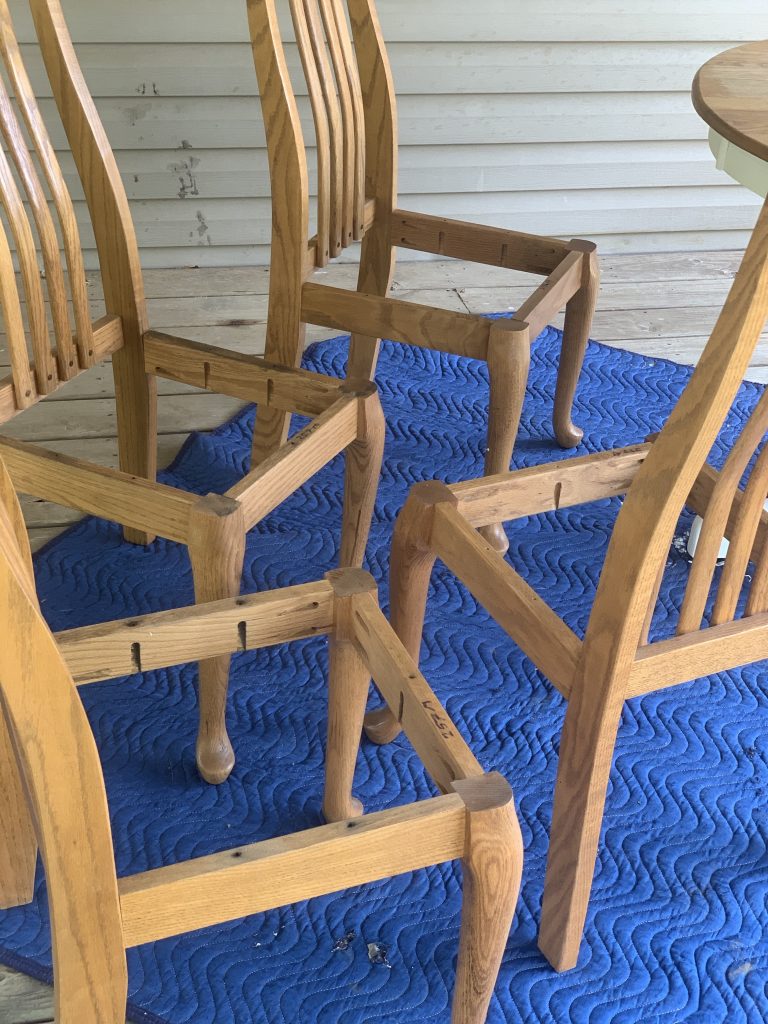
Thankfully, the seat cushions were not hard at all to remove. All she had to do was unscrew them from the bottom of the base… easy peasy!!!! Next, she wiped down the chairs to remove all the nastiness that they have collected over the years, and moved on to painting!
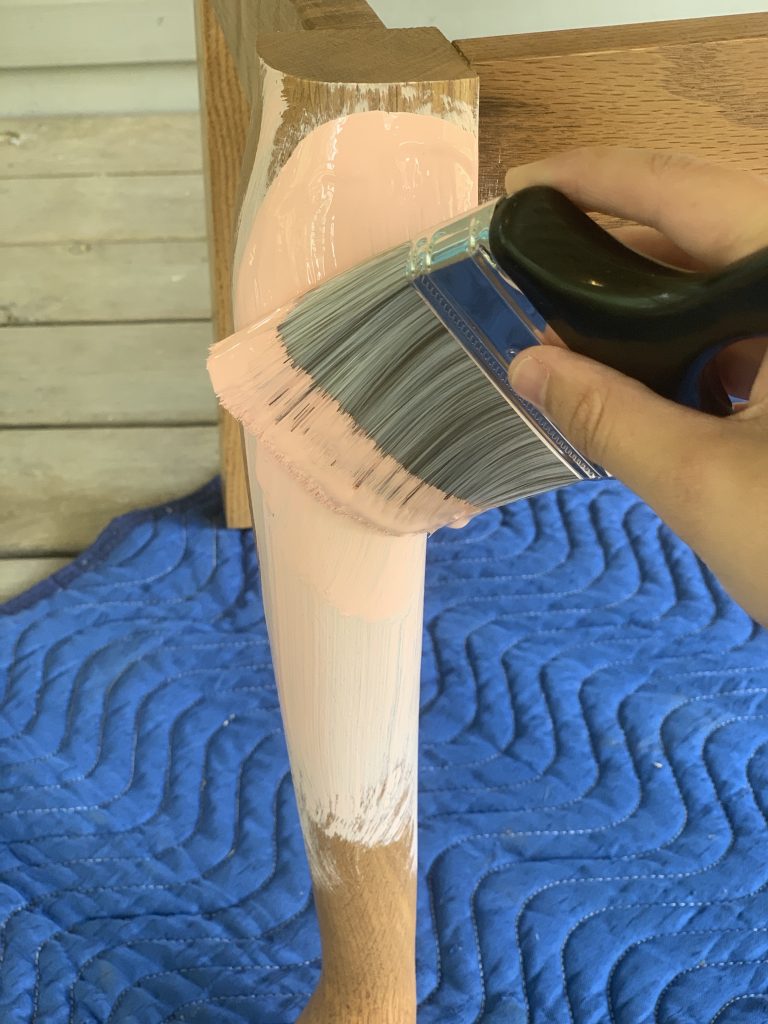
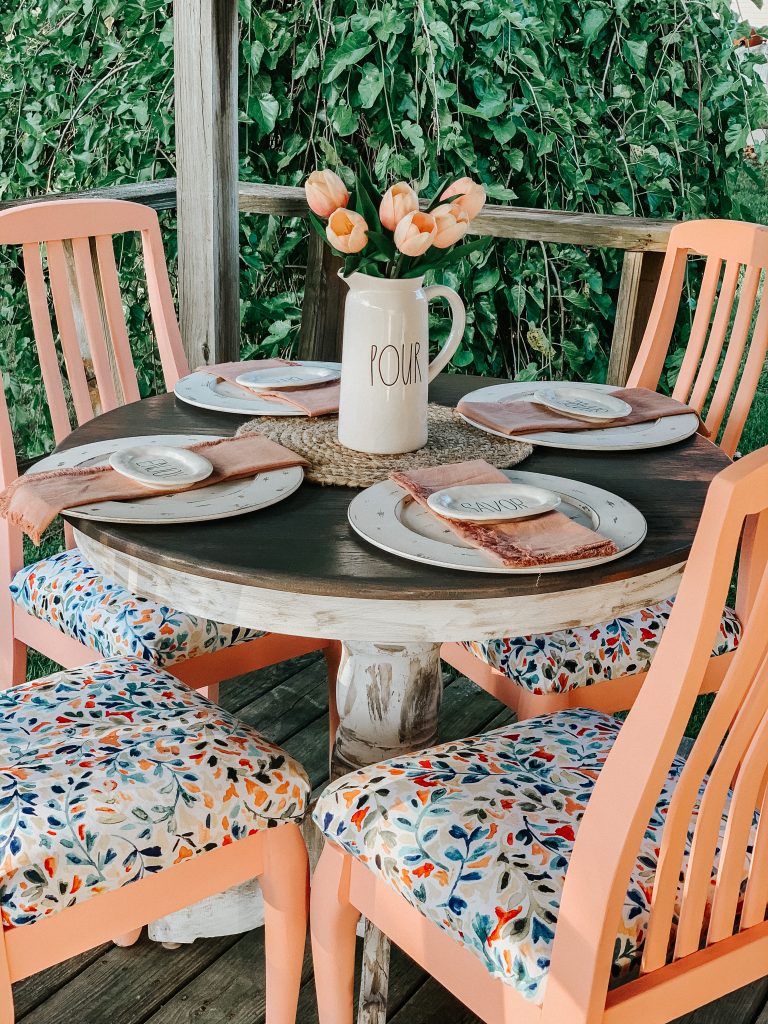
The color she chose was “Flora & Fauna,” which is a BEAUTIFUL light coral color… which matches the fabric for the cushions PERFECTLY!!! She used the same Krylon brand of chalk paint with the same type of brush… it took two coats to fully cover the chairs!
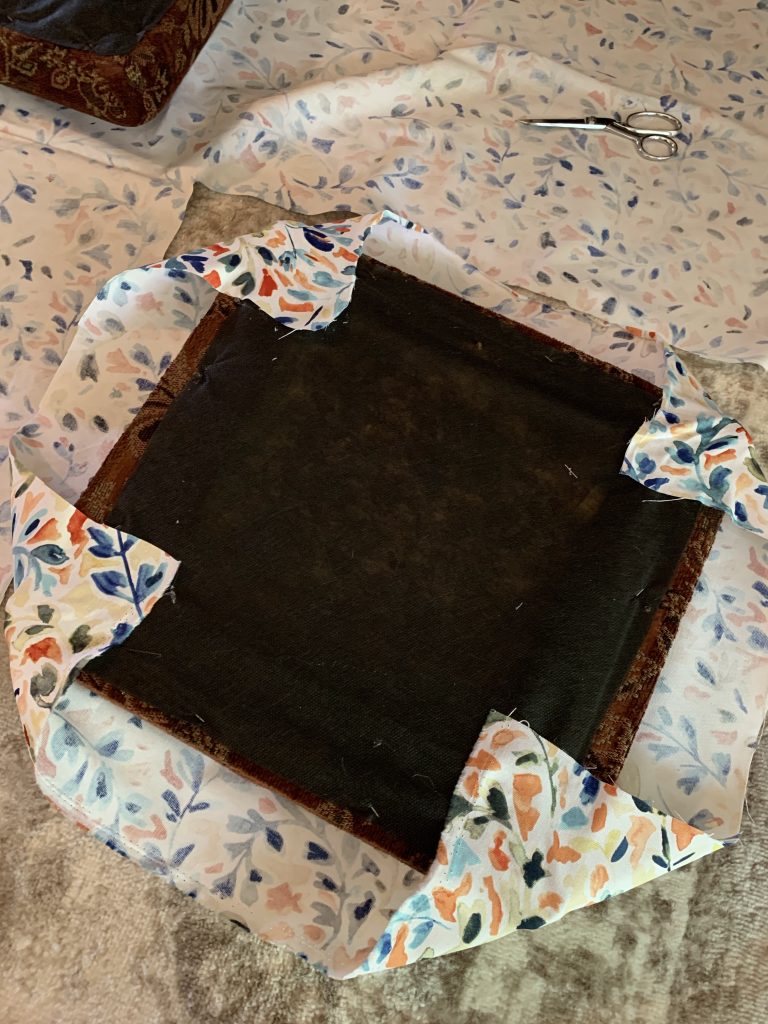
She then moved on to re-upholstering the chairs… NOW. She is NOT a professional upholsterer, so please do not judge her method- LOL. All she did was lay the fabric on the ground face down, then hot glued the corners down on the bottom of the seat. Then, she just hot glued the sides down, all while pulling tightly to make sure the fabric wouldn’t budge!
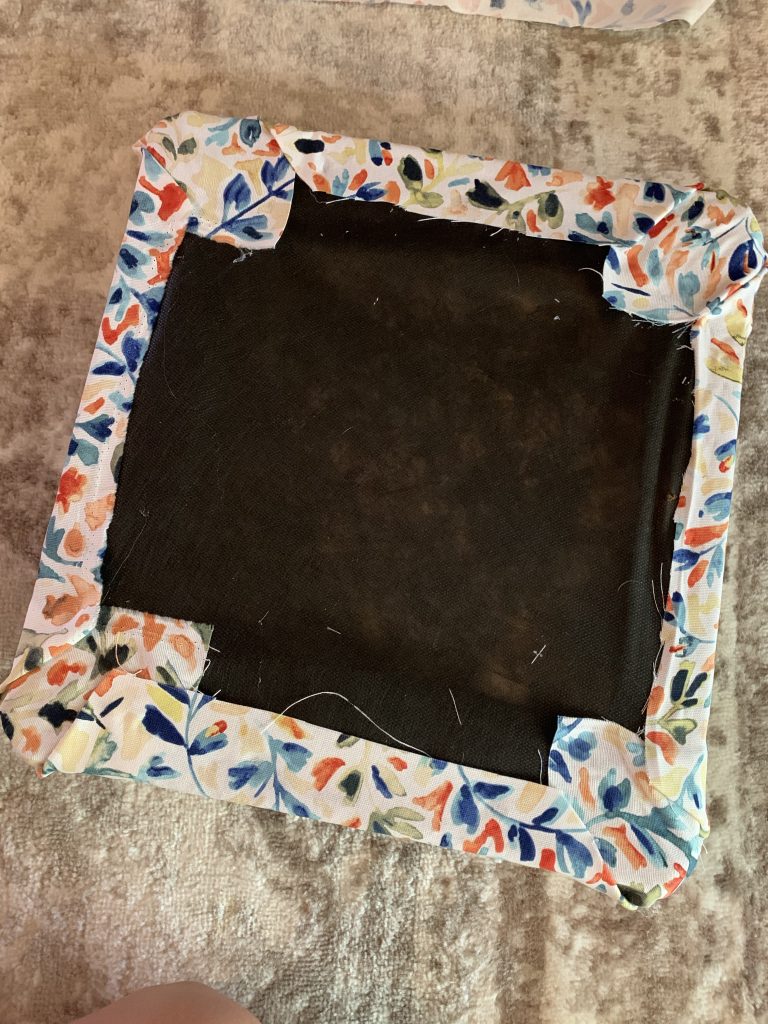
… this is how it should look on the bottoms! The hot glue worked like a charm- and when she drills it back into the frame, it will be SUPER secure!
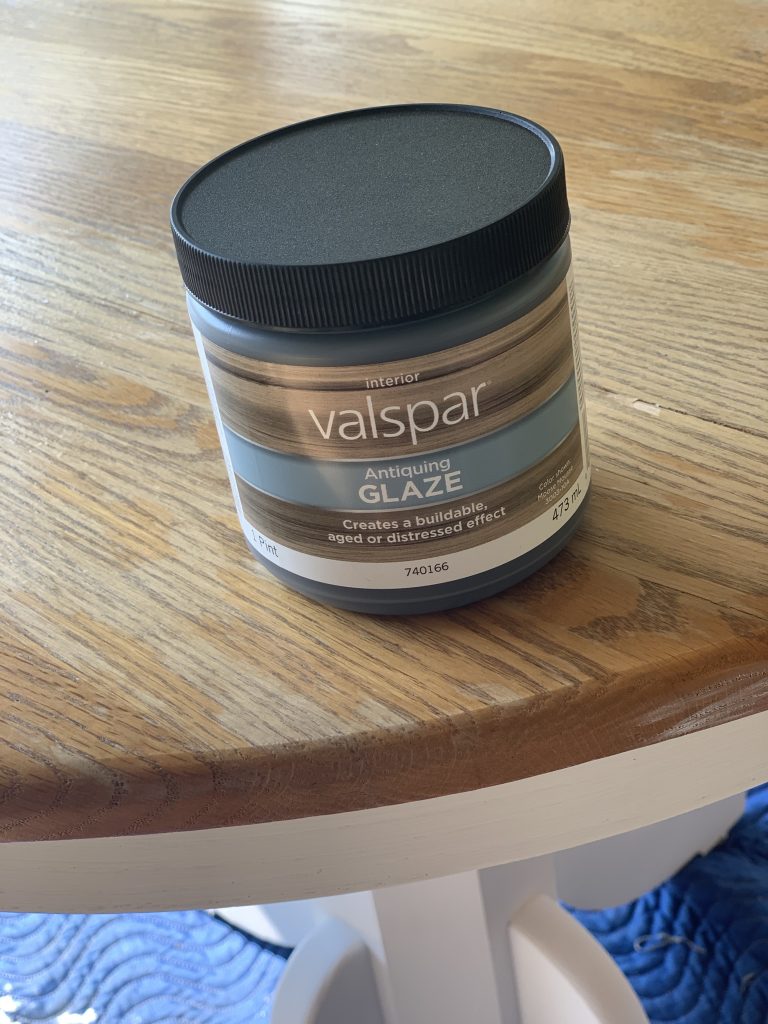
After the base of the table was completely dry, she moved on to MY favorite part… the distressing!!!! She used the Valspar dark antiquing glaze.
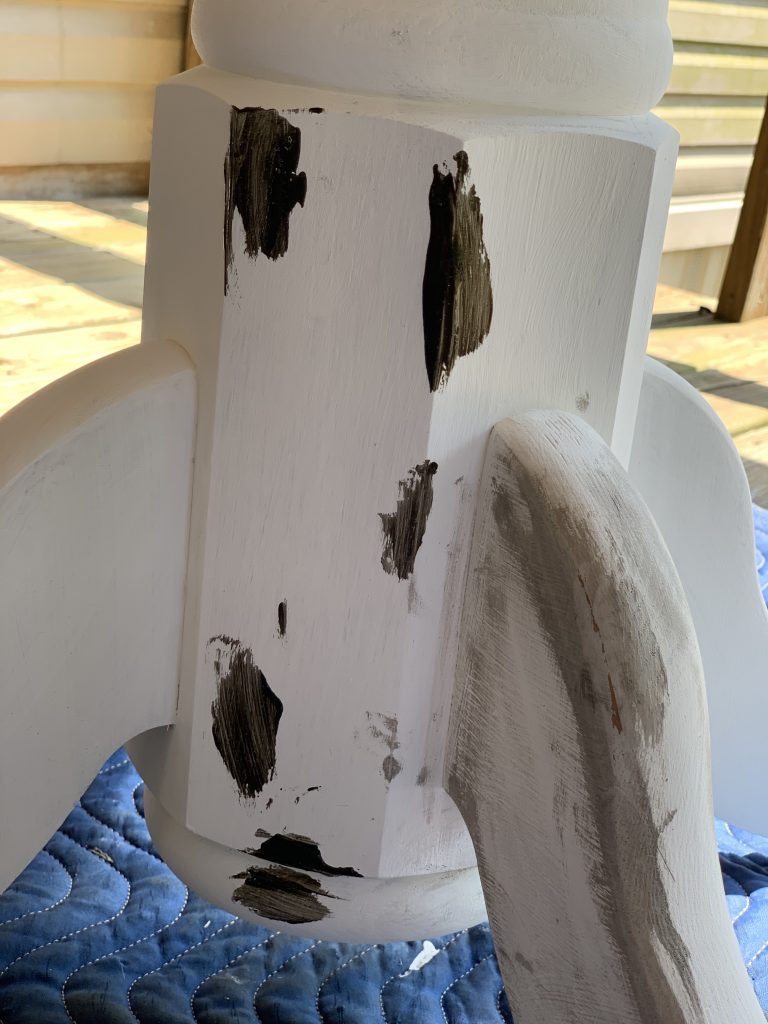
All she did was take an old t-shirt, dip it into the glaze, then place the glaze in random spots on the table. Then, she took the same t-shirt, and rubbed the glaze into the table, giving it that “worn” look!
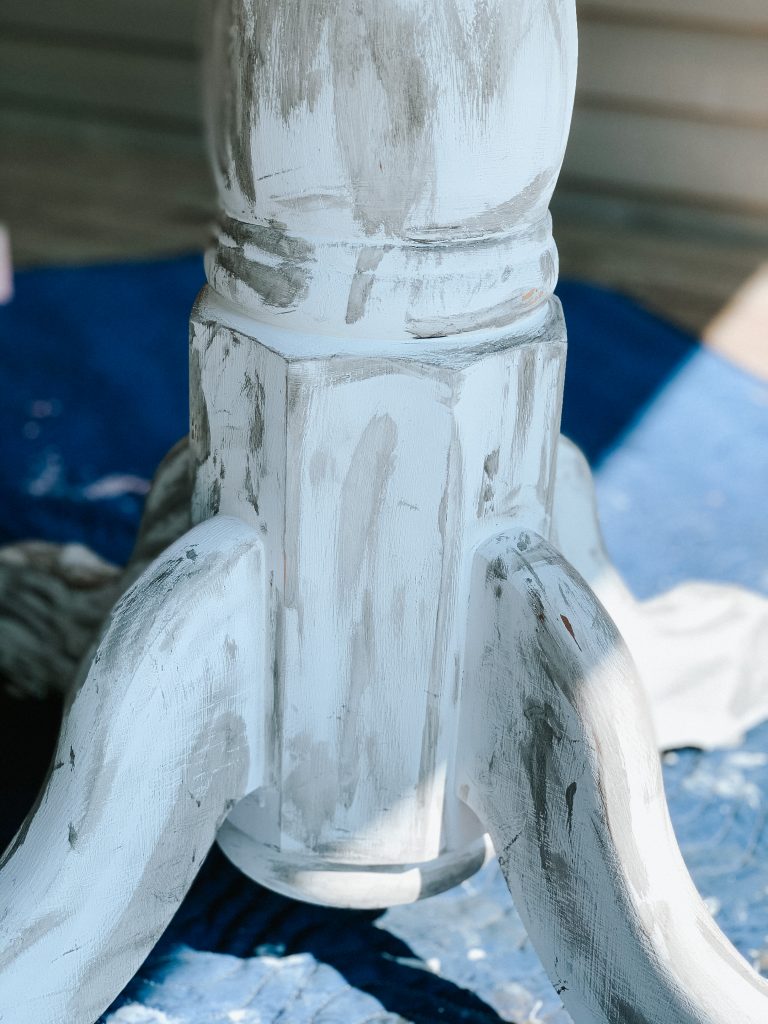
Isn’t that glaze BEAUTIFUL!?!?!?!
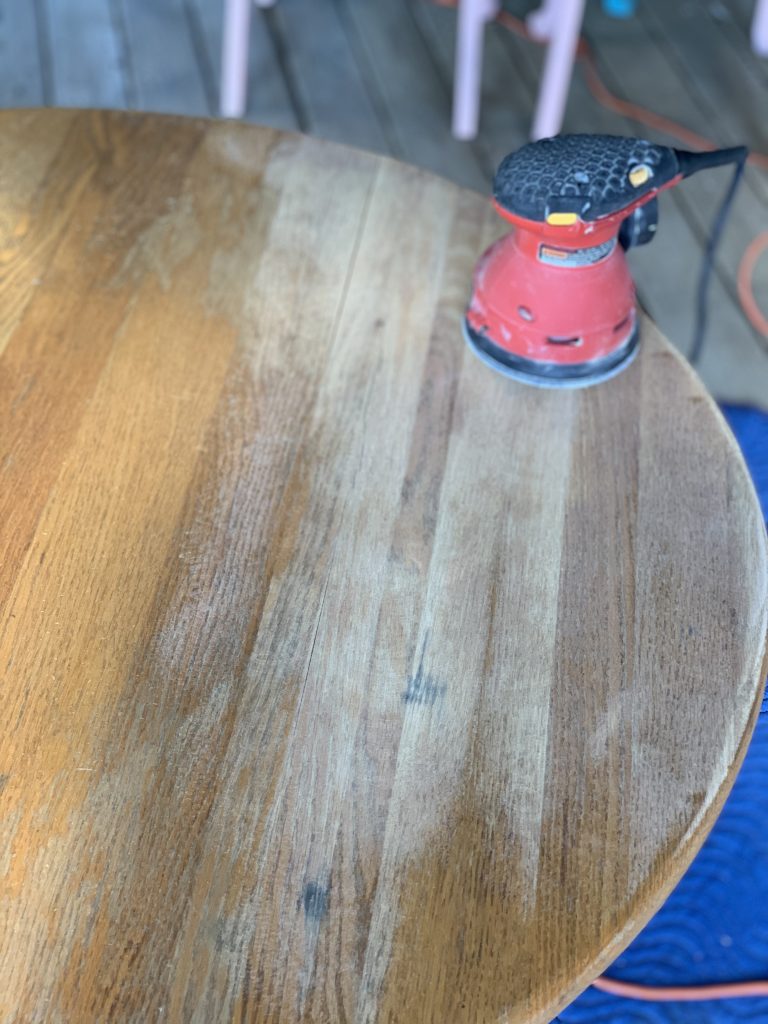
The last step to this process was to re-finish the top. All she did was take a sander and sanded the HECK out of the top, then stained it with Minwax “Classic Grey.” It ended up taking two coats of the stain. Then, she finished it off with a clear Poly for protection!
HERE’S THE FINISHED LOOK!!!!!!!
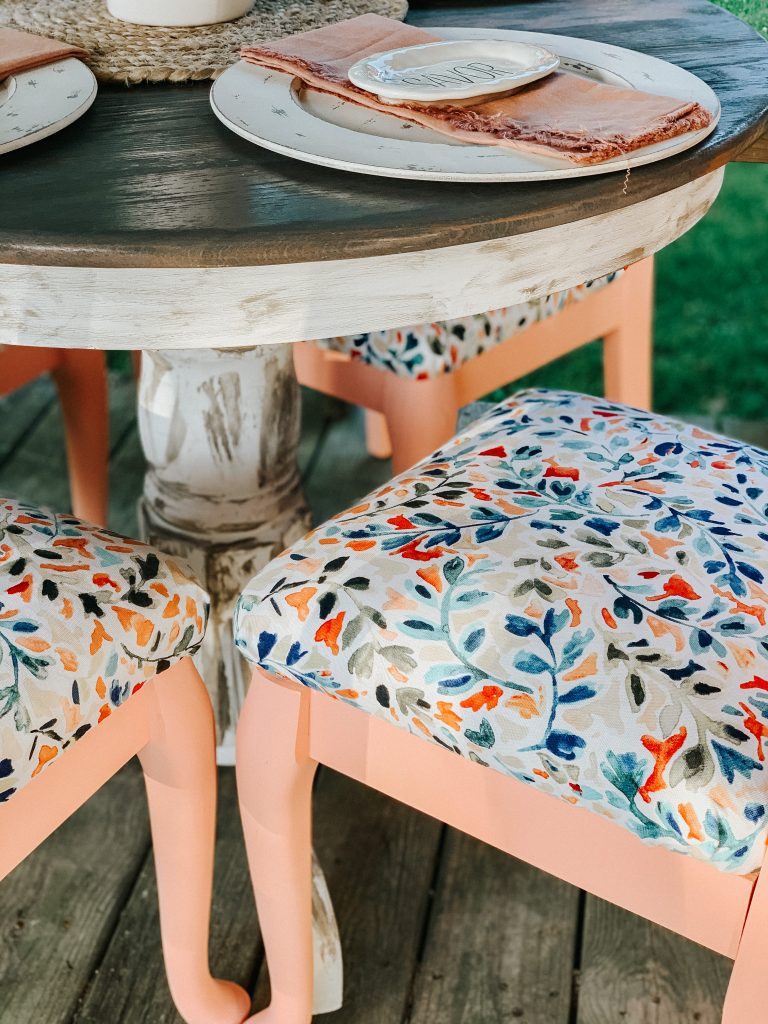
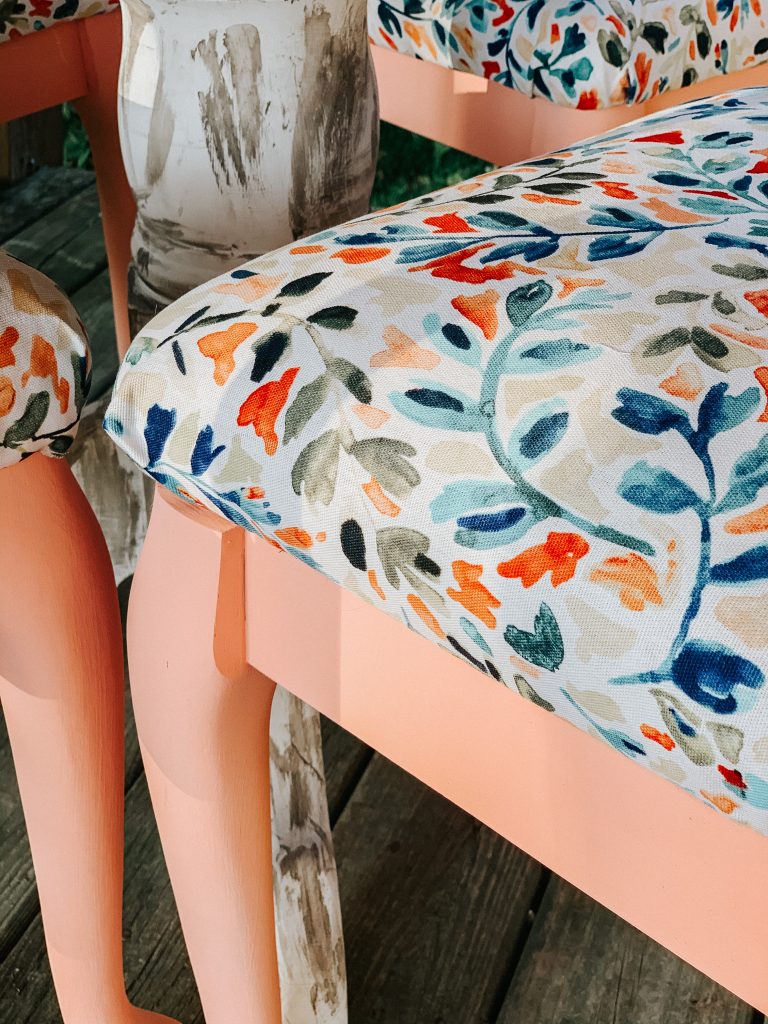
The Fabric is from Hobby Lobby for 30% off!
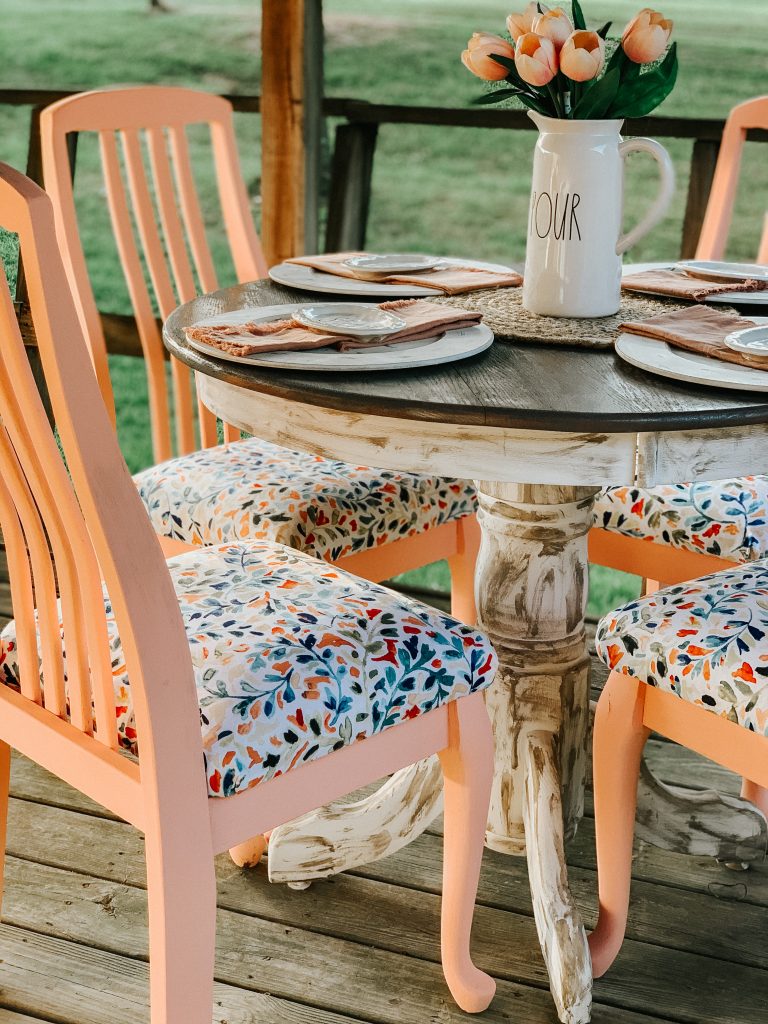
What do you think about her transformation??? I think it turned out GORGEOUS!
MAKE SURE YOU PIN FOR LATER!!!!!
Be sure you follow along on Social Media and Email!
Facebook|Instagram|Pinterest|YouTube|Email
Last Updated on November 4, 2020

Love the material you used with the coral. So pretty.
How cute & looks perfect!
I love the colors!!! Great job Hannah!!!💙💙💙
That turned out super cute. Great job Hannah!