Well guys…one thing you will always find on this blog is honesty. Not that I will post every bad project, because…well, that is not gonna happen! (HA!) But, I will post ones that anyone can learn from. This is one of those. In pictures, this one looks great…but it is certainly one of those that you wouldn’t want someone coming and looking to closely at, if you know what I mean…and I am sure you do.
So, let’s get started. I found this awesome chair at a local thrift store for $20. I had been really itching to paint some fabric on a chair because I have seen soooo many tutorials…and it looked like so much fun. I actually already had one that I was going to do, but it is pretty detailed…and I am not quite ready to do that like I thought I was. So, I found this one…and it was just what I thought I needed.
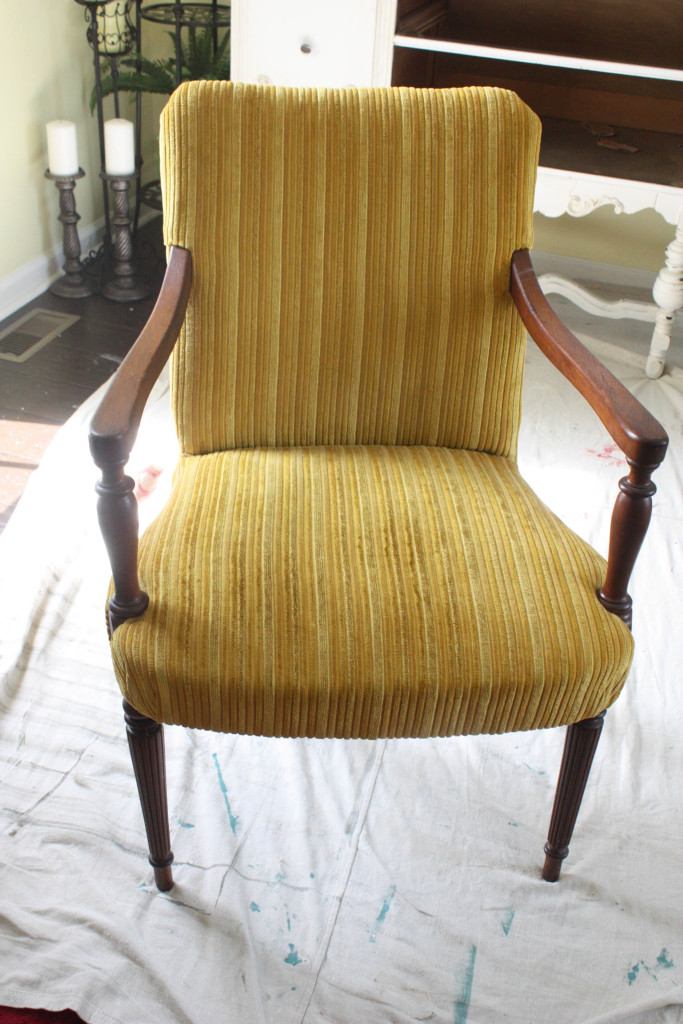
Notice how I said just what I thought I needed? Well, I say that because I do not think I want to attempt one with this kind of fabric again. I will explain more later.
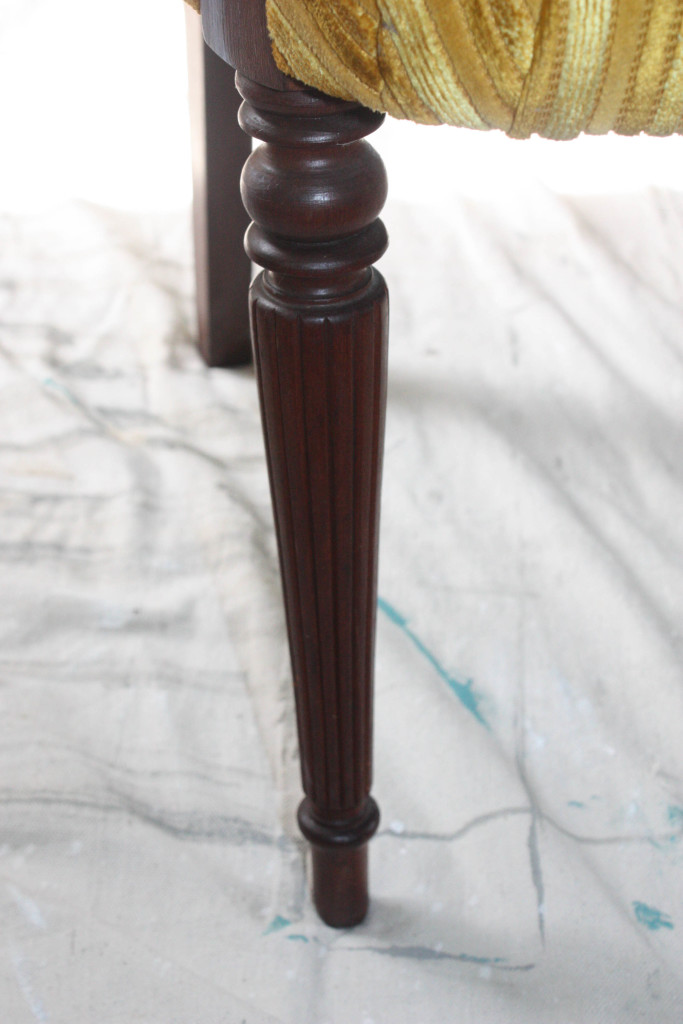
I liked the detailing on the legs and arms…as well as the wood color. I was excited to get to leave it as is! {See, I don’t paint EVERYTHING!}
So to get started on this project, I got some Vintage Market & Design Antique White chalk paint that I had on had. I had just a little bit left, and it needed to be used up, so I knew once I watered it down good that it would give me a good first coat. That is not the color I wanted to paint it all, but it would give a good base.
**You really need to water down your paint- no matter what kind you are using. It needs to really soak into your fabric. Some people even spray the fabric down really good before painting. I did not do this, but probably should have. I did water my paint down very well though…and it did soak up nicely.**
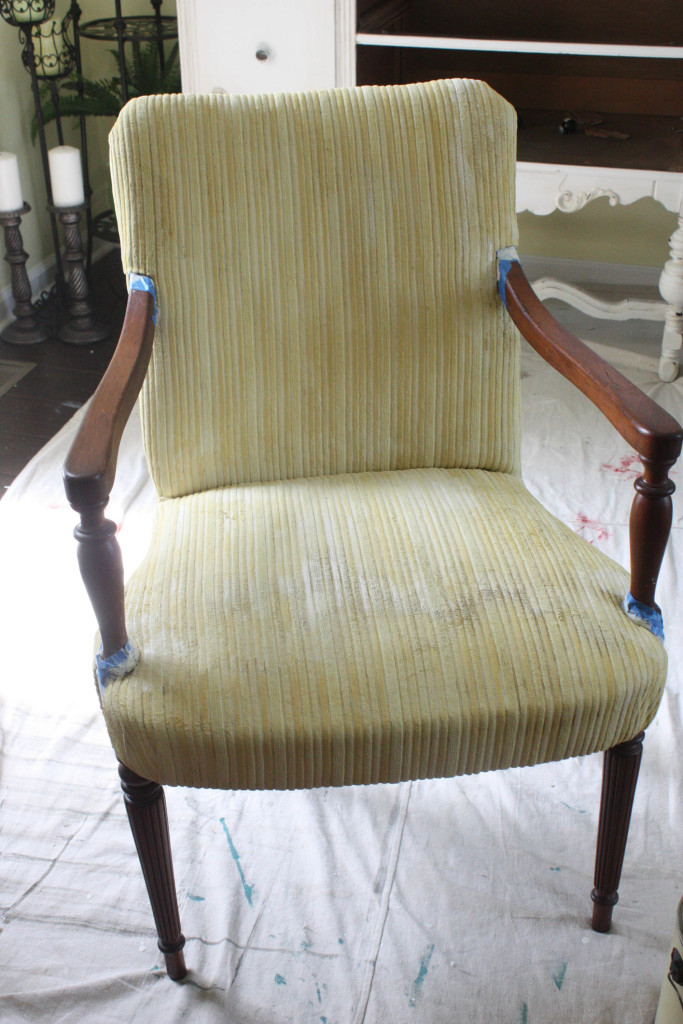
Here is the chair after 1 coat of the paint. Looks pretty bad, but it already MUCH lighter. I just really brushed it into the cracks the best I could. And as you can also see, I put painters tape around all of the wood so that I didn’t get paint on it…which I still did, of course! {I am so bad about that…}
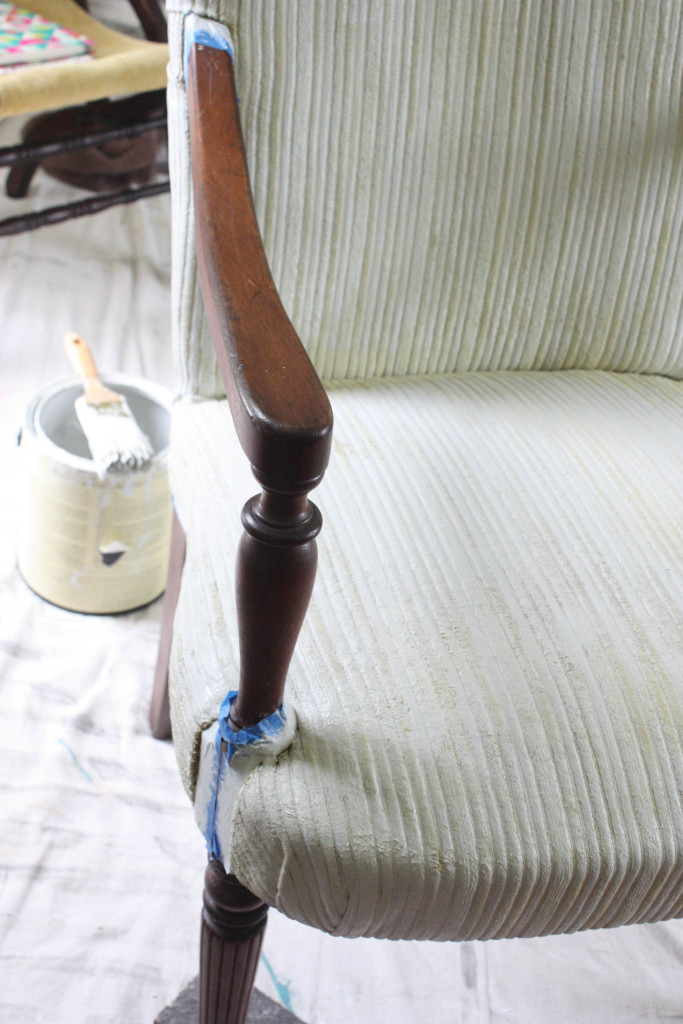
Here is the chair after the second coat. For the second coat {and my actual paint color}, I decided to use some leftover latex paint that I had on hand from our master bathroom. It is called Madeline Steps by Valspar and it is a very light gray…almost looks white in some light. I watered it down really well too, but not so much that it wouldn’t stick to my brush. This coat made a huge difference. It was really starting to take form…and also starting to get kind of bumpy in some spots, no matter how hard I tried to smooth it. {One of the reasons I did not like this type of fabric!}
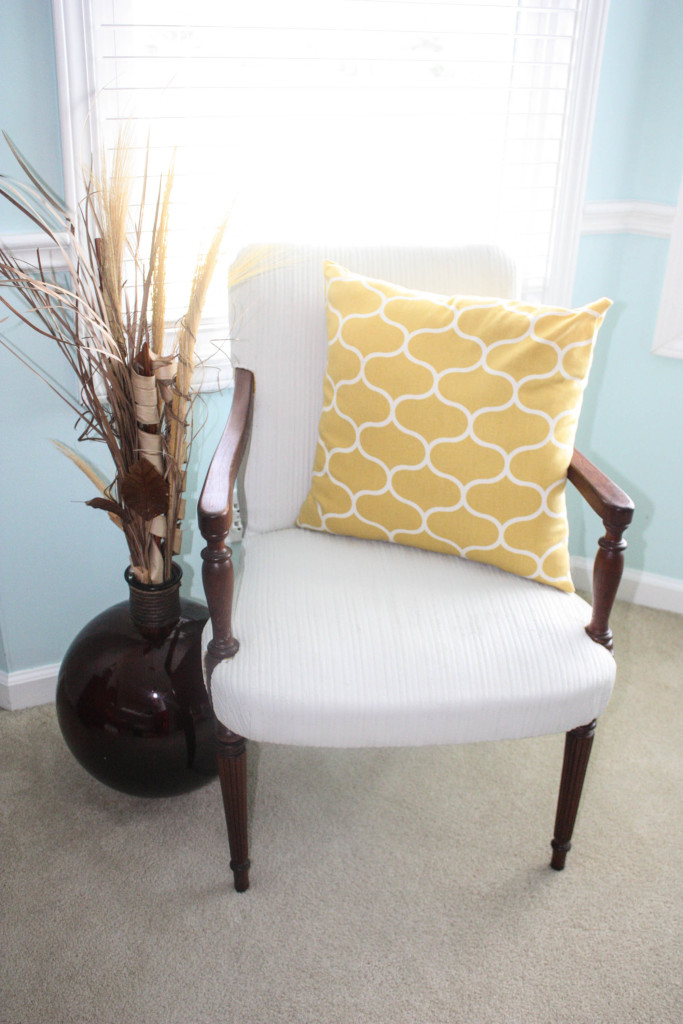
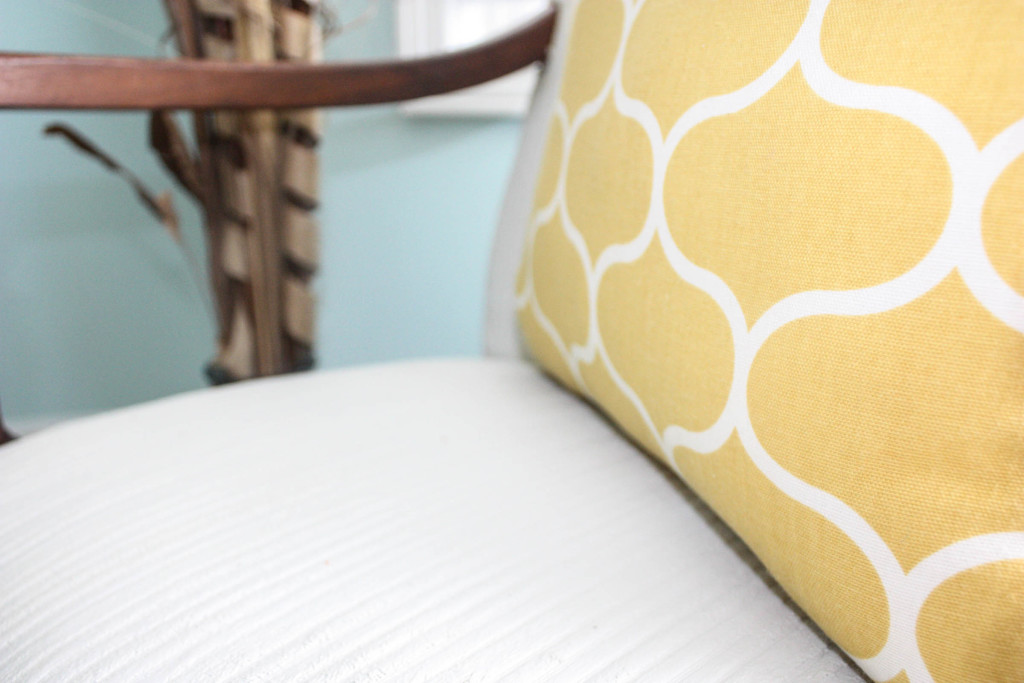
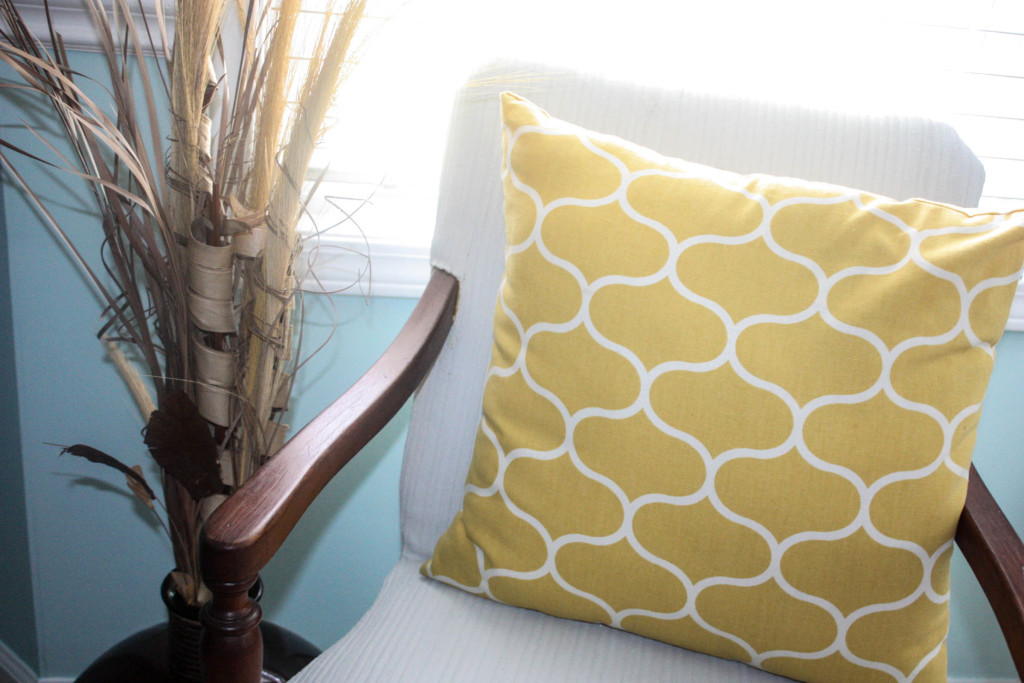
Here is the finished product! It is hard to tell that anything is wrong with it in these pictures…and I am glad about that! 🙂 This is just a chair that will be sitting around in our bedroom for looks, more than likely…so I am not concerned with the issues. It was a learning experience! There is lots of hard balls where the fabric balled up, and it is definitely not soft {which I knew it wouldn’t be…and I didn’t care about that because it will not be sat in}…BUT if you don’ t investigate too closely, it is a nice looking piece that you can put a cute pillow or throw on, and go with it!
I do love the contrast of the light colored fabric with the dark wood. I am really glad that I chose to not paint the wood! {All of you wood lovers who hate on us that paint it, I know you are happy!}
What did I learn?
!) Perhaps try with fabric medium? I am really not sure. I have seen several tutorials that say it is a MUST to use it, and I have seen just as many that say it isn’t. All of their pieces look gorgeous. So, verdict is out on that one for me.
2) DEFINITELY water your paint down very well!!! Maybe even more than I did. It has to soak into the fabric really well.
3) Either don’t use this type of fabric or make sure you have gotten it smoothed out VERY well before letting it dry!
4) I definitely want to try this again!
All in all…this was about 50% flip and 50% flop. I can never be too upset when I do something that really teaches me something for the future.
What do you think? Is it something you may want to attempt?
Pin for Later:
Last Updated on August 22, 2015

It doesn’t look too bad. I’ve never attempted to paint fabric because I don’t think I would like the hardness of the fabric afterward. We are so use to the softness of fabric on an upholstered piece and the fabric of course is not soft once it is painted. However, this was a sample try and you learned a lot by doing a test run and you also are saying it is just for show. So basically, I think you achieved what you set out to do. Good job! Live and learn!
Carol P-K
Thank you, Carol! Yes…I would never want to do this on a piece that I was truly going to want to sit on frequently and cuddle up in…no doubt! For a sit around piece, I think it is neat- and I will try again..but definitely with some tweaking!! Like you said, live and learn!
It looks gorgeous Brooke! Don’t know until you try, right? Does the paint make it feel hard?
Thank you, Katie! Yes, the paint made it hard…but since I won’t be using it to sit in- just to sit around…I don’t mind 🙂
I think your chair looks great! I have also painted fabric and you can “sand” your fabric between coats of paint. It will make your fabric feel pretty normal. Hope this helps and you can try it on your chair with fine grit paper. Good Luck!
i have read if you wax it, it makes it like leather softness, i am tooo scared to do it though lol you chair really looks good xx
Thank you!! I may do a clear wax and see what happens 🙂
Great job Brooke! I ALWAYS look forward to seeing what you try next! This was especially interesting to me because this is something that I have been wanting to try but have been unsure of exactly how to do it. You always make things easy by explaining step by step. I think your accent chair turned out beautiful! Love the dark wood trim!
Thank you, Michelle!! I appreciate that so much! I try extra hard to make sure things are easy to follow and people can learn from what I do right, as well as what I do wrong! 🙂
Hi Brooke – I did a chair – although I cannot show you on here, your site does not allow it, but the fabric that was on mine was ‘flat’ fabric i.e. not textured like yours – I do think this makes a different to the finish. I am very happy with the one I did, but I did wet all the fabric beforehand and had a jug of water and dipped my brush in that first and then into Annie Sloan’s paint. I only needed two coats of paint, but I also used two coats of Annie Sloan’s Clear Wax, which does make a hell of a difference and not sure if you have heard of ‘Nubuck’, but it is like a soft leather. It does look really nice, but as I say the wax did make a lot of difference (for the better), but again, the type of fabric you paint on also make a lot of difference 🙂
Thank you Denise!! I need to figure out why my site doesn’t allow a picture, because I would love to see your chair. Maybe you can email it to me? My email is grace_brooke@msn.com.
Thank you for the insight!! It was a learning experience, and I will definitely be trying again! I am certainly going to try on a chair like yours next, though. And I do think I needed more water 🙂
Have a great week! Thanks again!
I’m wondering whether/if you cleaned the upholstery before the painting? Perhaps that would have made a difference with the balling up? And I concur about the wax. Really makes a big difference.
I did clean, but not as well as I should have. Definitely a learning experience! A lot to do different next time!
Heirloom Traditions is a local KY company that sells paint that’s supposed to work great on fabric. The chair looks awesome!!
I think any fabric with a heavy nap like that would be difficult to paint. Have you tried Heirloom Traditional paints. They have just what you need to paint fabric. You should look at one of there videos. Look the color you painted it.
I have done a couple of different chairs! My first was a $5 garage sale wingback. It had a smooth fabric. I did not know to water my paint down very well so it was a learning experience. Took a ton of paint because I was trying to go light over a pattern. The second chair I did I thinned down leftover latex paint and sprayed my fabric. It still took a lot of coats because I had a pretty bold pattern I was trying to cover! But the chair was free and the paint was leftover soooo…. I also learned that you should use fine sandpaper between each coat. That definitely helps with the softness of the fabric! I will try this again!
If you take some sand paper and sand the fabric it should smooth out.
WOOOOOW?!!! I’ve heard of people doing this before…but never actually SAW anything finished!! That turned out really well…and I would’ve never been able to tell by looking at it, that it was painted!! It looks amazing in your room!!
Use 1:1 fabric softener and paint
Keep fabric moist while painting
It doesn’t look bad. I’ve painted fabric on chairs and sofas with dye and paint. if you use dye you have to water it down and paint it on but because most have been treated with a treatment it will roll off alot so put down plastic tarps. I did let it dry overnite and apply another coat. and no it didn’t rub off on clothes or anything else. I don’t know what it would have done if it got wet but it was in our family room with 3 boys and a dog. The chair I painted with regular craft paint I watered down and painted. What I found with it was you have to sand the fabric after the 1st coat. the fibers in the material raise up. after that i did another coat and it was fine. I know some use chaulk paint and do the same and put a coat of clear wax afterwards.