Hi there, I am Julie from Julie’s Designs and Signs! Today I am going to share with you how to thrift and flip a vintage birdhouse into a beautiful home decor piece!
It’s no surprise that stylish home décor pieces come with a hefty price tag in stores. However, with a bit of creativity and a touch of thriftiness, you can transform an ordinary item into a stunning, high-end décor piece. Hunt for treasures like this vintage birdhouse at your local thrift stores, garage sales, estate sales, or even online so that you can recreate this unique DIY!
For this project, I used the following supplies:
- Vintage thrifted birdhouse
- Thrifted riser
- Staalmeester pointed sash brush
- Dixie Belle chalk paint – Cotton
- Gorilla glue
- Hot glue gun
- Fusion antiquing glaze
- 5mm underlayment wood
- Floral foam
- Fake floral
- IOD Alphabellies stamp
- IOD empty inkpad
- IOD china blue ink
- Thin mount
- Sandpaper
Let’s get started!
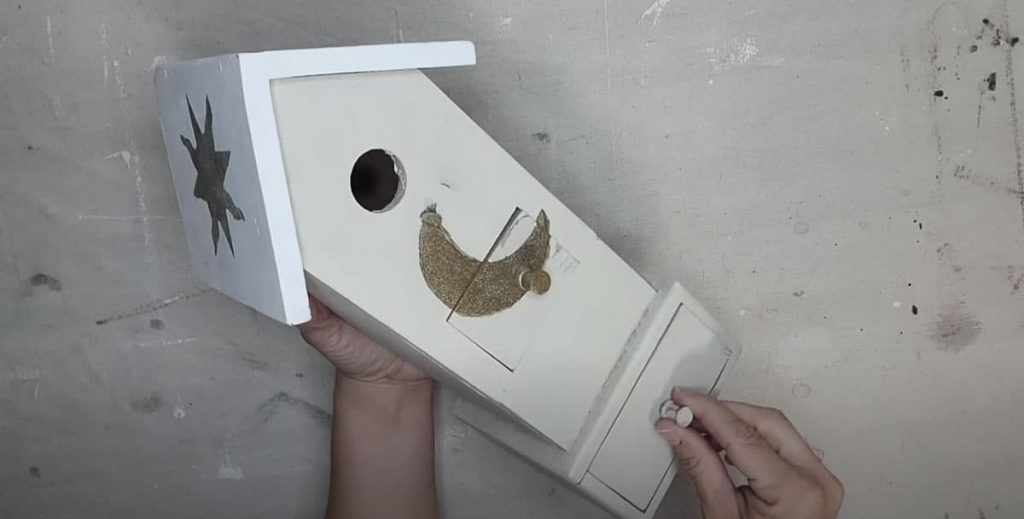
I thrifted this birdhouse because I liked how tall it was and how it had two drawers! Despite a bit of chipped paint, I saw its potential, so I used sandpaper to carefully smooth out the surface before I painted.
I found this riser for $2.99 at a thrift store too, and I knew I wanted to use it for this project.
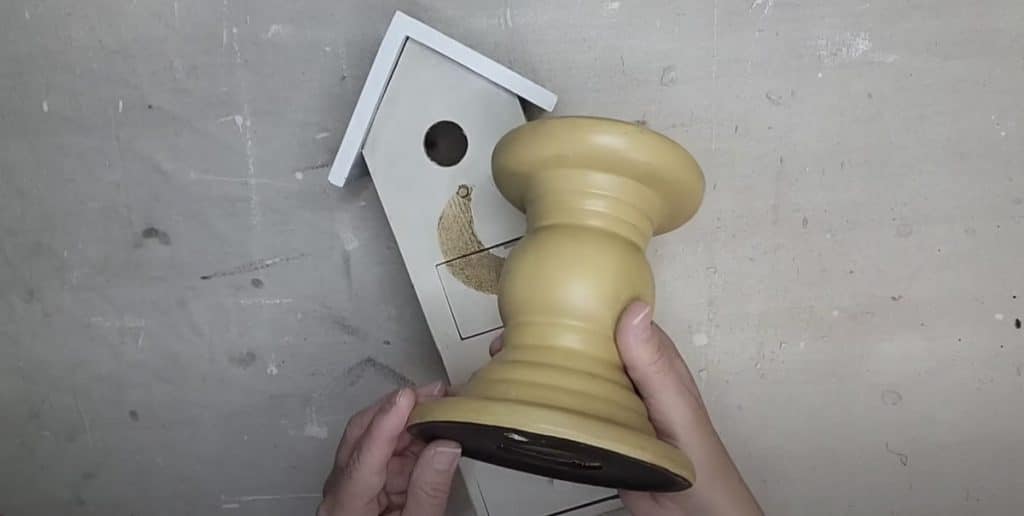
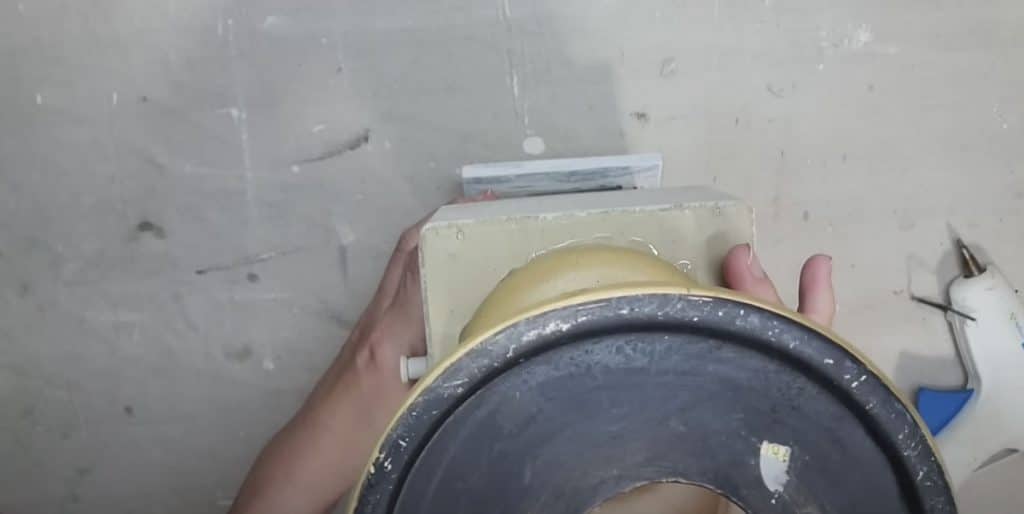
To attach the riser to the birdhouse, I used both Gorilla Glue and hot glue.
This DIY hack is a personal favorite of mine! The Gorilla Glue will make sure the pieces are attached permanently. However, it does take a little bit for the glue to cure and adhere, so I also use hot glue to ensure the pieces stay attached while the Gorilla Glue dries. This allows me to move on to the next step more quickly.
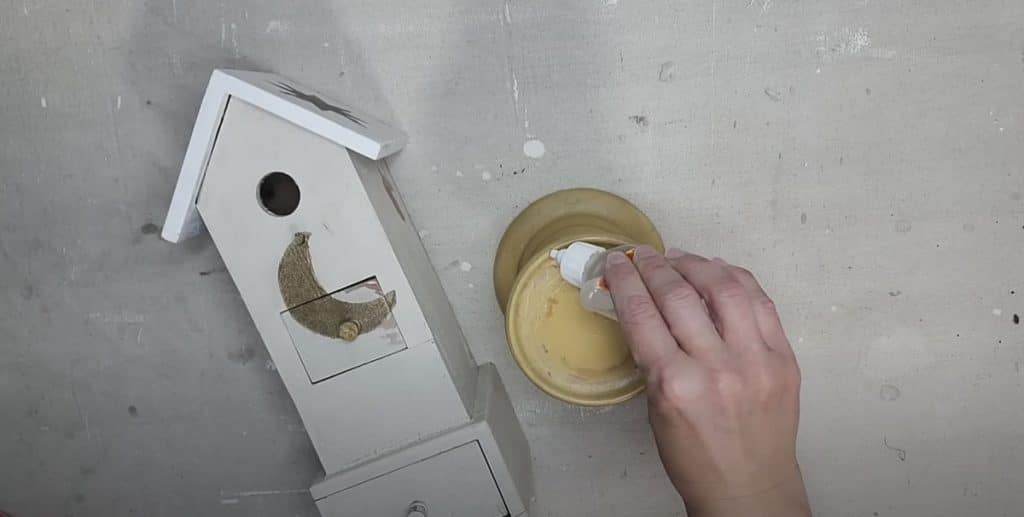
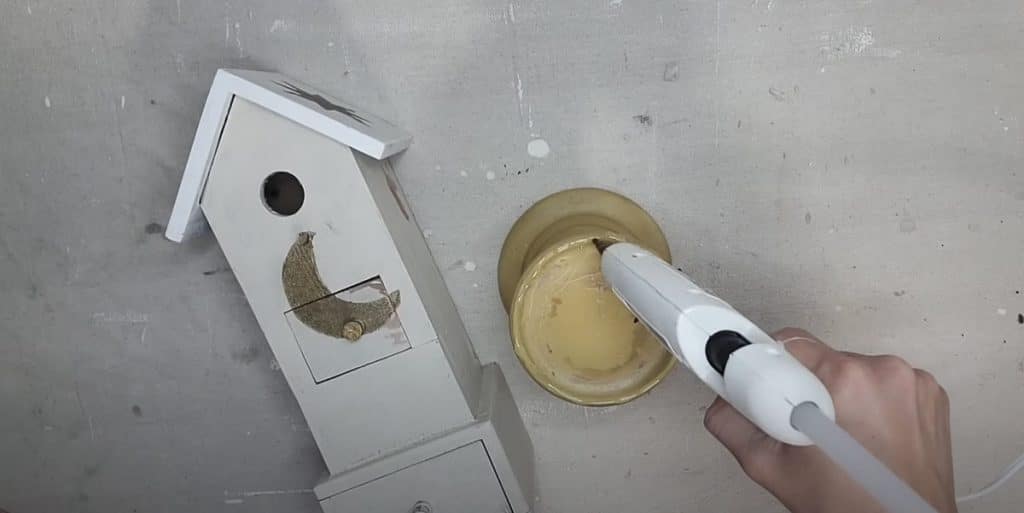
Once I applied both glues, I attached the riser to the bottom of the birdhouse.
Then, I used a STAALMEESTER Pointed Sash Brush to paint the birdhouse and stand white with Dixie Belle Chalk Paint in the color Cotton. I applied two coats to the entire piece.
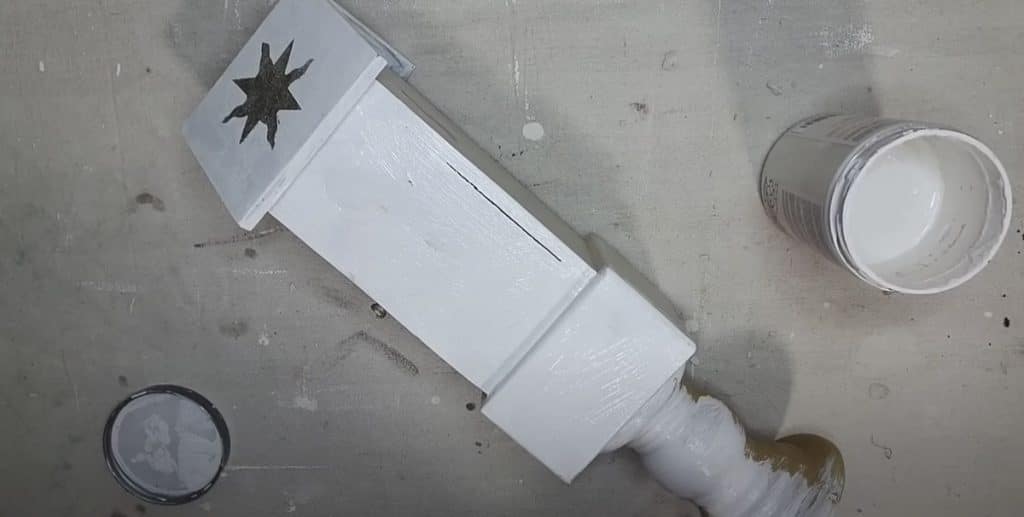
I let the paint dry, and then I used sandpaper to lightly distress the piece.
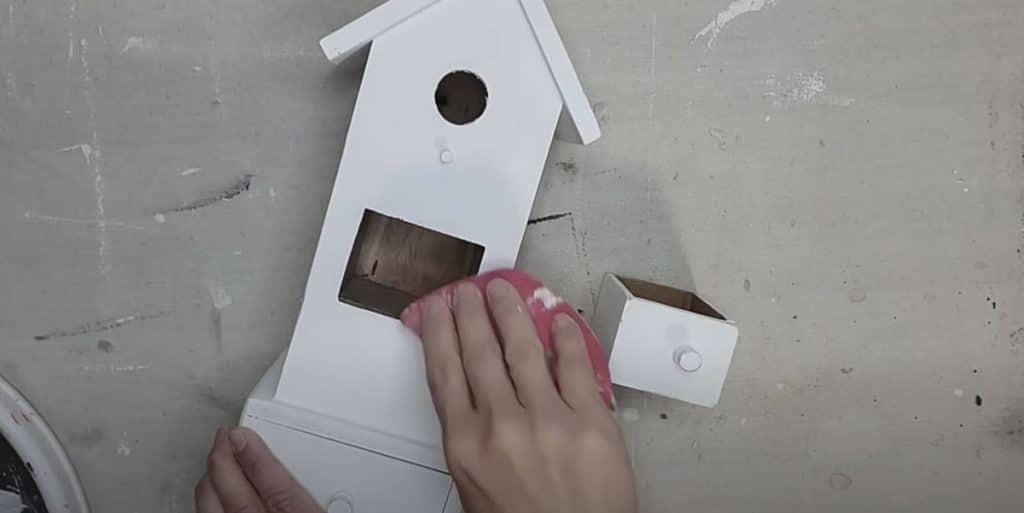
I wanted to add some wood toned elements to this project, so I cut out (2) 5mm underlayment pieces the same size as the roof of my birdhouse.
To give the wood a darker color I brushed on Fusion Antiquing Glaze and then lightly wiped off the excess with a paper towel. When you apply antiquing glaze to wood it gives the wood an instant aged, weathered look!
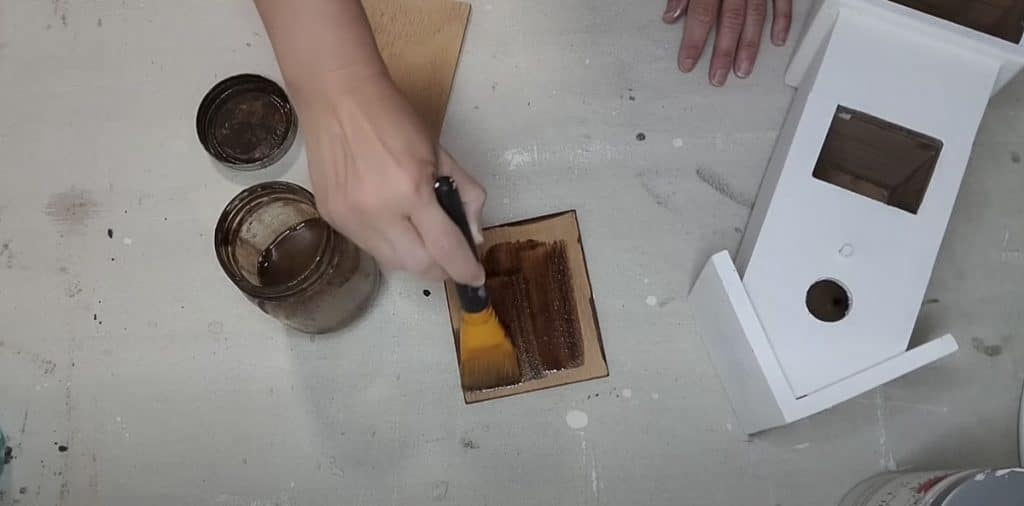
Once the wood pieces were dry, I used my hot glue gun to attach the wood pieces to the roof of the birdhouse.
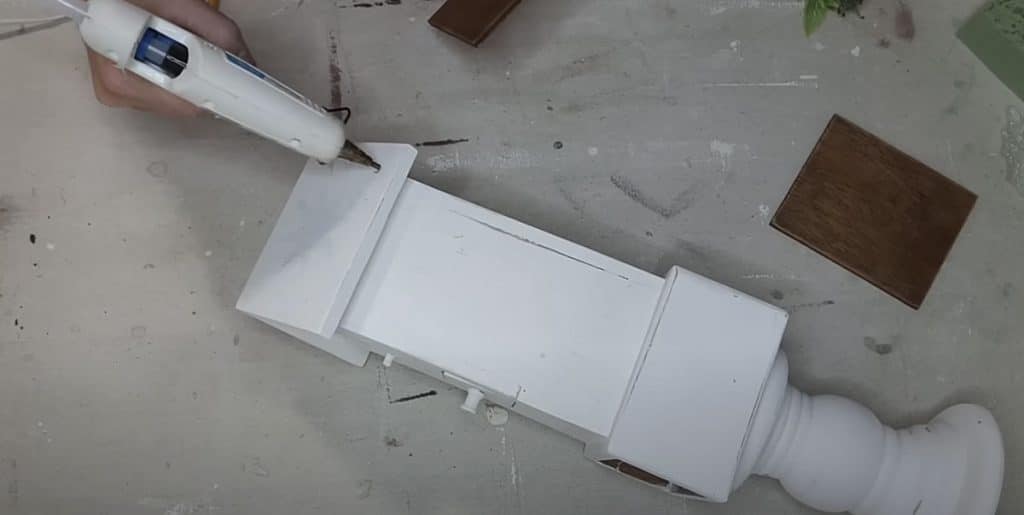
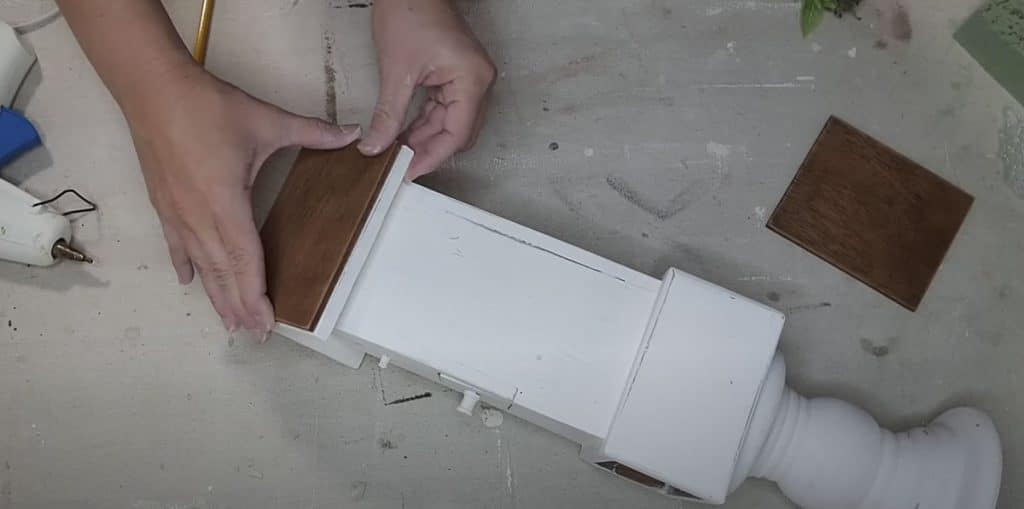
Now for the fun part! You can get creative when embellishing your birdhouse.
I hot glued a small piece of floral foam into the bigger drawer.
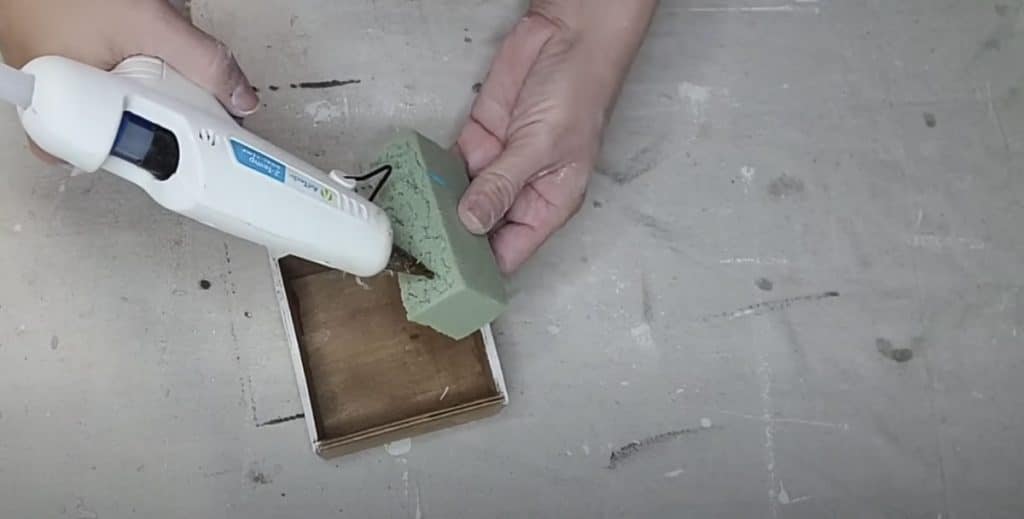
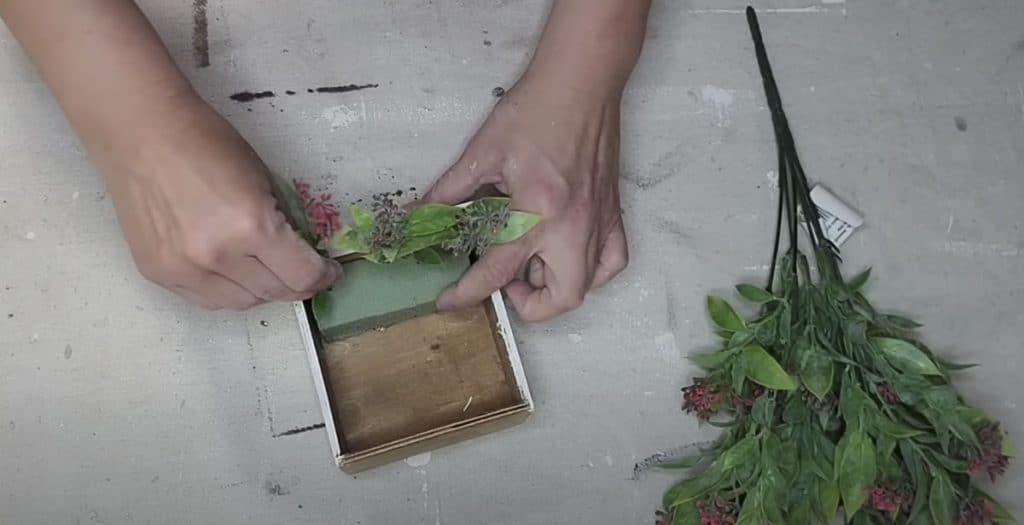
Then, I added some sprigs of floral greenery into the floral foam.
The flowers ended up looking so cute against the white of this birdhouse.
Next, I decided to add some stamped detailing onto the side of my birdhouse.
I decided to use the IOD Alphabellies stamp. This stamp collection has some beautiful floral detailing that I knew was perfect for what I was going for.
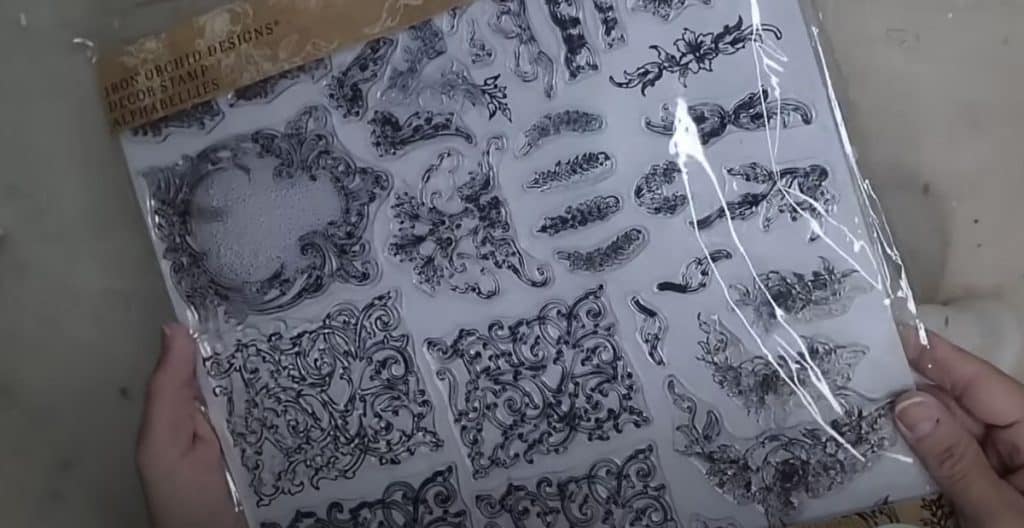
First, I chose my stamp.
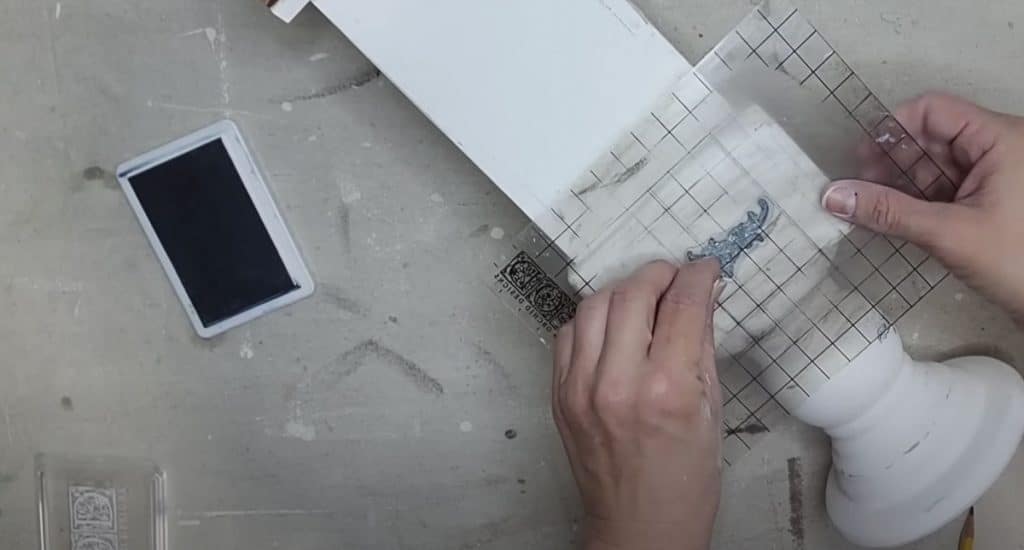
Next, I attached the stamp to my thin mount.
Then, I applied IOD Ink in the color China Blue onto an empty IOD inkpad.
After I inked up my stamp, I flipped the thin mount over to apply it onto the birdhouse.
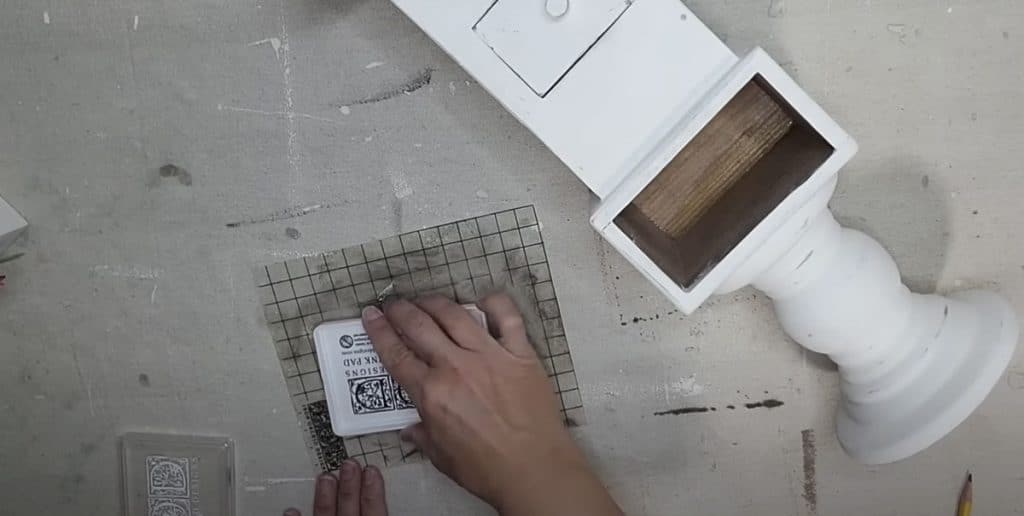
While I was trying to apply the stamp, I realized that the curve in the riser was interfering with the thin mount. So I removed the thin mount and applied the stamp with my hands.
Sometimes with DIY we learn things as we go, and that is what makes it so fun!
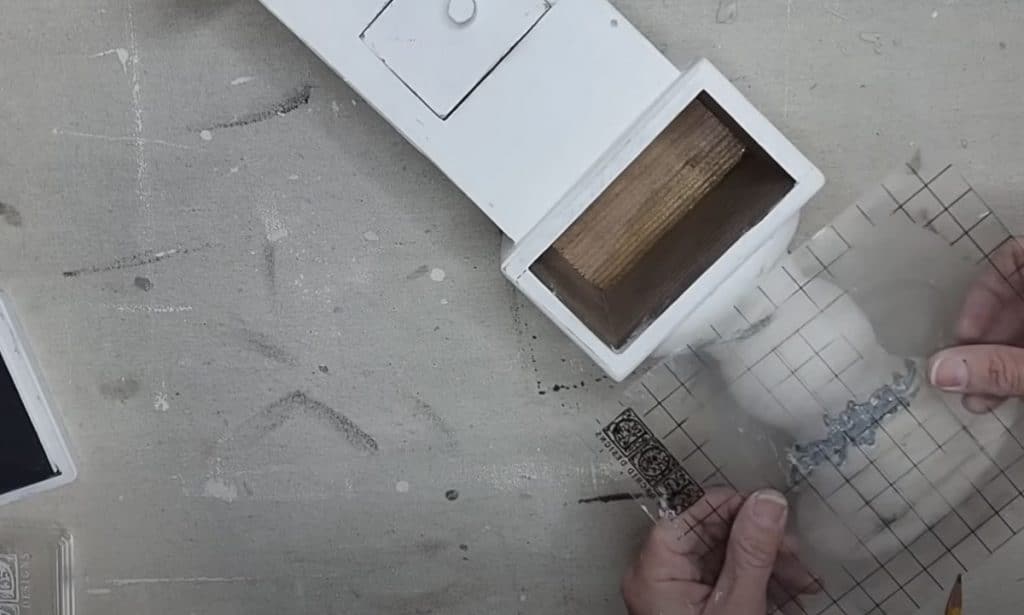
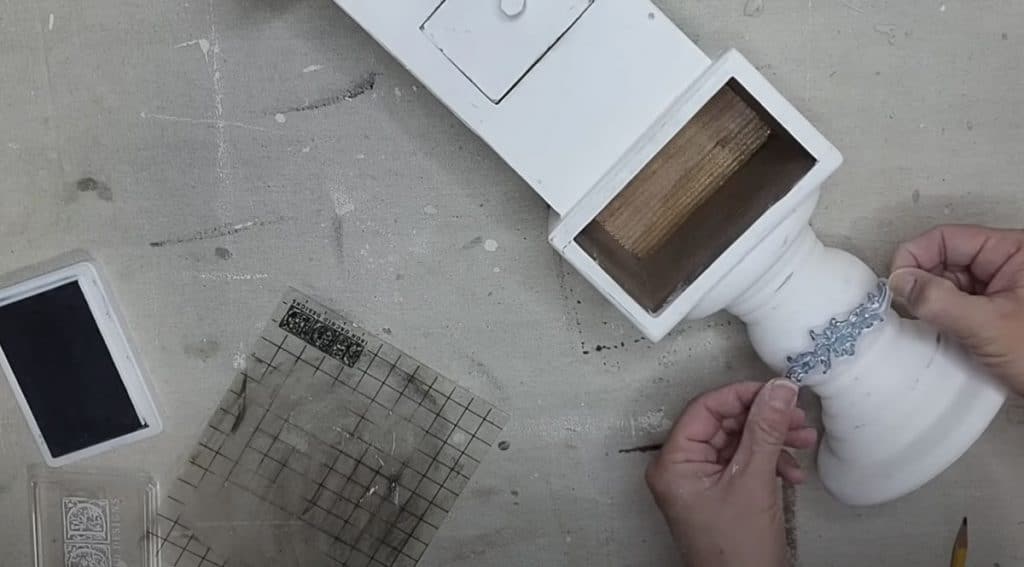
How beautiful is that?
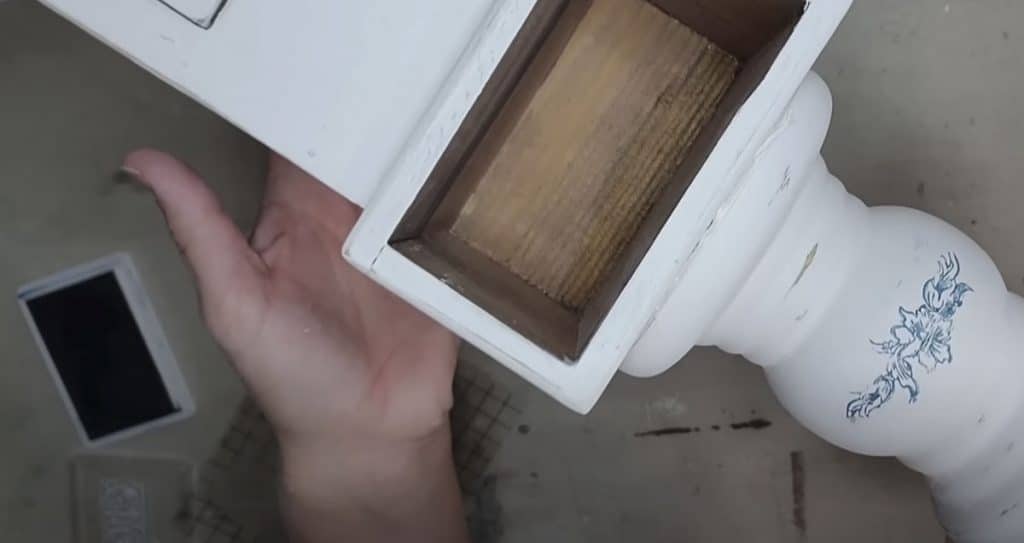
Next, I applied the same stamp to each side of the birdhouse, using the exact same technique as above.
I realized that the color was just a little too bright for my liking, so I used sandpaper to lightly distress the ink.
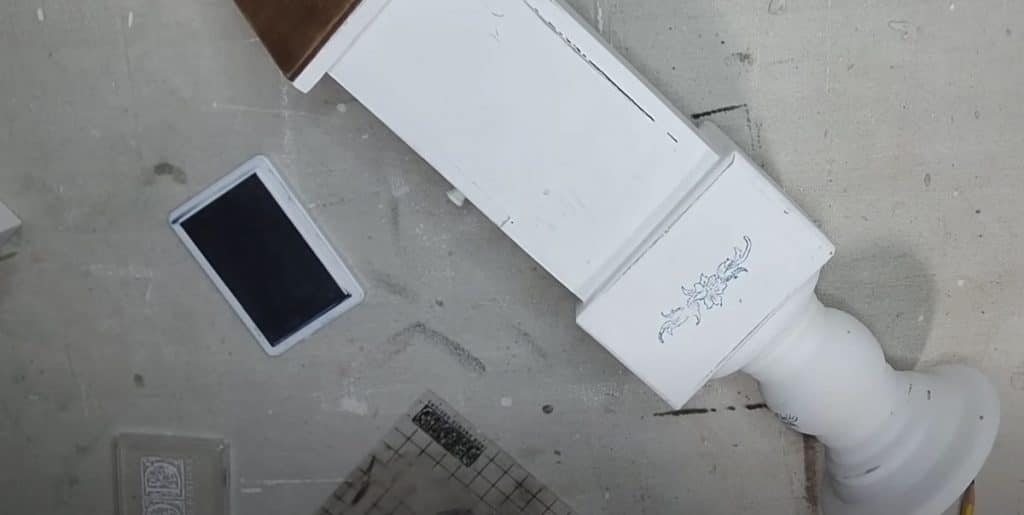
That’s it! What do you think? I am so excited to style this in my home!
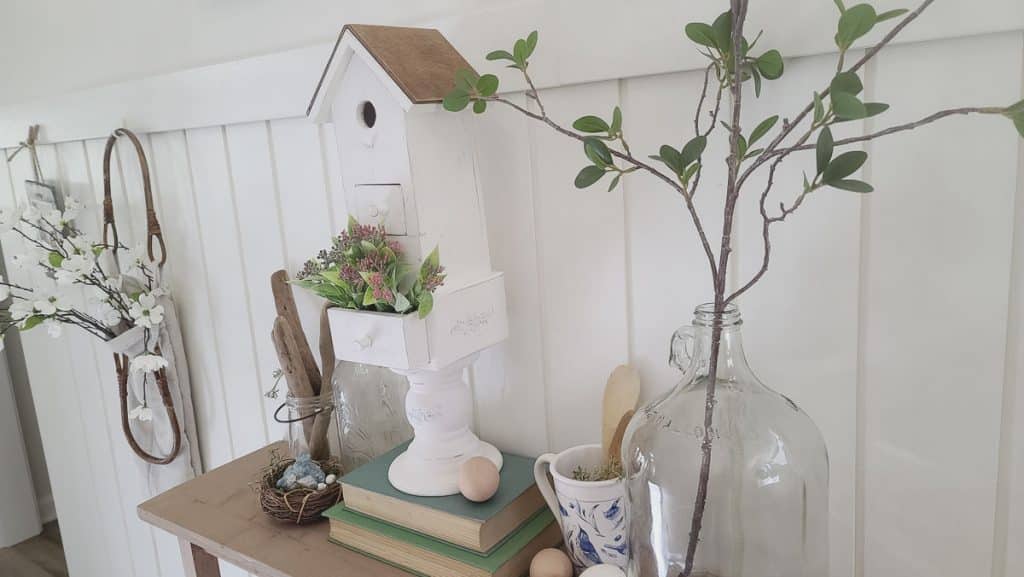
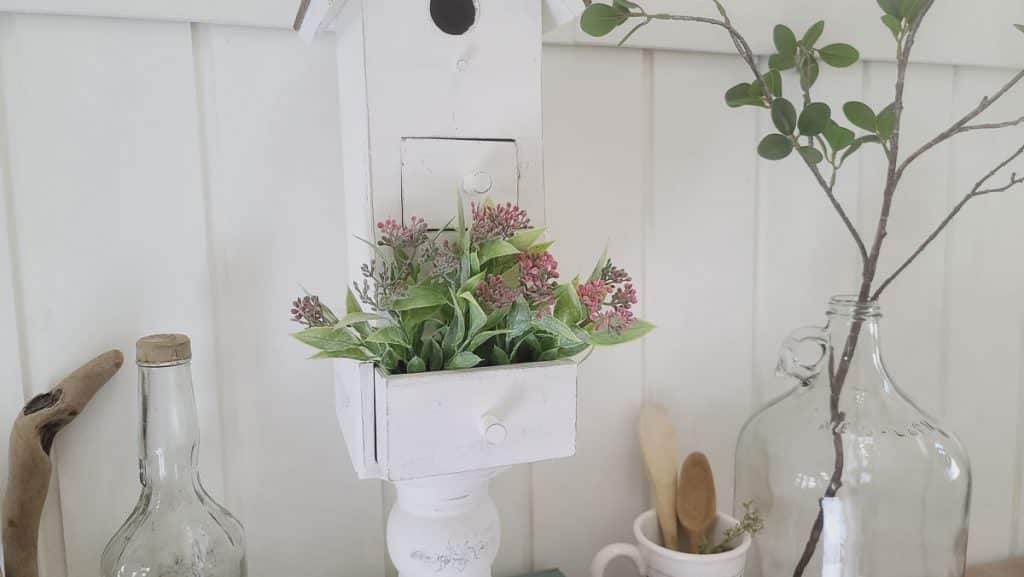
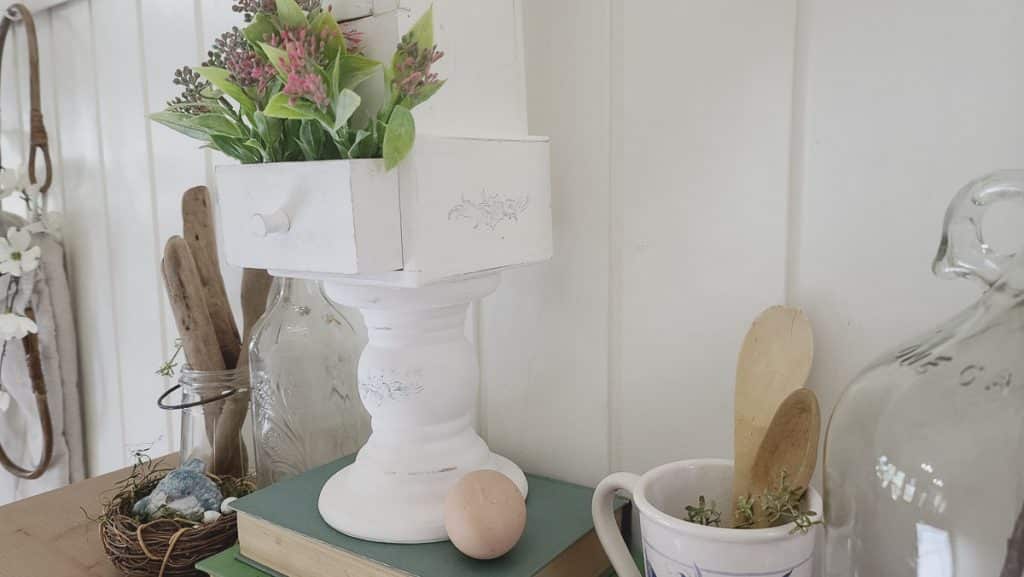
I hope you enjoyed this birdhouse makeover! You can follow Julie’s Designs & Signs on YouTube and Facebook for more DIY videos!
PIN FOR LATER!
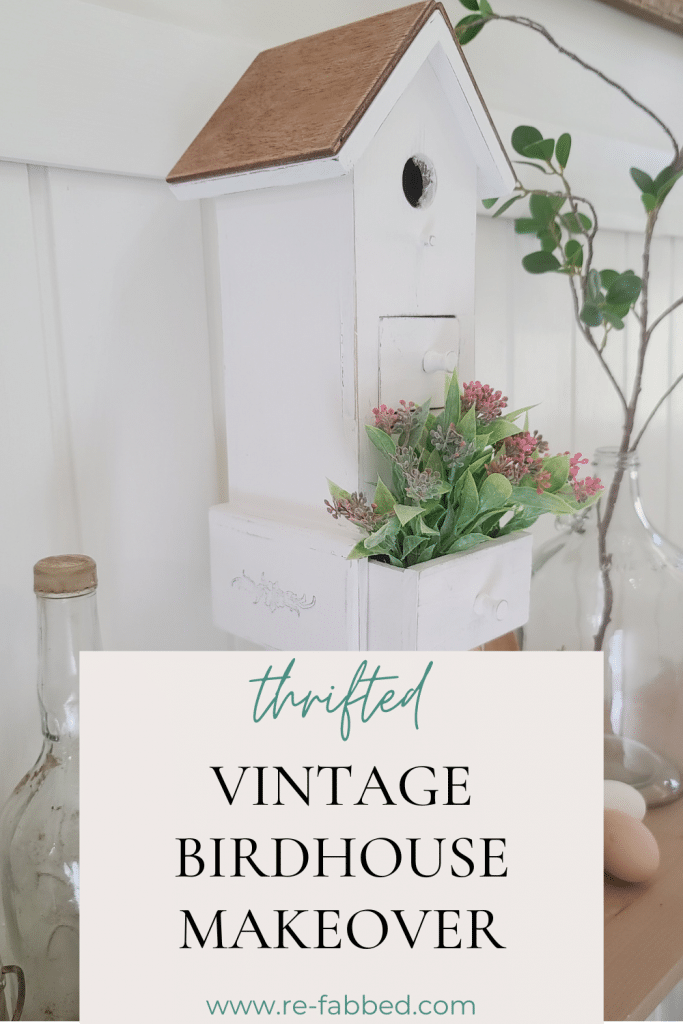
Last Updated on February 17, 2024

I’ve very confused as to why a Julie’s Designs and Signs blog is on the Re-fabbed site.
Your DIY birdhouse is absolutely charming! Your attention to detail makes it stand out