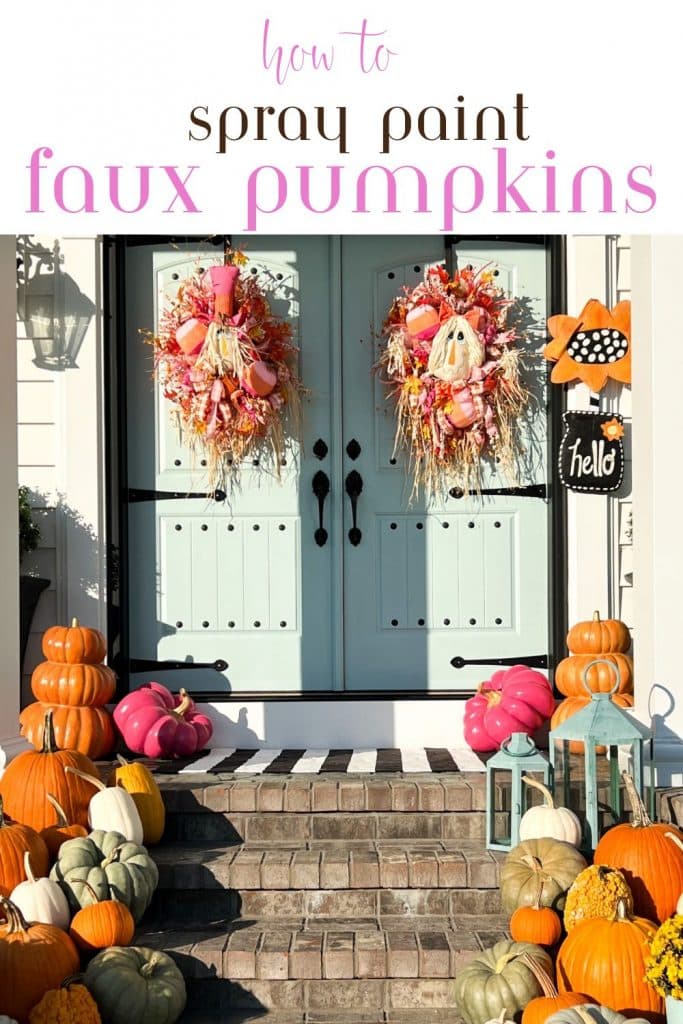
Whimsical shaped pumpkins are all the rage now, and you can find them in a multitude of sizes and colors. However, I was looking for a specific color scheme to match my new wreaths from Ba Bam Wreaths (you can see those beauties RIGHT HERE), so I took the easy route and painted them myself to match! This was an incredibly easy diy! I am going to show you step by step how I spray painted these artificial pumpkins I snagged from T.J. Maxx! They look incredible!
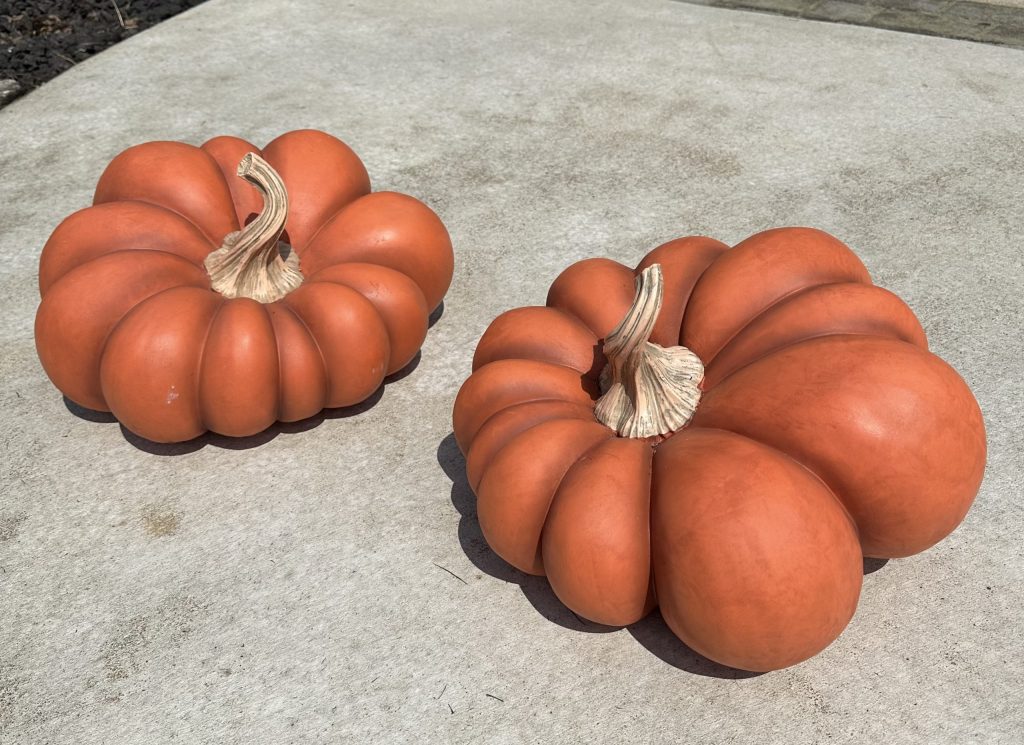
Here is what I used for this project:
- Assorted pumpkins from T.J. Maxx (I don’t have a link for the pumpkins I painted, but you can find the three stack pumpkin here)
- Painters tape
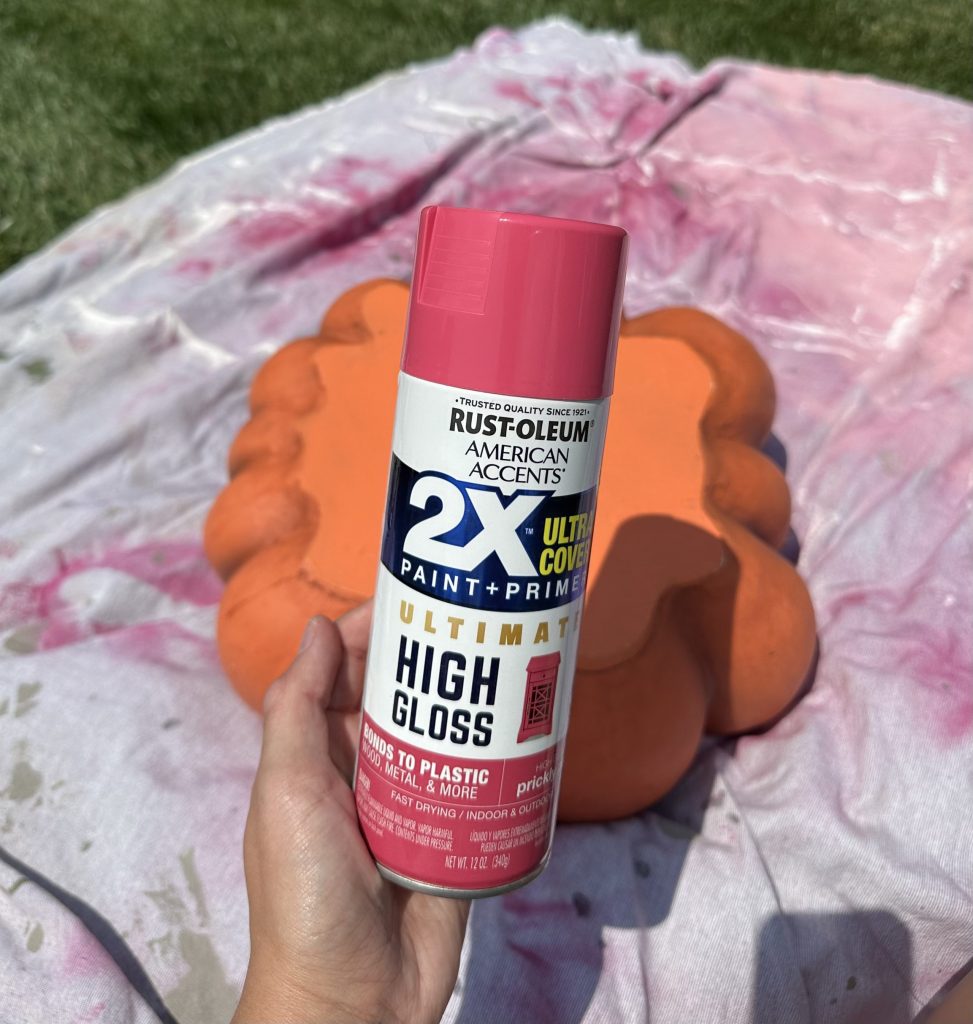
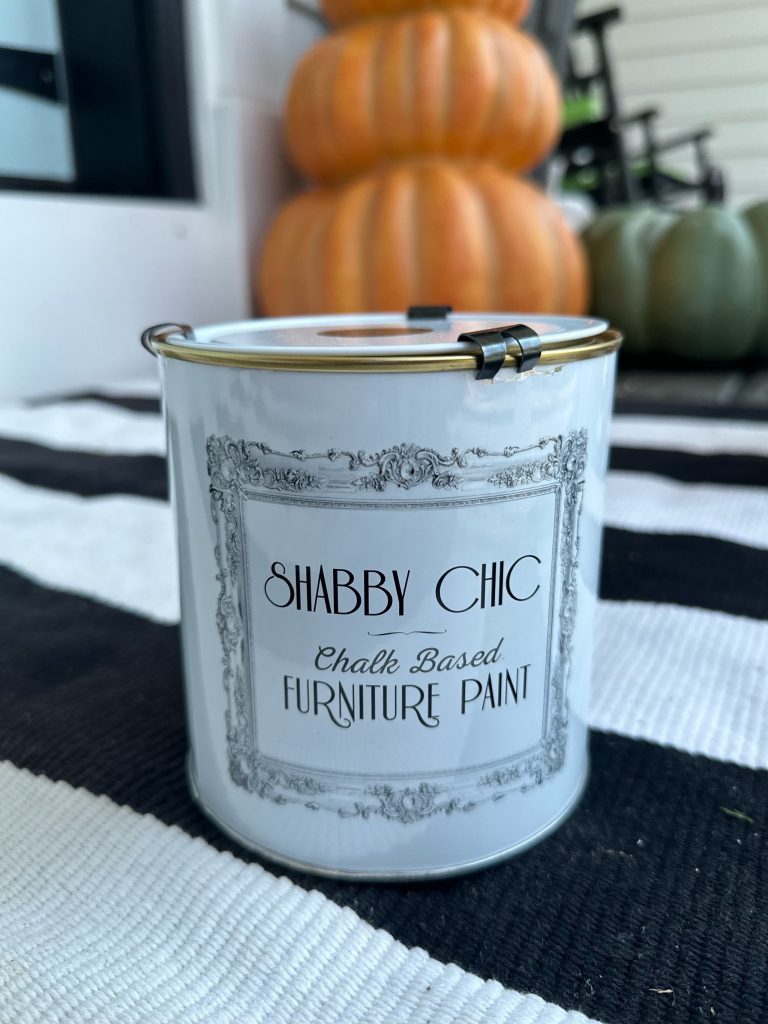
- Rustoleum 2X Paint + Primer High Gloss in the color Prickly Pear
- Krylon Color Maxx Paint + Primer in Flat White
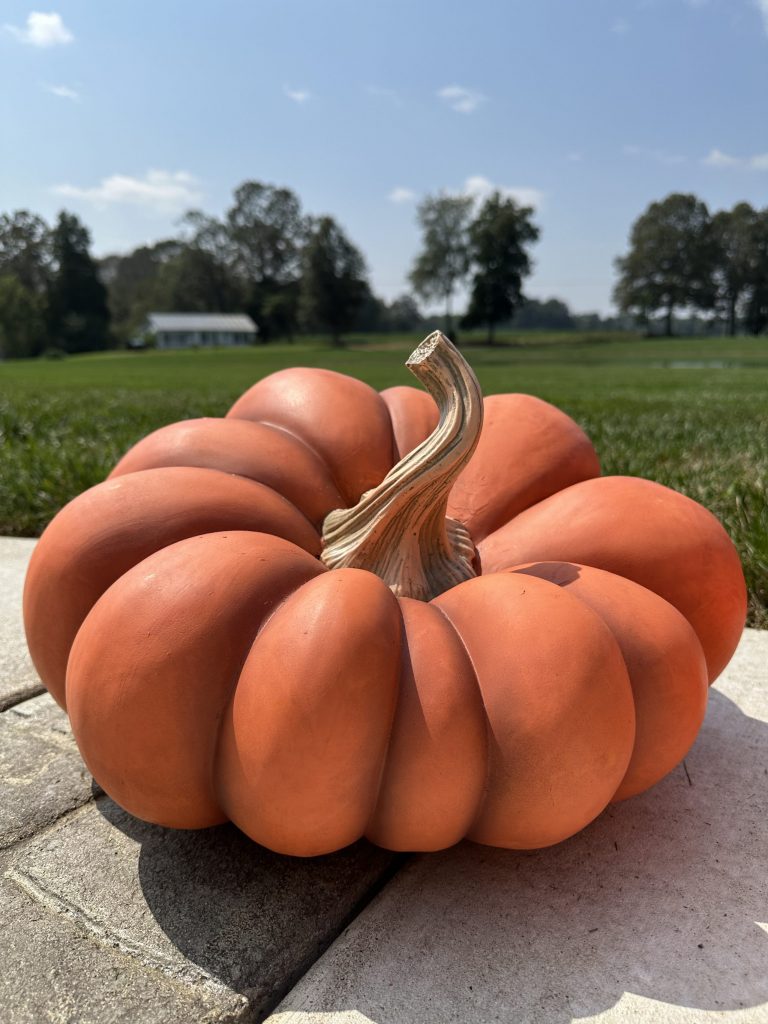
Look at how gorgeous and unique this pumpkin is! I’m telling you, head to T.J. Maxx and grab some pumpkins!
To start this DIY, I first wiped down the surface of the pumpkin really well, removing any dust or dirt. It’s SO important to always wipe down the surface of the item you are painting prior to spray painting. It helps the paint go on smooth and adhere well!
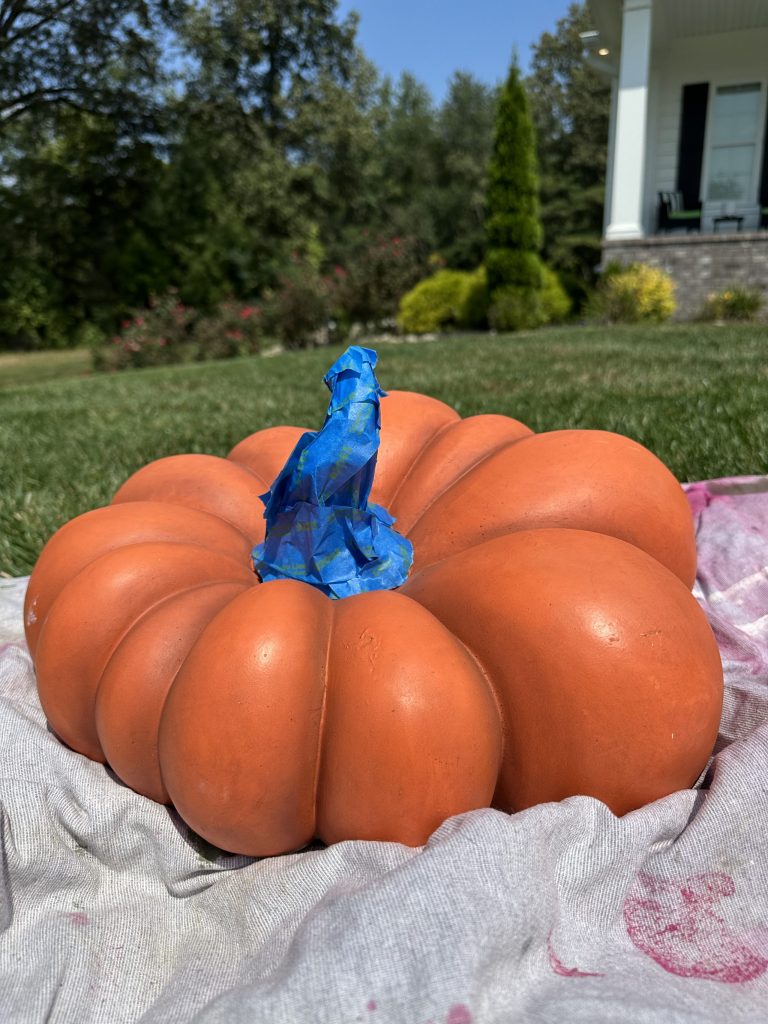
Next, I used painters tape to wrap the stem and protect it from the paint.
I chose this beautiful pink shade by Rustoleum called Prickly Pear, and it really provided great coverage! I sprayed the entire pumpkin, including the bottom.
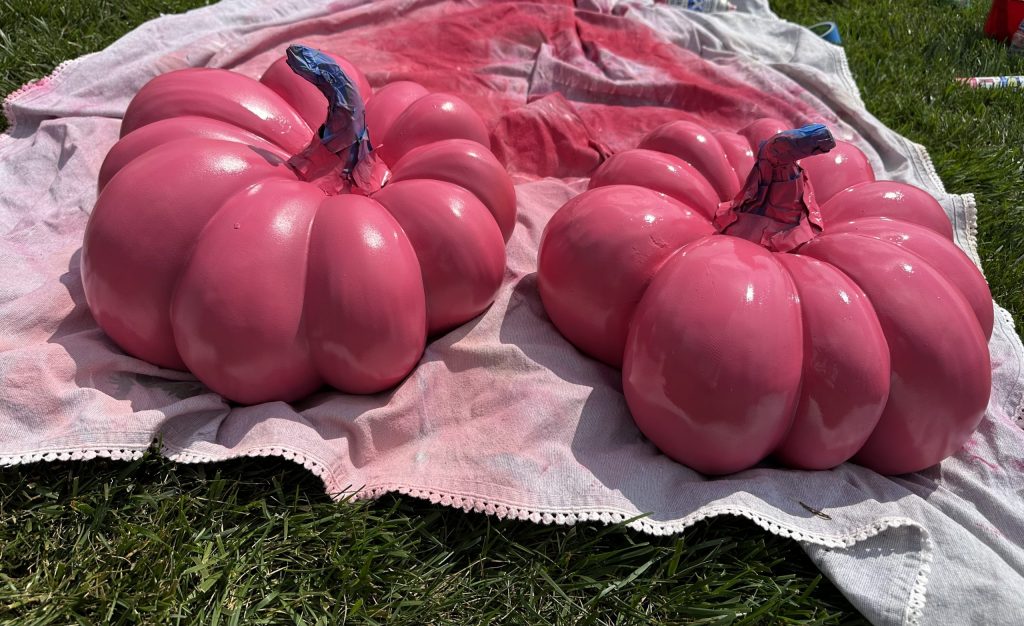
Seriously, how gorgeous are these pumpkins?! I was thrilled with the pink color! Y’all know I love some pink!
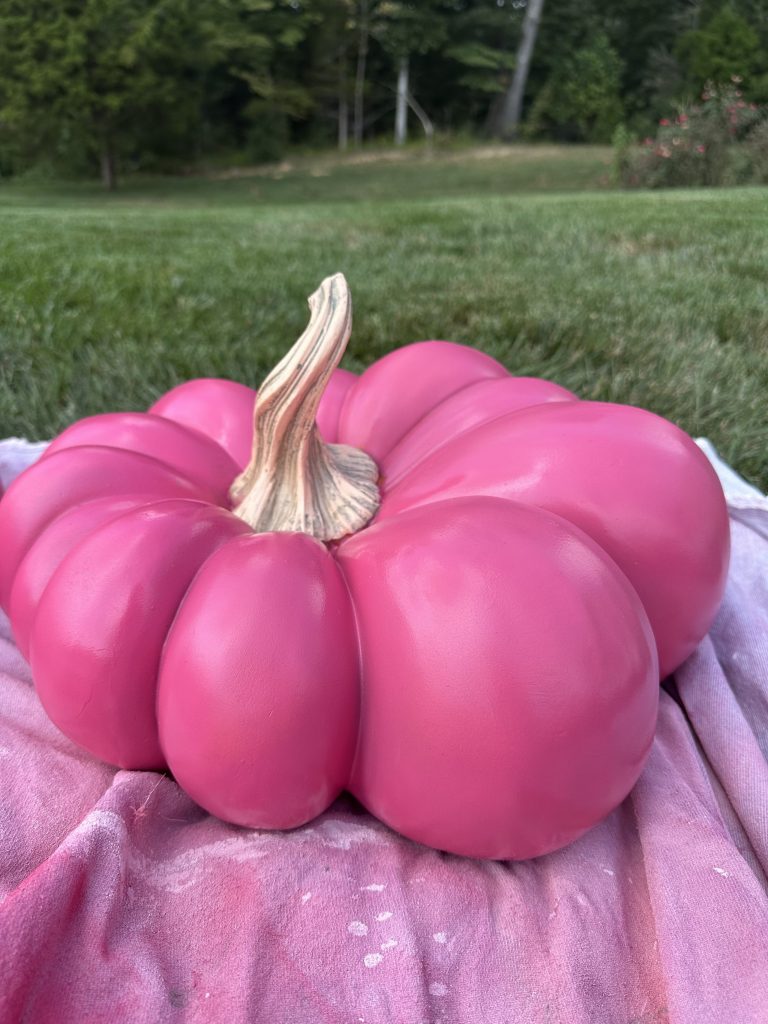
Next step, unwrap the stem and paint that beauty GOLD!
There isn’t much to explain here…I simply painted them gold! It was quick and easy and good coverage. I love seeing a little bit of the natural shining through also!
Next up, I had two other pumpkins similar in size, but a more traditional shape. I decided to paint these white. Using the same process as before, I spray painted these with Krylon Color Maxx Paint + Primer in Flat White.
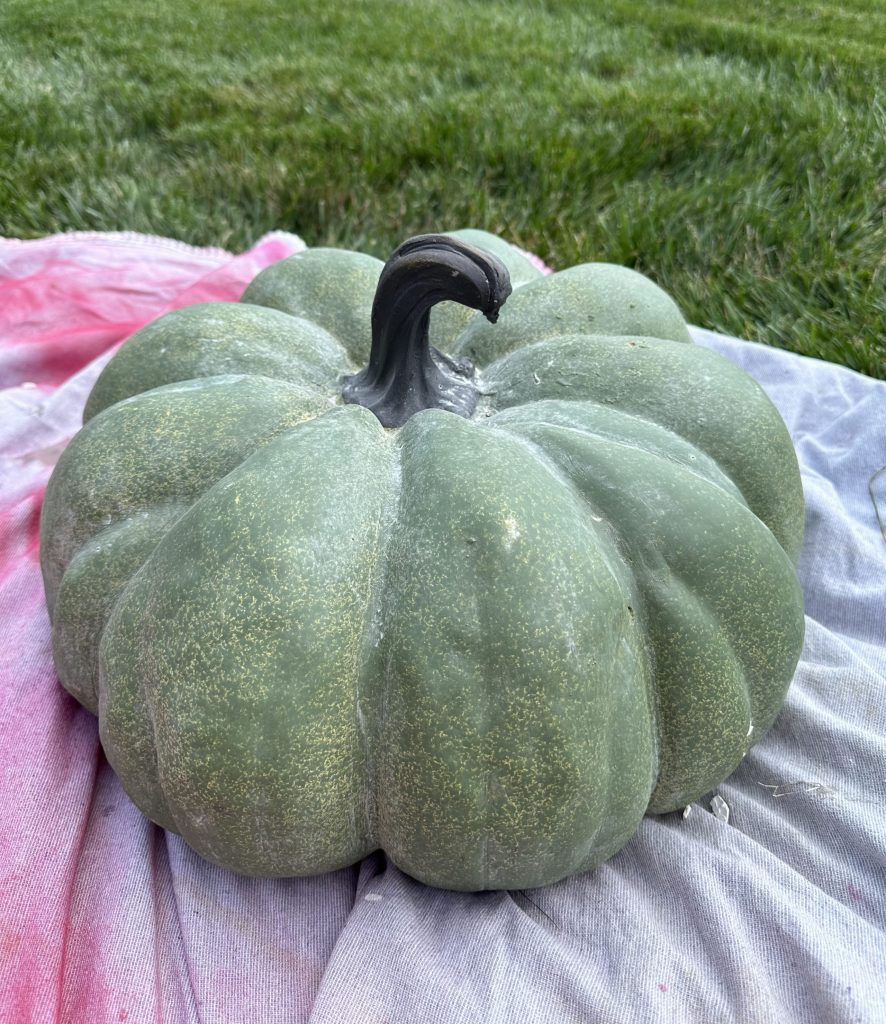
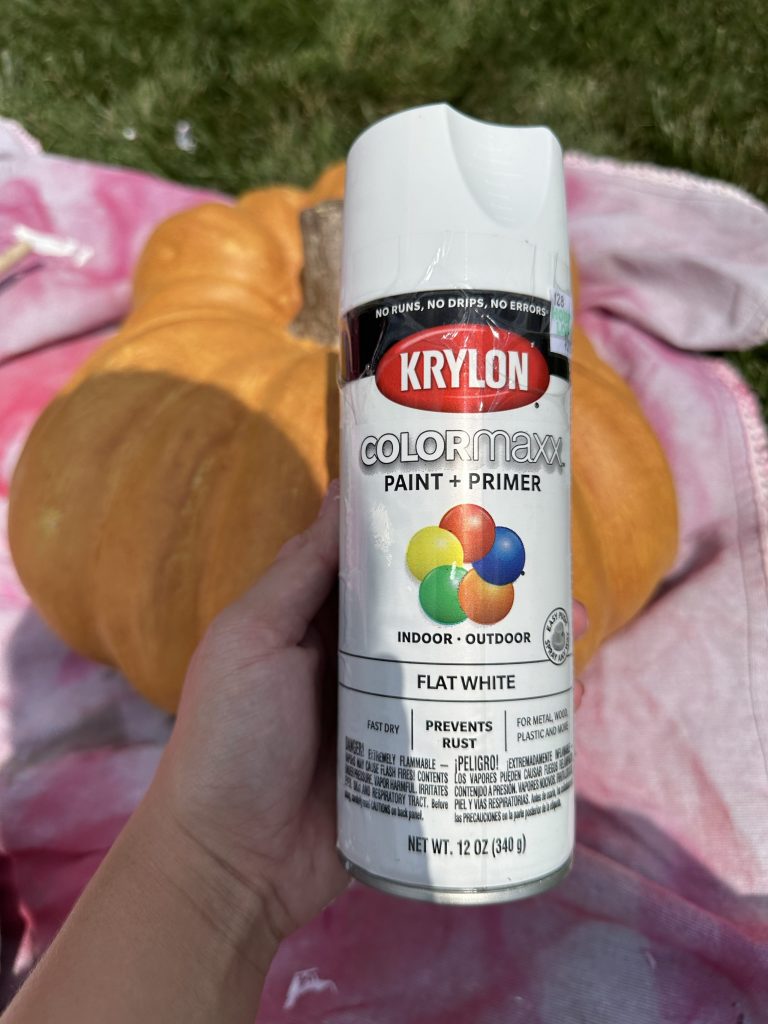
Again, the spray paint provided great coverage! I also painted the stems gold, following the same process as above for the pink pumpkins!
I allowed all of the pumpkins to fully dry before moving them to their new home on my porch!
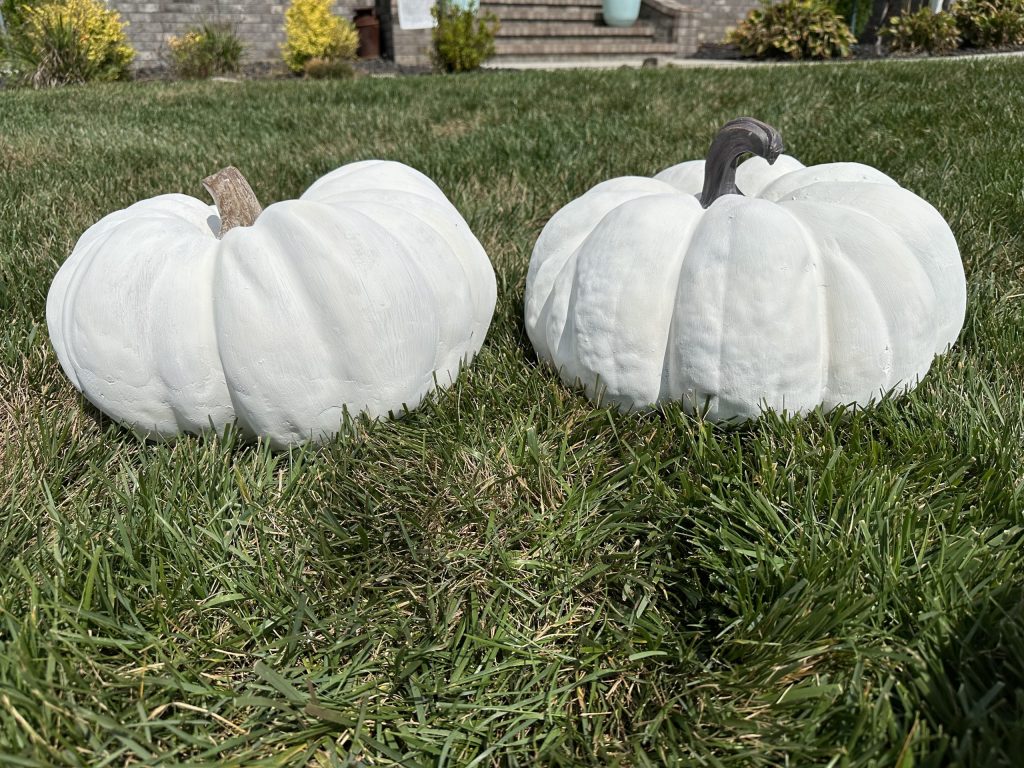
I just love customizing decor to fit my style!
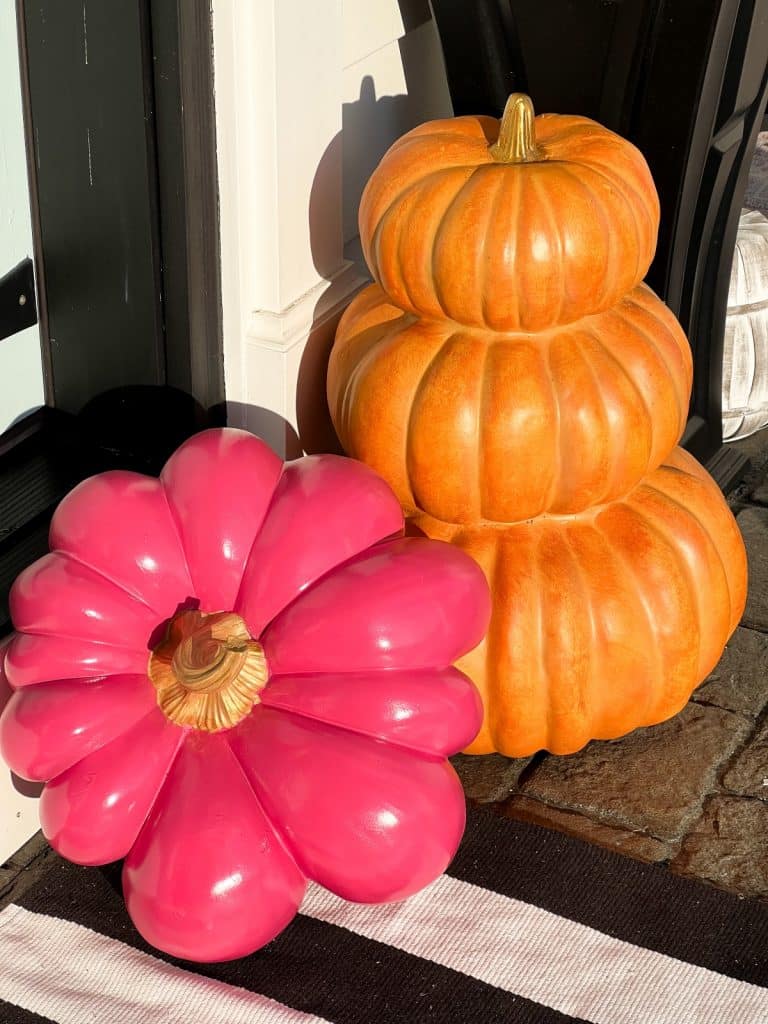
Spray paint is just the best and is so handy when you want to change something up! Not only is it inexpensive, but it’s EASY!
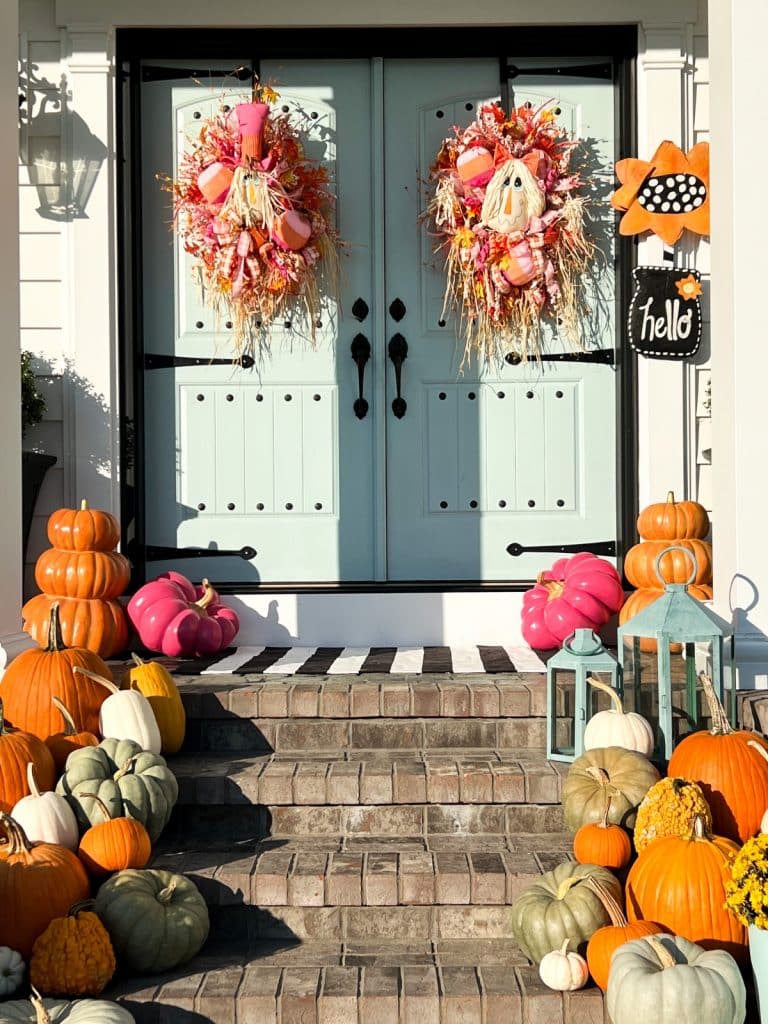
Have you ever spray painted a fake pumpkin? I would love to hear your thoughts!
Be sure to PIN this for later and FOLLOW ON FACEBOOK and INSTAGRAM!
Last Updated on September 27, 2023


Your entrance to your home is so warm and inviting. You have a decorators eye for color and juxtapatation . Lovely. Thanks for sharing.
Very useful, thank you for your tutorial!
Who knew pink pumpkins could be so beautiful! I love them.
Thank you!