To me, there is nothing better than a good ole paint project. Painting relaxes me and makes me feel like I am free from worry. May sound silly, but it’s true. Painting something CHRISTMAS…well that just takes it to a whole new level, cause y’all KNOW my love for Christmas!!!
So, let’s talk about what we will need for this fun, festive Santa hat! (* indicates a referral link, which means it is what I use, but I also earn a small commission, if purchased…at no additional cost to you!)
- thick acrylic white paint*
- thick acrylic red paint*
- paint brush (any will do)
- piece of scrap wood
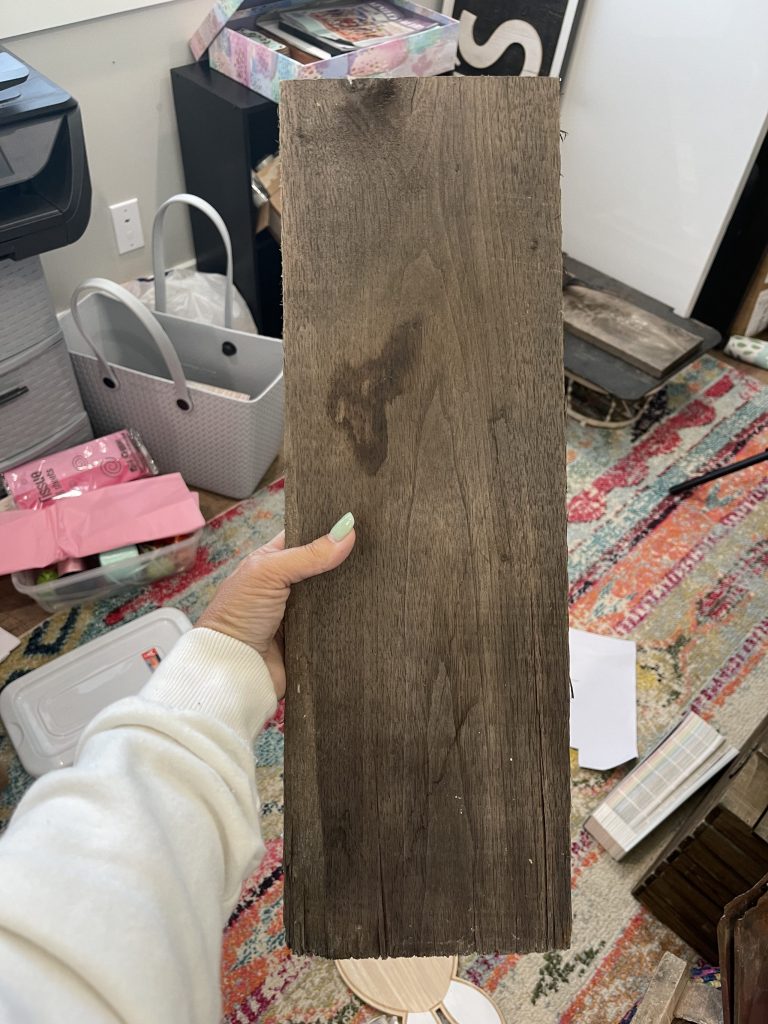
So, as you can see, not much involved with this project!
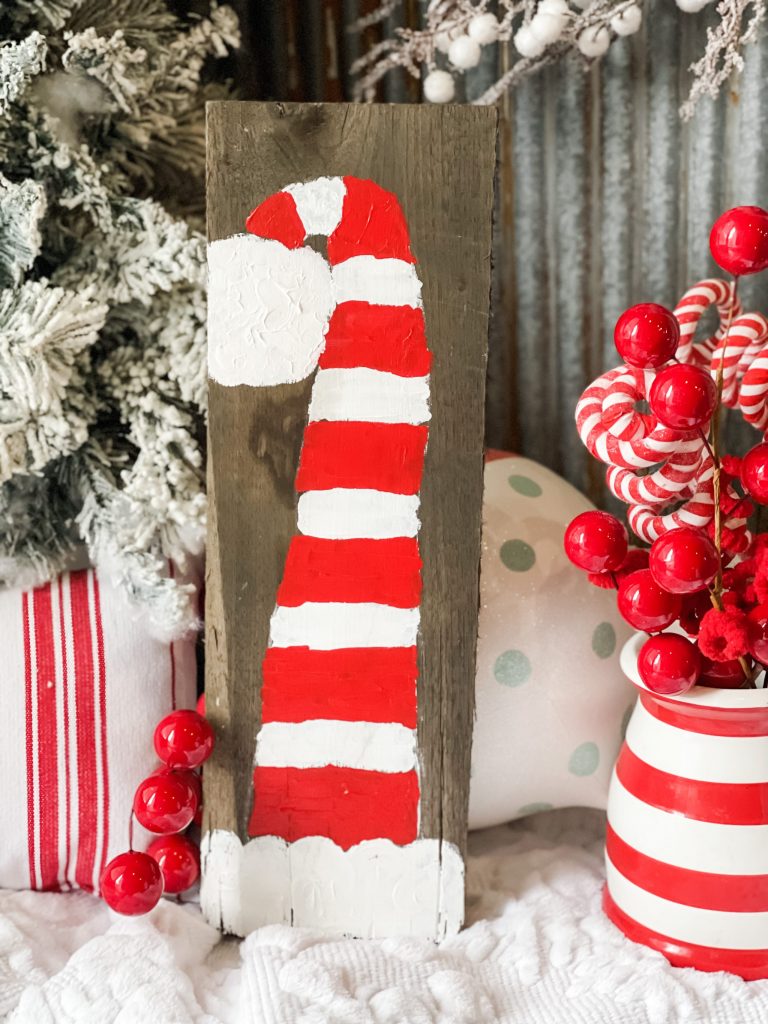
My scrap wood was rectangular shaped, so I loved the idea of a tall, striped, whimsy Santa hat! You know I love things that aren’t totally “traditional”, so this was right up my alley!
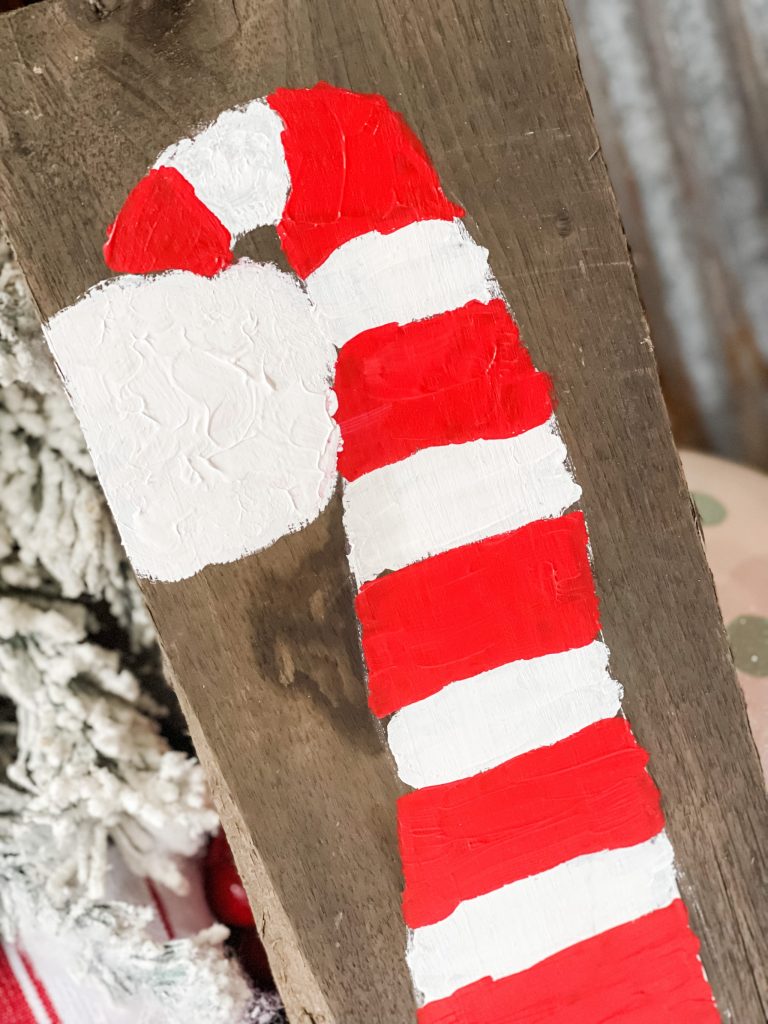
I started by taking a thin paint brush and outlining a hat in the general shape that I wanted. It wasn’t perfect, and it wasn’t solid either. I simply barely outlined so I had something to go by.
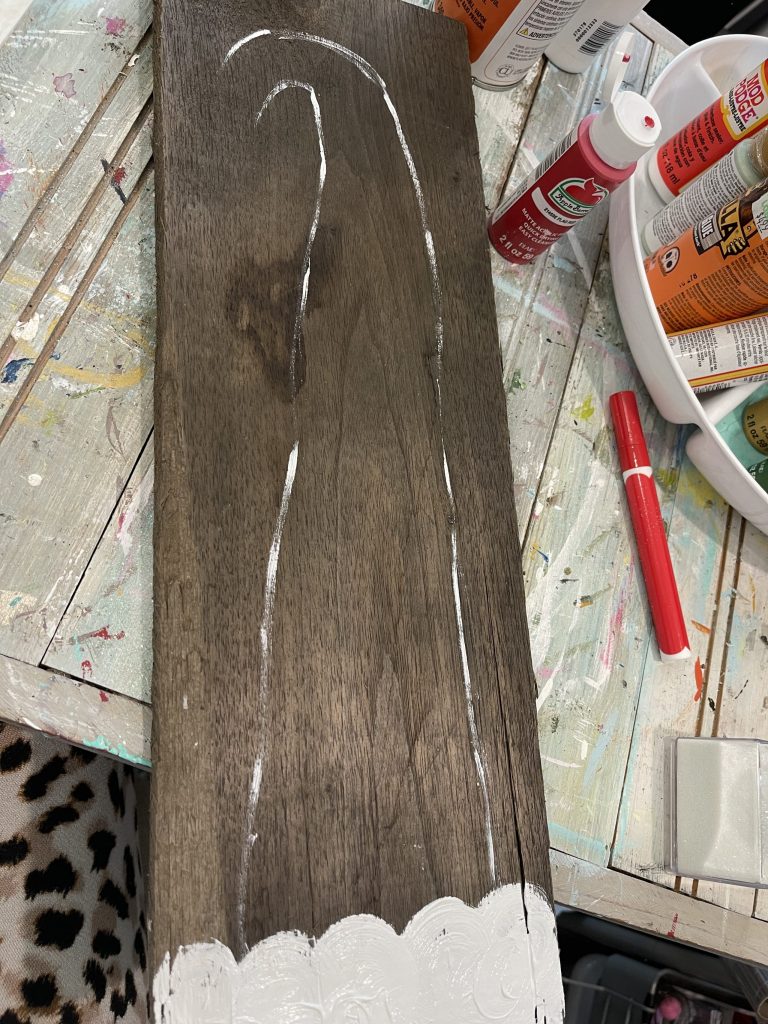
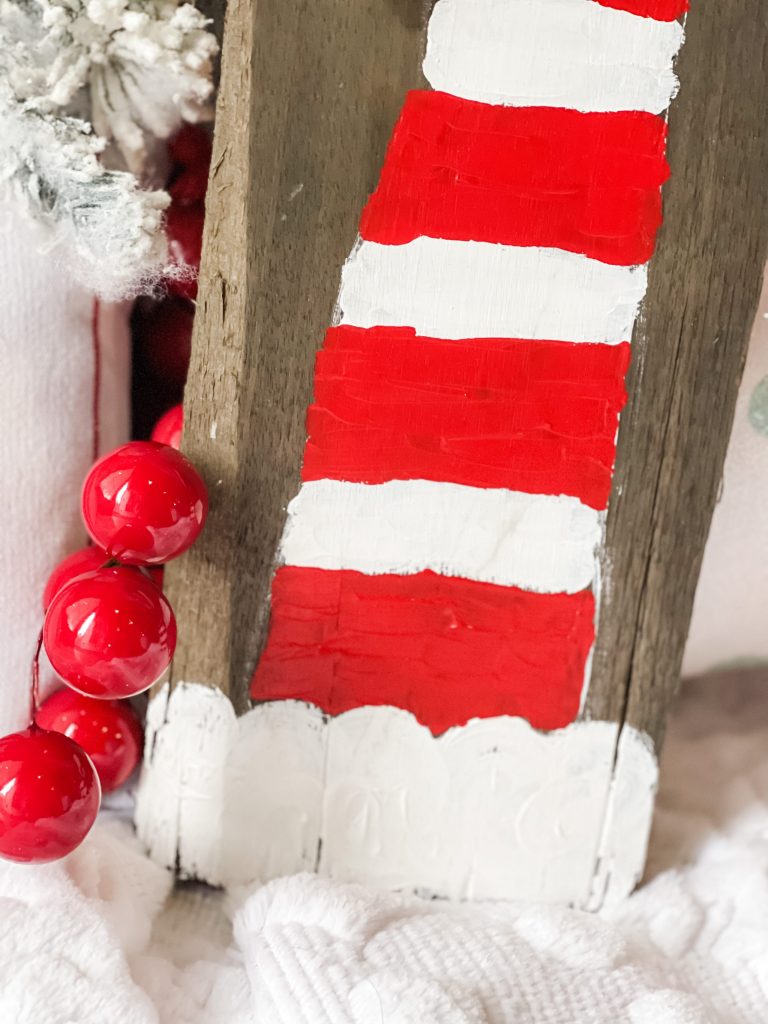
After that, I started at the bottom and worked my way up. I just started moving my paint brush in circular motions to make the bottom fluffy part of the hat!
Tip. If you do not have any of the liquitex or other THICK acrylic paint, you just need to add gel medium to your regular acrylic to thicken it up!
After that, I literally just took white paint and made thick stripes! I left room in between for my red stripes, because I knew red would cover white easier than white would cover red for when they overlapped. I made sure they didn’t look “perfect” so that it had more of that whimsy vibe.
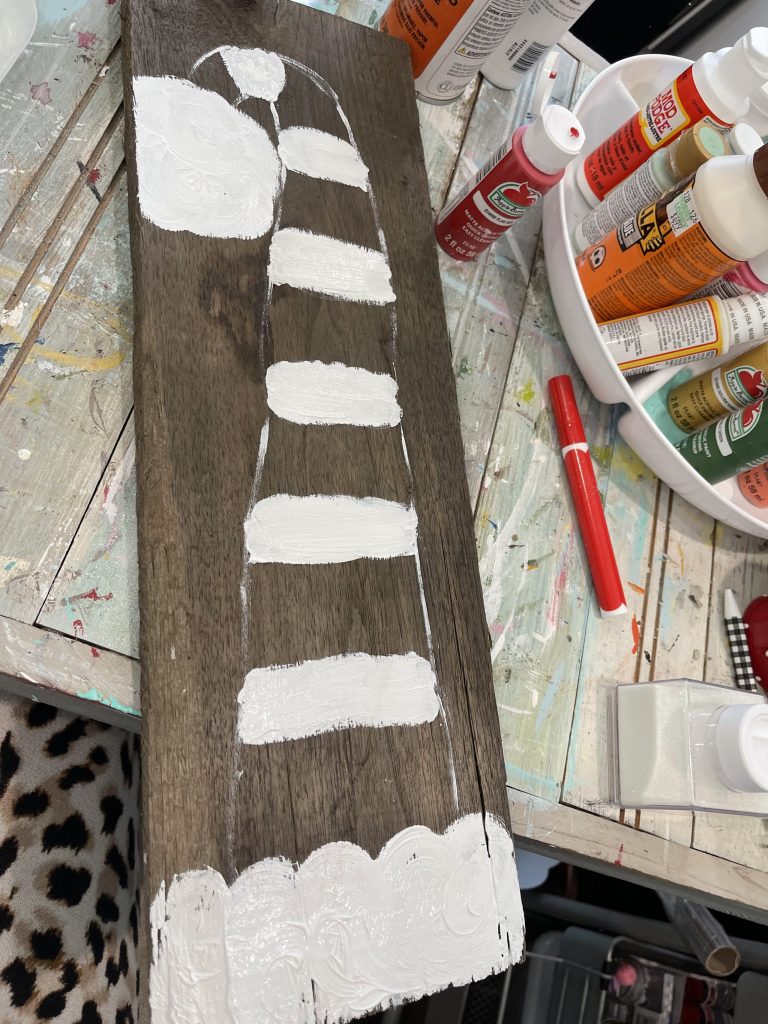

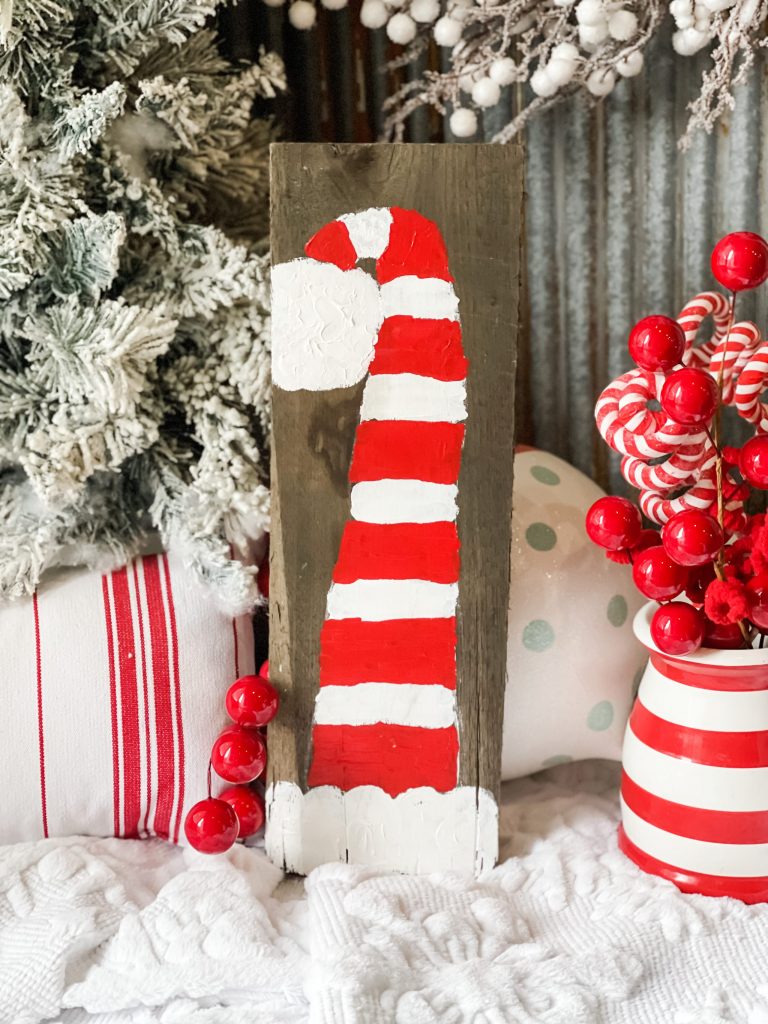
The hat got skinnier towards the top and them folded over so that the pom pom could really be the focal point! I used lots of white paint so that it stood out. (The red looks darker here than it really is)
How cute and FUN did this turn out?? What a fun holiday sign to sit around or hang on the wall (just add a saw tooth hanger on the back or staple some twine!)
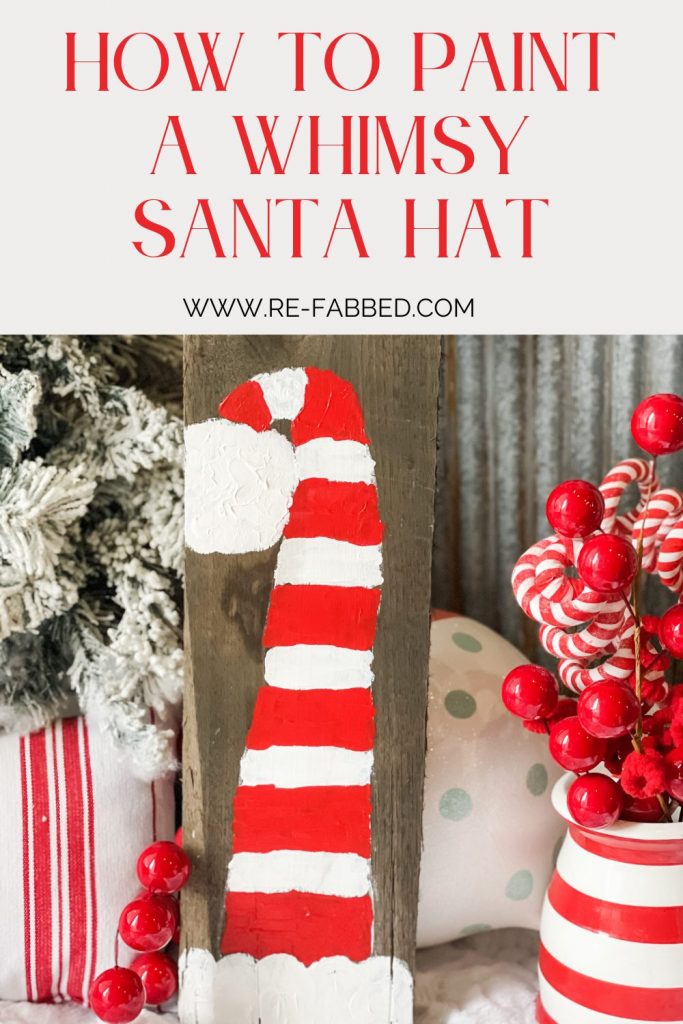
Hope you enjoyed this fun and festive Santa hat! Be sure to PIN FOR LATER!
Last Updated on July 17, 2022

Love this! I like to paint and relax too.
Oh my goodness, I think I could do this !! Thanks Brooke
Adorable
I got to make me one,love it!
I love this! Easy to follow instructions as well. This made me think of a possible Cat In The Hat Christmas Theme for the kiddos! ????
I love this whimsy Santa Claus Hat!!
I love it & I think I have the perfect board for this.