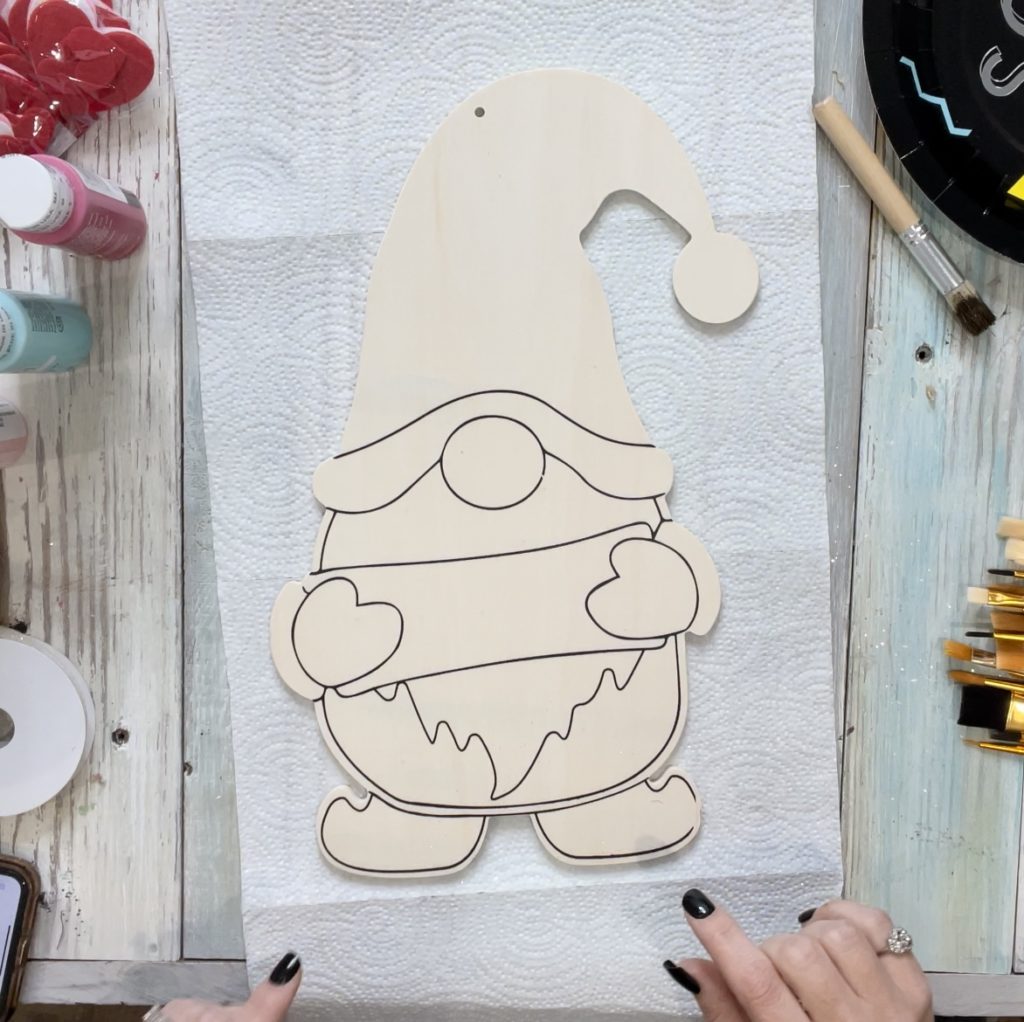
I’m not sure if you were aware… but I am TOTALLY OBSESSED with gnomes. Doesn’t matter the shape, size, color, etc… I don’t discriminate!!!
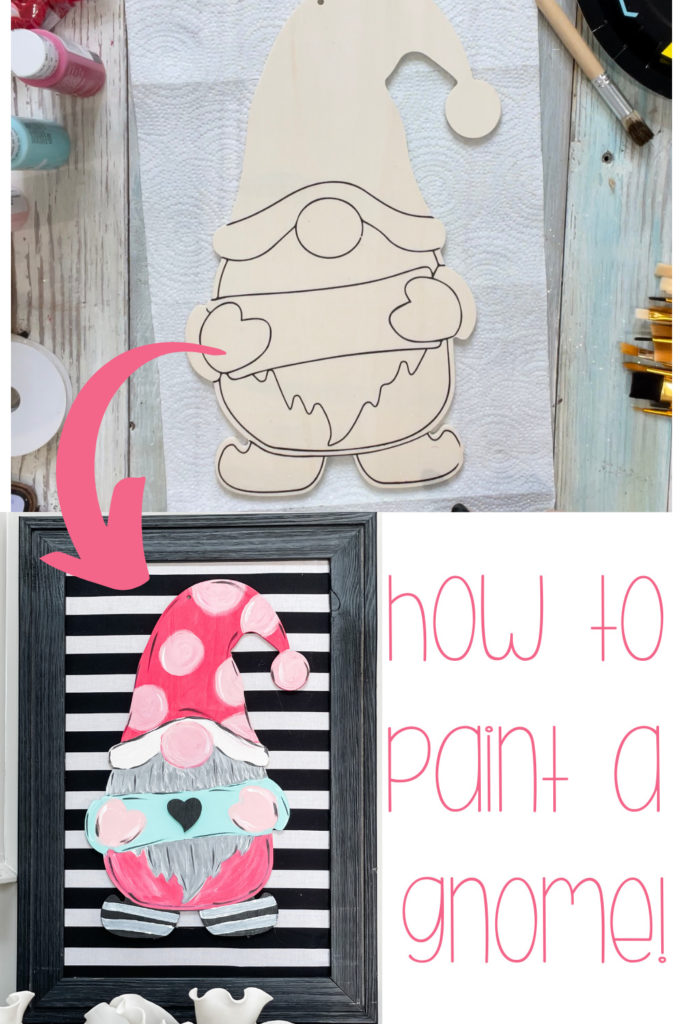
I originally found my cutout at Hobby Lobby, but unfortunately they are sold out! Of course I wanted y’all to be able to paint one for yourself, so my good friend Tamara with Southern A-Door-Nments Decor is hooking y’all up with a pretty close replica that you can purchase!!! Just click HERE to get yours!!!!
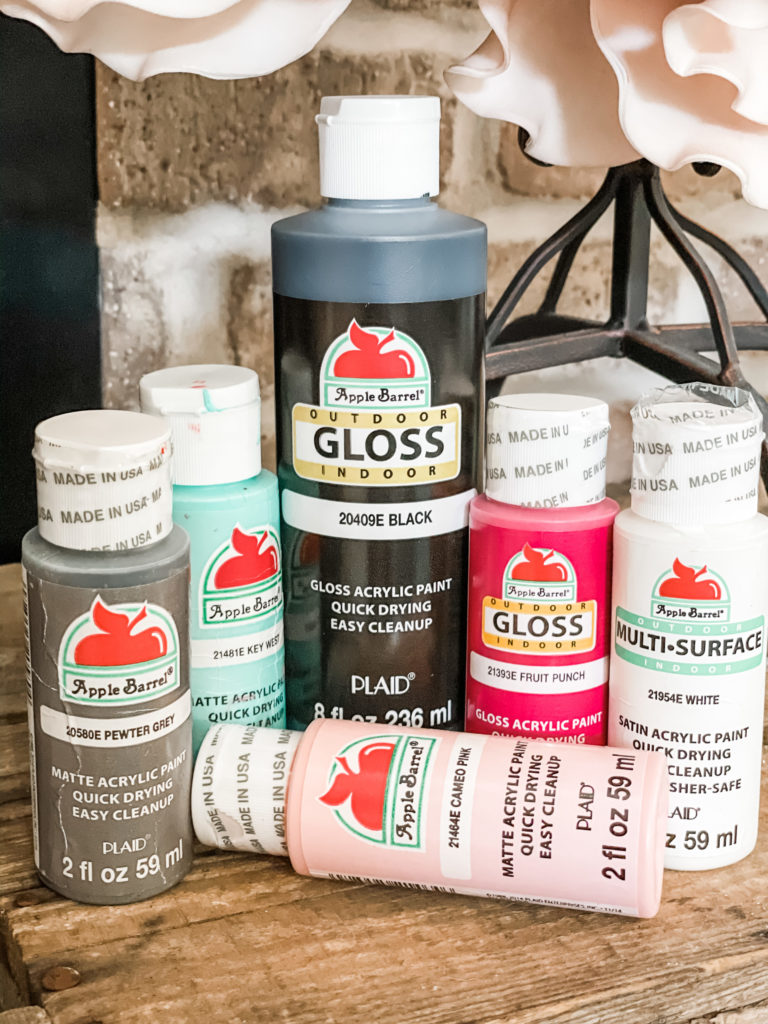
You’re gonna need a few different paints! I LOVE using Apple Barrel paints, because they are so cheap and the quality is AMAZING!
Colors you’ll need:
- pewter grey
- key west
- black
- white
- cameo pink
- fruit punch
This is optional, but I also used a little wooden heart sticker from Dollar Tree at the end!
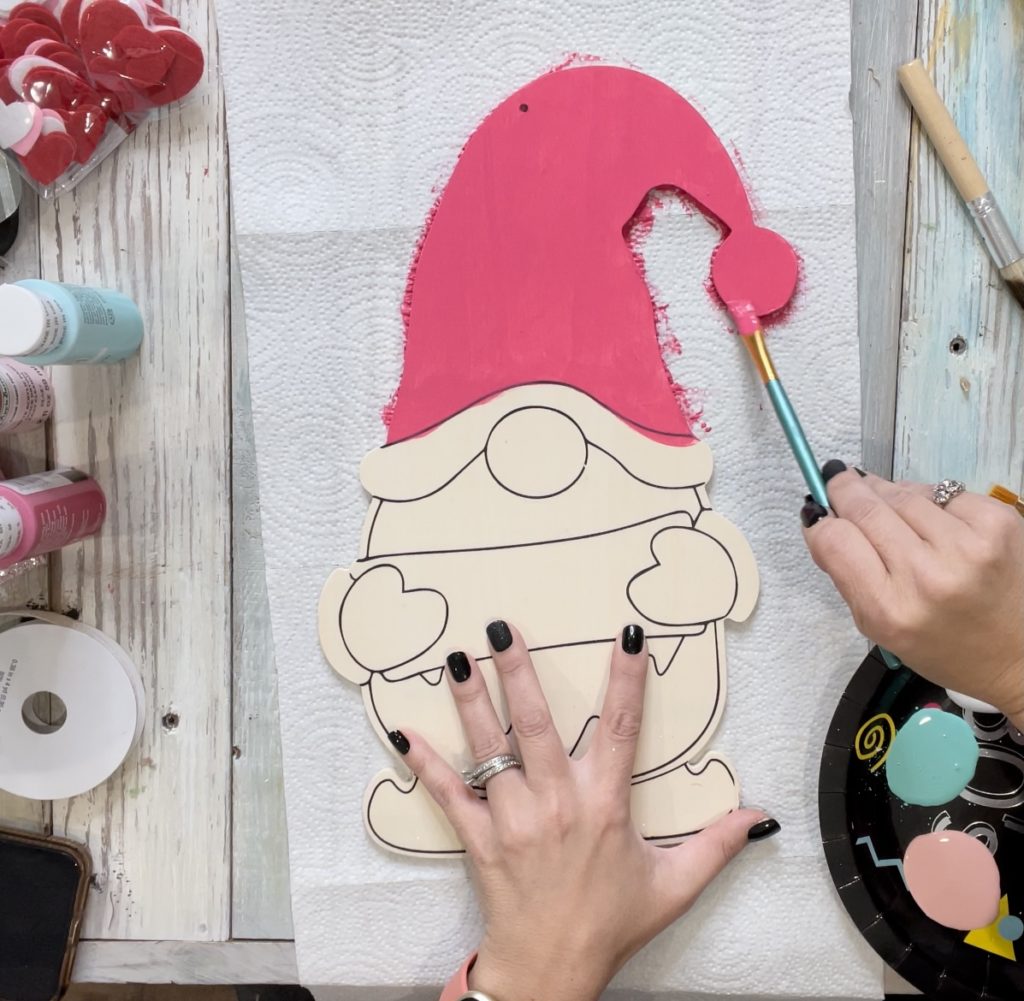
Step 1: paint “fruit punch” onto the hat
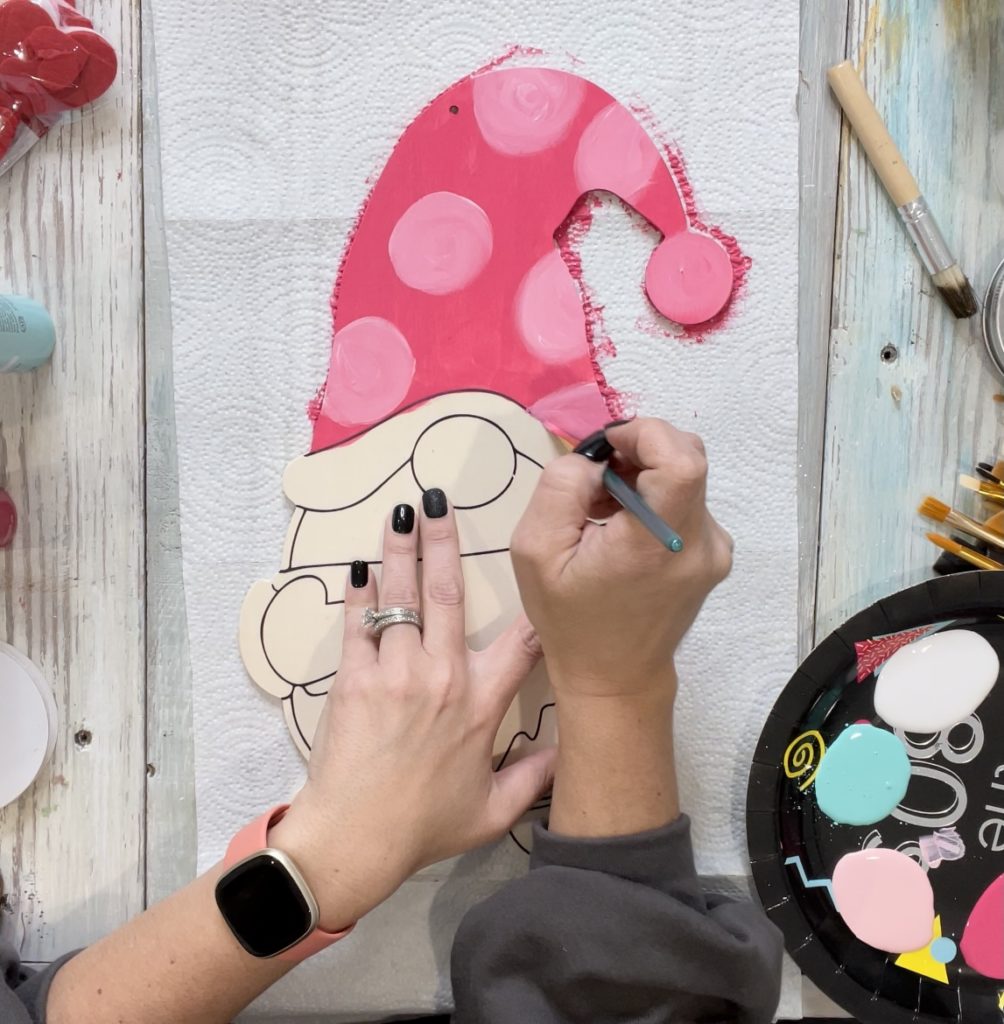
Step 2: While the hat is still wet, paint on your polka dots with cameo pink.
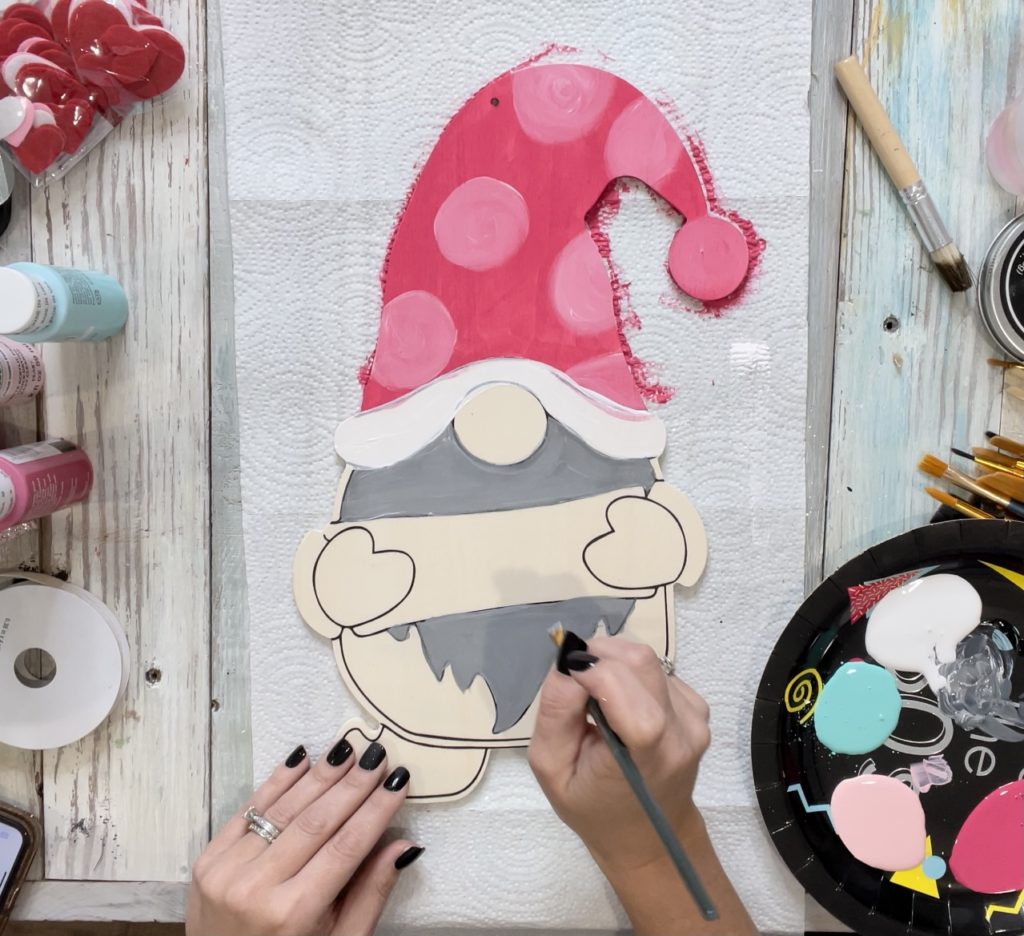
Step 3: paint the brim white, and the beard with pewter grey.
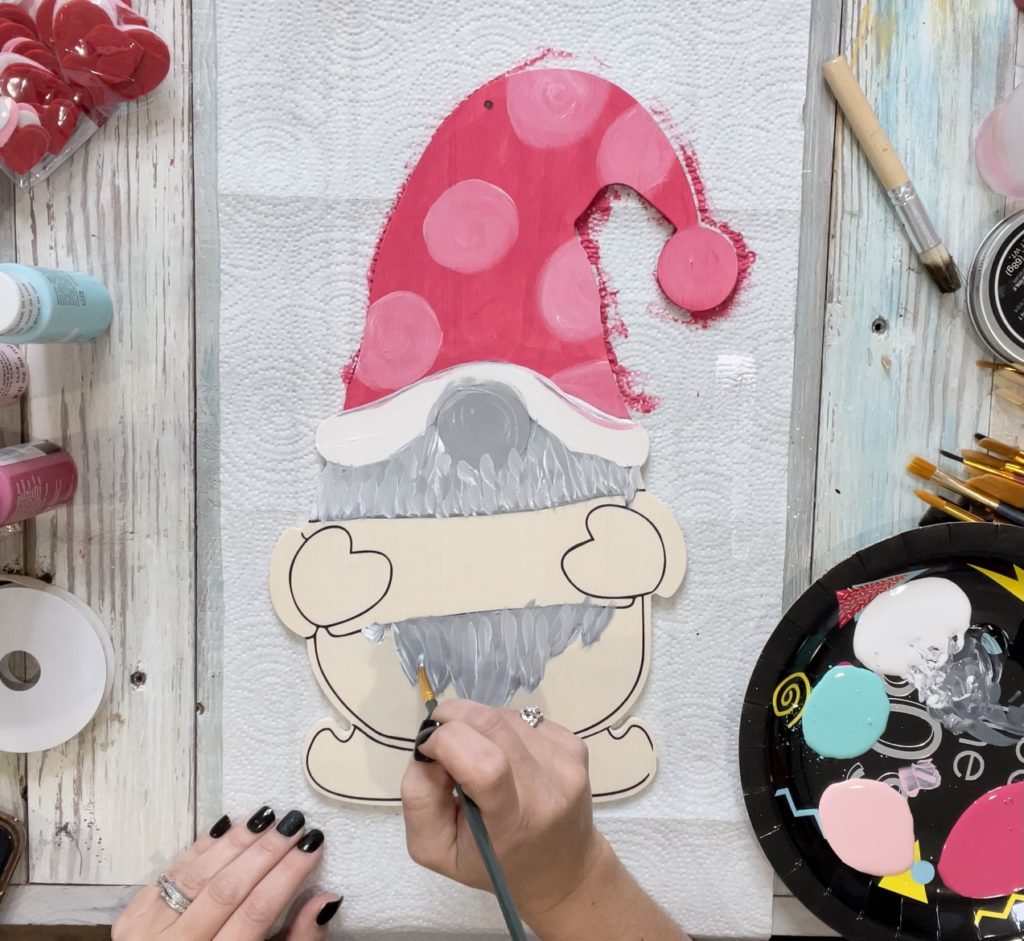
Step 4: Let’s add some texture to the beard!! While the beard was still wet, I made hair-like strokes with white paint over the grey. I wanted it to look “streaky” to resemble hair!
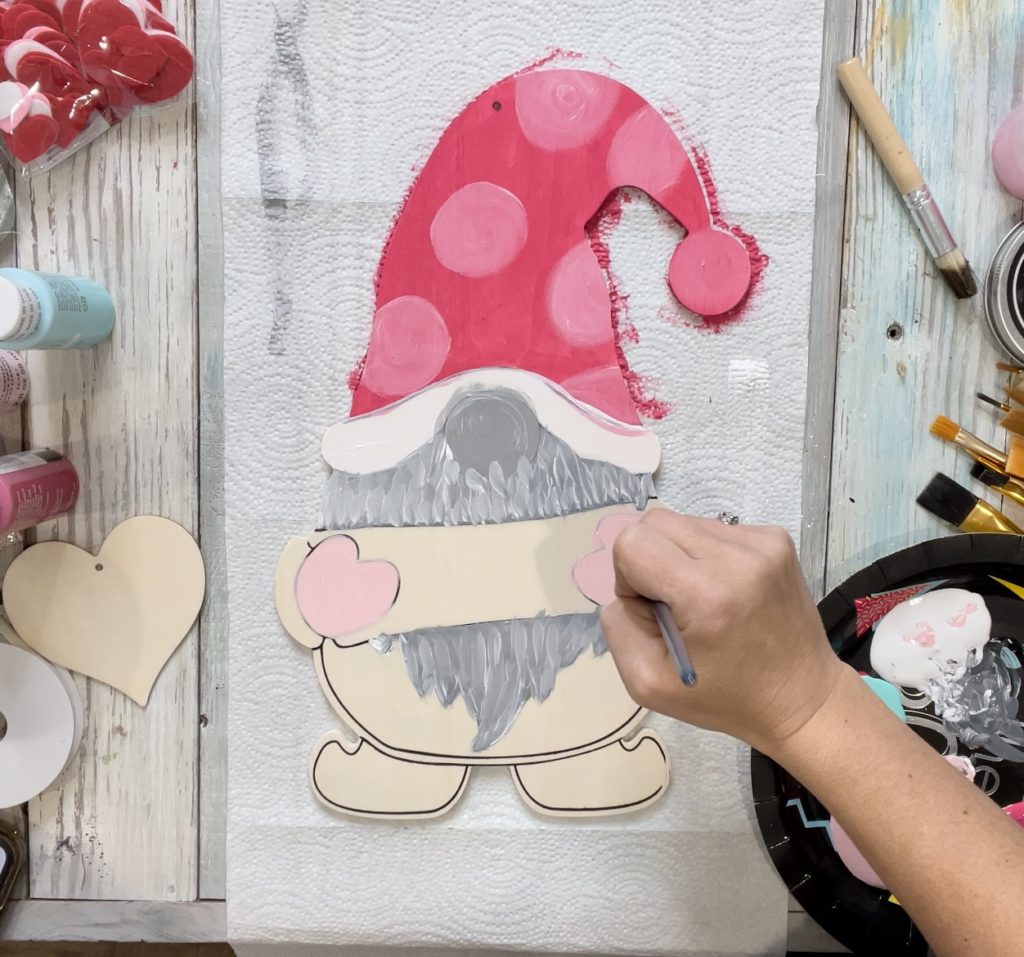
Step 5: paint his mittens with cameo pink.
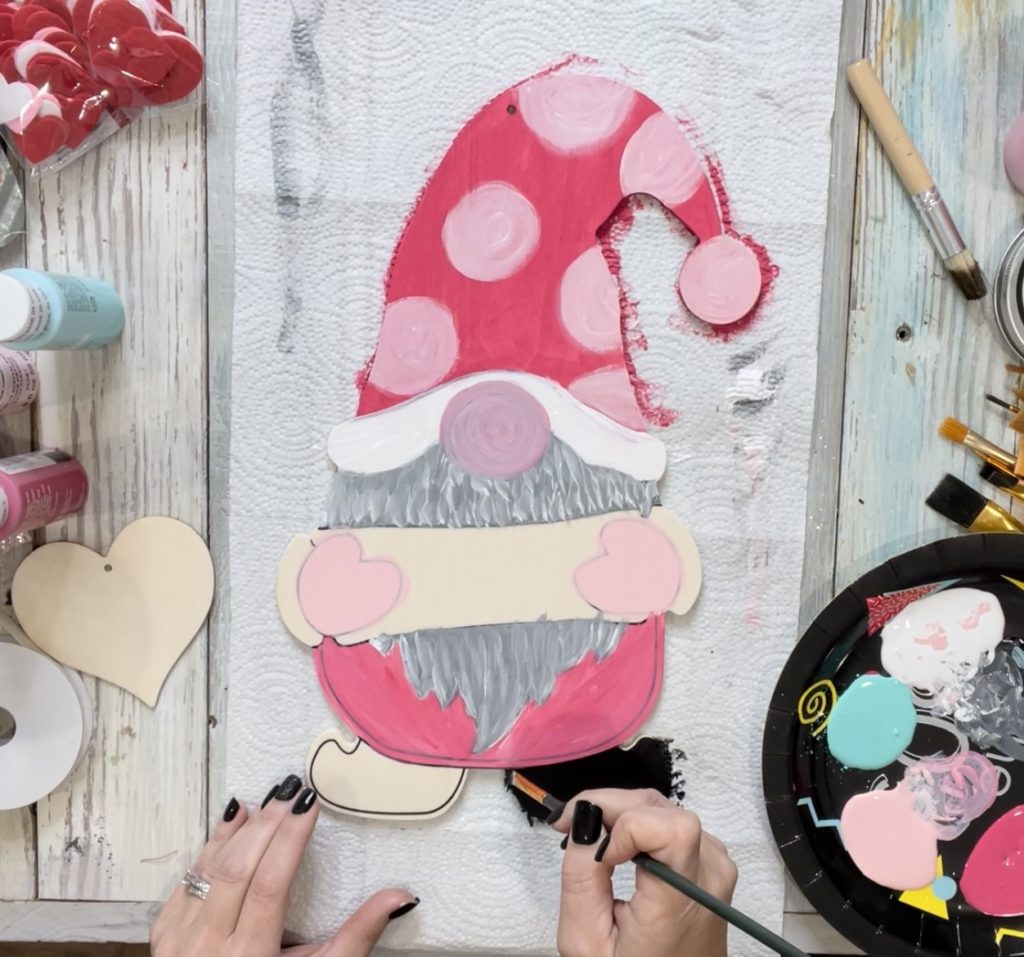
Step 6: Unfortunately, my camera decided to cut out while this part was happening… but, simply painted the bottom of the gnome with fruit punch, added another layer of cameo pink (mixed with some white) onto the polka dots, and added that same color onto the nose. Then, I began painting the feet black!
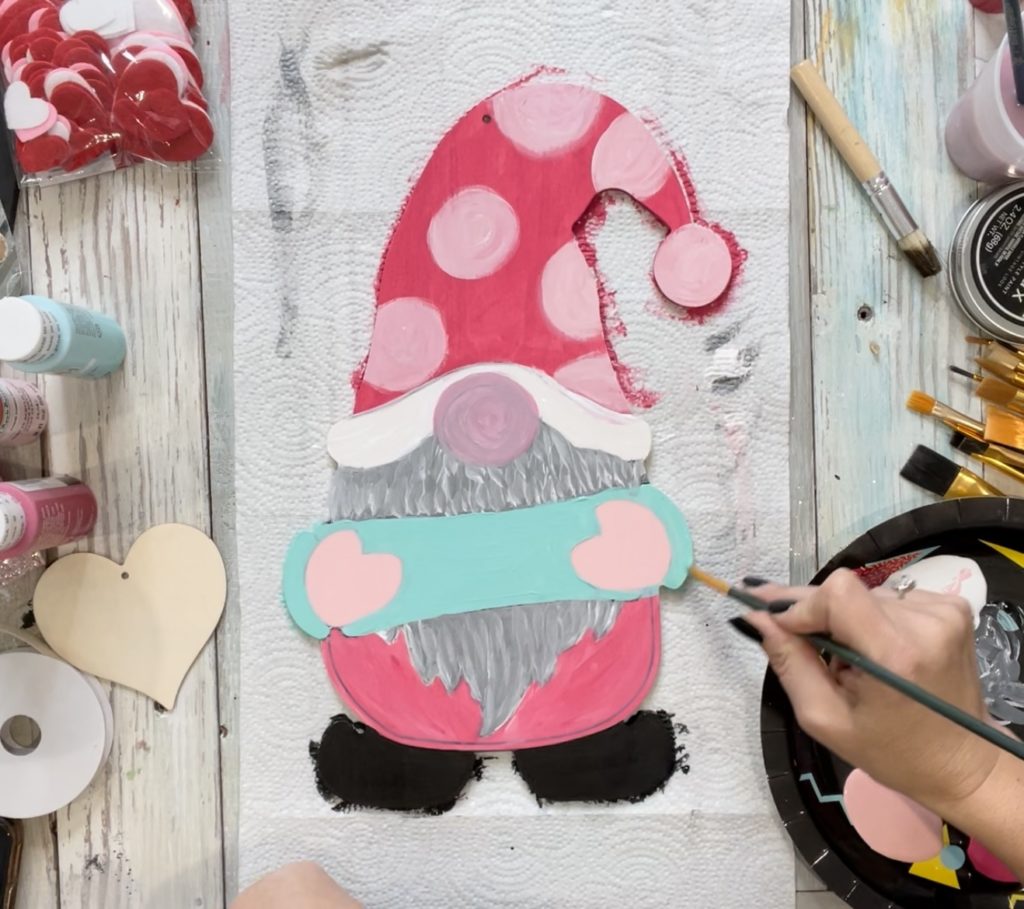
Step 7: After I painted both feet, I painted the sign he’s holding with key west.
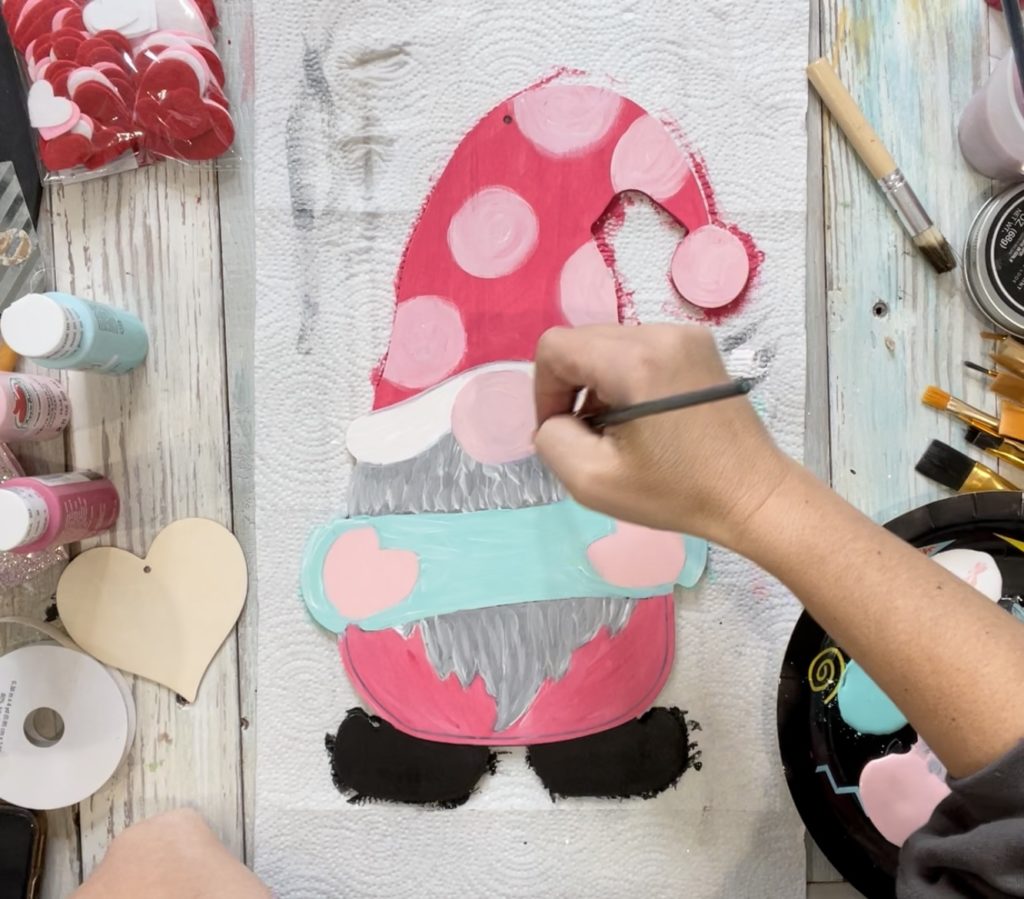
Step 8: I added another layer of cameo pink to the nose, just because I wanted it to be a bit brighter!
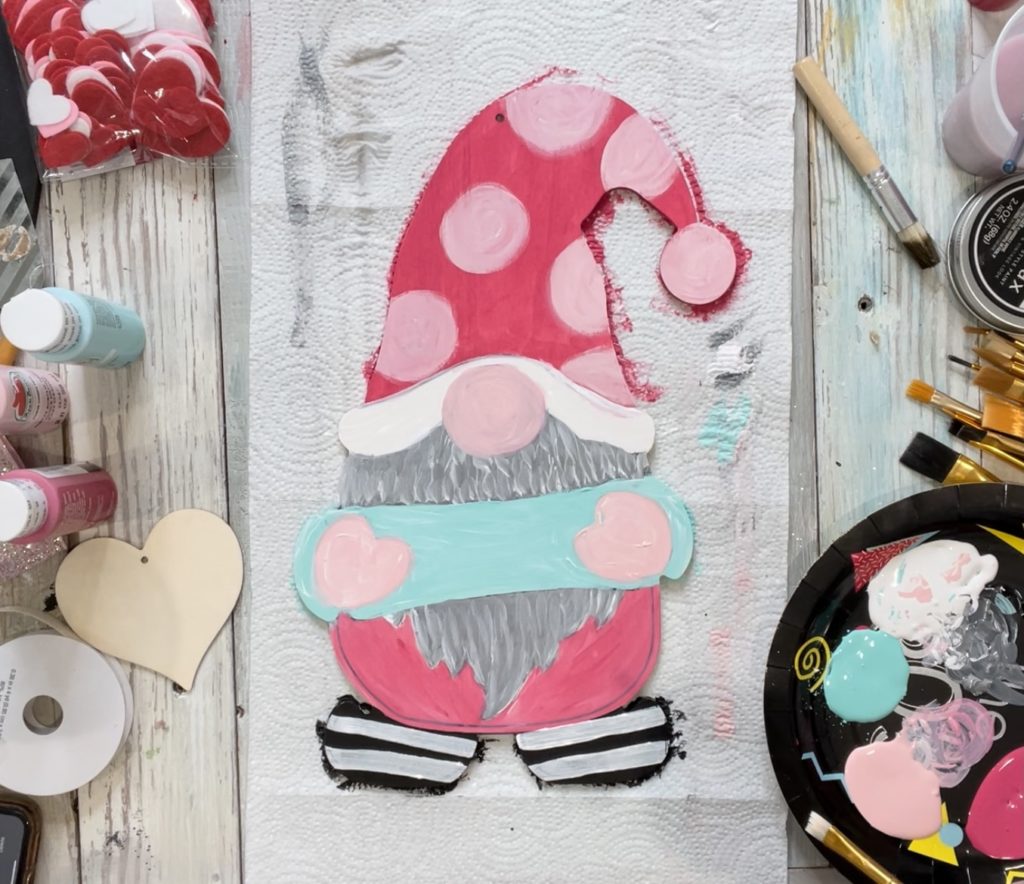
Step 9: just for a little extra fun, I painted white stripes over his feet!
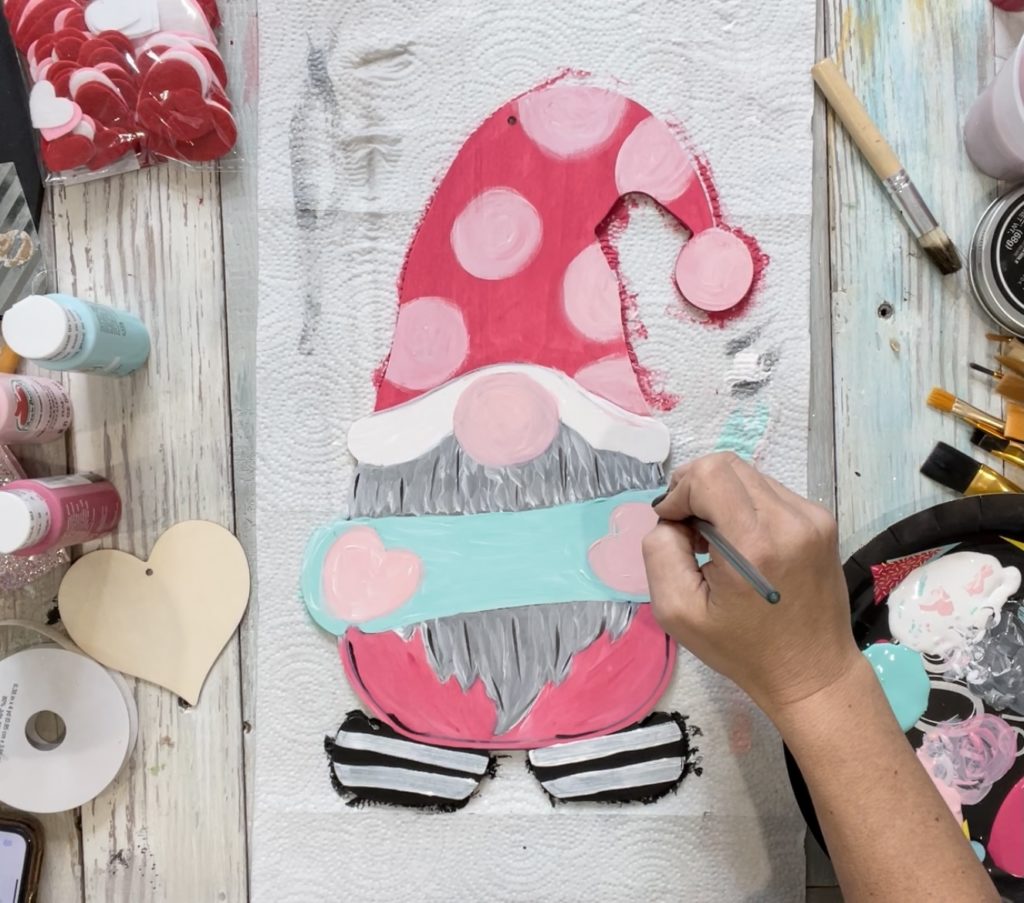
Step 10: this is where the magic happens… highlighting!!! First, I BARELY took some black paint, and sweeped it over his beard. I also added black around the edges of his bottom!
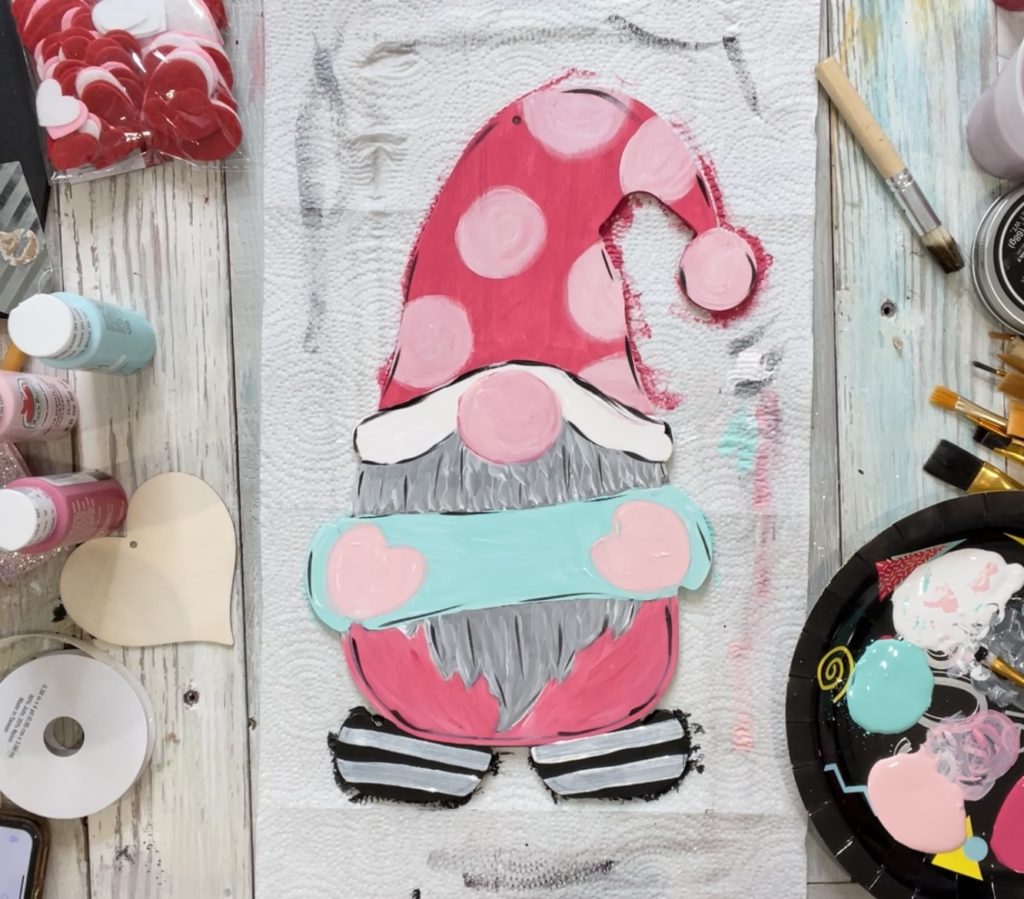
After that’s done, I went around his hat and brim!
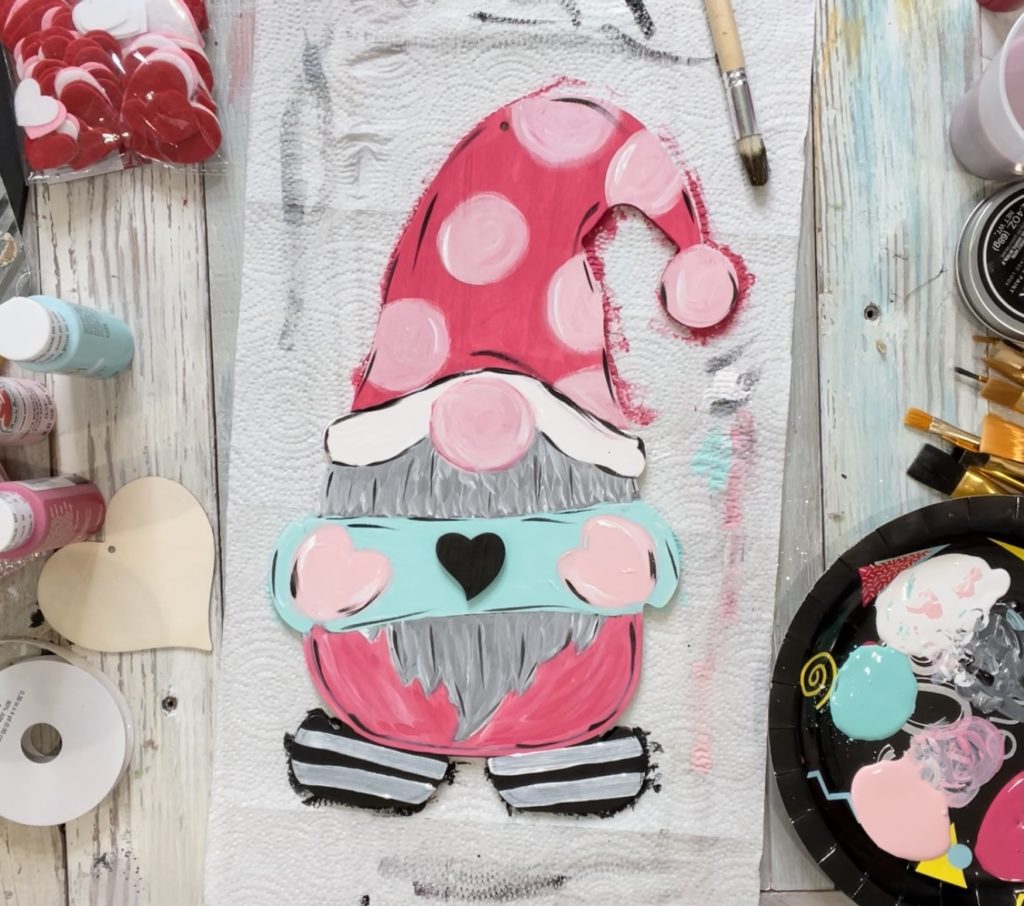
Step 11: I added this little wooden heart sticker from Dollar Tree right in the center. I thought it was a good addition! (Note: the sticker came unfinished, so I painted it black!)
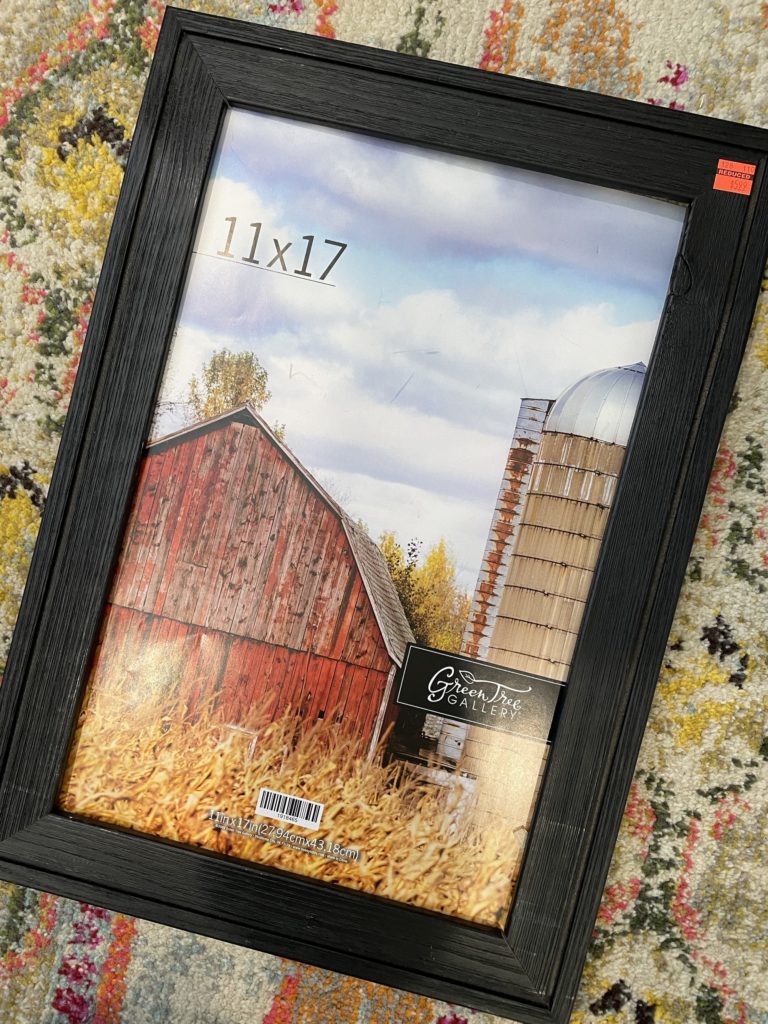
This is totally optional, but I decided to FRAME my gnome! I found this good lookin’ frame from Hobby Lobby on clearance for $5.99. There is NO glass in it!
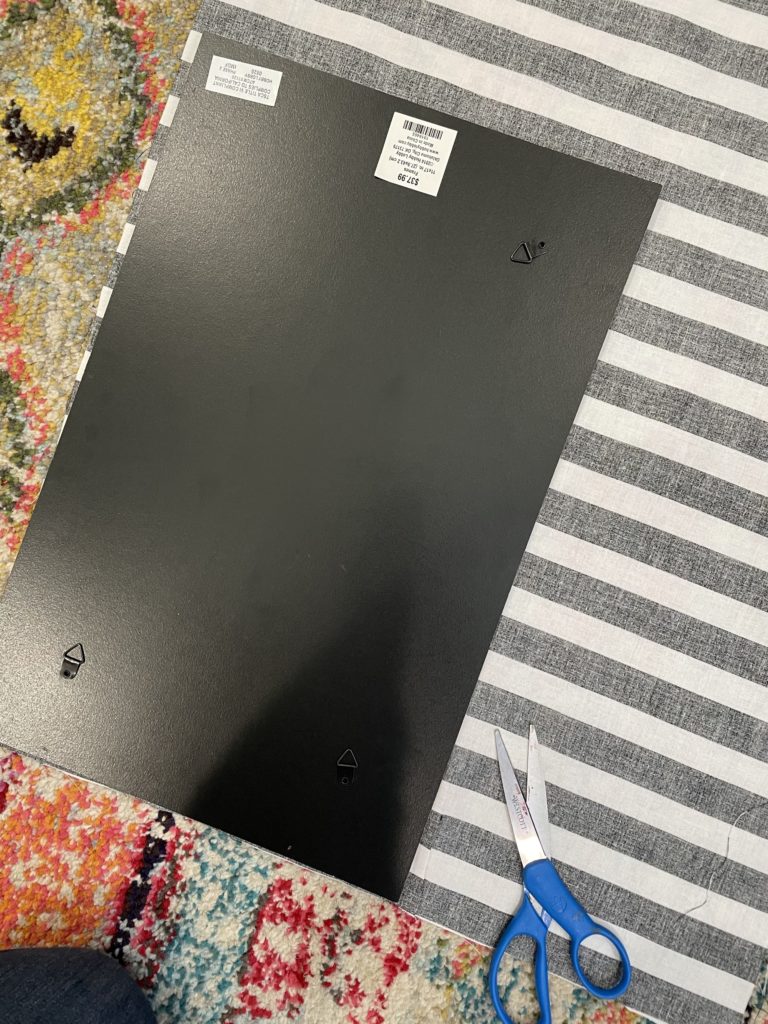
To fill most of the frame, I decided to cover the cardboard backing that came with the frame with black and white stripe fabric! Go ahead and cut your fabric to fit your cardboard.
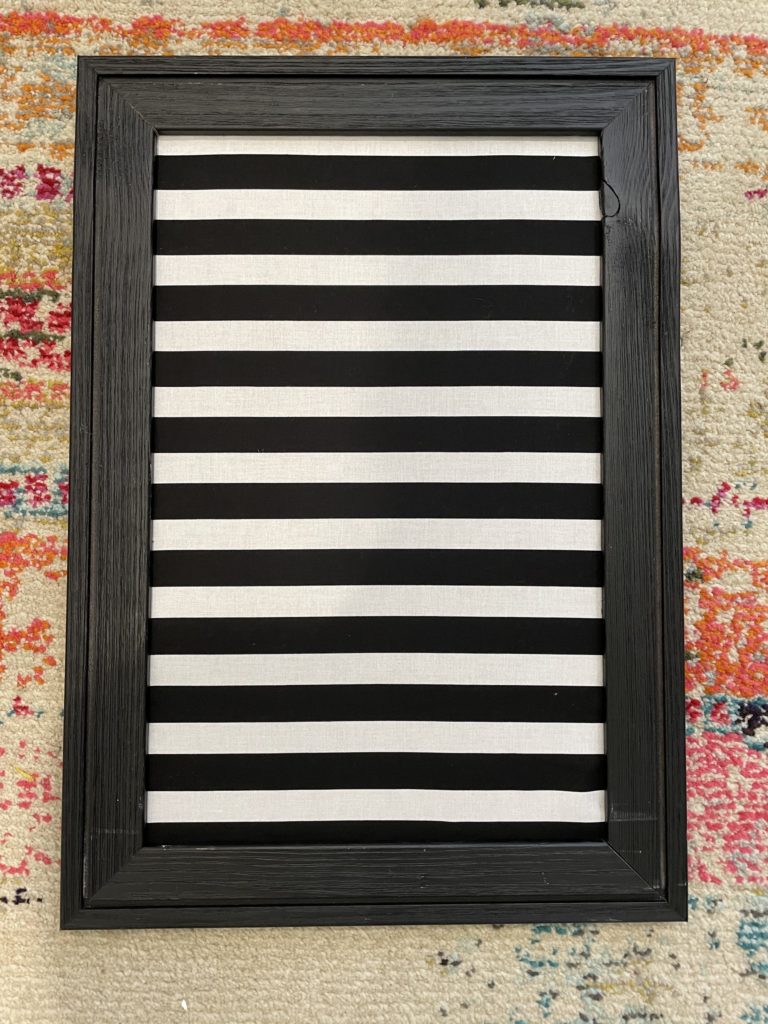
Hot glue your fabric to the backing, then stick it back in the frame! Hot glue your gnome right on top… and you’re DONE!!!!
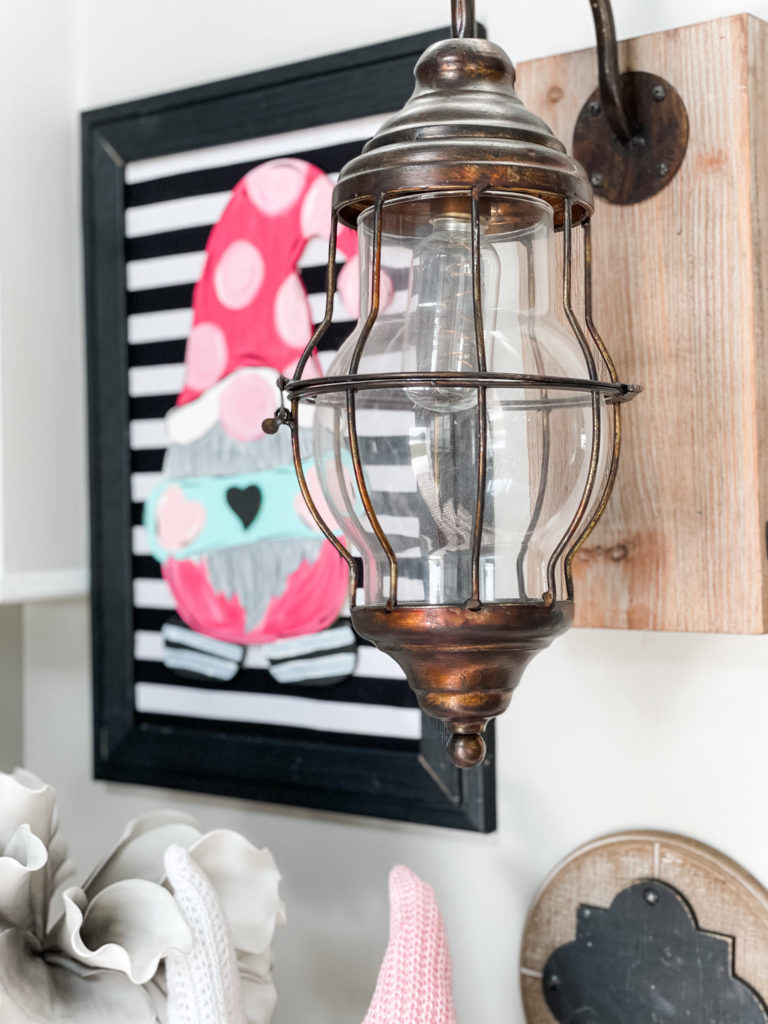
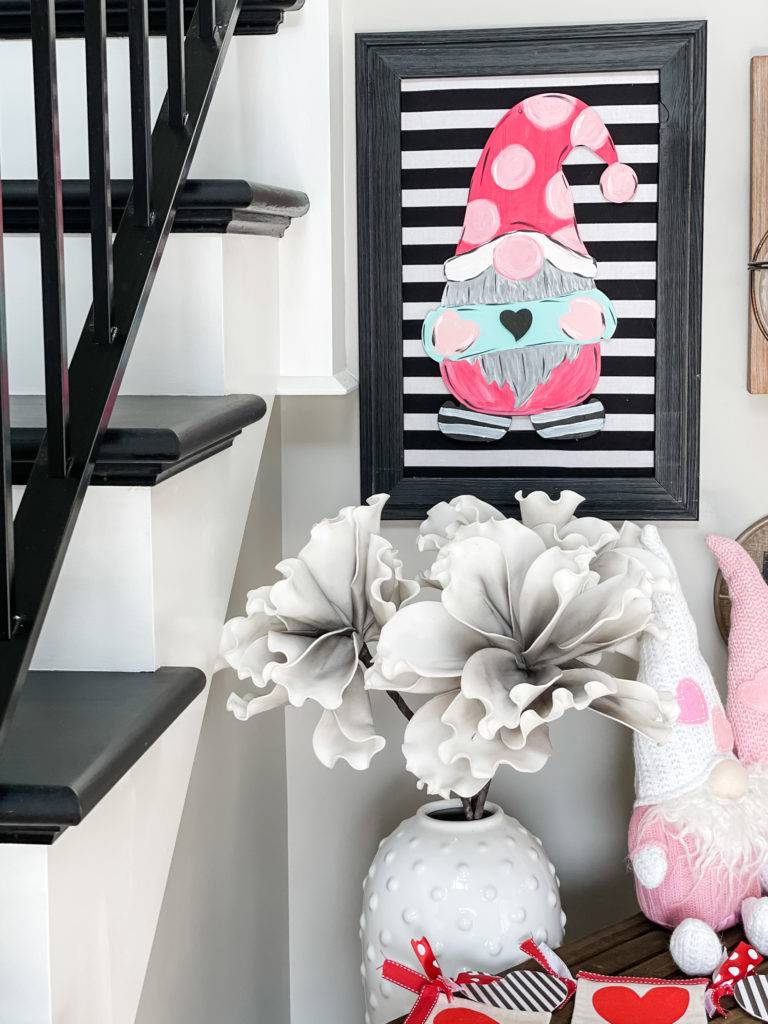
IS THIS NOT THE CUTEST THING EVER?!?!?!?!
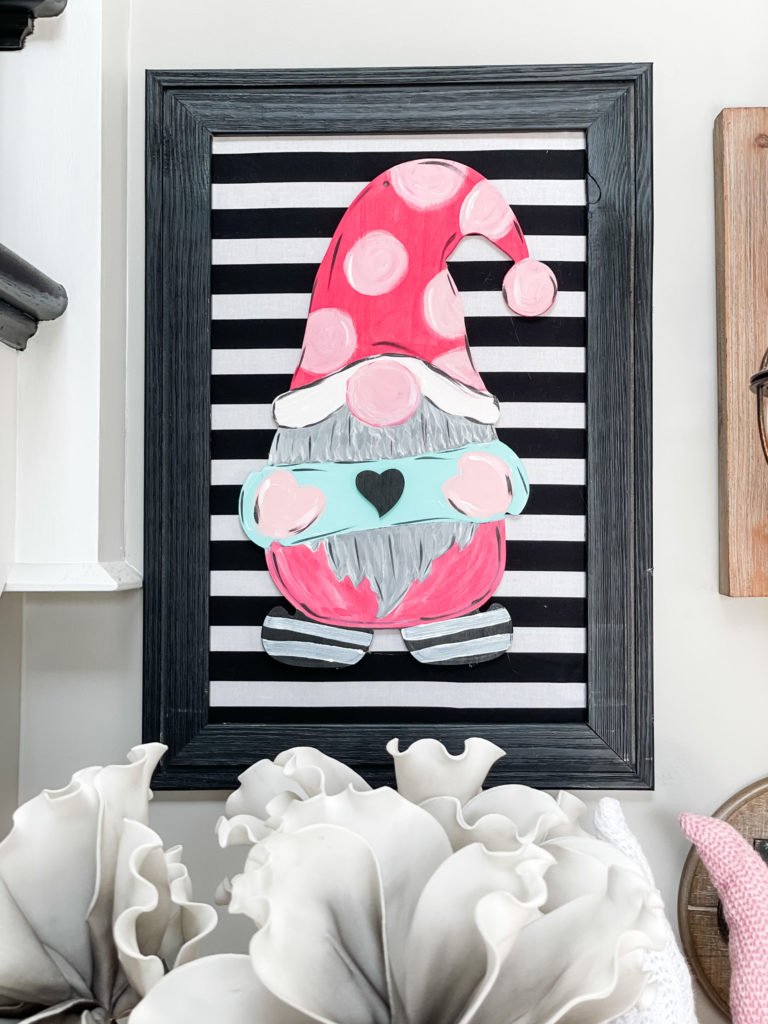
You absolutely do not have to frame it… but I loved the look of it! You could make this for a wreath attachment, to stick in a tree, hang on your door… SO MANY WAYS!!!
Remember that you can purchase your own gnome cut out right HERE!
MAKE SURE TO PIN ON PINTEREST!

Last Updated on January 13, 2021




This is so stinkin cute! Love it😍
I would live to paint a snome but i have covid right now love yours. Thanks for sharing especially loved that you framed it.