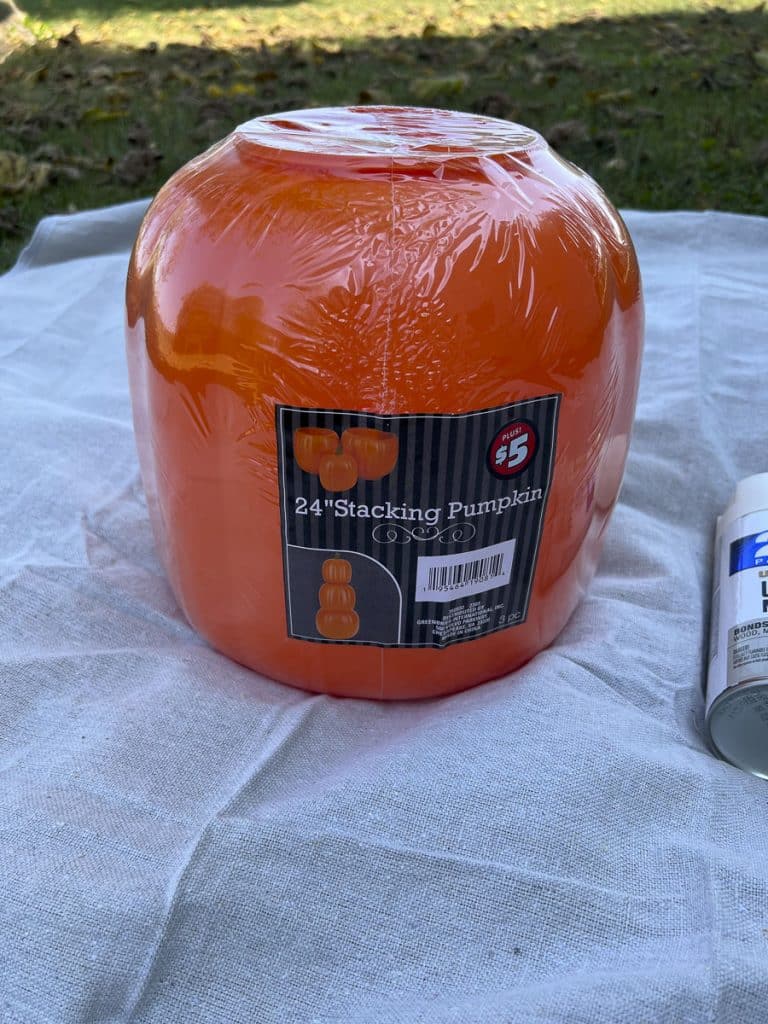
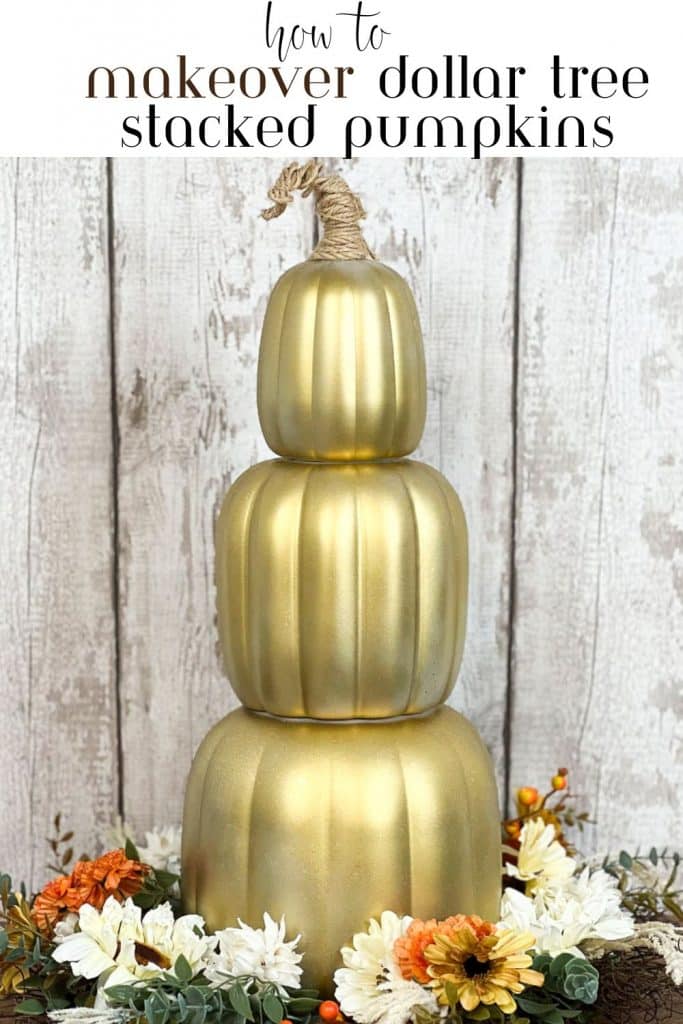
Last month, Dollar Tree started selling a stacked plastic pumpkin set, and they have gone viral! They are all over TikTok, and now I have jumped on the bandwagon to put a little spin on the pumpkins! For only $5, you can’t beat the price, but the color is definitely less than desirable! Come along as I show how to makeover the Dollar Tree stacked pumpkins!
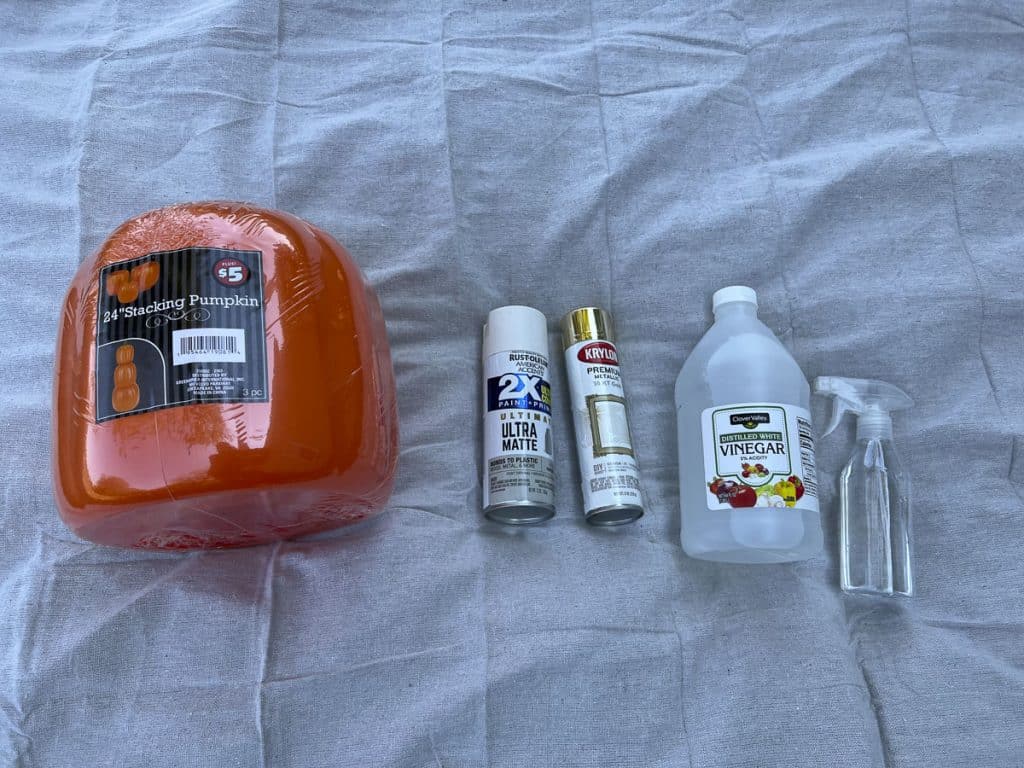
For this project, I used the following supplies:
- Dollar Tree stacked pumpkin set
- Rustoleum 2X Ultimate Ultra Matte in Sand Dollar
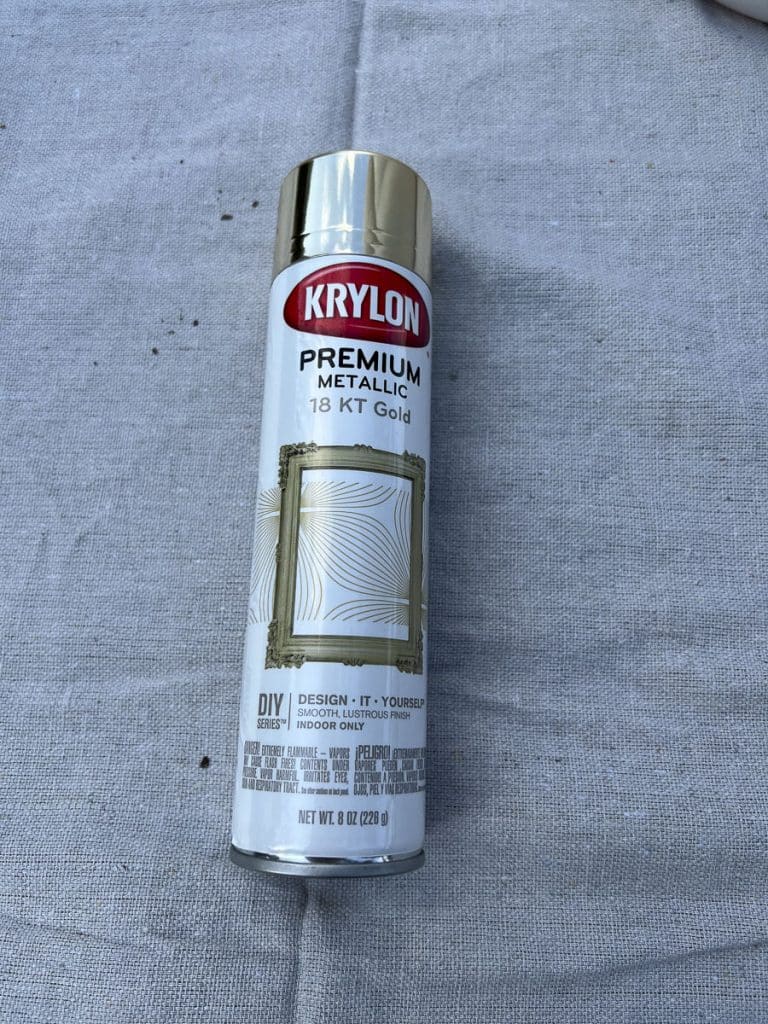
- Krylon Premium Metallic 18 KT Gold spray paint
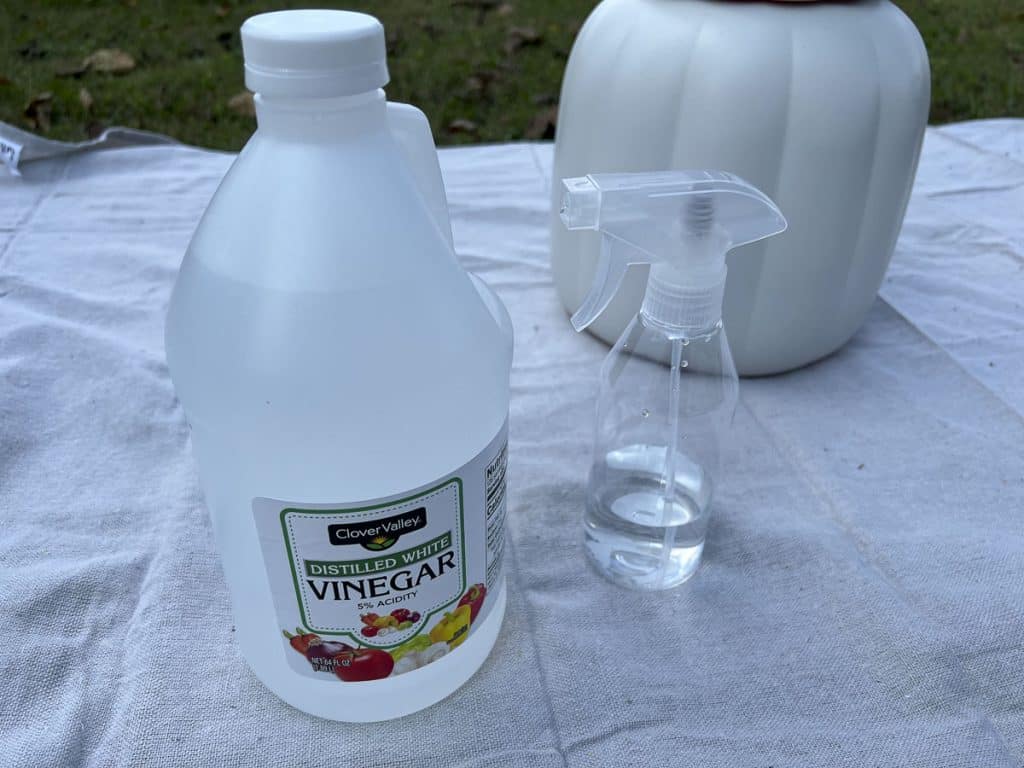
- Distilled white vinegar – 1/2 cup
- Spray bottle with 1/2 cup of water
- Several dry paper towels or dry cloth
- 1/2 yard of rope
- 1 foot of twine
- Hot glue gun
- Scissors
- Mod Podge
- Paintbrush
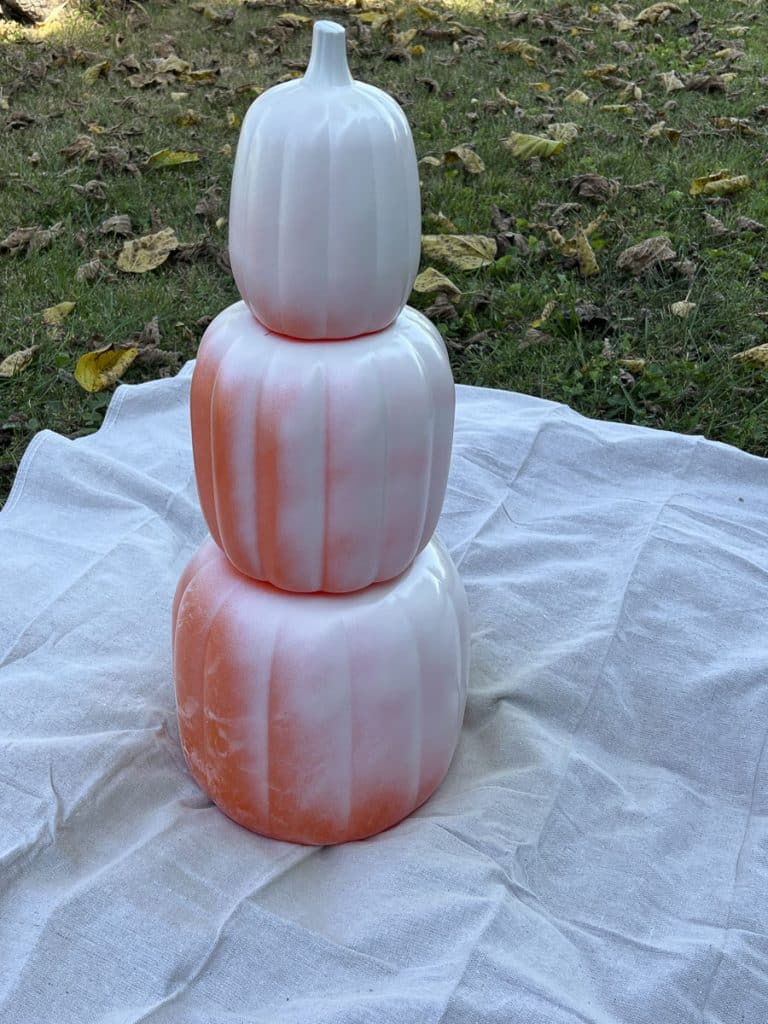
First, I assembled the stack of pumpkins. These are really great, because they click together and hold well. I figured it would be easier to spray paint while assembled, so I sprayed them with the white primer first. I wanted to completely cover the bright orange!
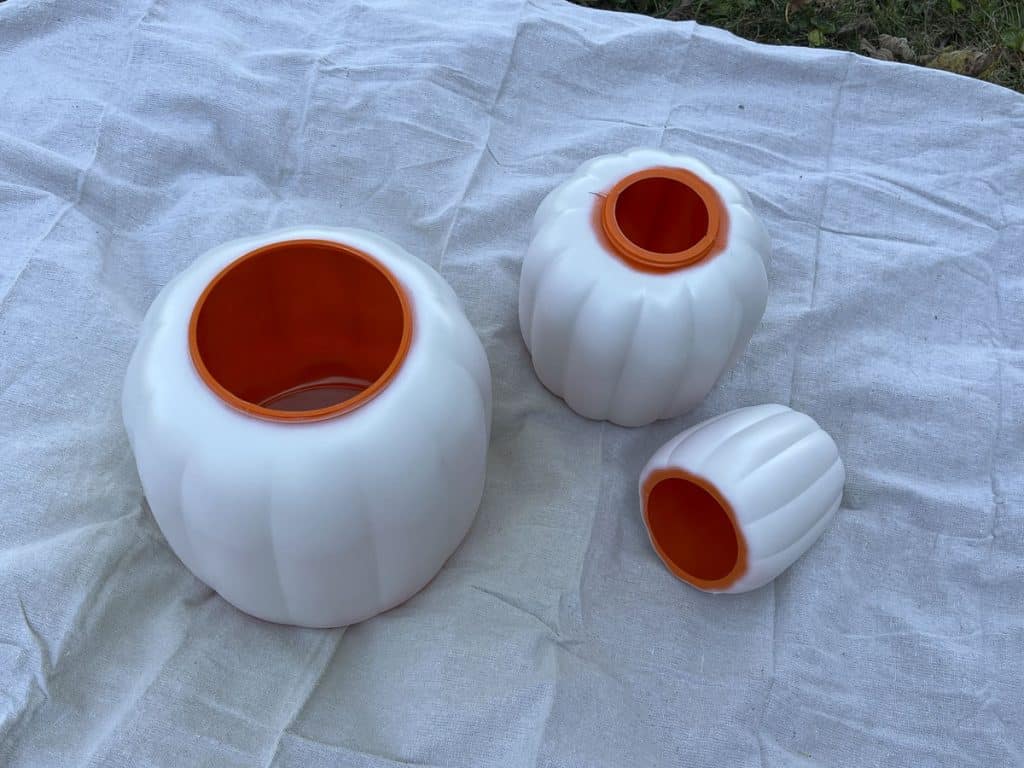
After the spray paint had dried, I separated the pumpkins so I could spray the tops and bottoms that were not fully exposed during the initial spray.
Next, I wanted to try a technique often used to create faux mercury glass…BUT, my pieces were solid and not clear, AND my spray paint was slightly different. But hey, you won’t know til you try it, so I decided to give it a go! First, I mixed water and vinegar of equal parts in a spray bottle. Make sure you turn the nozzle on the spray bottle to “spray” and not “stream.” The technique is to spray a mirrored or metallic spray paint on, then immediately spray the vinegar solution on top and let sit for a few minutes. After a few minutes, you blot the water with a paper towel to dry it.
For my metallic spray, I chose Krylon Premium Metallic 18 KT Gold. This was on major clearance at Lowe’s, so I only paid $2 for the can!
It’s best to spray in smaller sections, because you don’t want the spray paint to dry before spraying on the vinegar solution.
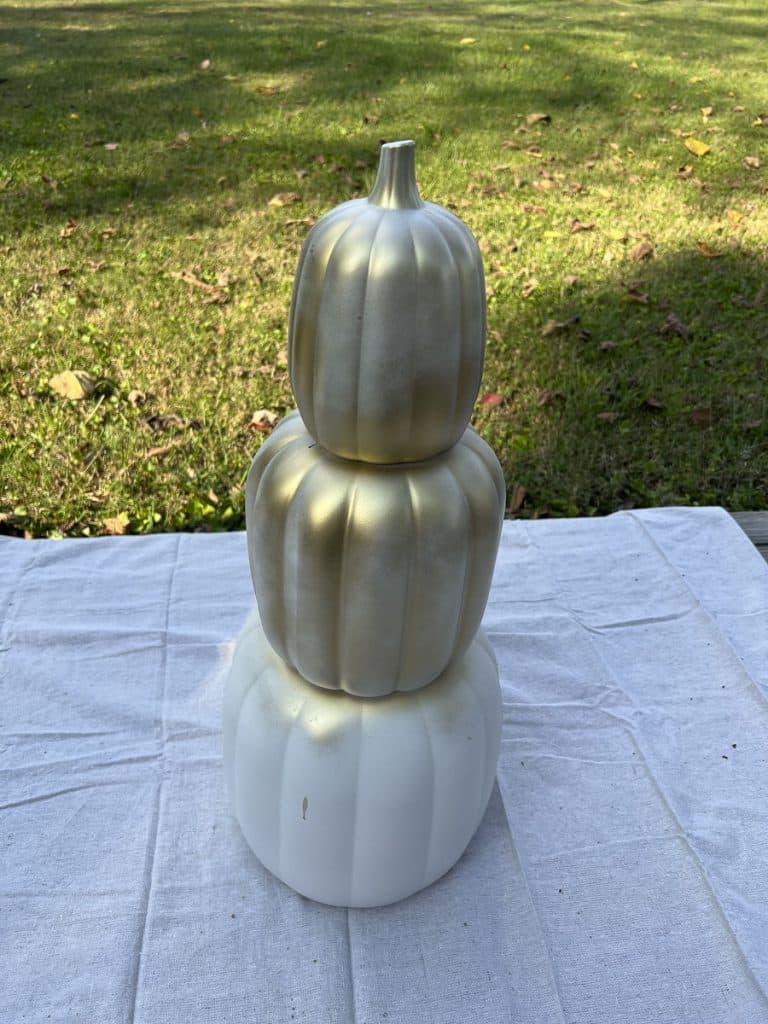
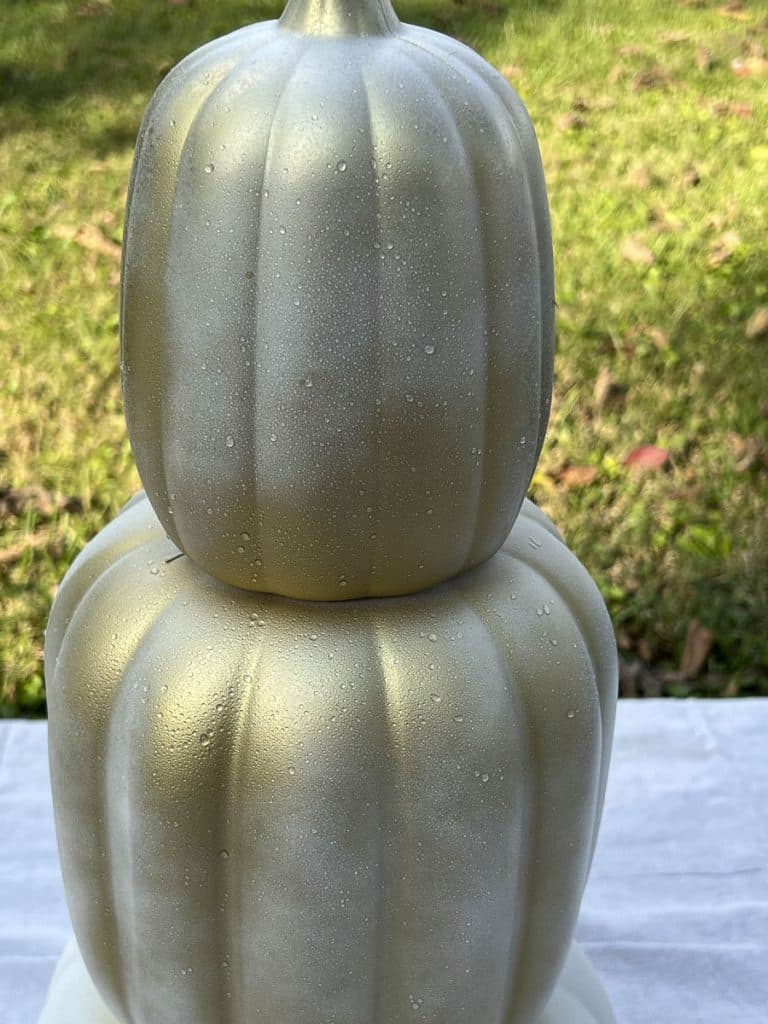
After a few minutes, I took a dry paper towel and blotted off the vinegar and water. You can scrunch up the paper towel or use a clean cloth if you prefer.
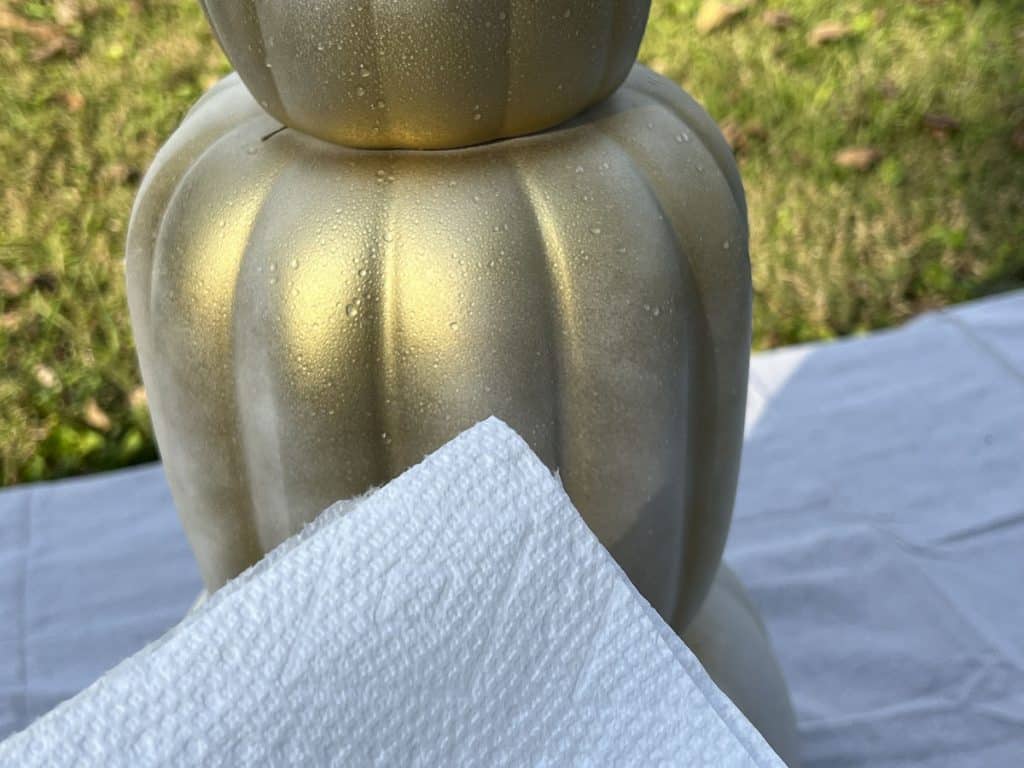
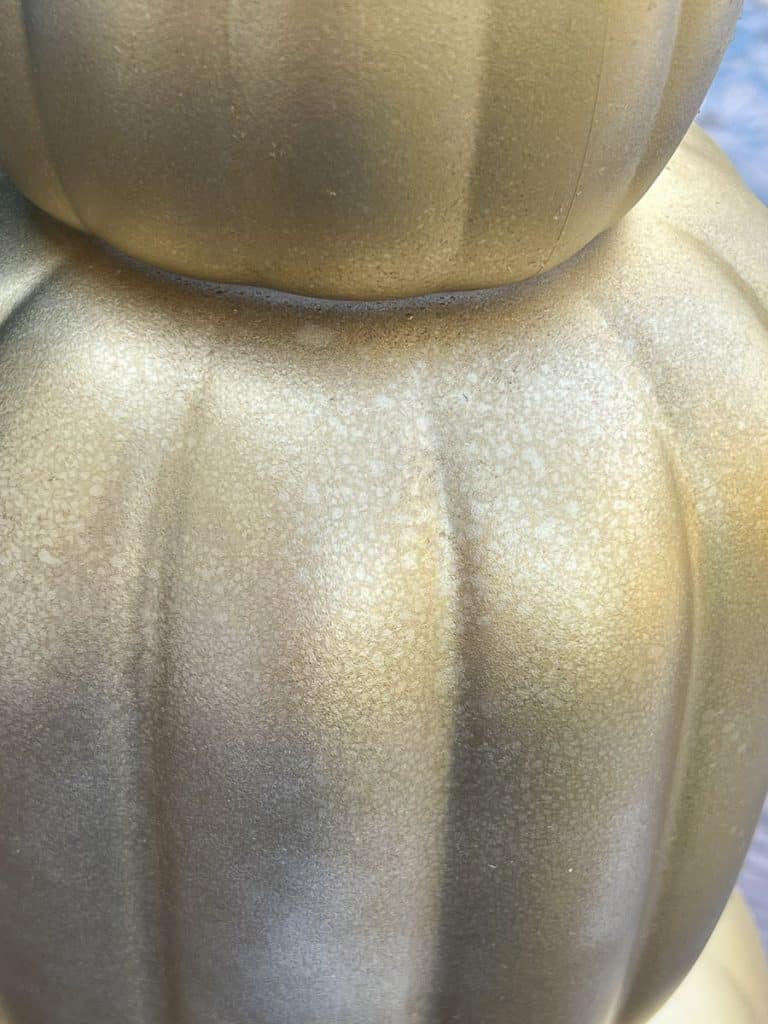
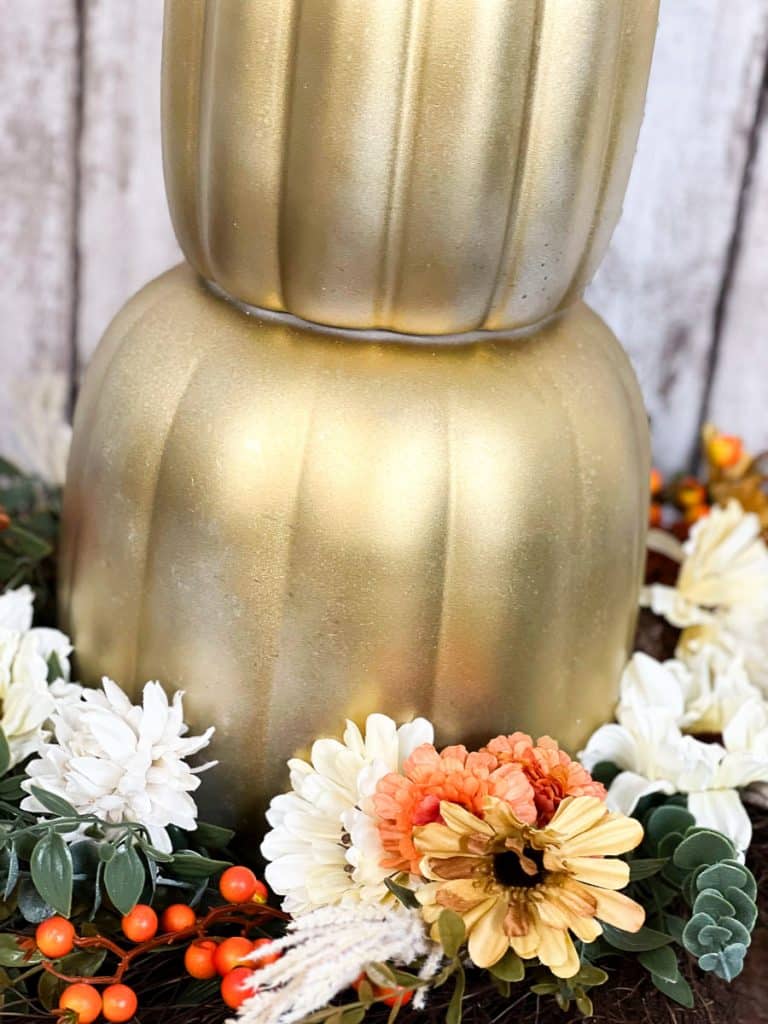
What was left after drying the water was little spots of discoloration. It gave the gold an aged look.
I repeated this process about three times, leaving the vinegar on for varying times. I really loved how there was no repeated pattern to it! It was totally a unique look!
Once the pumpkins had dried, I decided I needed to do something with this stem. I was wanting something not so blunt and choppy at the top. Pumpkins grow on vines, so I wanted that “viney” look for the stem.
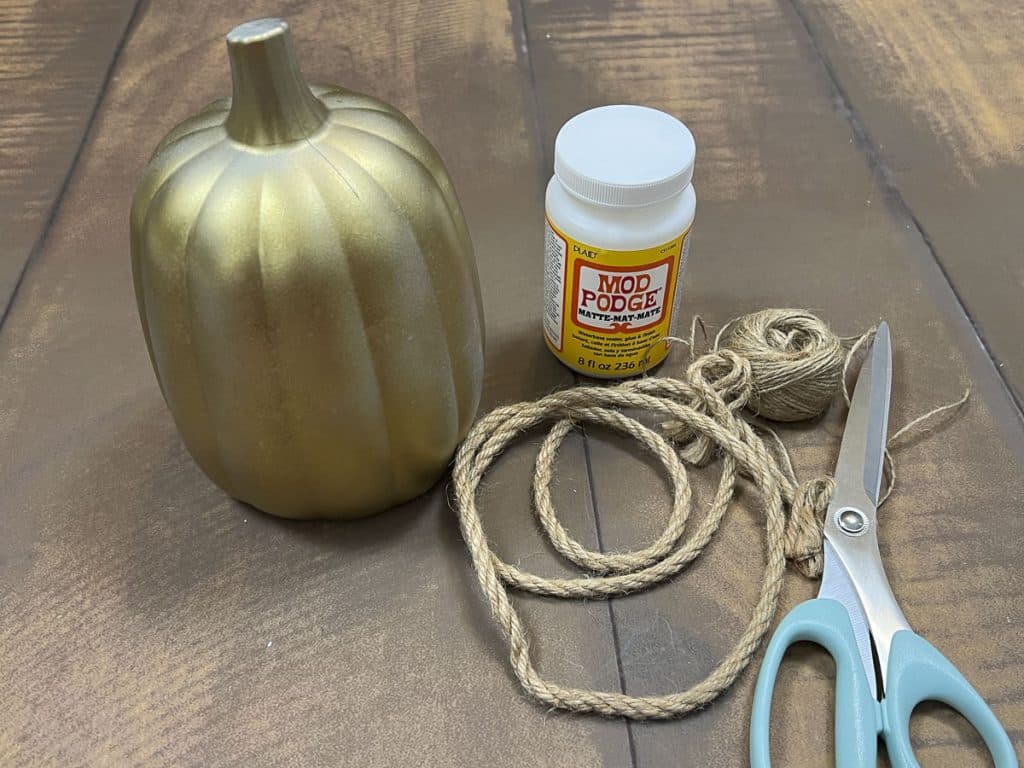
I wasn’t sure the best way to achieve this, so I grabbed some rope, twine and Mod Podge.
First, I applied hot glue around the stem and wrapped the rope halfway up the stem.
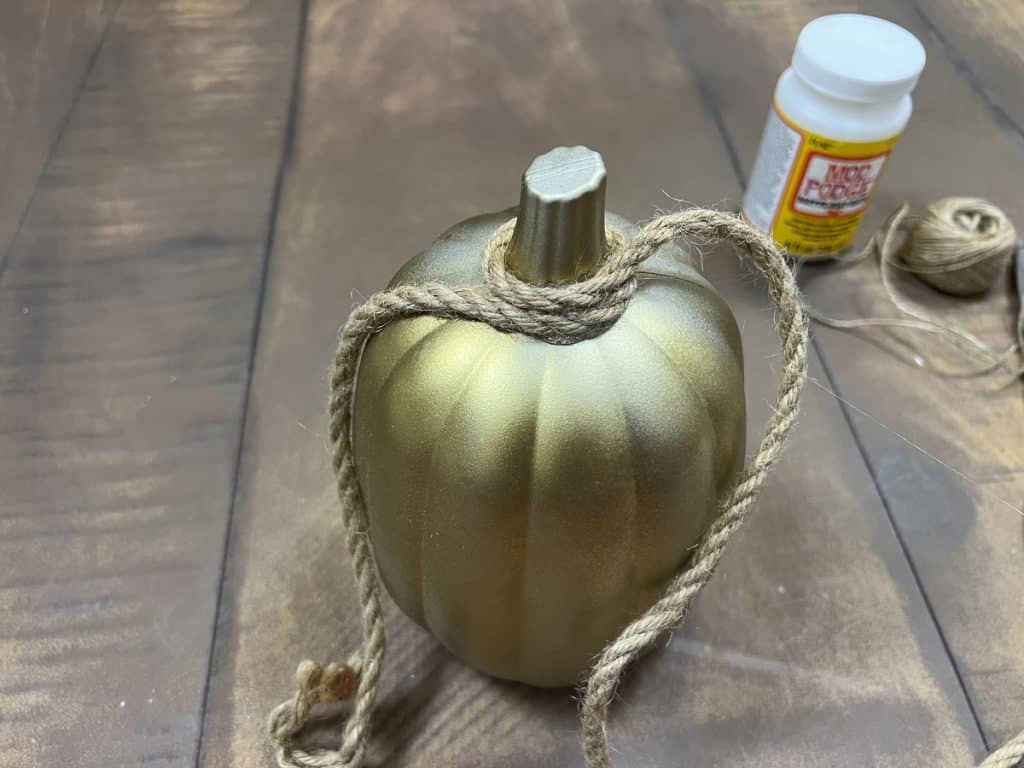
Then, I unraveled the rope into three strands and continued wrapping the stem to the top. The purpose of this step was to make the rope a little thinner toward the top of the stem. I wanted it to be tapered as I went up the stem.
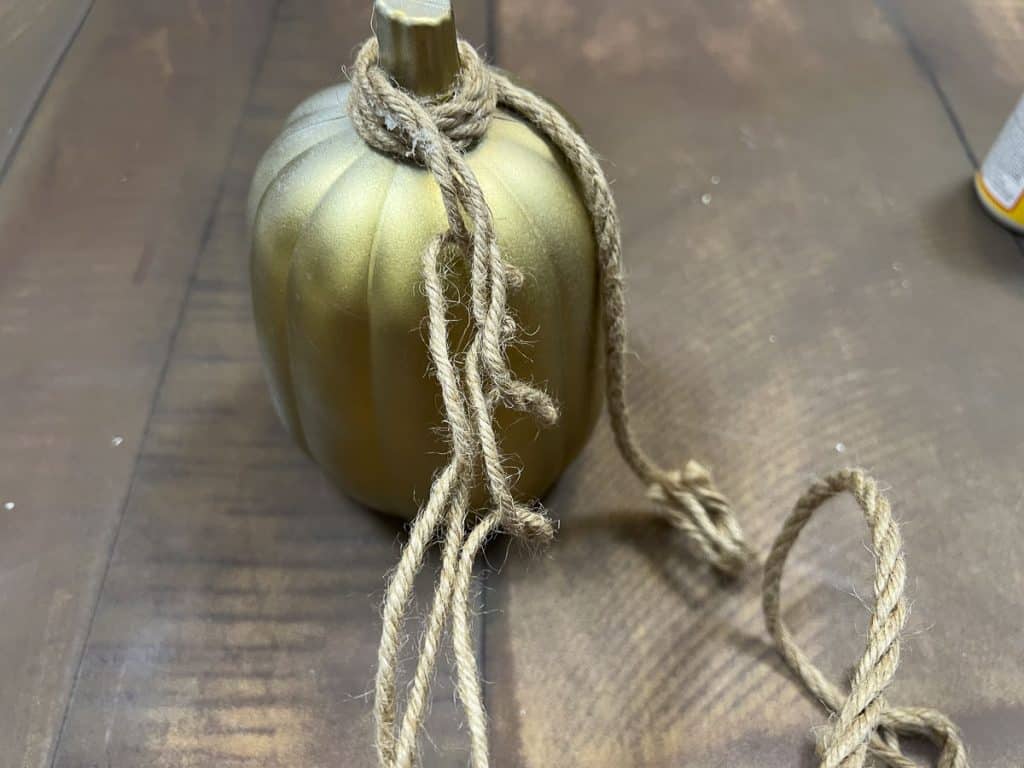
Once I reached the top, I applied more hot glue and started twisting the rope beyond the plastic stem to create a longer stem.
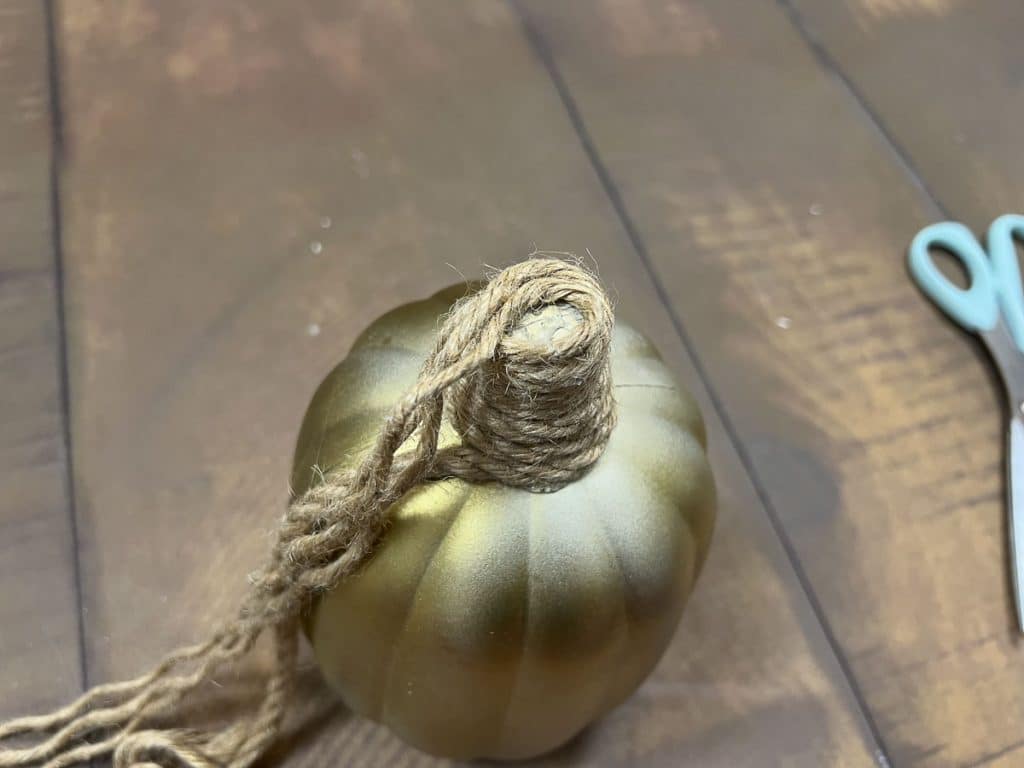
Then, I twisted all three strands together and applied Mod Podge over them. I continued twisting the rope to look like a twirly stem. You can probably achieve this look multiple ways, and honestly, my way was probably not the easiest, but it worked!
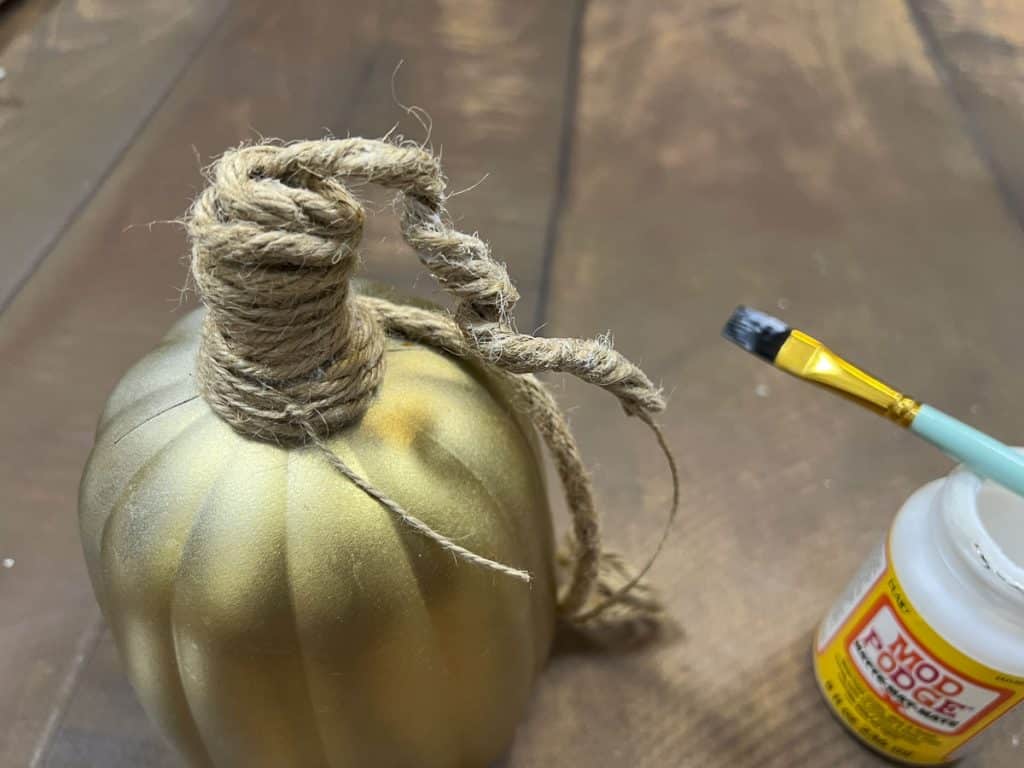
As the Mod Podge dried, the rope dried twisted. I was able to trim the stem and work with the rope a little once it had completely dried.
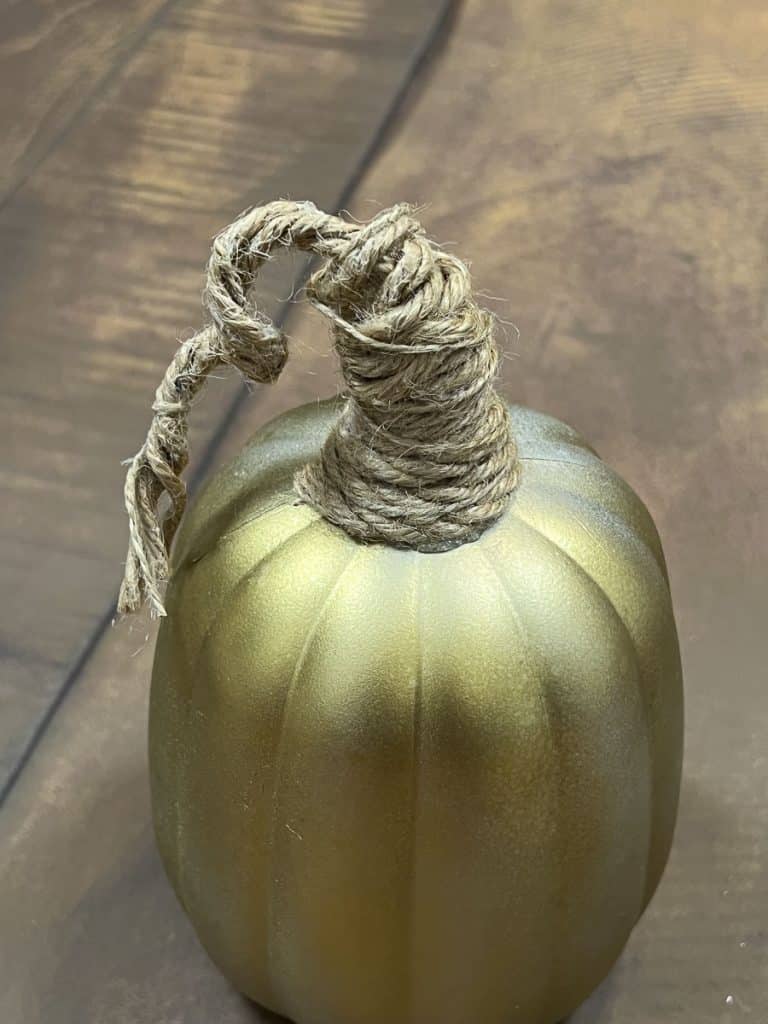
Then, I reassembled the pumpkin stack and decided how I wanted to display them! I really love the way the gold turned out with the aged spots. It really gives it a nice textured look.
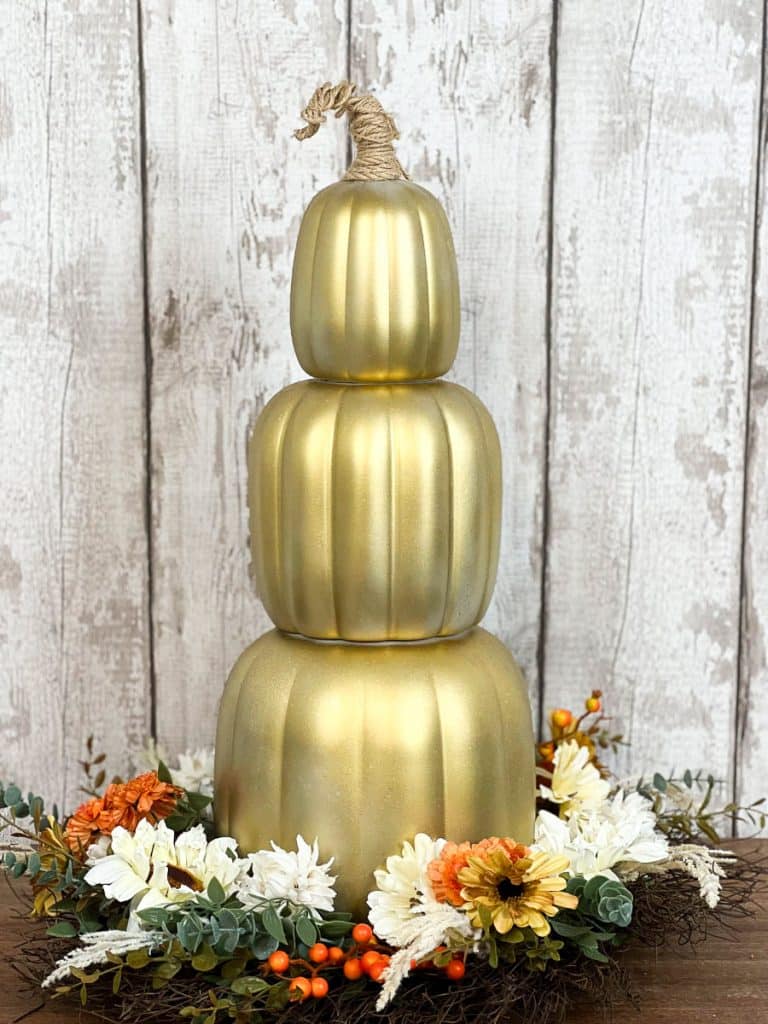
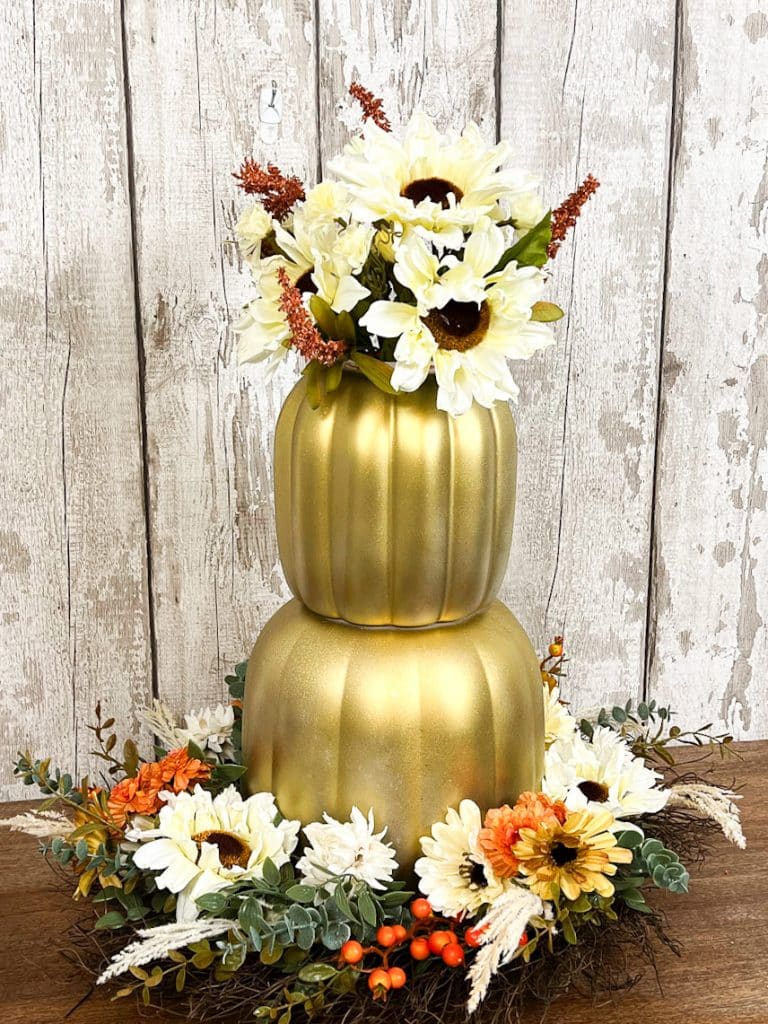
I think these pumpkins are so versatile! As you can see, you can remove the top pumpkin and add a floral arrangement, or you can keep them stacked together! The best part…they will easily nest inside one another for storage!
So, I’m eager to know, did you buy these pumpkins from Dollar Tree? I would love to see how you transformed them!
BE SURE TO PIN FOR LATER!
Last Updated on September 29, 2023



These pumpkins look so rich and unique. Your dog’s just keep getting better and better.another winner.
So beautiful! They definitely don’t look like DT pumpkins!