I have been spending a TON of time lately searching for decor for our new home in Lebanon, TN! You definitely want to check out my master bedroom and dining room reveals if you haven’t already!! But here’s the deal – I am NOT the only one on my team who’s been searching for decor! Mel is ALSO in the process of remodeling her in-law’s house that she and her husband purchased last year. Have you seen her office remodel?
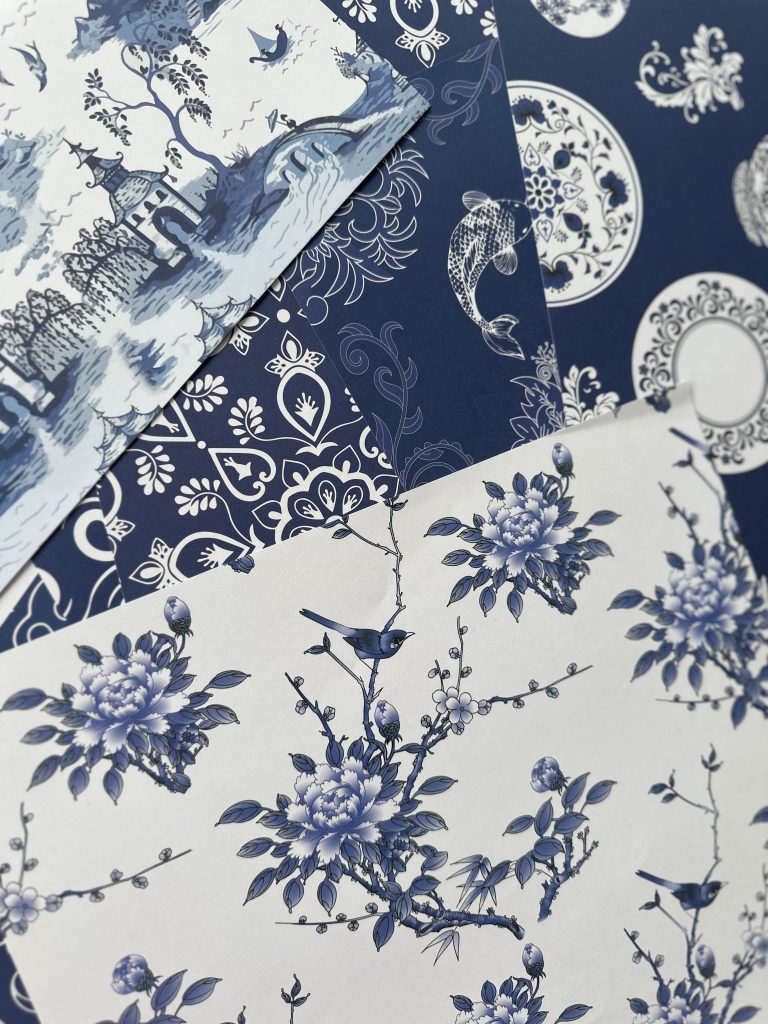
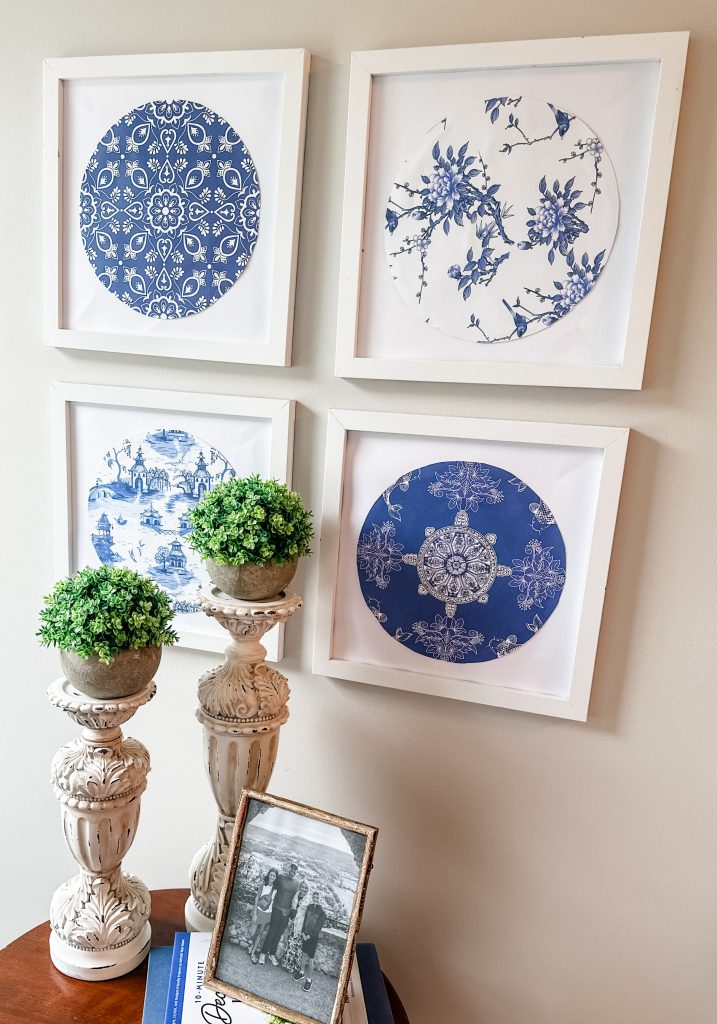
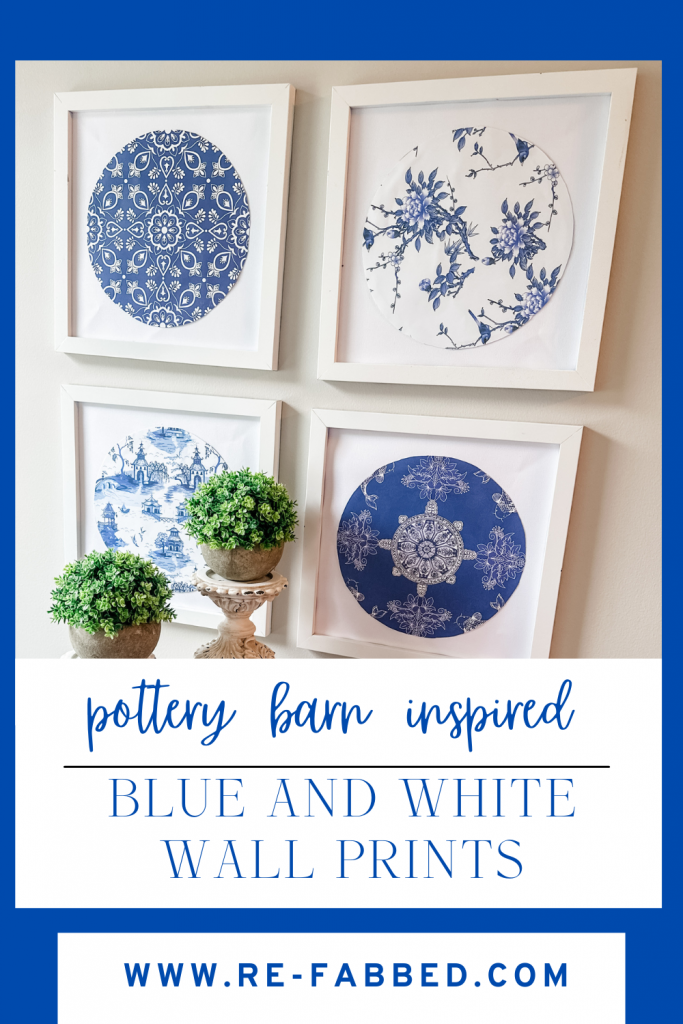
Now y’all know how much I LOVE allllll the colors and whimsy in my decor, but Mel’s style tends to be a little more neutral and traditional. When she found these GORGEOUS chinoiserie prints, she was OBSESSED! Also, in case you’re wondering, I 10000% had to Google the spelling on that word and don’t EVEN ask me to pronounce it in my cornbread voice! Since Mel is realllllly trying to maintain some kind of budget because she has A LOT of things on her wish list, she KNEW she could create a pretty darn close version of these for a MUCH lower price! You WILL NOT believe how easy it was to do!
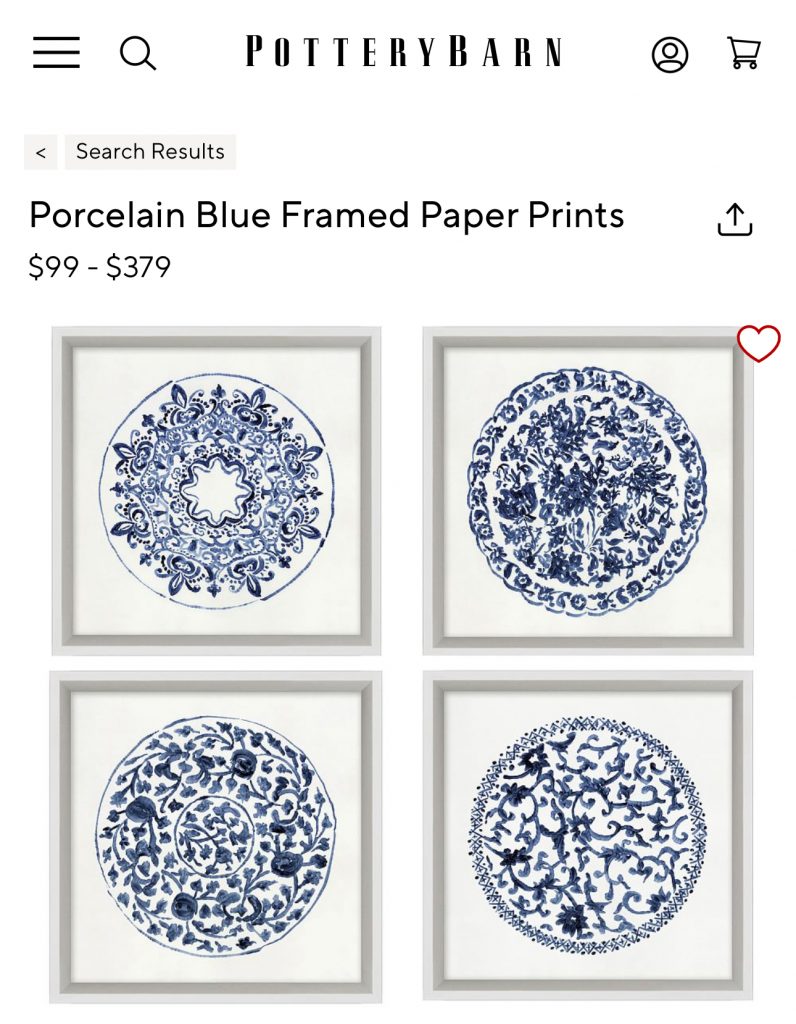
She was able to create these for a total of only about $30.00 for all four pieces (instead of the PB price tag of $379 – what in the world?!?!)!!!! Here are the materials she used:
- 2 packages of 2pc 11.73″ x 11.73″ framed wall art from Family Dollar
- Package of white cardstock
- Can of white spray paint
- Package of chinoserie scrapbook paper from Amazon
- Re-Fabbed branded hot glue gun
- Re-Fabbed branded scissors
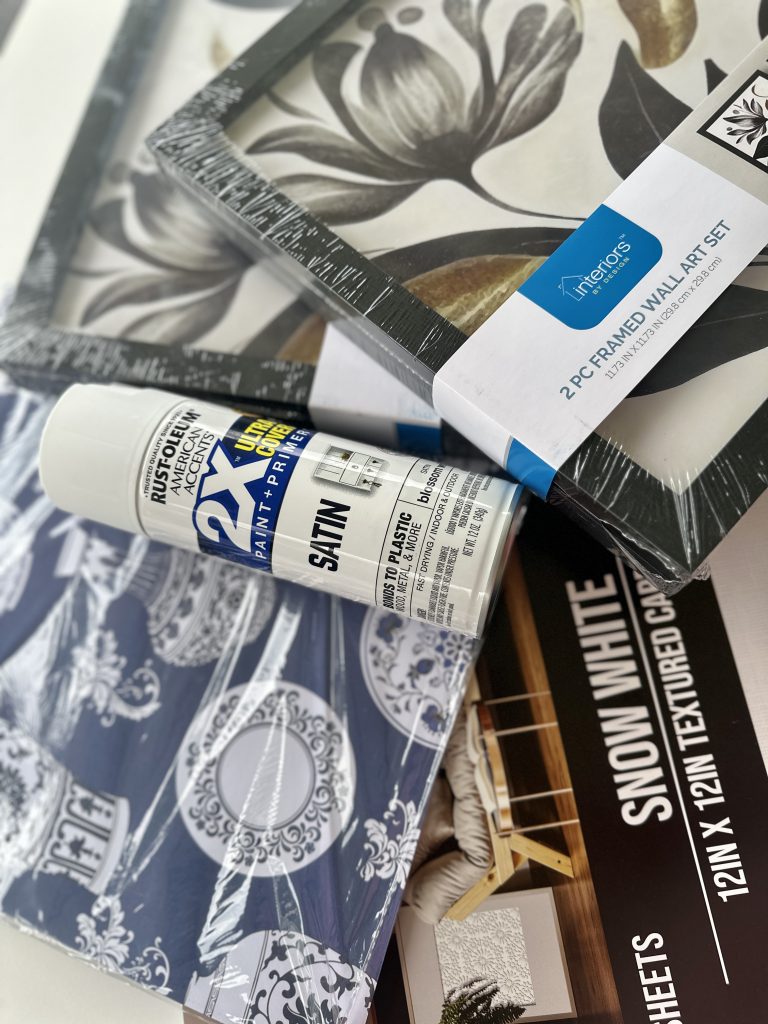
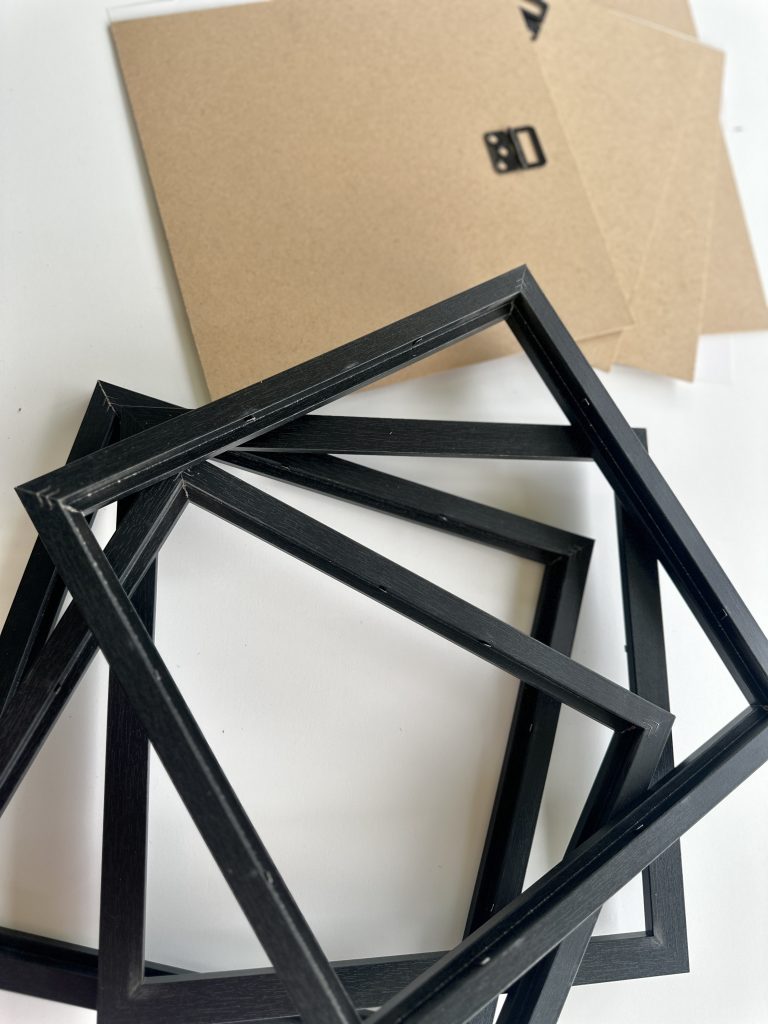
The first thing she did was to remove all the artwork and backing from the frames.
After getting those out, she put them on a drop cloth outside so she could spray paint them. You could also totally use craft paint and a brush for this step, but she was just in a hurry, so she decided to get it knocked out quickly!!
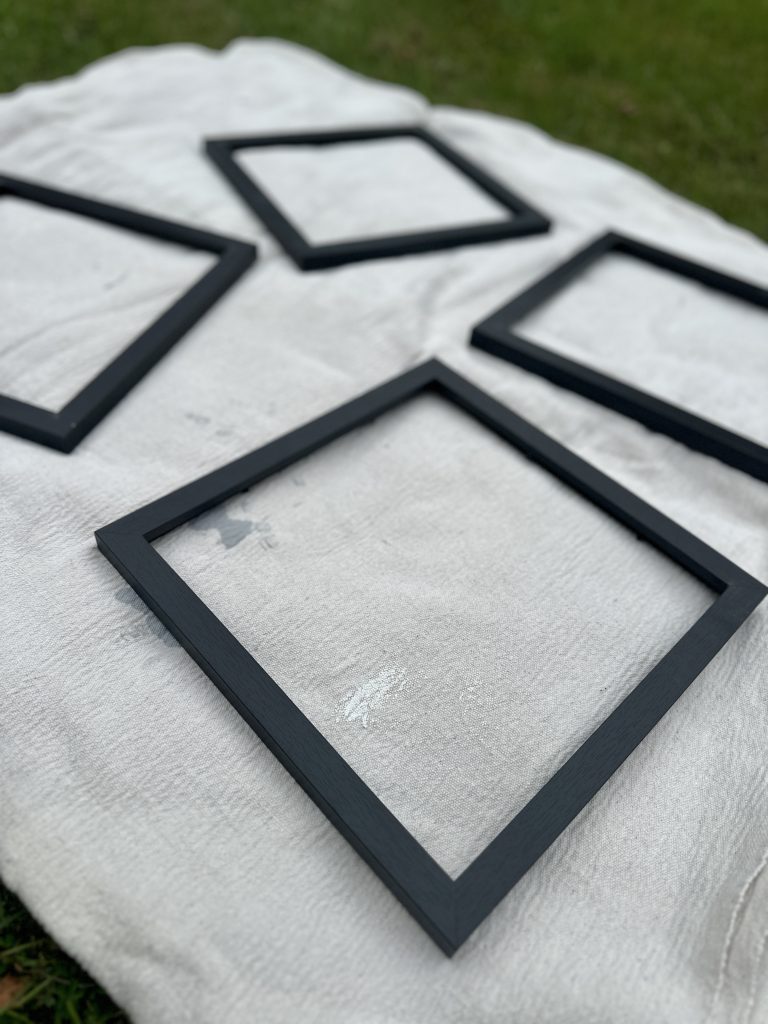
Be sure to let them dry all the way or you will get your frames scuffed up!!

Let’s just take a moment to appreciate this GORGEOUS scrapbook paper!! It comes in a pack of 24 sheets, so there is so much left over for other projects!!!!
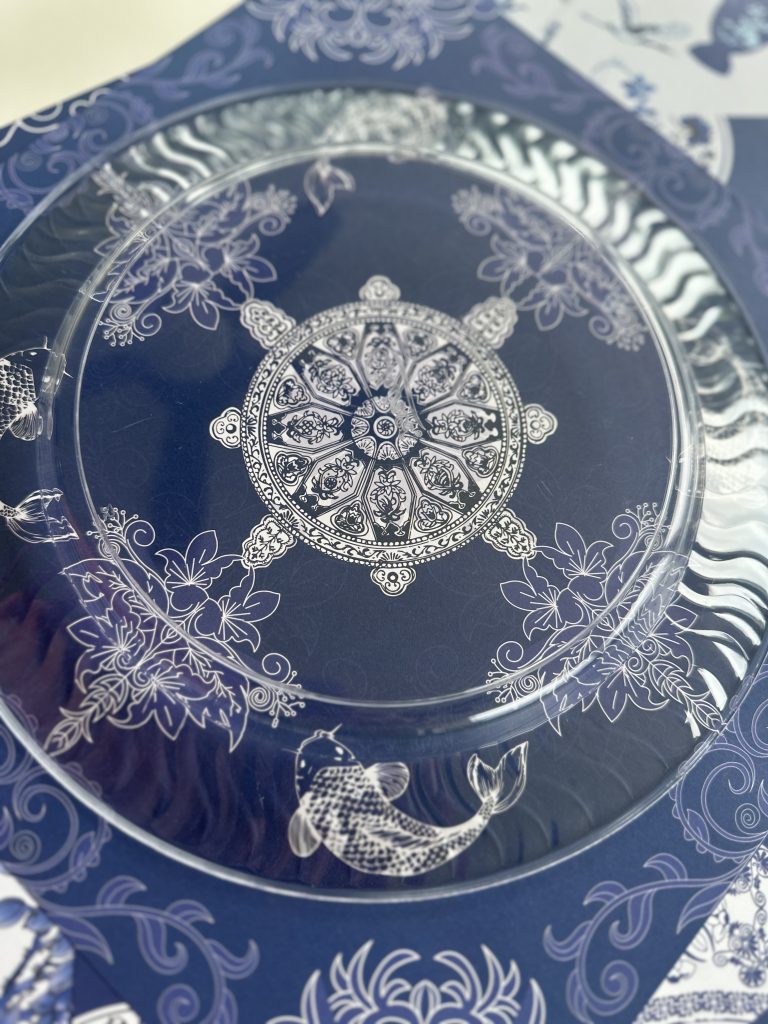
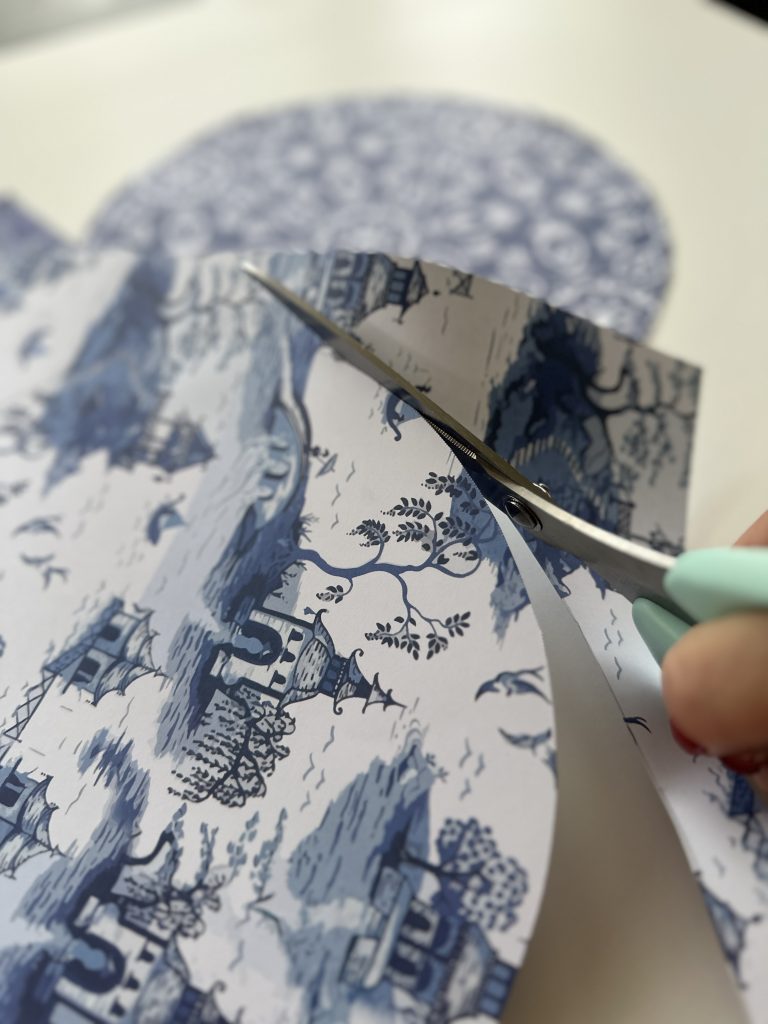
Next, she used a plastic plate to trace a perfect circle on each piece of paper, then cut them out!
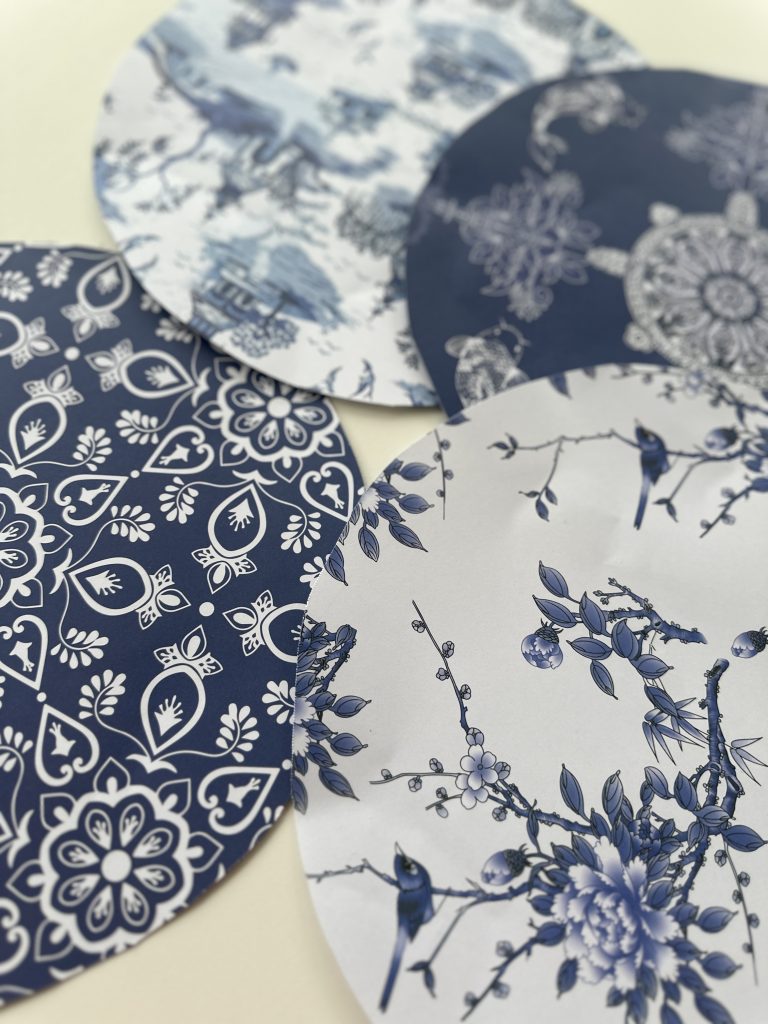
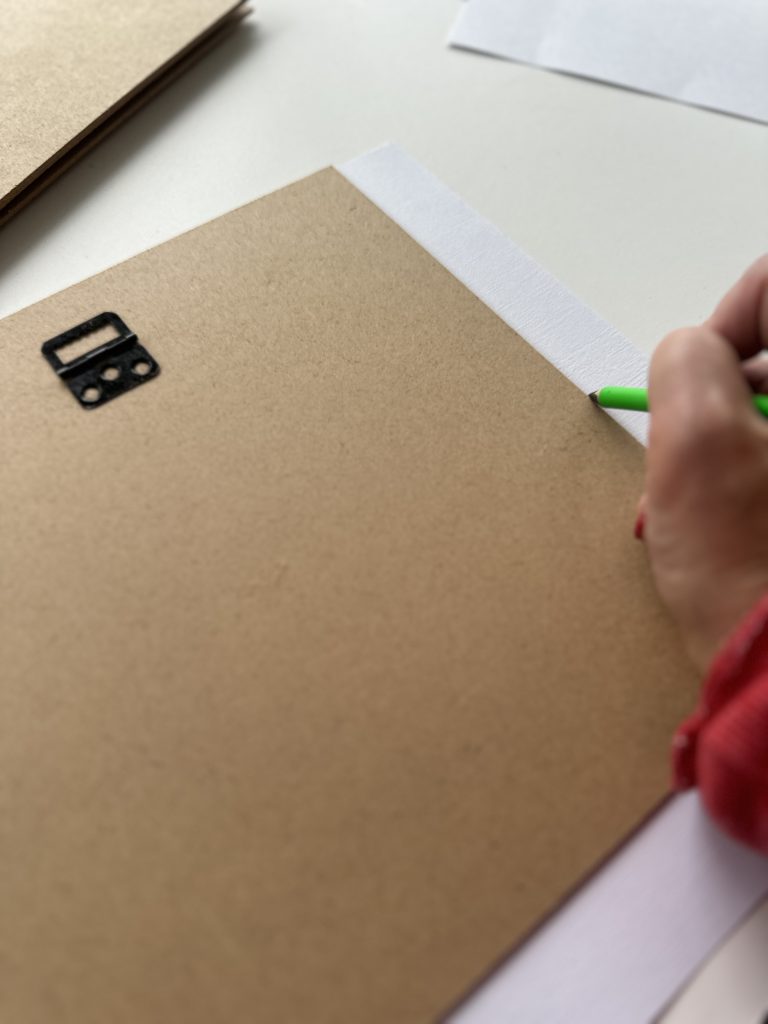
The frames were slightly smaller than the 12×12 cardstock, so she also traced those to cut out so they’d fit right in the frames!
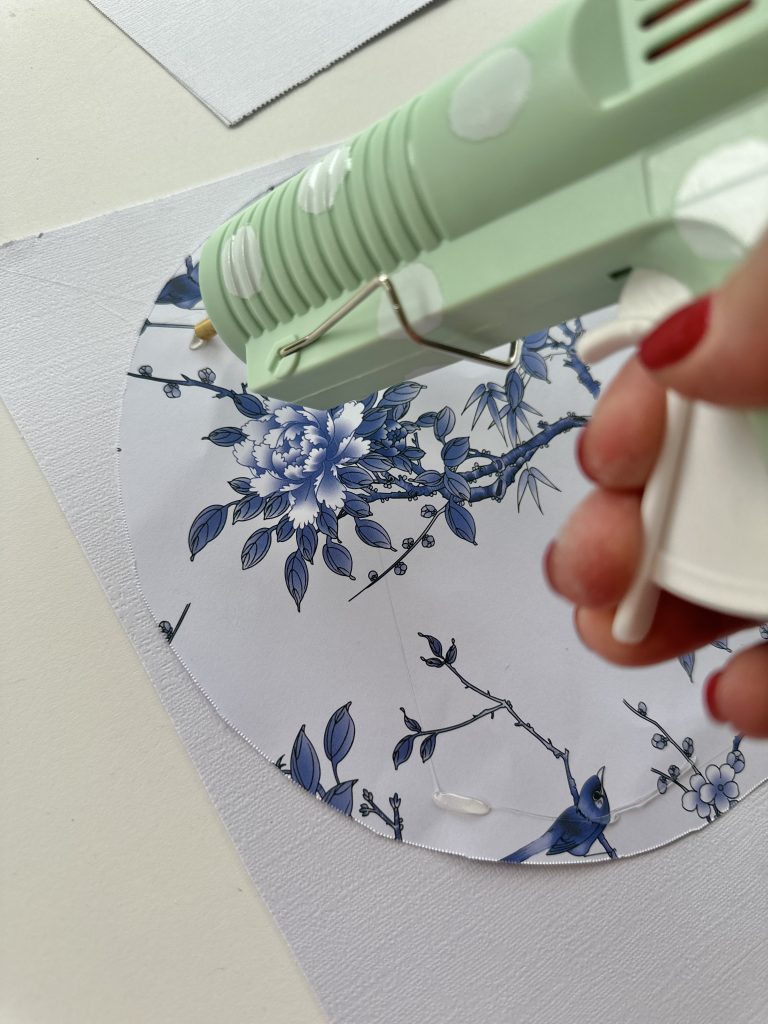
Using the Re-Fabbed hot glue gun, she glued each circle onto a piece of the white cardstock.
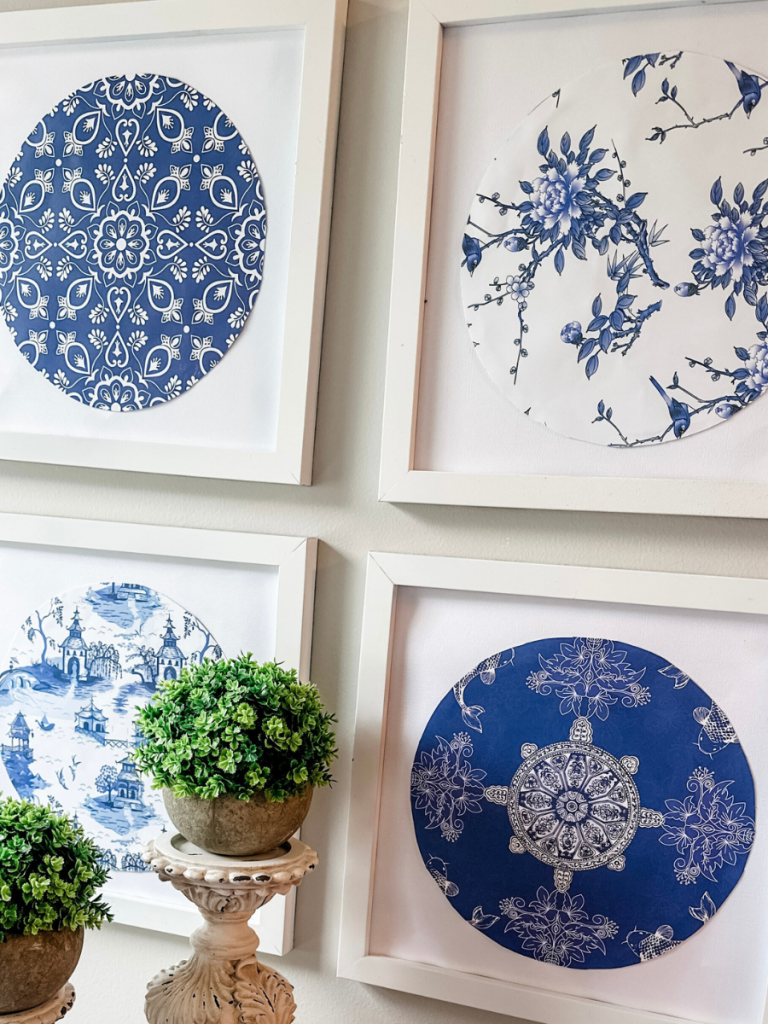
After the glue dried, she popped those bad boys back into the frames she’d painted, and VOILA! Pottery Barn-inspired artwork for NOT the Pottery Barn price!! You could customize these soooo many ways!!! Let me know if you’re gonna give it a try!!! If you loved this Pottery Barn inspo, you will also love this CUTE GHOST PILLOW I made!!!
Last Updated on August 21, 2024



So cute!! I love it! I will be furnishing my office/ craft room and I love this desk idea!! 🤗♥️
Isn’t it so cute?! She did a great job!
Wow, those are great!
Yes, beautiful! 🤩
Gorgeous
Thank you!
I love it. I’m making them for my bedroom.
Thank you for the great idea.
Absolutely beautiful. I love them’
Yes they are!
What a beautiful doube. I feel like making a set my self. Just adorable. Thanks for sharing.
What a fantastic idea and budget friendly! Plus the bonus is knowing that you did it yourself.
Thank you!