Christmas is the most wonderful time of the year, and I absolutely cannot get enough Christmas trees!!! I love them! I literally have them everywhere, and I have the cutest little diy tree craft for you today made from Dollar Tree moss! I also used one of my recent summer garden clearance deals for the background. I think you’re going to love this one!
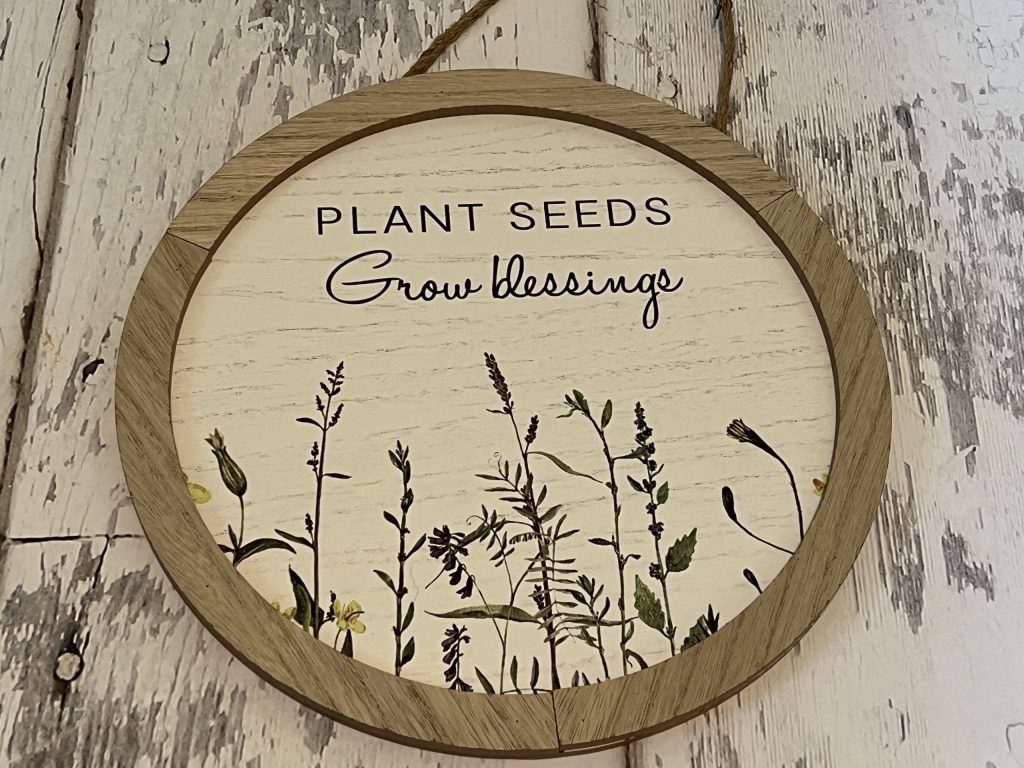
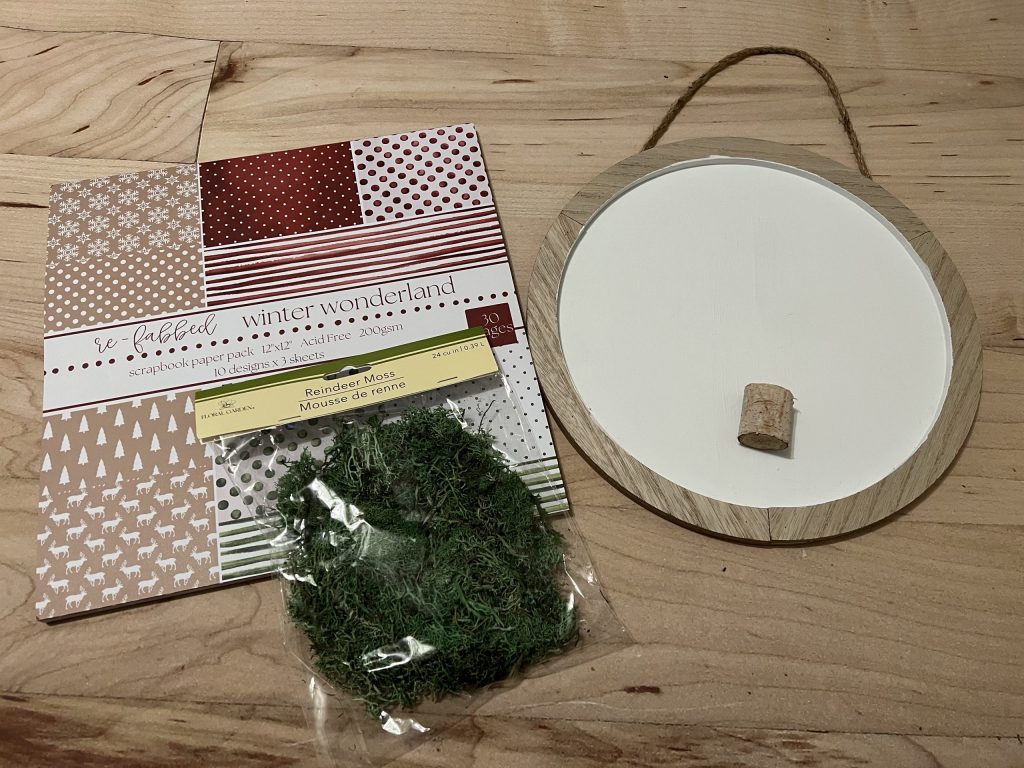
For this project, I used the following supplies:
- Round wooden sign from PopShelf
- Reindeer moss from Dollar Tree
- Small birch wooden stump from Dollar Tree
- Pom pom trim
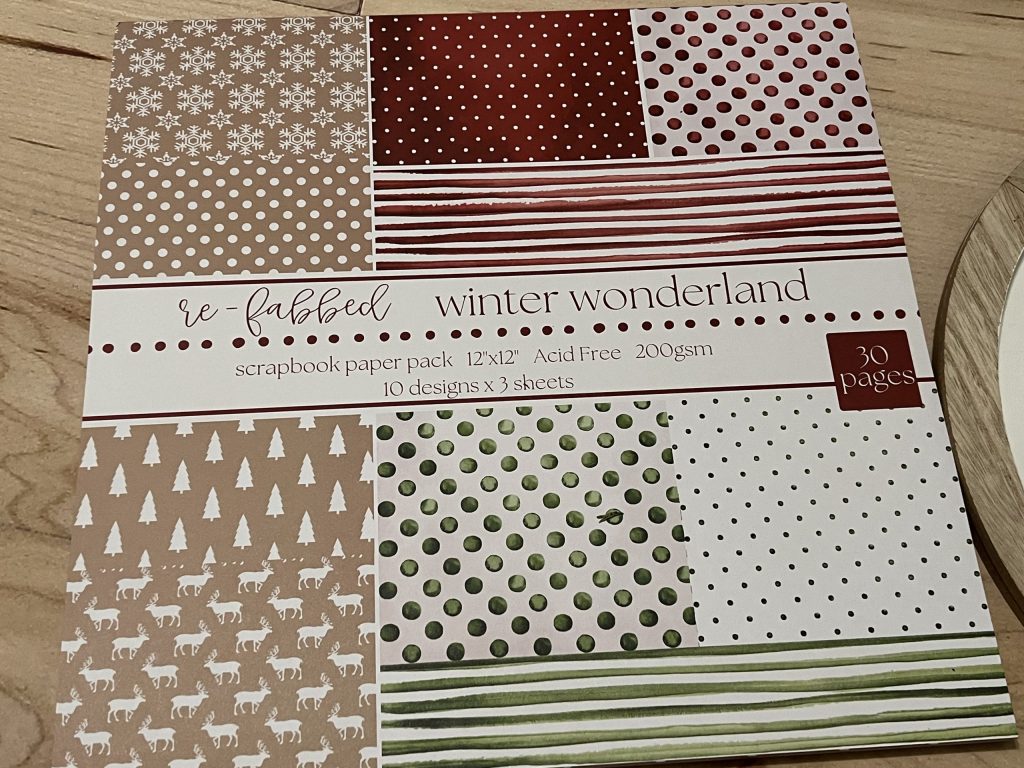
- Re-Fabbed scrapbook paper (grab yours!!)
- Waverly chalk paint in white
- 12″x12″ thin paper
- Small foam paintbrush
- Mod Podge
- Pencil
- Scissors
- Hot glue gun
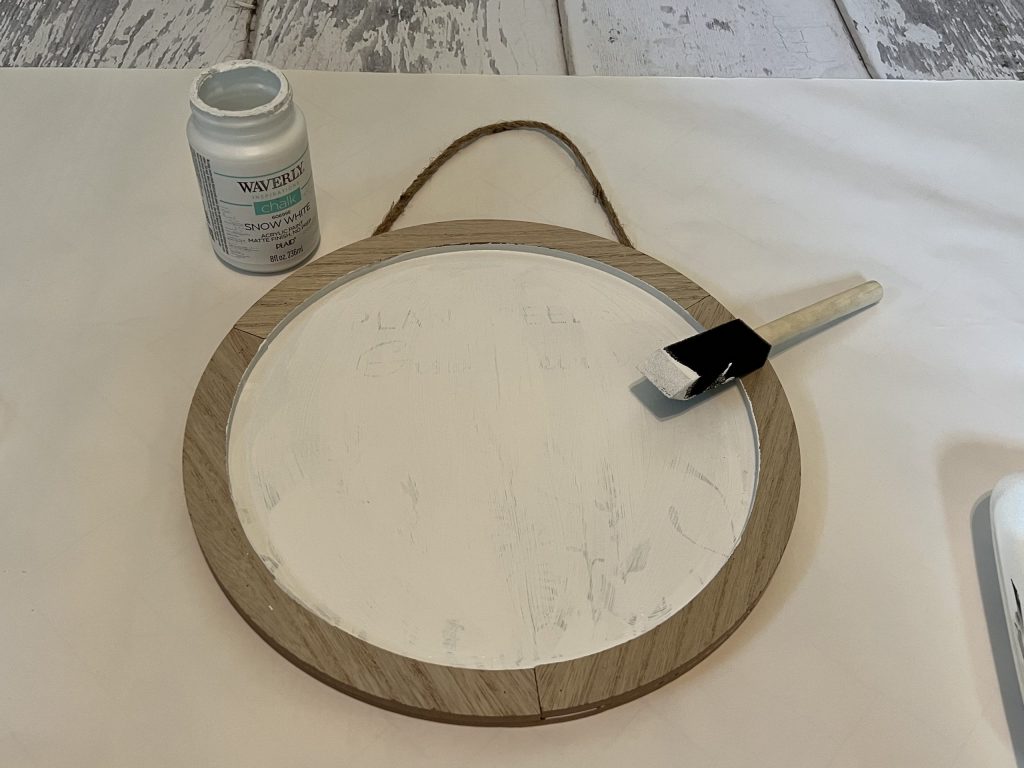
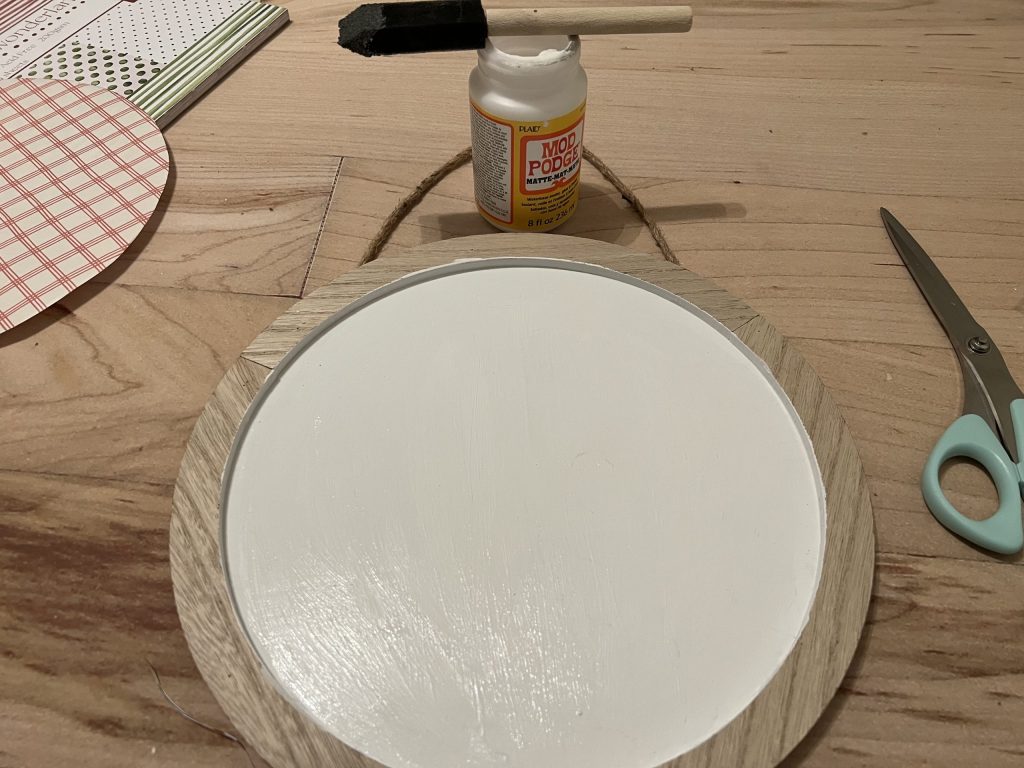
The first thing I did was paint a coat of chalk paint over the current print. (This ended up not being necessary, but in the beginning, I wasn’t sure which direction I was going to take…I wanted to start with a clean slate!)
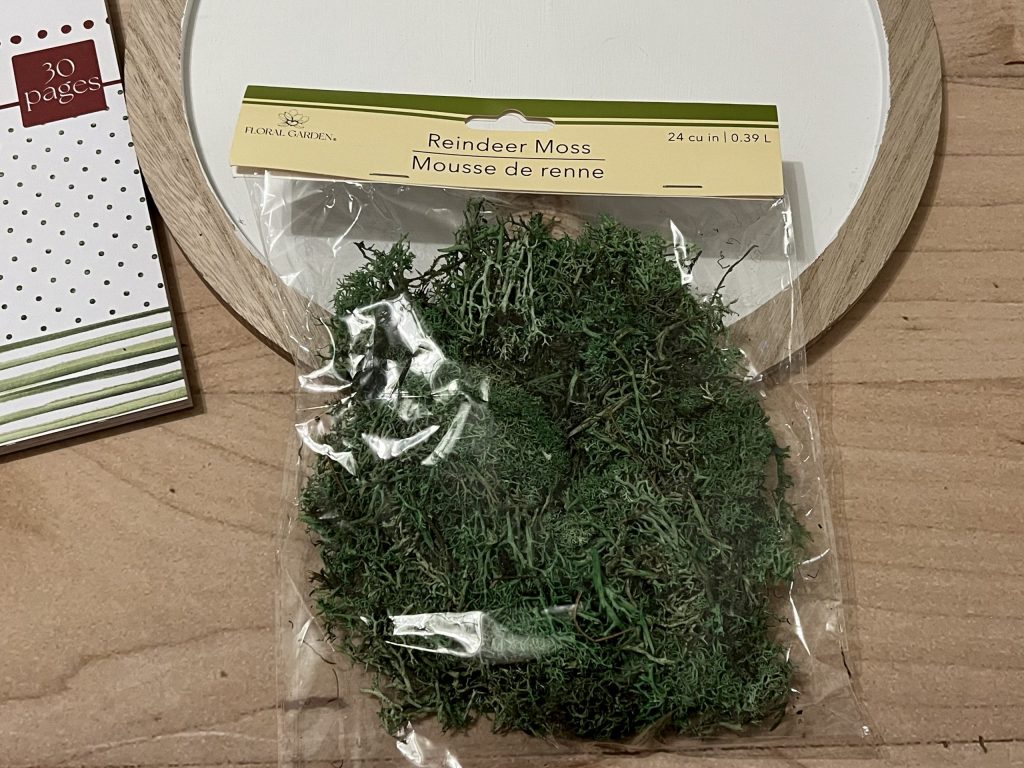
I found this reindeer moss at the Dollar Tree, and I loved the different variations of green in it.
After thumbing through my scrapbook paper, I decided to start with a red striped background! I thought the green would really pop against the red.
I am SO IMPRESSED with the thickness of each sheet of this paper. It absolutely was not necessary for me to paint over the previous print, because this paper would have definitely covered it!
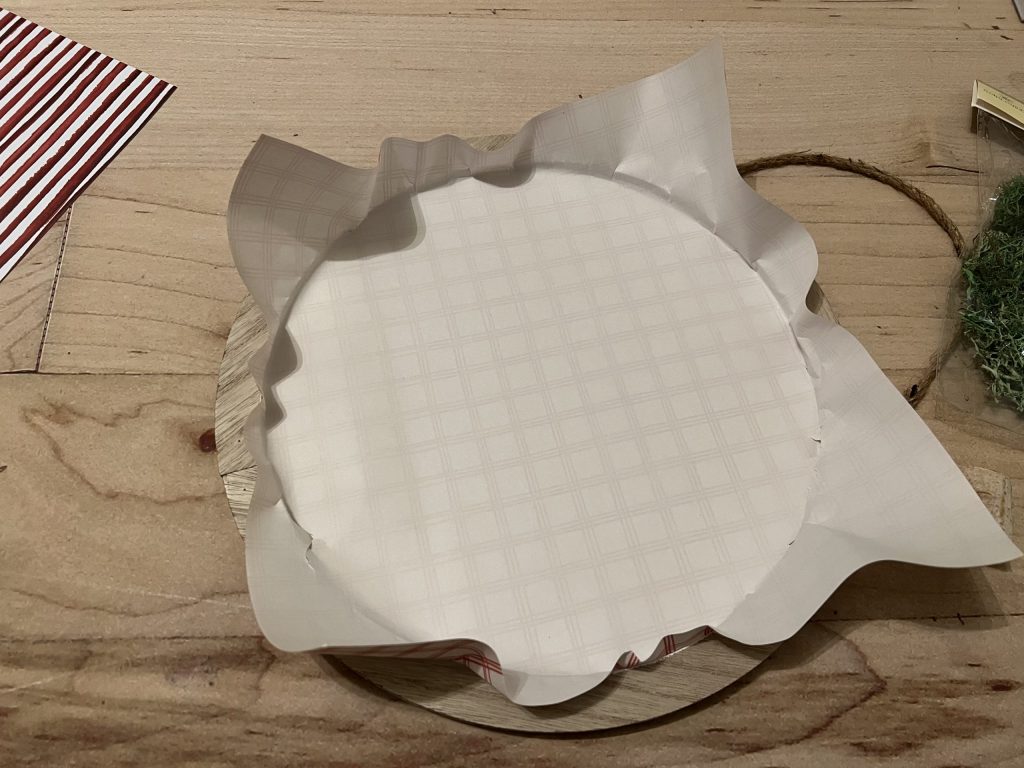
To get a precise size of the inner circle, I’m sure I could have measured and used my old math skills, but in a pinch, I like to just take a very thin sheet of paper and press it down inside. Using my finger nails, I simply pressed down into the edges to create a template.
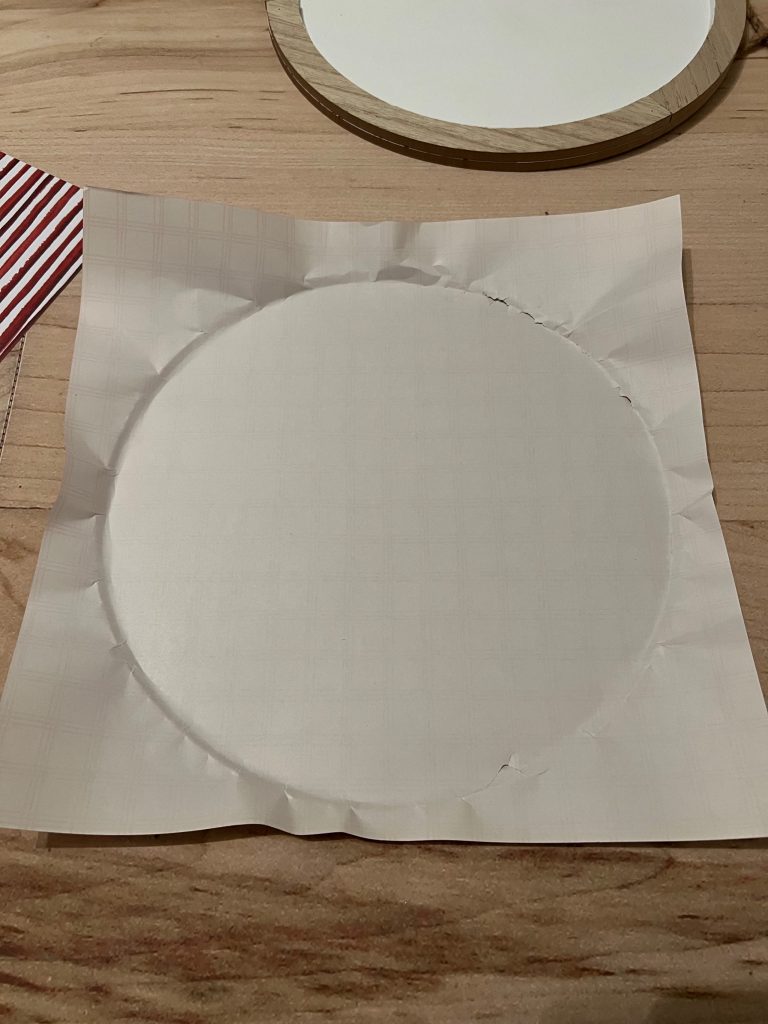
I cut along the crease and used the circle for my template. Using a pen, I traced the template on the back of the paper I planned to use.
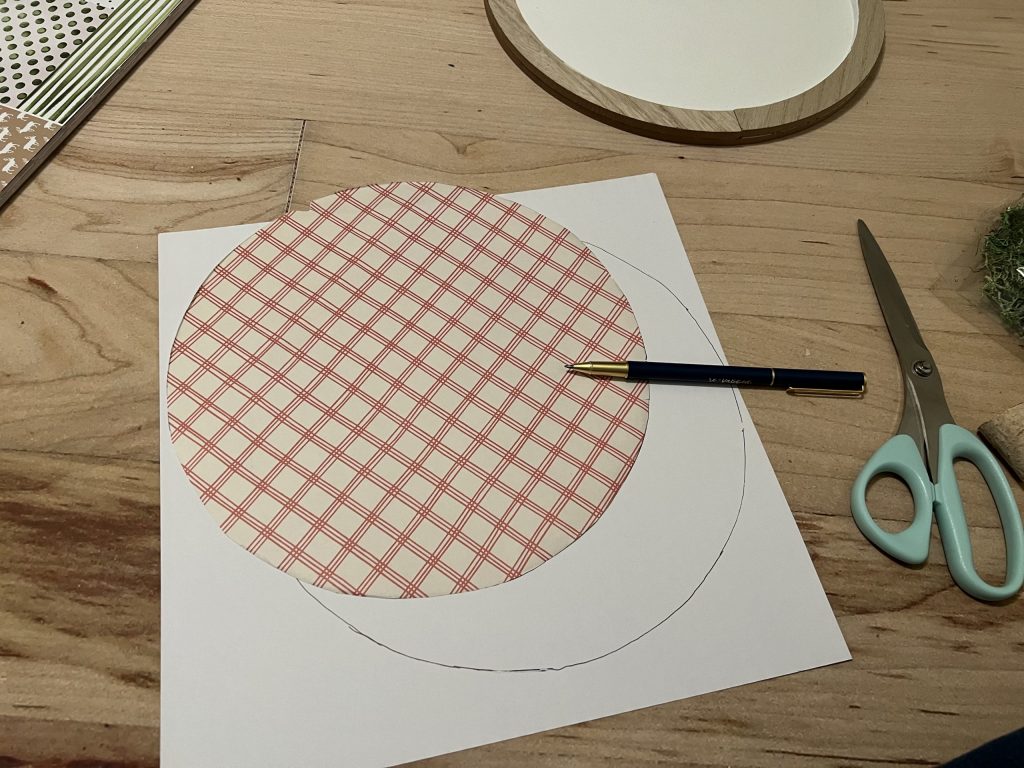
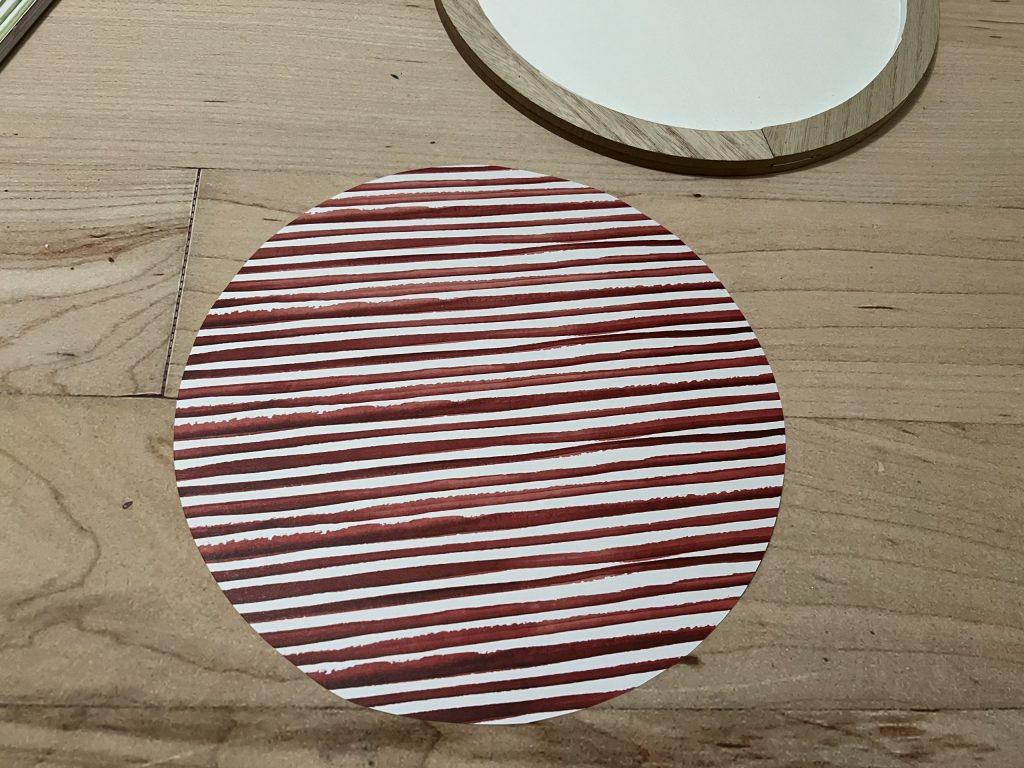
Next, I painted a coat of Mod Podge on the wood surface and placed my paper on top, pressing down from the center outward to eliminate any bubbles.
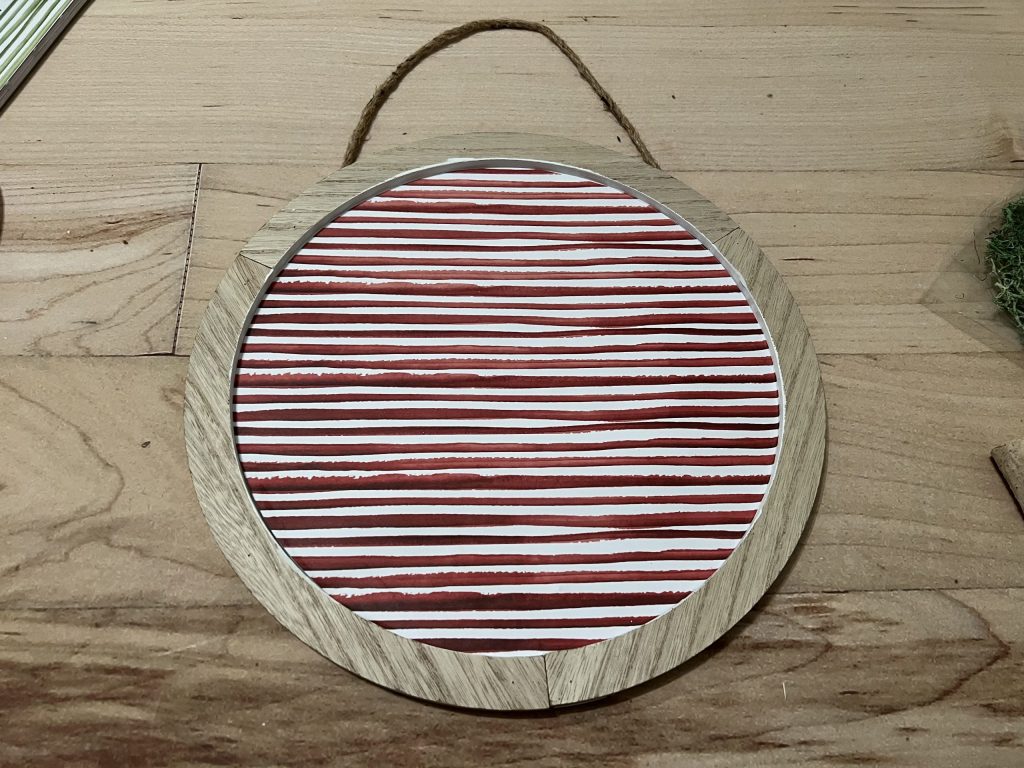
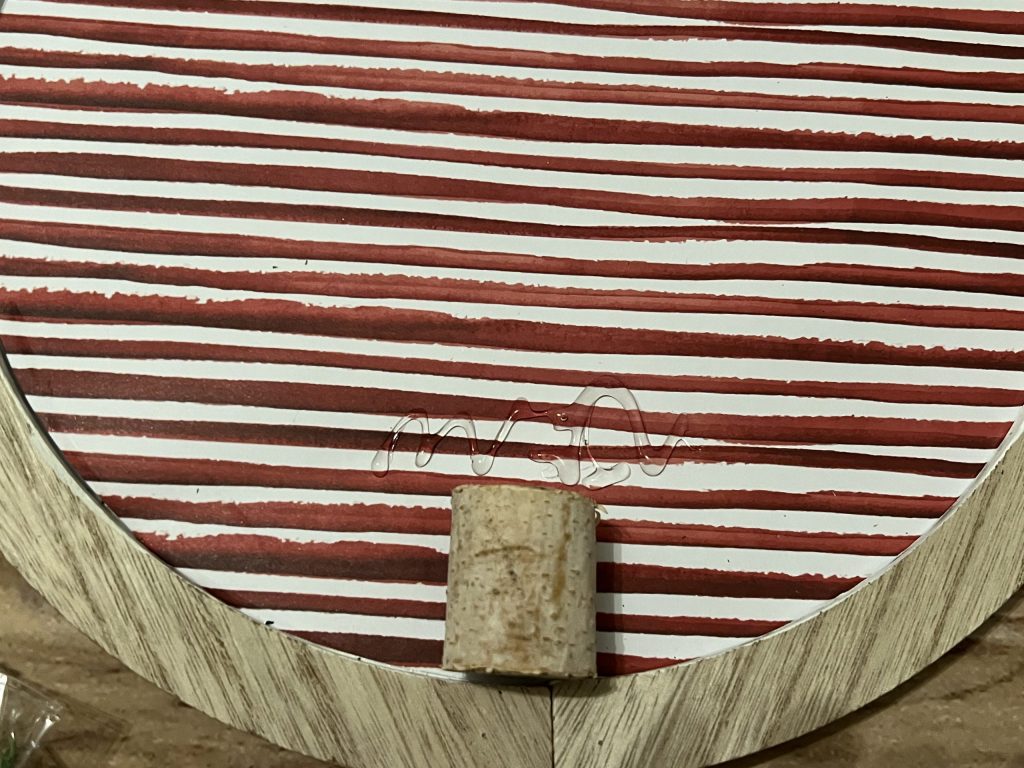
I had some little, wooden birch stumps from Dollar Tree on hand, so I used hot glue to glue it at the bottom.
Then, I added some hot glue directly above the stump to start attaching the moss.
The moss separates into nice sized pieces, so it was very easy to glue onto the paper. I continued adding hot glue and gluing down the moss.
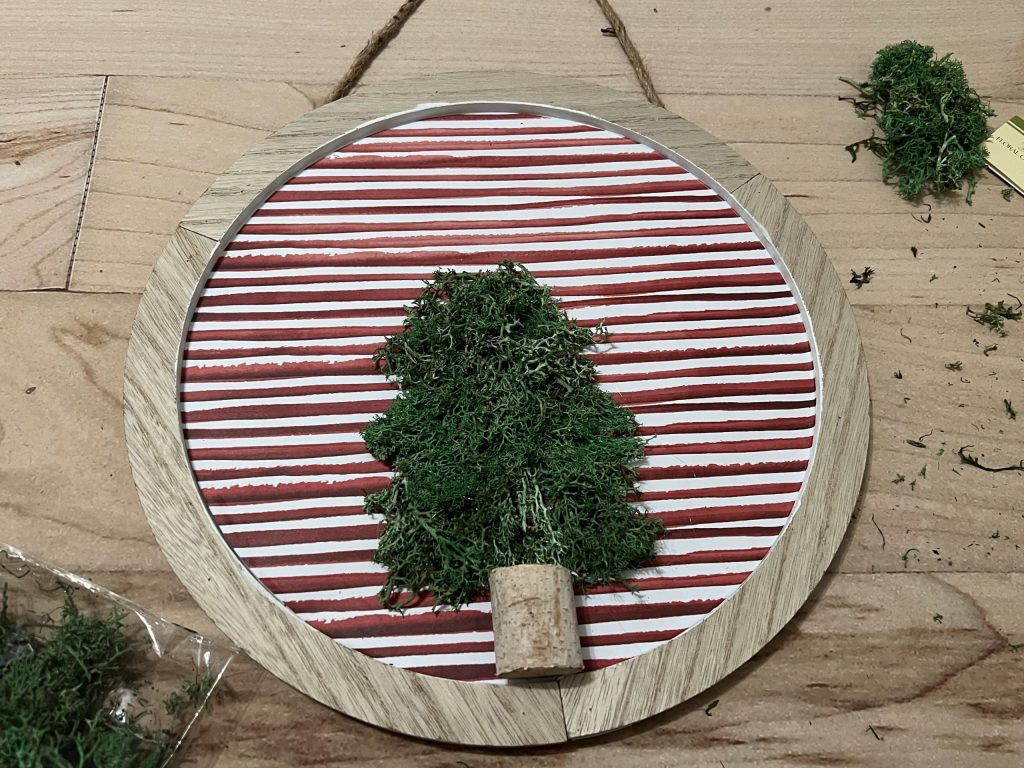
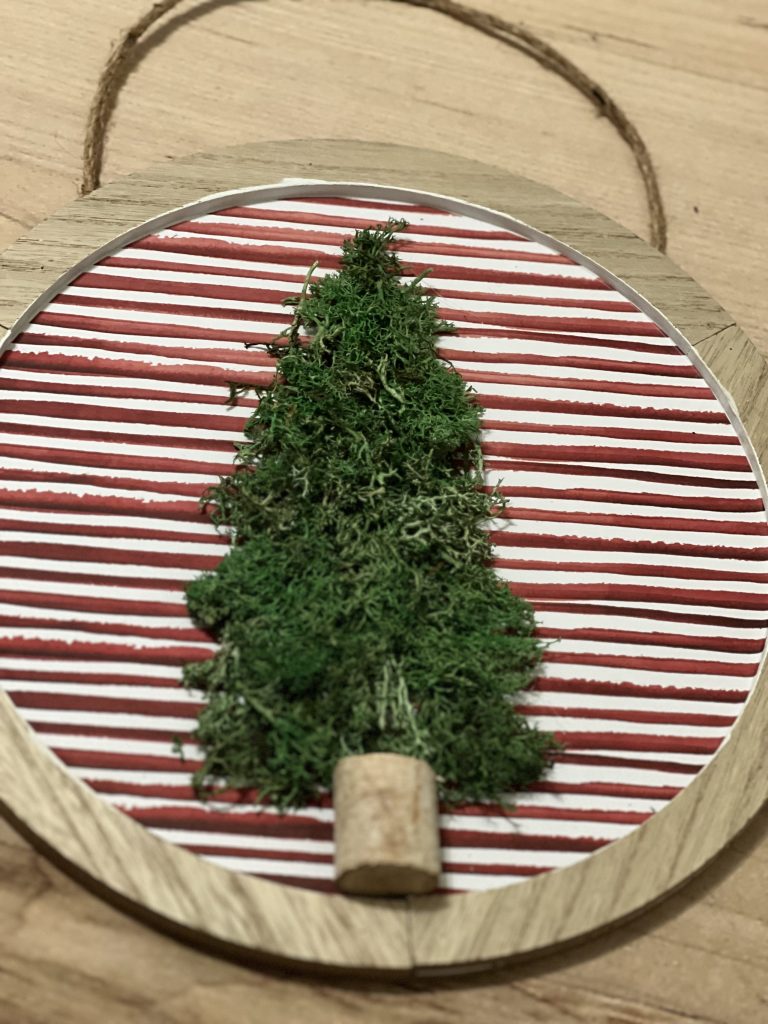
After my tree was complete, I thought it needed just a little something extra!
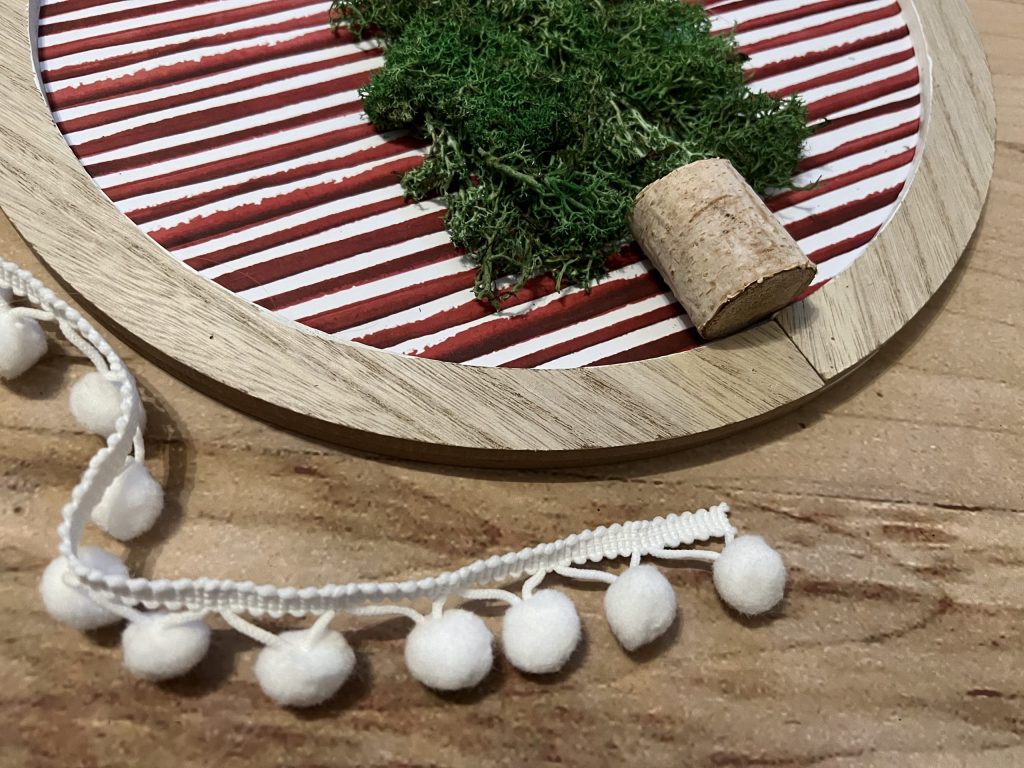
I dug into my ribbon and trims stash and pulled out some white pom pom trim to add around the edge.
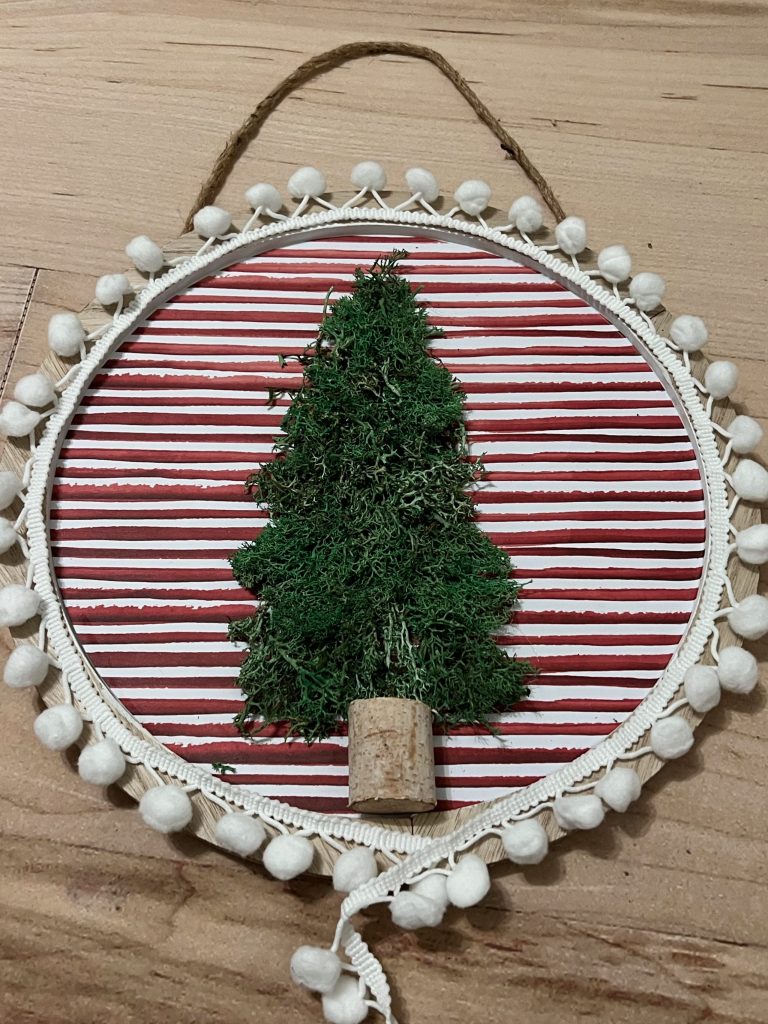
Once I glued down the trim, it was ready to hang!
Is this tree not the cutest?? It’s the perfect combination of textures, patterns and dimension!
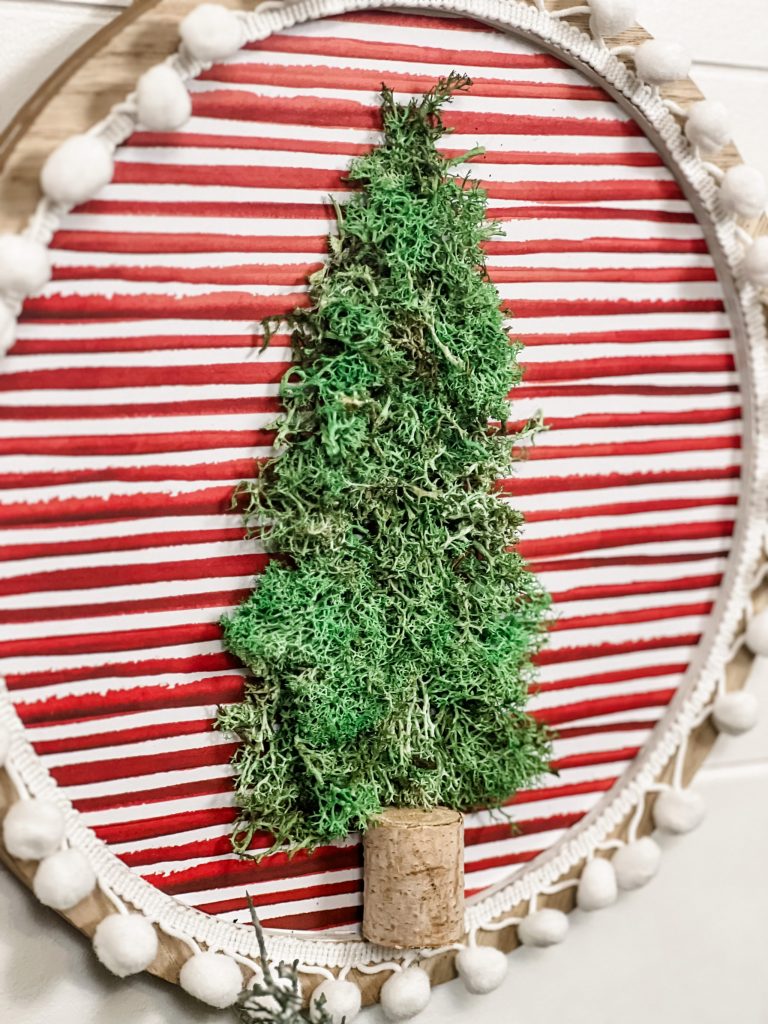
Do you love the moss? What would you make with it? There are so many possibilities, but it truly is the perfect Christmas green!
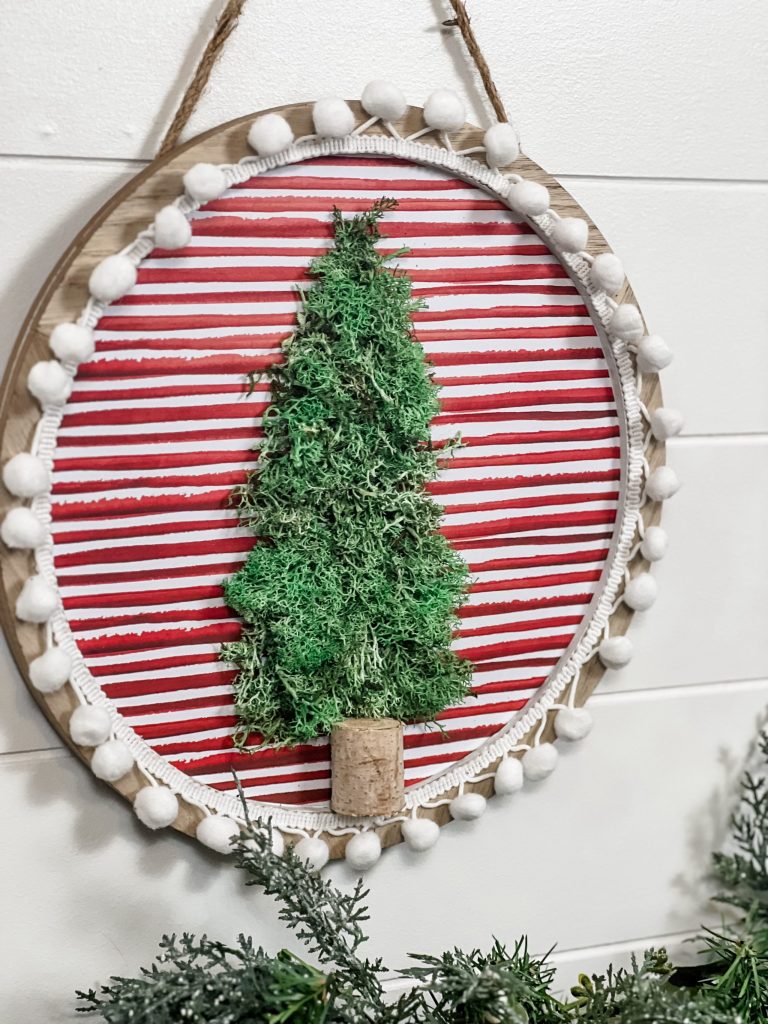
Don’t forget to PIN THIS FOR LATER!!
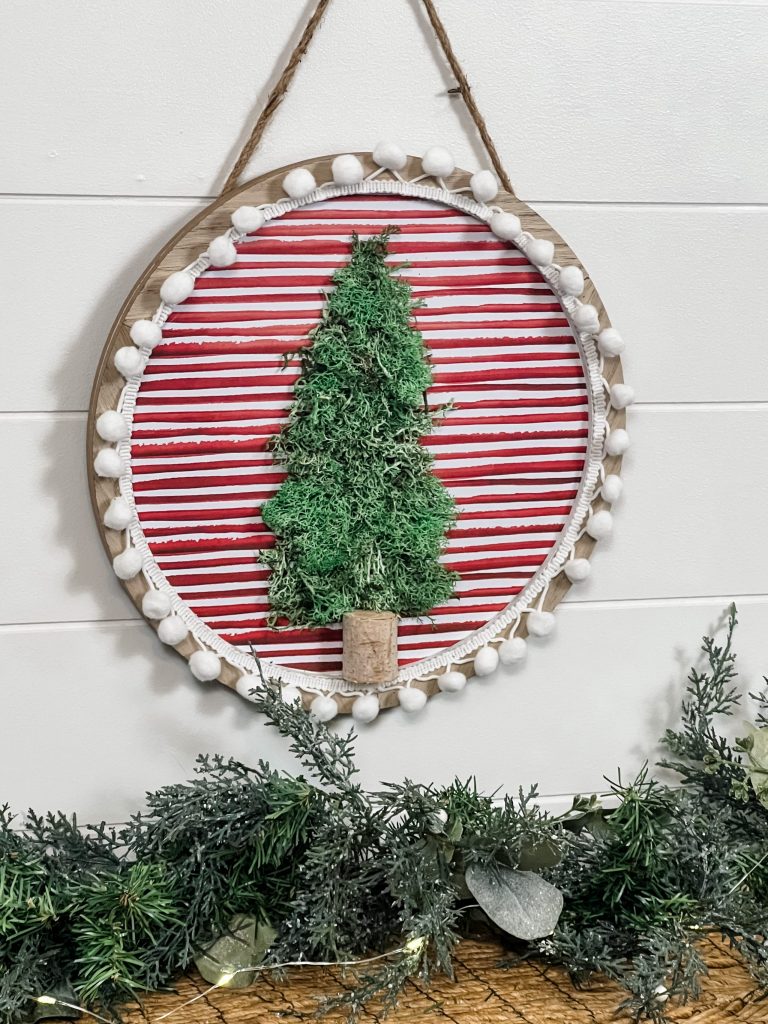
Last Updated on July 20, 2023



I love seeing different versions of mandey Stafford mossy tree..I’ve never seen 1 until her now I see all different takes on it! Love it brooke❤❤❤
I love this project! The color of the moss with the paper is perfect.
I love this so much!