Y’all know I don’t sew, but that doesn’t stop me from wandering around the sewing sections of craft stores just to see if anything strikes my fancy! I love to look at buttons and ribbons, but when I saw a cart full of decorative trims at Joann Fabrics, I stopped dead in my tracks! They were beautiful! They had fringe, tassels, pom poms, sequins, fur…just about anything you can imagine…and they were all on SALE! My eyes landed on the ruffle trims, so I snagged a few yards before I left. Ruffle trim can be used on a multitude of projects, but my mind instantly thought of a witch hat! Today, I’m going to show you how to make a ruffled witch hat using a Dollar Tree serving tray!
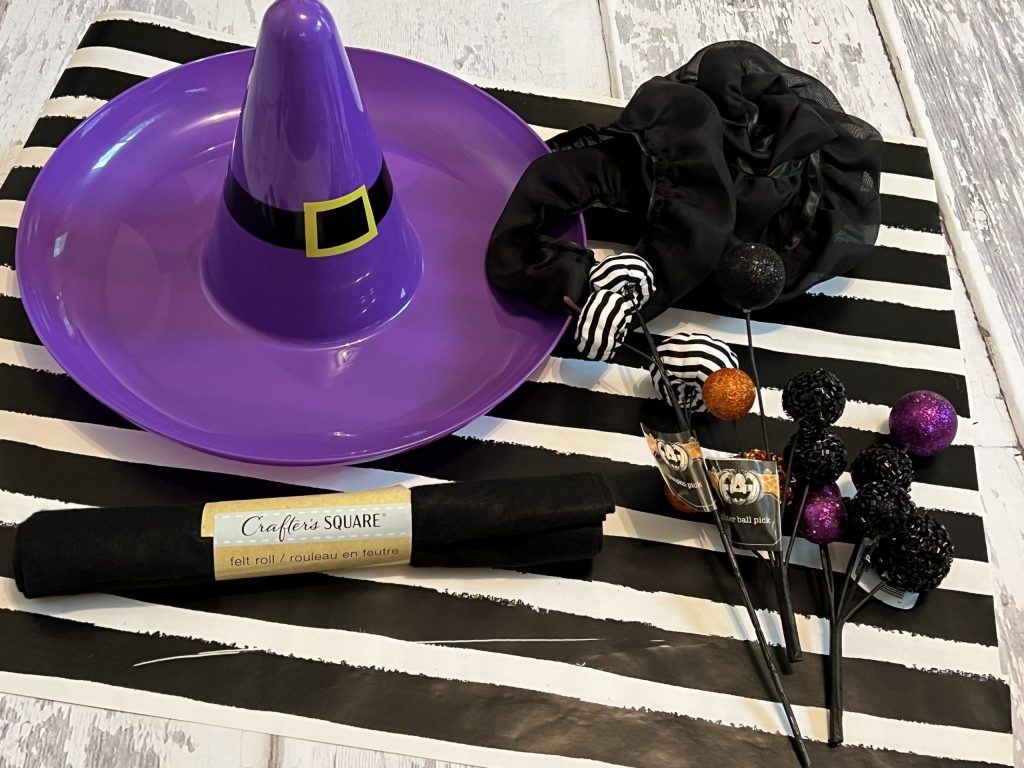
Most of the supplies used for this project were purchased at Dollar Tree. Here is what I used:
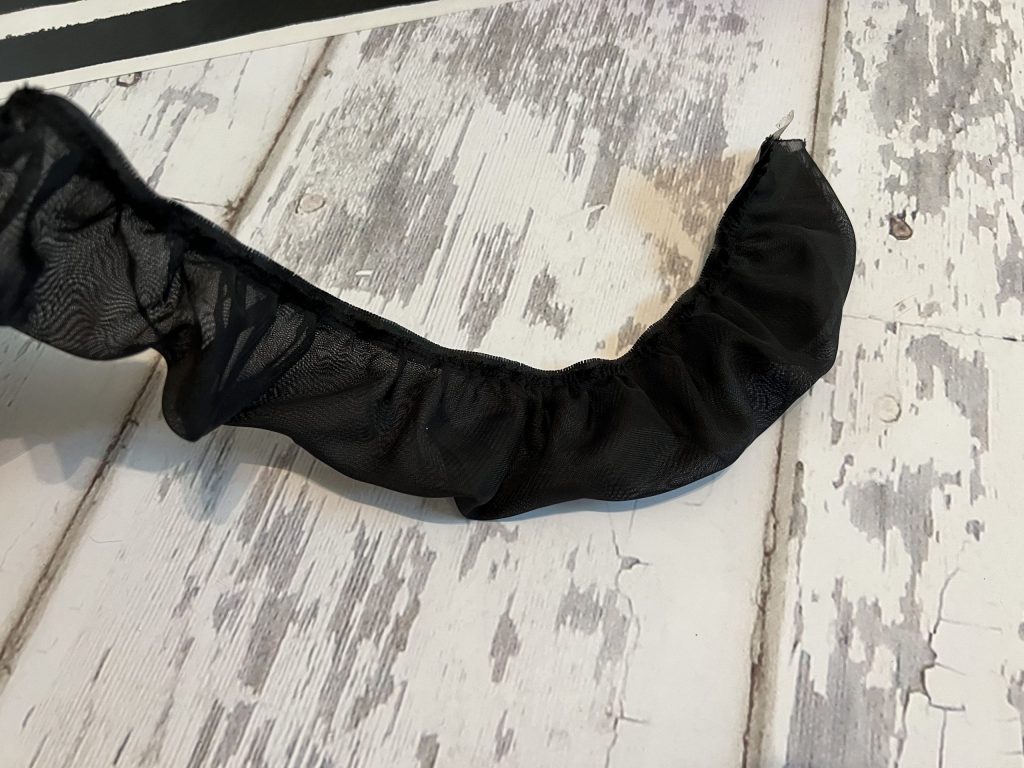
- 2 1/3 yards (about 7 feet) of black ruffle trim – purchased at Joann Fabrics
- Witch hat serving tray – Dollar Tree
- Black felt – Dollar Tree
- Halloween picks – Dollar Tree
- Spider webbing – Dollar Tree
- Glue gun
- Scissors
The black ruffle trim I used was on sale at Joann’s for $1.98/yard. Ribbons and trims sold by the yard are usually located near the fabric section.
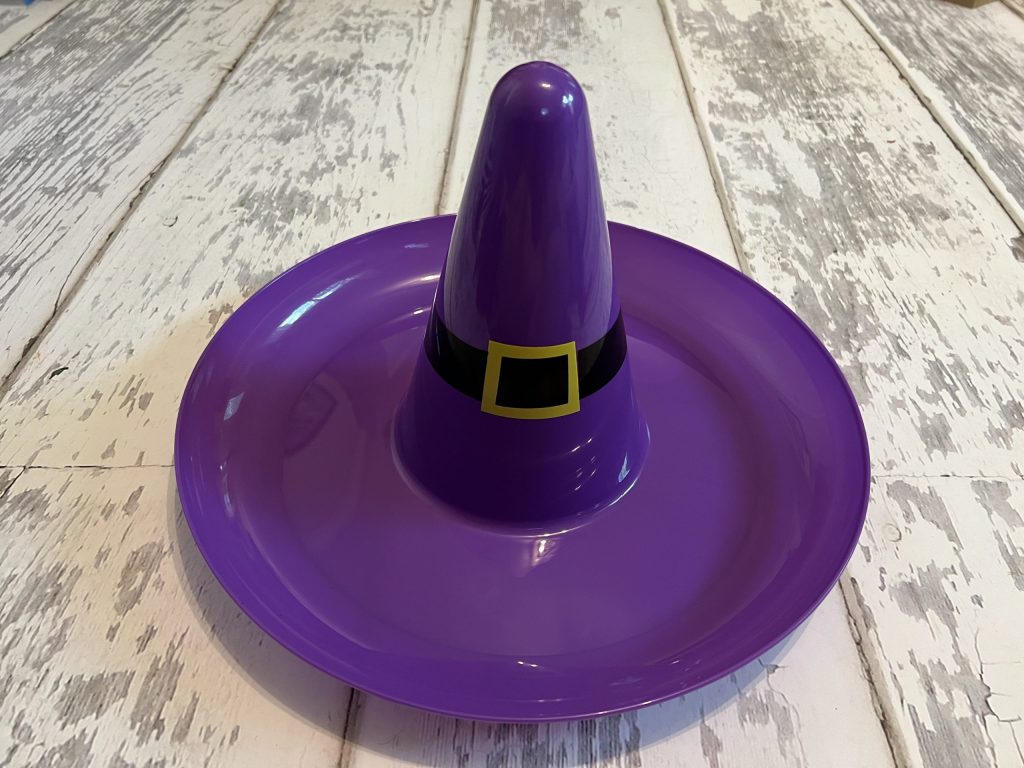
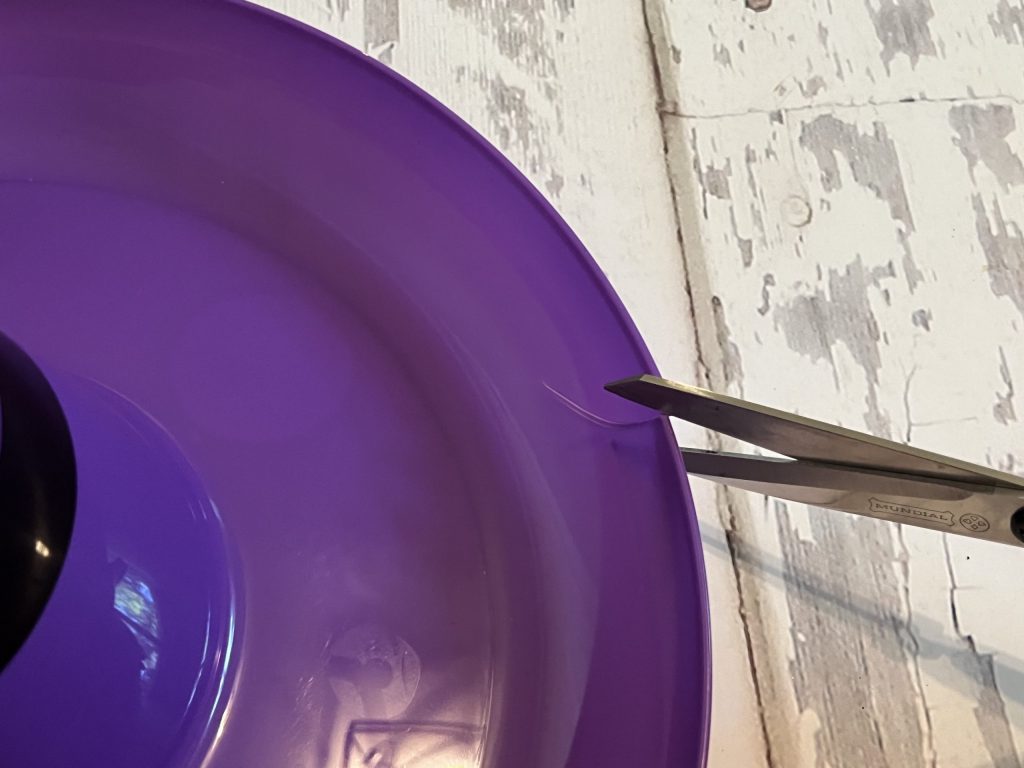
When I saw this witch hat tray, I knew it would be perfect for this project. The brim of the hat is curved up to form a tray. Since this reminded me more of a sombrero, I chose to cut off the curved edge!
The plastic is super thin, so regular scissors worked just fine!
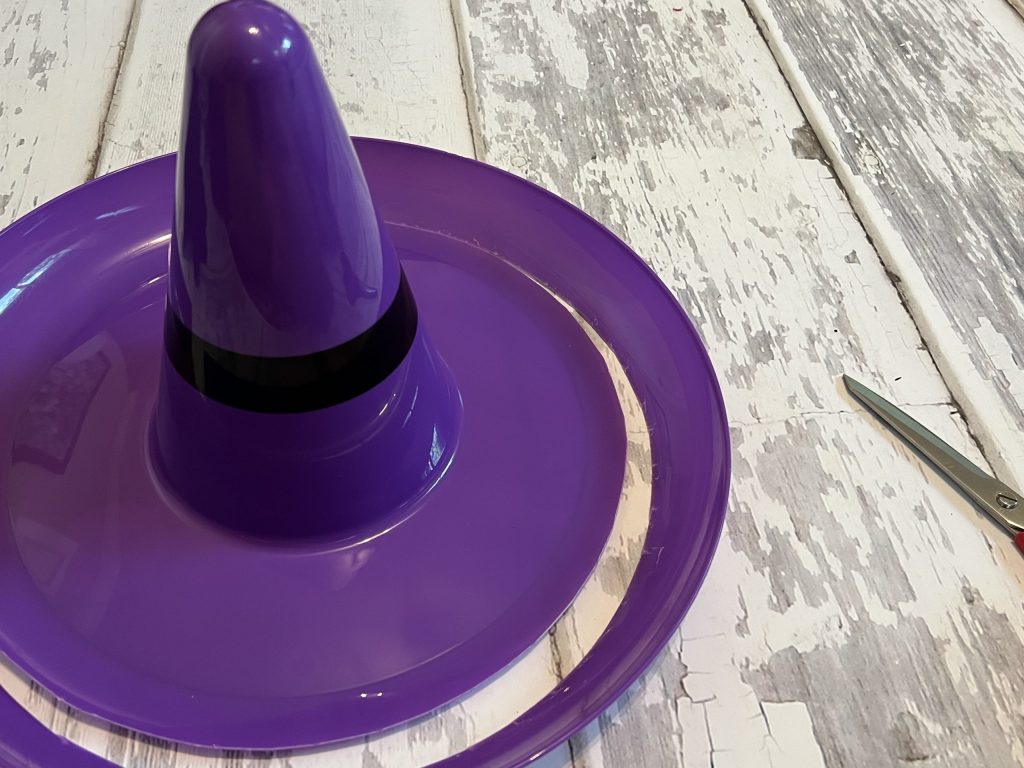
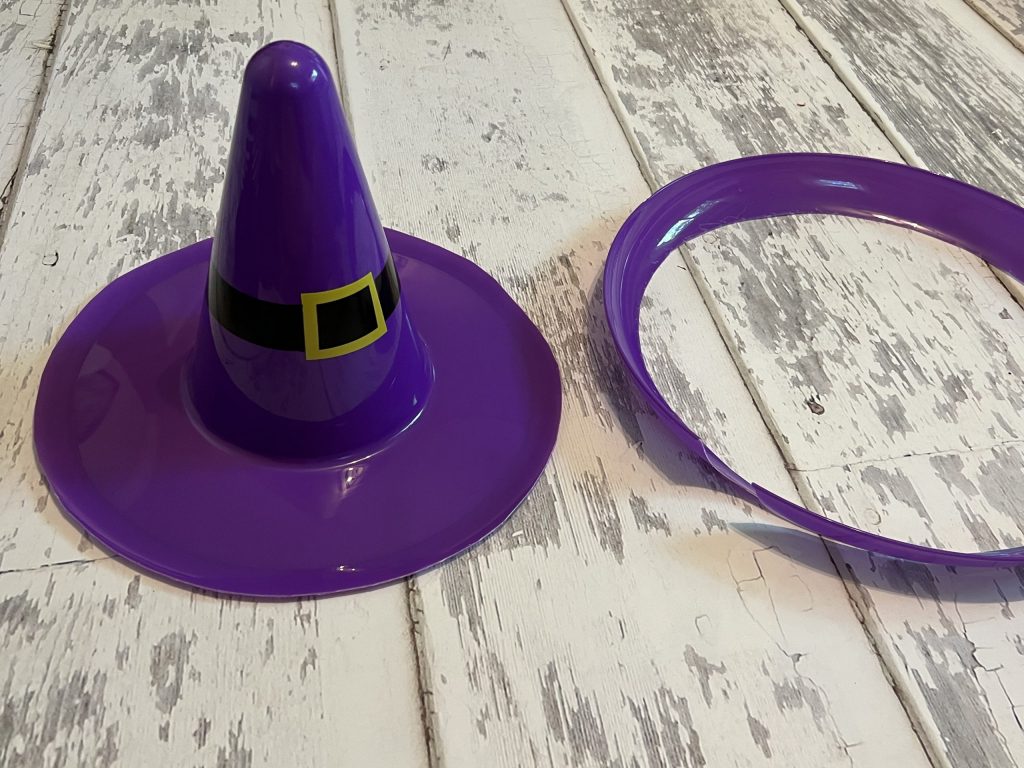
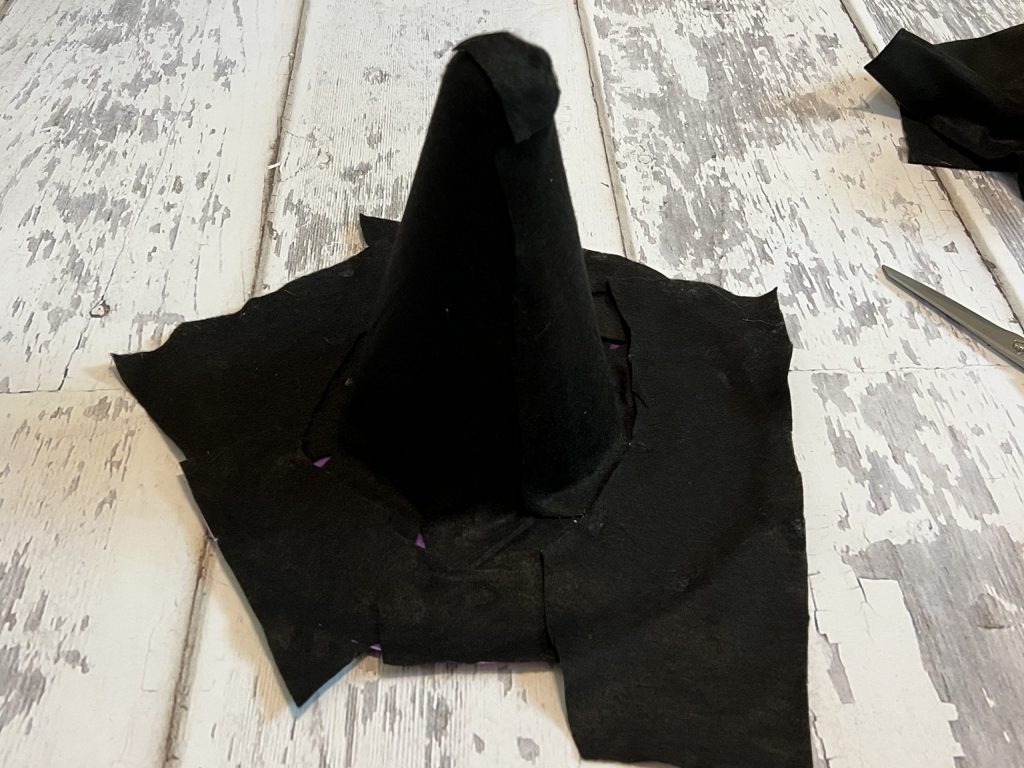
Next, I chose to wrap the hat with black felt. I chose felt for a few reasons. For one, felt is thick and covers well. Secondly, it also adheres wonderfully with hot glue! Thirdly, I needed a slightly rough texture…you’ll see why in a bit!
When wrapping the cone, you do want to make sure the sides are smooth. The top can be pinched in a little and even patched with a separate piece. I used hot glue sparingly just to secure the fabric down.
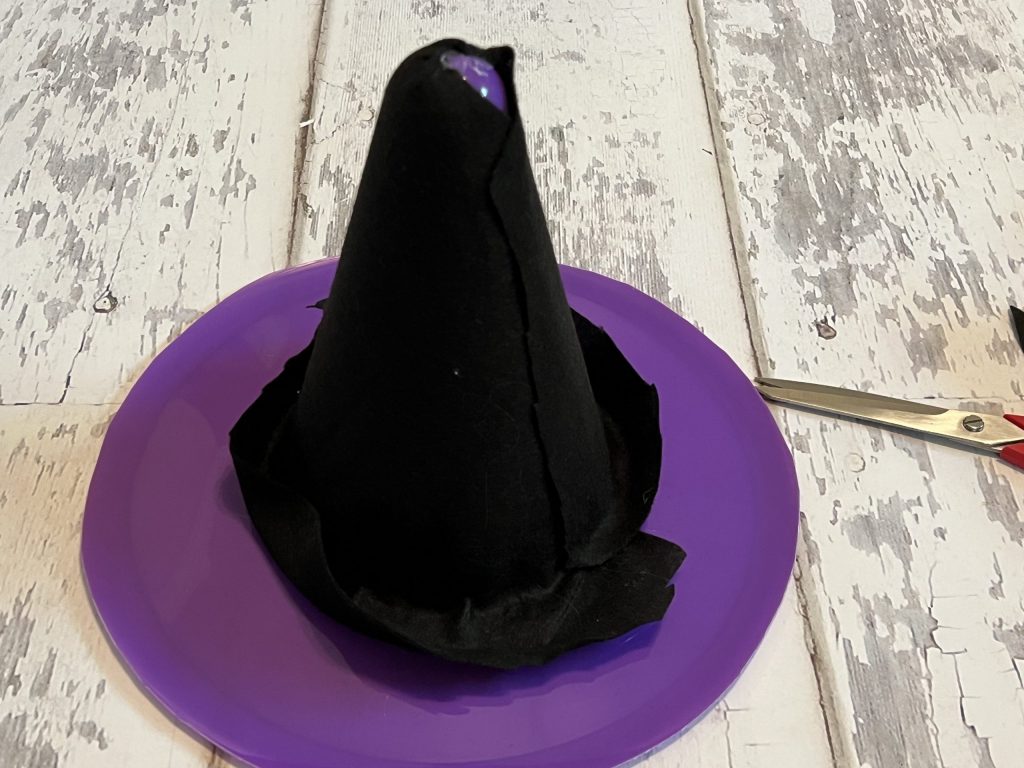
To get the felt to lay flat on the brim, I cut slits in the fabric then glued it down.
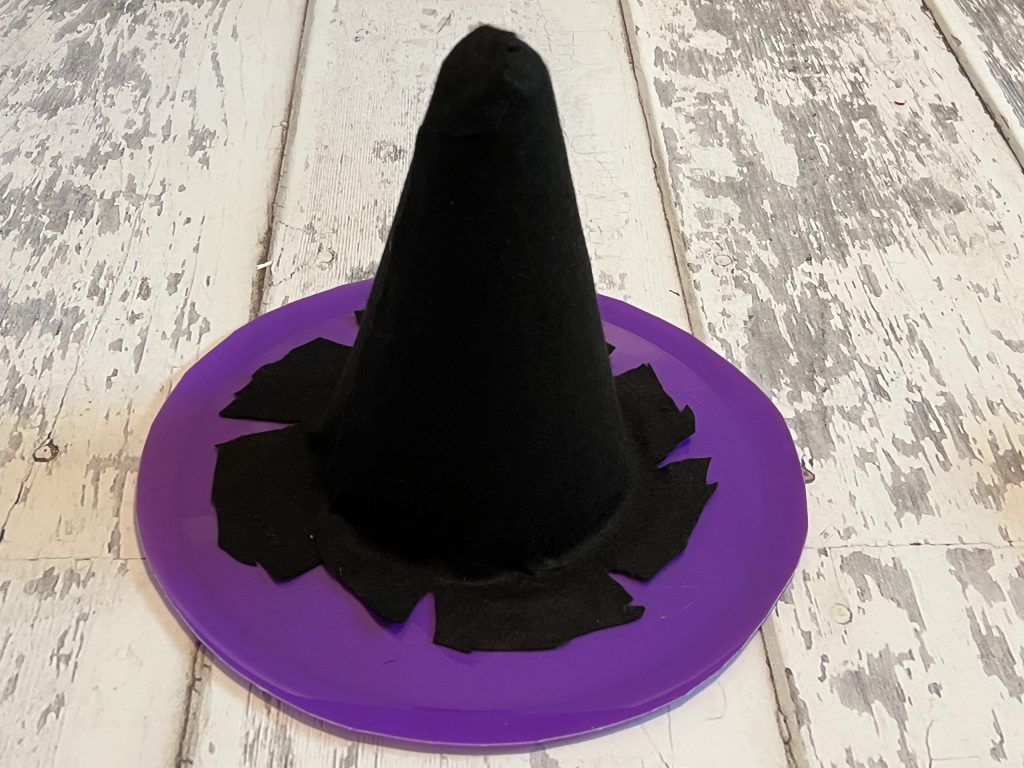
Once I had the top portion covered, I just patched together the brim using leftover pieces. The brim will be covered with ruffles, so it doesn’t matter how sloppy it looks. Then, I trimmed the excess fabric away.
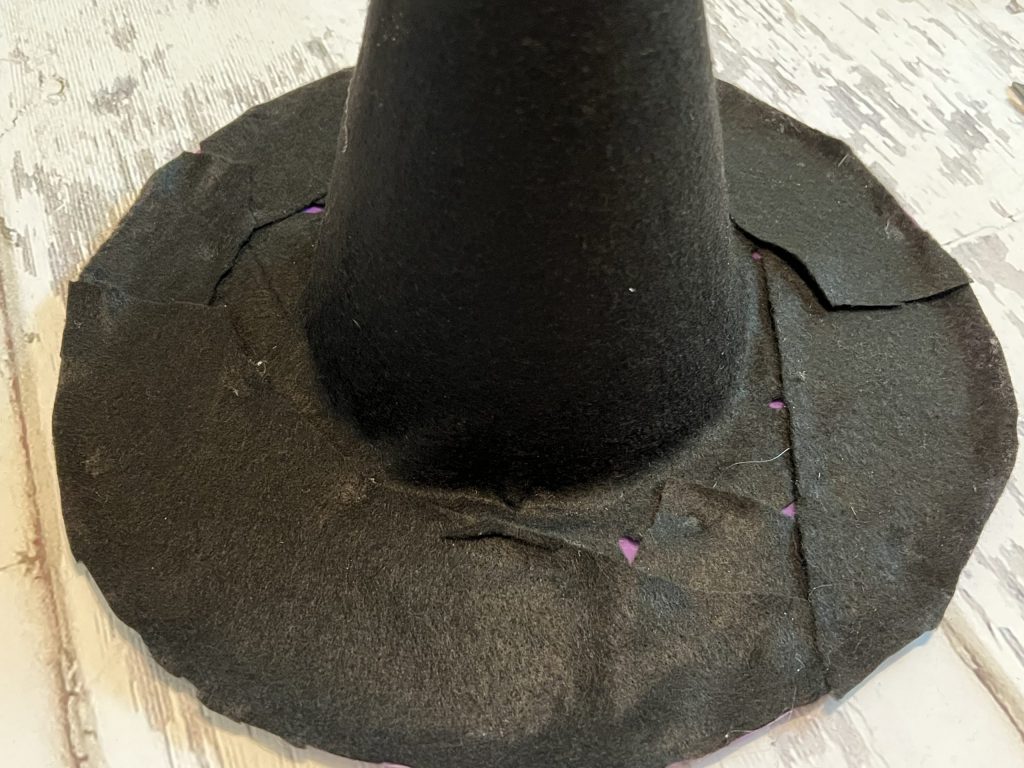
Next, it was time to add the ruffle trim. Starting at the outside of the brim, I hot glued the ruffle around the edge.
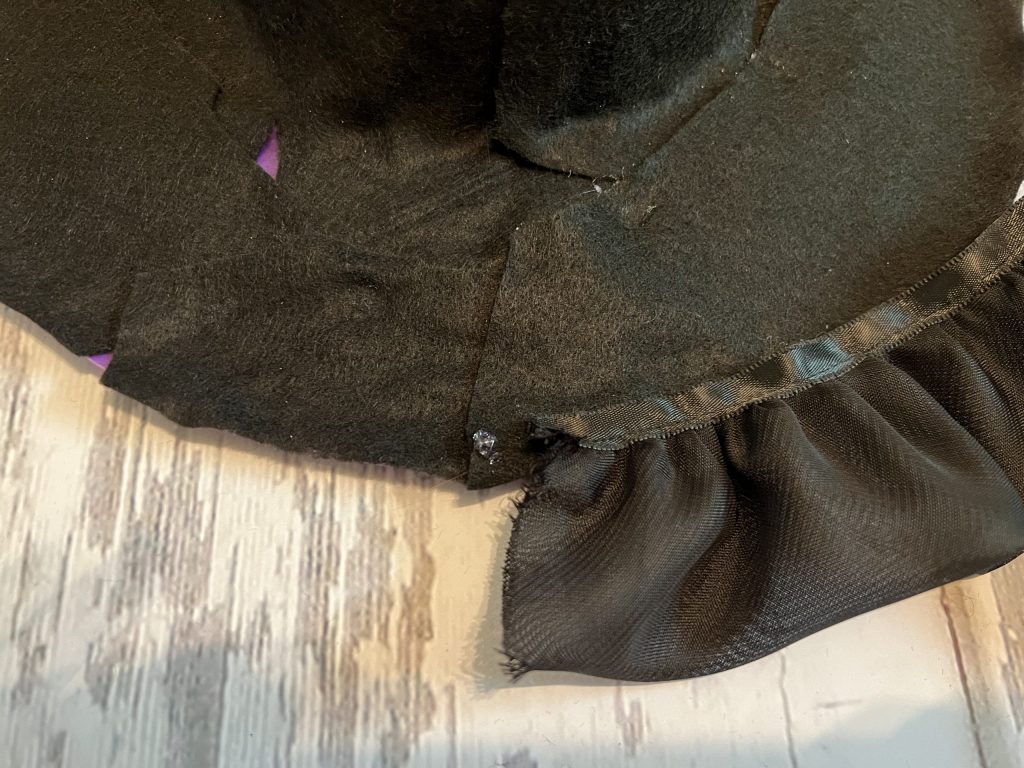
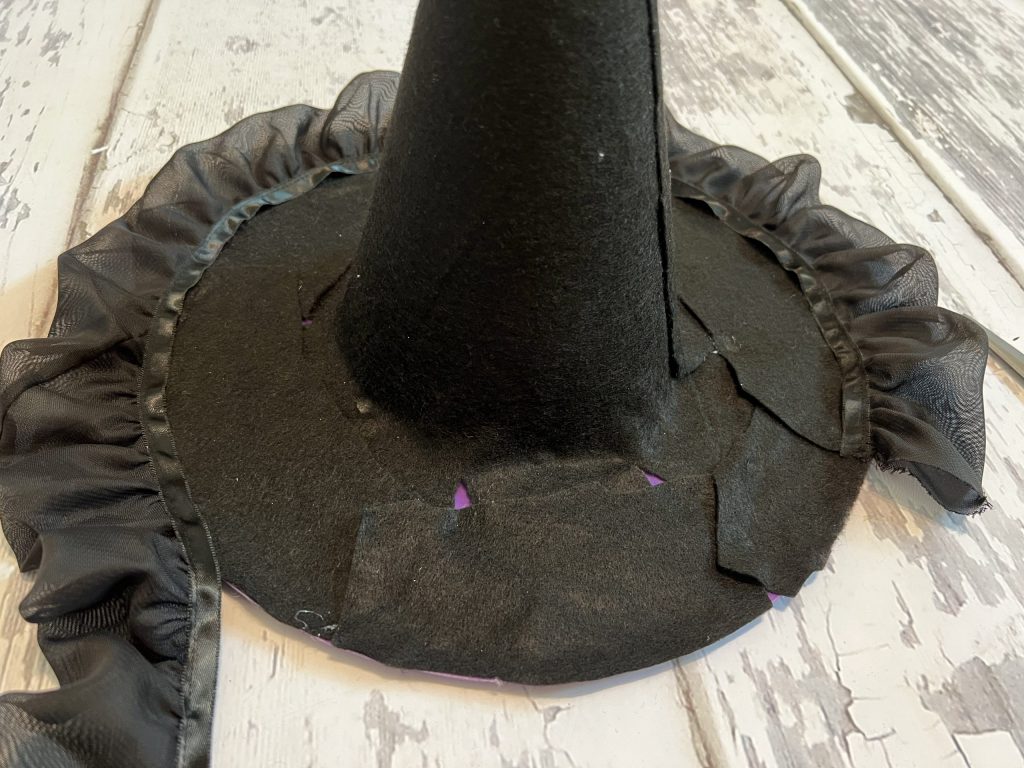
When I had made it all the way around, I shifted the trim up to where the bottom of the ruffle slightly overlapped the top of the previously laid ruffle.
I repeated this process a second time to add the third layer ruffles.
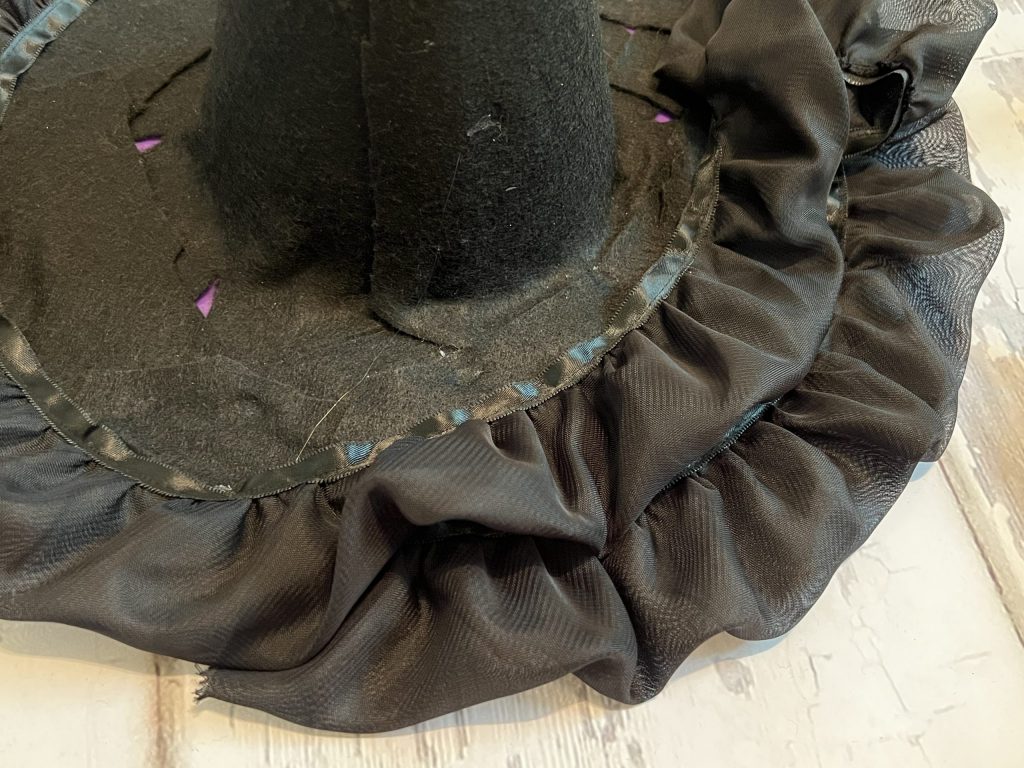
It took three rows of ruffles to reach the cone portion. When I reached the end, I cut the ruffle trim and folded it under before adding the last dot of glue. This just prevent the raw edge from showing.
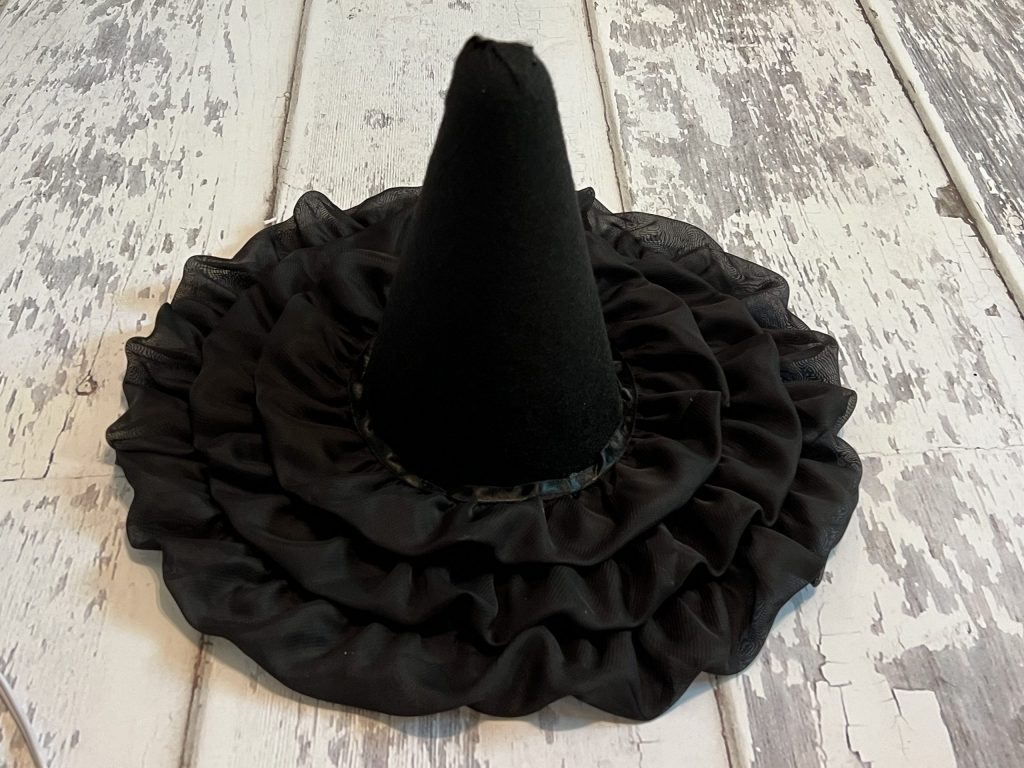
Now, I was left with this top portion that included an ugly seam. I decided to use spider webbing from Dollar Tree to cover the top.
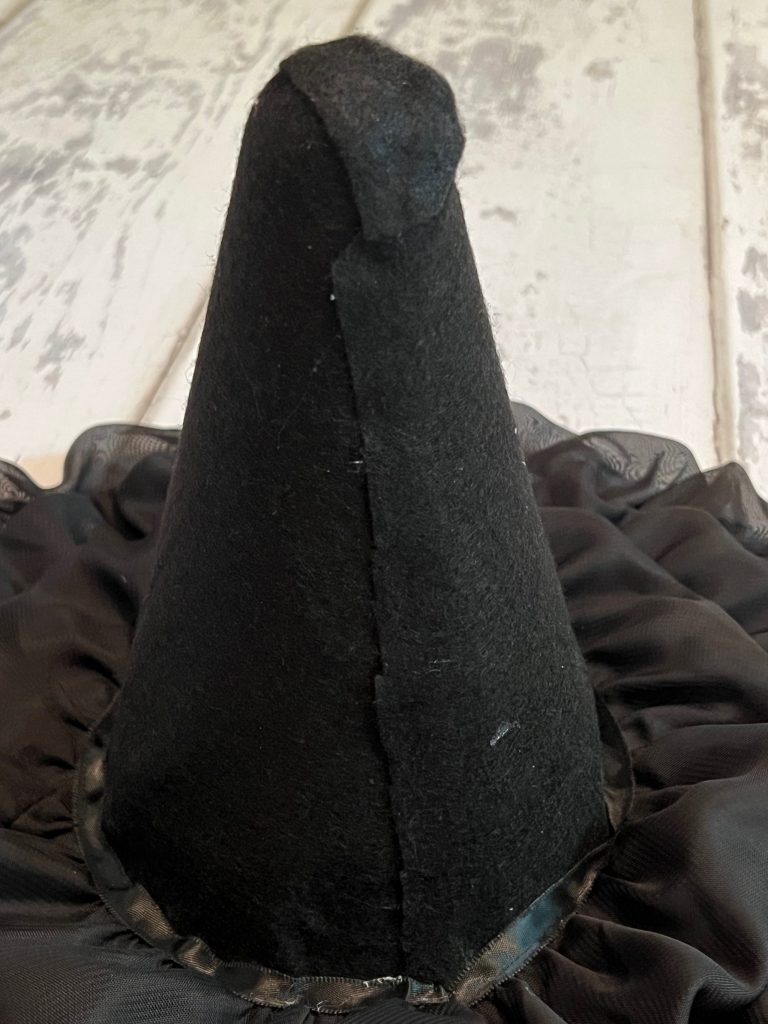
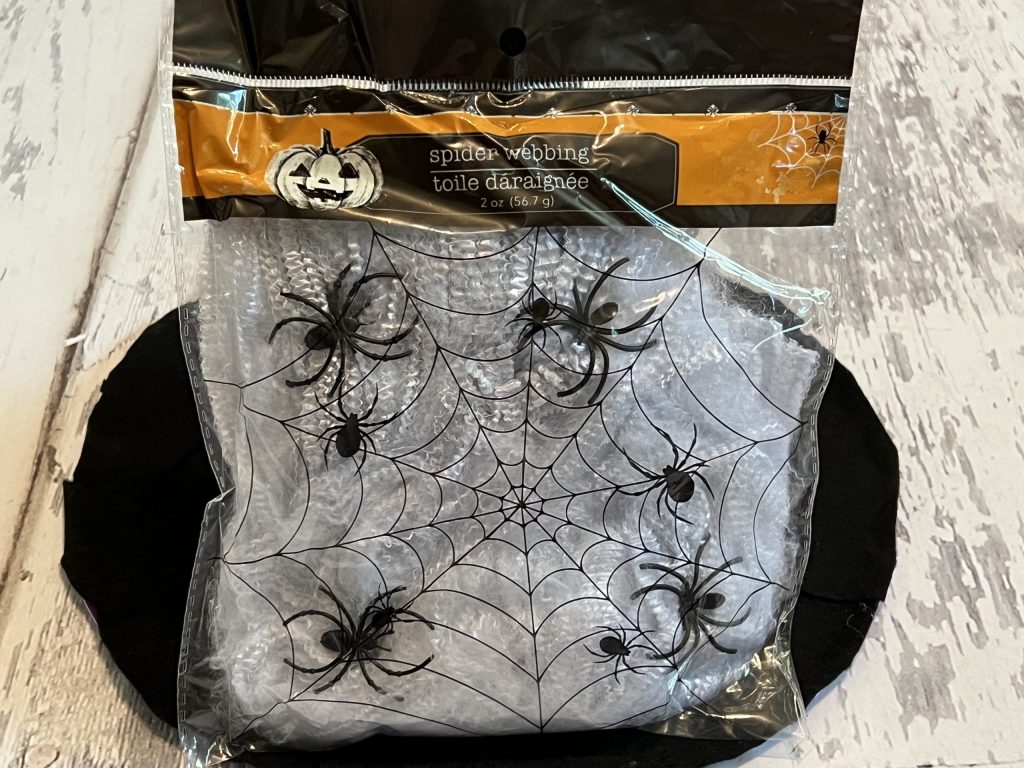
If you’ve ever worked with these handy little spider webs, you know that they stick to EVERYTHING! You’ll find out real fast if your hands are even the tiniest bit dry…or you have a hangnail! Ha! BUT, this is when the felt comes in handy! The webbing sticks great to felt!
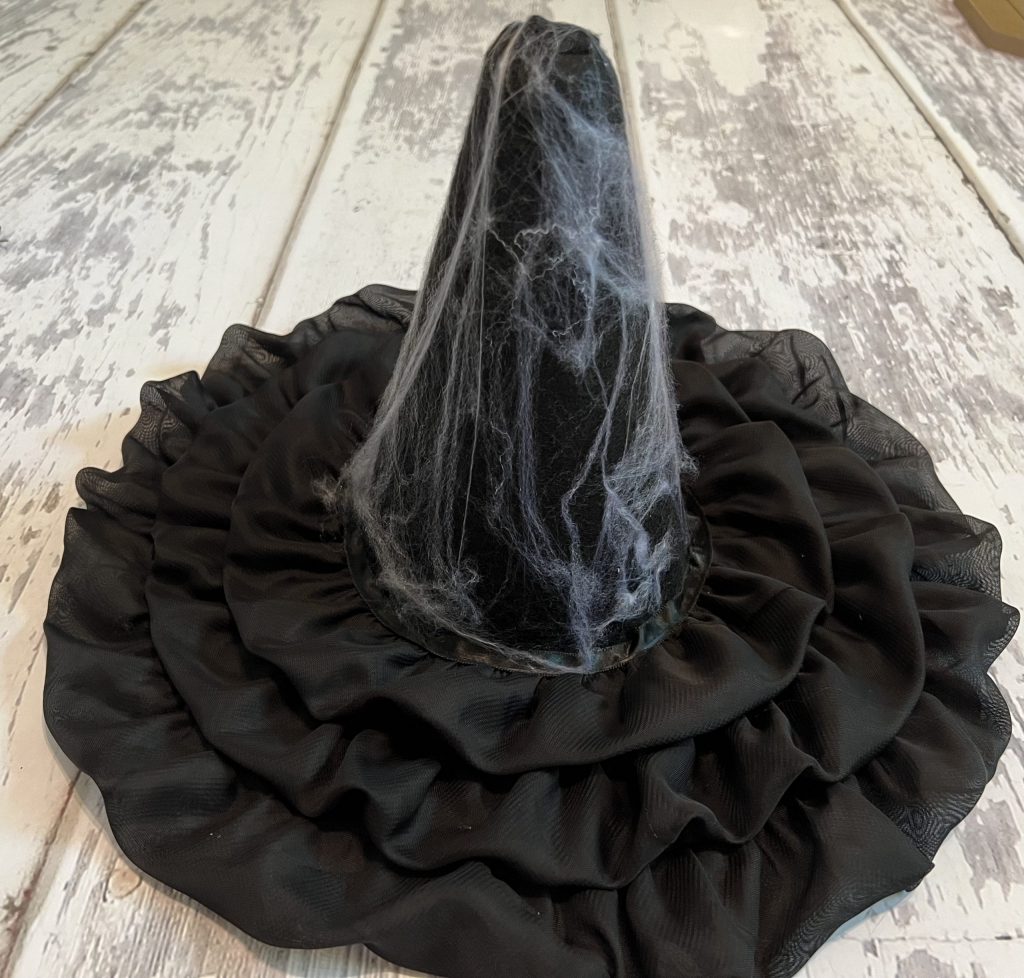
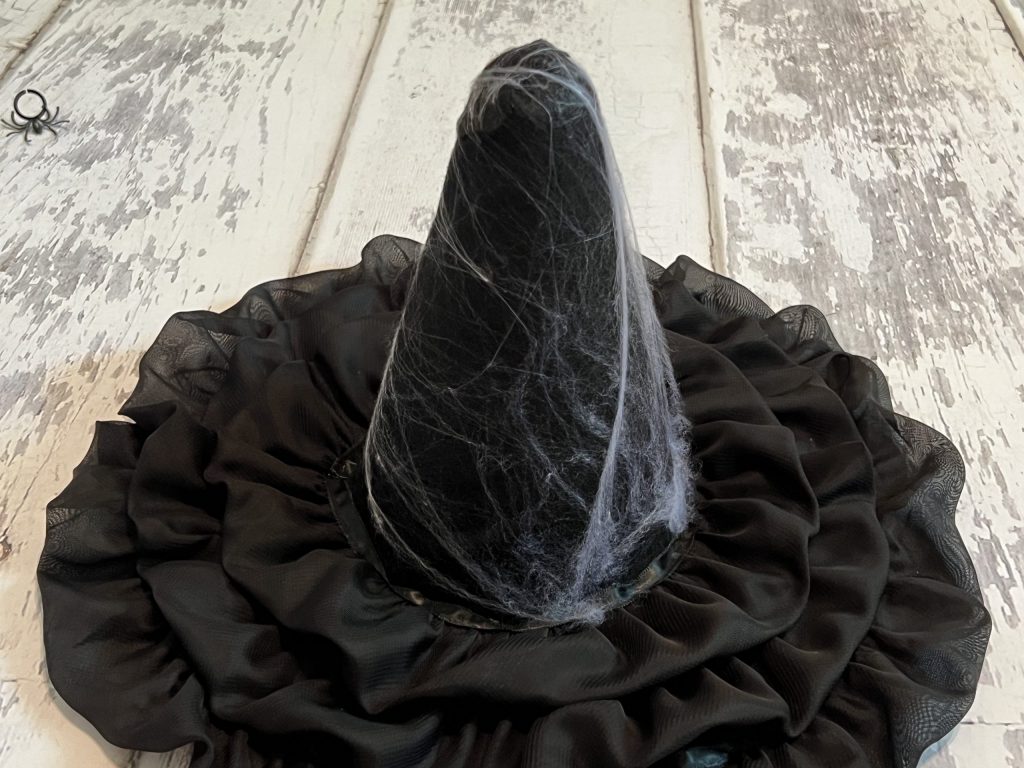
I pulled off a small bit of webbing and draped it over the top of the hat. Then, I just started pulling it down and to the sides to stretch it over the felt portion.
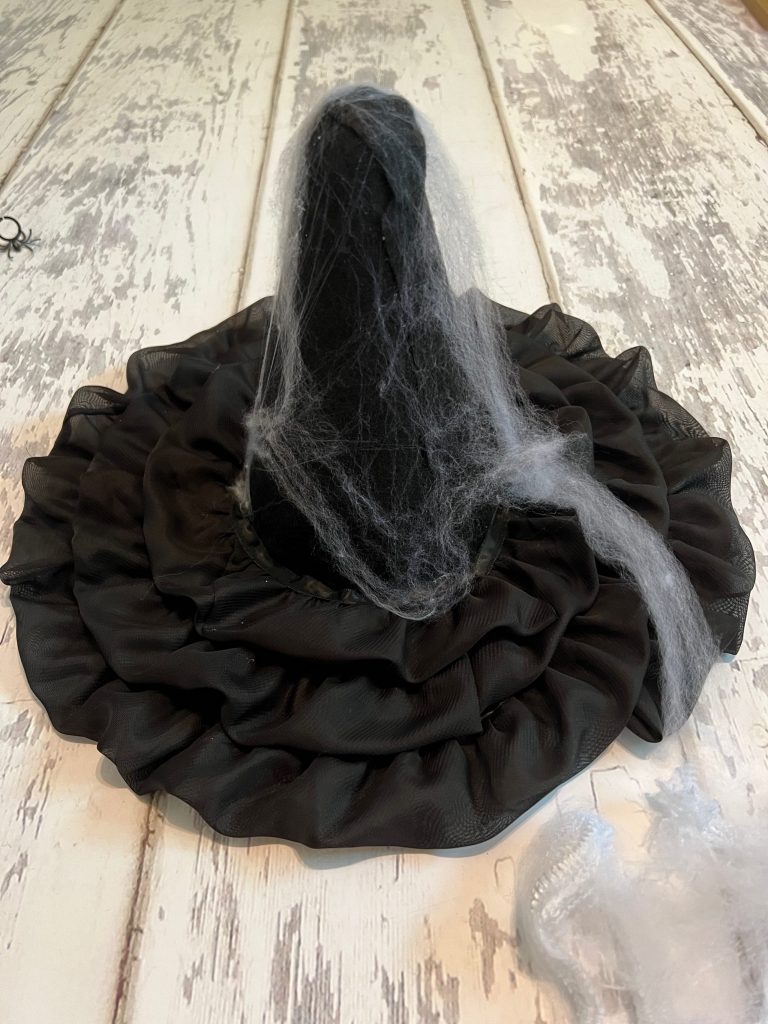
This part was super simple, and I think it turned out fantastic! The ugly seam shown previously was not even noticeable!
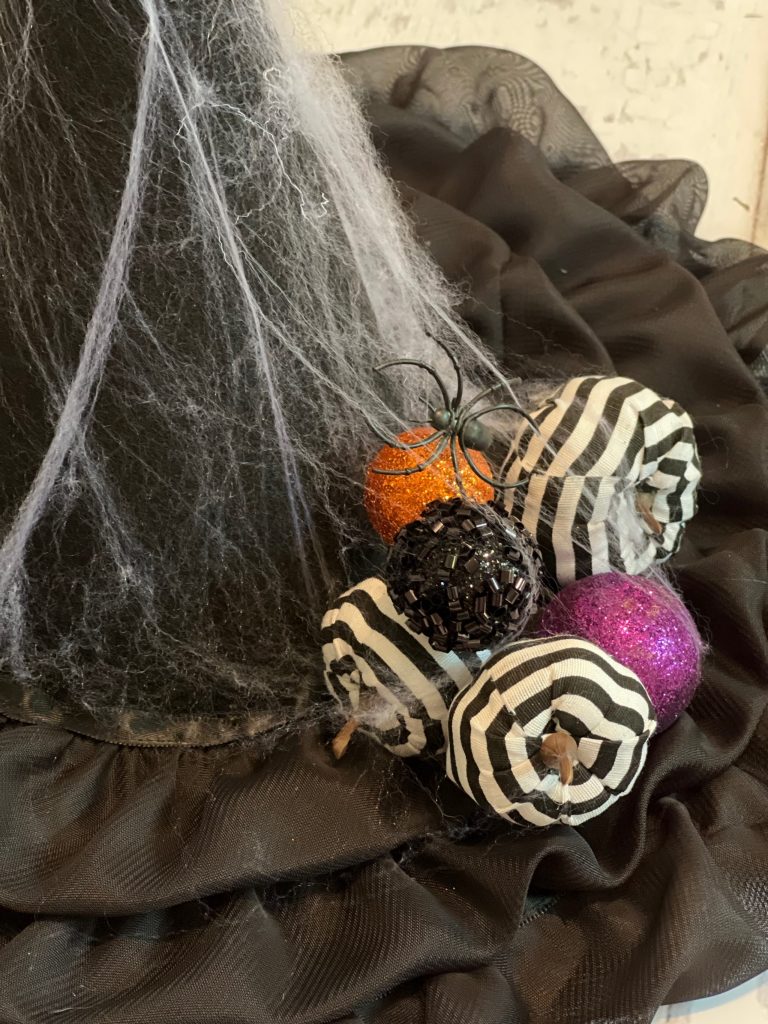
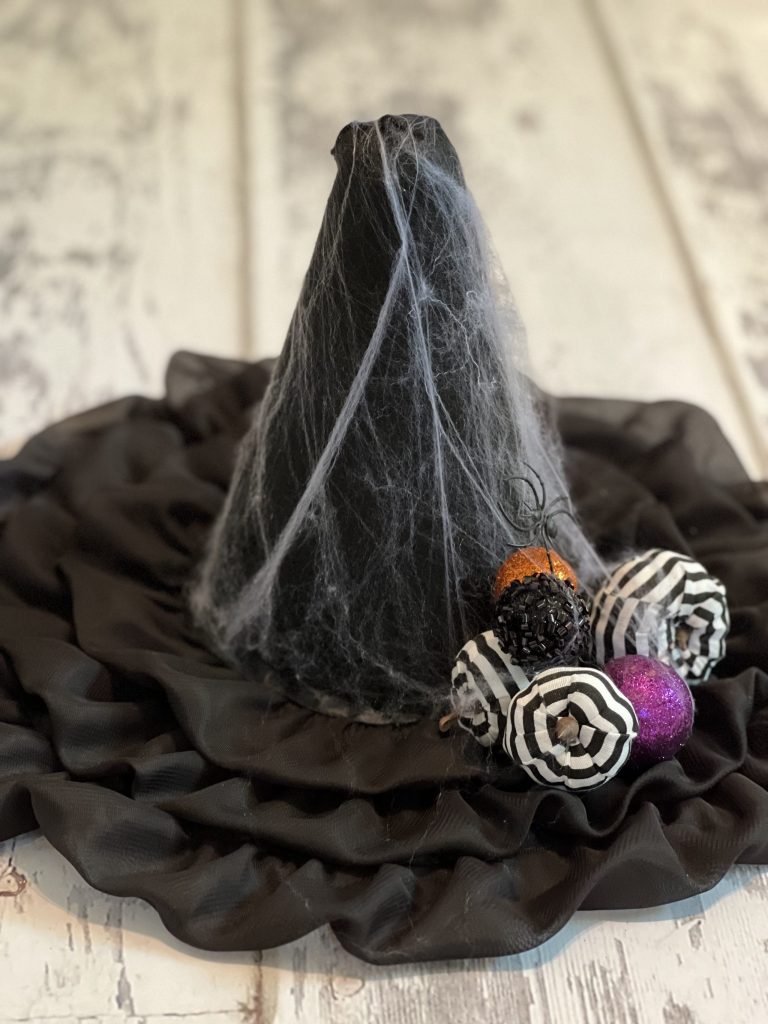
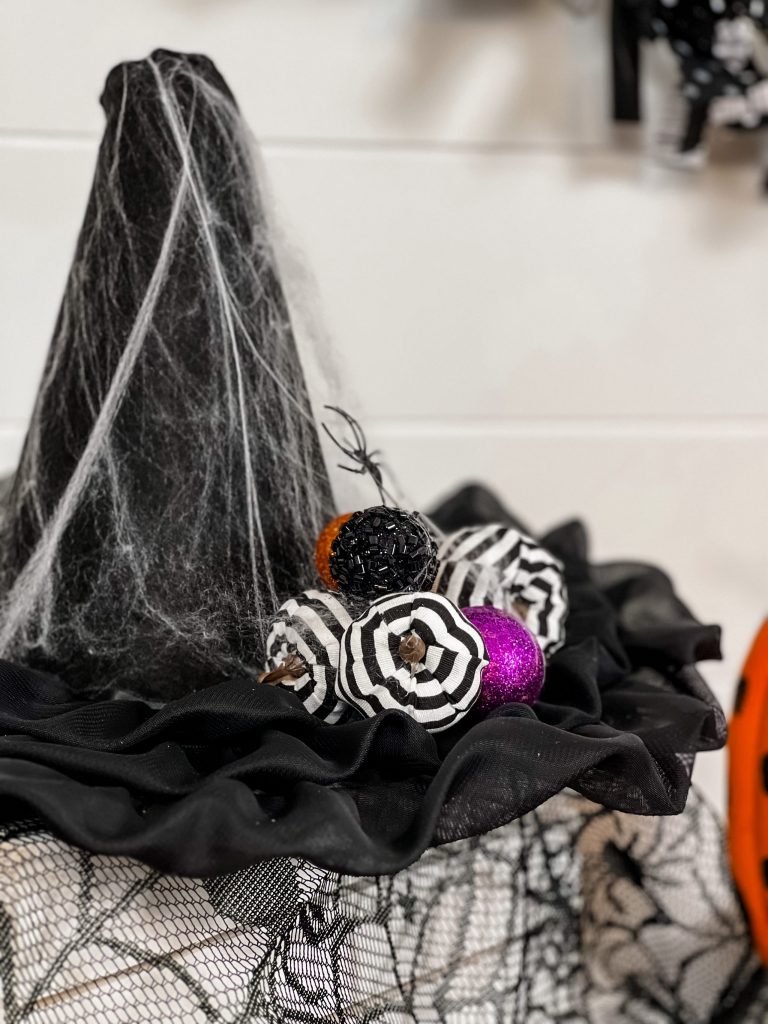
To complete the hat, I took a few picks purchased from Dollar Tree and glued them down on the brim of the hat.
I pulled down the webbing a bit so it would “catch” and stick to the glitter pieces. Then, I stuck a little spider onto the web!
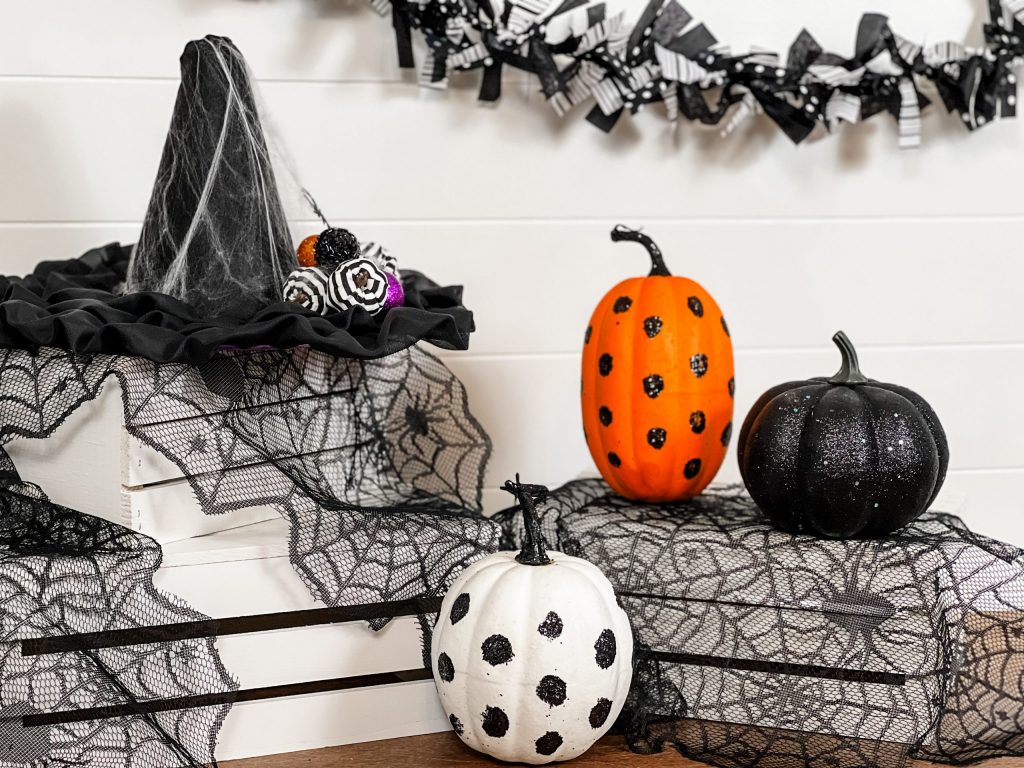
I absolutely ADORE this cute ruffled witch hat! It would make a darling centerpiece for a table or be a fun addition to a shelf.
Do you decorate for Halloween? Do you lean towards spooky decorations or cute and whimsy? You know I love happy and fun decorations!
I hope you enjoyed this cute and cheap project! I think it is just SO stinkin’ adorable!!!
Be sure to PIN FOR LATER!
Last Updated on August 27, 2023







Leave a Reply