The mornings and evenings here in Kentucky have been nice and crisp! Fall is definitely in the air, which means Halloween is just around the corner! Today, I have the absolute cutest craft for you. Using mostly Dollar Tree supplies, I created a DIY Halloween witch! Not only is the witch adorable, but she was SUPER SIMPLE to make!
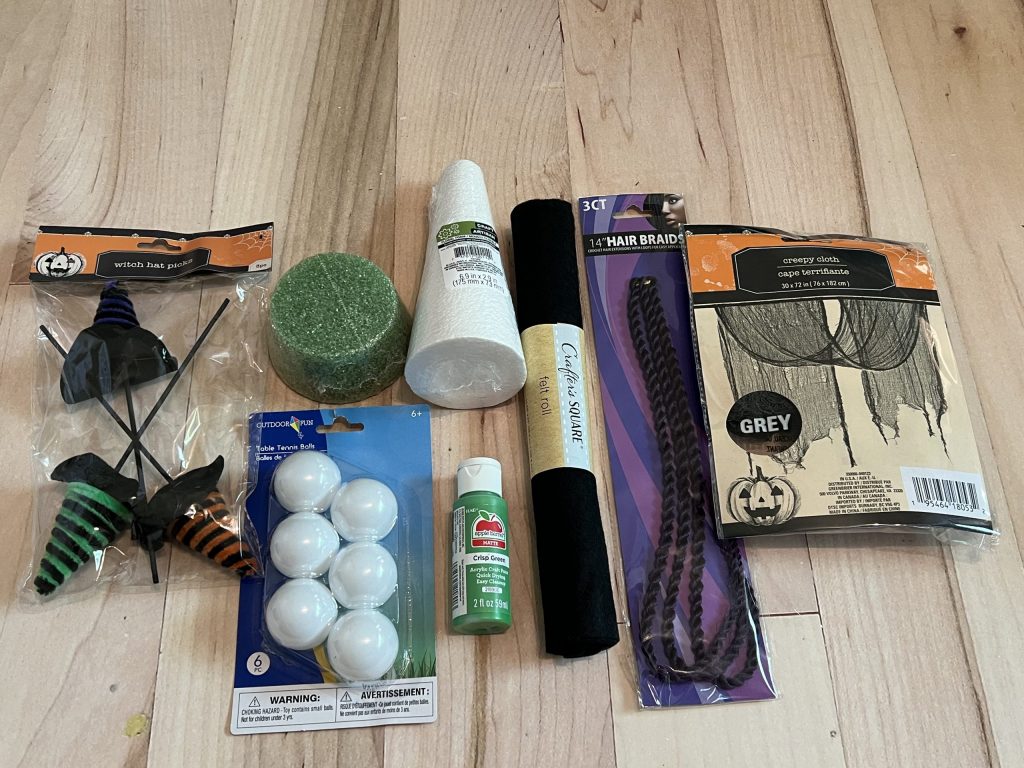
To create the witch, I used the following supplies:
- Styrofoam cone
- Styrofoam base
- Table tennis balls
- Black felt
- Gray creepy cloth
- Witch hat picks
- Witch broom
- Purple hair braids
- Apple Barrel Paint in Crisp Green
- Paintbrush
- Hot glue gun
- Scissors
Almost all of the supplies came from the Dollar Tree! If you buy three cones and bases, there will be enough supplies to make three witches!
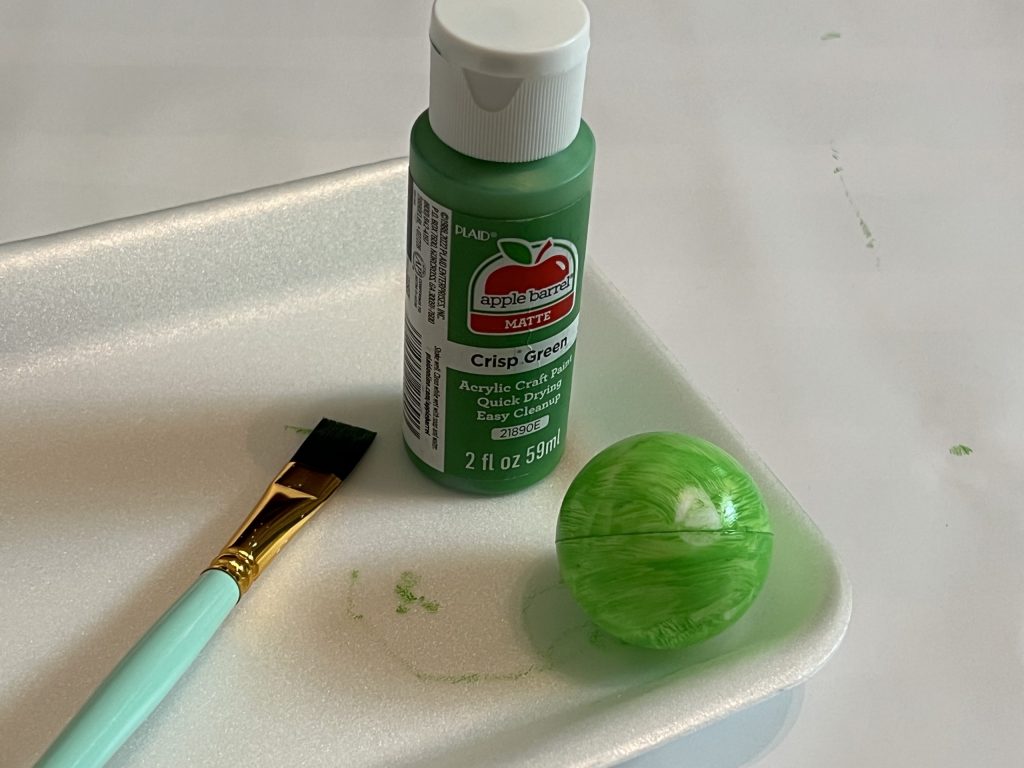
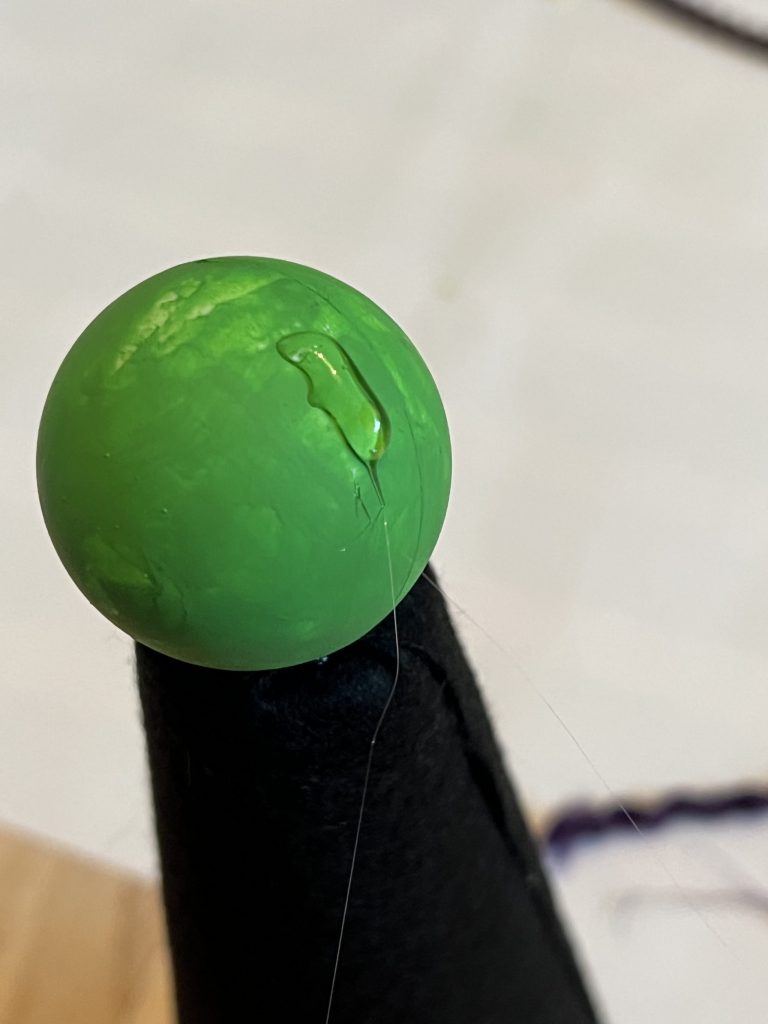
First, I painted a table tennis ball with green paint. I used Apple Barrel’s Crisp Green. It took two coats of paint to cover well. This ball will be the witches head.
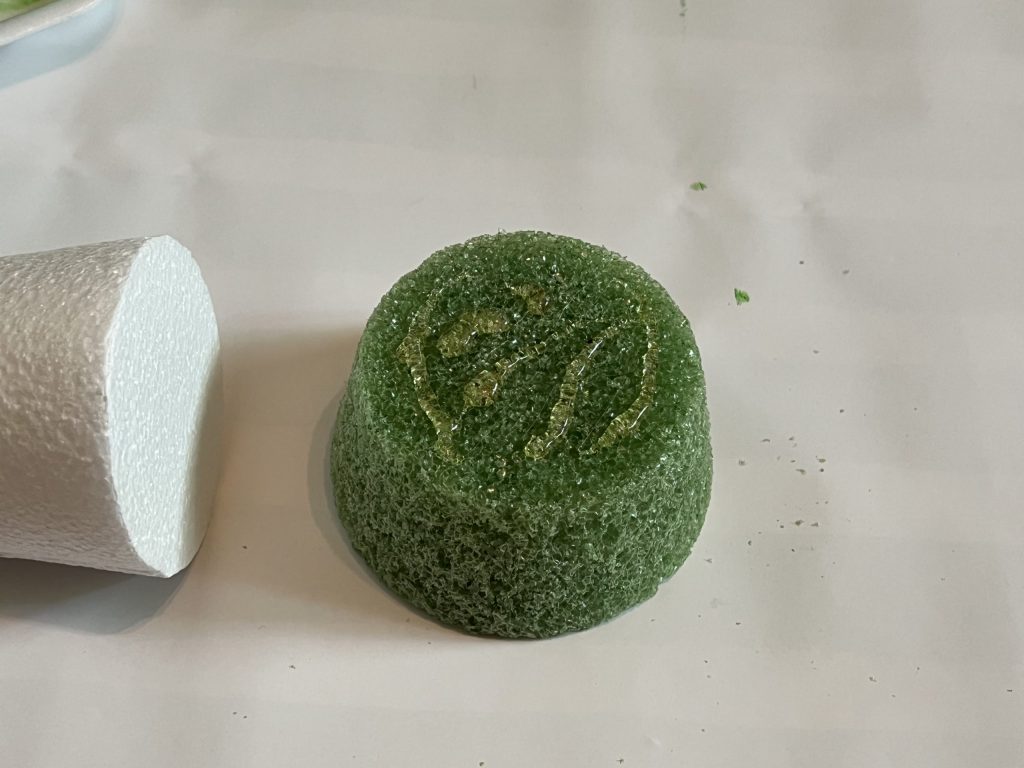
While the green paint was drying, I worked on the body of the witch. Using hot glue, I glued the cone to the base styrofoam piece. You wouldn’t have to use the base piece, but I think it gave it more stability and additional height.
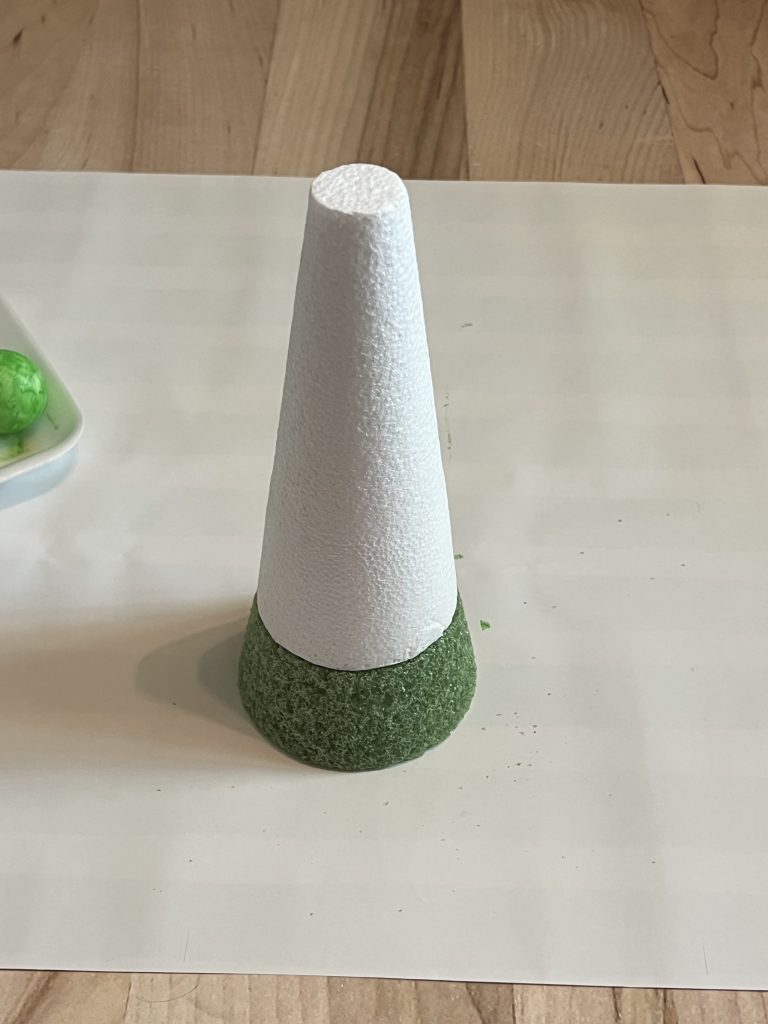
Next, I covered the body portion with black felt. I sort of just rolled the cone in the felt and trimmed the excess fabric away. I secured the ends with hot glue.
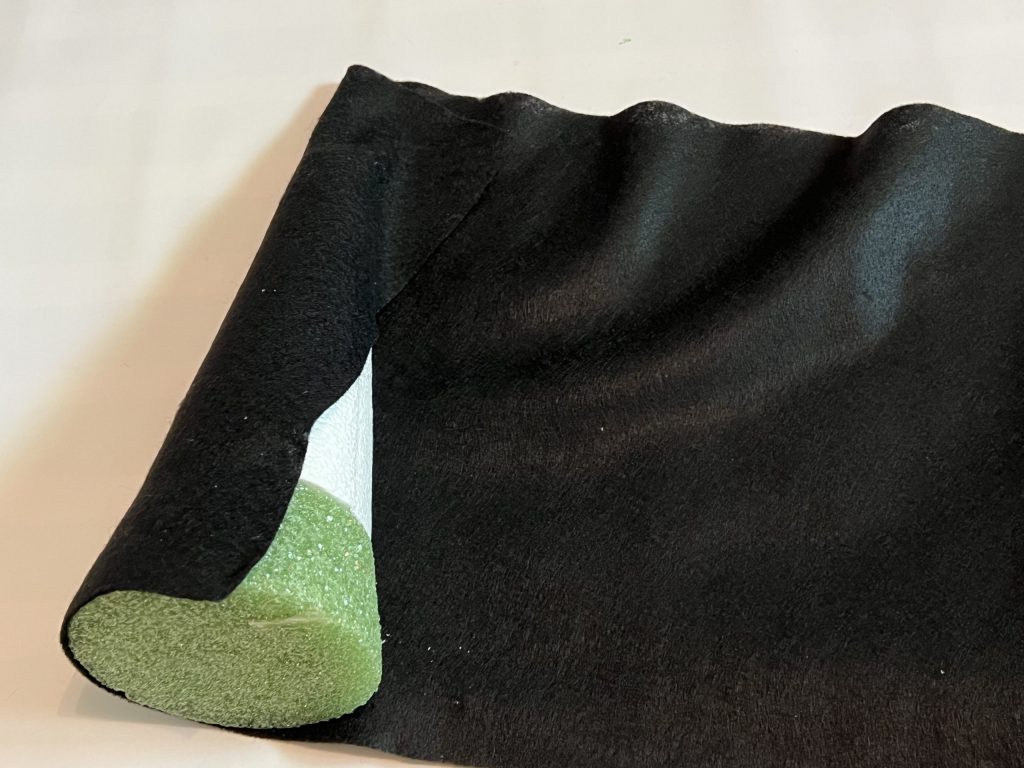
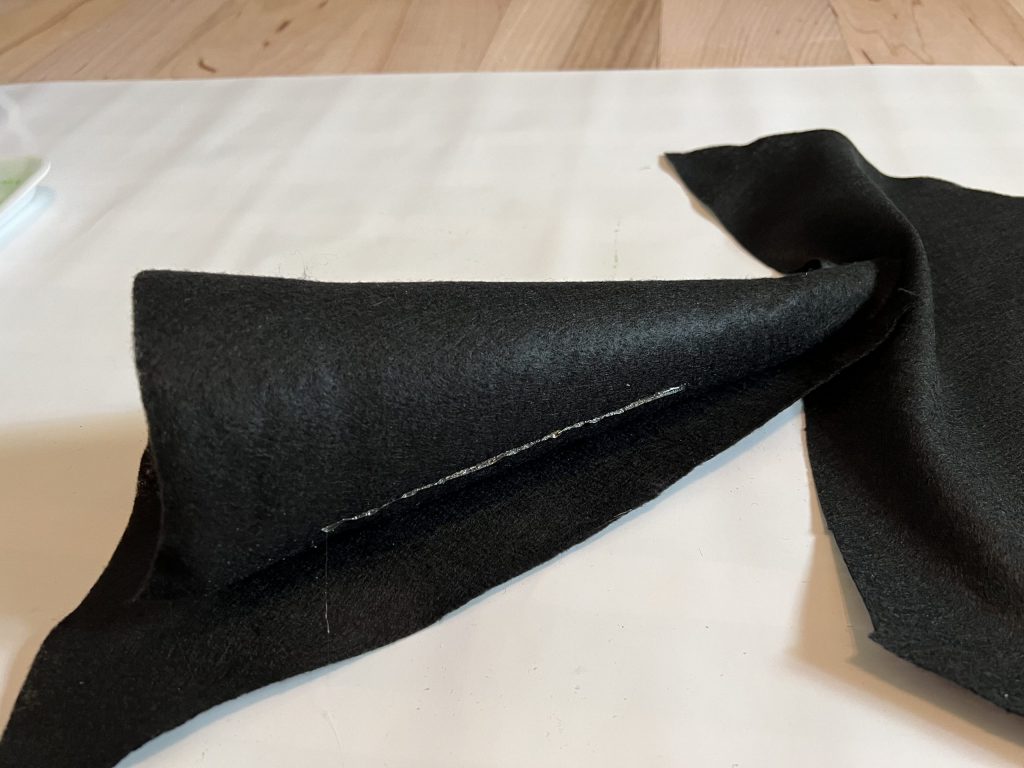
For the top of the cone, I added hot glue and folded in the fabric.
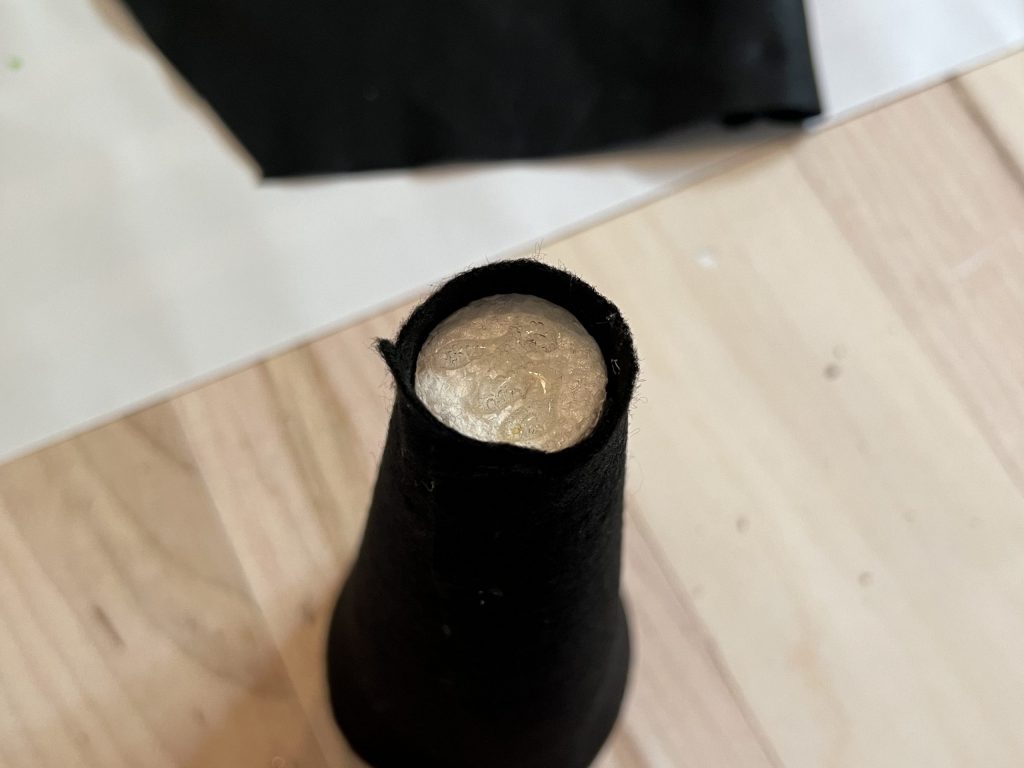
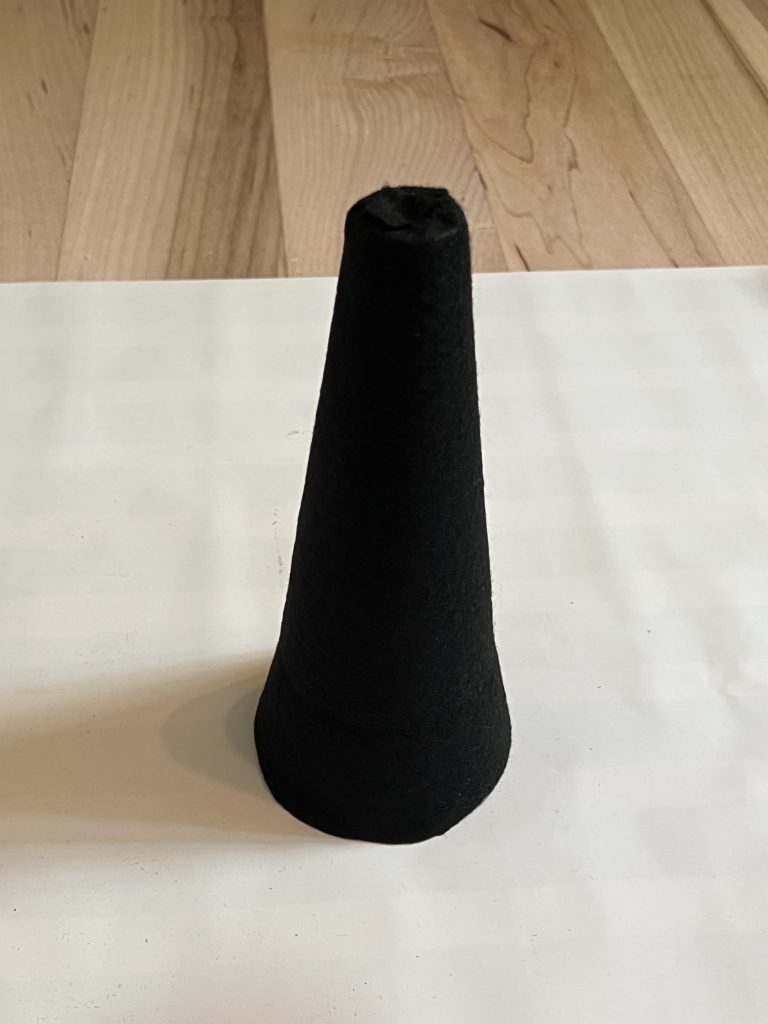
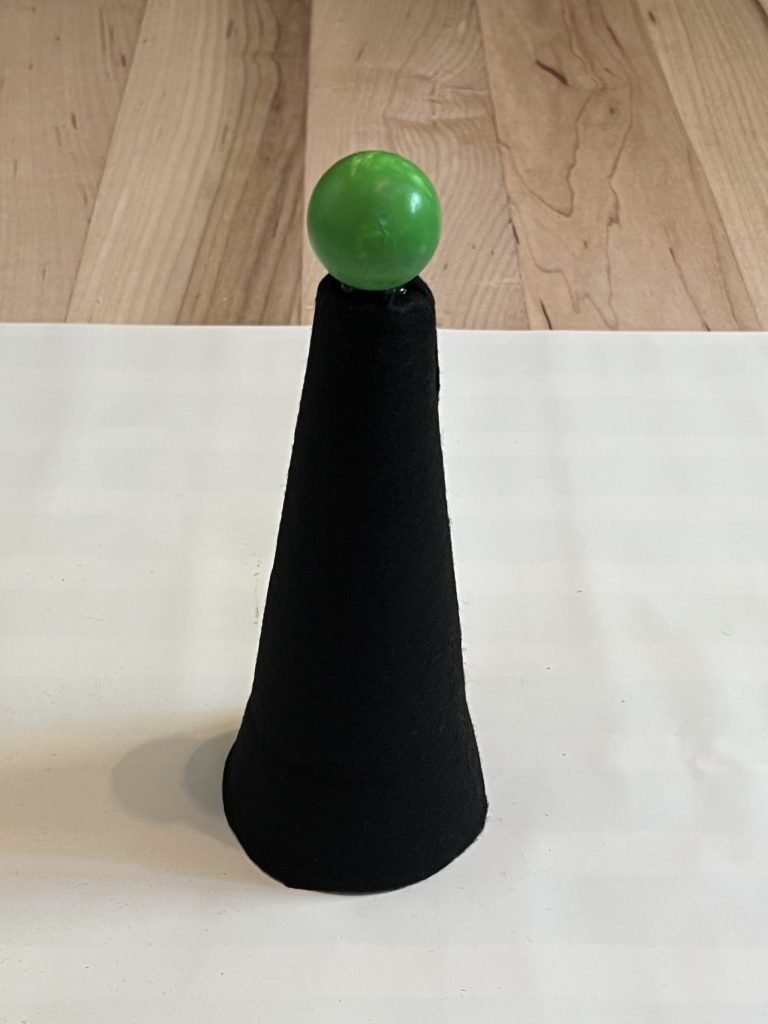
Then, I glued the green head on top of the covered cone piece. It looks pretty basic, and I wasn’t quite sure at this point how it was going to come together, BUT I see the potential!
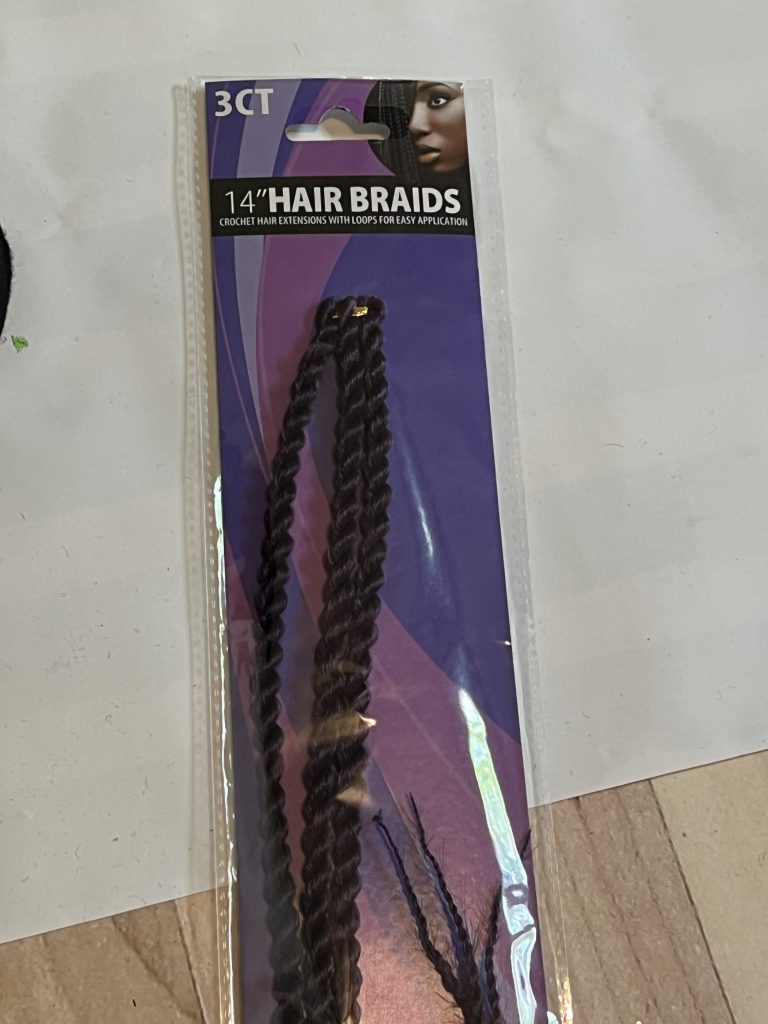
Next, I began working with the hair braids. I found these purple hair extensions in the hair section of Dollar Tree. I love to peruse the Dollar Tree just looking for creative and fun supplies!
After unraveling the braids, the hair was frizzy and perfect for a witch!
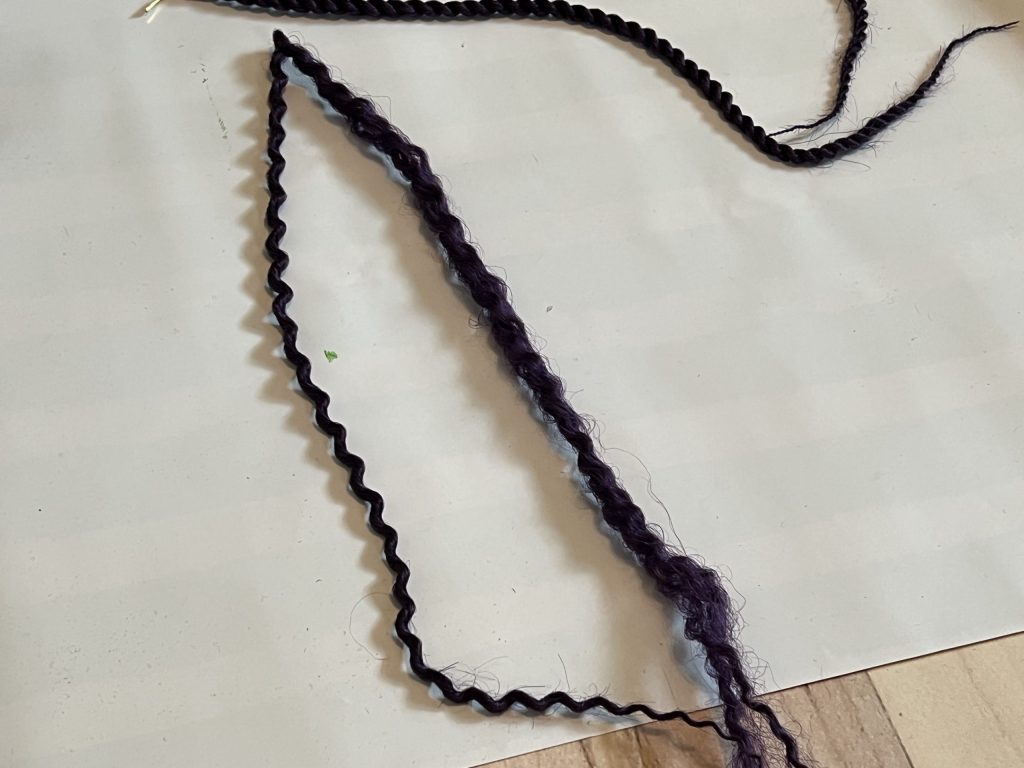
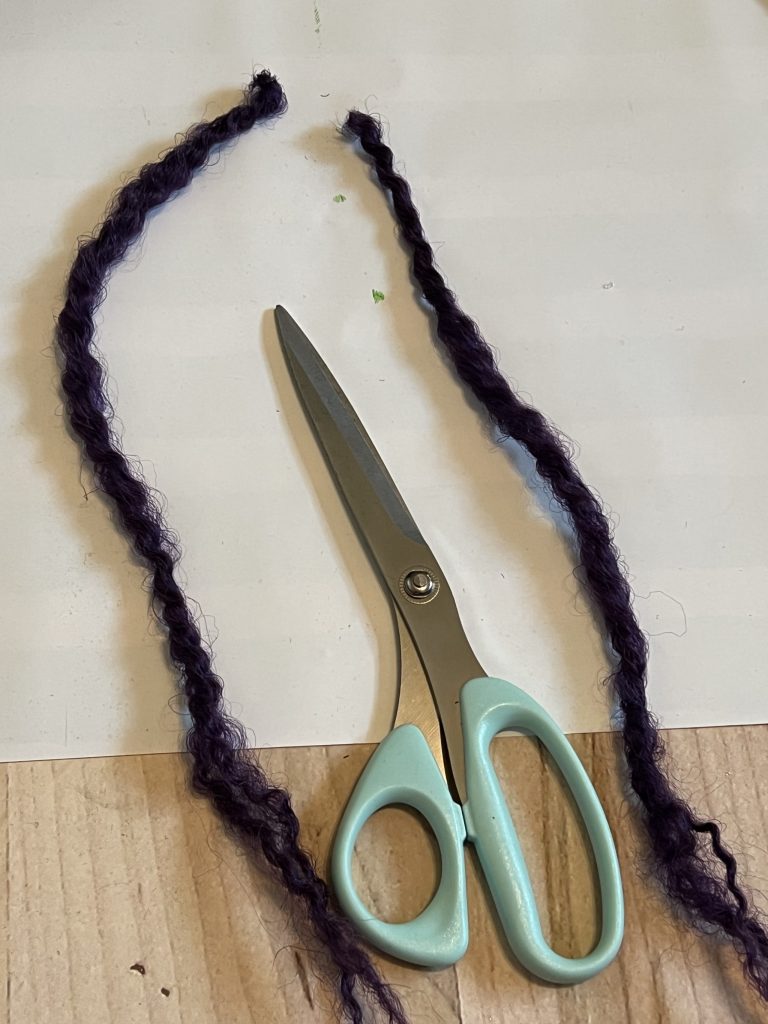
From one braid, I was able to cut it into four sections. These four sections were all I needed for one witch. TIP: The more you separate the hair, the frizzier it gets! Have fun with it!
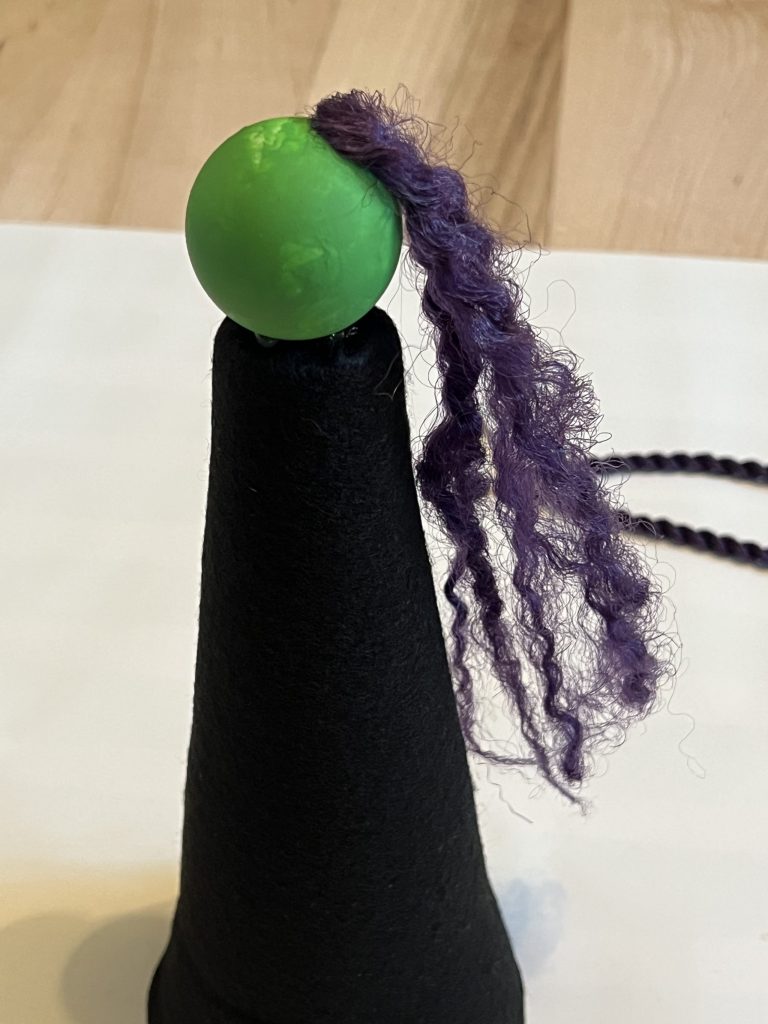
To attach the hair to the head, I added hot glue to the side of the head. I took one section of hair and folded it in half, then glued it to the head. I continued with all four sections of hair, gluing them around the top portion of the head.
After attaching them to the head, I worked with the hair a little bit, continuing to separate the strands to create fullness.
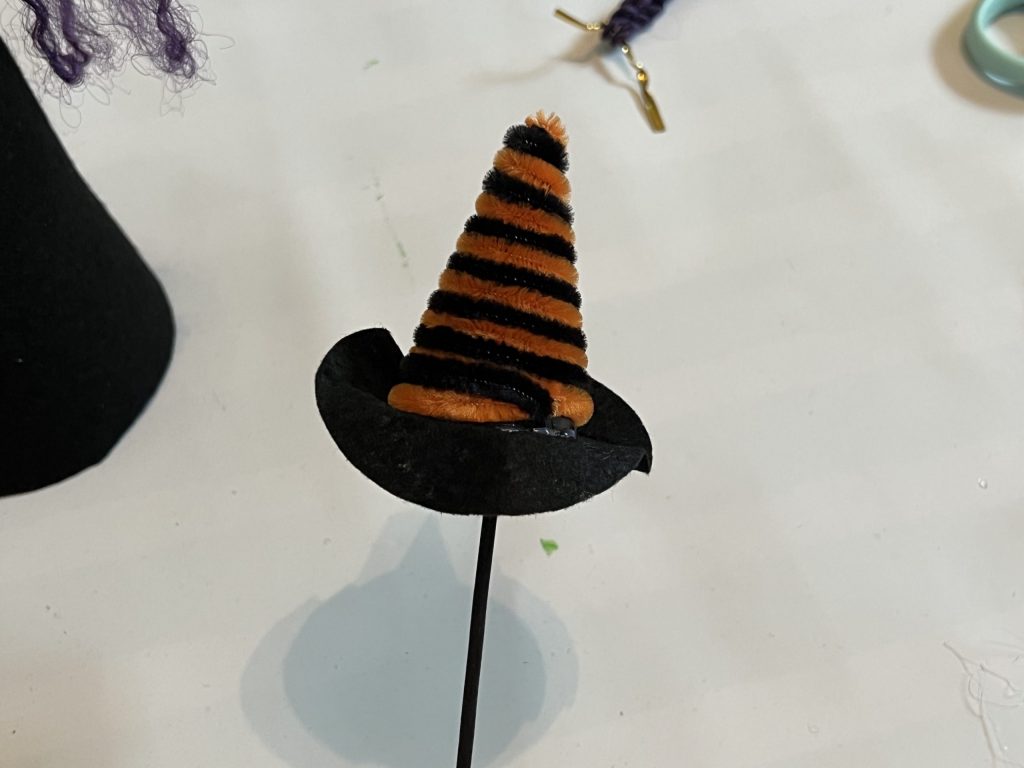
I found these cute little witch hat picks in the Halloween section, and they were the perfect size for the witch’s head! I snapped the wooden stem off and glued the hat on top of the head and hair.
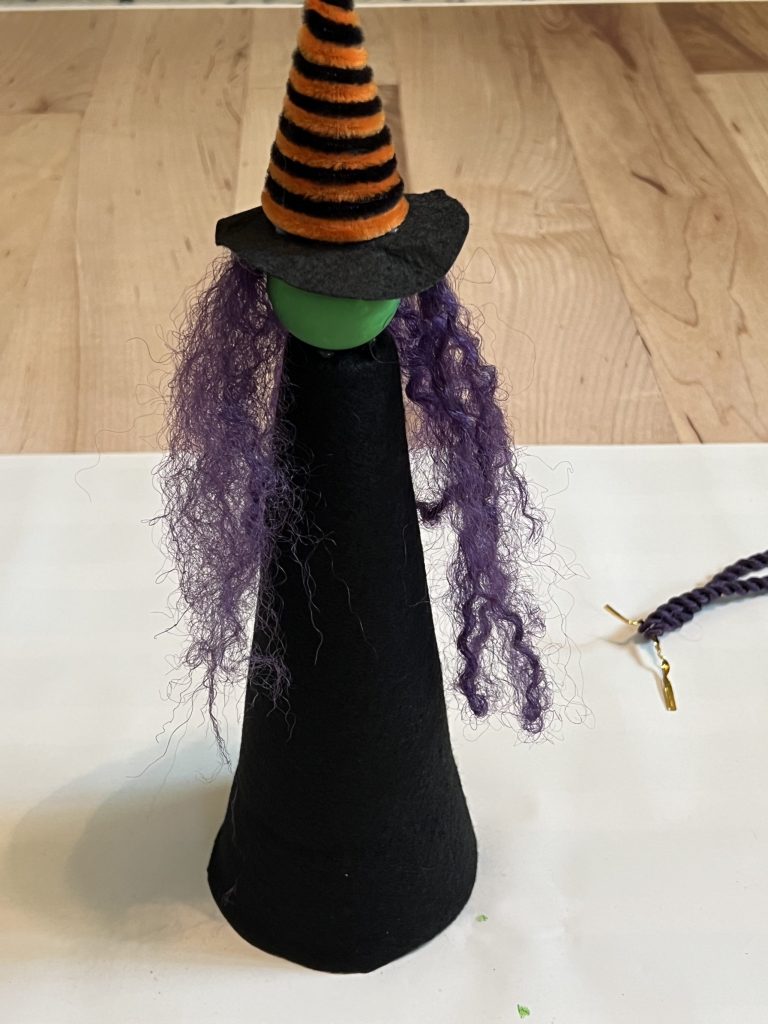
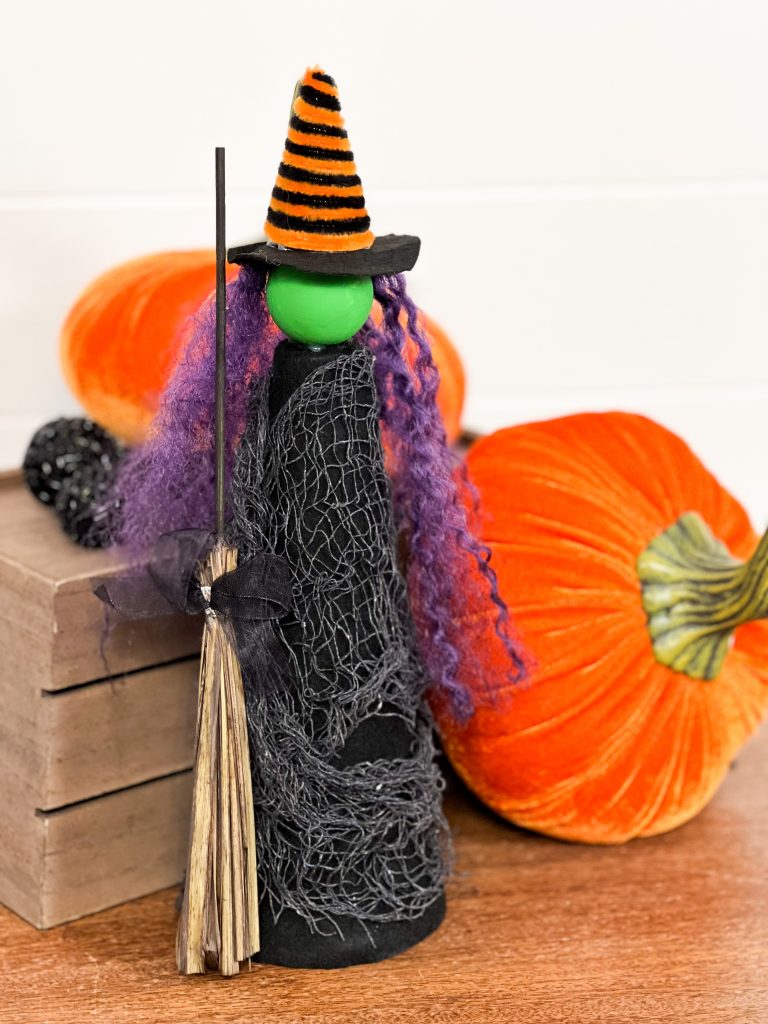
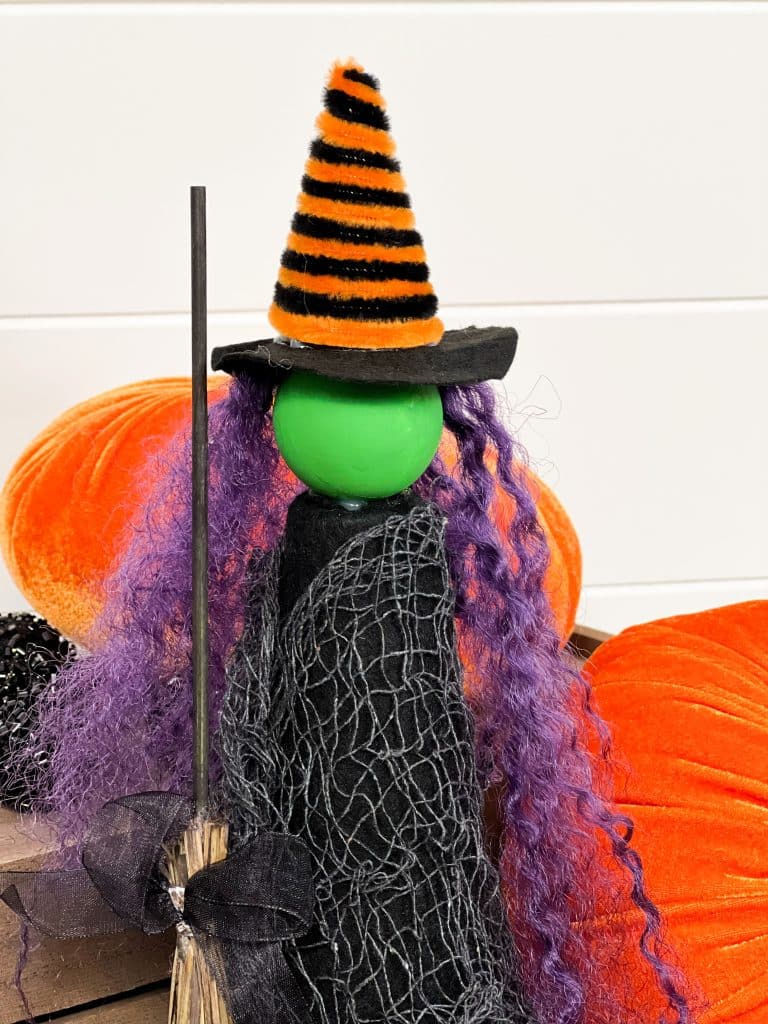
Isn’t she so cute?! I’m really loving the color combination of the orange, black, purple and green!
Next, to give her dress a little more detail, I picked up this gray mesh cloth to drape over the black felt. You only need a very small piece.
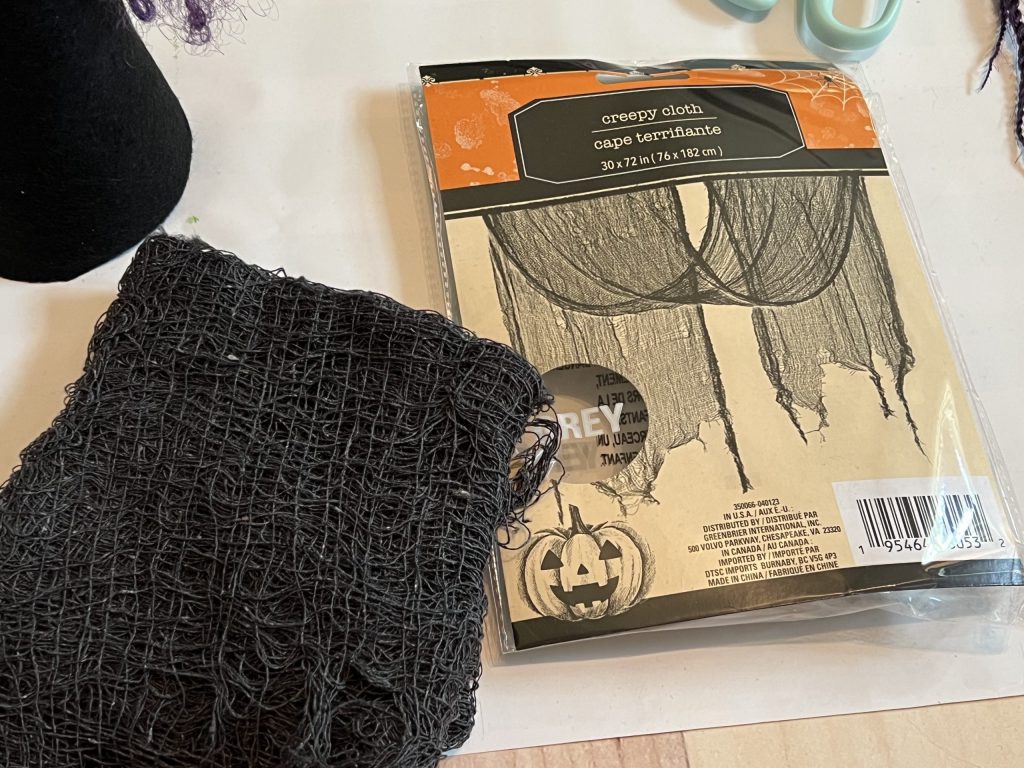
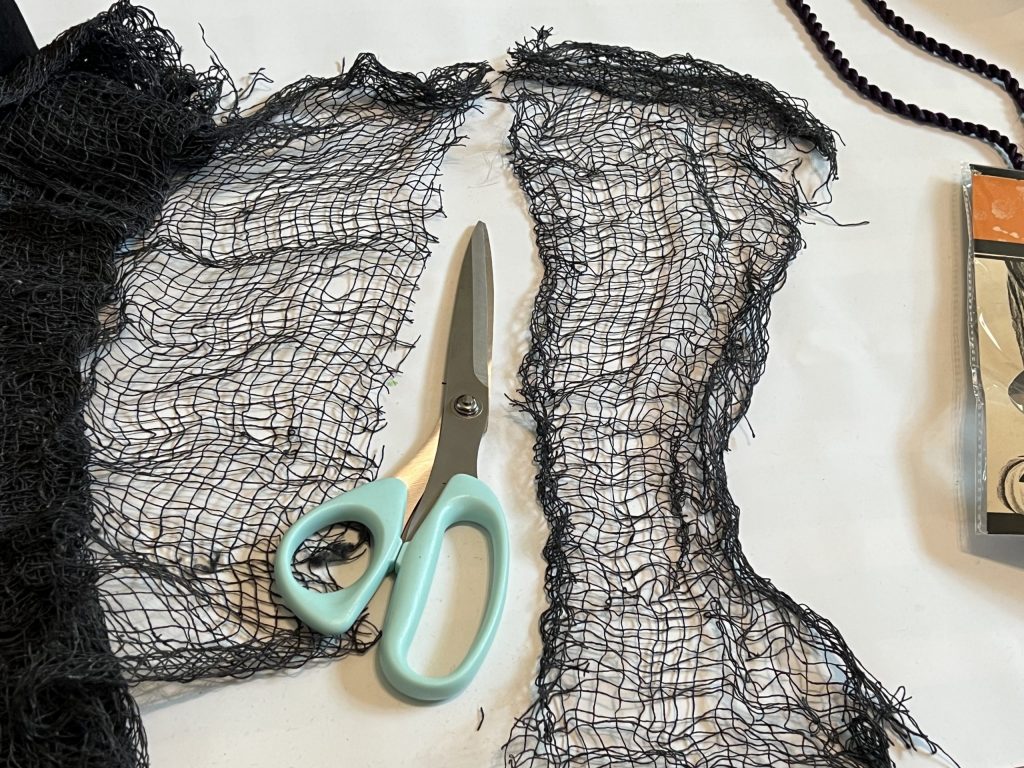
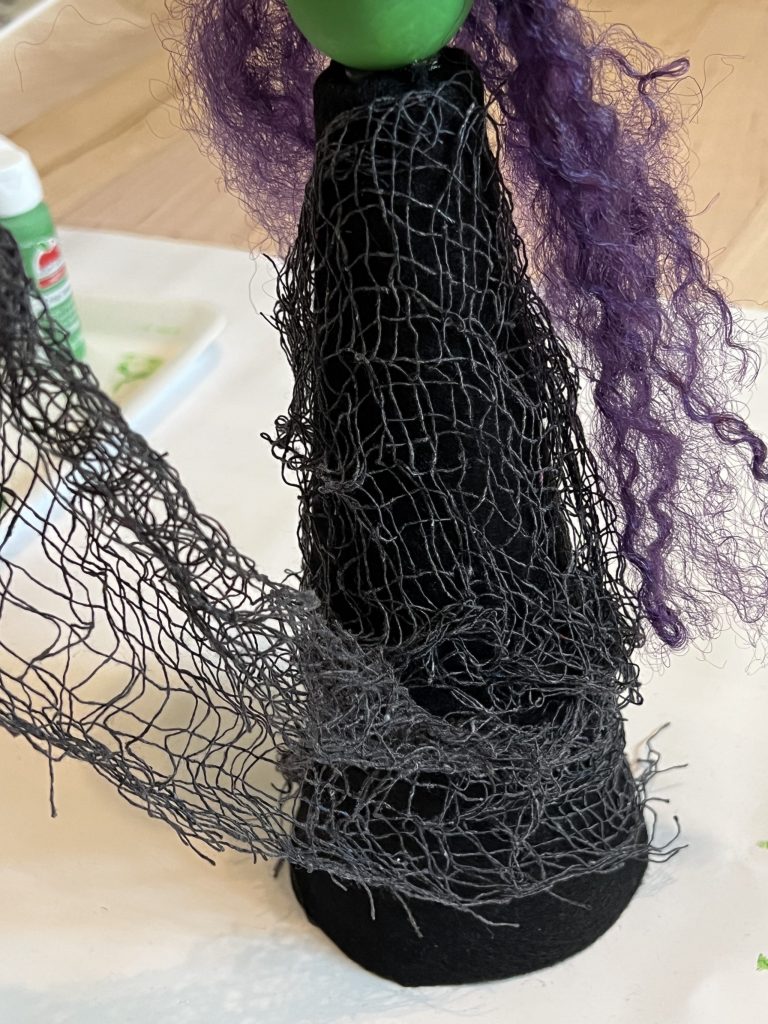
I cut a small portion off the end of the cloth, and then I draped it around the black felt and secured it with hot glue.
Finally, I added a little broom that I had from the Dollar Tree. It was the perfect size and addition to the little witch!
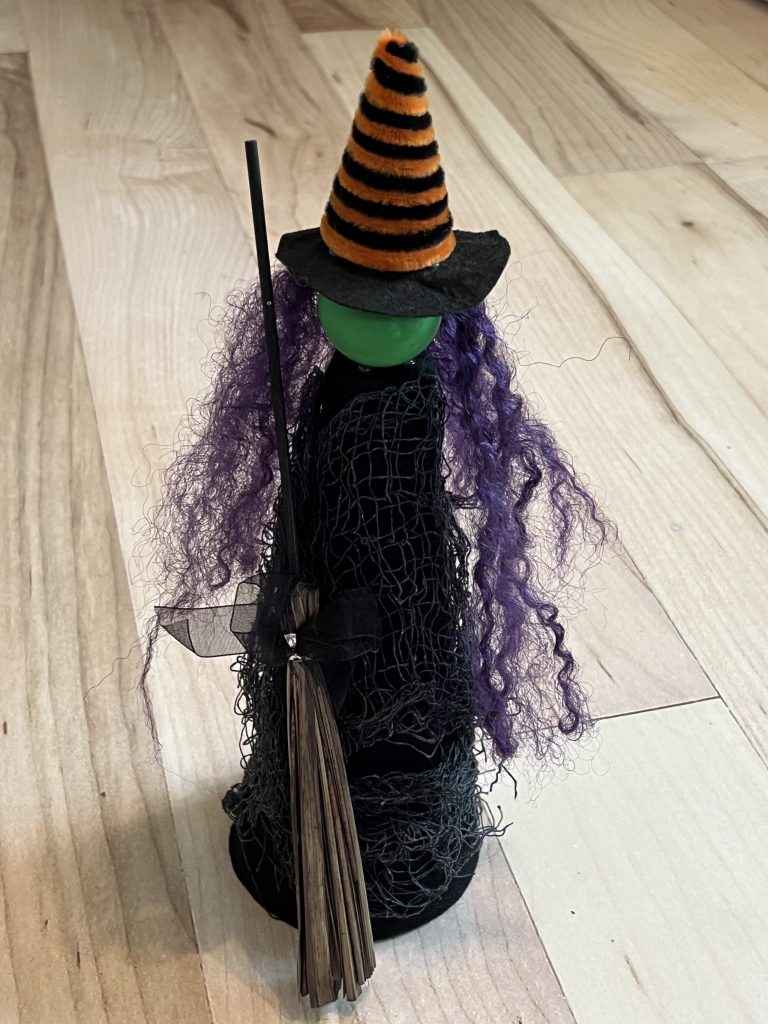
I think my favorite part is her hair! What do you think? Standing at over a foot tall, I think she is the perfect combination of cute and spooky for a fun Halloween decoration!
Be sure to PIN FOR LATER!
Last Updated on September 20, 2023


I love this witch. Her outfit is so cute. Thanks Brooke!
Oh, I really love how she turned out! Good job, and the colors are definitely on point fir Halloween!
This witch is so stinking cute. Love all the colors in her and yes like the hair!