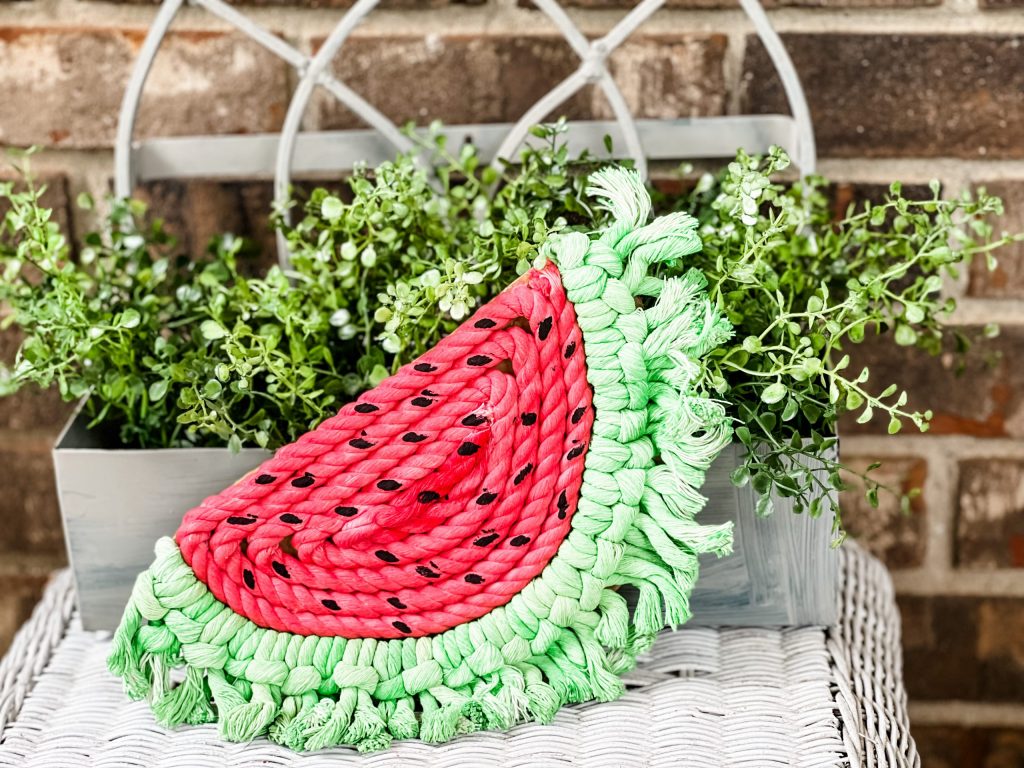
Watermelons remind me of warm summer days and Fourth of July celebrations! I love to throw in some watermelons with my summer décor, and boy do I have a fun little craft for you today creating an adorable watermelon with FRINGE! I think you’re going to love it!
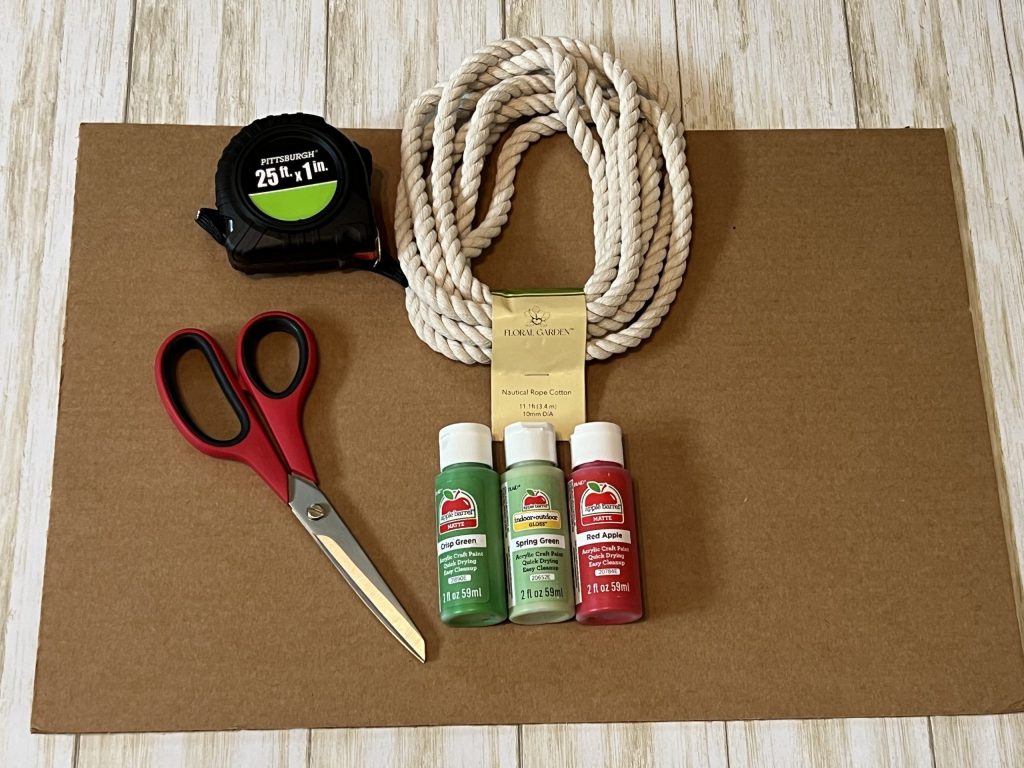
For this craft, I used the following supplies:
- Nautical rope from Dollar Tree
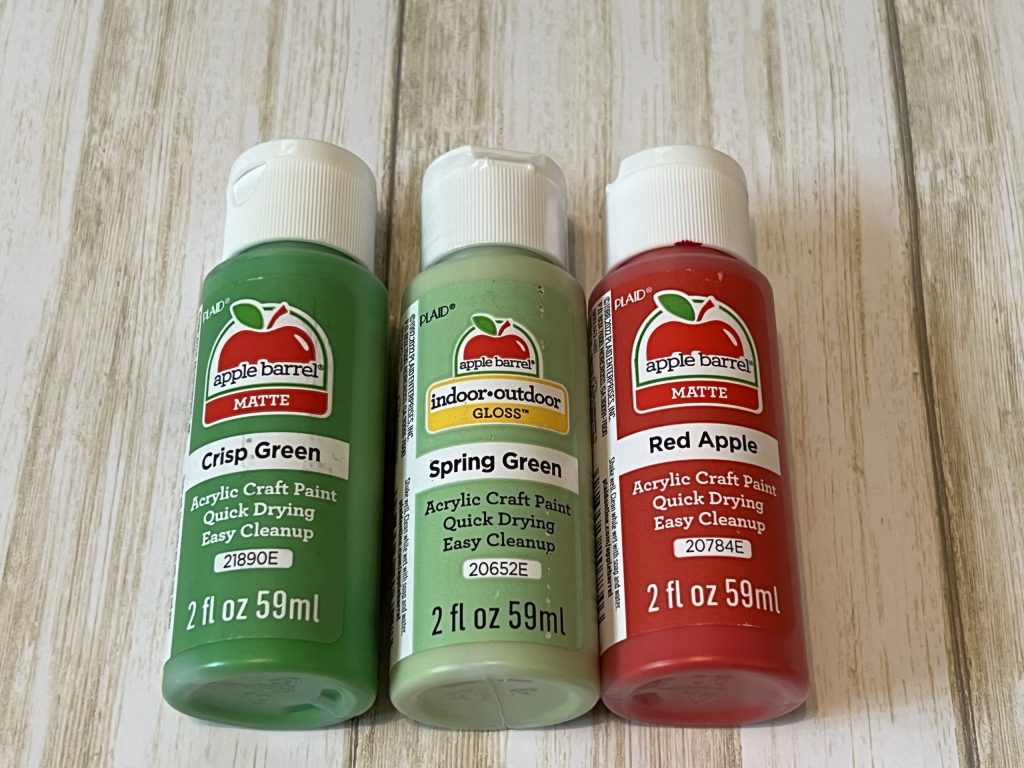
- Apple Barrel paints in Crisp Green, Spring Green, Apple Red and Black
- Three bowls of water
- Whisk or something to stir the paint
- Tape measure
- Scissors
- Hot glue gun
- Cardboard or other firm surface
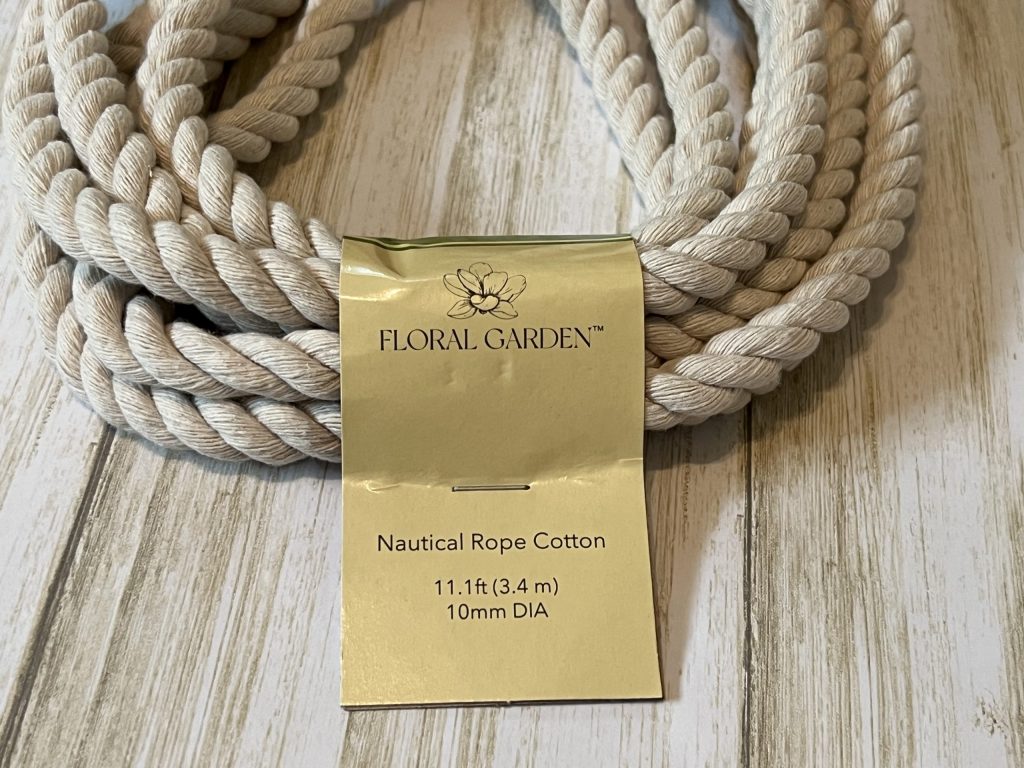
There are two sizes of nautical rope at Dollar Tree, and I chose the 10mm size. I only needed one pack, but you may want to grab two just in case you need extra. I used every bit of the 11.1 ft included in the pack.
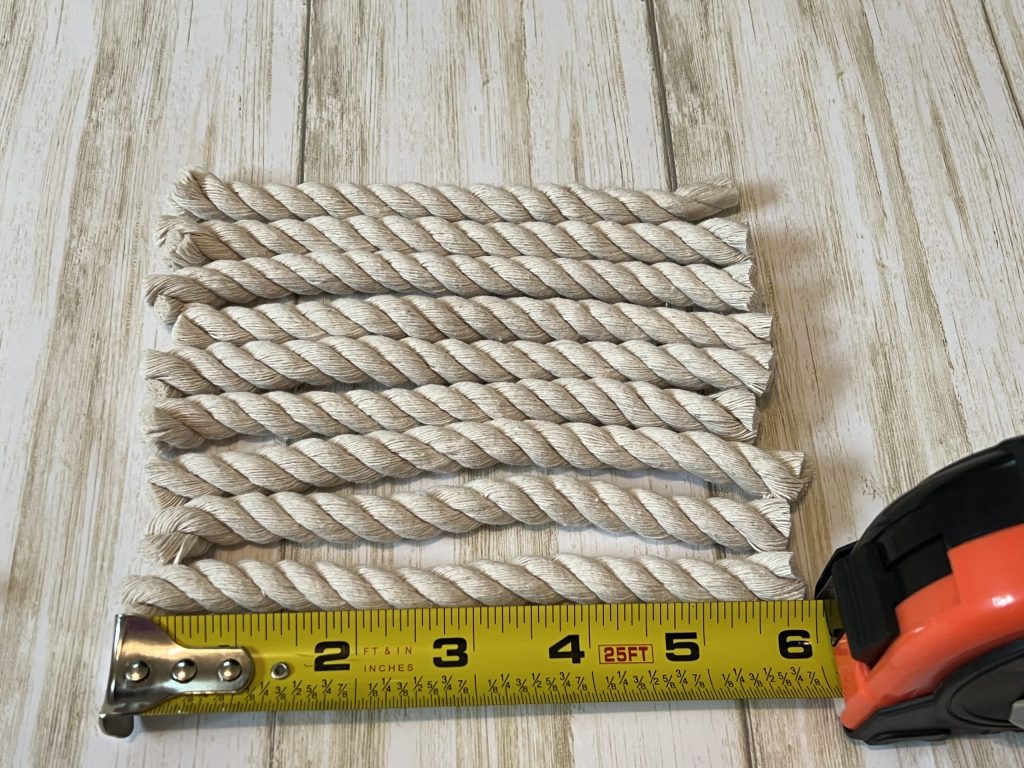
First, I cut nine strips of rope at six inches each.
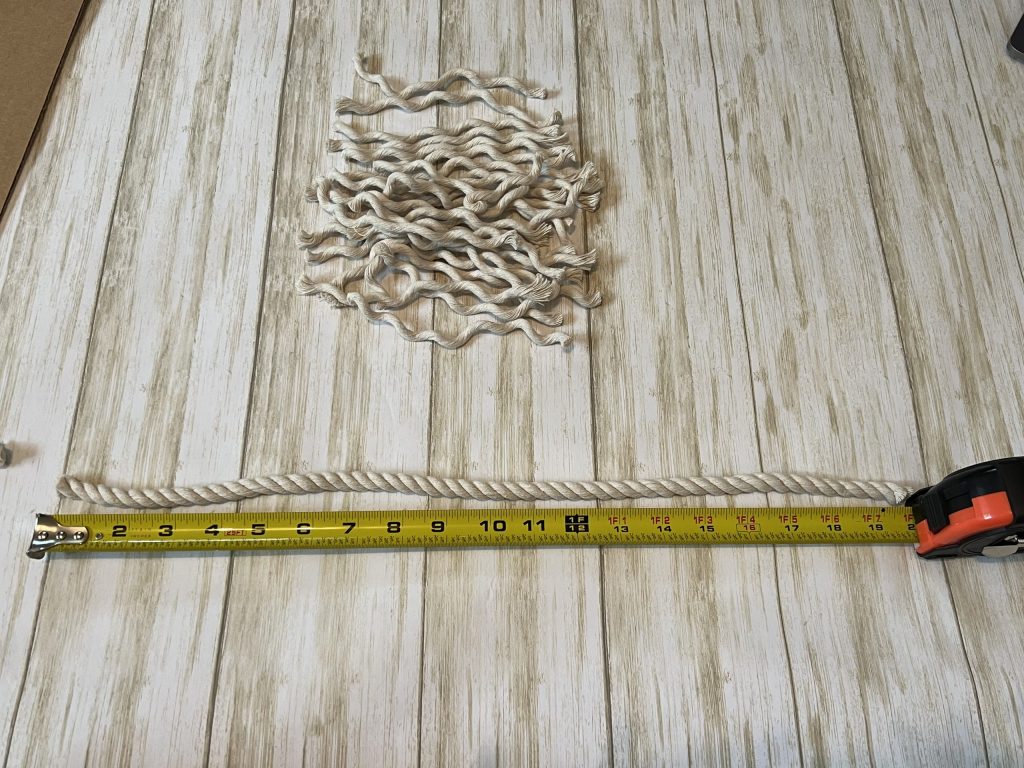
Then, I separated each piece of rope into three strands. This left me with twenty-seven smaller strands of rope.
After that, I cut a longer piece of rope to be the watermelon rind. I originally cut mine at 20″, but I think you can shorten that to around 18″.
Again, you will separate the strands in that piece of rope to create three individual strands. You will use one long strand for the rind, and the other two will be extra pieces. Set those aside, but hang on to them!
Next, I prepared my paints for the dyeing process. I selected two different shades of green for the watermelon rind. I chose Crisp Green and Spring Green, because I had them handy. You can choose any two shades of green you want. I used Red Apple for the inside of the watermelon.
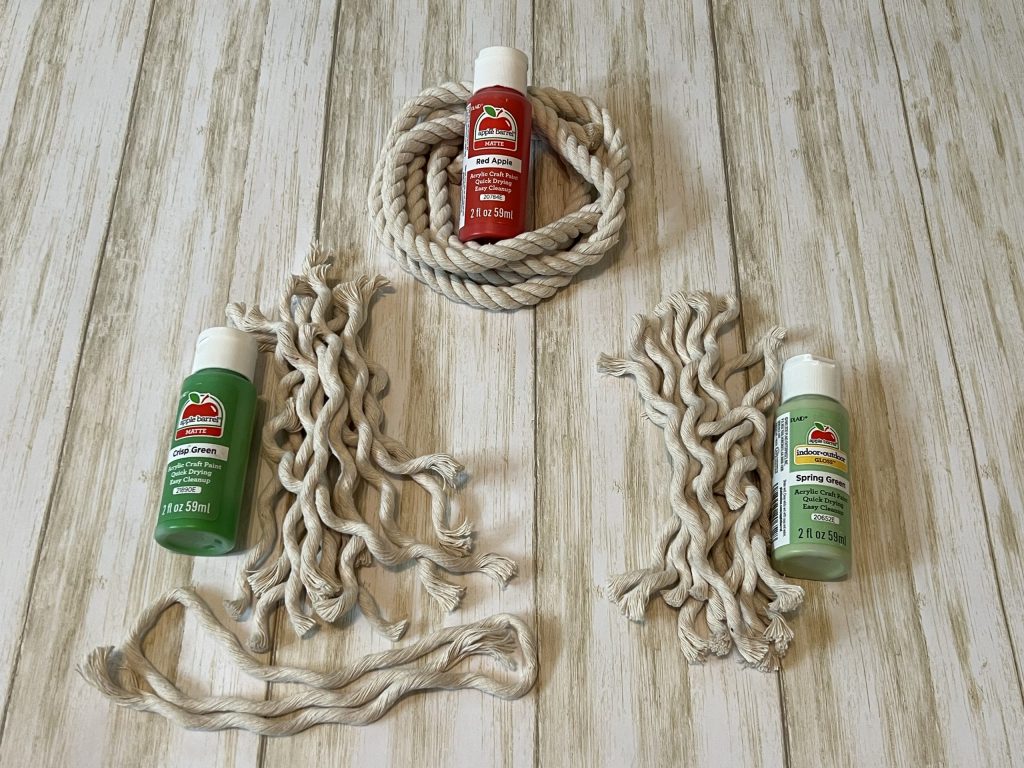
I separated my small strands so half would be lighter green, and half would be darker. I also threw in the longer strand (for the watermelon rind) into the darker green pile.
The remaining rope will be dyed red. I suggest that you also throw in those two extra 18″ strands that were previously separated…the ones I told you to hang on to! You’ll see why later!
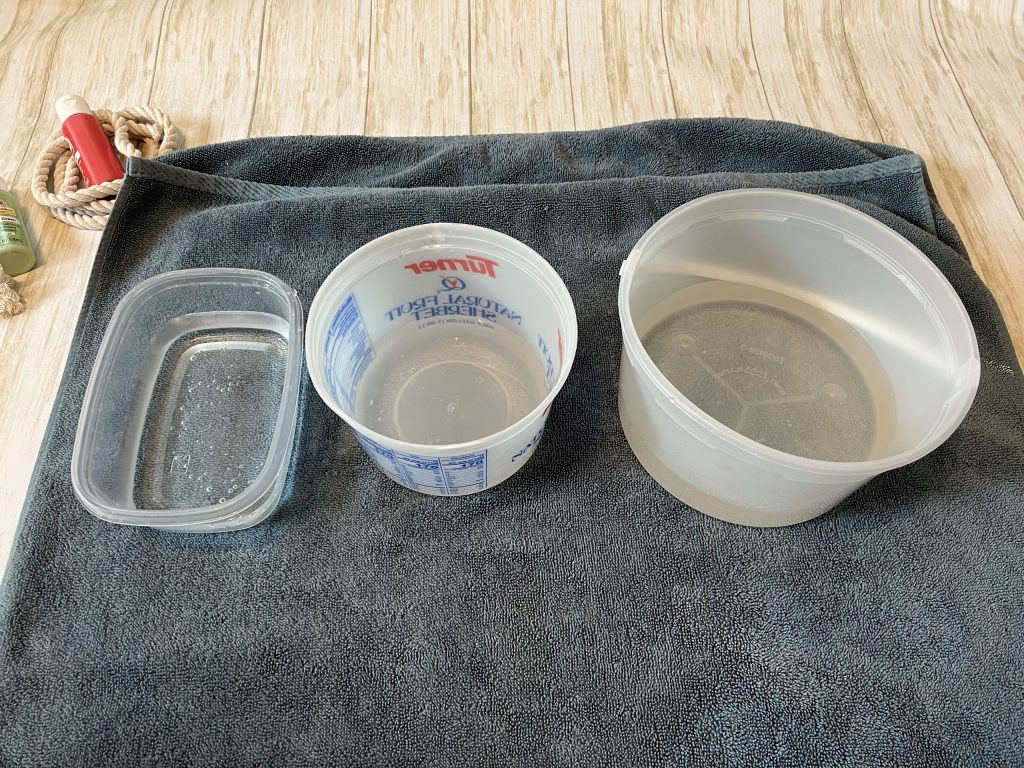
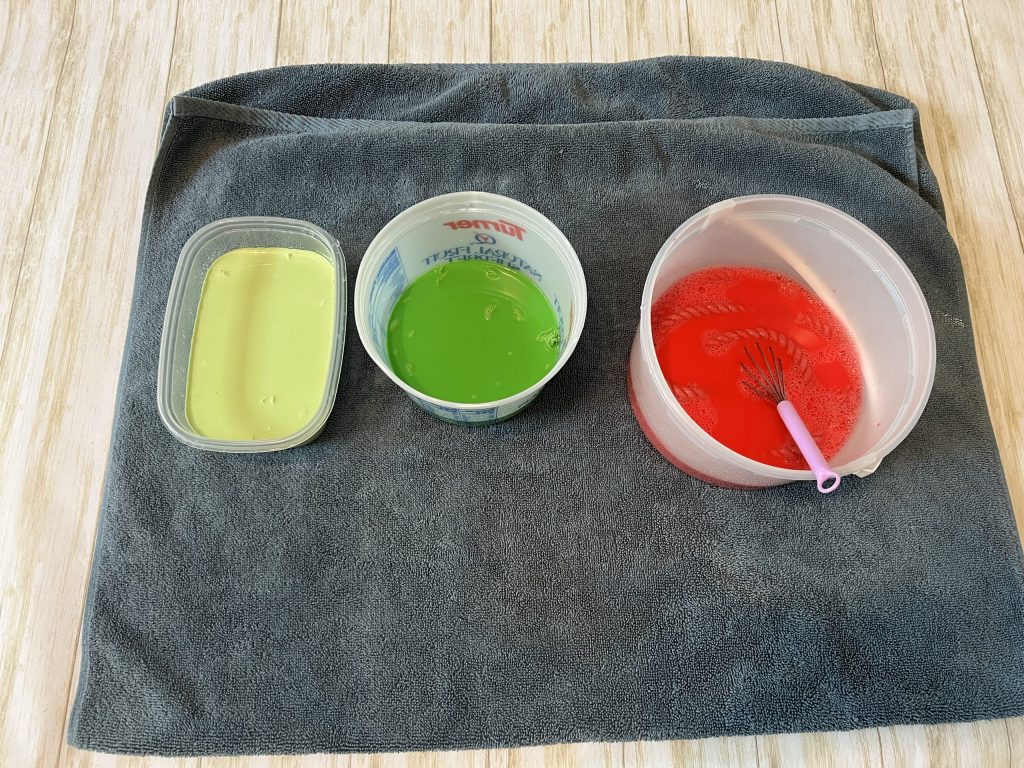
Next, I prepared three bowls of water. Do you have ice cream containers or cool whip containers laying around? Those are perfect water containers for this! You just need an inch or two of water…you can always add more if needed.
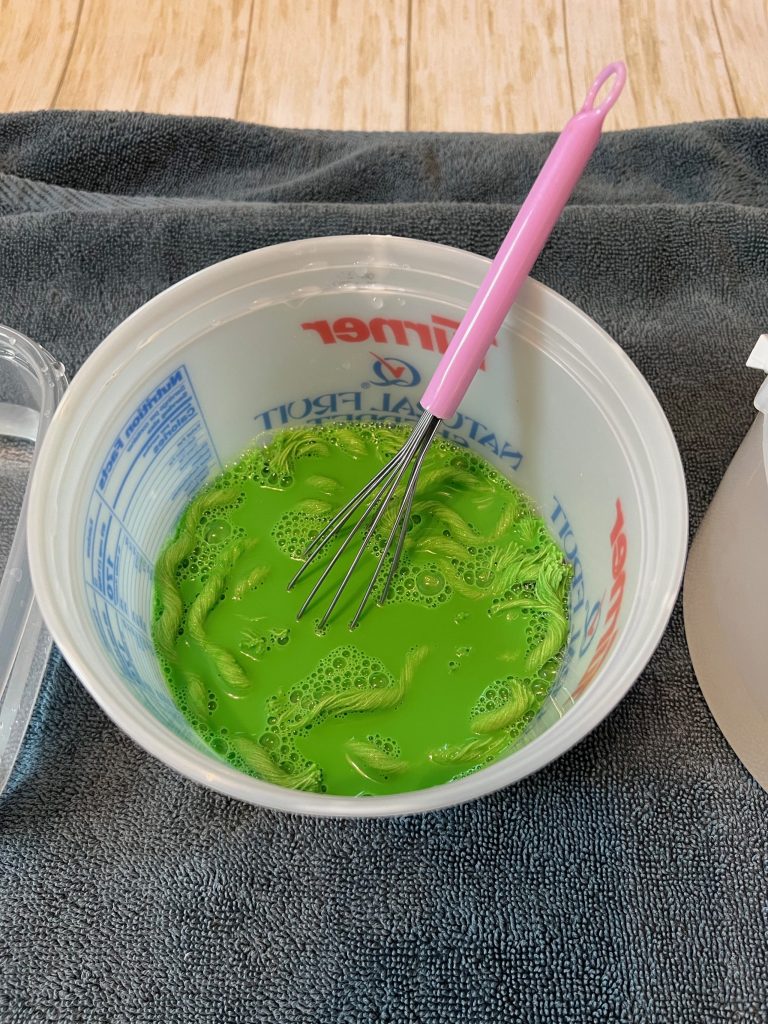
I squeezed about 1/4 of the small bottle of paint into the water and used a whisk to mix it.
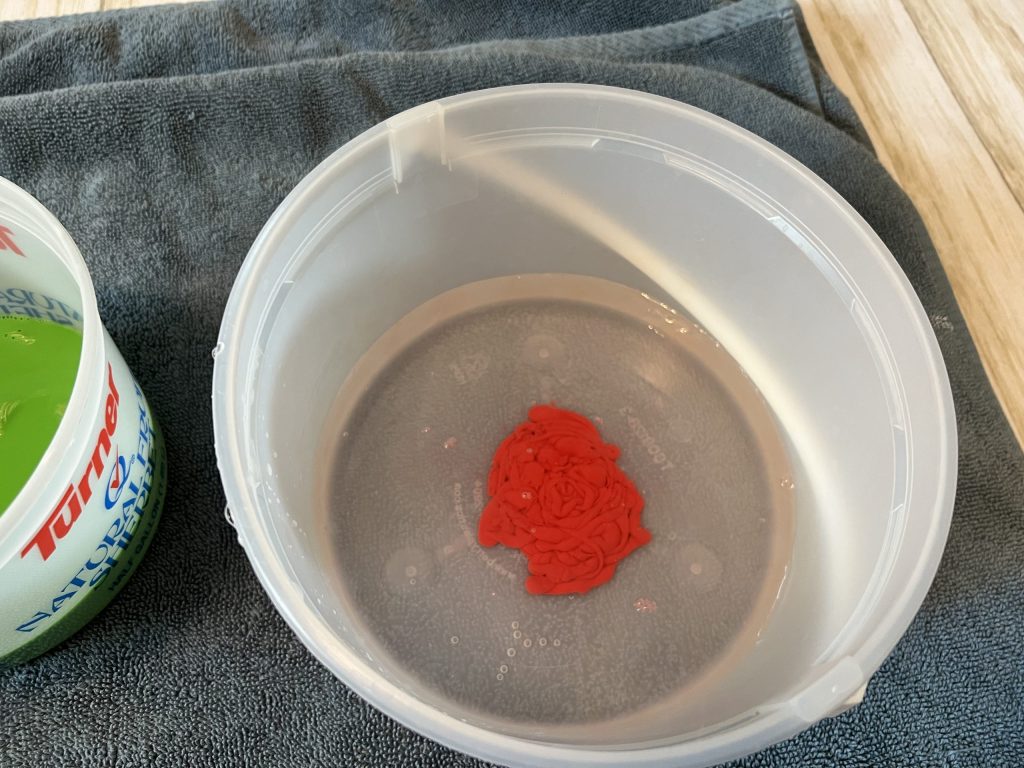
Then, I tossed in the rope and mixed it around and let it set for a few minutes.
After a few minutes, I removed the ropes from the water and laid them outside to dry in the sun. I allowed them to fully dry before proceeding. Since it was a sunny day, my small pieces of rope were dry within 2-3 hours. The large rope took a little longer. If kept inside, they may need to dry overnight.
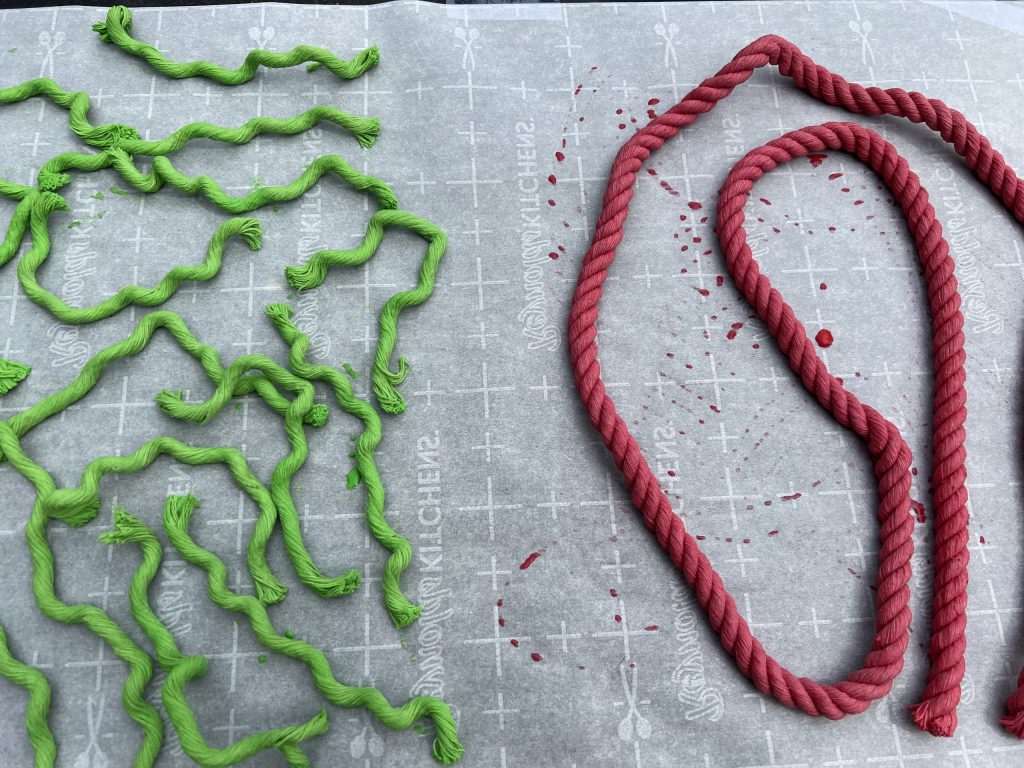
Once they were completely dry, I started to assemble the fringe watermelon rind.
I stretched out my longer piece that was 18″-20″ and wrapped the smaller pieces around it. I folded the short piece in half and laid it over the long strand.
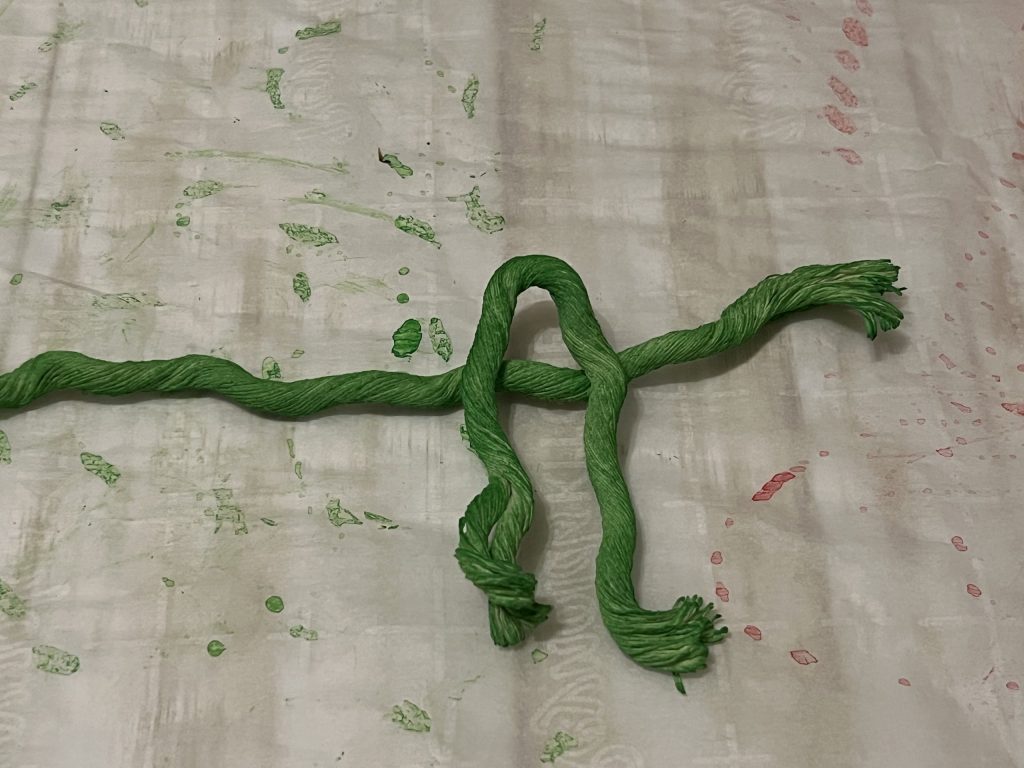
Then, while keeping the loop above the strand, I tucked the two ends underneath the string and pulled them through the loop on top.
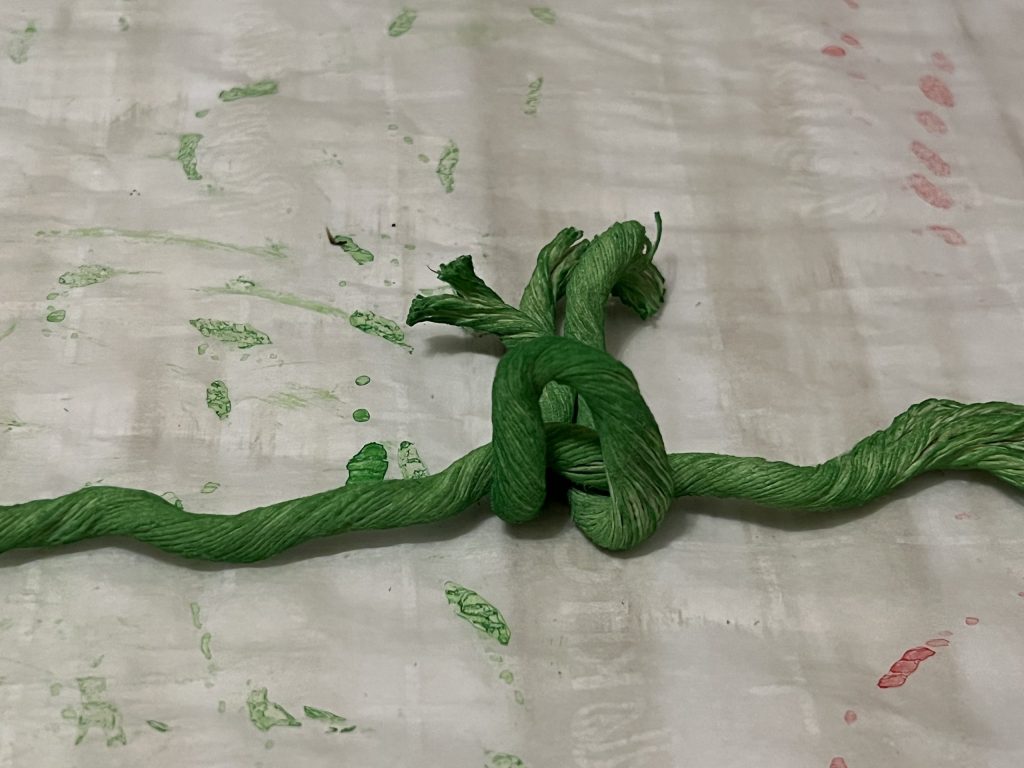
I pulled down firmly to create a snug fit.
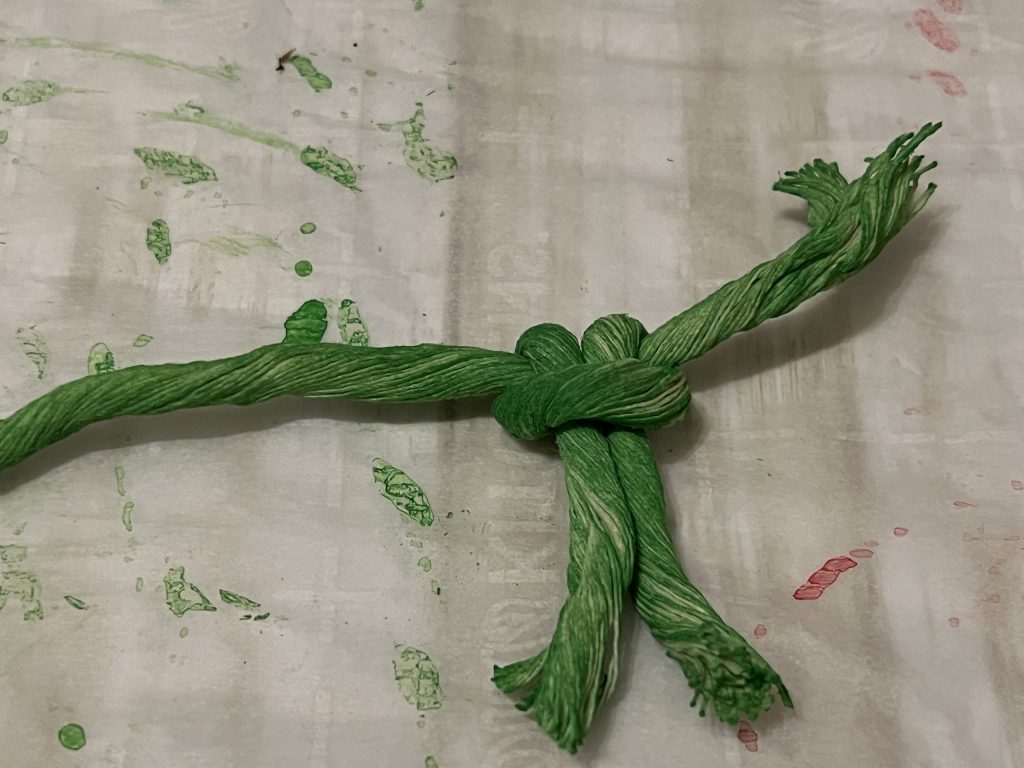
I continued to do this with all of the short pieces. You can slide them closer together or further apart once they are tied onto the string.
I thought there would be a greater color variation in the greens, and I planned on alternating the colors. However, they looked pretty similar. If your strands are very different in color, I would just alternate colors as you go.
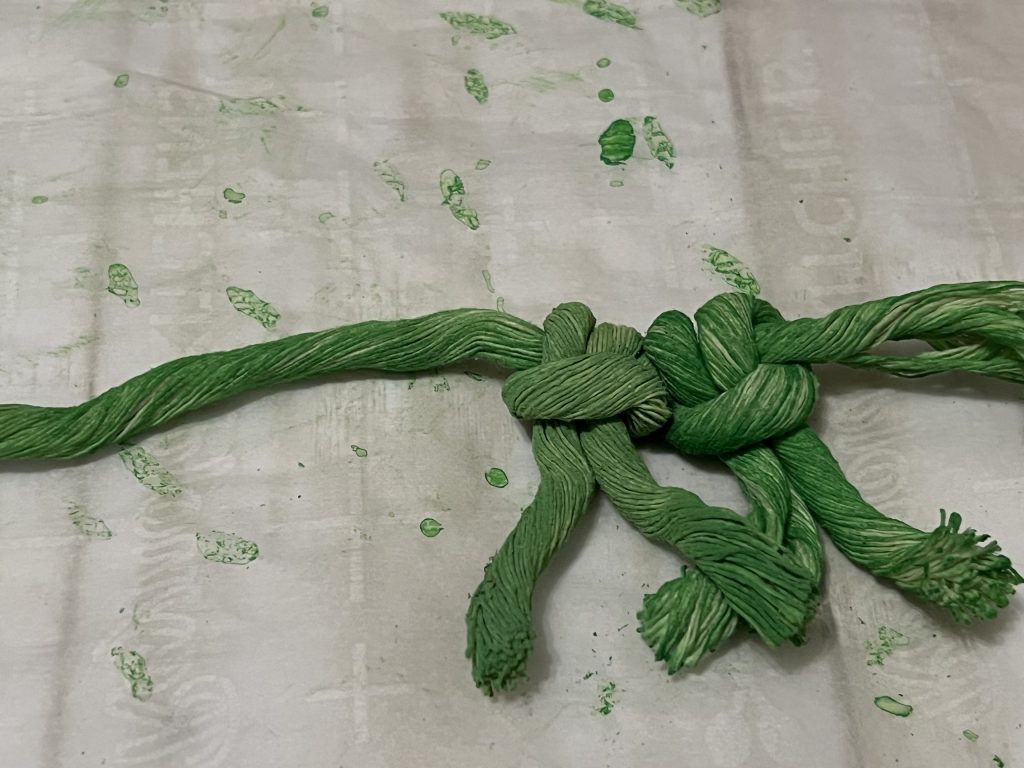
Once all of the smaller strands were tied on, I tied a knot at each end to secure the fringe pieces so they would not move.
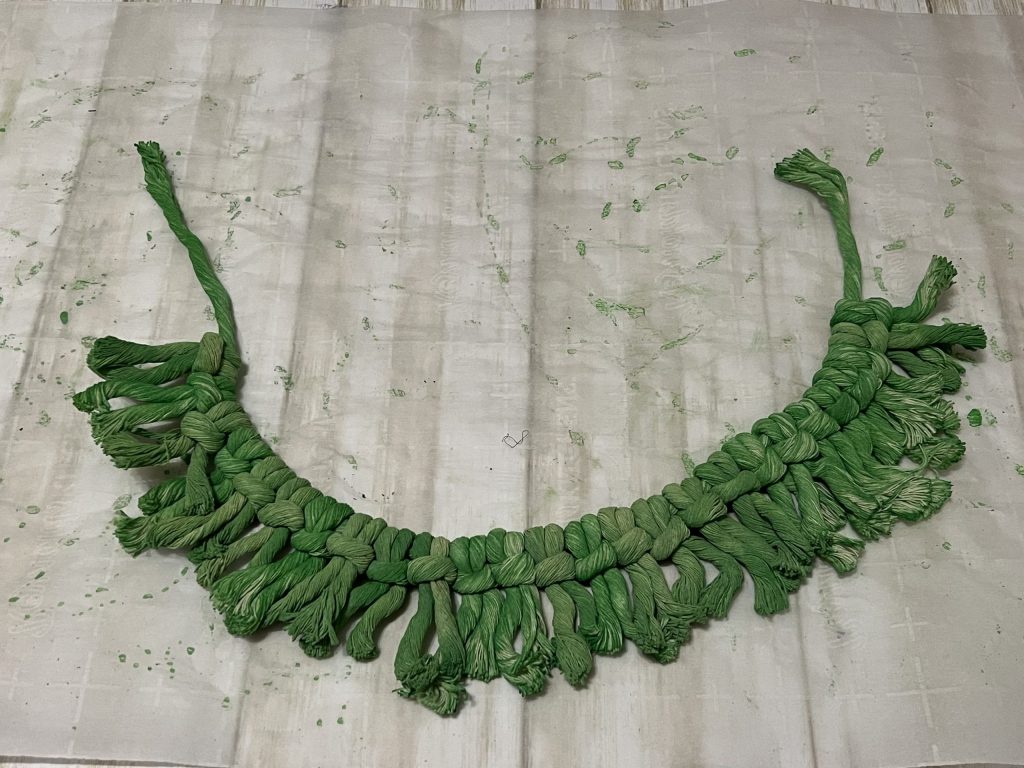
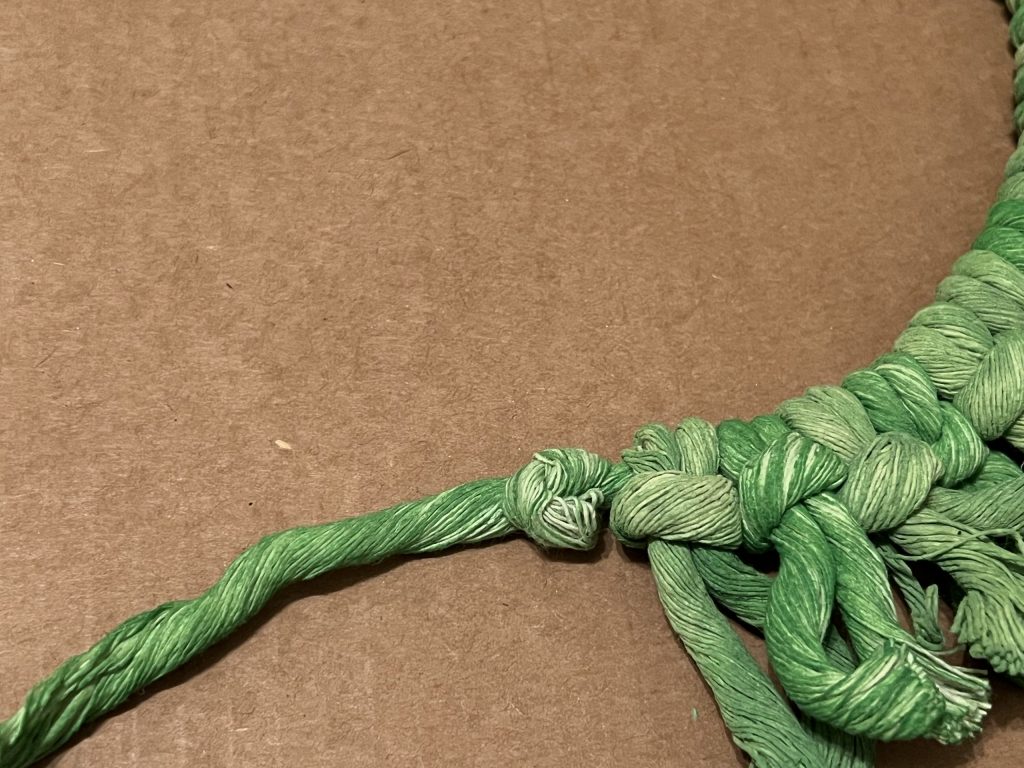
Next, I moved the fringe over to my cardboard. I created a nice curved base where the opening at the top was about eight inches.
Then, I glued it to the cardboard. You could also glue it to wood or other firm surface.
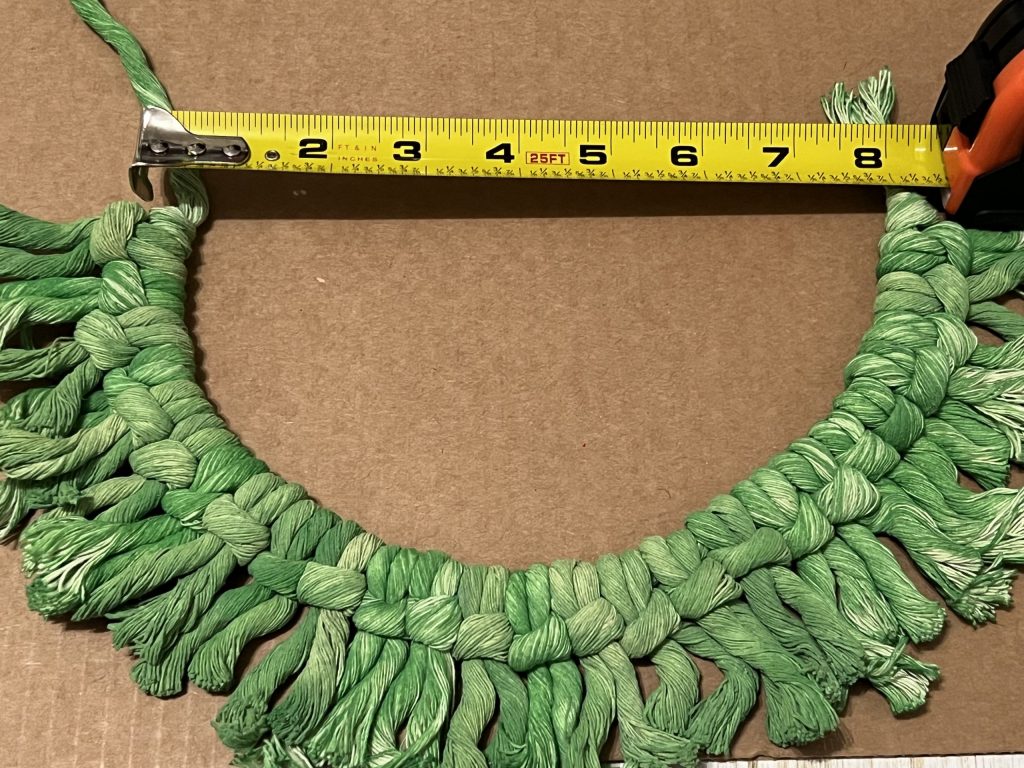
Next, starting with one end of the red rope, I started gluing it along the edge of the green fringe.
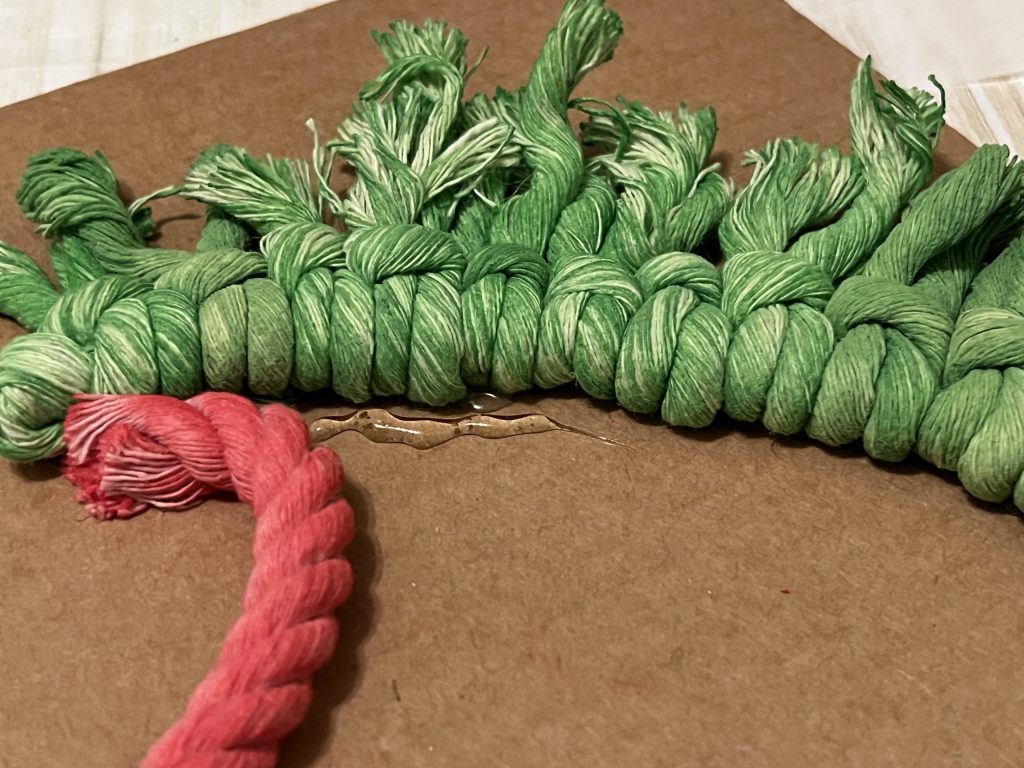
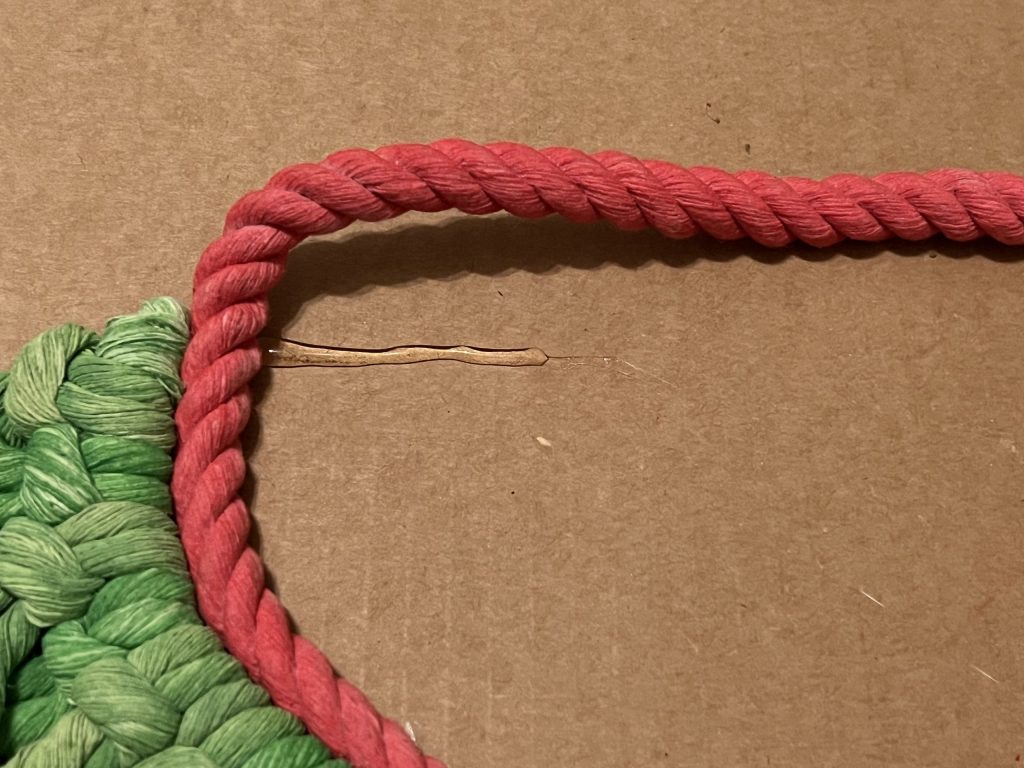
When I reached the end, I made a right angle with the glue and went straight across the top to reach the start of the rope.
I continued wrapping and gluing the rope until I reached the center…AND ran out of rope!!! This is why I told you to go ahead and dye those extra strands red. Since I didn’t originally do that, I had to remix some water and paint and try to match the current color.
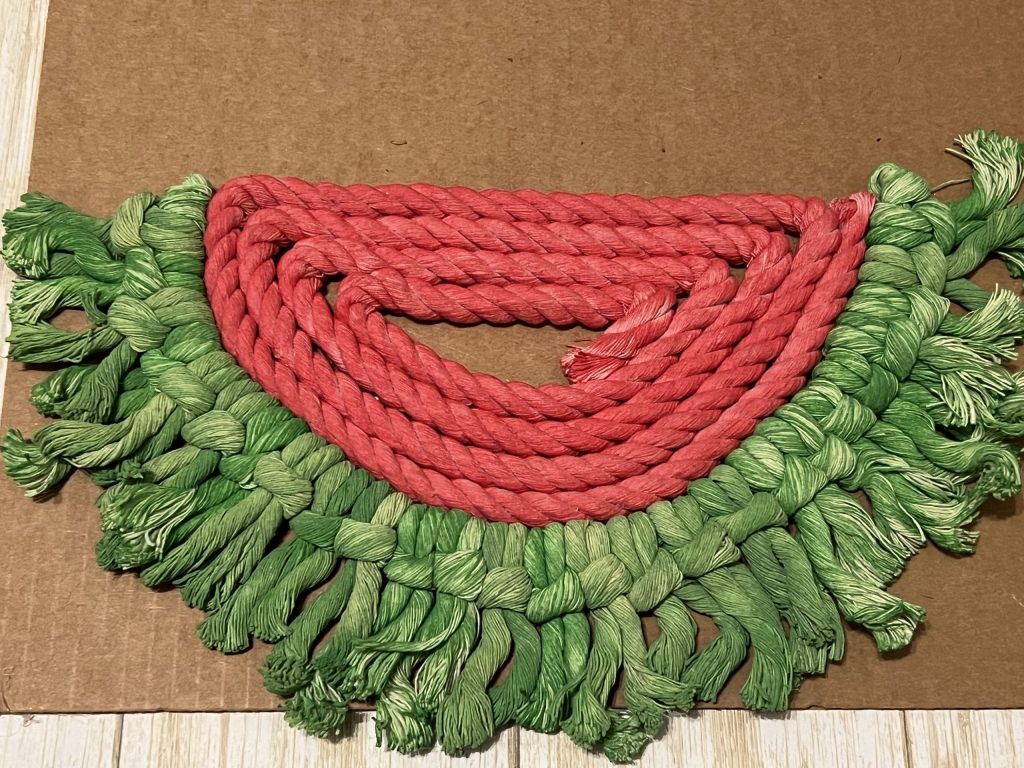
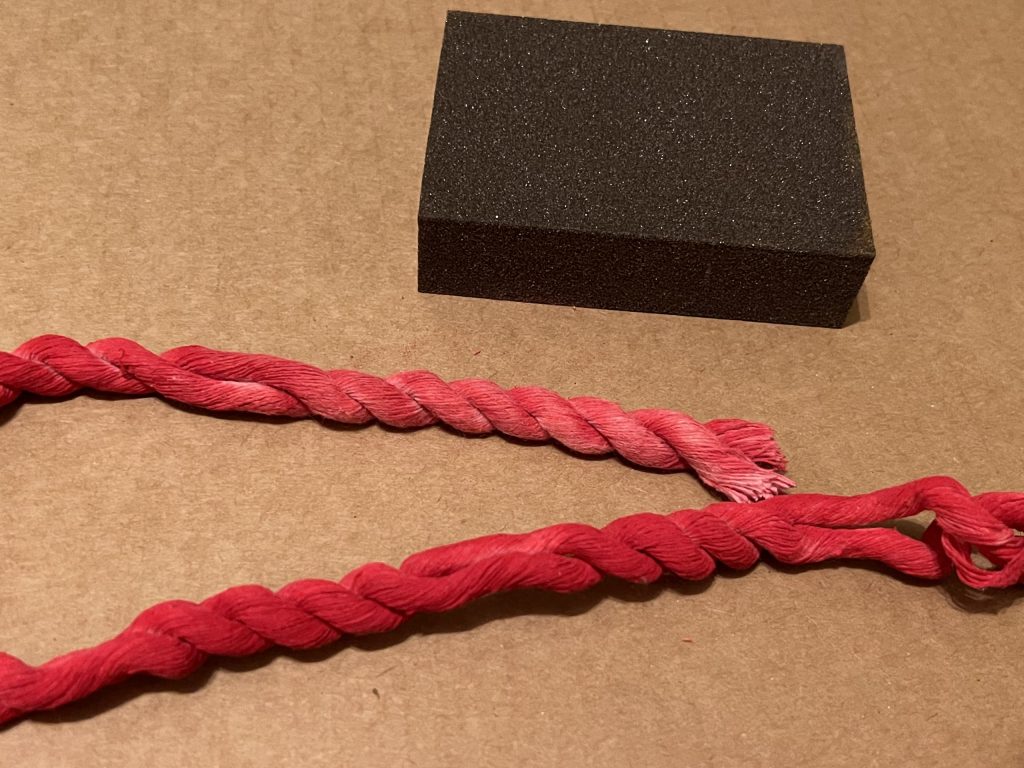
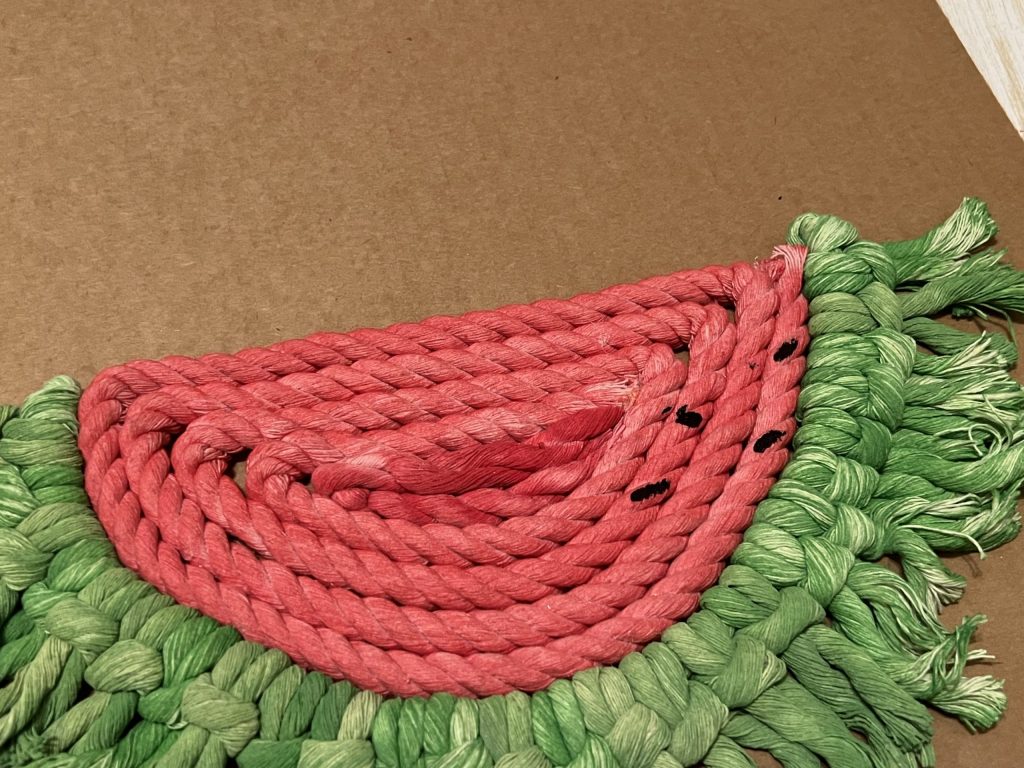
The first time I dyed the extra strands, they were too light. Then, I dyed them too dark! BUT, you can work with them if they are too dark. TIP: If the dye is too dark, run a sanding block over the rope in the direction of the strands. This will lighten the color! You can see the difference below. I simply wrapped the two small strands together to look like a full three strand rope. It worked great!
Now I was ready to finish the center. I filled in the bare spot, cut the rope and secured with hot glue.
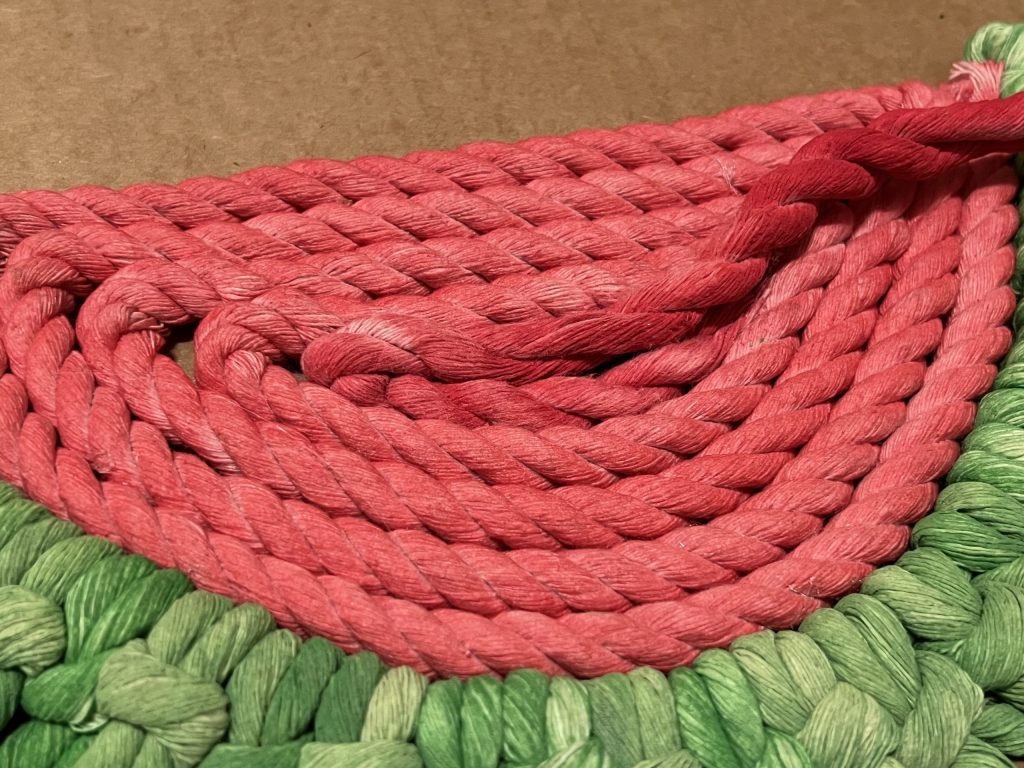
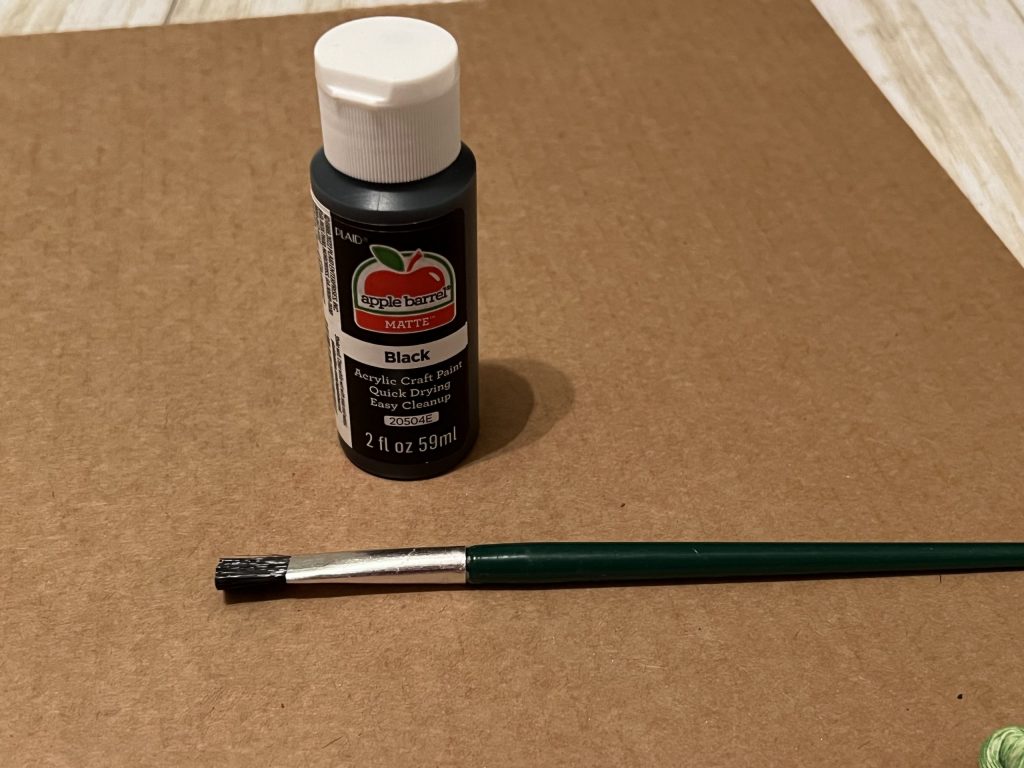
What watermelon is complete without a few seeds? I took a small paintbrush and some black paint and painted on several seeds.
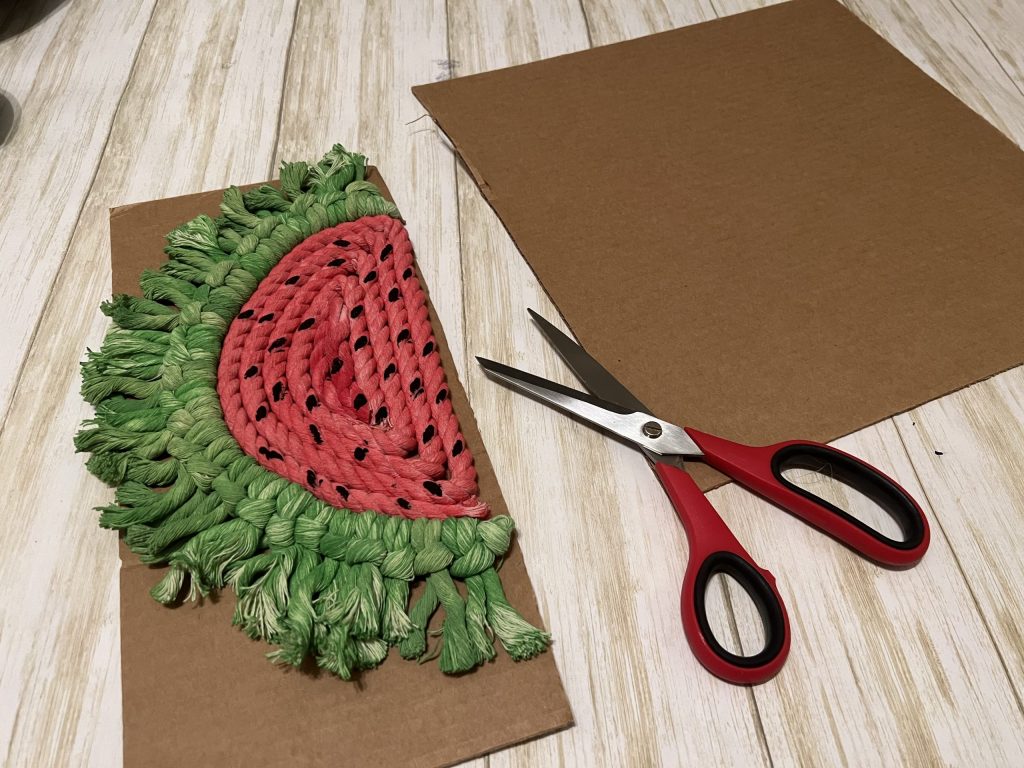
Finally, I cut off the excess cardboard so I had just the watermelon slice!
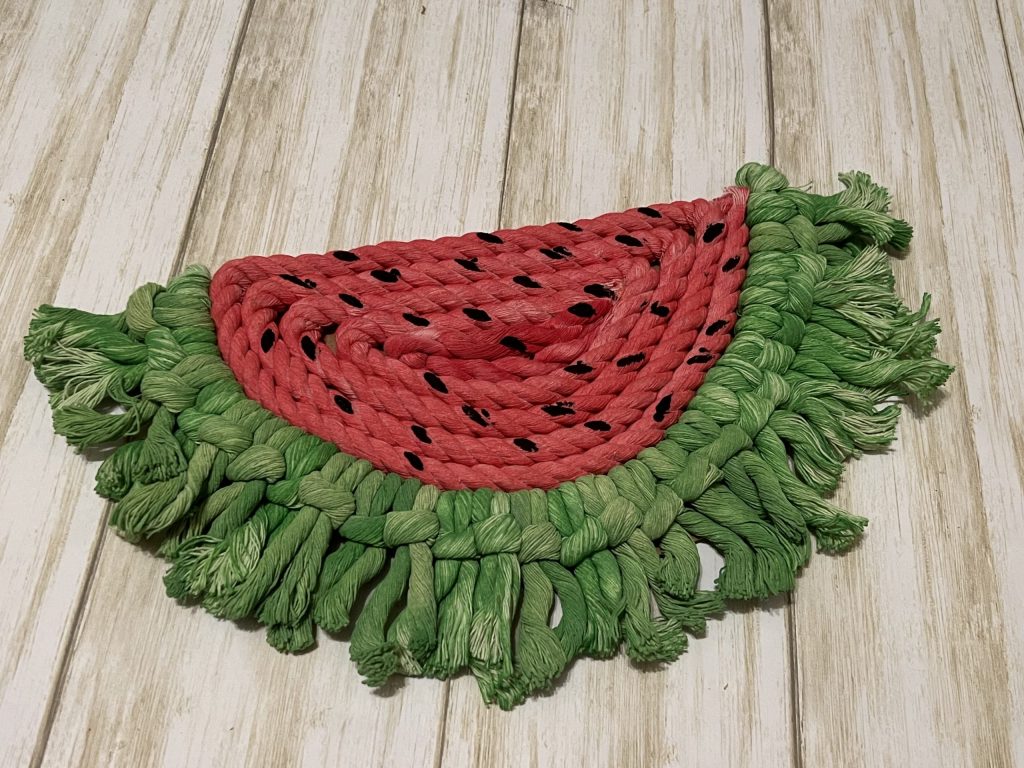
Can you believe how precious this is??!!! I just love this fun little watermelon! It’s the perfect size to toss in with your summer decor!
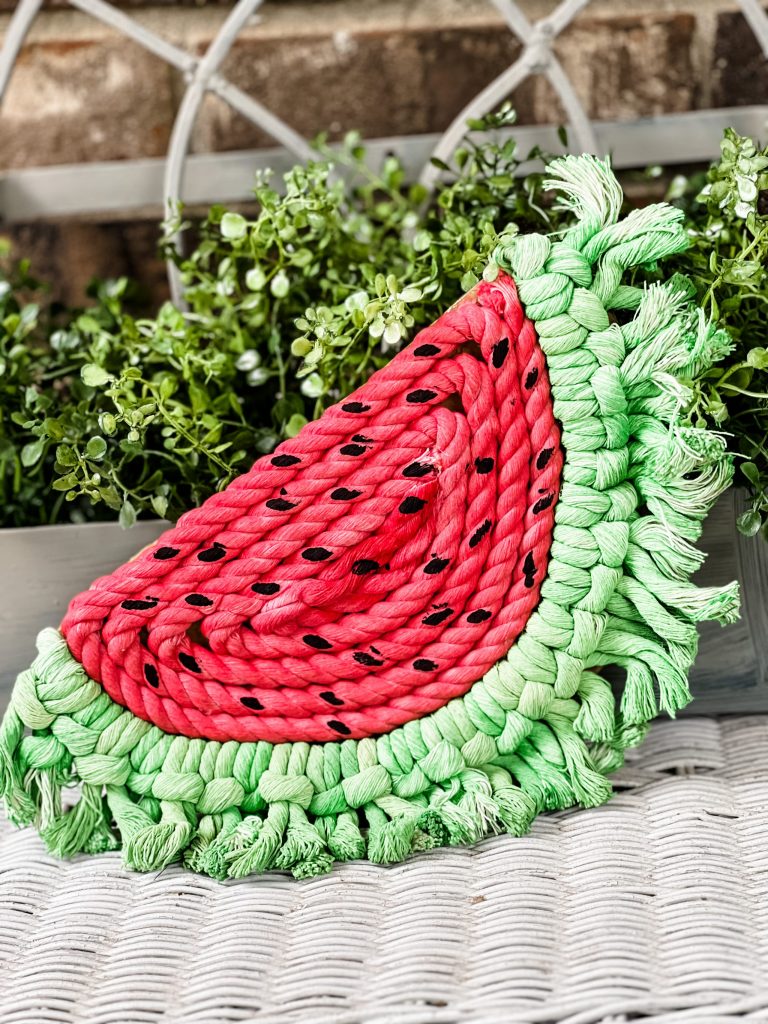
Be sure to PIN this one for later!
Last Updated on May 23, 2023





Love, love, love this!!! Too cute!!!
This is absolutely adorable!!! A town near me in GA is known as the Watermelon Capital of the World!
That’s so cute! And, really a lot simpler than using Rit dyes!
This watermelon is so cute. I love it and how creative.
This rope watermelon turned out awesome. I love how you made it all work.
This is so stinking cute, I need to try this.