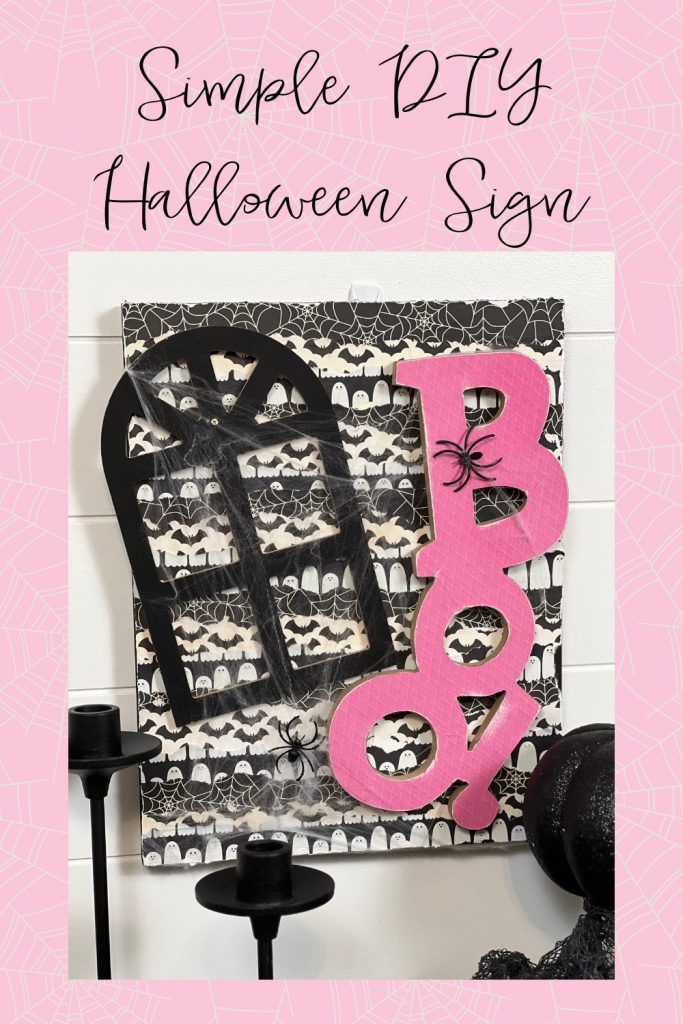
Halloween decor doesn’t always have to be creepy and scary! I love cute and whimsical designs! I saw this adorable “BOO!” hanging sign at the Dollar Tree and knew it would be so fun to make it over using some Halloween scrapbook paper and a little Mod Podge! Almost all of the supplies were purchased from the Dollar Tree, making this simple project super affordable!!! Follow along as I show you how to make a simple DIY Halloween sign!
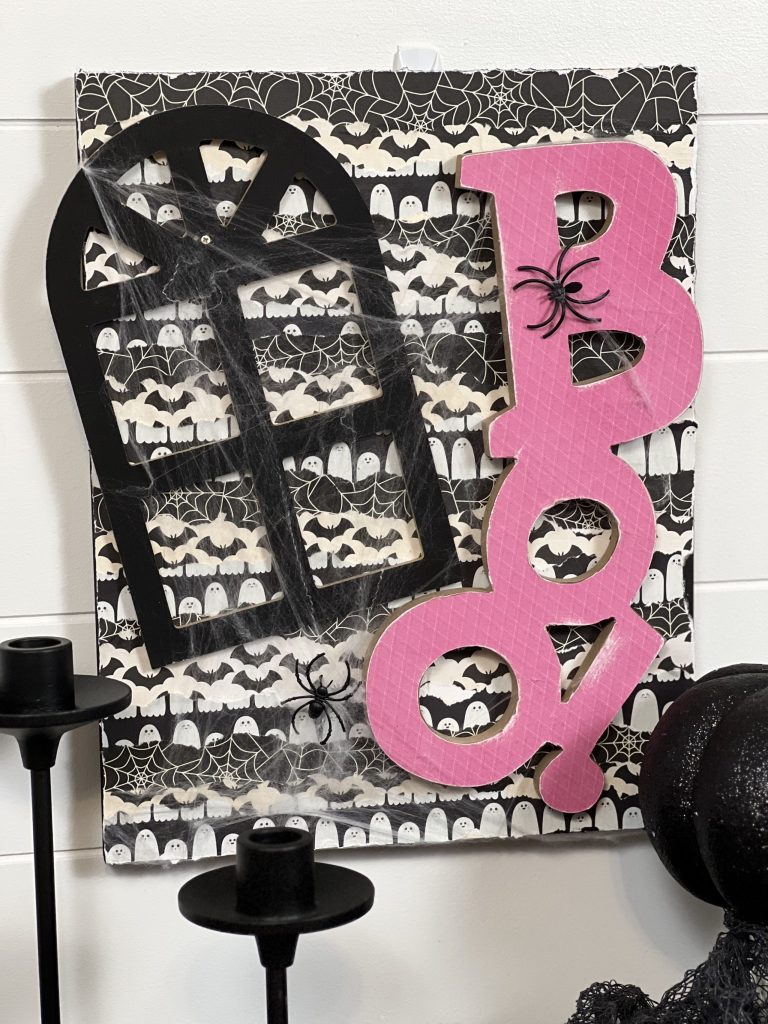
The little spiders on the pink is the perfect mix of creepy-cute!
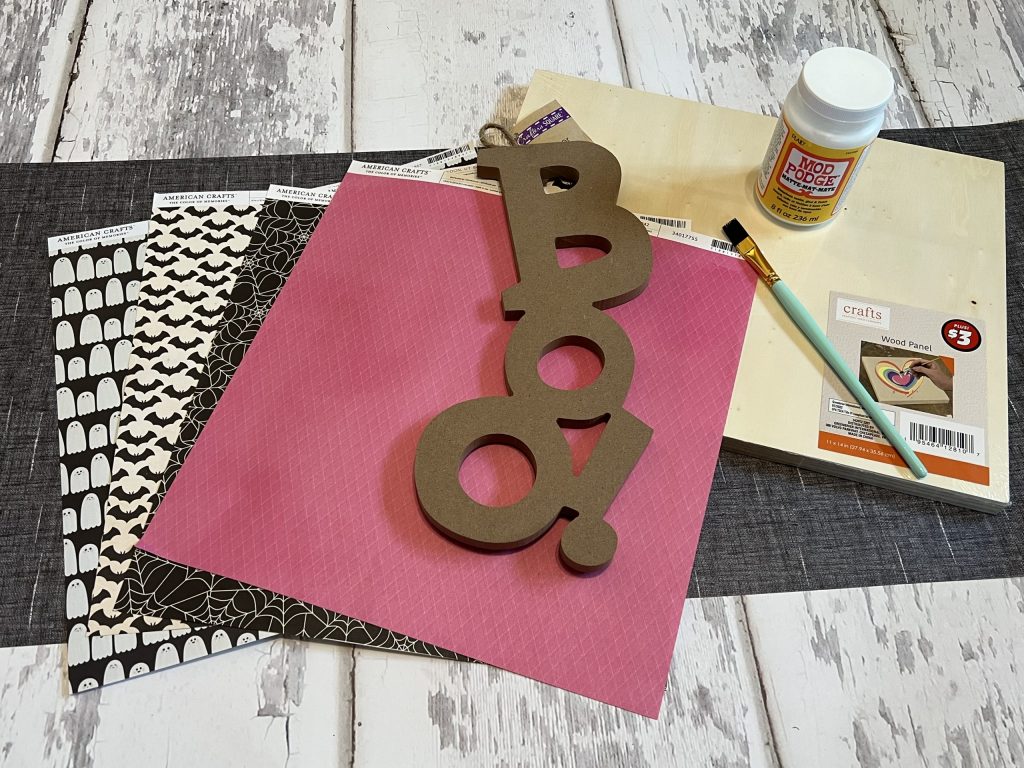
Here is what I used for this project:
- “BOO!” sign from Dollar Tree
- Halloween scrapbook paper – I purchased this from Joann Fabrics
- Wood panel board – Dollar Tree Plus section
- Mod Podge
- Paintbrushes
- Window picture frame – Dollar Tree
- Spider webbing – Dollar Tree
- Hot glue gun
- Sanding block
- Scissors
- Waverly chalk paint in black (optional)
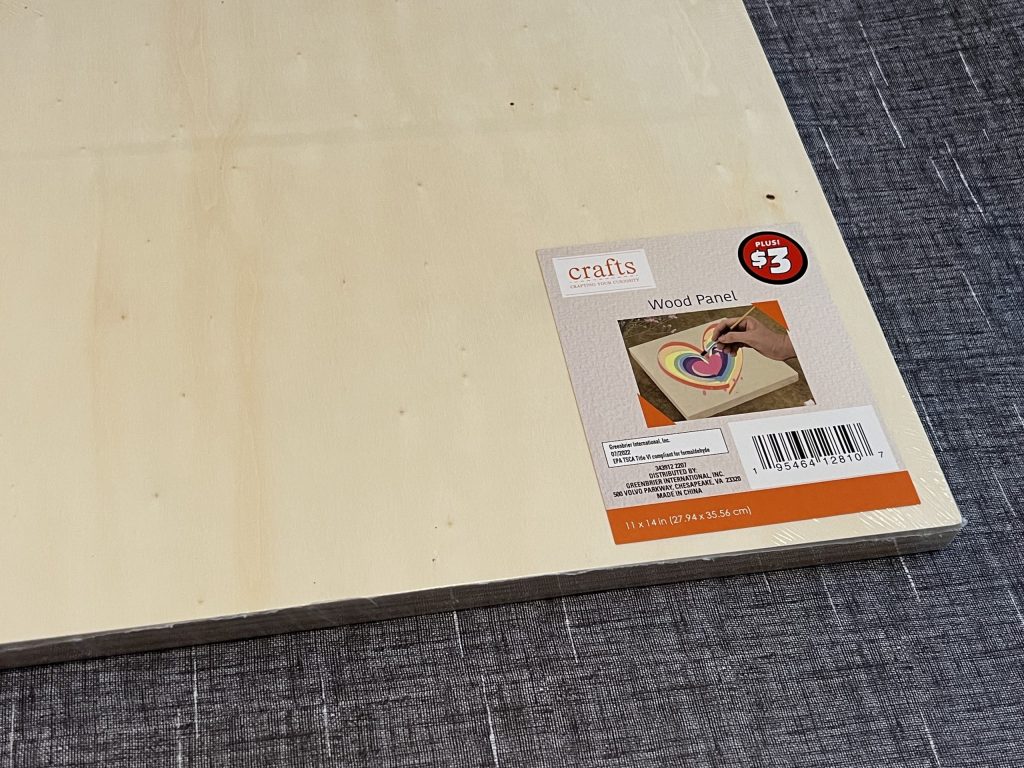
The Dollar Tree Plus section has some really great wooden paintable items for crafting. I picked up this 11″x14″ wooden panel for $3! It was the perfect size for this project!
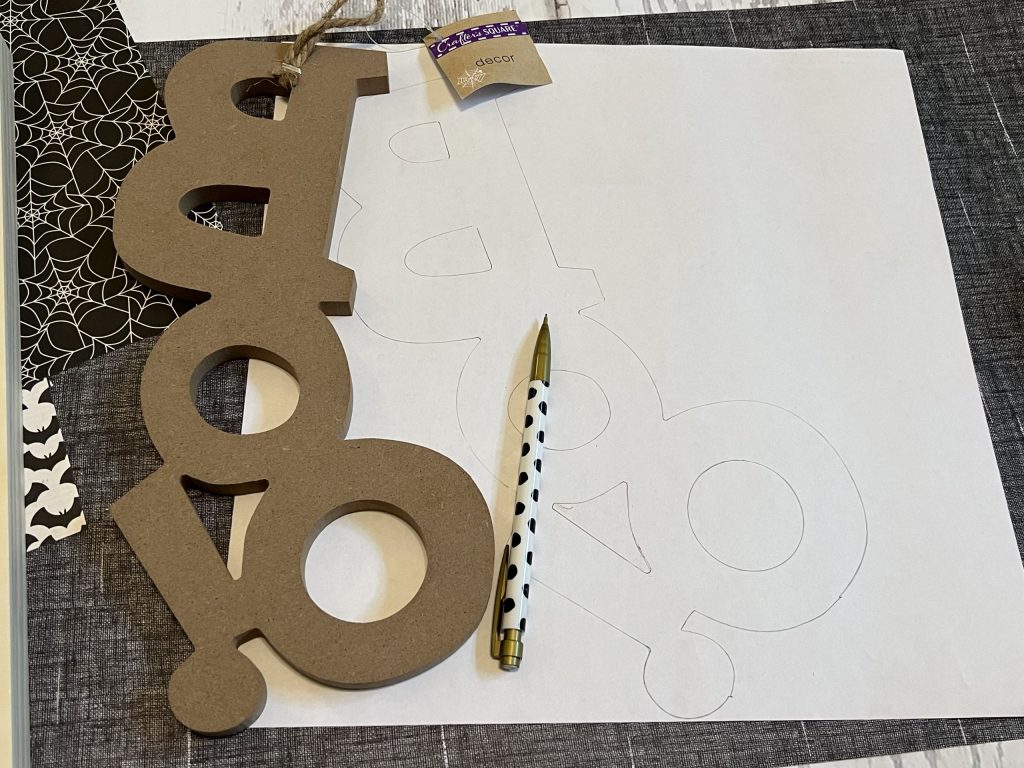
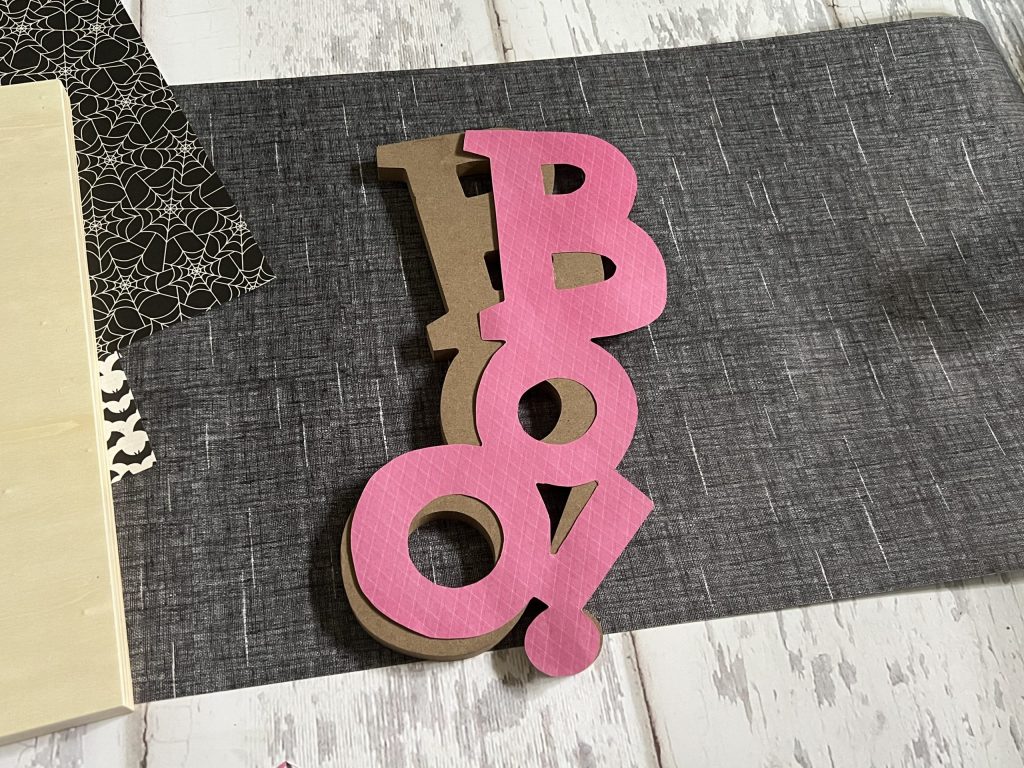
For the first step, I flipped the “BOO!” sign and traced it on the back of the pink scrapbook paper and cut it out. I chose a bright color to create contrast against the black and white Halloween patterns.
I also removed the jute hanging loop!
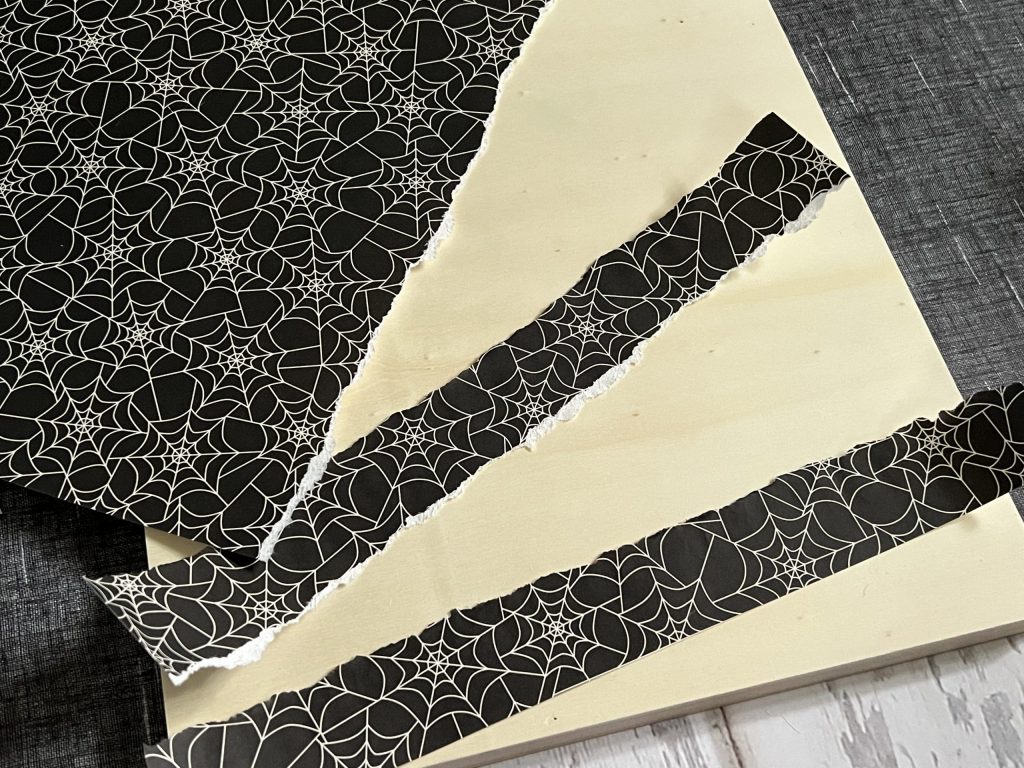
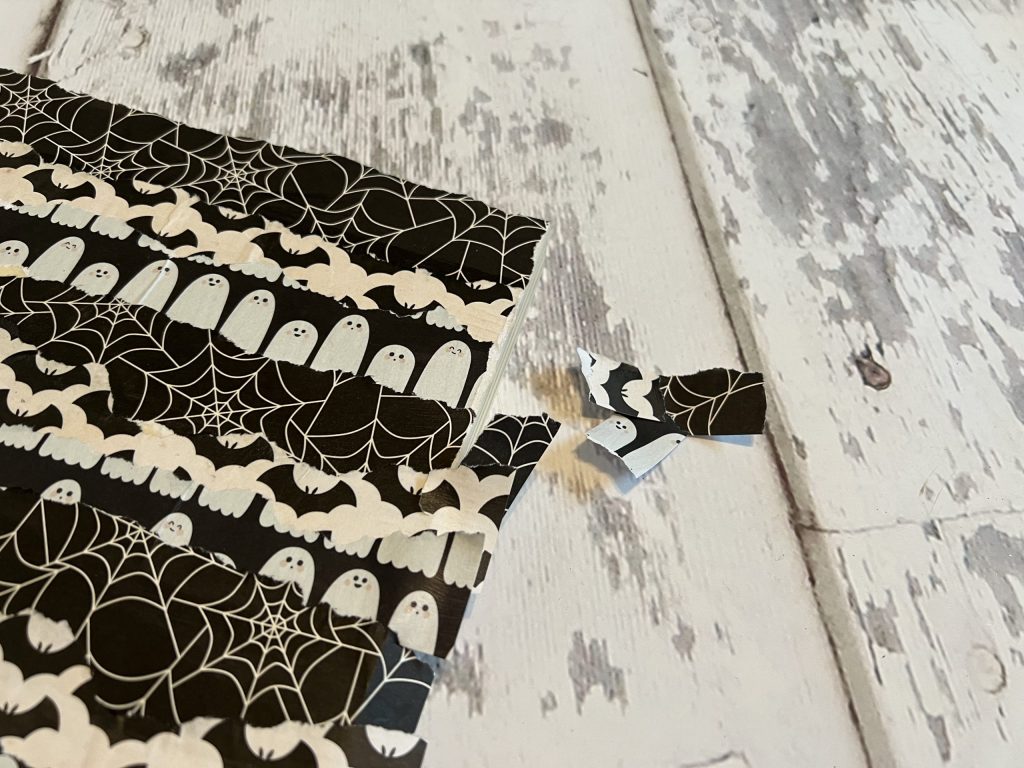
Next, I tore the scrapbook paper into strips about 1″-1.5″ wide. These do not have to be perfectly torn. I actually did some a little wavy on purpose just to keep it from looking too uniform. I chose three black and white Halloween patterns, but you can choose more or less if you want.
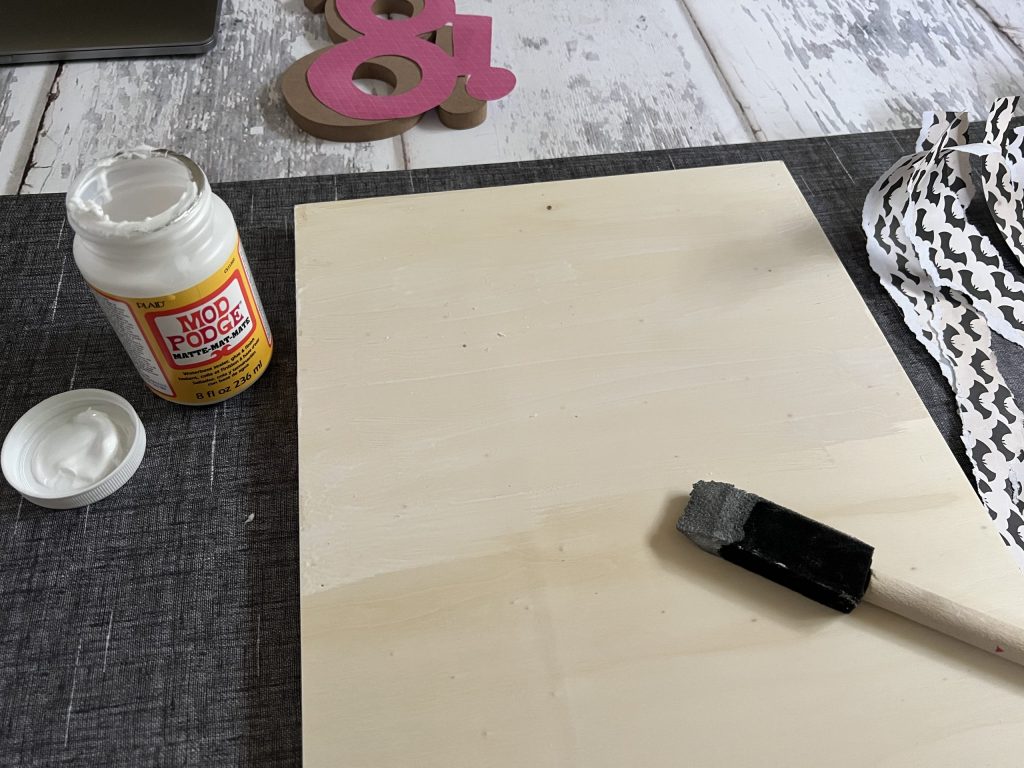
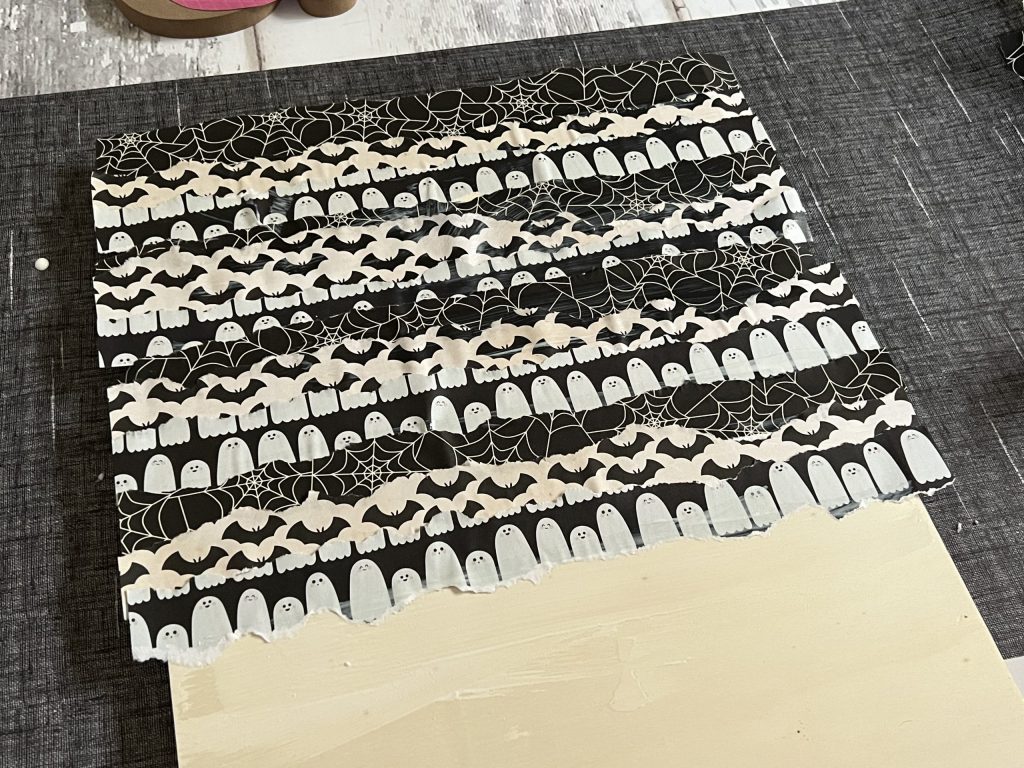
Once I had all of my scrapbook paper torn, I turned the board vertically and applied Mod Podge to the top. Then, I started laying the strips down, alternating patterns. I overlapped them just a bit to avoid any gaps.
While the board was drying, I applied Mod Podge to the “BOO!” sign and placed the scrapbook paper on top.
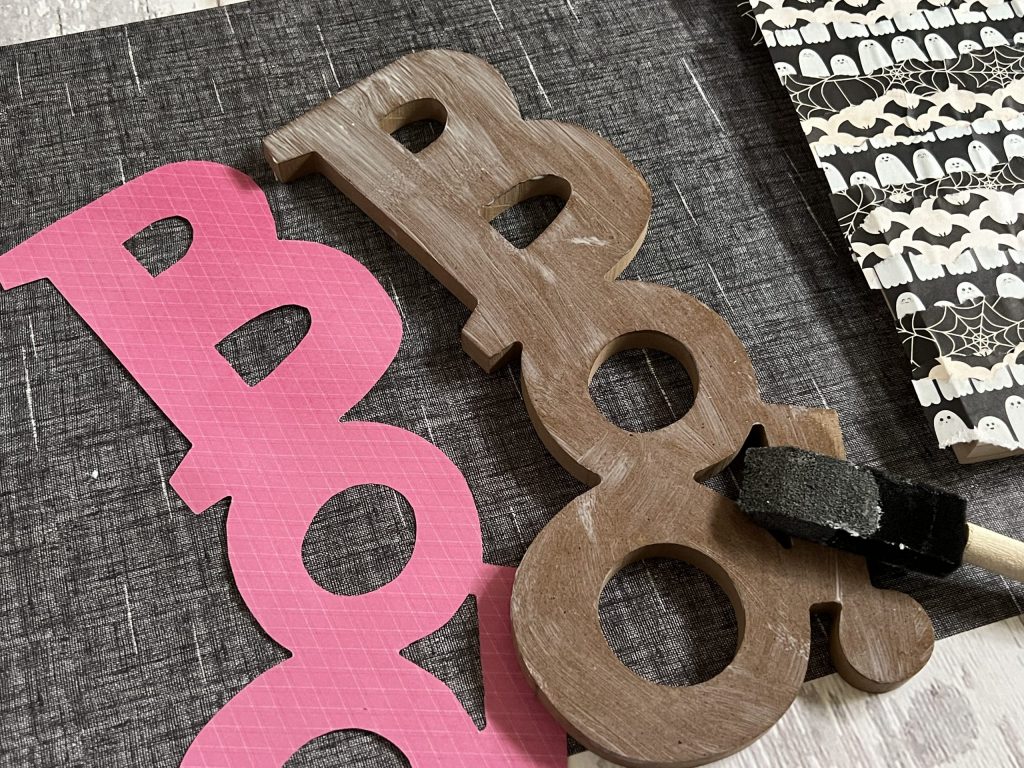
After the sign had dried, I used a sanding block to smooth and distress the edges a little.
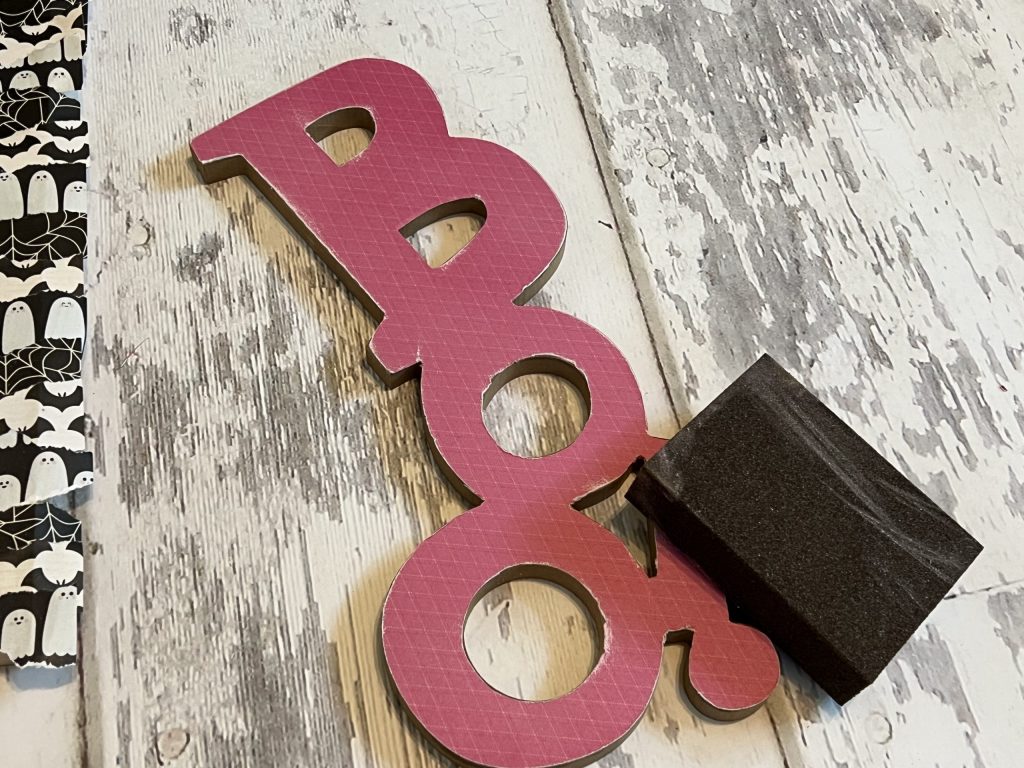
Before gluing the sign down on the board, I tore the excess paper from the edges of the board.
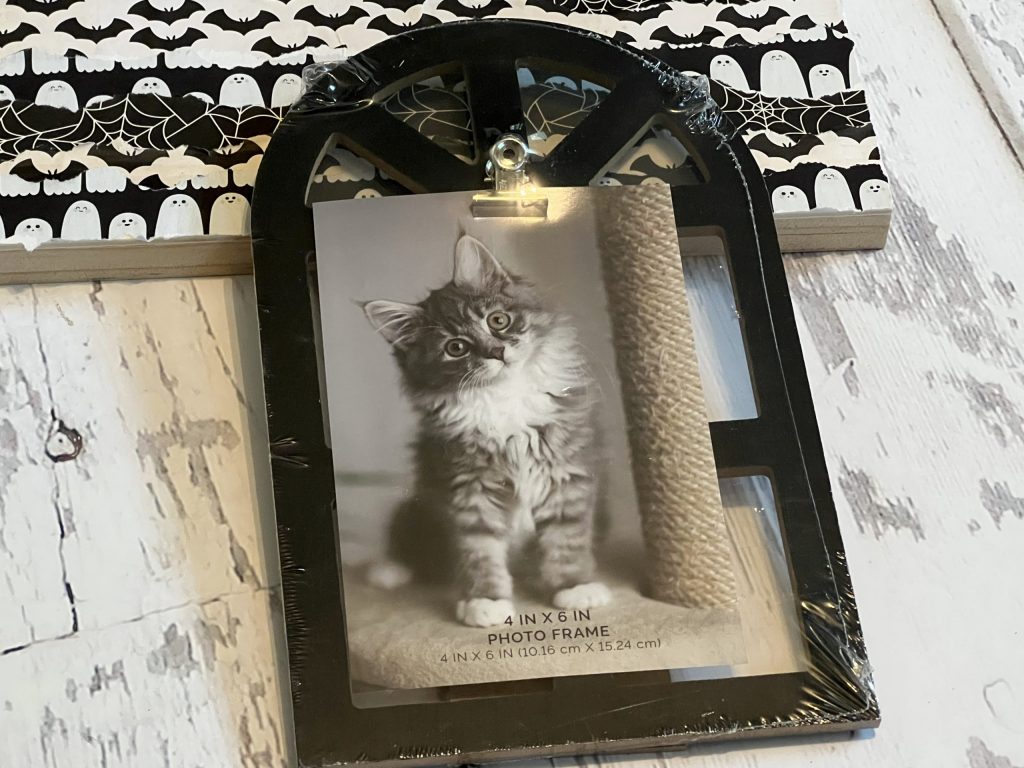
I had this little window picture frame in my crafting stash, and I thought it would be a cute addition! I removed the clip on the front and the easel back. Then, I glued it at an angle on the board.
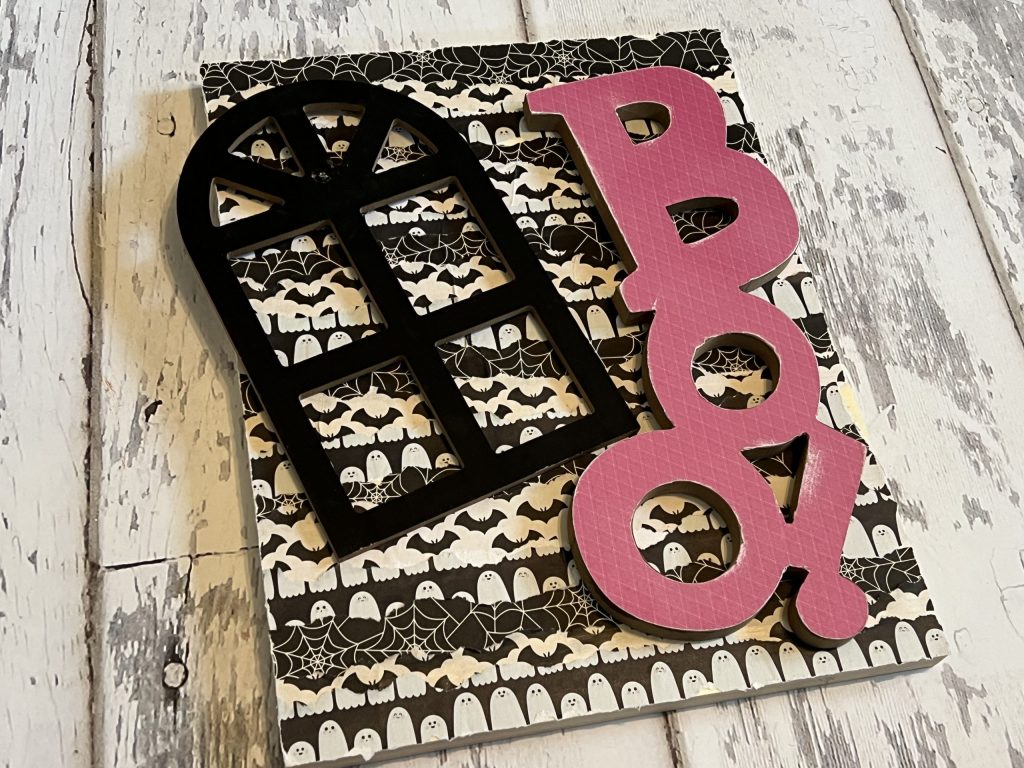
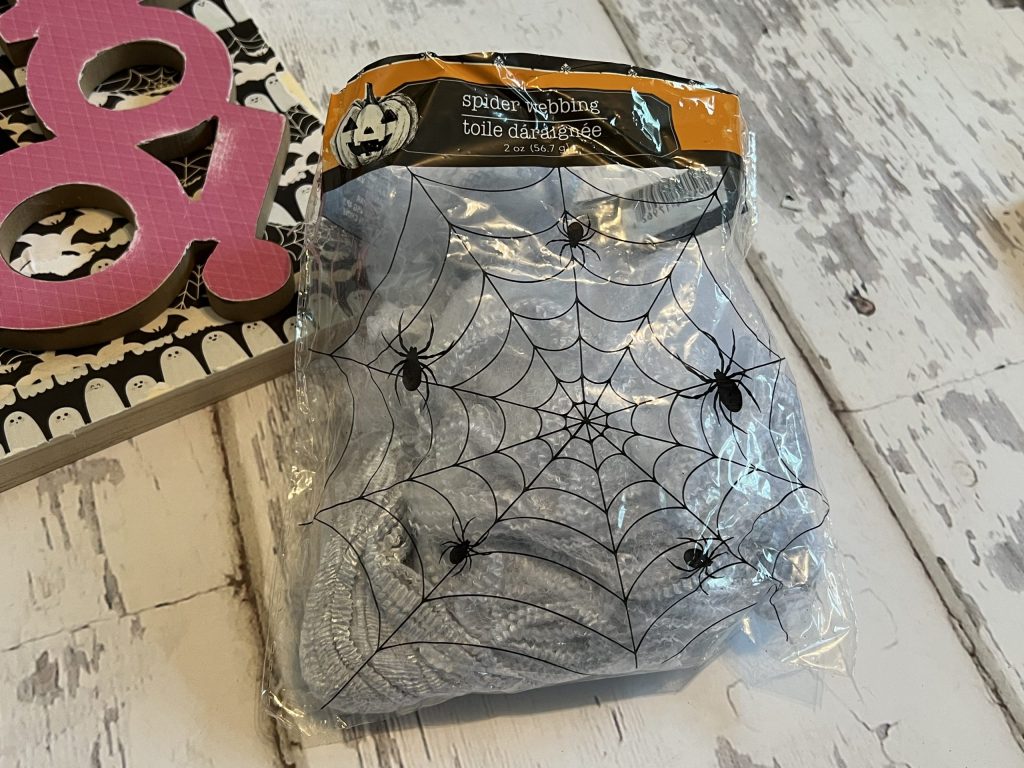
After hot gluing the “BOO!” sign and window to the board, it still needed a little something! I remembered I had some spider webbing left over from a project, so I grabbed it to add a little webbing! Let me tell you, this spider webbing goes a long way! It’s perfect for all types of Halloween projects!
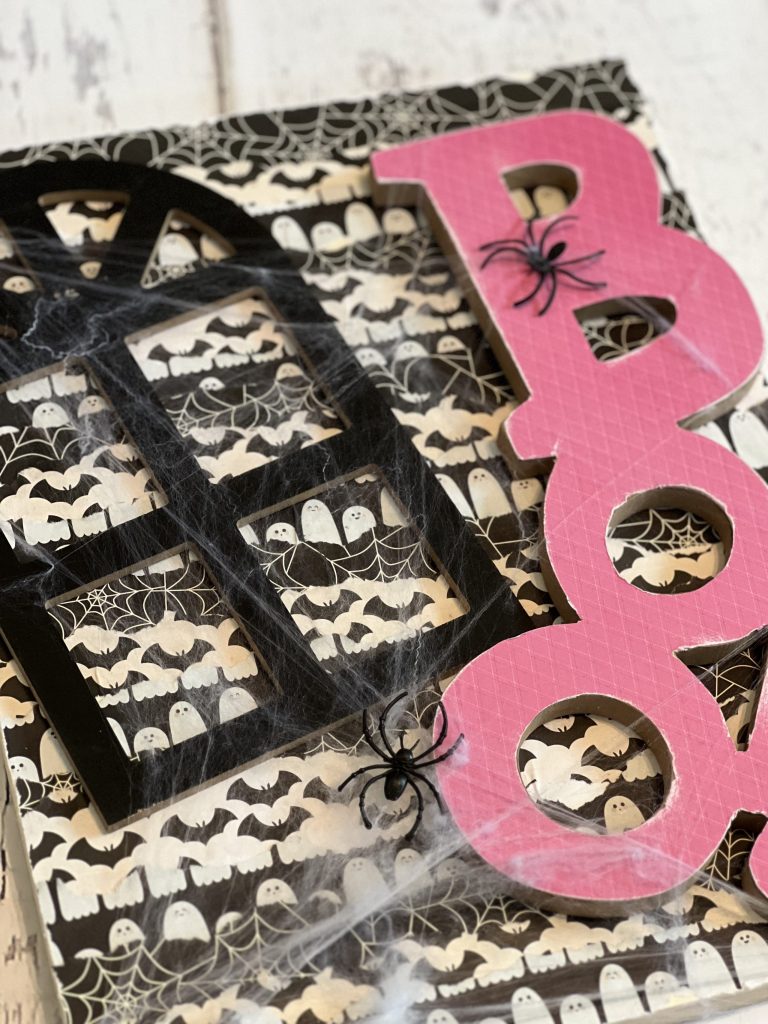
I pulled a little webbing out and stretched it over the frame and letters. To finish it off, I added a couple of spiders to the webbing!
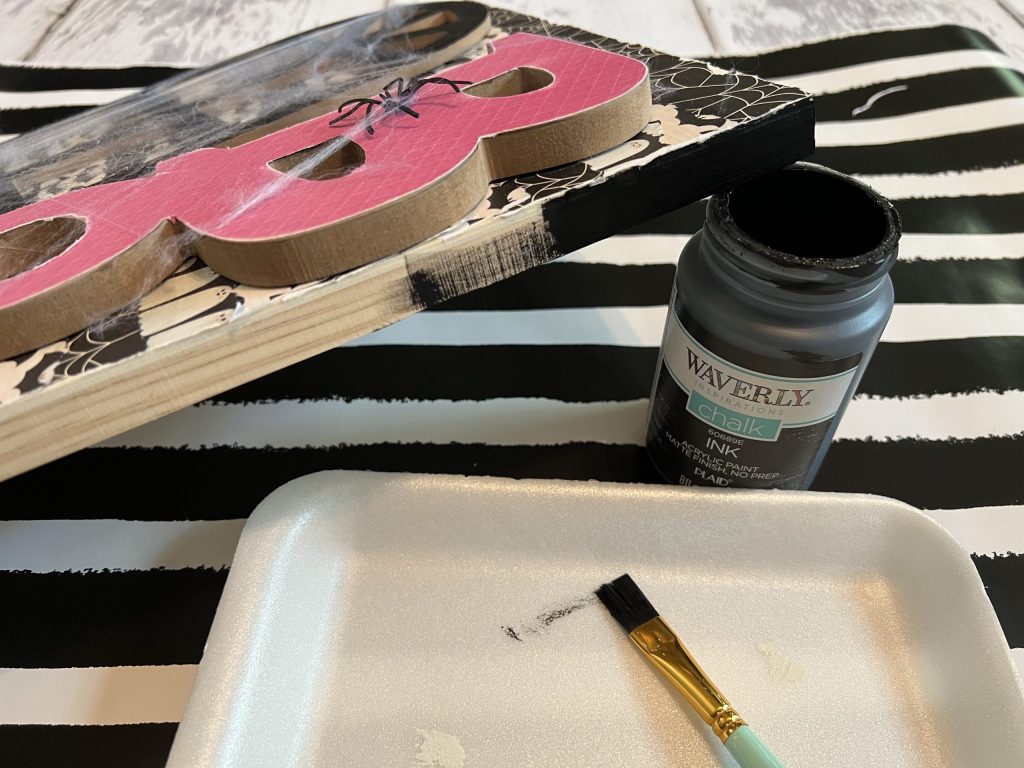
After adding the spiders, I realized I forgot to paint the edges of the board! Oops!!! I grabbed my black paint and slapped on a quick coat!
I absolutely love this fun Halloween sign! The pink really pops off the black and white background and gives it a cute and not creepy look!
Don’t you love mixing pink in with Halloween colors?! What is your favorite part of the sign?
PIN FOR LATER!
Last Updated on September 15, 2023

Love it love it got to try two of these going to dollar store tomorrow and the dollar tree hope all is well with you love you
So cute, I love it!
Thank you! ❤️