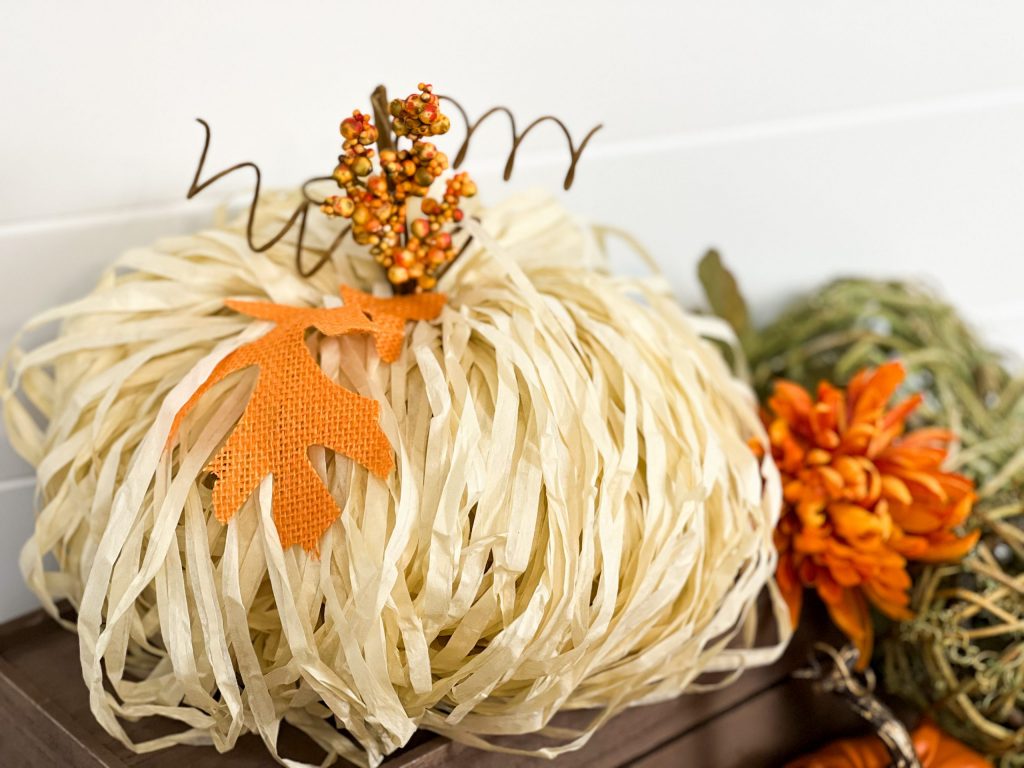
As summer comes to a close and you begin transitioning to fall decor, you may have a hula skirt or two leftover from a fun summer event. Hula skirts are an inexpensive item that can be used in so many DIY projects! Seriously, do you know where else you could find this much raffia for only $1.25?! I’m going to show you how I took this Dollar Tree hula skirt and created an adorable pumpkin for fall! This is SO easy, y’all!
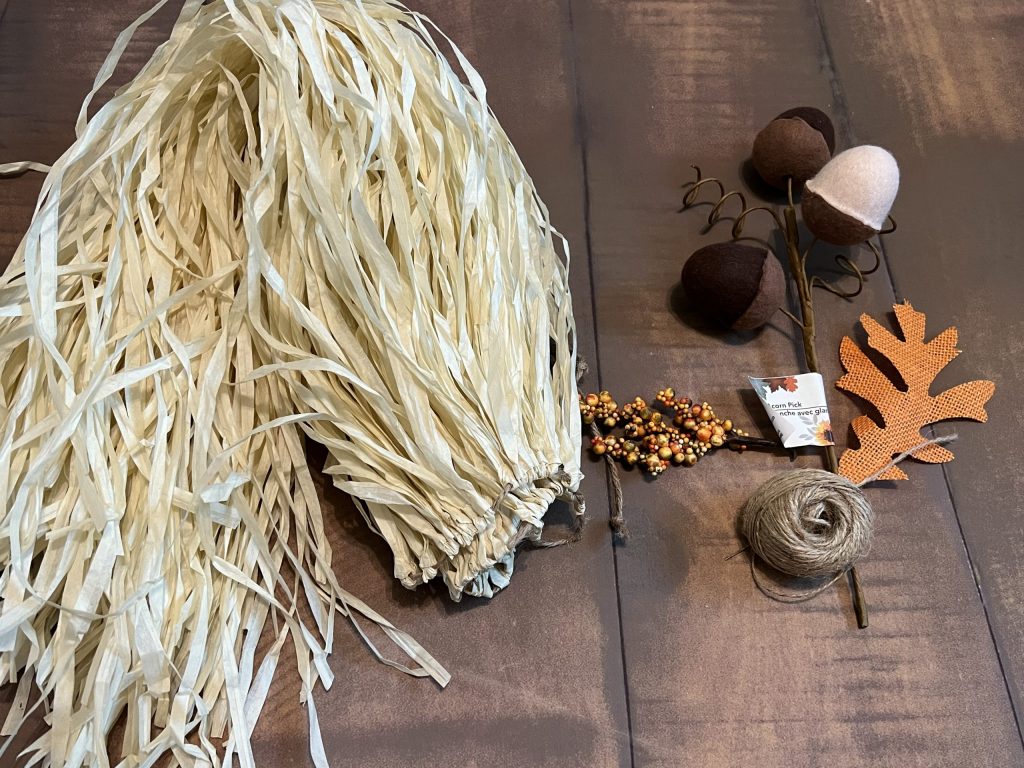
For this project, I used the following supplies:
- Hula skirt
- Jute twine
- Felt acorn pick – Dollar Tree
- Burlap leaf – Dollar Tree
- Foam berry piece
- Scissors
- Hot glue gun
This project is super simple and very inexpensive! I only purchased the acorn pick for this project, because the other items were things just hanging out in my craft area!
The first step is to slide all of the grass raffia pieces as close to the center of the skirt as possible. The best way to do this is to start in the center, pushing everything tightly towards the center. I found it much easier to start this process in the center rather than starting on the outside pieces.
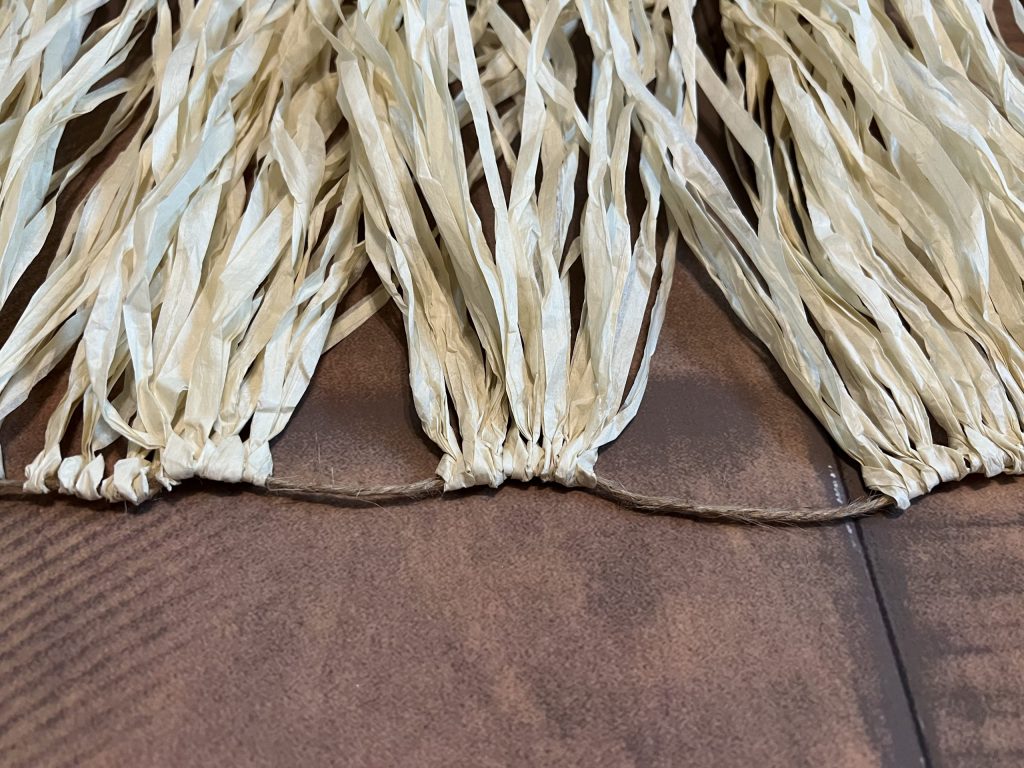
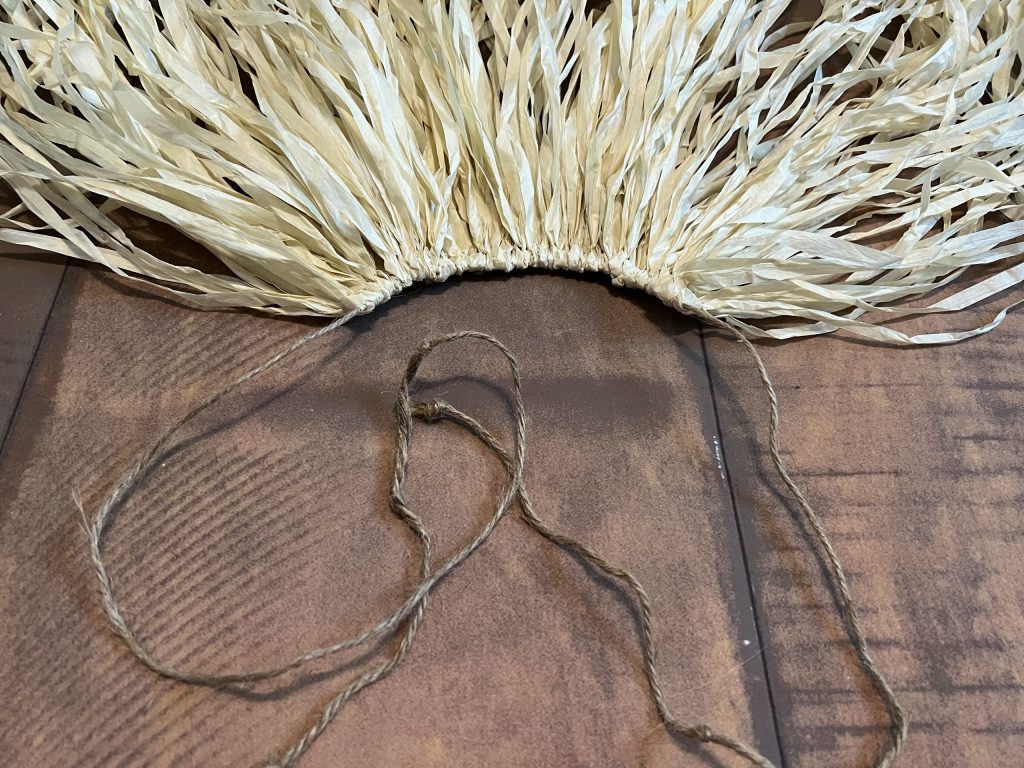
Next, I rolled the top of the skirt where the raffia is attached to the string, creating just a small opening. Then, I wrapped the jute string around it and tied it in a knot to secure it. You can cut the excess string from the hula skirt waist to secure it, or you can use extra twine.
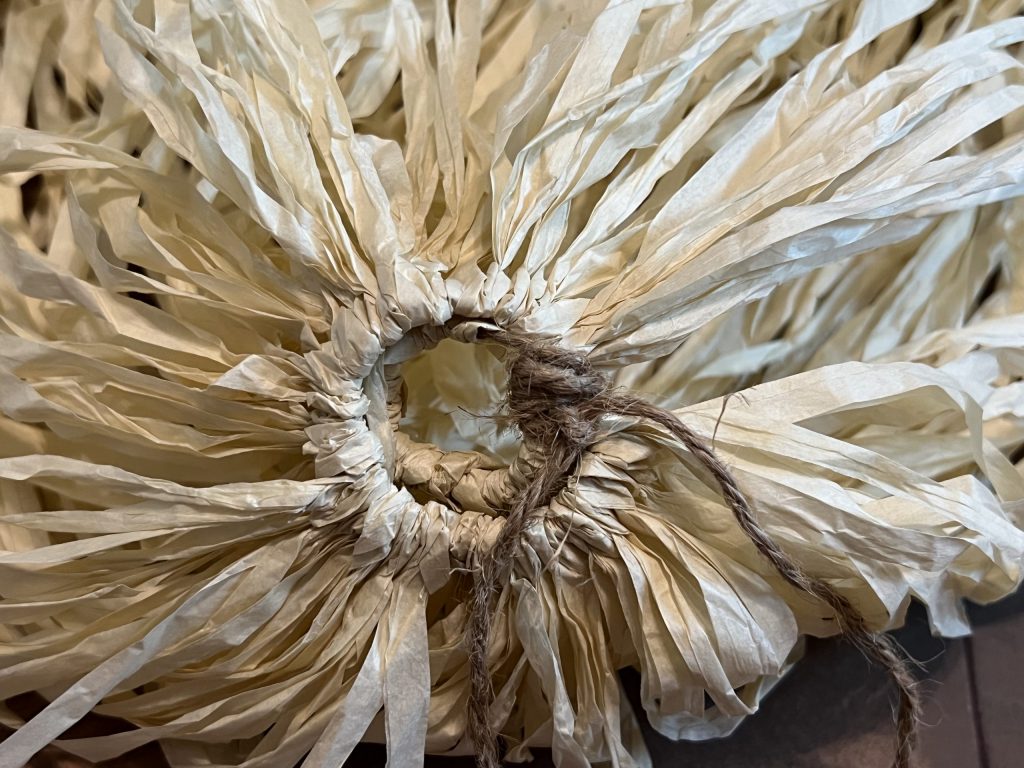
After securing the waist portion of the skirt, I straightened out the raffia skirt portion and tied it at the bottom with twine. You will want to include all of the raffia pieces, so make sure you tie it several inches above the bottom.
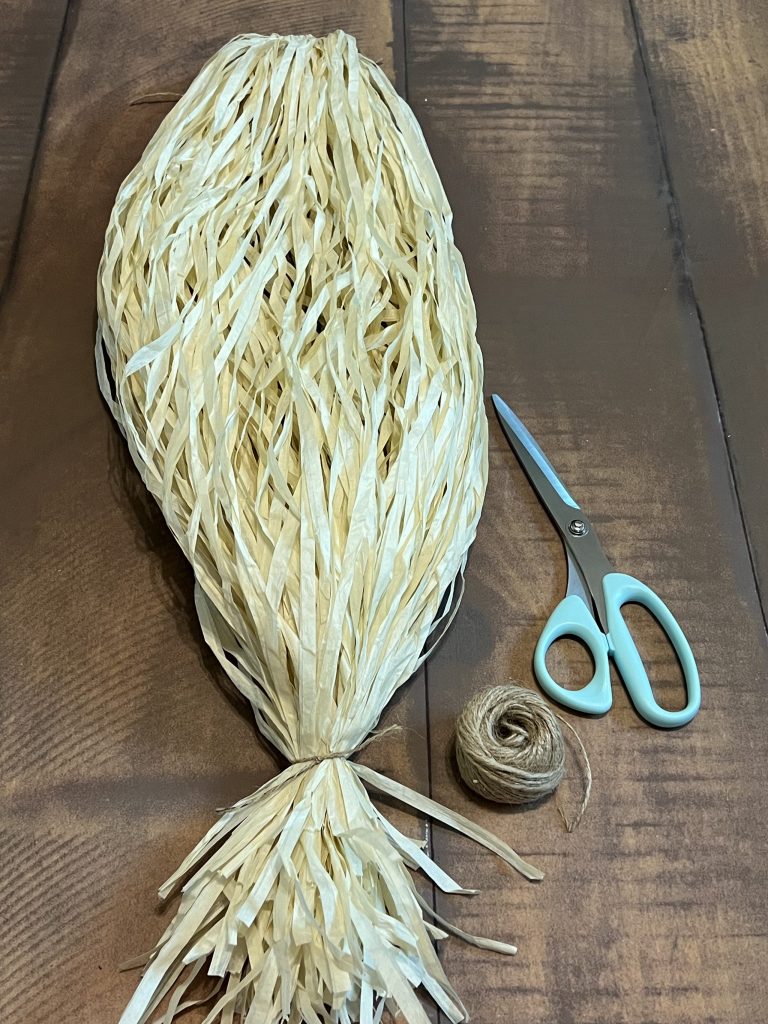
Next, I twisted the skirt just a bit to tighten the raffia. You still want it loose, but twisting it will help with the next step.
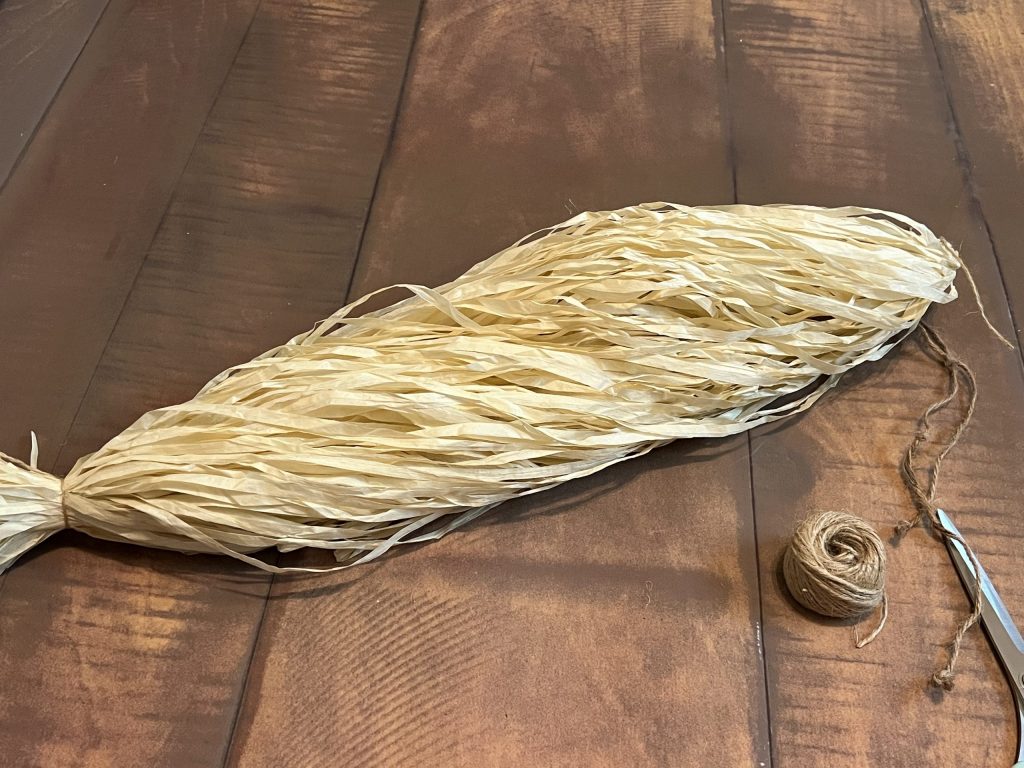
Then, I took both ends, one hand on each end, and turned them into the center section. It’s almost like you are trying to make a heart by bringing the top and bottom portions together. I used the twine to tie both ends together. Make sure you create a tight knot.
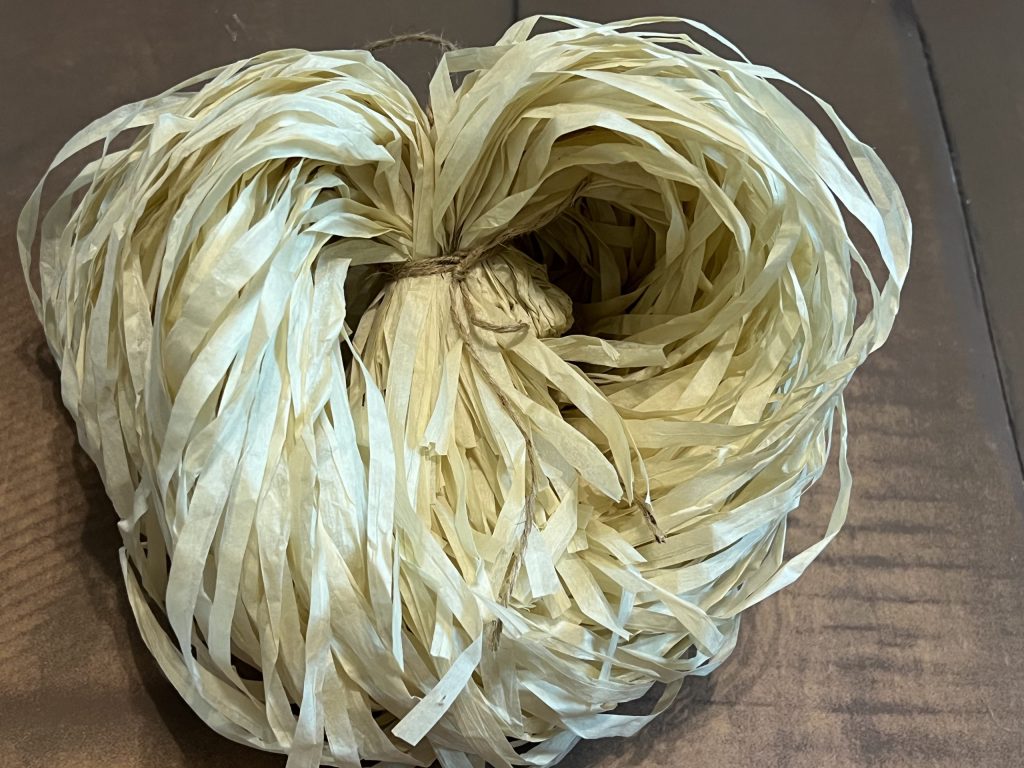
Here is what it looked like right after securing the ends together. You will have a few straggling pieces, but that’s totally fine! You can clip those later if you want.
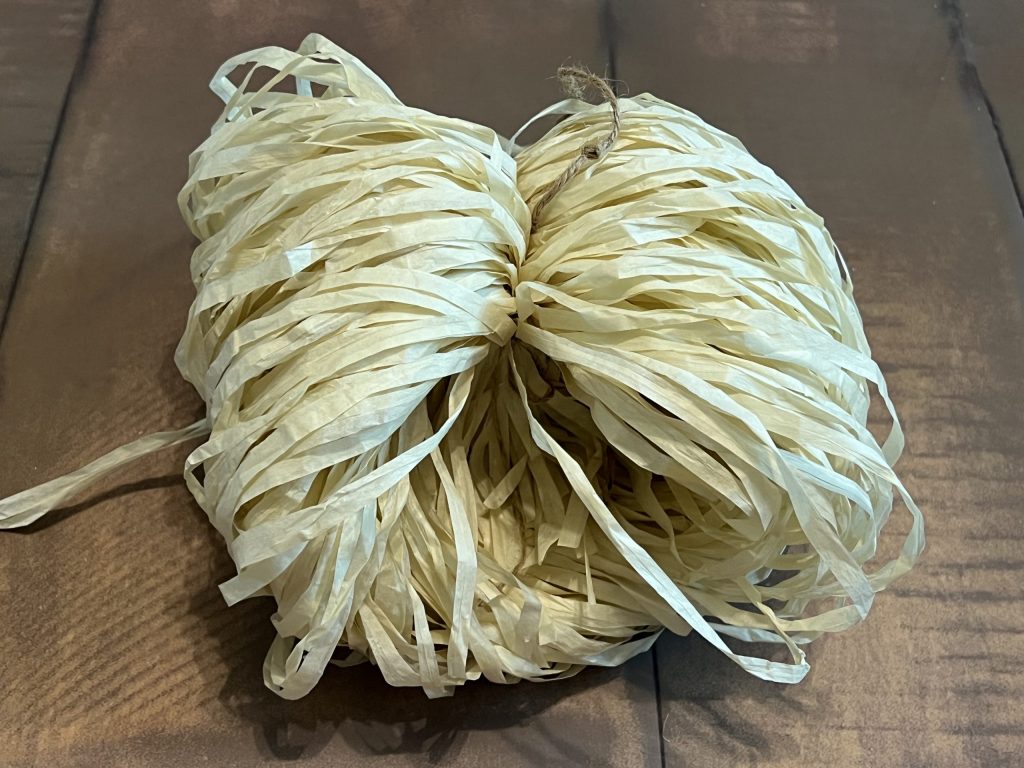
Next, I grabbed my acorn pick and plucked the acorns from it! They just slide right off the stems. This pick is PERFECT for a pumpkin stem! I love the curly pieces and even the little straight pieces sticking out. Those can be bent easily!
Also, how cute are these little acorns? I’ll definitely be saving them for a future project!
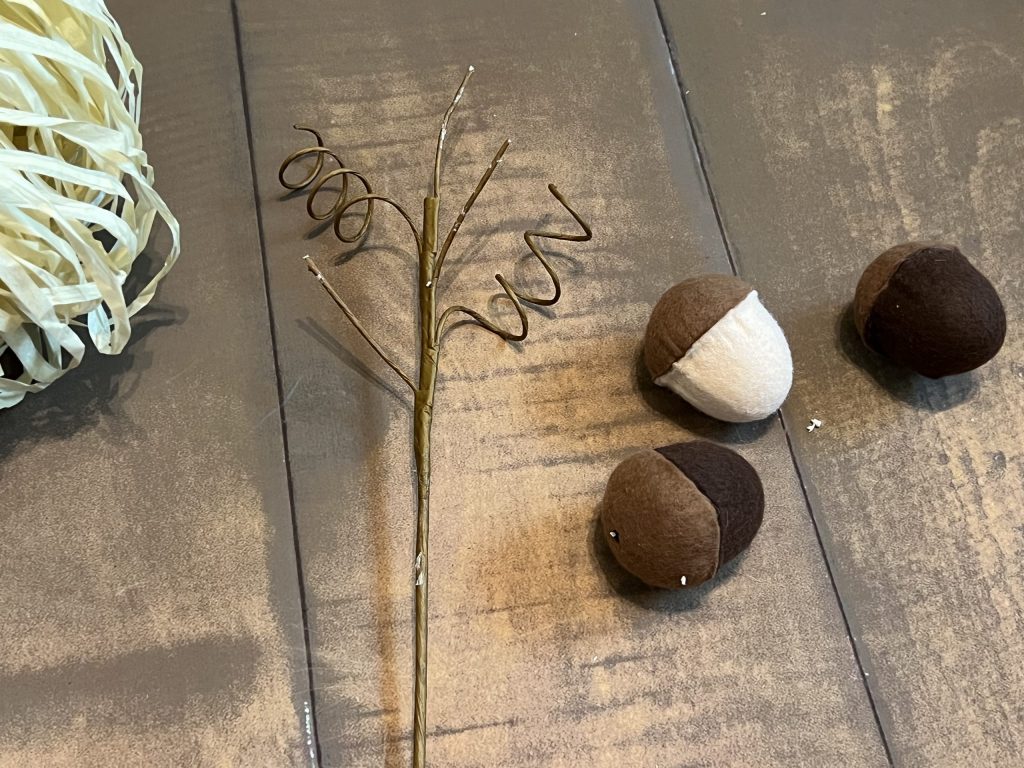
I poked the stem down through the top of the pumpkin to the desired height, then bent the stem at the bottom. After this step, I fluffed the pumpkin and shifted the raffia around to cover the sides and give it a nice round shape.
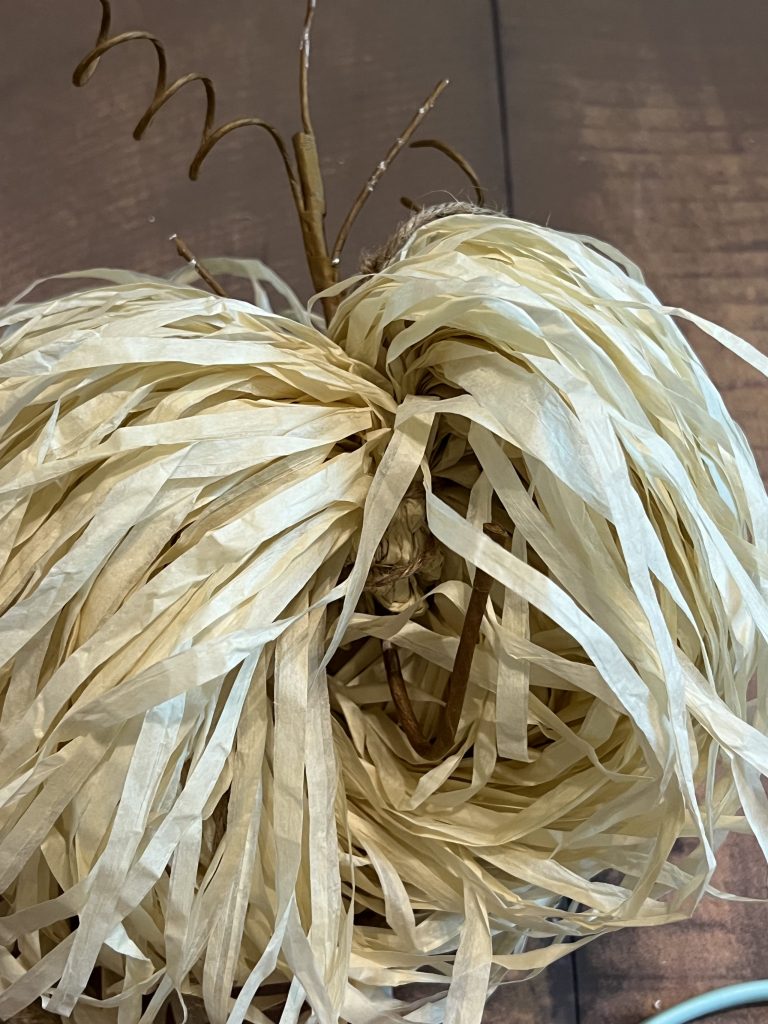
Once the pumpkin was fluffed, I added a leaf and a berry sprig to finish it! The berry sprig was originally part of a wreath and had fallen off. As a crafter, I NEVER throw away floral pieces that fall from wreaths and flower arrangements. They are perfect for projects like this one!
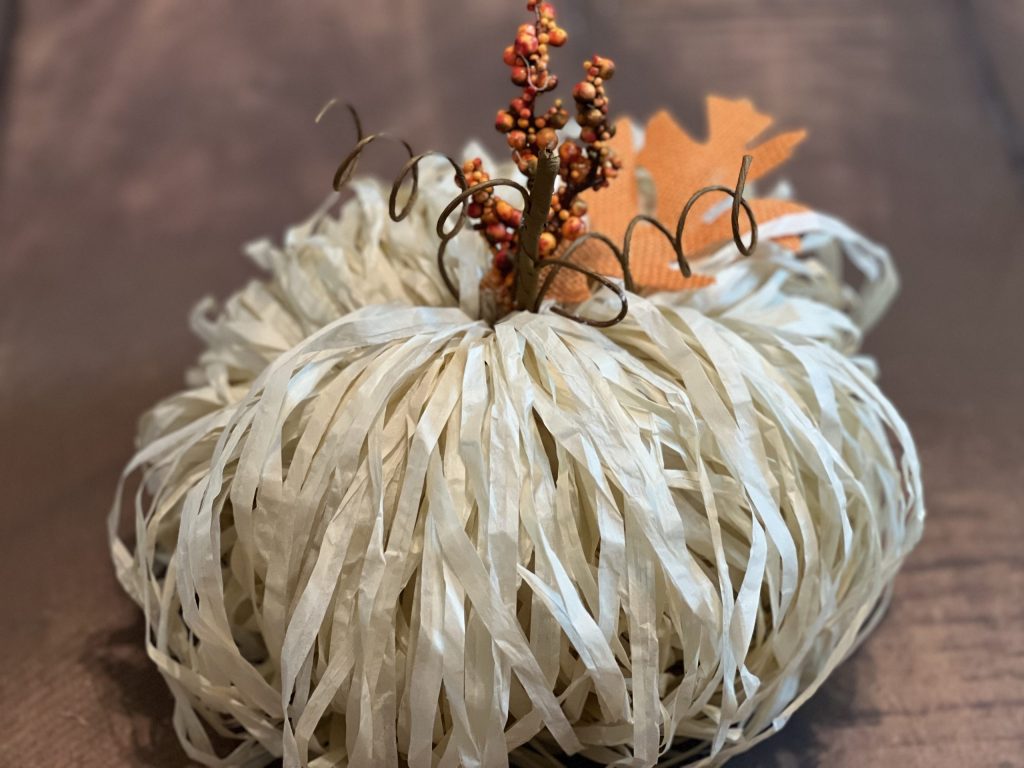
This pumpkin turned out just how I envisioned it! How cute would these be for a centerpiece at a fall event?! So inexpensive and easy!!! I love reusing decor from one season to the next…this transformation definitely saved this hula skirt!
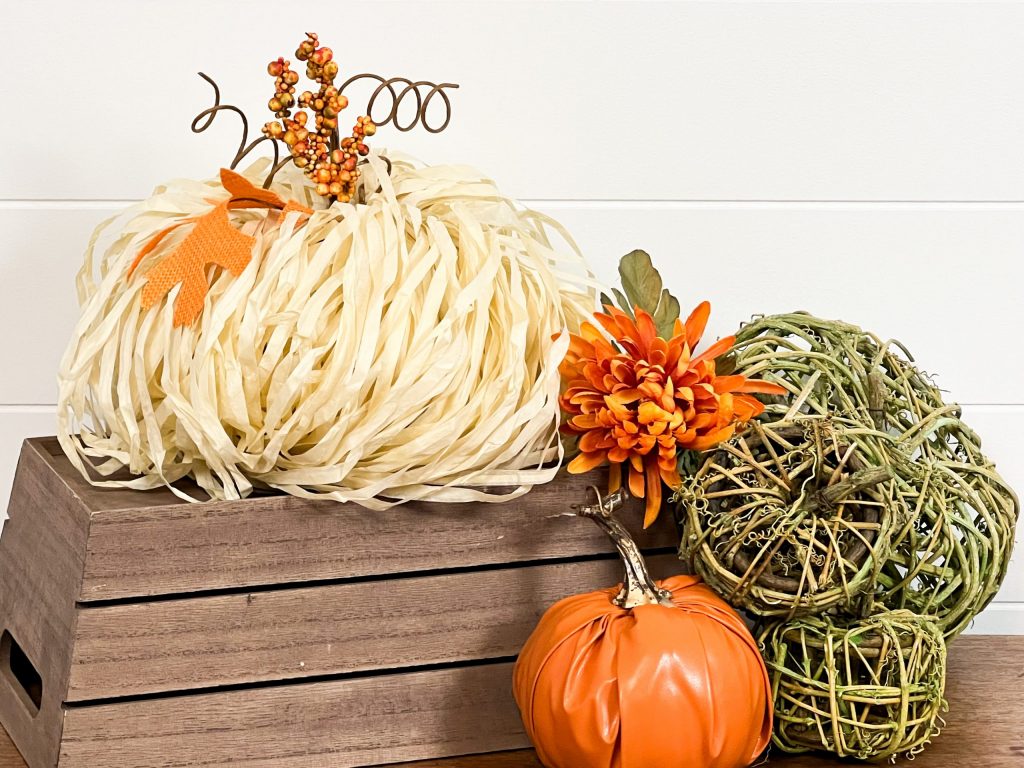
What do you like to make from hula skirts? I would love to hear your ideas! I know I have some super creative peeps on this blog!
Last Updated on August 31, 2023



There you go again…..🎃 cute as ever❣️
Love it ❣️ I’m going to give this a try 🤪
Thank you ~ Brooke 💖
Happy Fall Y’all 🍁🌻🍁
So stinking cute Brooke-I’m going have do this I have few these in stash.
Thank you! I’m so glad you are going to try it! ❤️