Wreaths can be so versatile! Besides hanging them on the door, you can prop them up on a shelf or counter and use as a backdrop for other décor items. I love to layer items when I am decorating. With nautical décor being so popular right now, I decided to throw together an easy wreath. The best part is…the supplies can all be found at Dollar Tree!!! I LOVE to decorate with current trends, BUT I don’t want to invest much into it. I would rather save the money to purchase classic pieces that can be used longer than a season.
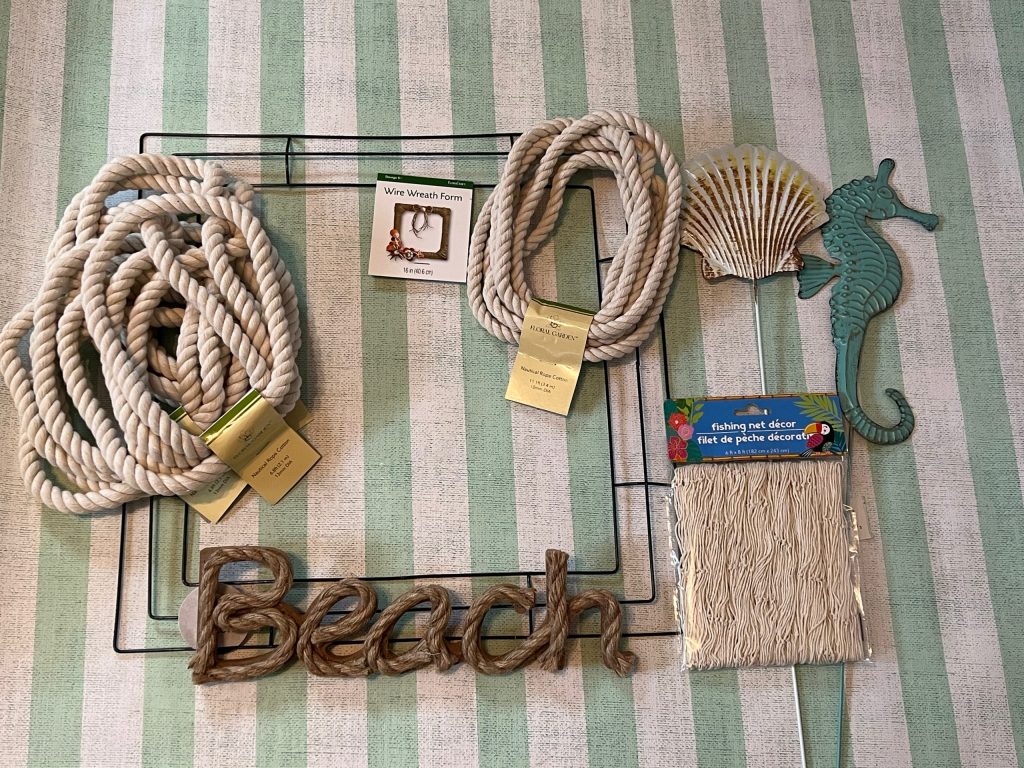
You will need the following supplies for this wreath:
- Square wire wreath form
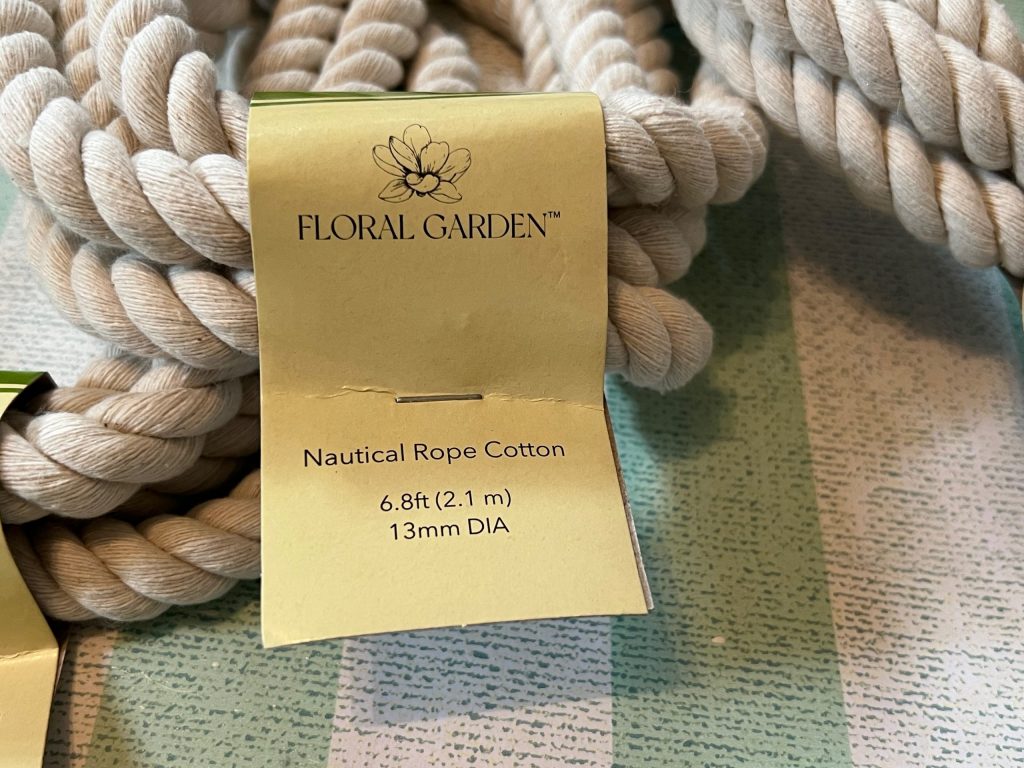
- (3) Packs of nautical rope – 13 mm diameter, 6.8 ft
- (2) Sea life garden stakes
- Rope “beach” sign
- Hot glue gun
- Scissors
- Wire cutters
Dollar Tree has two sizes of the nautical rope. For this project, I used the larger size which is 13 mm. You can definitely use the smaller if that is all they have. I just preferred the larger for the wreath.
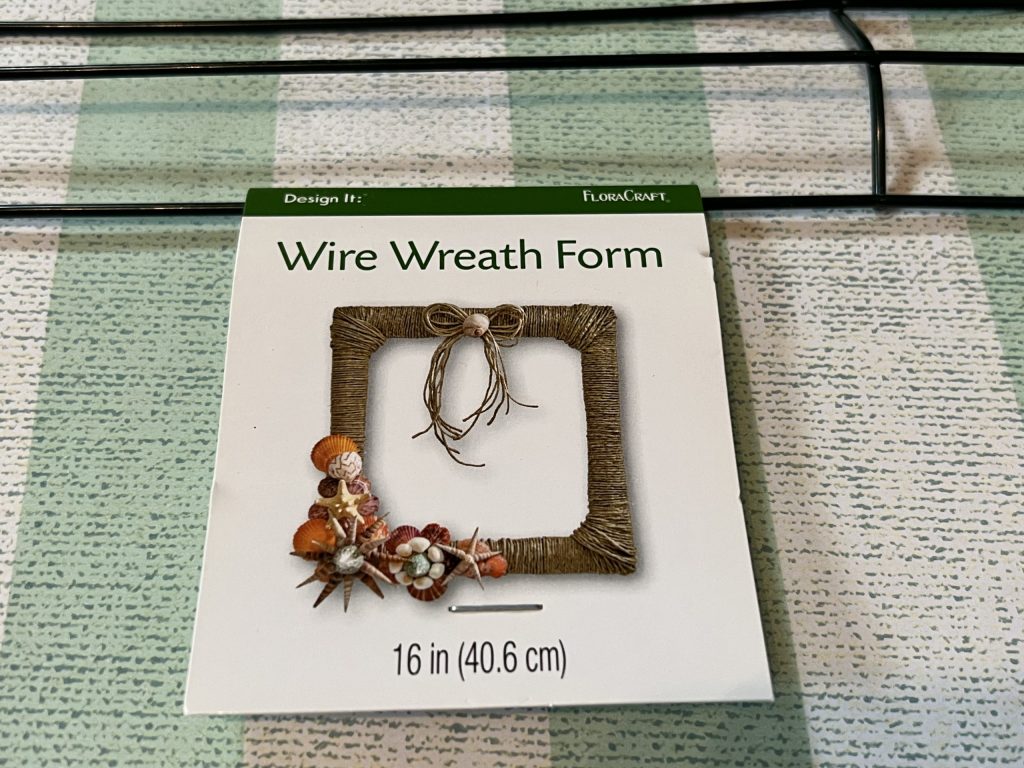
For the wreath, I chose the 16″ square wire frame from Dollar Tree. Again, a different size will work fine as well.
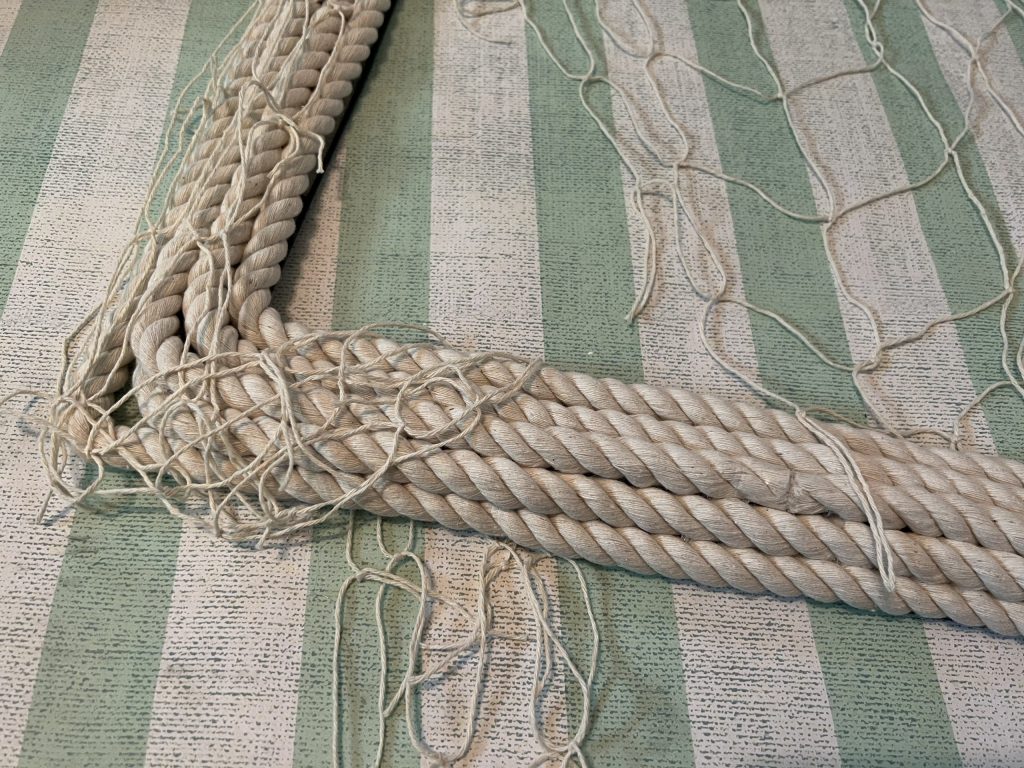
First, I glued the rope around the wire frame. I started on the outside rim of the frame. Using hot glue, I applied the glue directly to the wire. I immediately laid the rope on top and pressed down, holding for several seconds allowing the glue to set. I continued working my way around the outside rim.
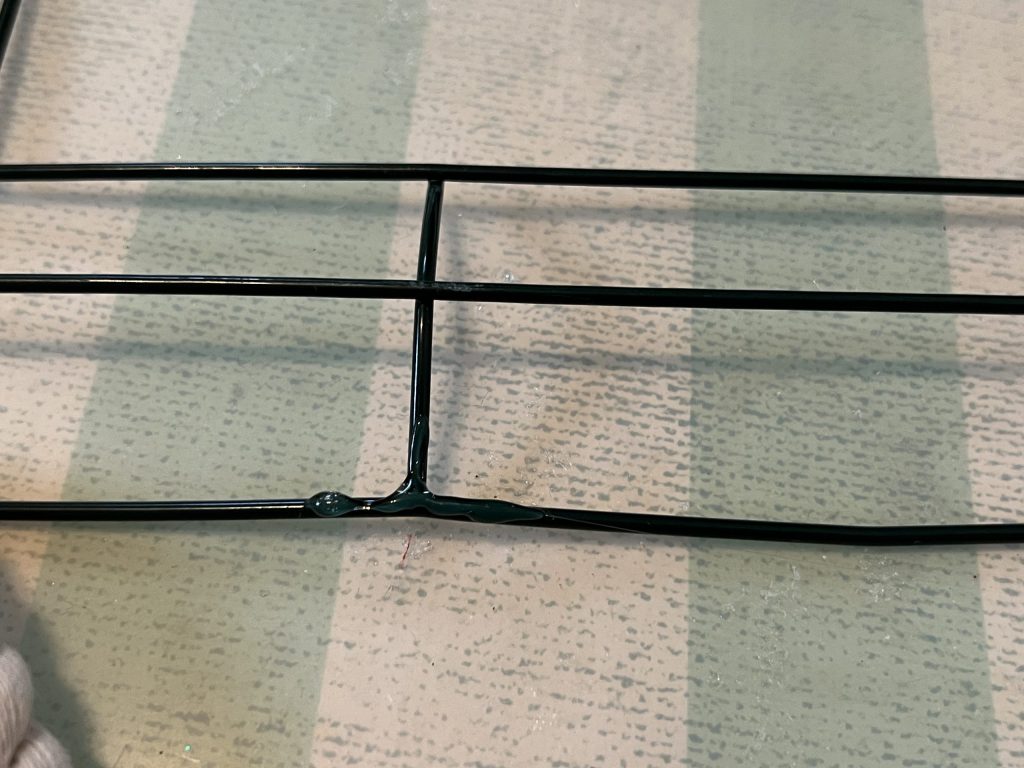
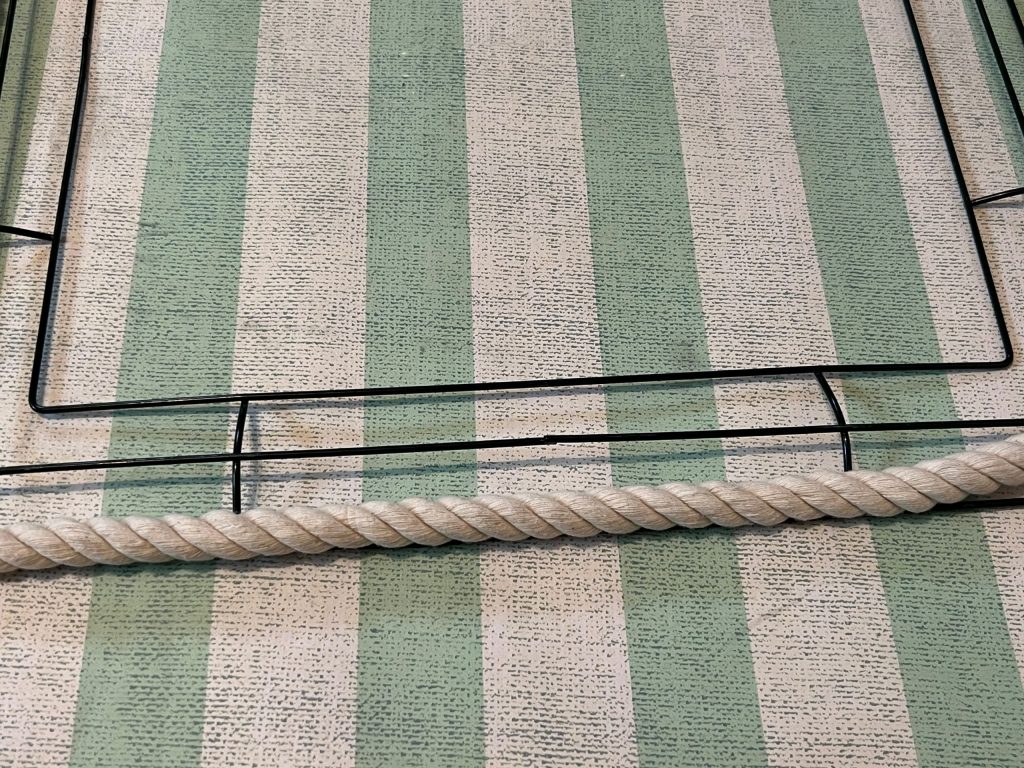
Once I made it back to the starting point, I applied glue directly on the rope already laid and the middle wire.
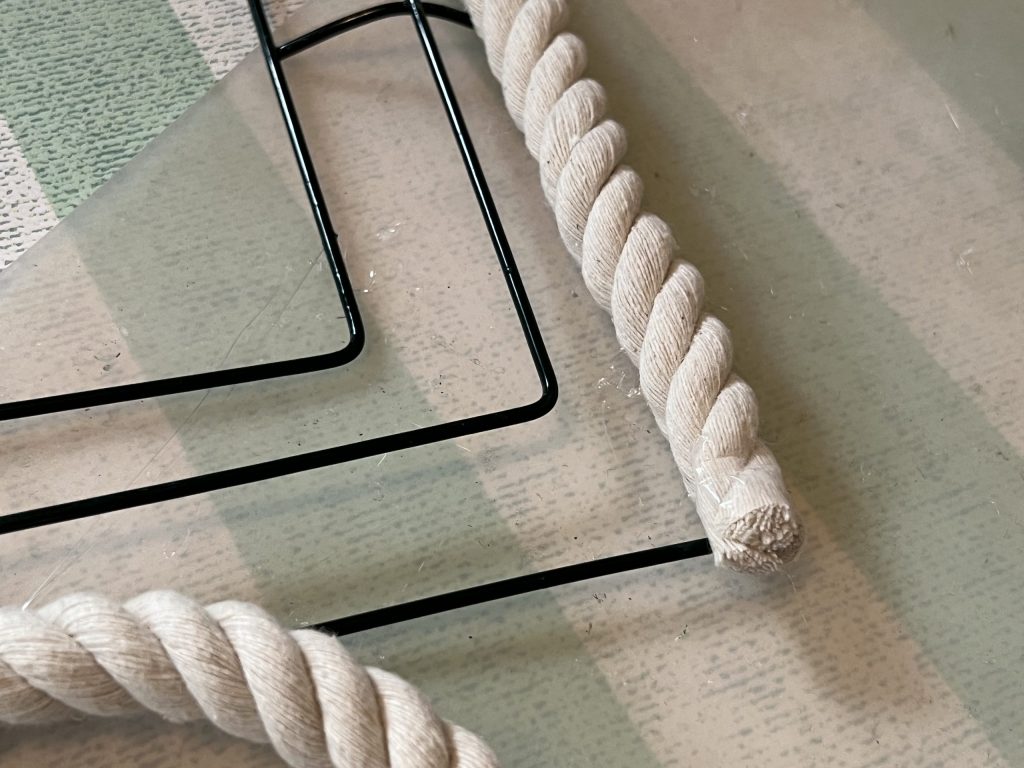
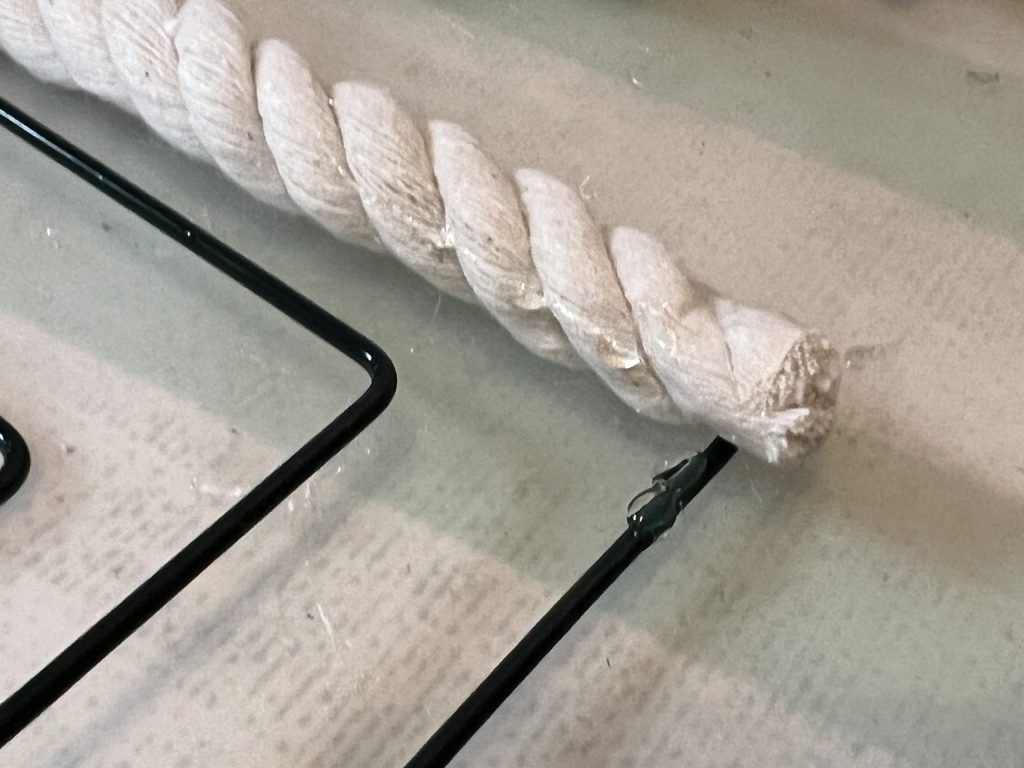
I applied pressure to both ropes so they securely adhered to one another.
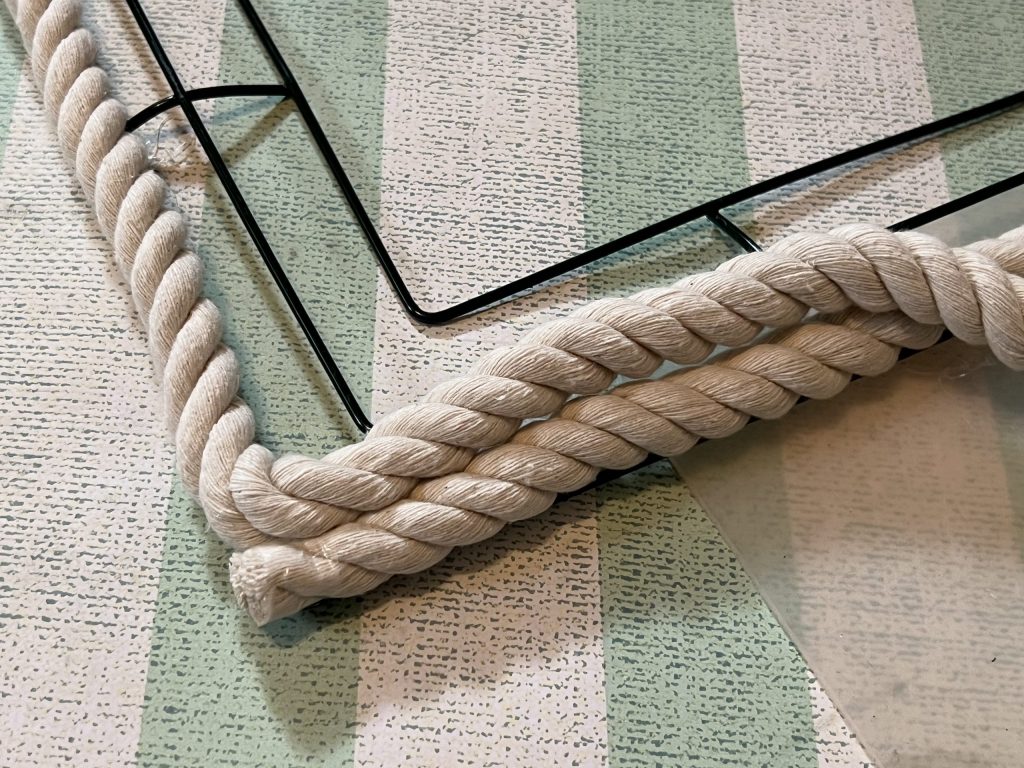
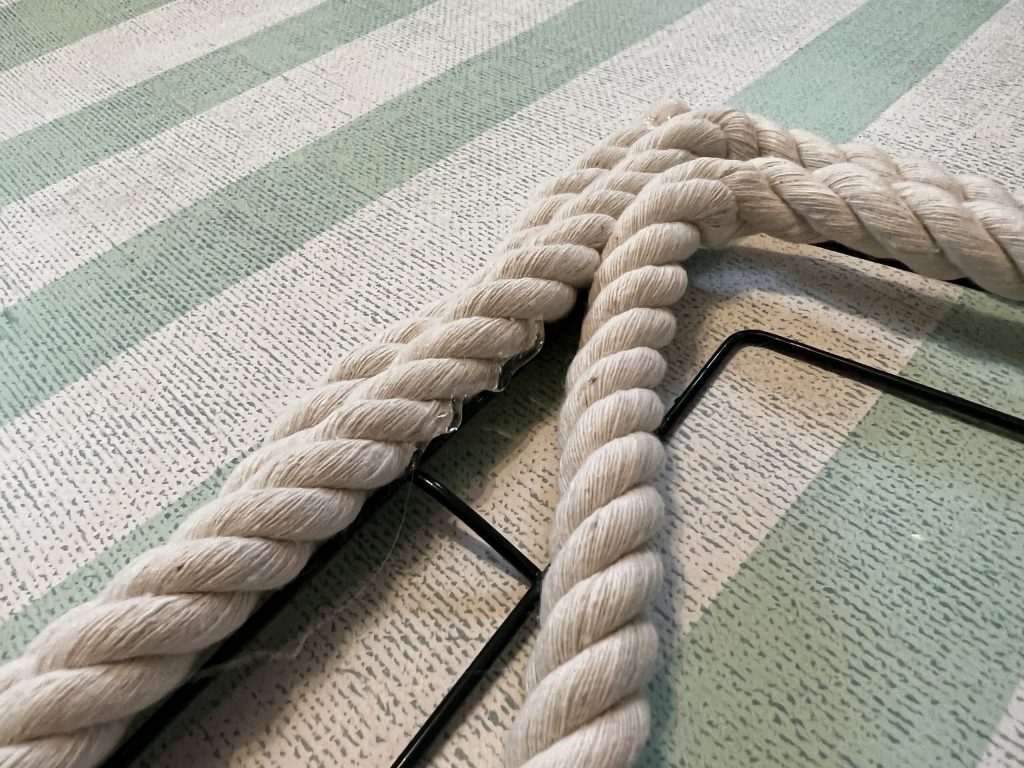
On two sides of my square, there were larger gaps between the outside rim and the middle wire. As you will see below, when this happened, I stayed on the middle wire. In the end, this created a large gap in my wreath.
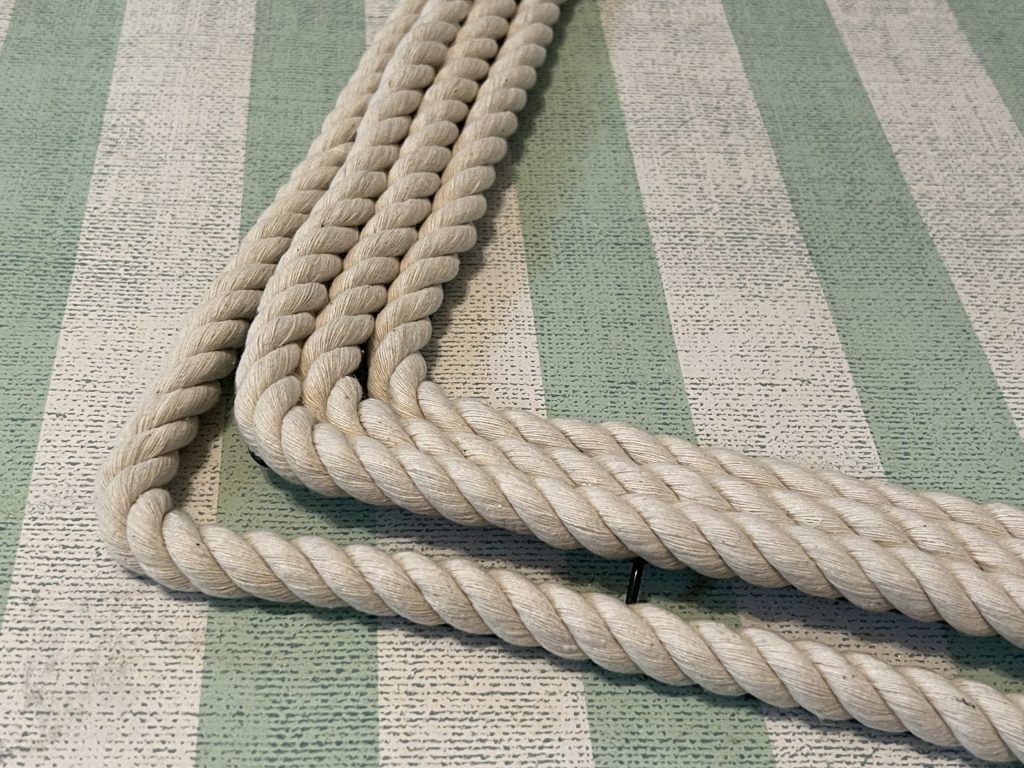
To resolve this issue and fill the gap, I simply took a piece of rope and tucked the end in between the ropes already glued down.
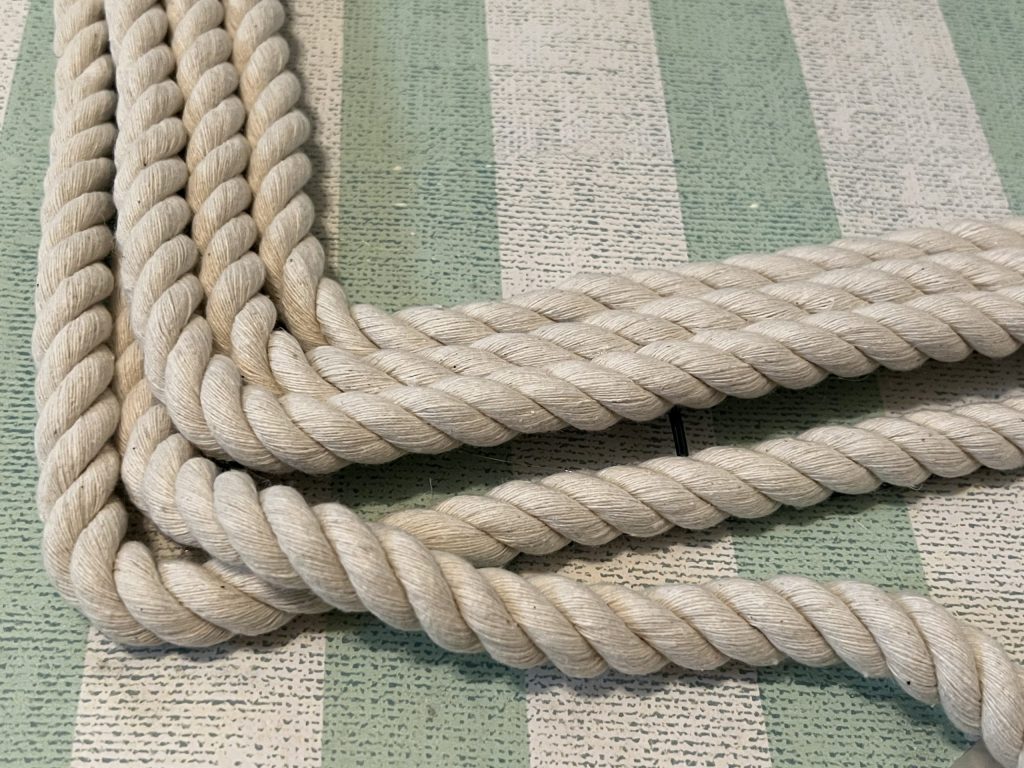
I glued the rope to the other two ropes and tucked the end back underneath when I reached the end of the gap.
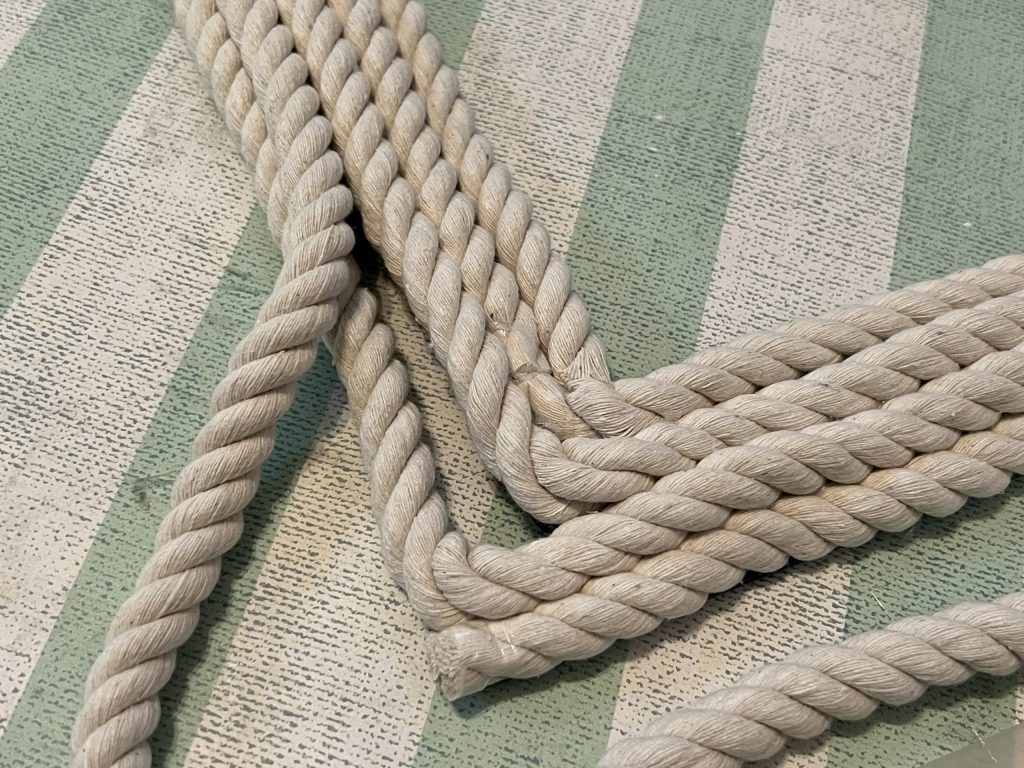
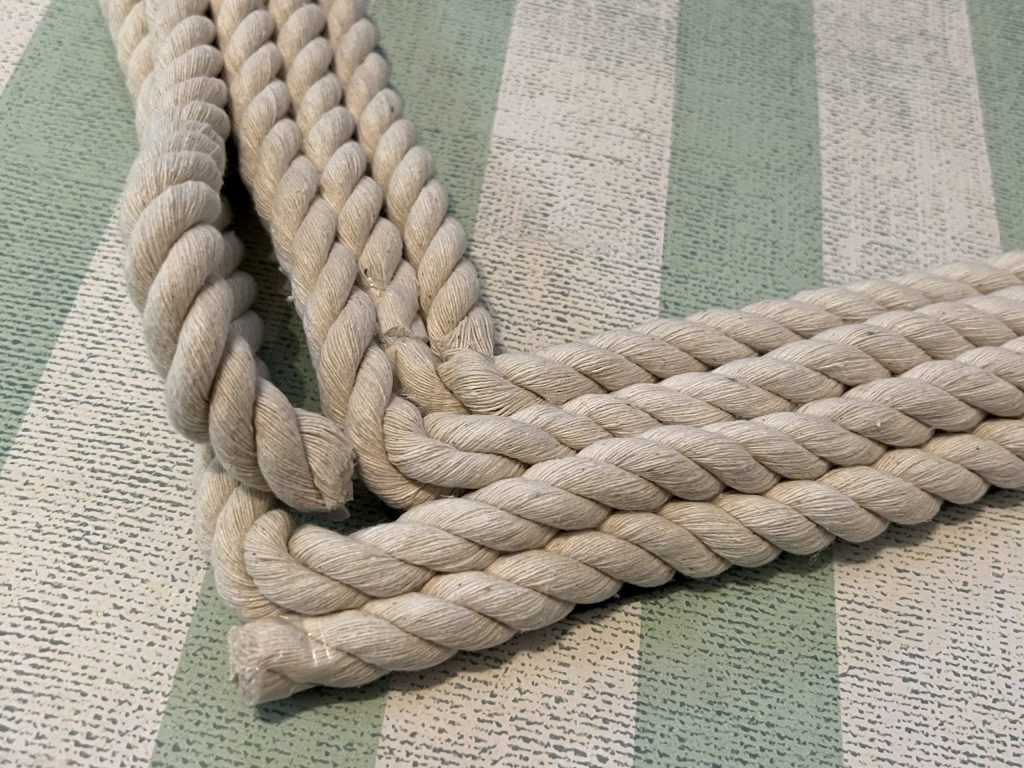
Next, I turned the wreath over and glued those ends to the back of the wreath. Now the gaps were filled, and the wreath was full.
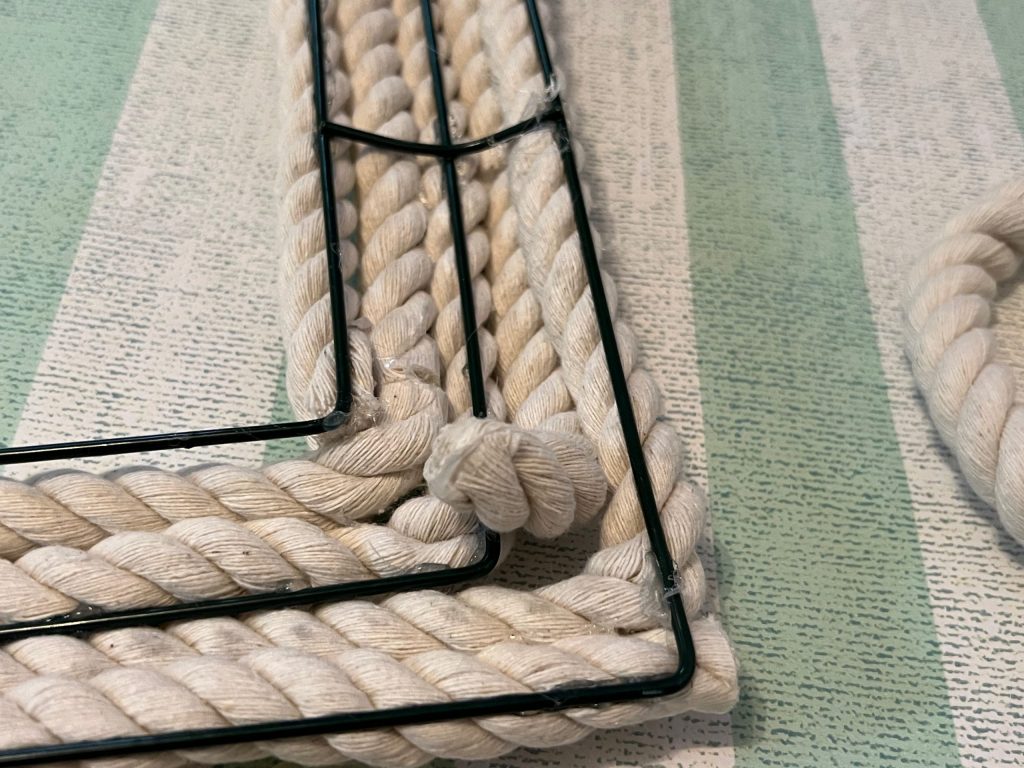
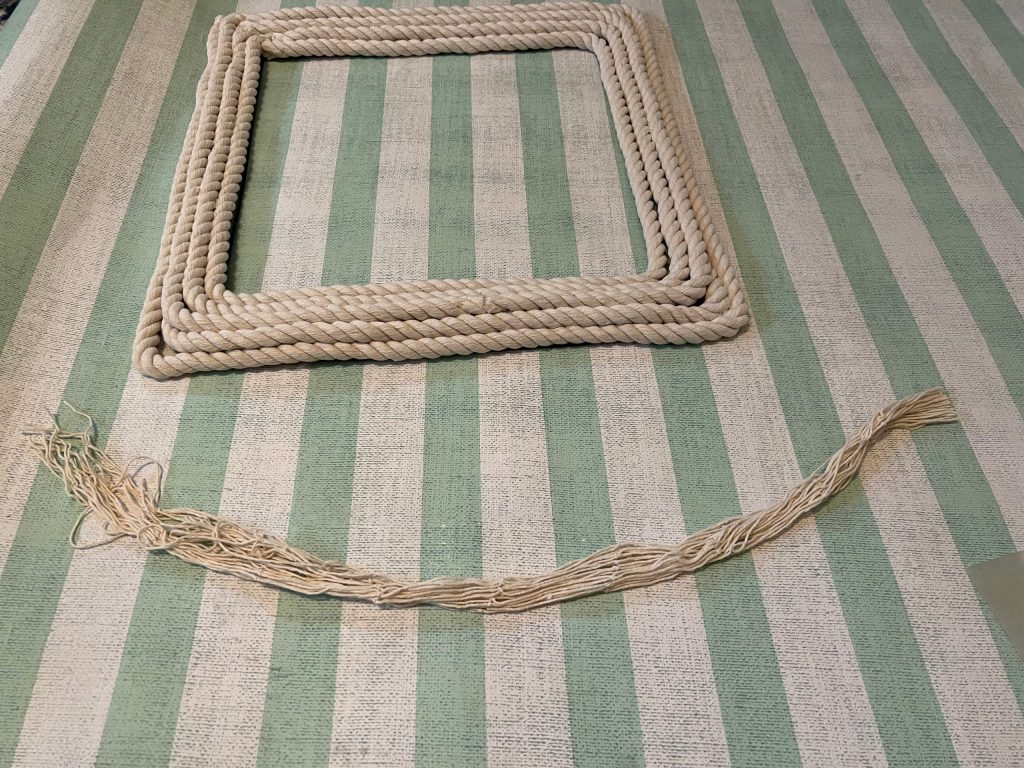
After the rope is secured to the frame, the fun part begins…decorating the wreath!
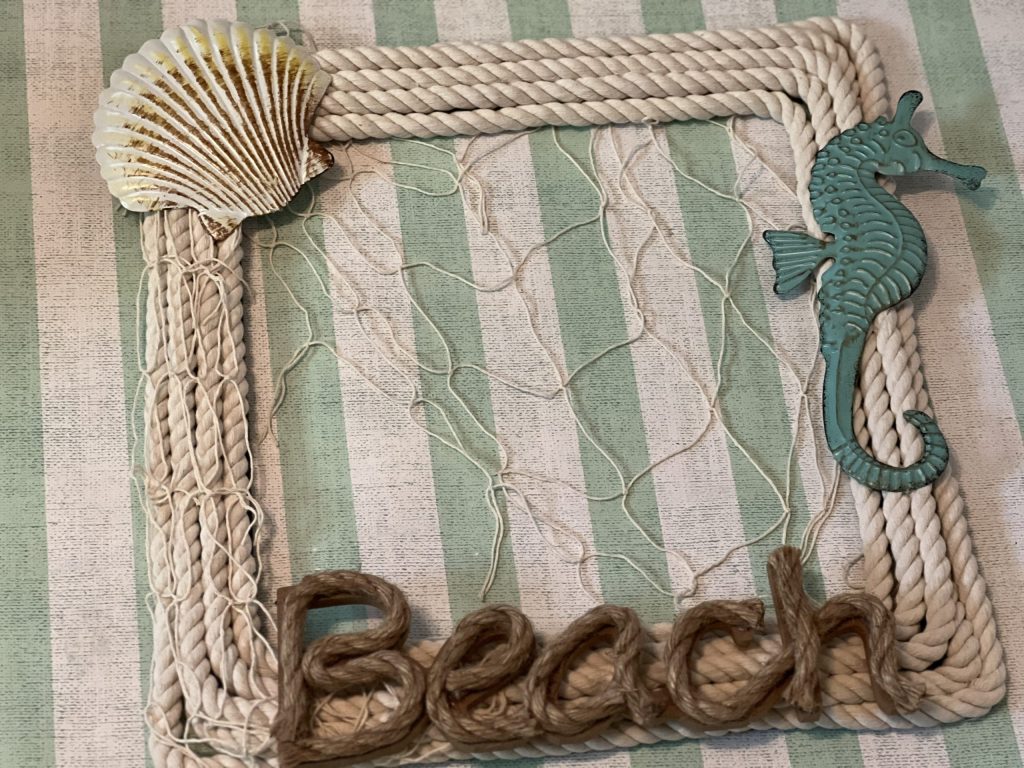
The first thing I added was a piece of fishing net! Cut a piece around 20″ long.
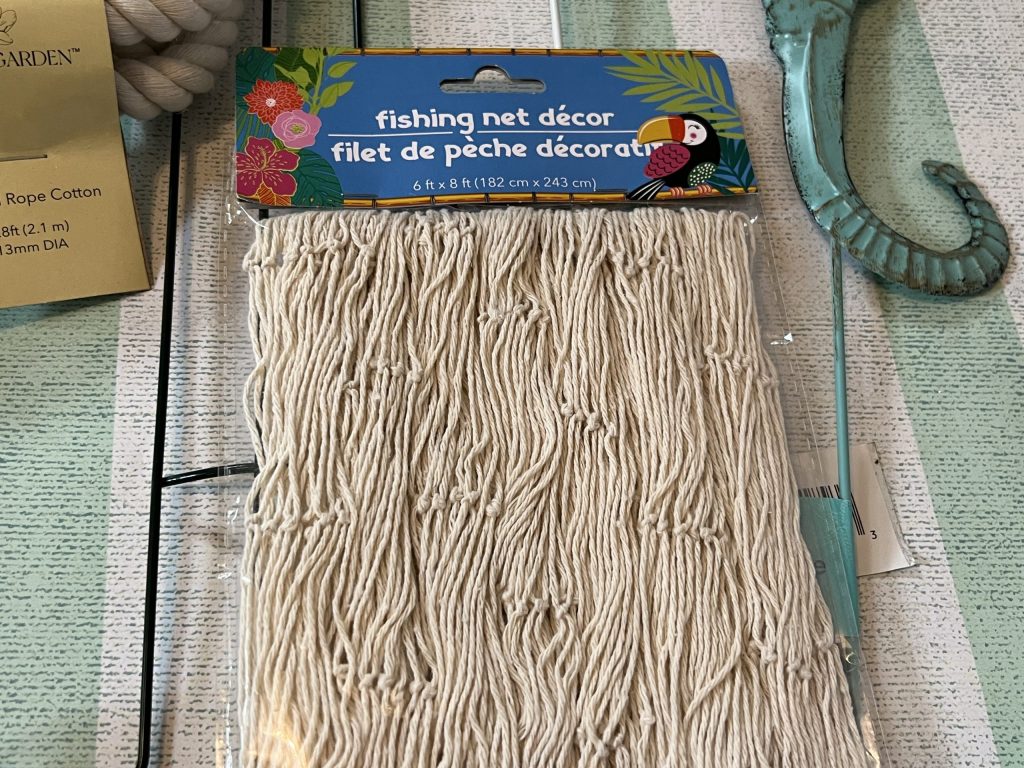
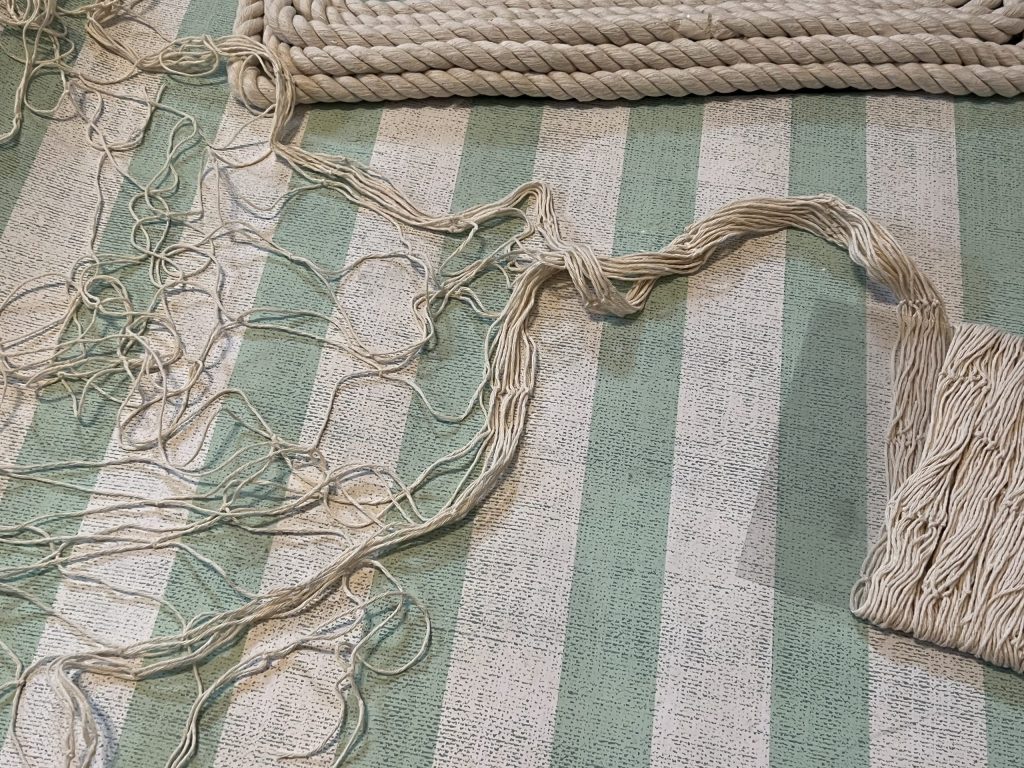
Next, you will take the corner of that piece and glue it to the back of the top right corner.
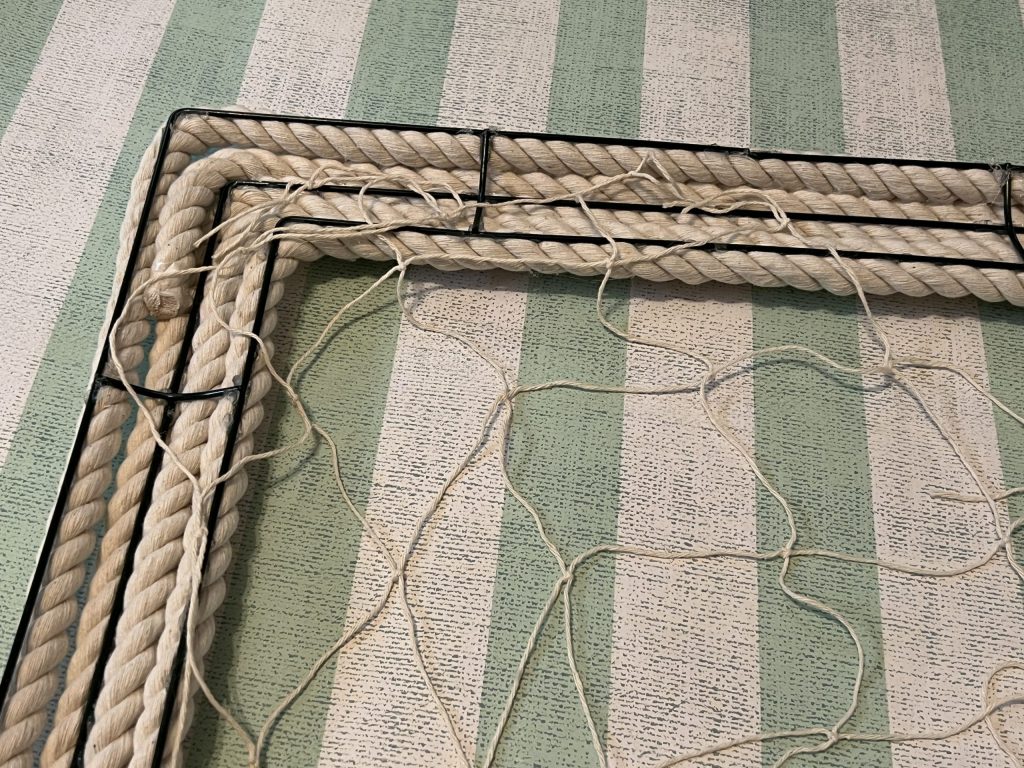
The net will hang down to the bottom of the wreath. Then, you will drape the excess over the left corner and down the left side of the wreath.
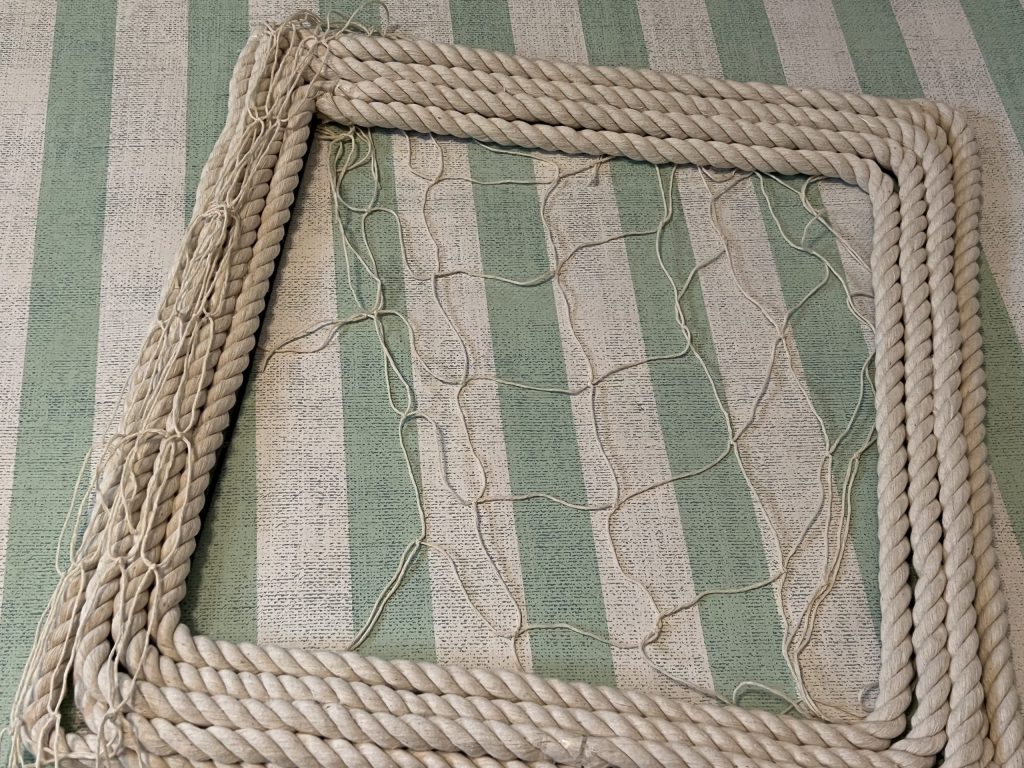
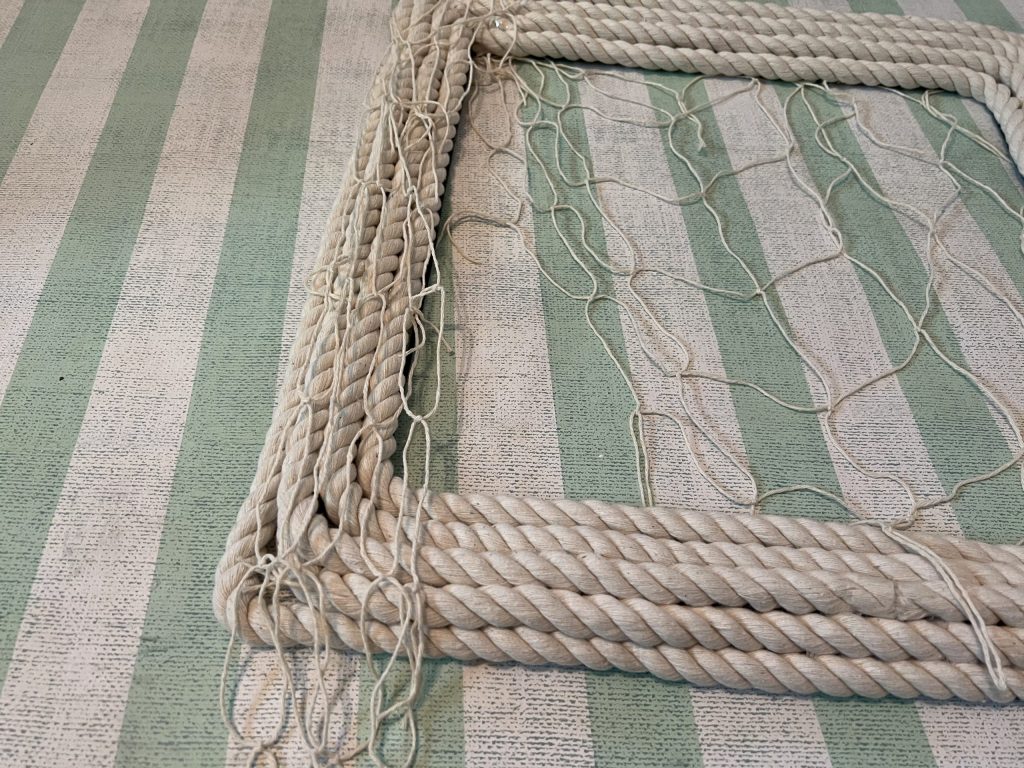
I actually took it down to the bottom left corner and draped it again on the bottom. You can arrange the net however you like!
I cut off the excess netting and dabbed a little hot glue on the back to secure the net.
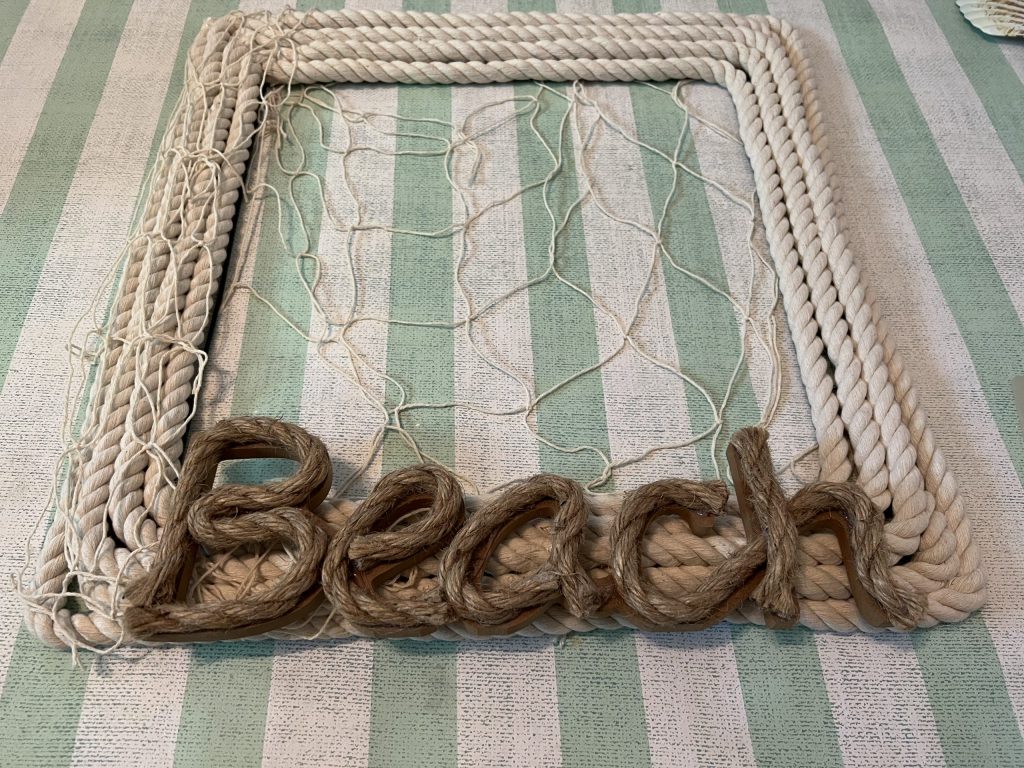
After the net was secured, I glued on the “beach” sign at the bottom.
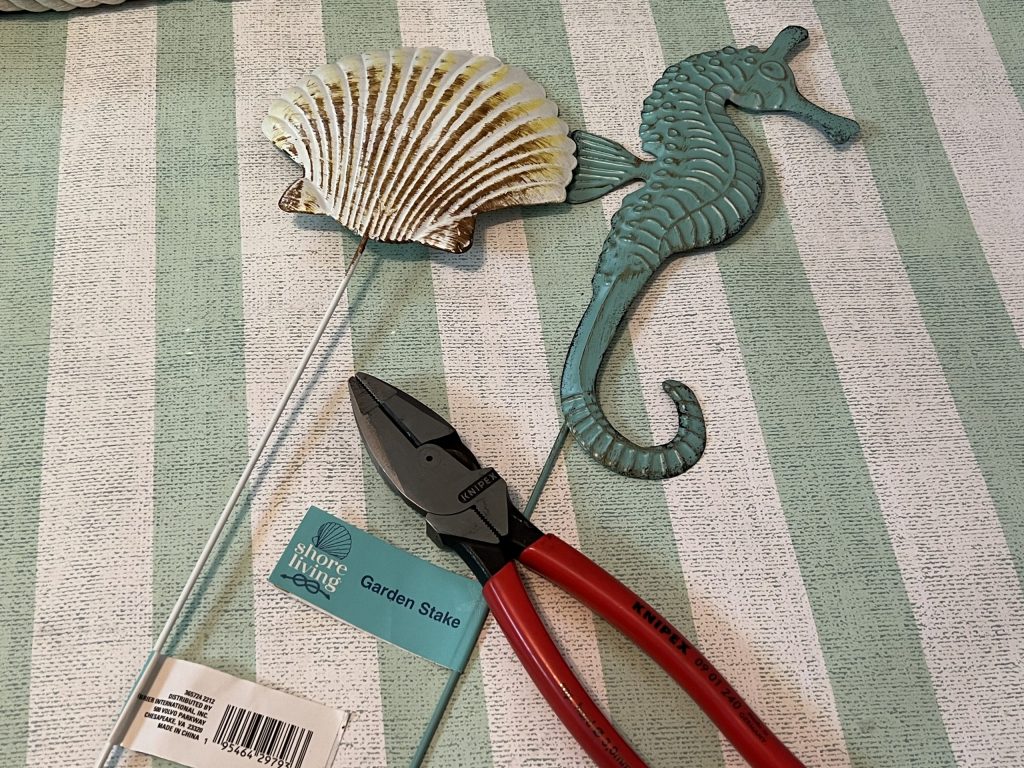
Next, I used wire cutters to remove the stems on the garden stakes. I liked the colors of the seashell and seahorse, so I left them as-is, but they would be adorable painted different colors!
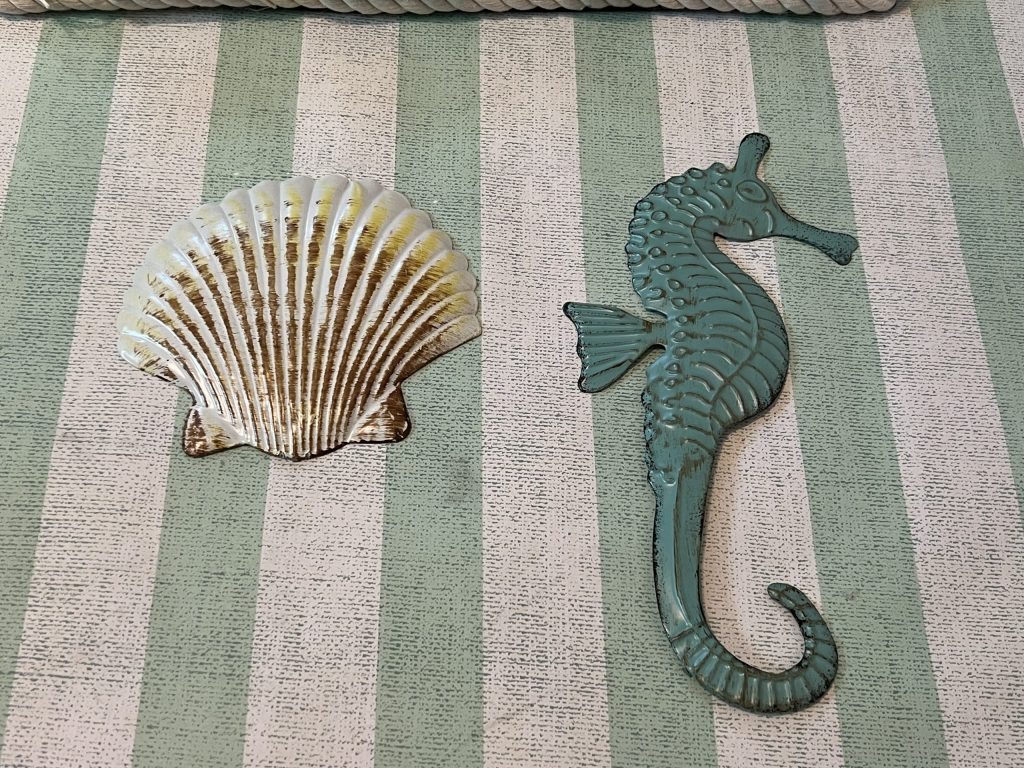
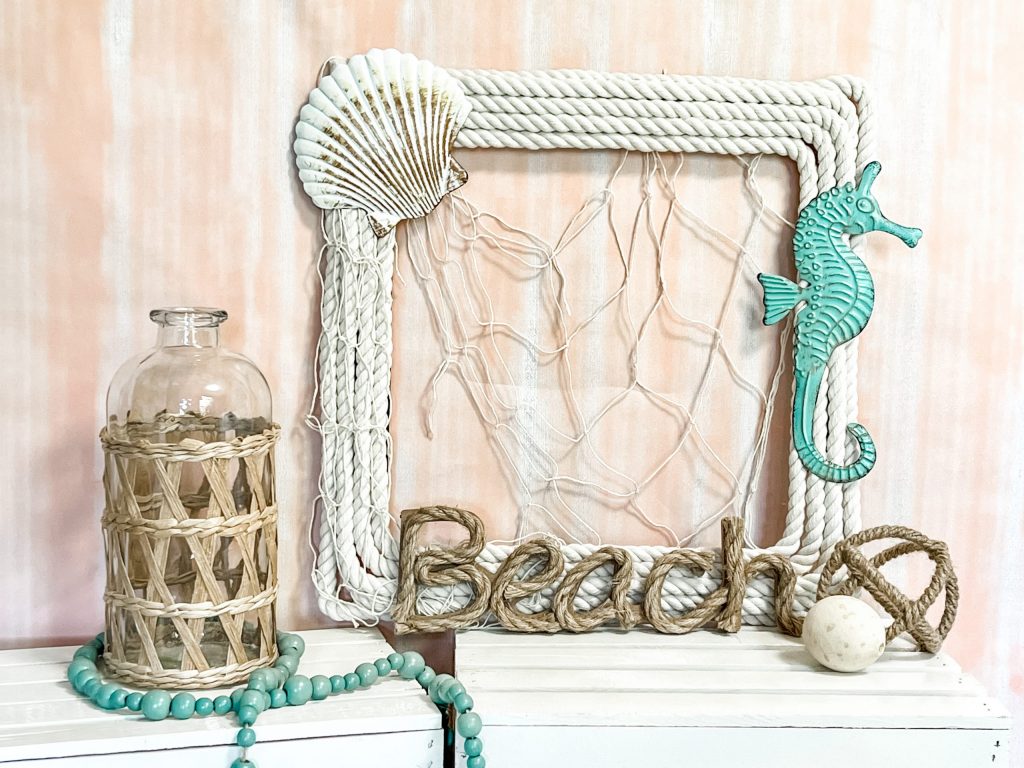
Finally, I glued the seashell and seahorse onto the wreath, and I was finished! This wreath was super simple and looks so adorable!!! You absolutely could add other shells and decorations, but sometimes simple is better!
Do you like decorating with coastal decor?
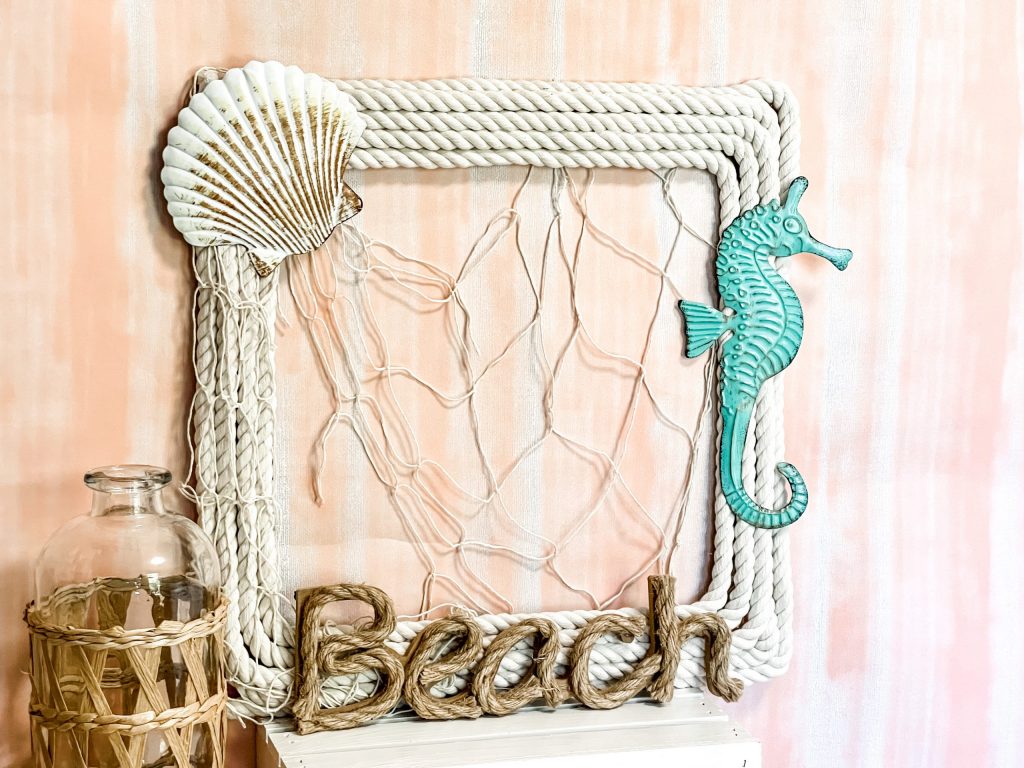
Dollar Tree is loaded with fun coastal decor items to decorate with, so you can change up the embellishment to suit your taste and decor!
Last Updated on May 16, 2023




You did great with this Coastal piece! My daughter loves the beach and I have several photographs that I want to incorporate into this art work. Thank you for this idea Brooke!!!
Love this creation and all of your others!!!!!!
I love it!