Yes! You read that correct…I am going to show you how to create outdoor flower decor using screen! Do you have a window screen you no longer need? If so, pull that bad boy out! If not…no worries…run to your local hardware store and grab some replacement screen, because I have an ADORABLE craft for you today!
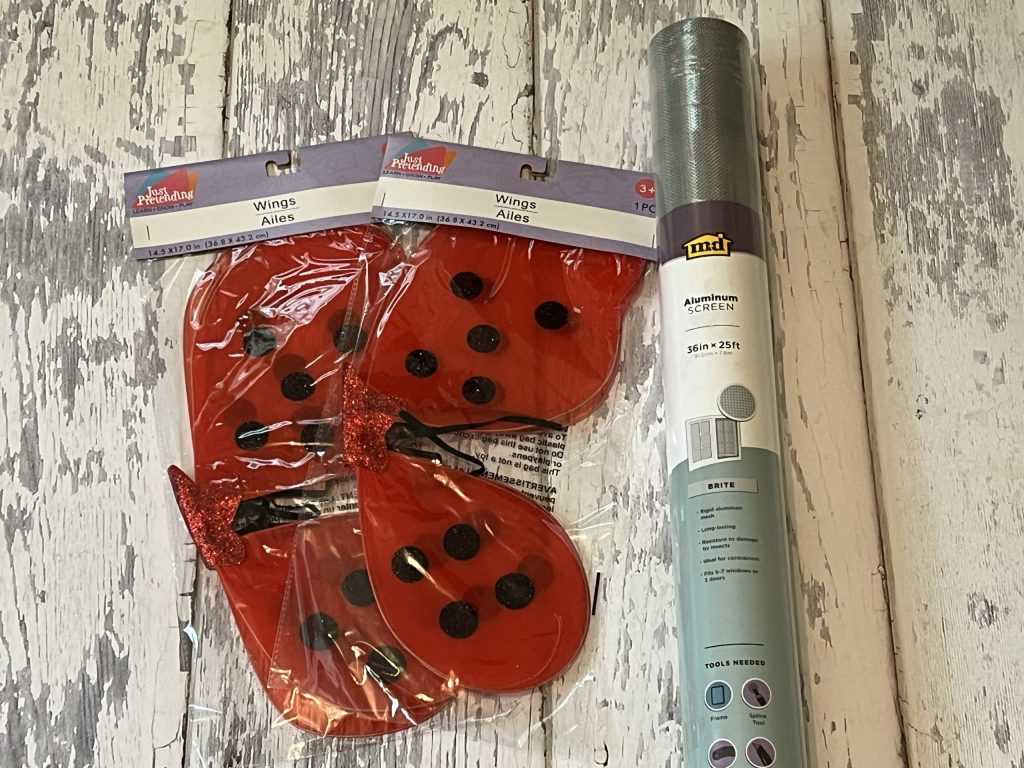
First, let’s talk about the screen. There are two types of screen available to purchase at Lowe’s. The fiberglass mesh is very flimsy and easy to bend and move. Then there is aluminum screen which is a thicker metal that stays when you bend it. I purchased the aluminum, because I wanted to be able to mold the shape without using glue. If you purchase the fiberglass option, you will need to use glue to secure it.
For this project, I used the following supplies:
- Roll of aluminum screen from Lowe’s
- (2) sets of ladybug wings from Dollar Tree
- Metal cutters – Hobby Lobby
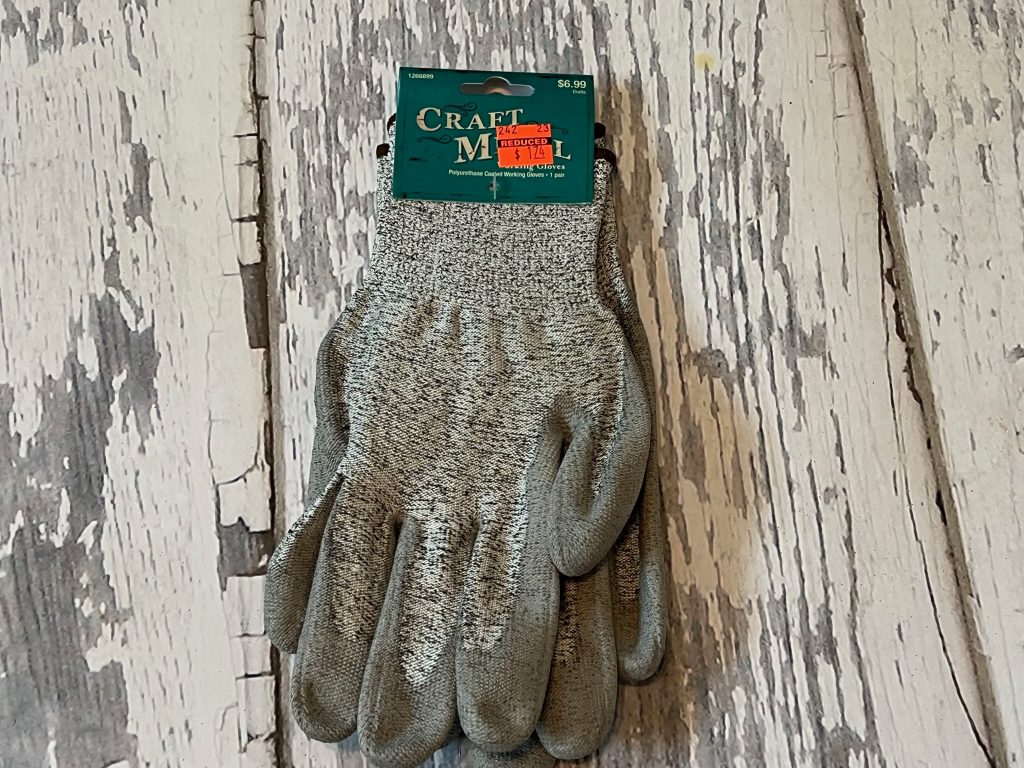
- Coated working gloves – Hobby Lobby
- Crafting wire – Walmart
- E6000 glue
- Apple Barrel paints in Bright Magenta, Cameo Pink, Yellow, White and Black
- Foam paintbrush
- Jar lid or other metal disc
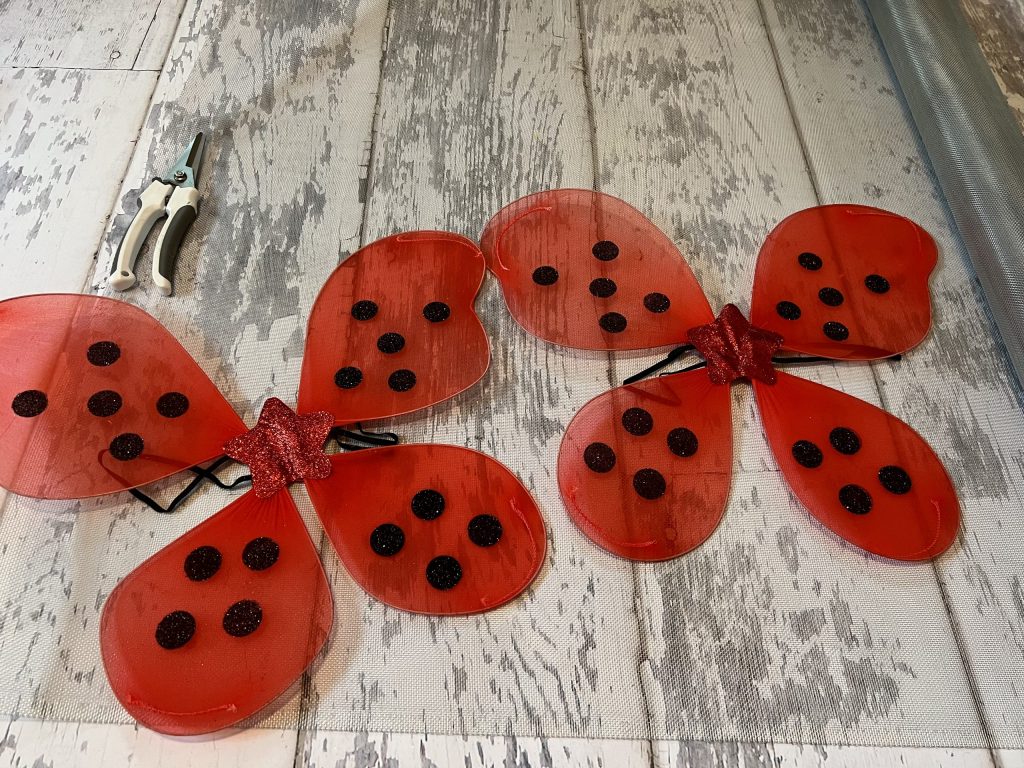
Now you may be asking yourself, “Why in the world would we need ladybug wings?” The wings will be our frame for the flower!
The first thing I did was remove the nylon fabric and elastic from the wings, leaving only the wire wing frames.
Then, I cut each pair of wings apart in the center creating four separate wing sets.
Before I made one more move, I put on some protective gloves. Working with aluminum screen can be tough on the hands, so you will want to wear some gloves with protective coating.
Next, I laid the wing frame over a single layer of screen.
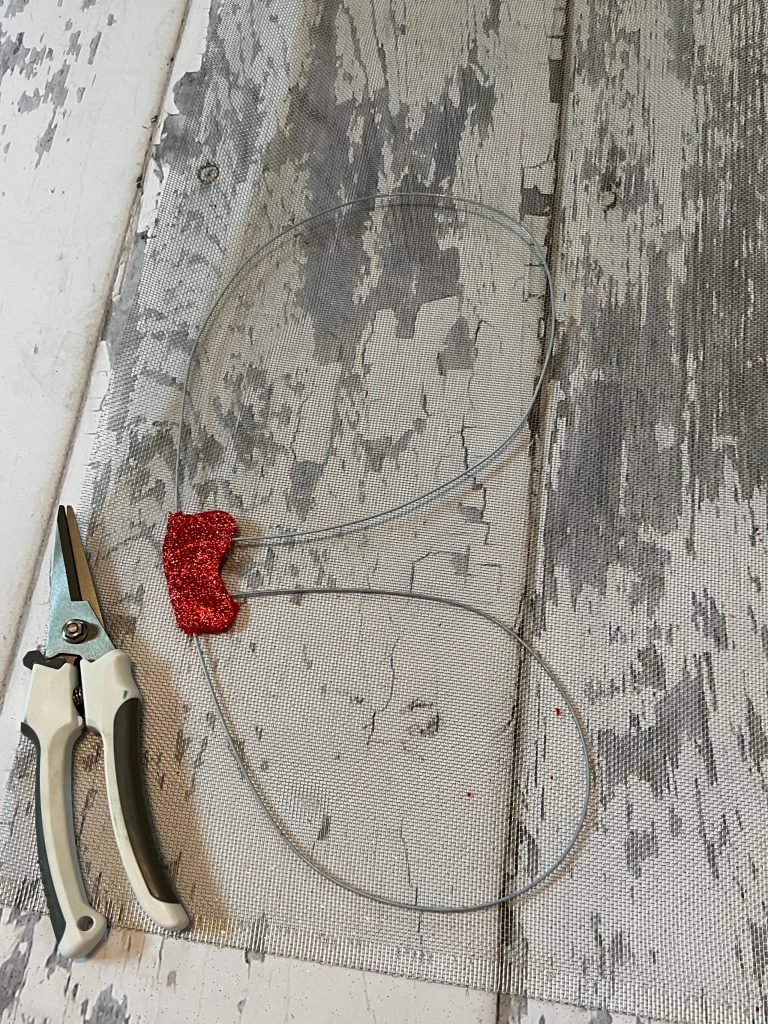
Using my metal craft cutters, I carefully cut around the wire frame leaving a good 1″-2″ margin. I would rather have too much margin to work with than not enough. It’s easy to trim off any excess.
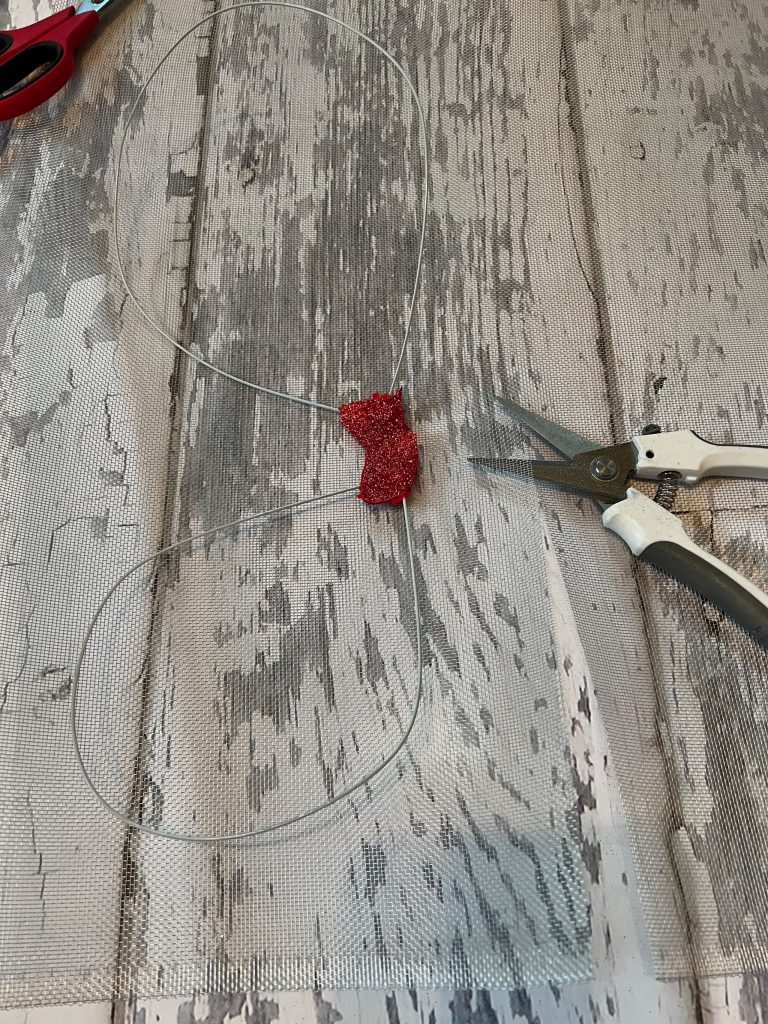
Once the screen was cut, I then wrapped the screen around the frame. I suggest you wrap it around the frame at two or three points first before securing the rest. This helps keep the screen in place and prevents it from slipping.
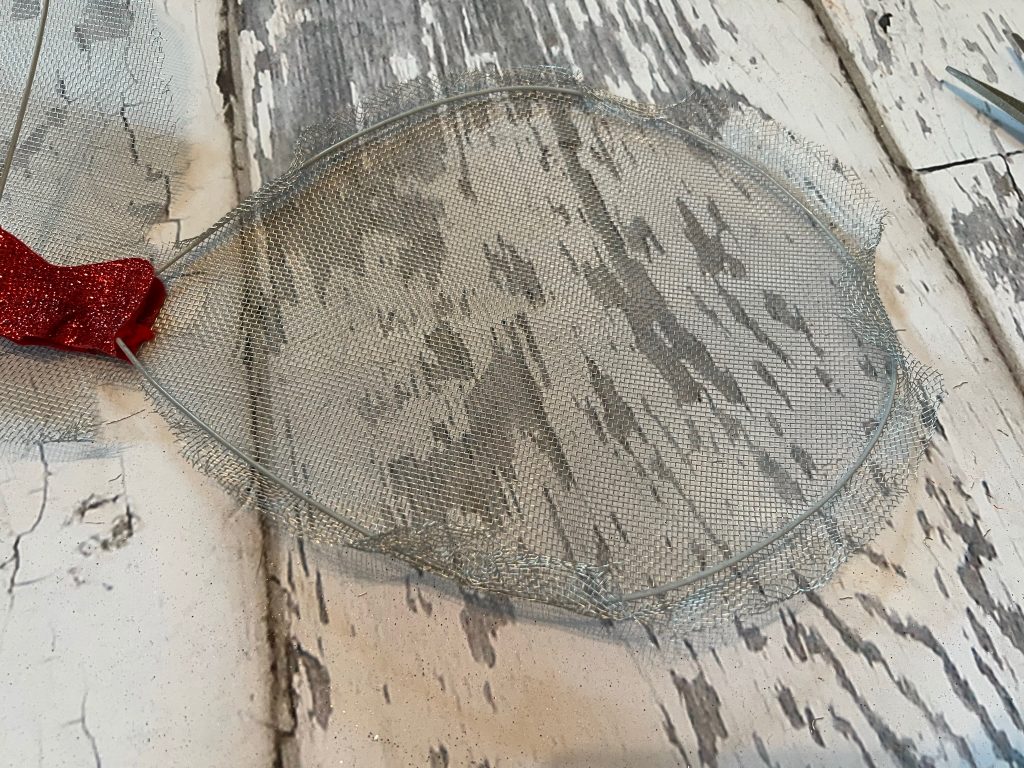
This is what each set will look like after the screen is wrapped and secured. Since my screen was aluminum, I didn’t need to apply any glue to secure it. If working with a fiberglass screen, you will need to use glue on the back.
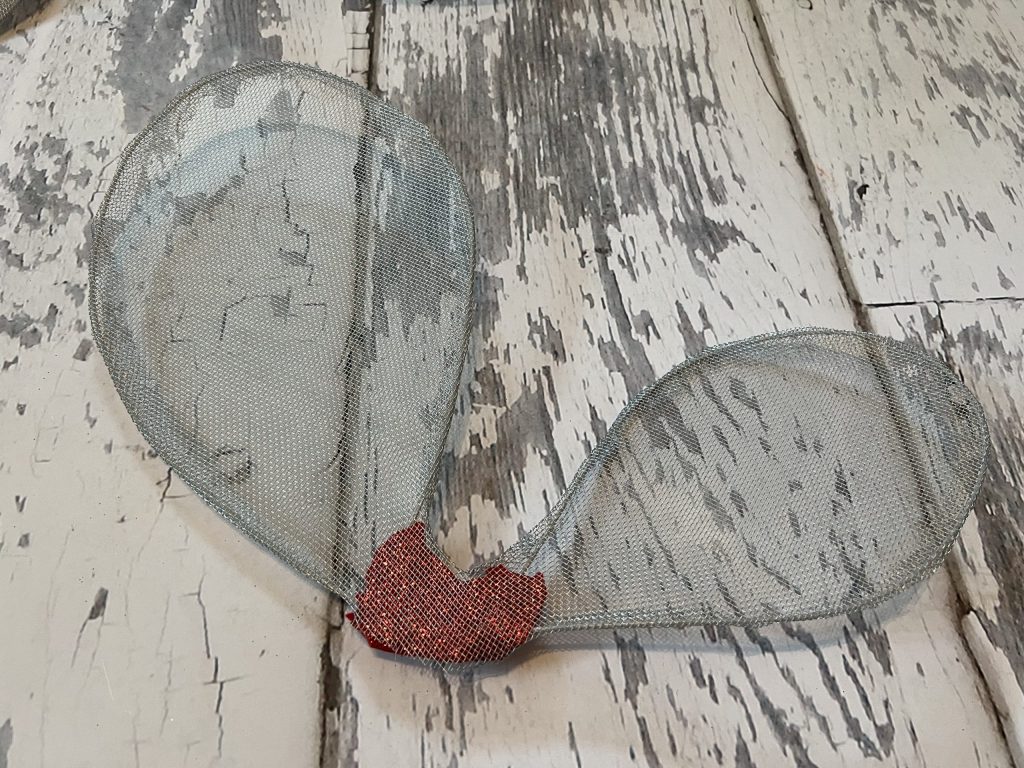
Once the screen was wrapped around each set of wings, I bent the wings toward one another so they would resemble petals.
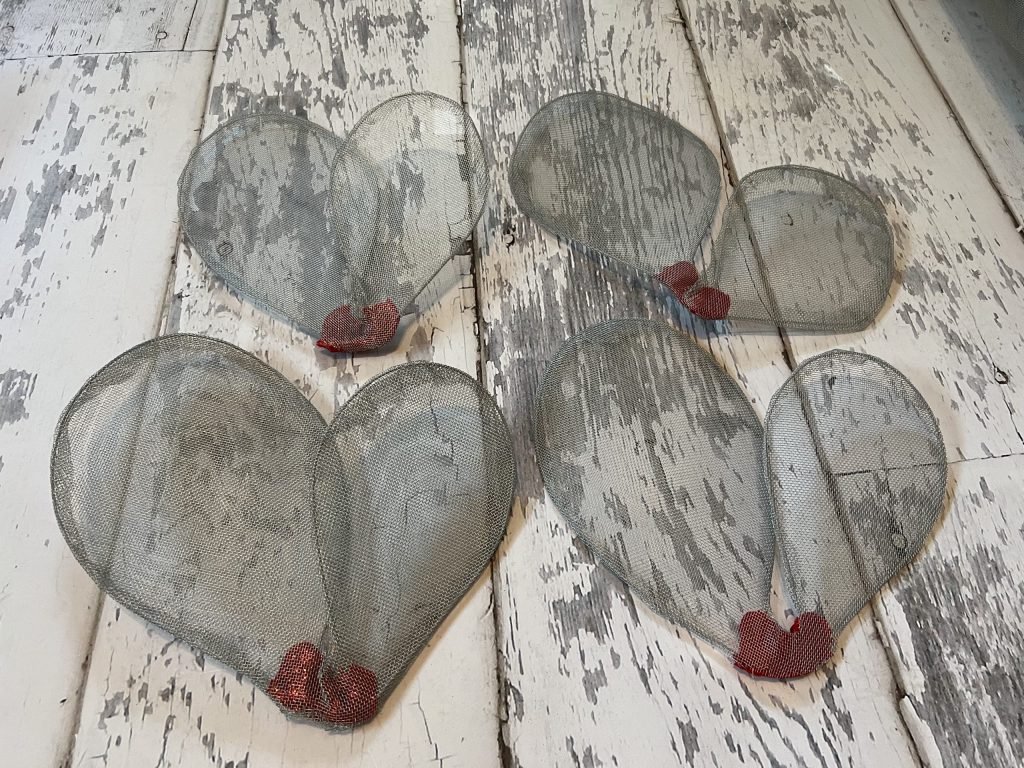
Next, it was time to paint! I decided to paint the large wing in each set bright magenta and the smaller wing with a mixture of pink cameo and bright magenta.
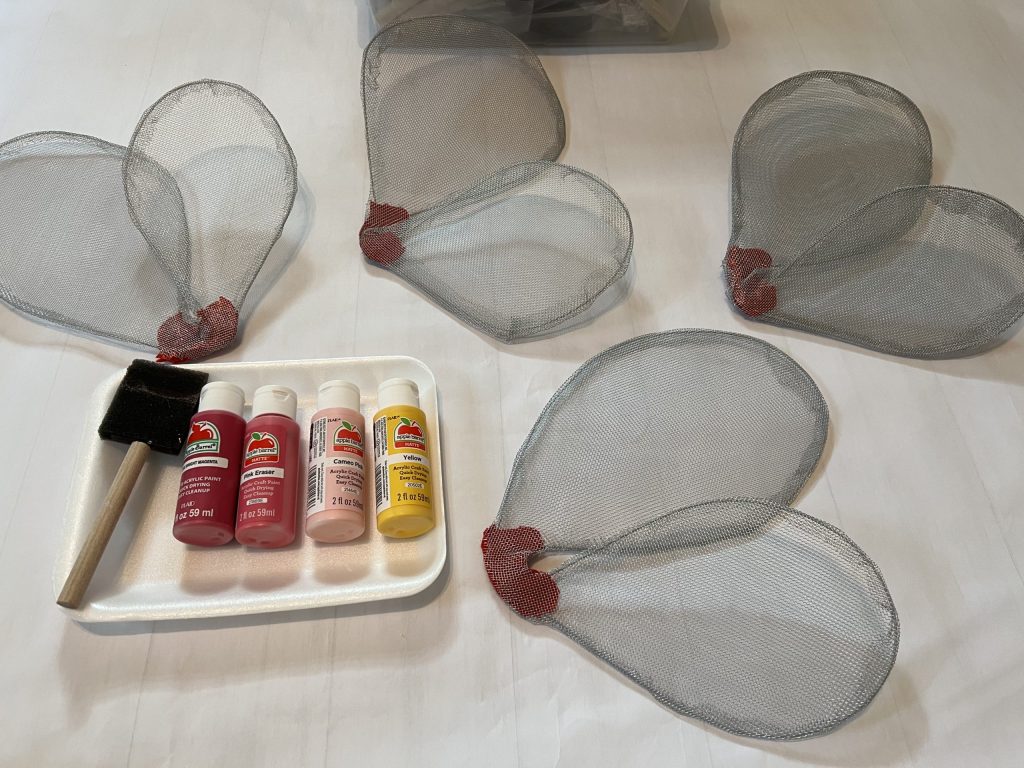
Painting screen can be a little tricky! I wanted to fill in about 75% of the small holes, so it took multiple coats to achieve this.
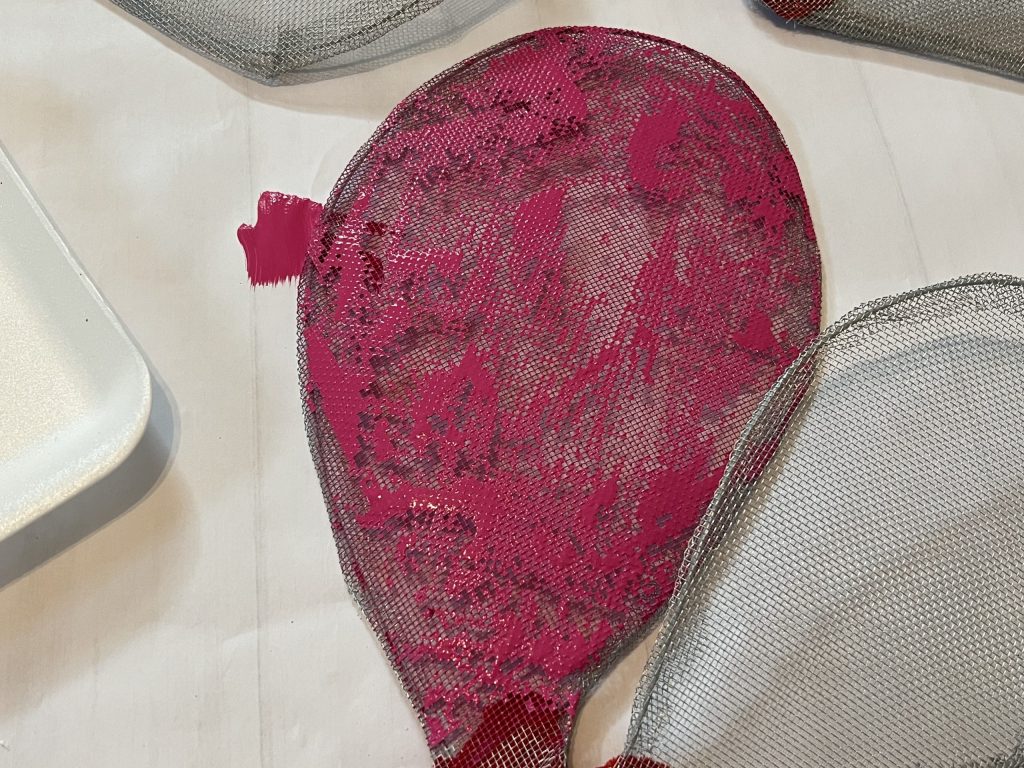
This picture was after the first coat of paint on the larger petals.
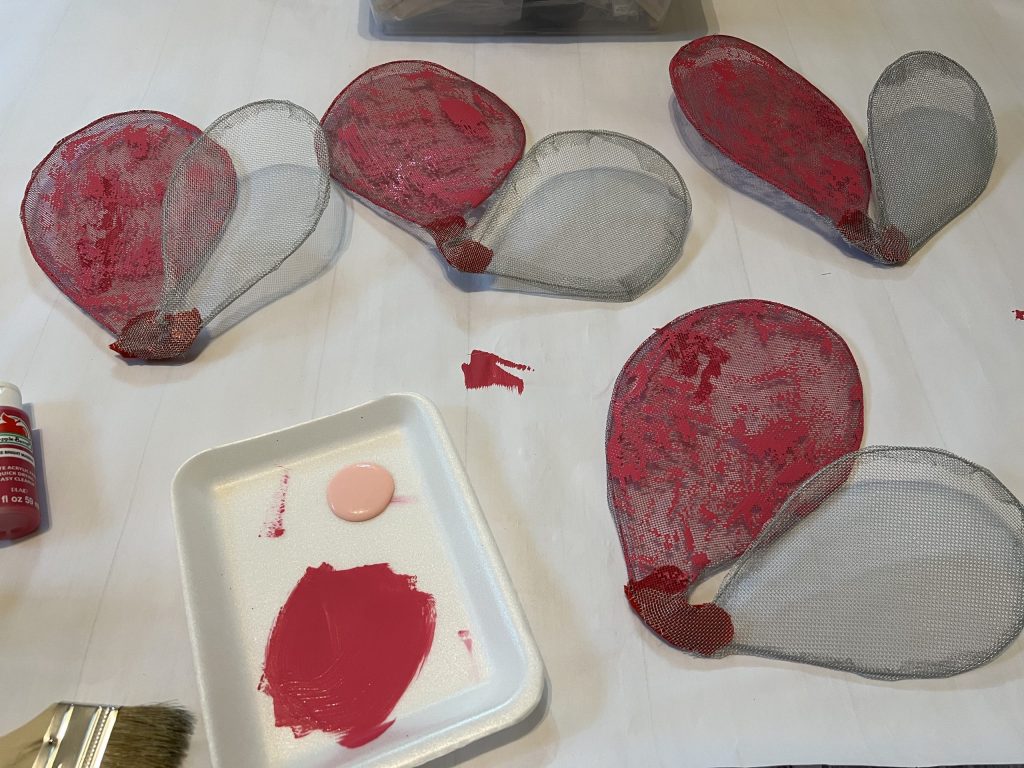
I followed the same process for the smaller petals.
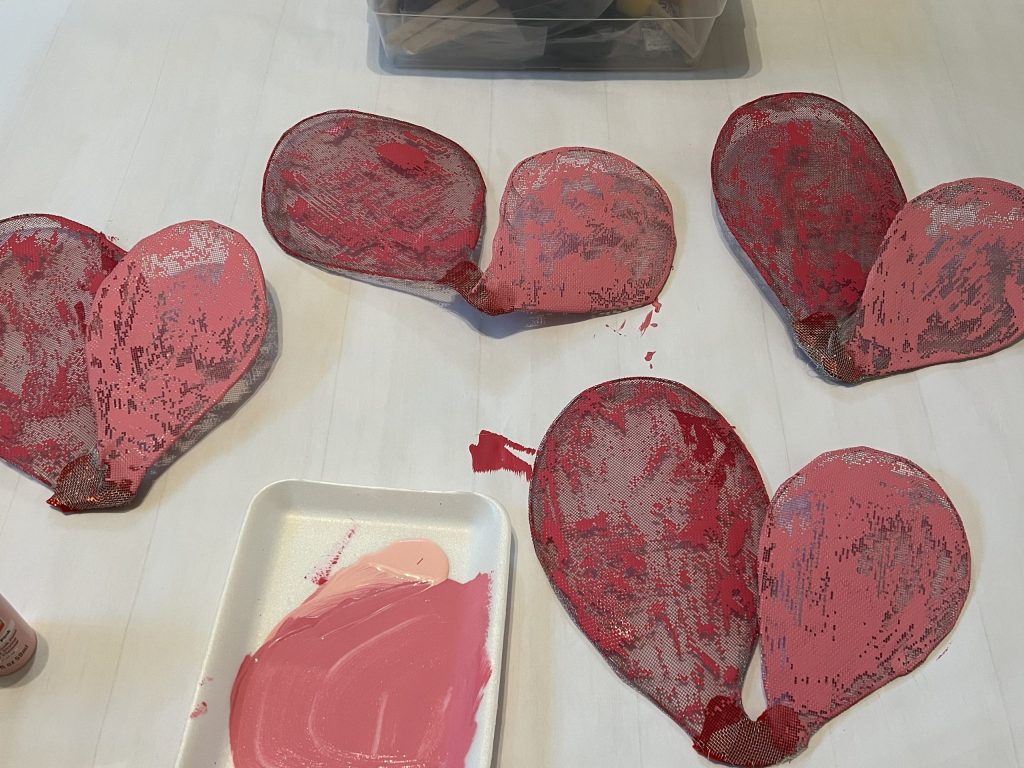
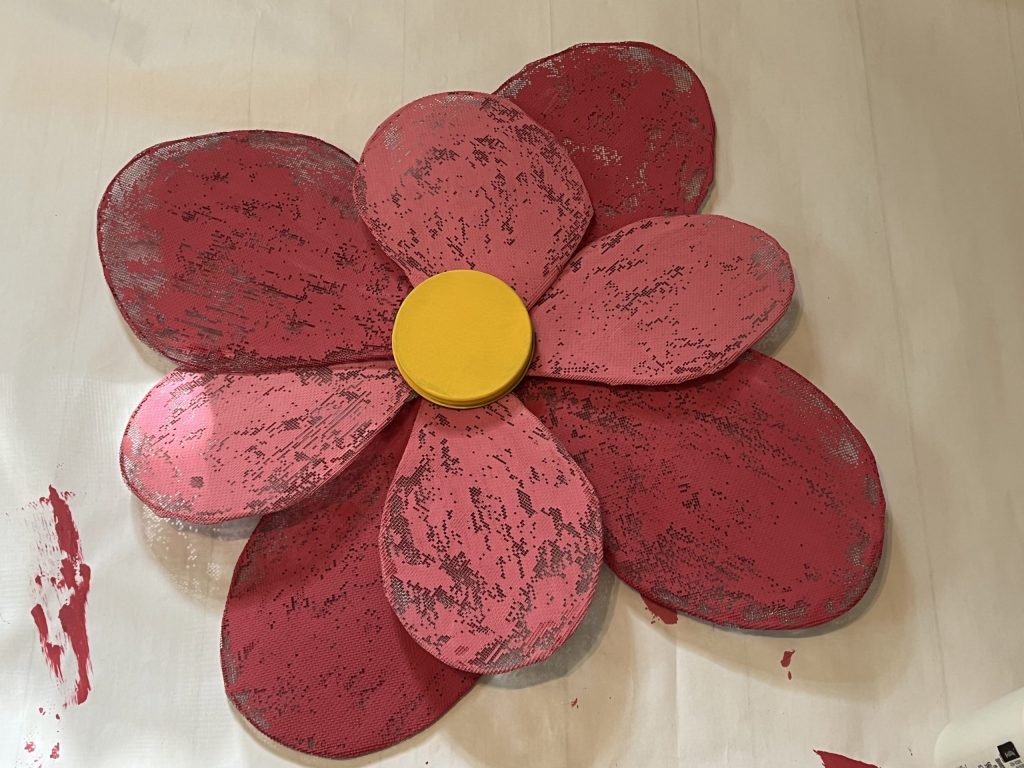
After about three coats of paint, I achieved the look I was after!
I allowed the paint to fully dry before assembling the flower. To assemble, I simply glued each set together at the center piece where they were bent.
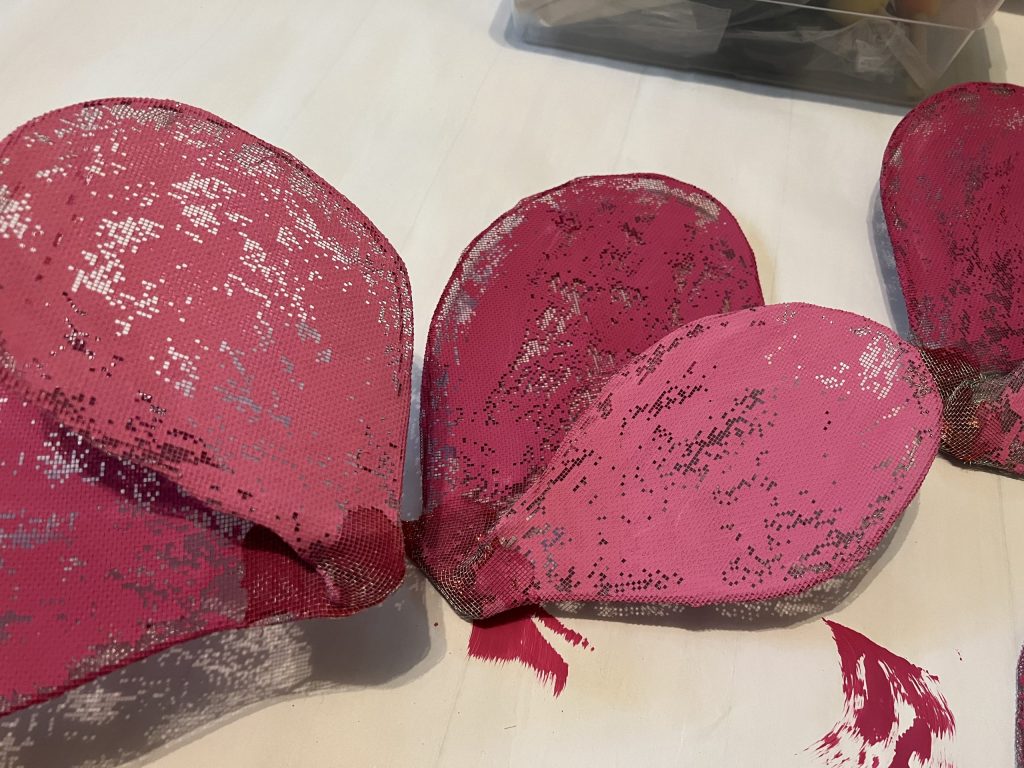
I applied E6000 glue at the center piece and laid another petal set on top of the glue slightly shifted so all petals were seen.
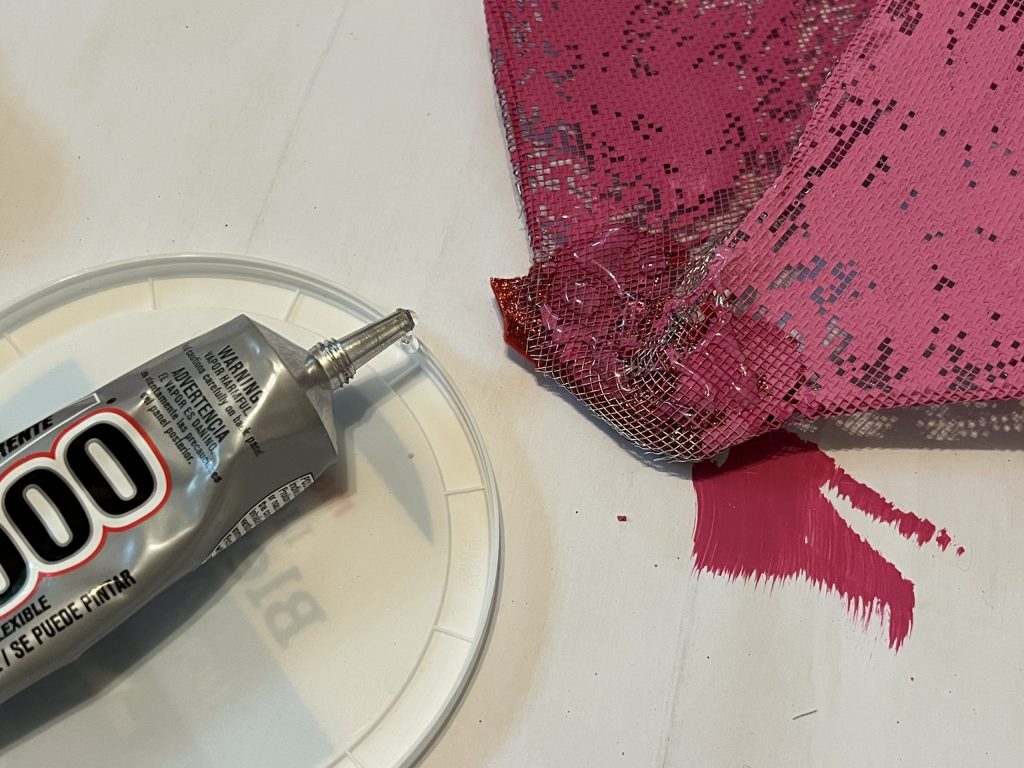
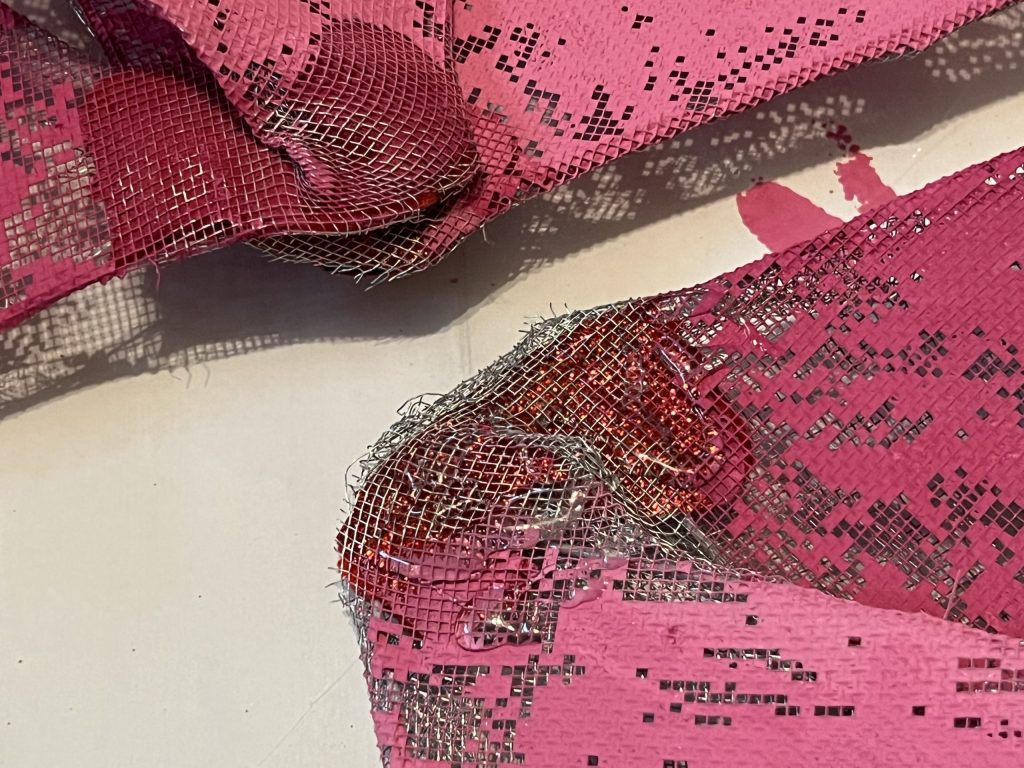
The next two sets were glued underneath. It really doesn’t matter how they are glued. You just want to make sure all petals are visible.
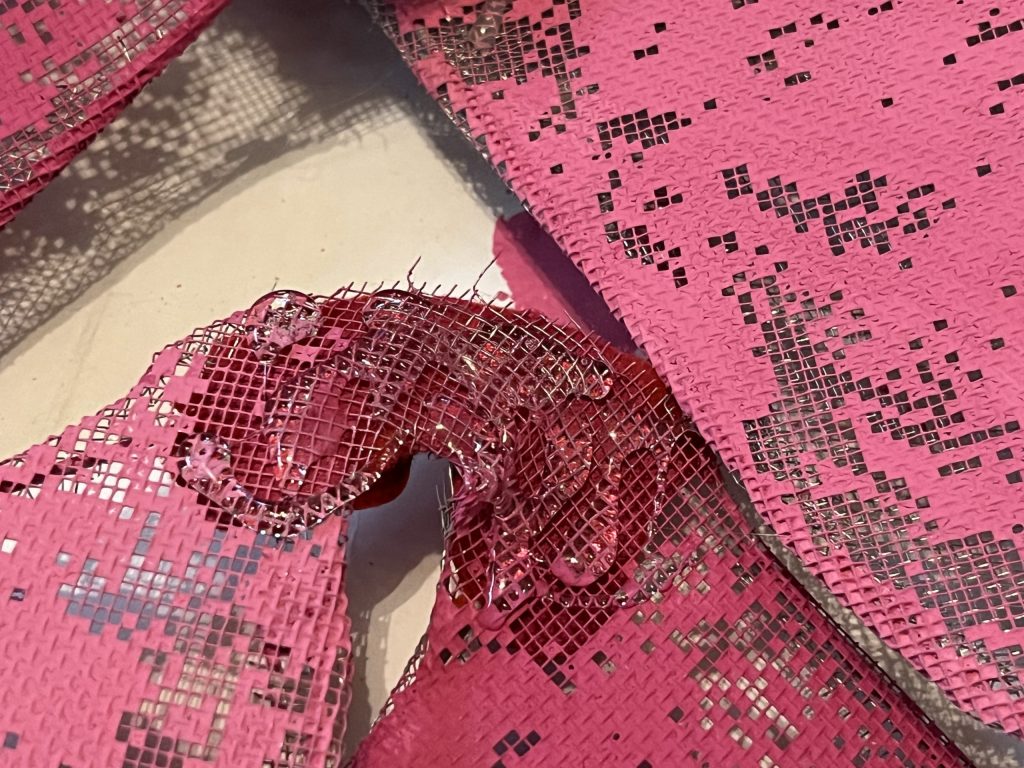
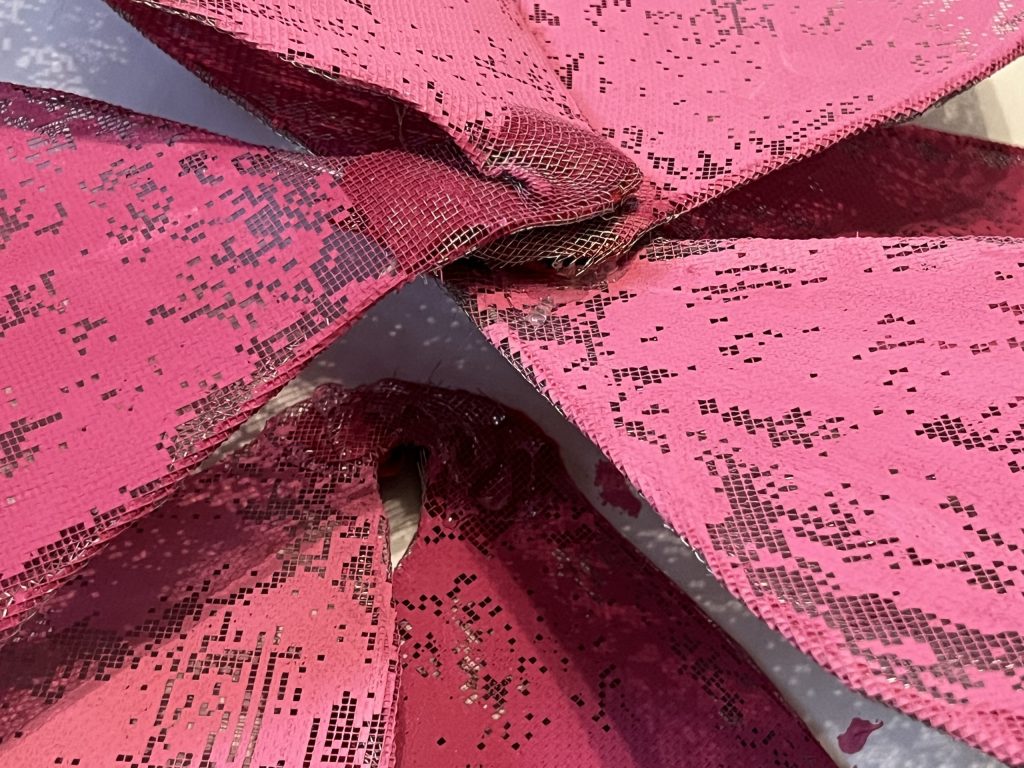
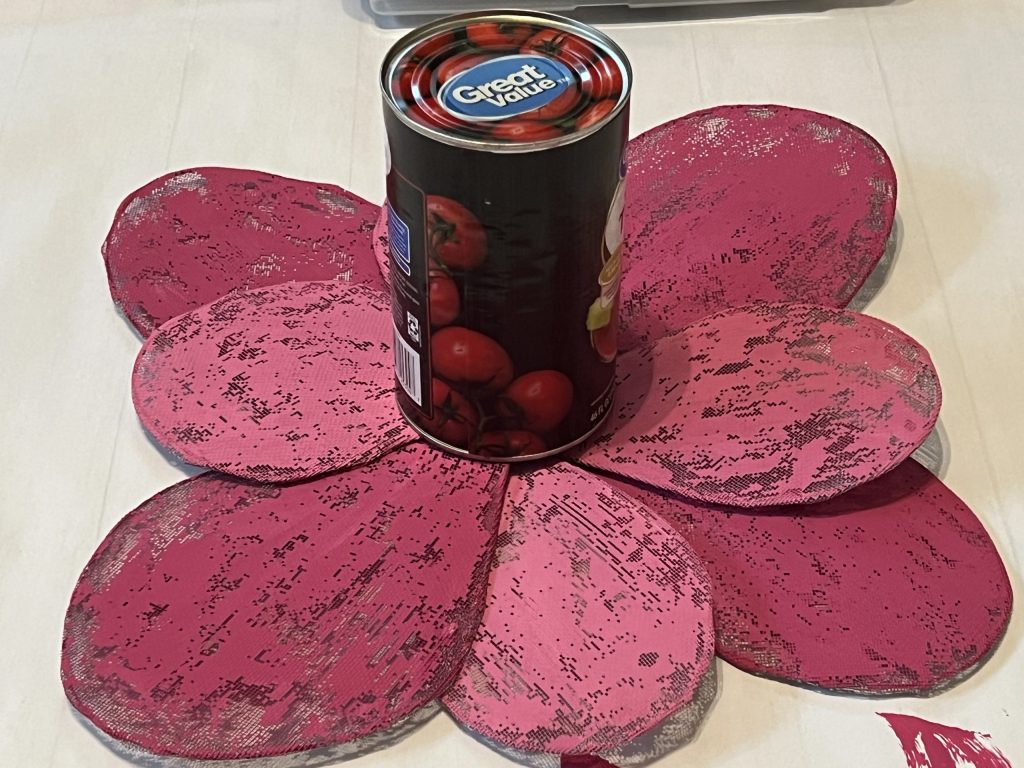
Once all the petals were glued together, I decided to apply a little pressure to help the glue cure overnight. Pantry items to the rescue! I found a very large can and set it on top.
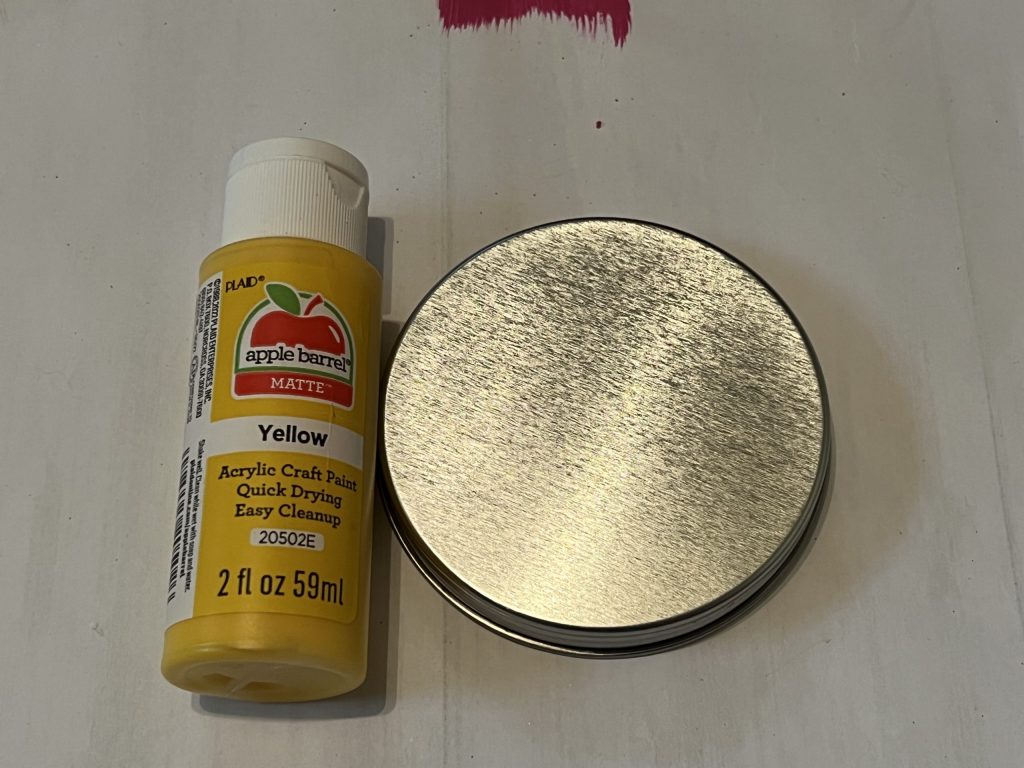
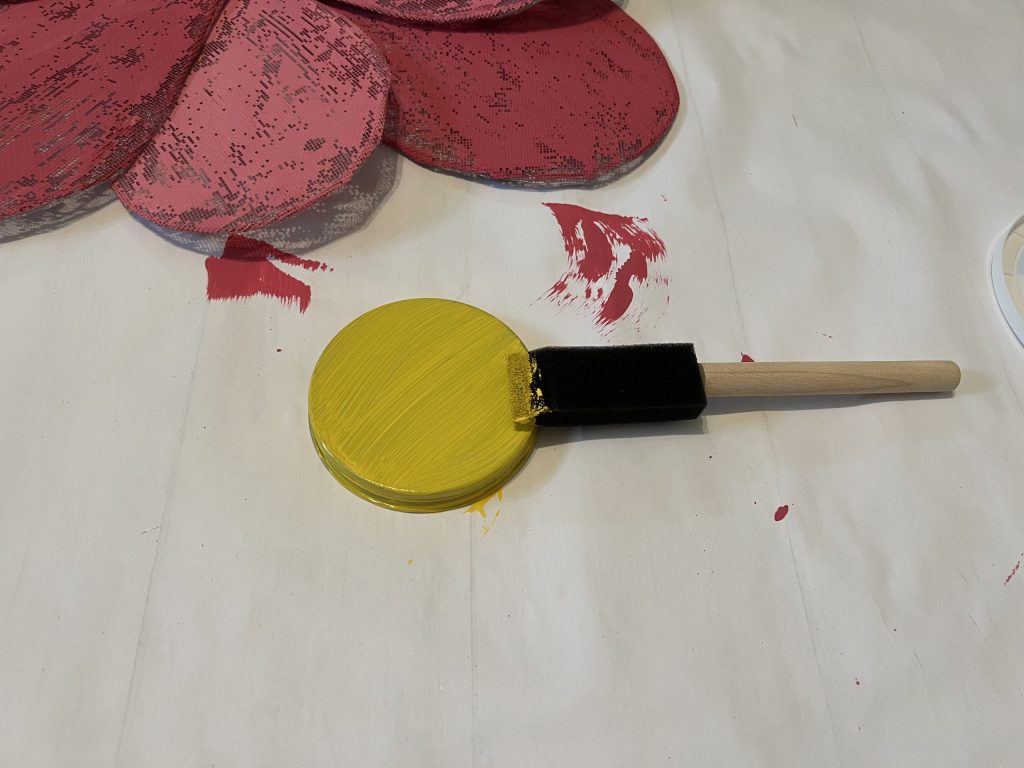
While the glue was curing, I look the top from a jar I already had and painted the top of it yellow. It took a couple of coats of paint to fully cover it.
Next, I had to find a way to attach the yellow lid to the center of the flower. I decided to use crafting wire to wrap around to the back. It would also double as the hanger.
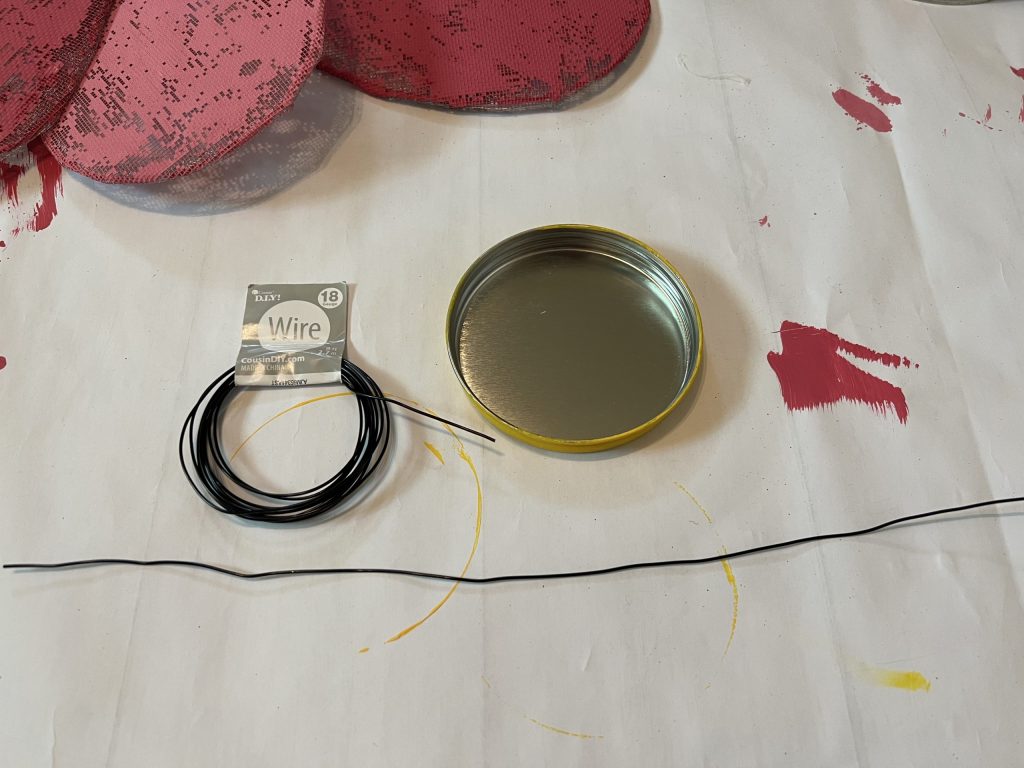
I cut a piece of wire around 14″ long and glued it to the back of the jar lid.
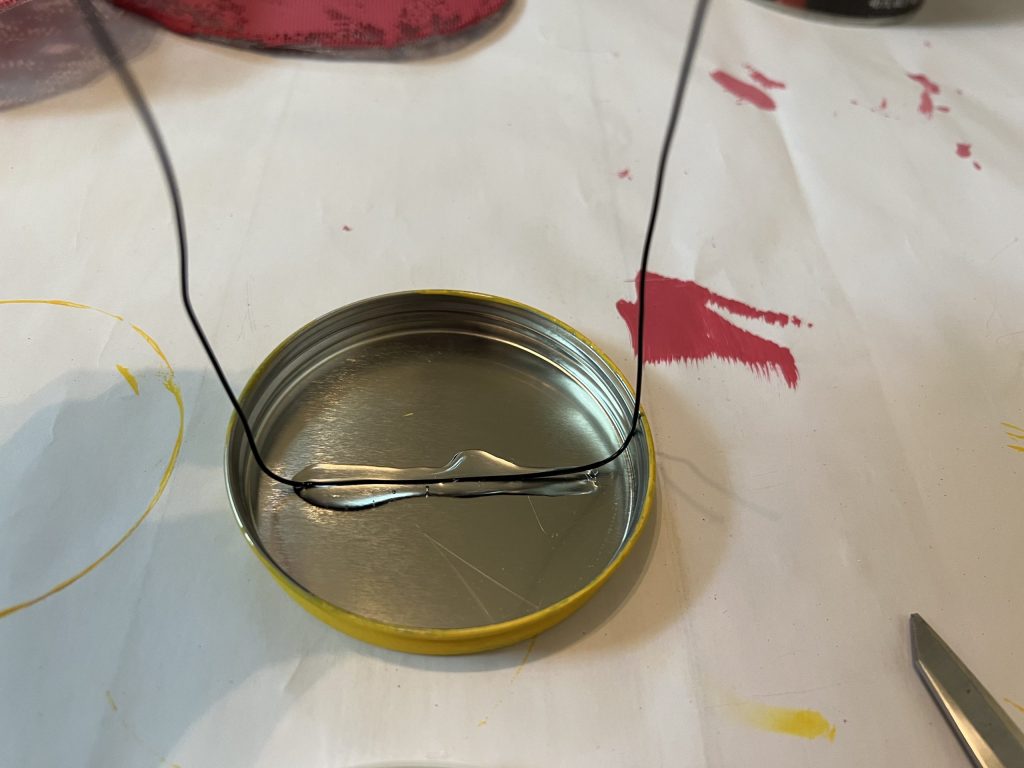
To secure the wire more, I cut a piece of plastic and glued it on top of the wire.
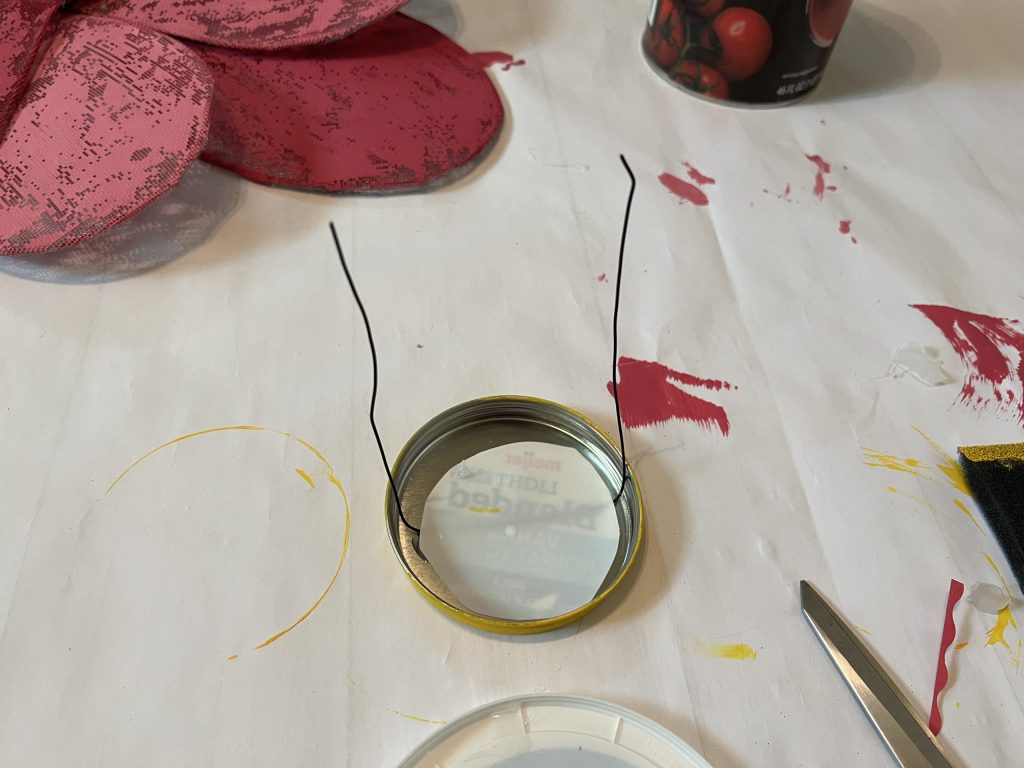
Once the glue had dried, I placed the lid in the center and wrapped the wire to the back. I twisted the wire tightly and create a loop for a hanger.
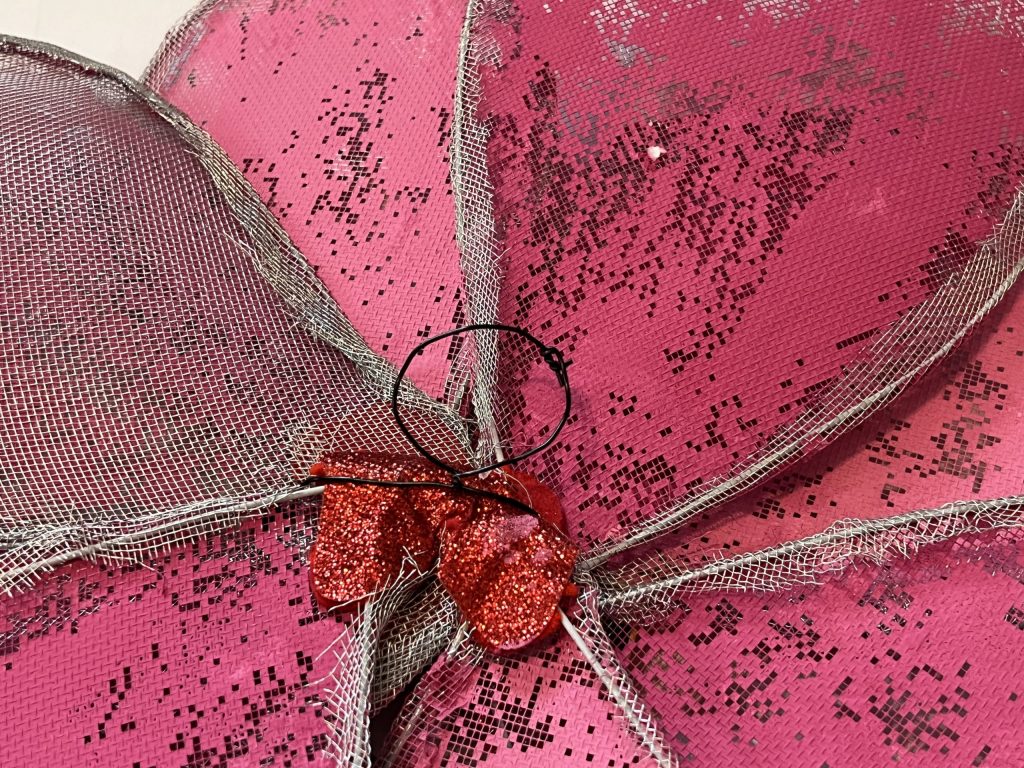
Technically the flower was done, but it looked like it was missing something! Can you guess what it needs???
You guessed it…POLKA DOTS! What is a pink flower without some polka dots? I added a little black and white to the yellow center as well. The polka dots really make the flower pop! Is this not the cutest thing??!
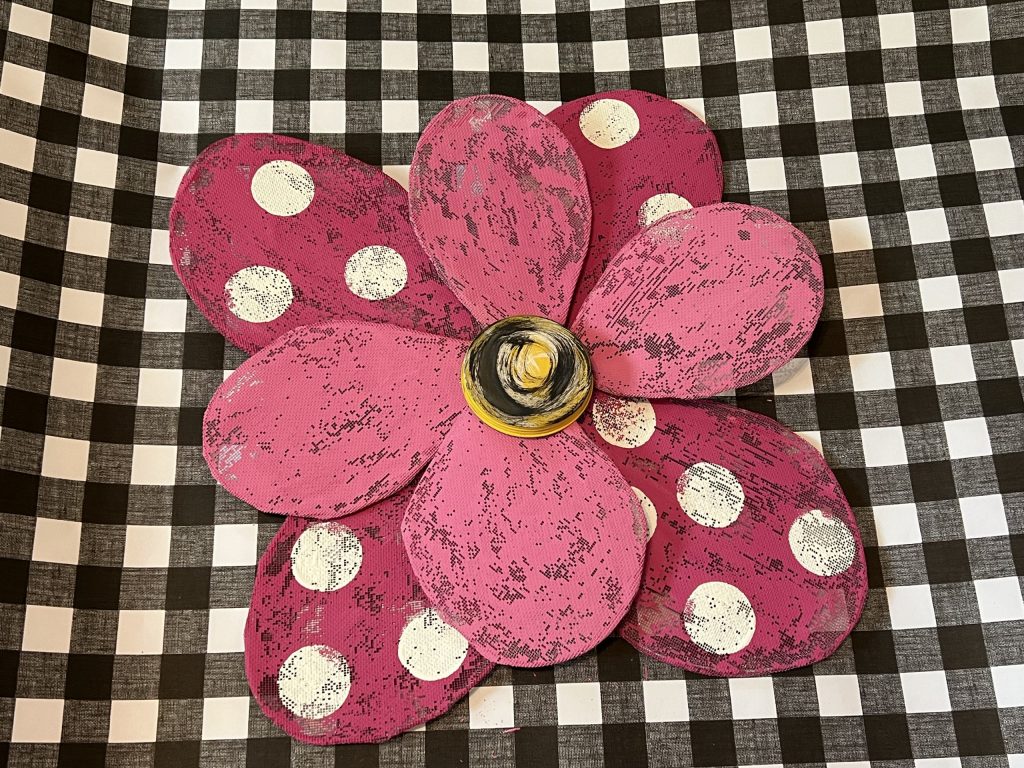
Although this flower could be hung inside, I think it will be PERFECT hanging outside! It would be so cute on a porch or even on the front door! Where would YOU hang it?
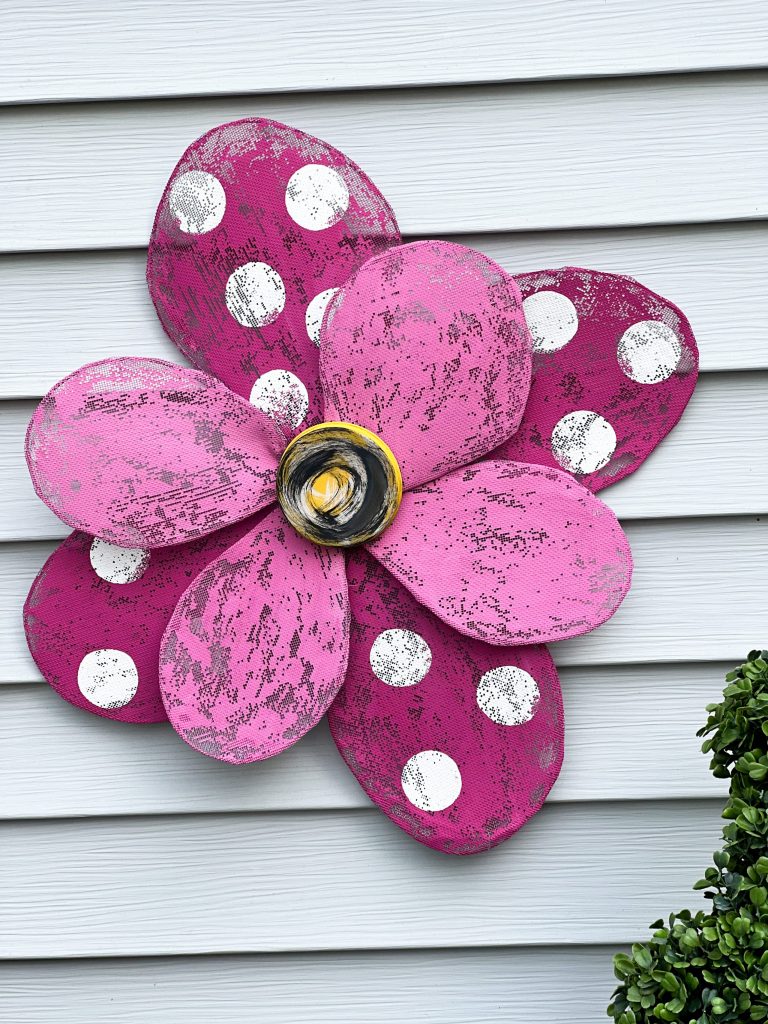
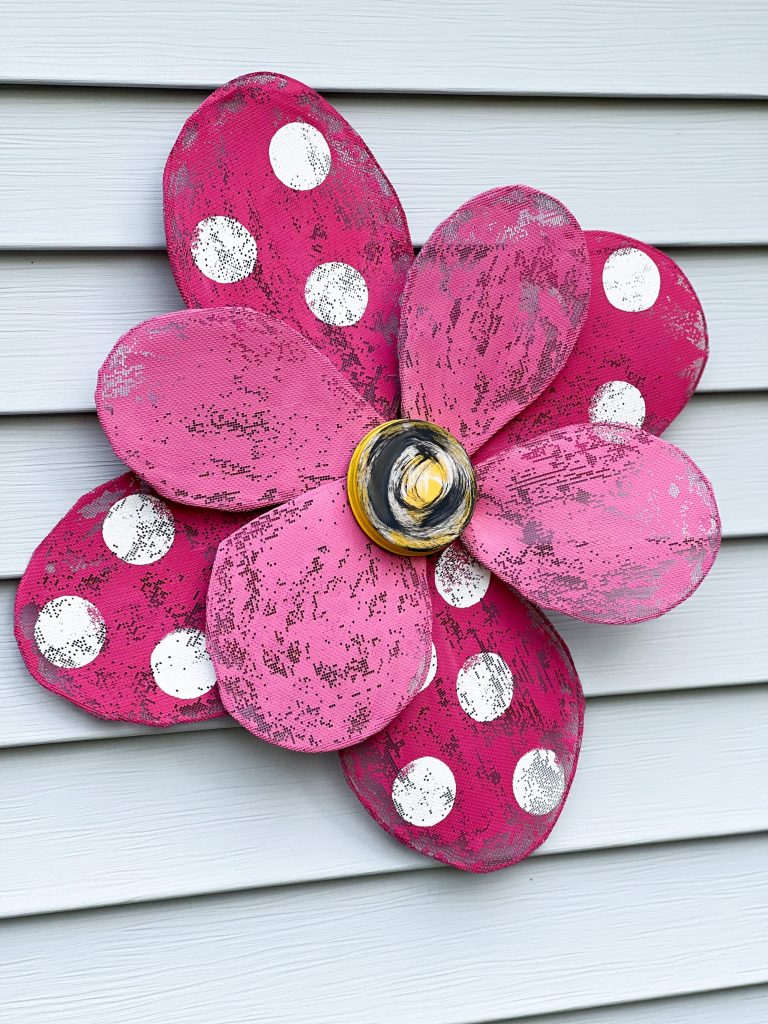
How stinking CUTE IS THIS?!?!?!
Last Updated on June 28, 2023

I would of never thought of doing such an adorable flower with screen ect. I always seem to do better when watching a video so I can see it as it’s being created. My question is; is it waterproof? Putting it outside in the elements I would worry what rain would do to it. Just a thought! Great project, Thanks
Stinkin’ cute!!! ????????????
This is adorable!! Love it!! So creative!