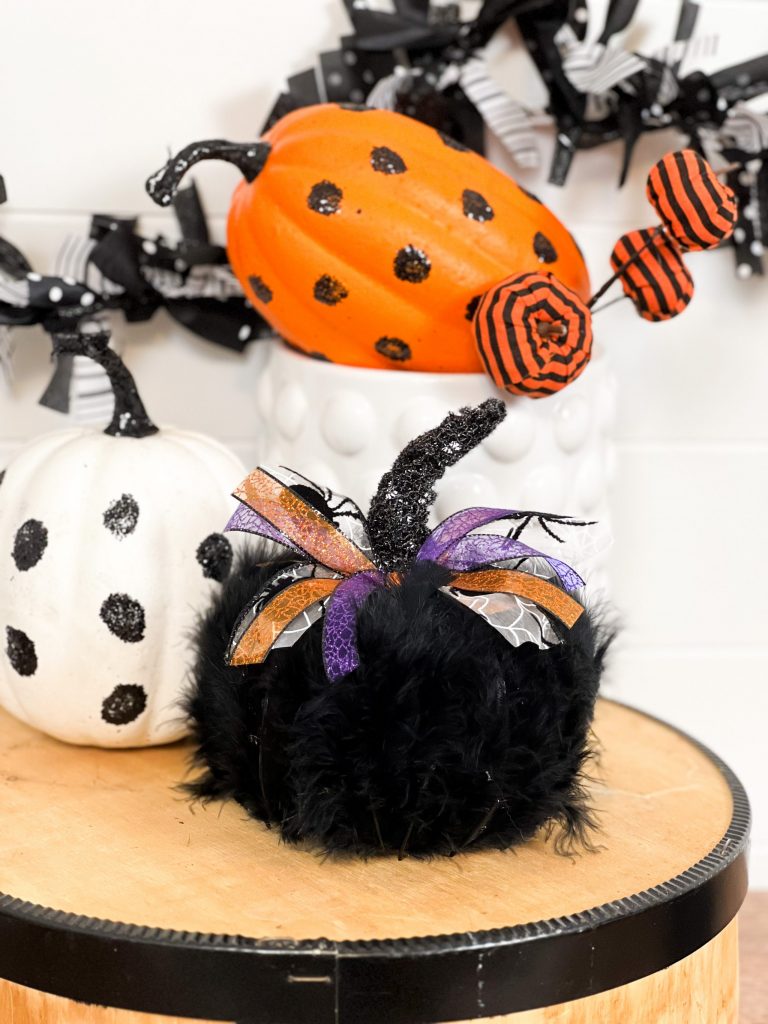
Long gone are the days of boring pumpkins available only in the traditional orange color. Now, you see pumpkins of every shape, size and texture in stores! I love to mix and match styles and incorporate many different textiles. I recently purchased a variety of pumpkins in velvet, faux leather and even flannel, BUT I wanted to add a feathered pumpkin into the mix. So, of course, I made one myself! With just a little over $2, I made an adorable black feather covered pumpkin!
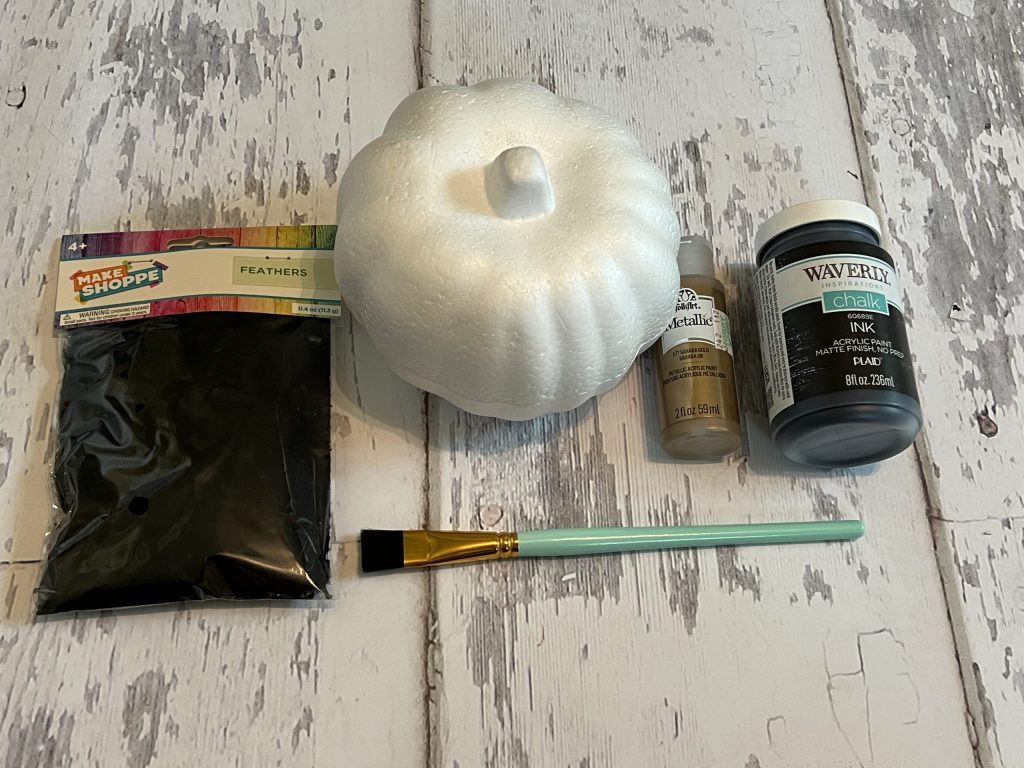
I used the following supplies for this project:
- Styrofoam pumpkin – Dollar Tree
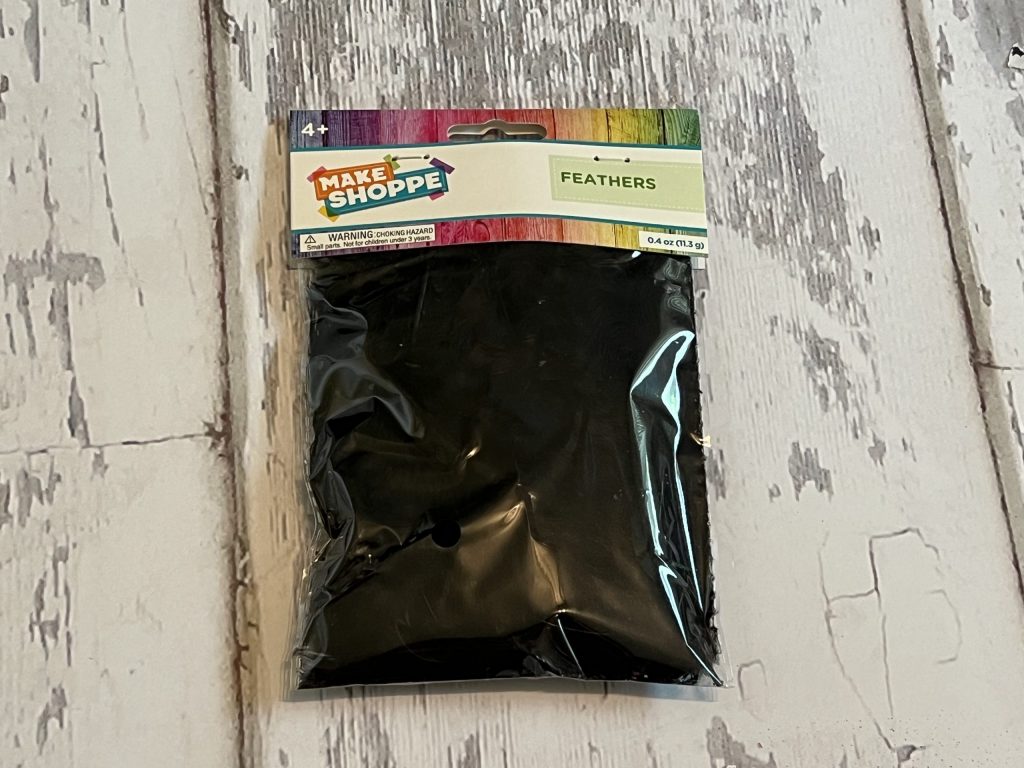
- Black feathers – Pop Shelf
- Waverly chalk paint in the color Ink
- FolkArt Metallic paint in Sahara Gold
- Paintbrush – Re-Fabbed paintbrushes
- Hot glue gun
- Piece of wire for the stem
- Variety of Halloween ribbon pieces
These black feathers were only $1 at Pop Shelf, and there was enough in the package to cover at least two pumpkins. This was a great price for the quality and quantity of feathers.
With the paints already on hand, I only had to purchase the feathers and the styrofoam pumpkin for this easy DIY!
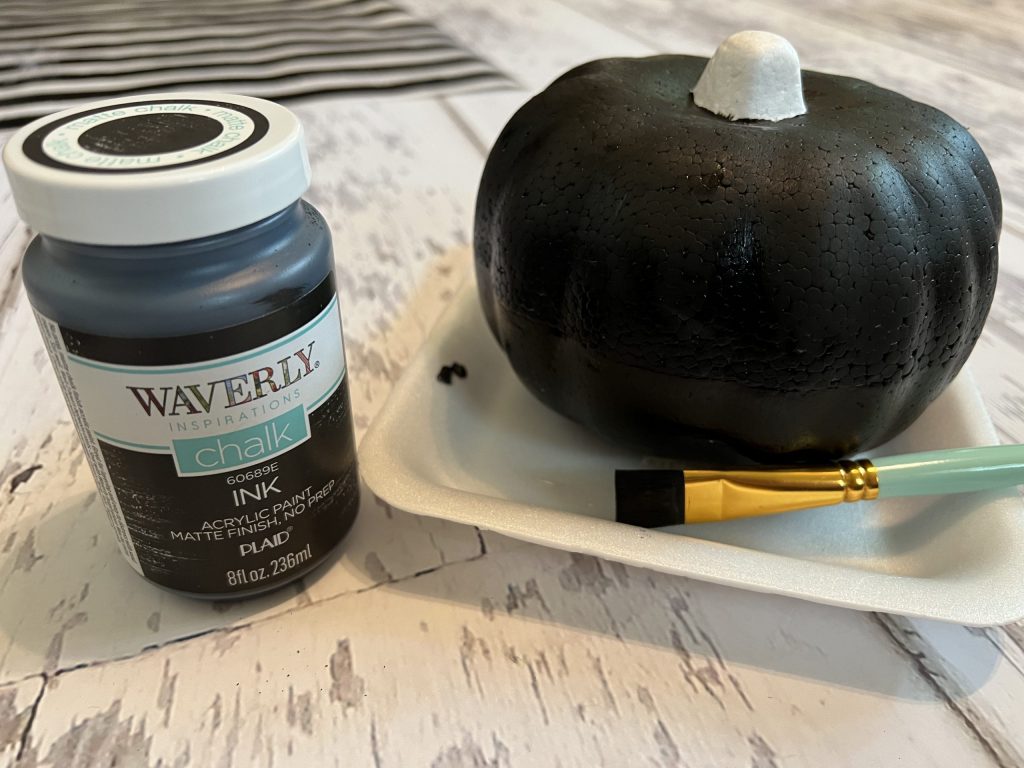
For the first step, prior to covering the pumpkin in feathers, I painted the body of the pumpkin with black chalk paint. It only required one coat of chalk paint to fully cover the white base. I did not paint the stem of the pumpkin (yet).
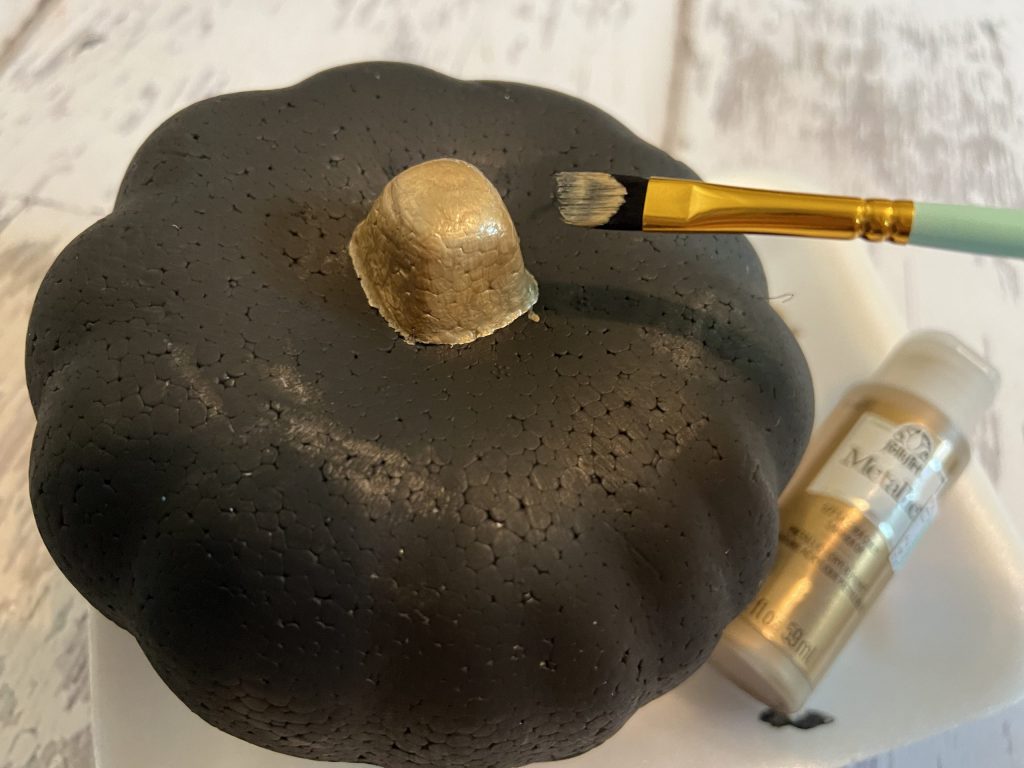
Next, I painted the stem with the gold acrylic paint. This paint is a little thinner than the chalk paint, so it needed two coats of gold to fully cover the white stem.
After the pumpkin dried completely, it was time to add the feathers! First, I applied hot glue in a vertical line down the side of the pumpkin and pressed on a feather. For this step, I only applied the glue to the sides of the pumpkin…I did not glue around the stem.
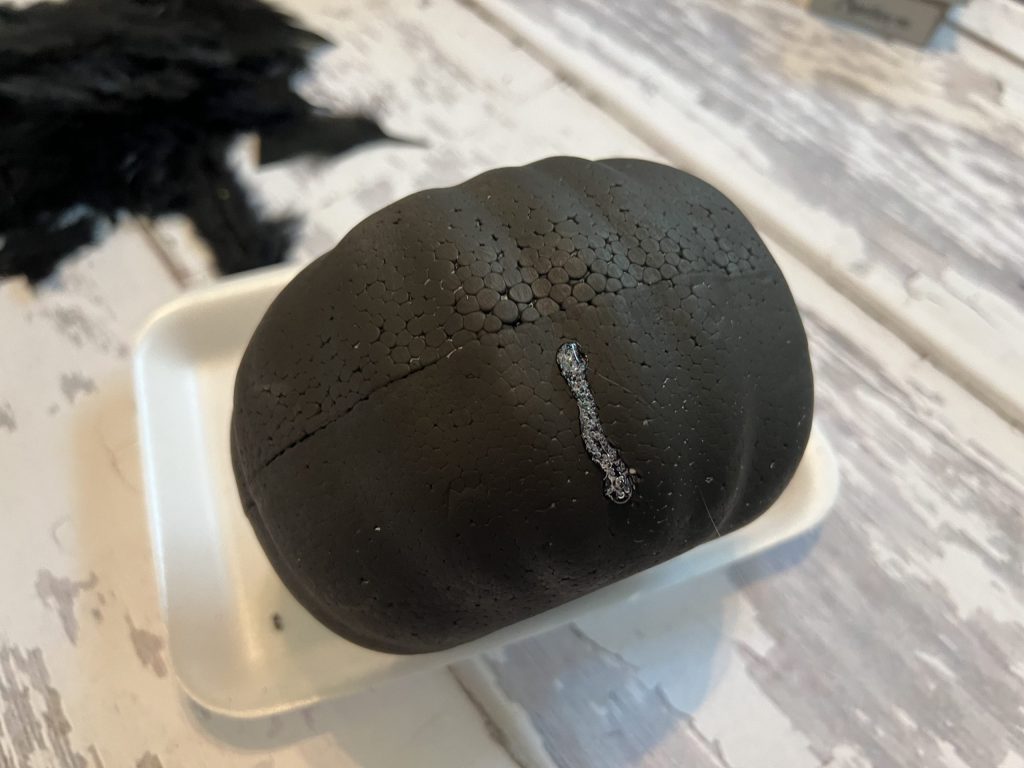
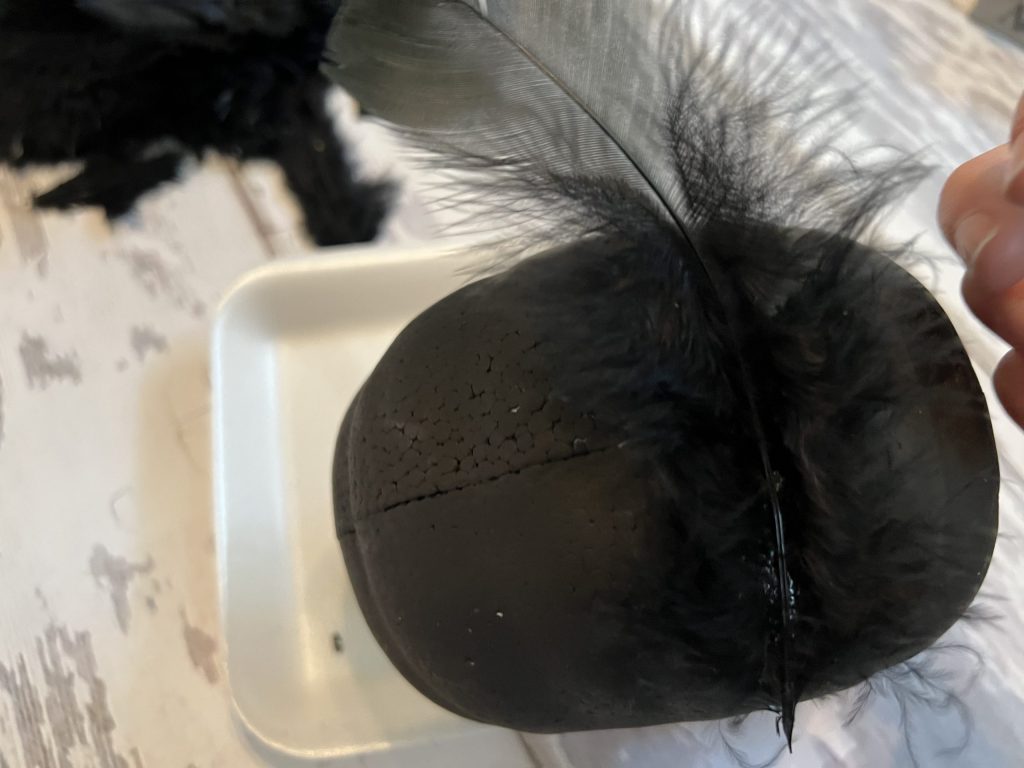
I continued this process all the way around the pumpkin. Once I was done, the feathers stood straight up around the pumpkin.
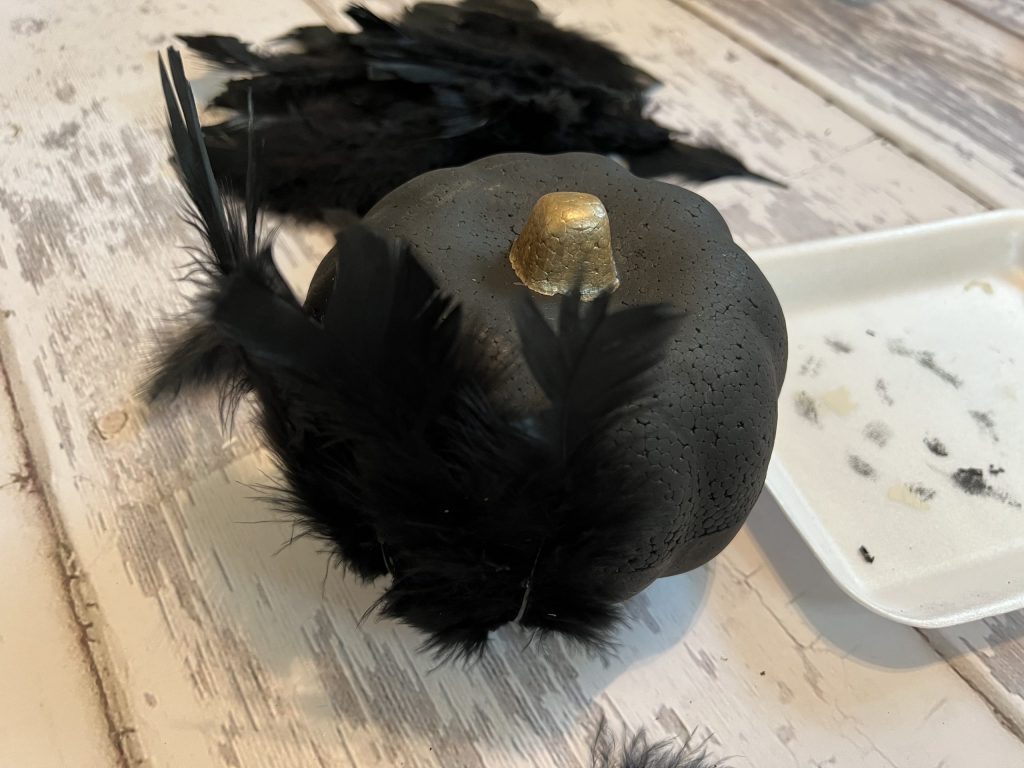
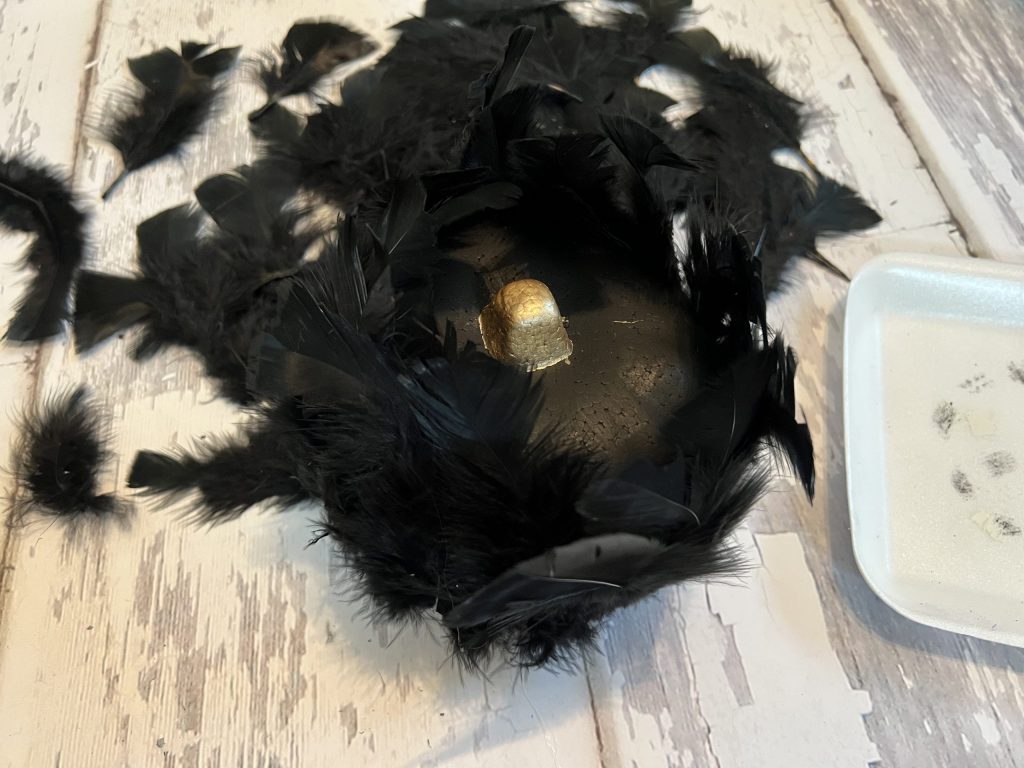
Next, I applied a little hot glue in a small section at the top of the pumpkin. Taking about 3-4 feathers, I pulled them down around the stem. I worked in sections around the top until all of the feathers were glued down.
I made sure all the feathers were secure, then it was done!
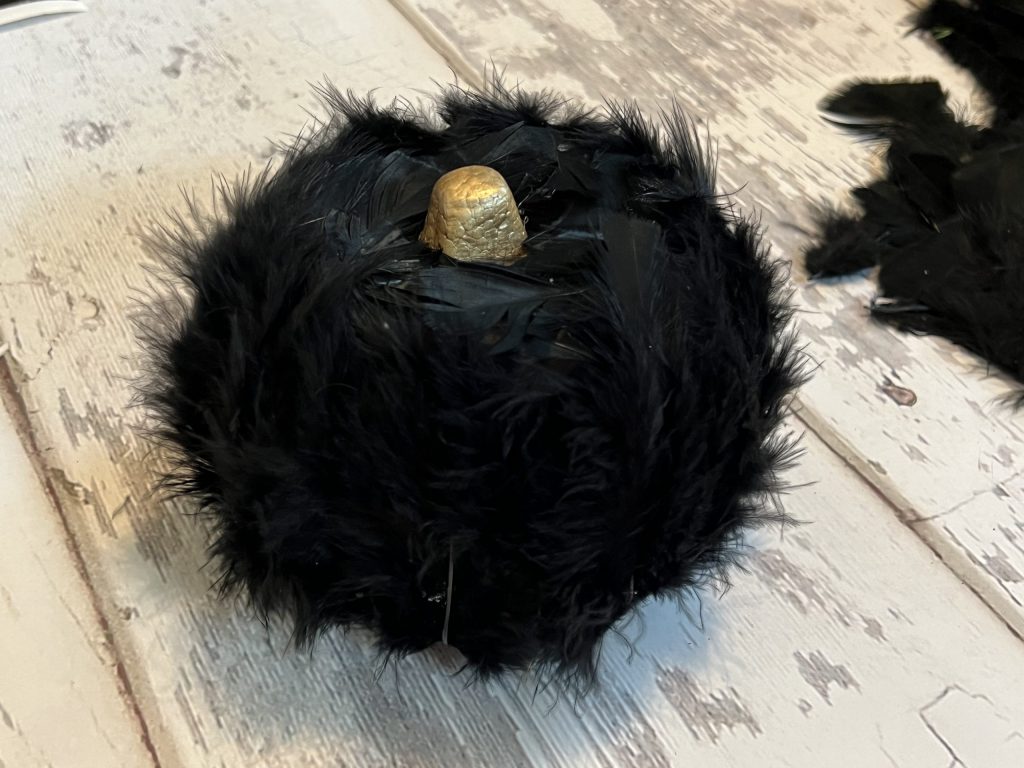
However, I felt like the pumpkin stem lacked pizazz! It needed something a little extra, so I pulled out some ribbon and went to town creating a stem!
I had some Halloween picks, so I used the wired portion to extend the pumpkin stem.
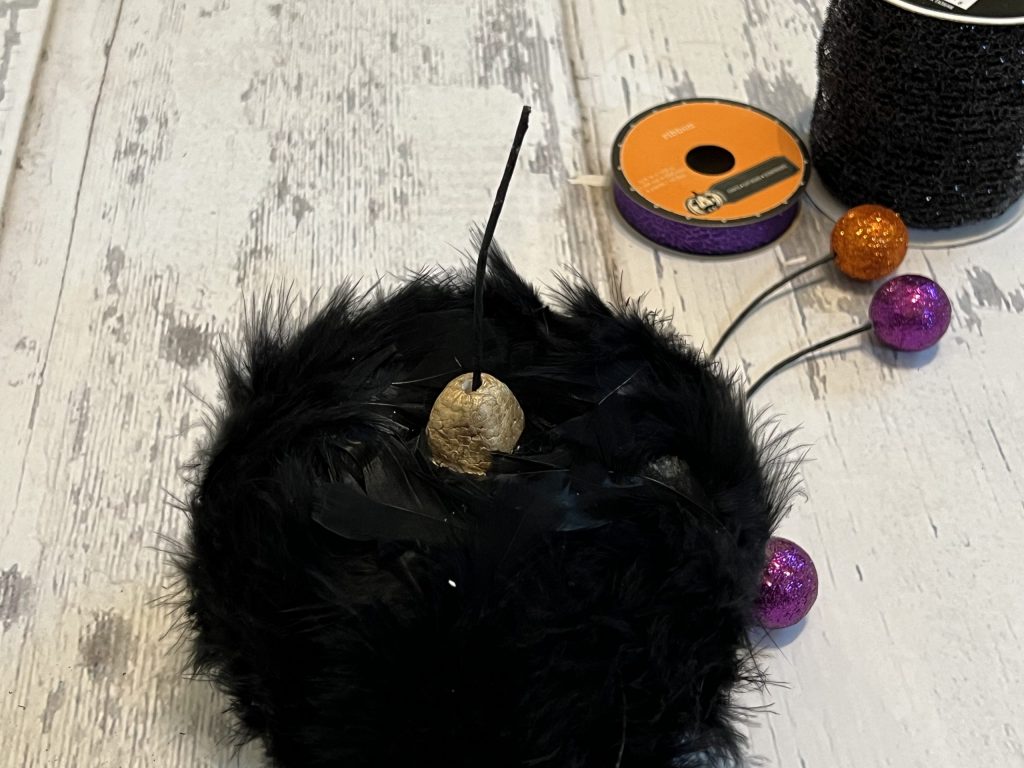
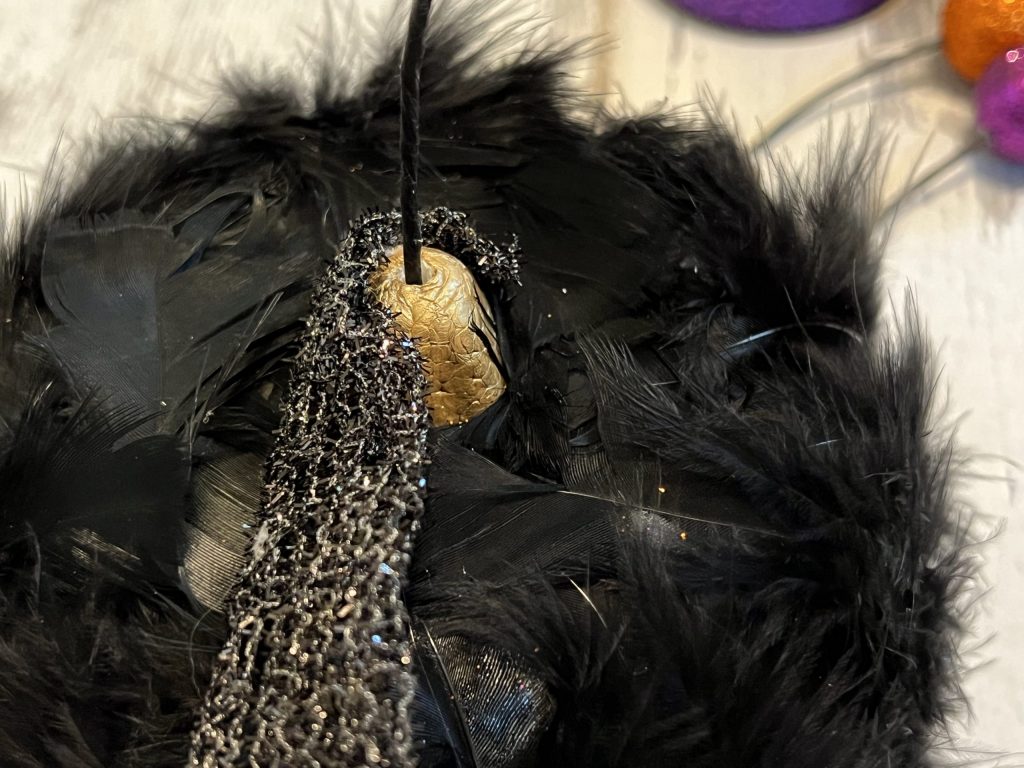
Then, I took some black mesh ribbon and wrapped the stem, securing the ends with hot glue.
For the finishing touch, I took some ribbon pieces and created a Re-Fabbed bow!
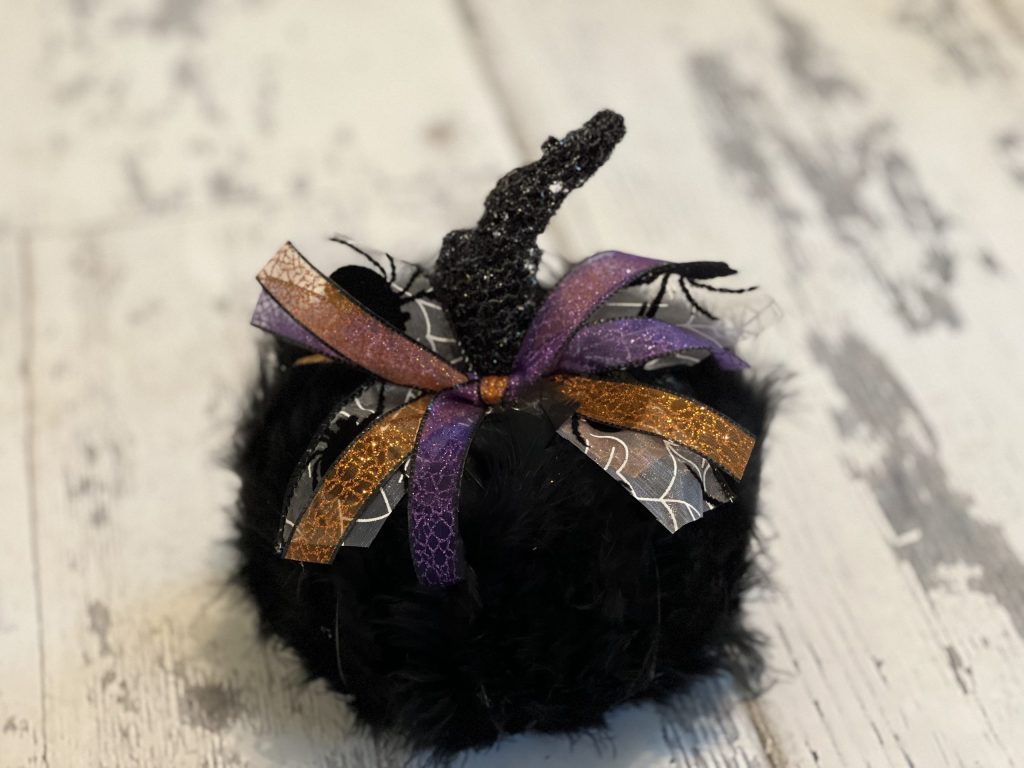
Y’all, this was such a simple DIY craft that anyone can do! I love the black for Halloween, but I bet a brown shade or jewel tone would be beautiful for fall decor! Have you seen feather pumpkins available in stores? What texture has been your favorite this season? I hope you will try to make a feather covered pumpkin! Make sure you share your creations with me!
Be sure to PIN for later!
Last Updated on September 21, 2023

🎃 🖤 love it! So stinkin cute 🥰
Now that’s cute!