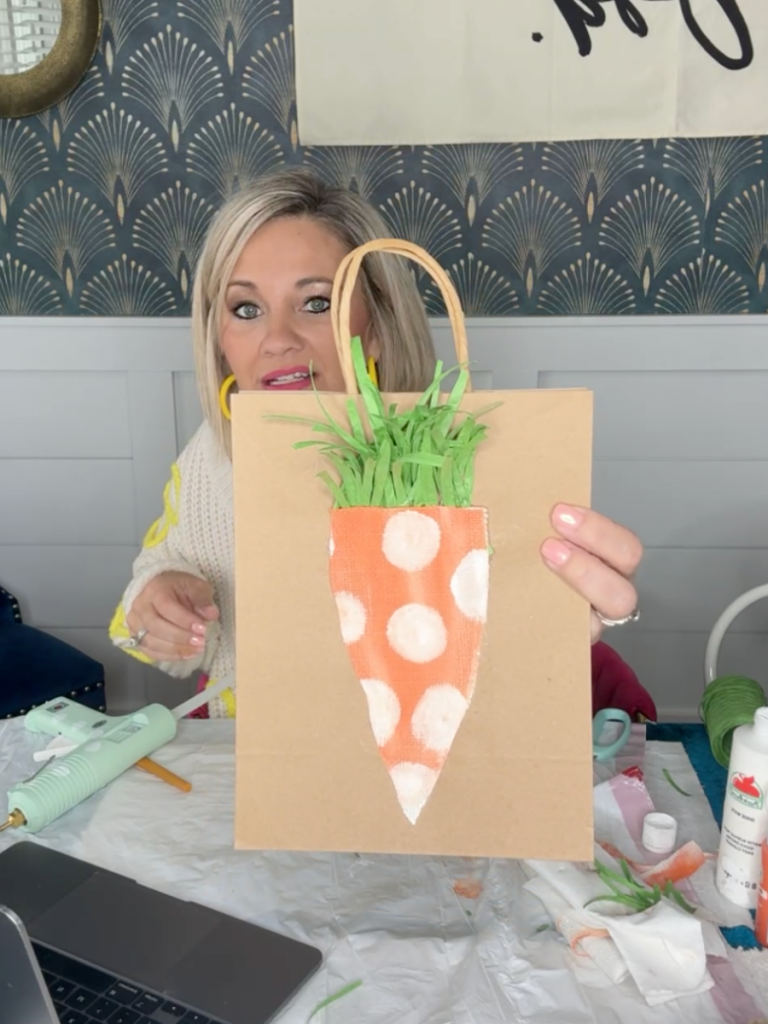
I just love doing projects with these super-cute kraft bags! I have created them for a lot of different seasons, but never for Easter! These are very inexpensive and a really fun way to give the cutest gift!!
I made these in my MVP GROUP! Are you a member?? You can join here for just $4.99/mo! I go live once a month with an exclusive live craft AND you get a 15% discount code every single month for the Re-Fabbed Boutique!!! It practically pays for itself!!
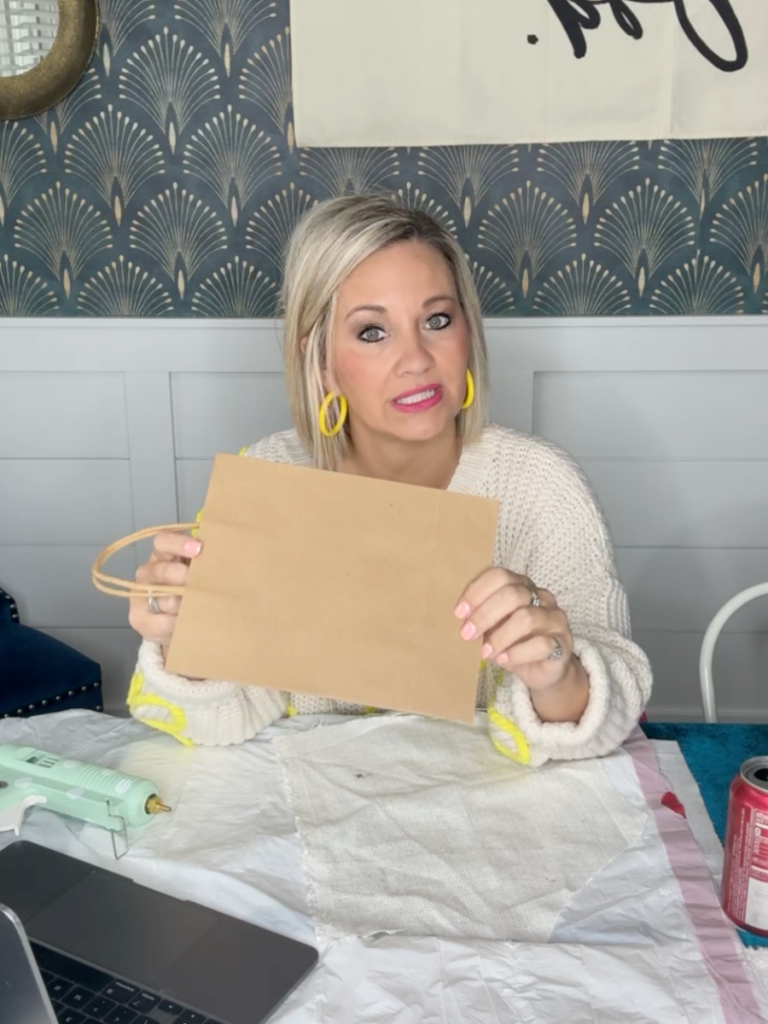
Here are the supplies you’ll need for this one:
- Kraft paper gift bag
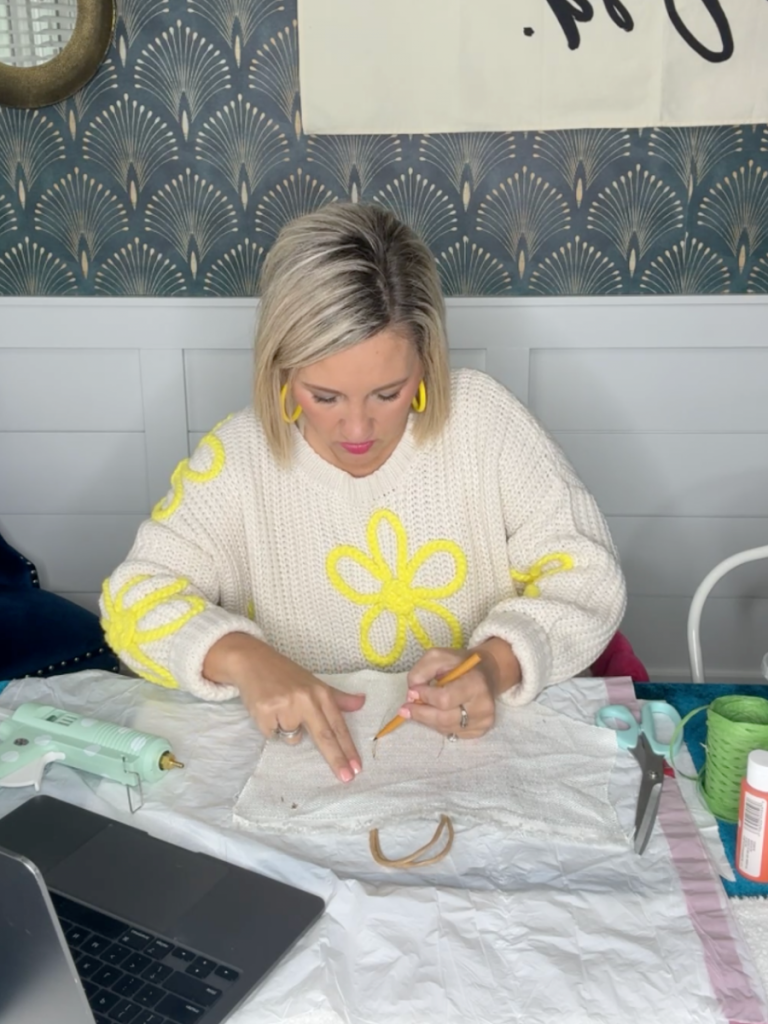
- White fabric
- Pen or pencil for sketching
- Harvest Orange paint by Apple Barrel
- White paint by Apple Barrel
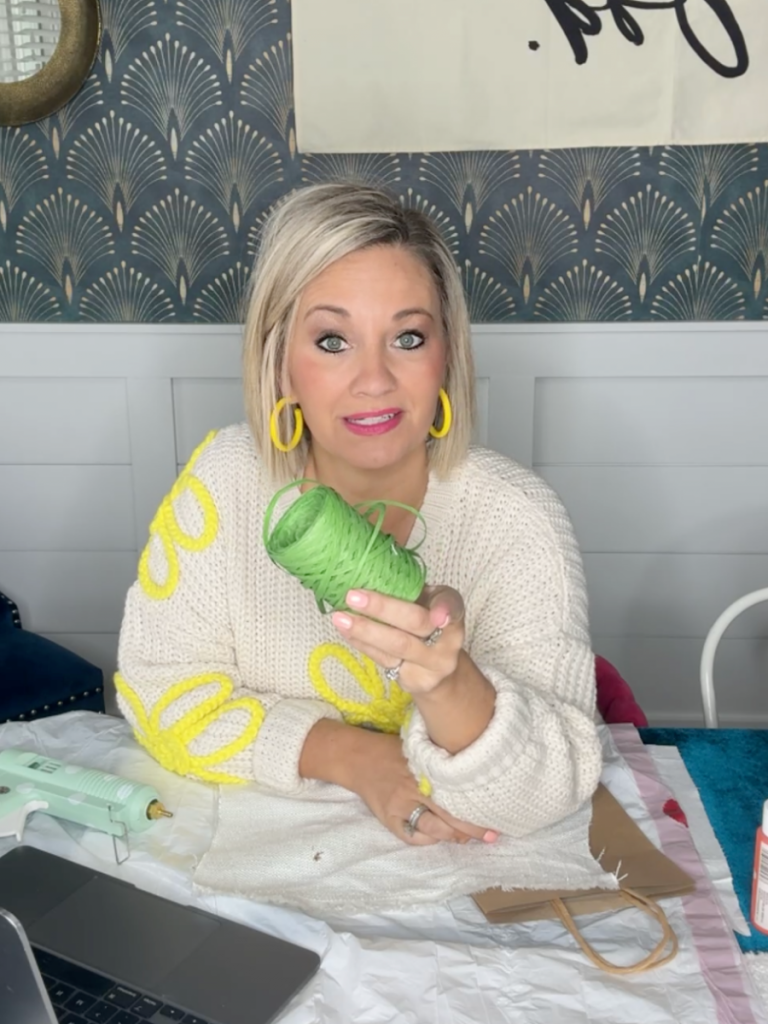
- Green Raffia
- Supplies to make bow
I used the green raffia from my Re-Fabbed collection for the fronds (I know y’all are impressed that I knew that word!!!) and you can get this and seven other PERFECT spring colors HERE!
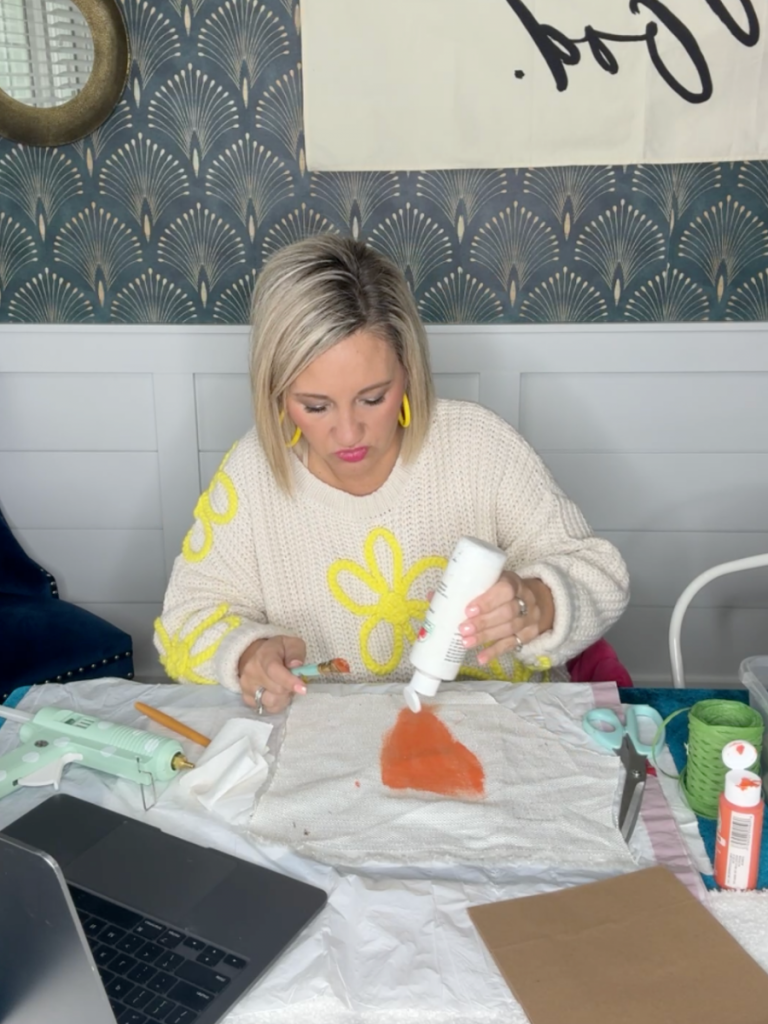
First, I placed my fabric on the front of the bag and sketched out my carrot design using a flair pen.
Next, I used my favorite shade of orange to fill in the carrot that I had sketched on the fabric.
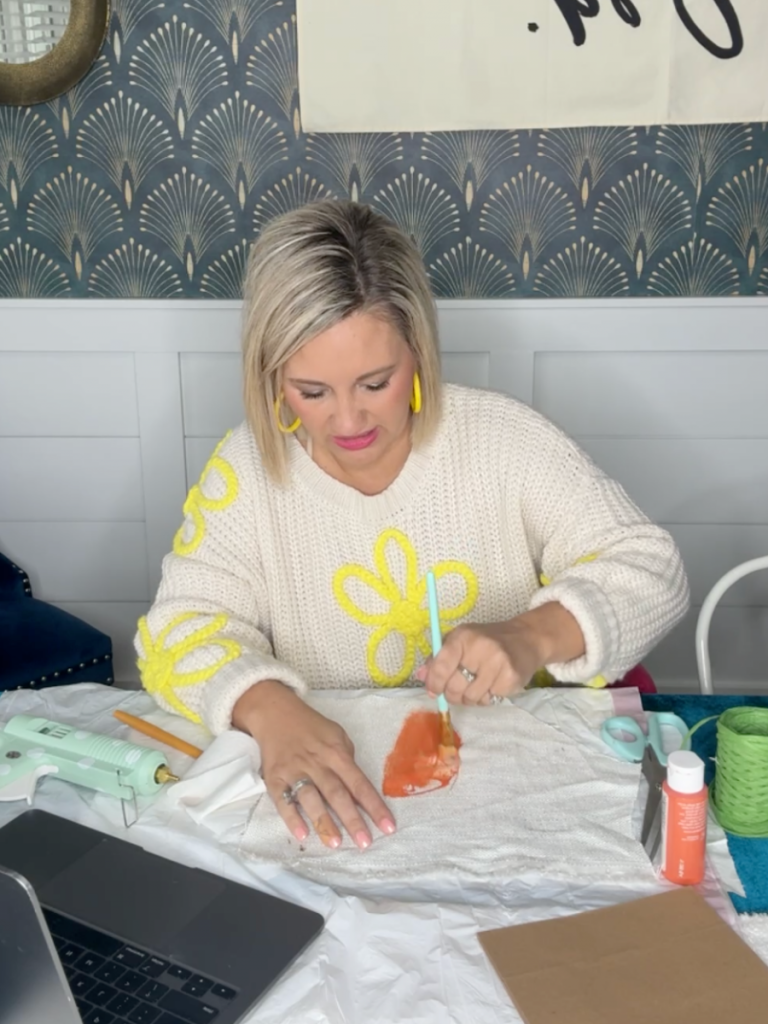
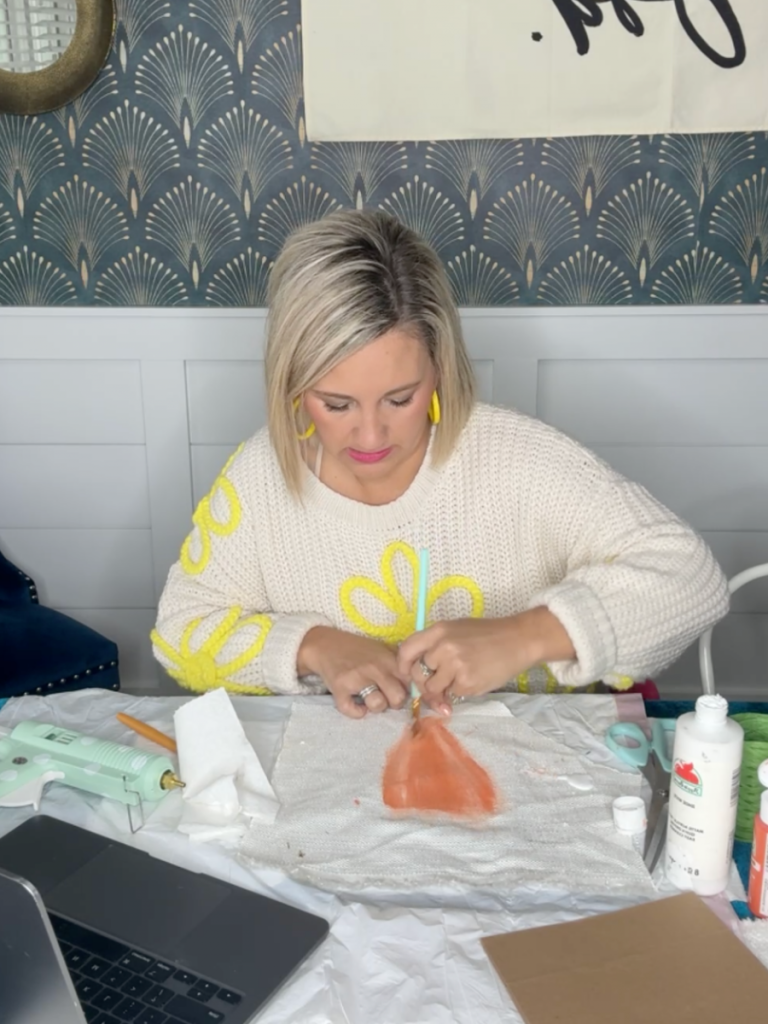
Just to give it a little variation, I added in some white accents.
I didn’t want add a ton of white, just a little bit of “interest” to the orange because, to be honest, orange is NOT my favorite color!!
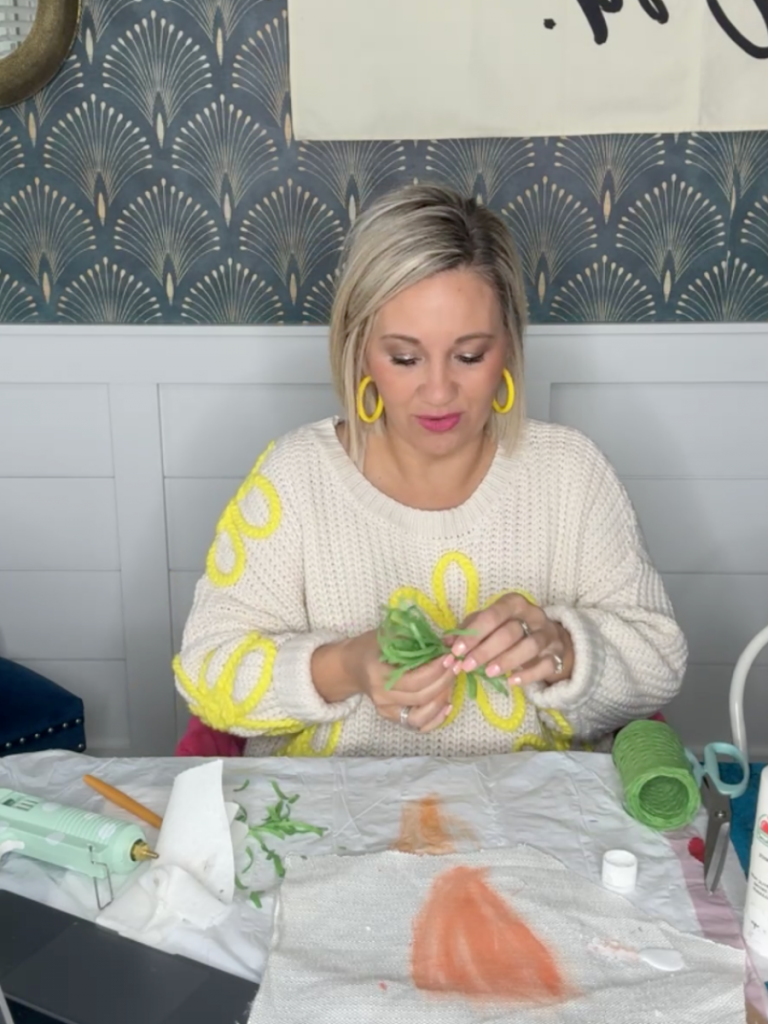
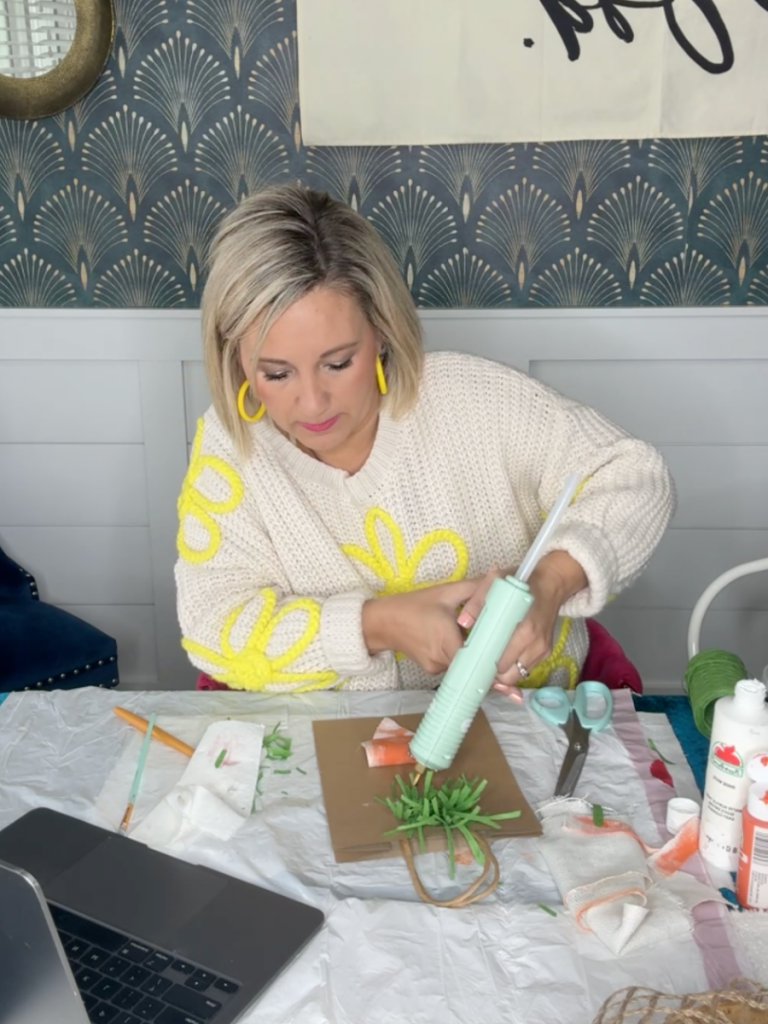
While the paint is drying on the carrot, I got my fronds ready. I just looped the raffia like I was making a bow, then used my scissors to snip off the loops!
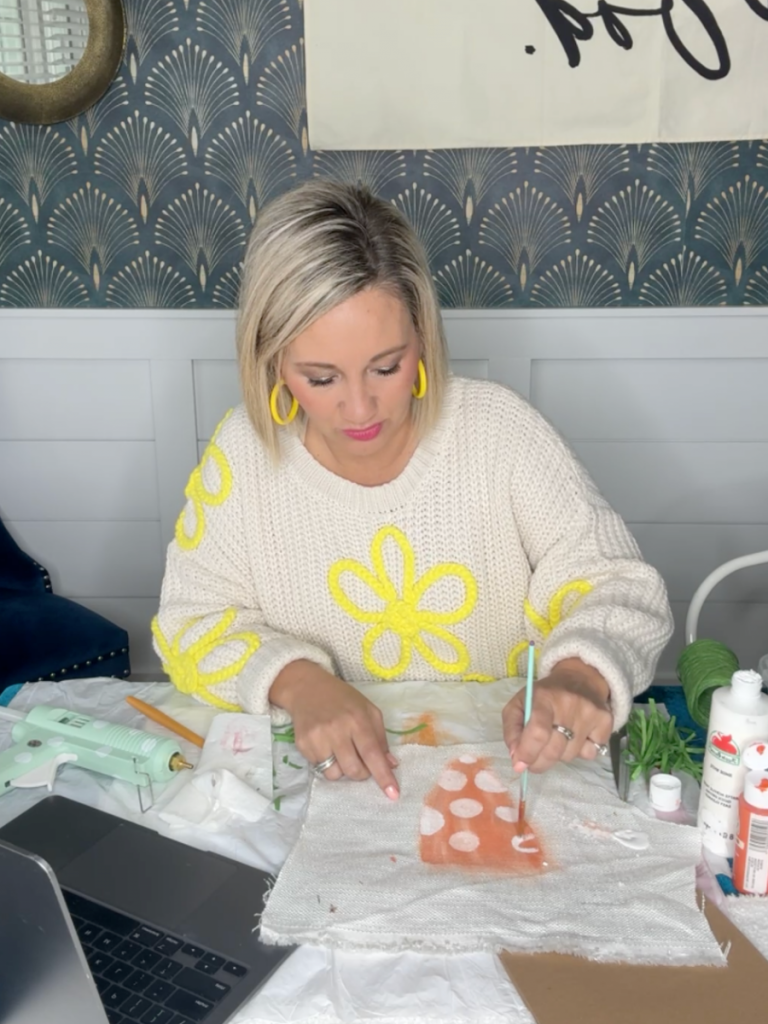
I decided to add some polka dots to the carrot because they just make everything SO STINKIN’ CUTE!!! I could have used a spouncer, but I prefer to freestyle! Be sure you make your dots where some of them are “half” dots to give it the best look!
Next, I cut out my carrot to get it ready to glue to the bag!
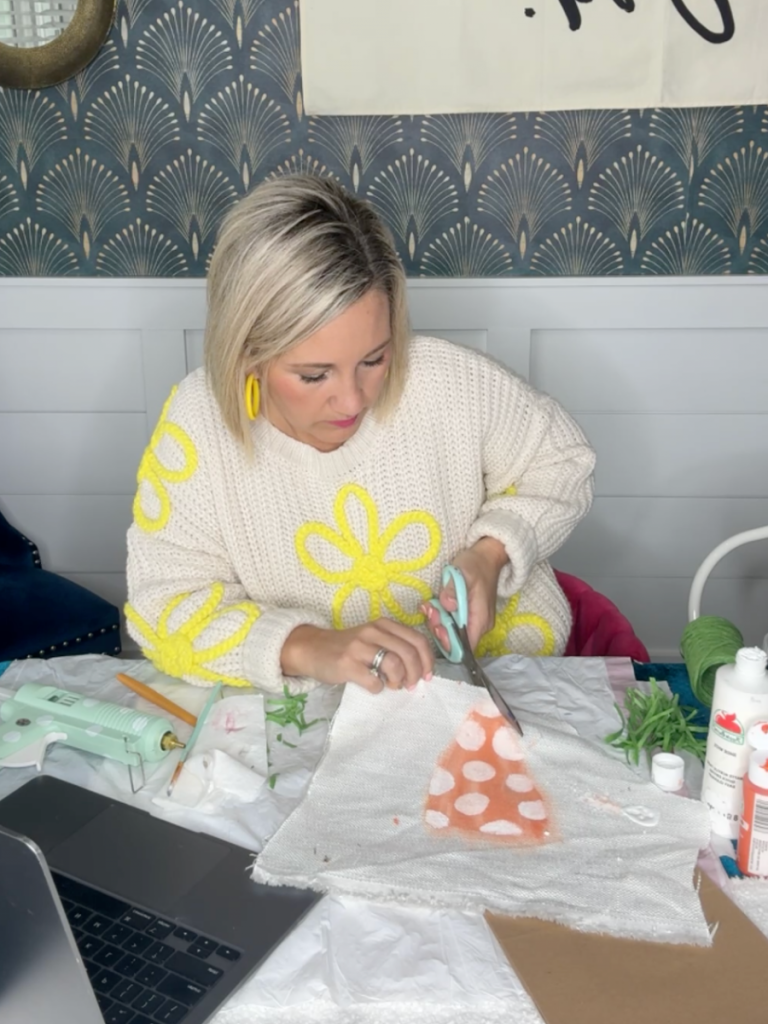
When I laid it on the bag, I decided to trim it just a tiny bit more to give it a skinnier look. I also cut some off of the top to give me room for the fronds on the bag!
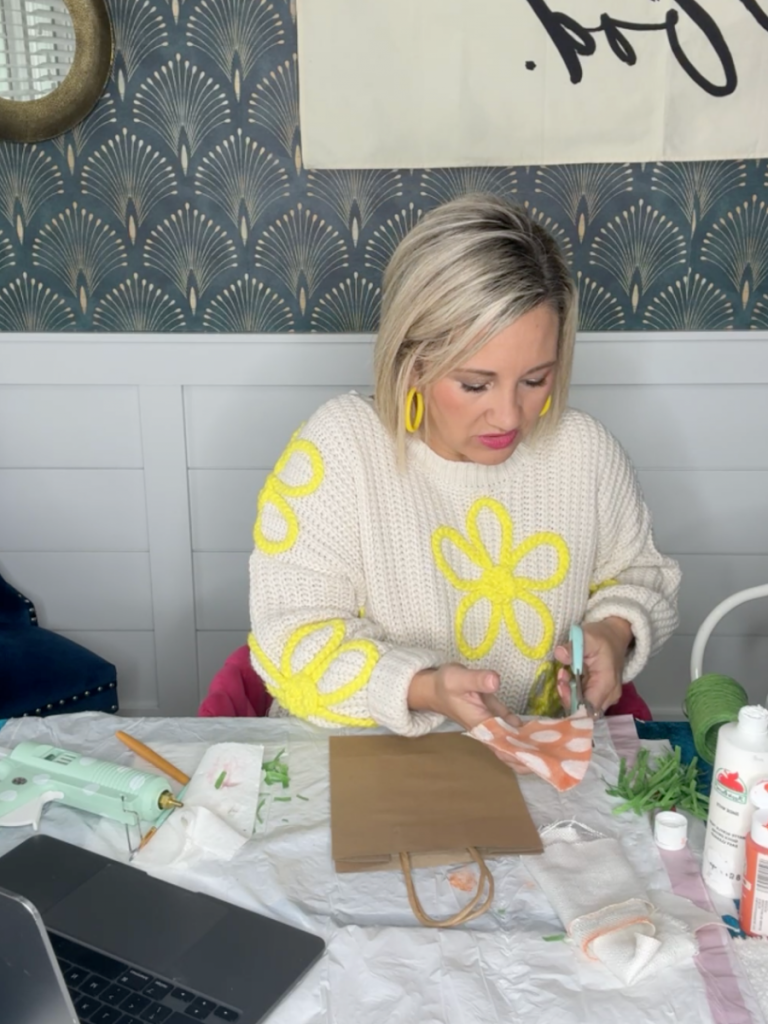
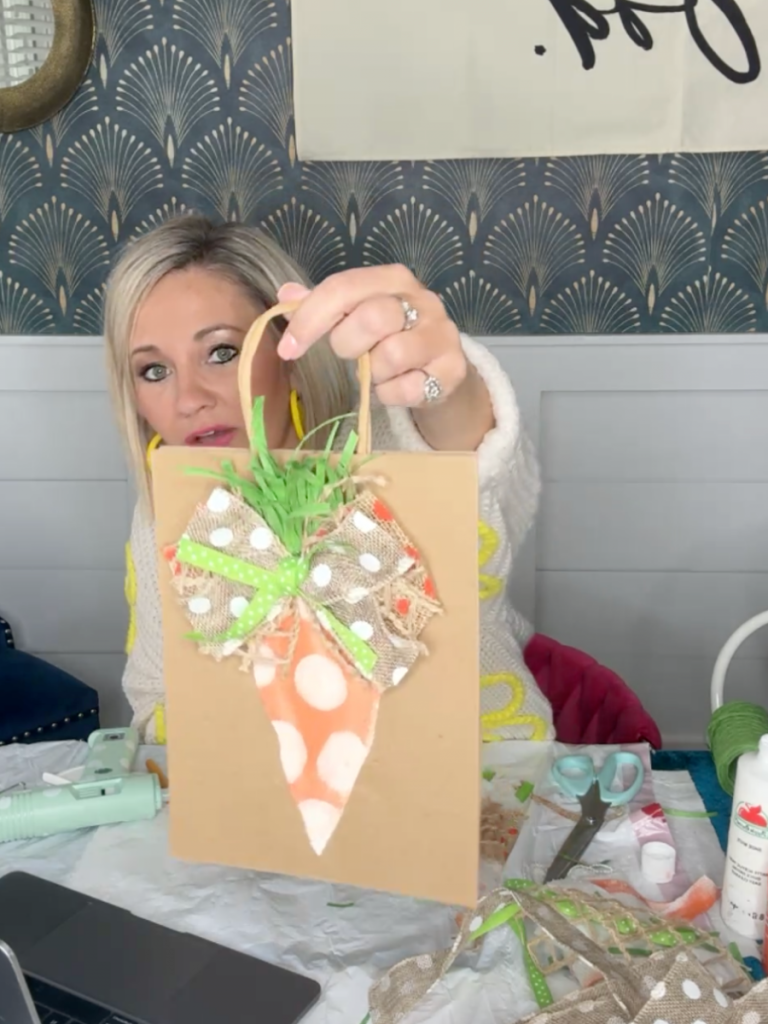
I placed my carrot on the bag and folded down the top so that I could glue on my fronds underneath it.
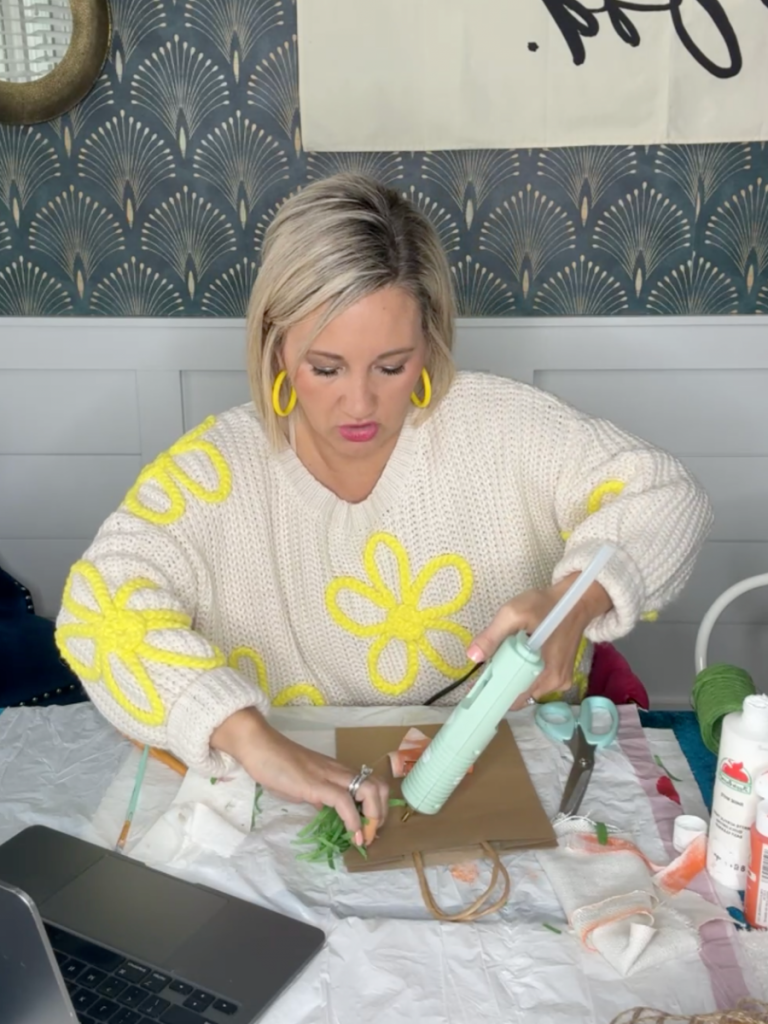
I used my handy-dandy glue gun to secure the fronds and carrot on the bag!
How CUTE is this looking already?!?!?
For the bow, I went in my craft room and just grabbed a hot mess of a bunch of ribbon to make my Re-Fabbed bow. If you want to know how I make it, you can see that HERE!!!
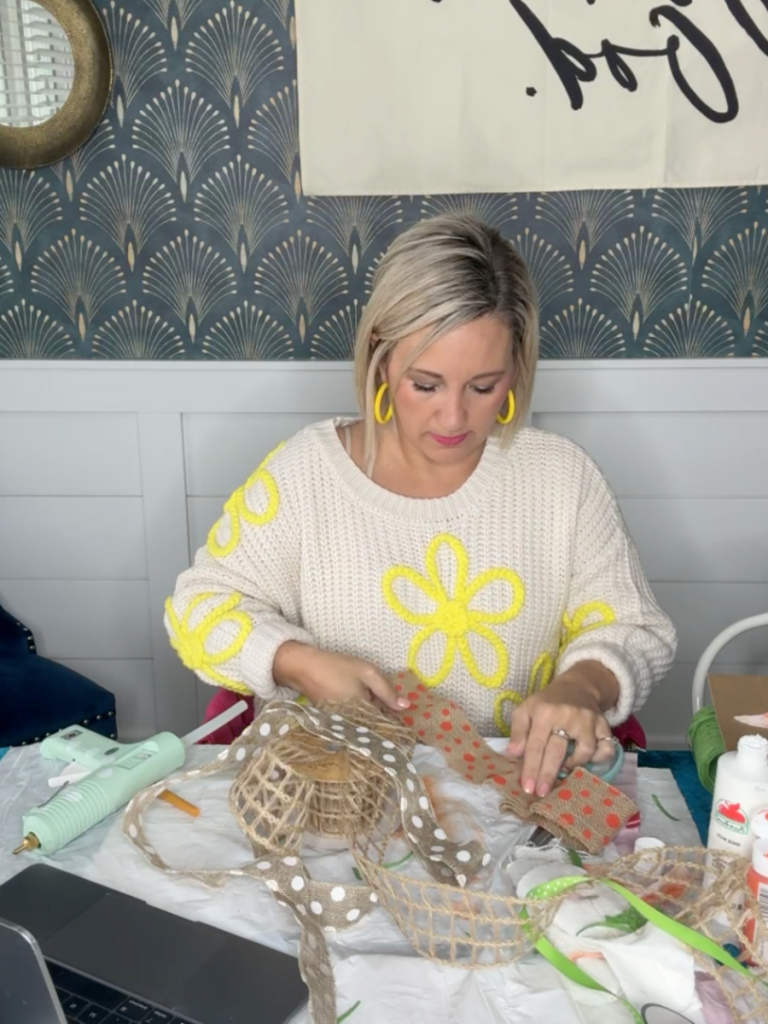
I criss-crossed several different sizes and styles of ribbon and I think the polka dots are literally PERFECT for this project!!!

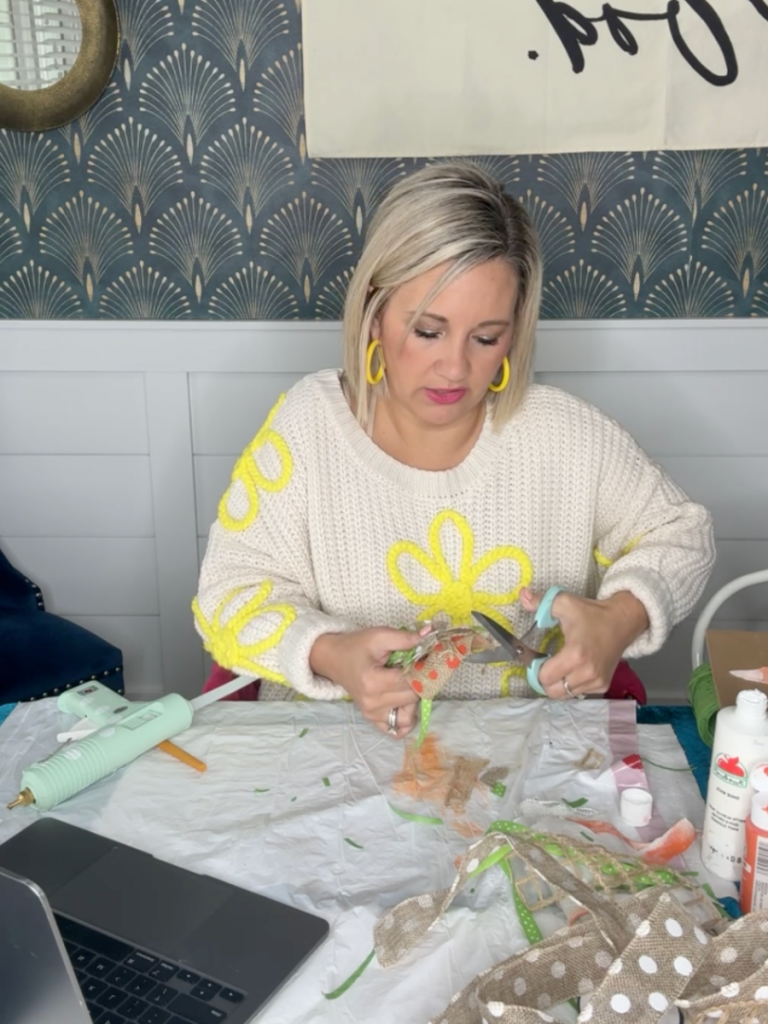
Just a quick trim to even up ribbon and it’s ready to go!
I used my glue gun to place it right under the fronds.
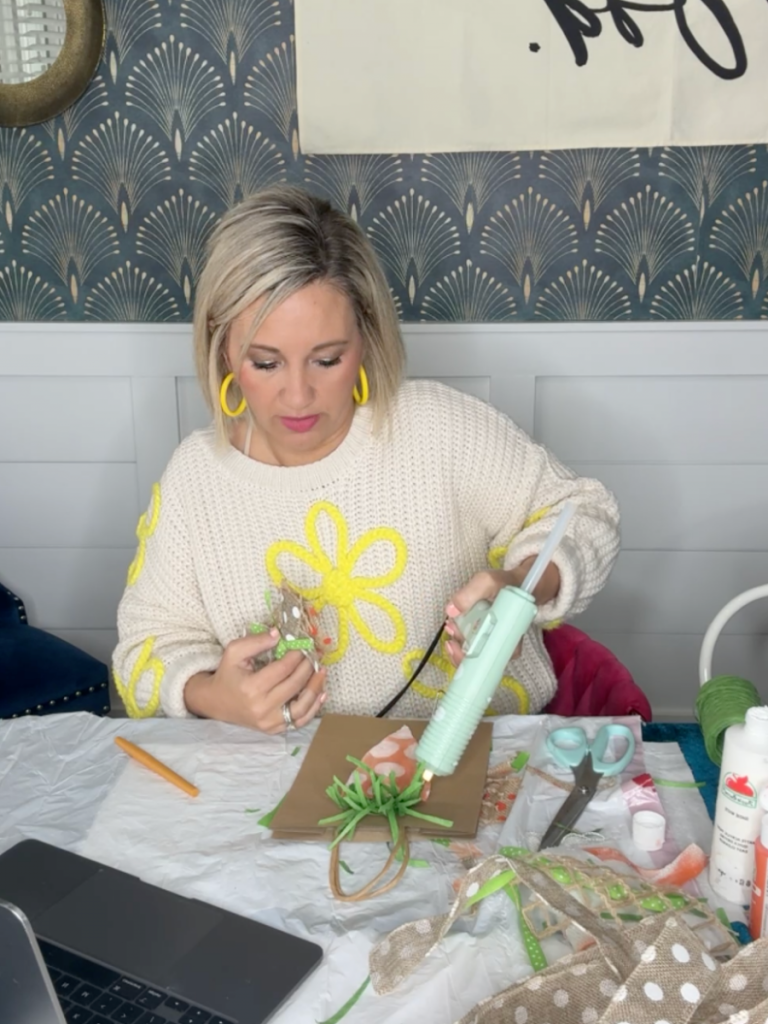
After a little adjusting to get it just right and some fluffing of the fronds….
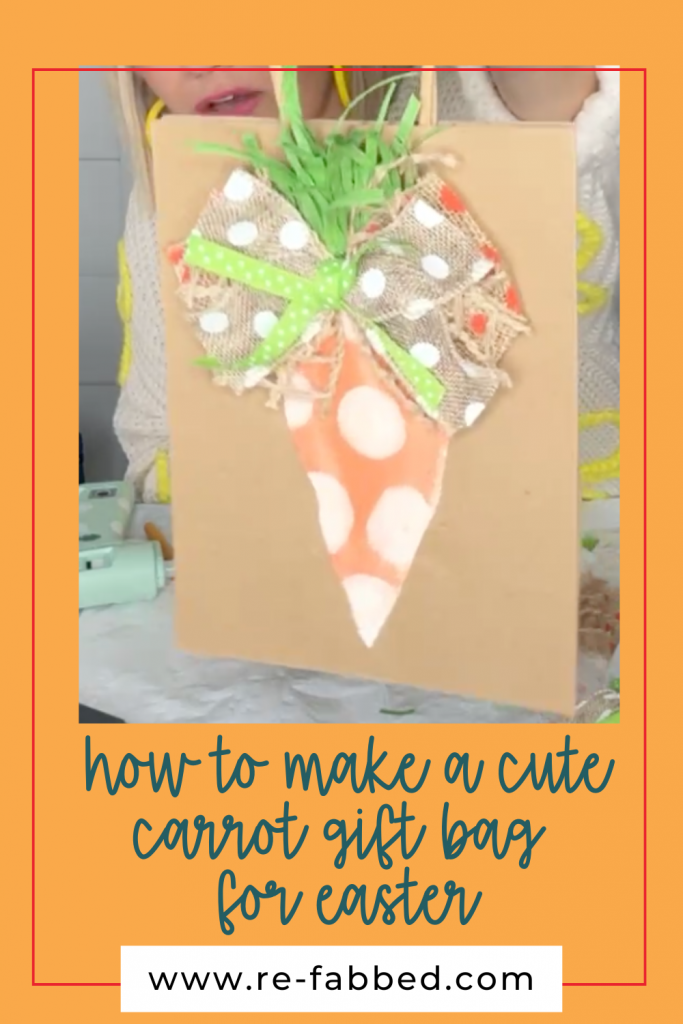
THIS is the finished product!!! Y’all I cannot get over how ADORABLE this turned out!! I mean, who wouldn’t want to get an Easter gift in this cute bag?!?!?!
BE SURE TO PIN FOR LATER!!
Last Updated on March 28, 2025


Leave a Reply