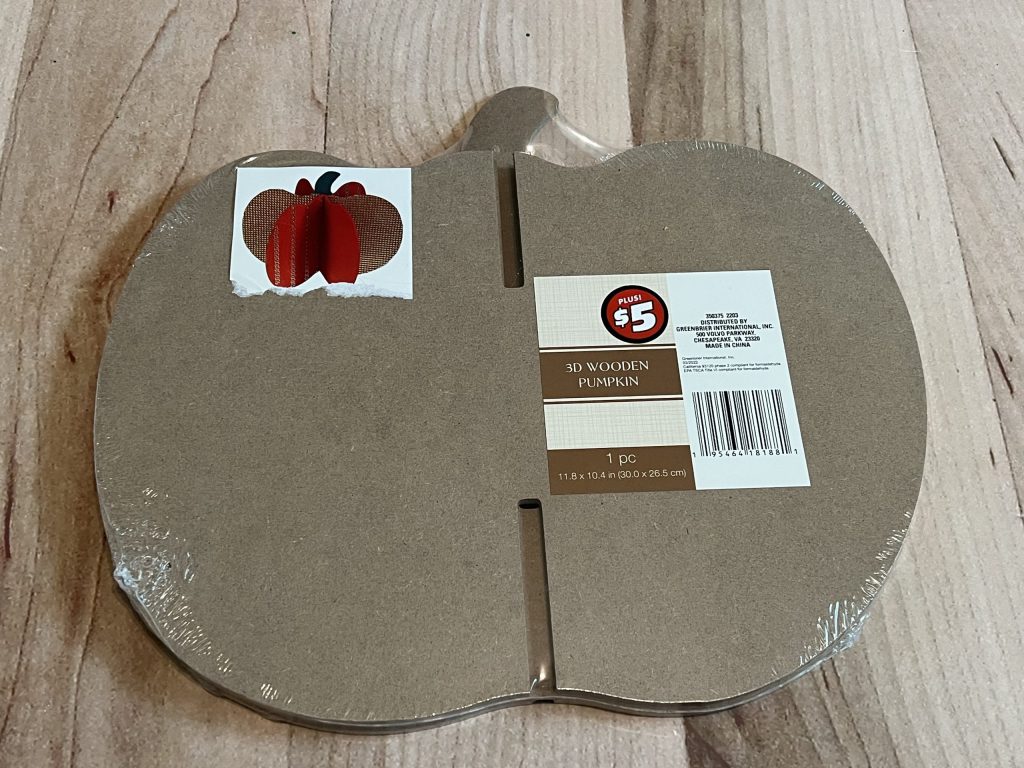
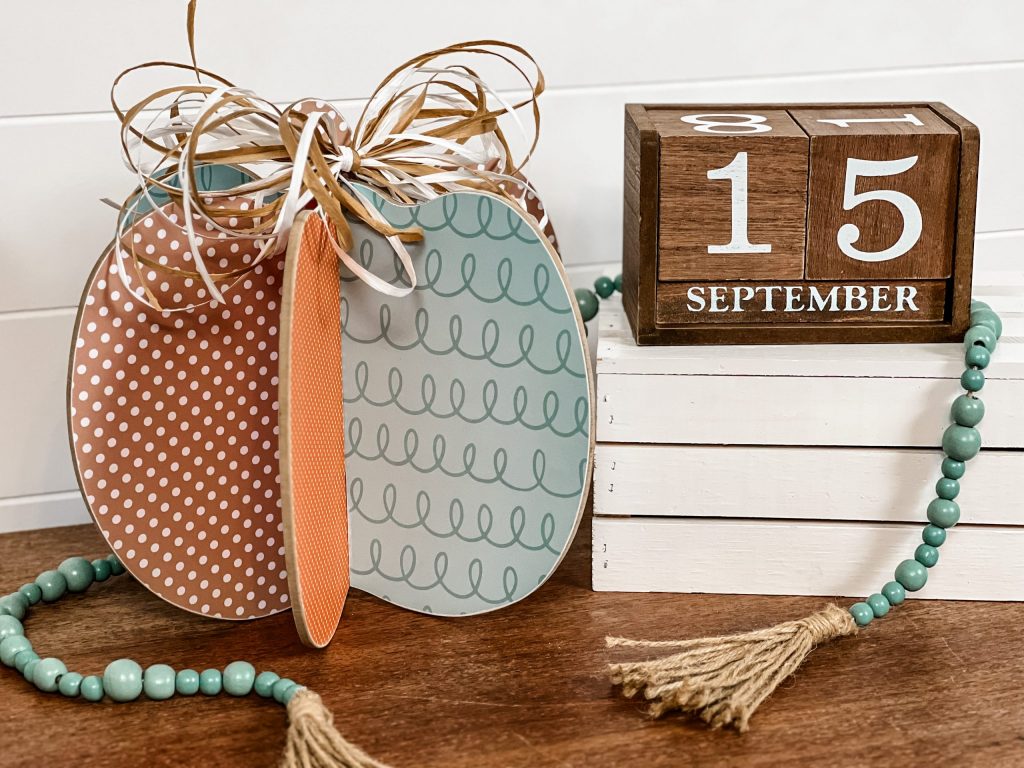
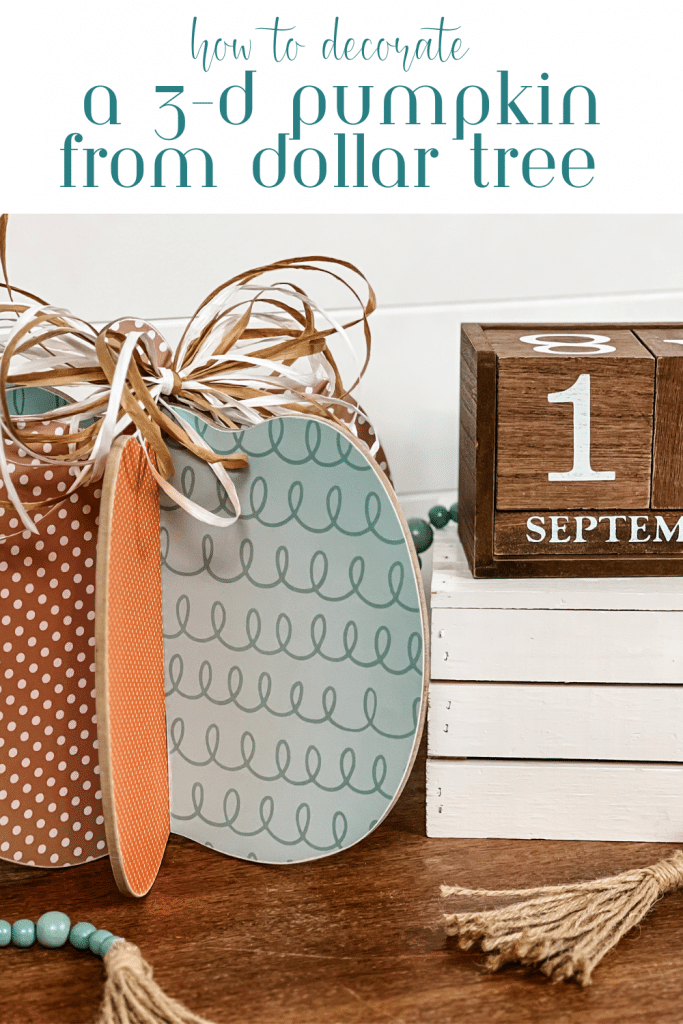
Who has seen the awesome DIY 3D pumpkin in the Dollar Tree Plus section? The pumpkin is five dollars and worth every single penny!!! I recently took some Mod Podge and scrapbook paper and transformed one into a beautiful centerpiece! This project is SO simple, and doesn’t require many supplies. The best part? It can easily be disassembled and stored FLAT after the fall season. This one is going to check all the boxes for fabulous fall decor!
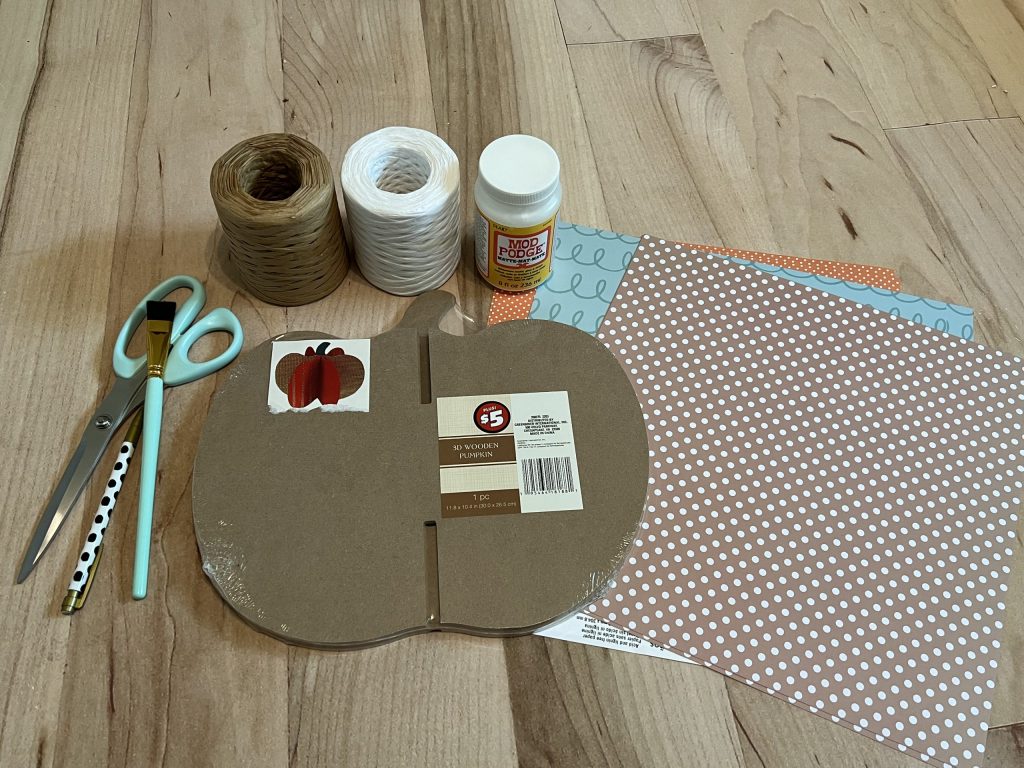
For this project, I used the following supplies:
- 3D wooden pumpkin from the Dollar Tree Plus section
- (6) 12″x12″ scrapbook paper pages – three different patterns, two of each pattern
- Pencil or pen for tracing
- Scissors – you can find the turquoise pair I have here
- Mod Podge
- Paintbrush – my favorite set here
- Re-Fabbed raffia – here
- Sanding block
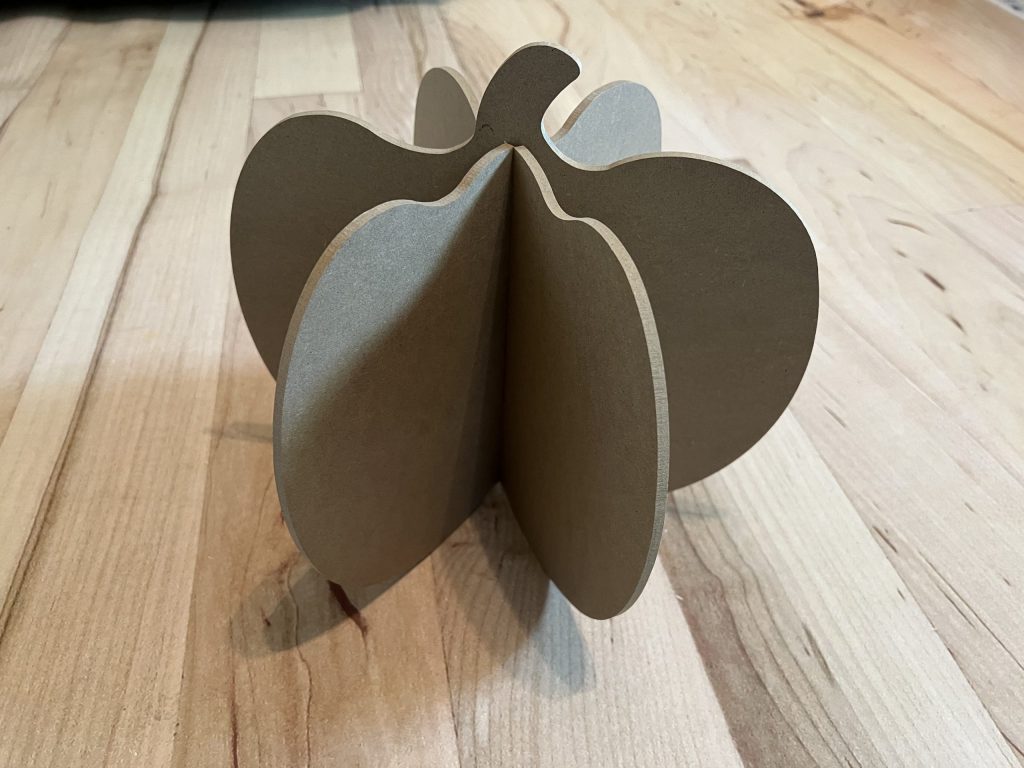
You will want to RUN to Dollar Tree to grab this 3D pumpkin! At almost 12″ tall and 10″ wide, it is such a great and substantial decor piece! The possibilities are endless!
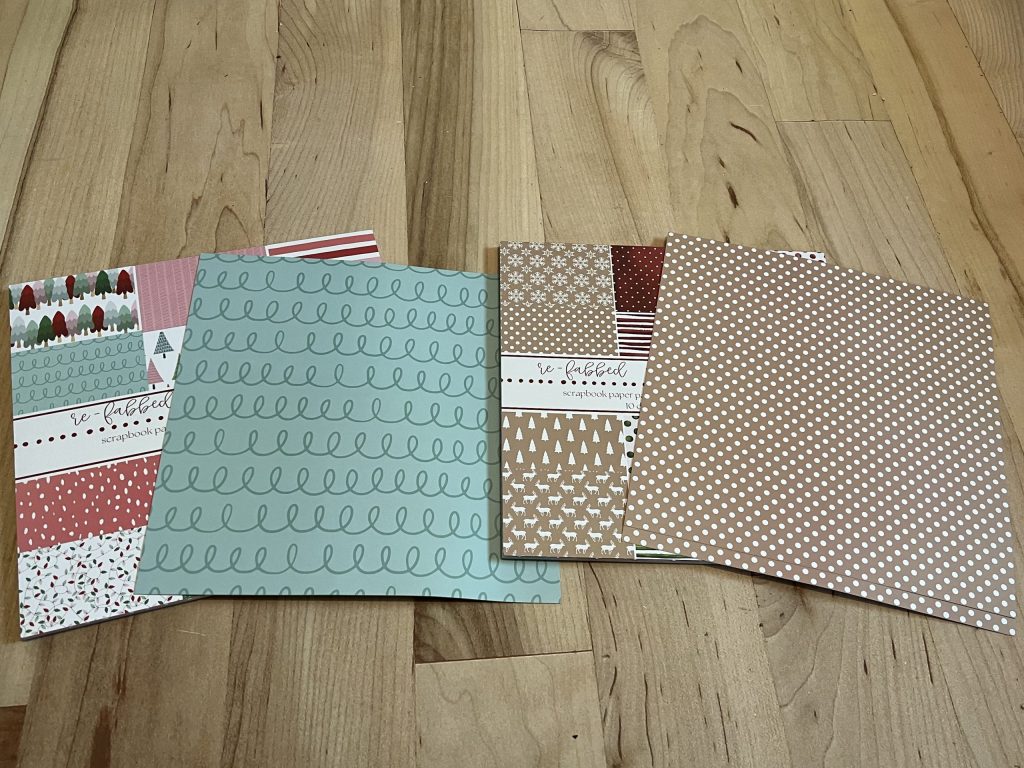
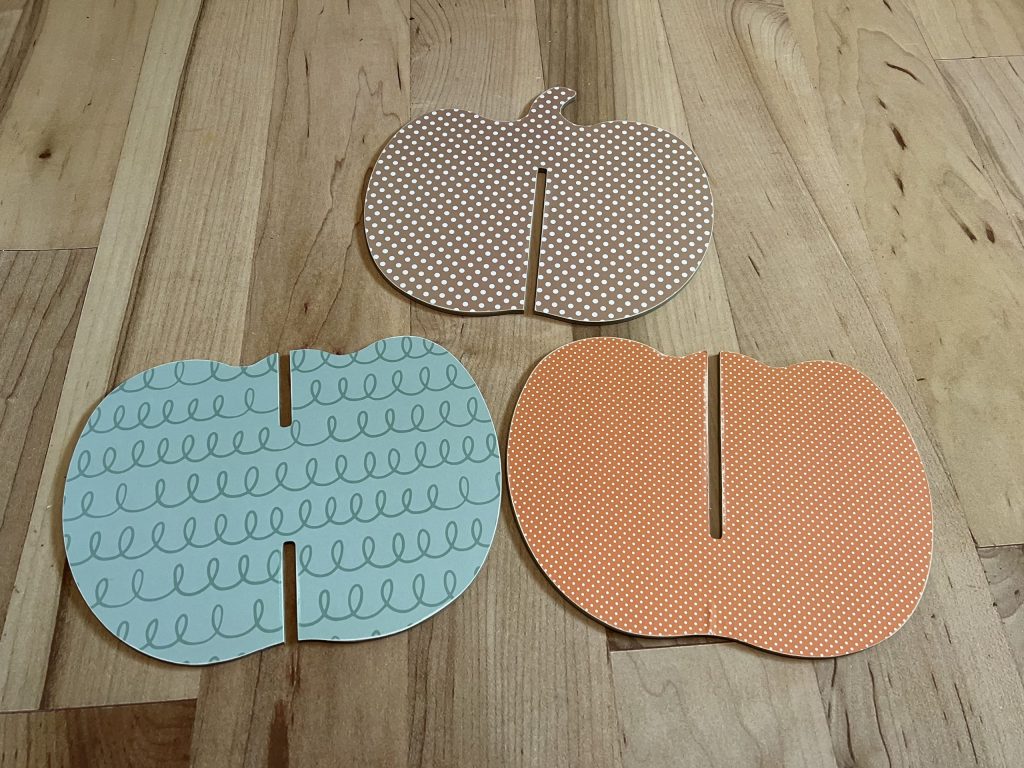
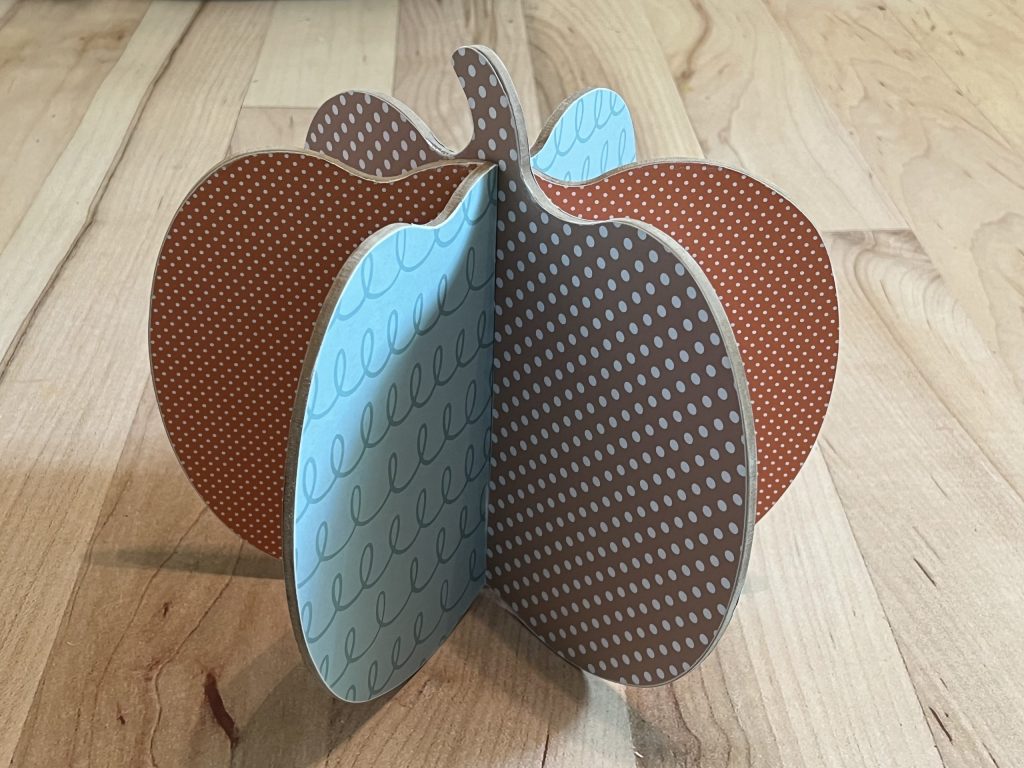
For this project, I used some of my Re-Fabbed winter collection scrapbook paper. There are several season neutral patterns, and I chose the teal swirls and brown and white polka dots for the pumpkin. You can find both collections here. For my third pattern, I chose an orange and white small polka dot print.
For the first step, I traced the pumpkin pieces on the back of the scrapbook papers. NOTE: The pumpkin pieces are NOT symmetrical, so you will need to flip the pumpkin over and trace BOTH sides. Do not just trace the same side twice. For each pumpkin piece, I traced the front and then the back on the same pattern of paper. For example, my teal swirl was on the front and back of one pumpkin piece.
After tracing all of my pieces, I cut out all six tracings.
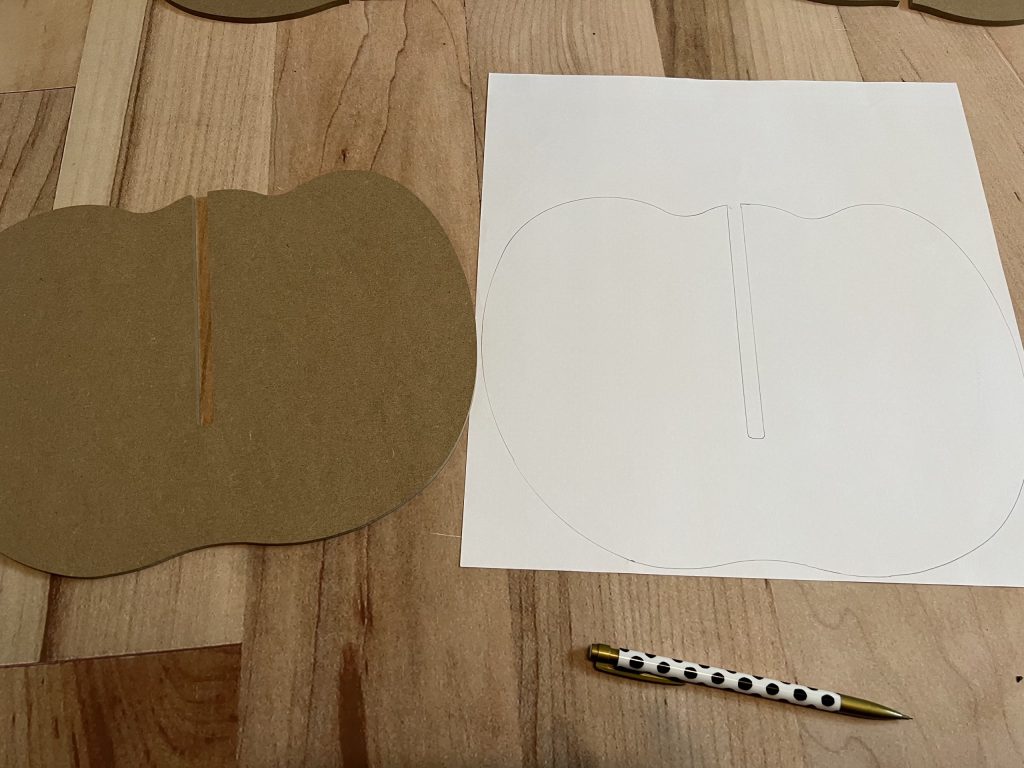
Next, I painted on the Mod Podge using my paintbrush, and then I pressed the papers onto the pumpkin pieces. I smoothed out the paper with my hand, making sure there were no bubbles or air pockets. Y’all, this scrapbook paper from my collection is so thick and perfect for using Mod Podge. I didn’t struggle at all with wrinkling or air bubbles. It laid so nicely!
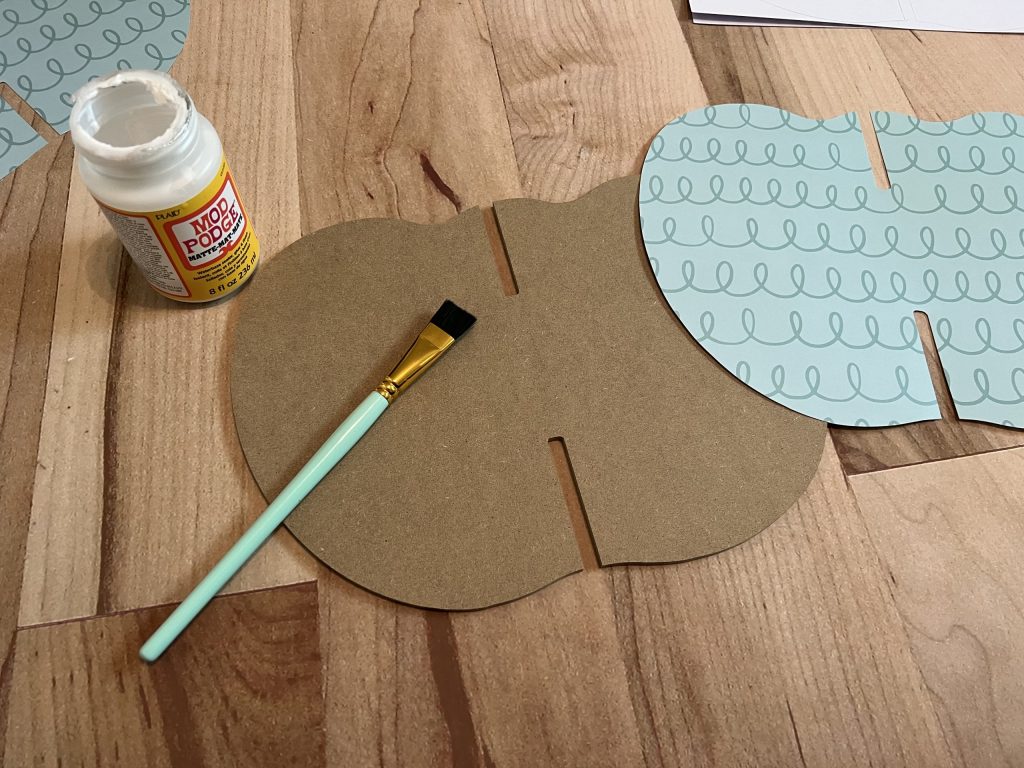
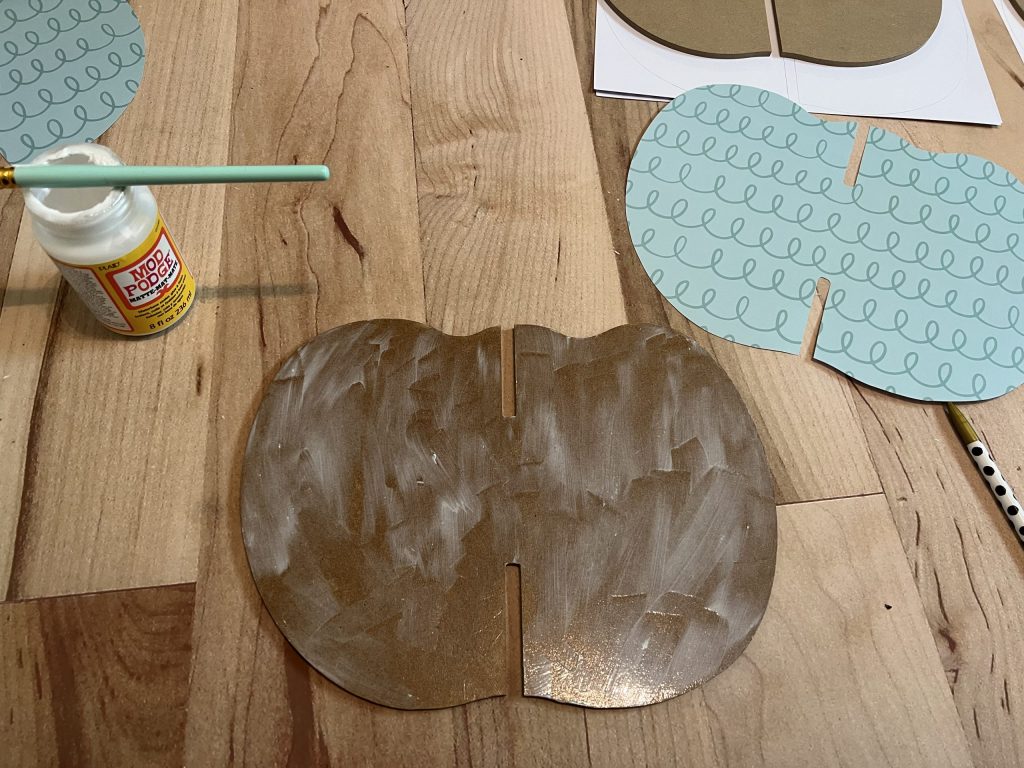
After the Mod Podge dried, I noticed the paper slightly overlapped the edges. I planned to sand down the edges, so this issue would be resolved in that process.
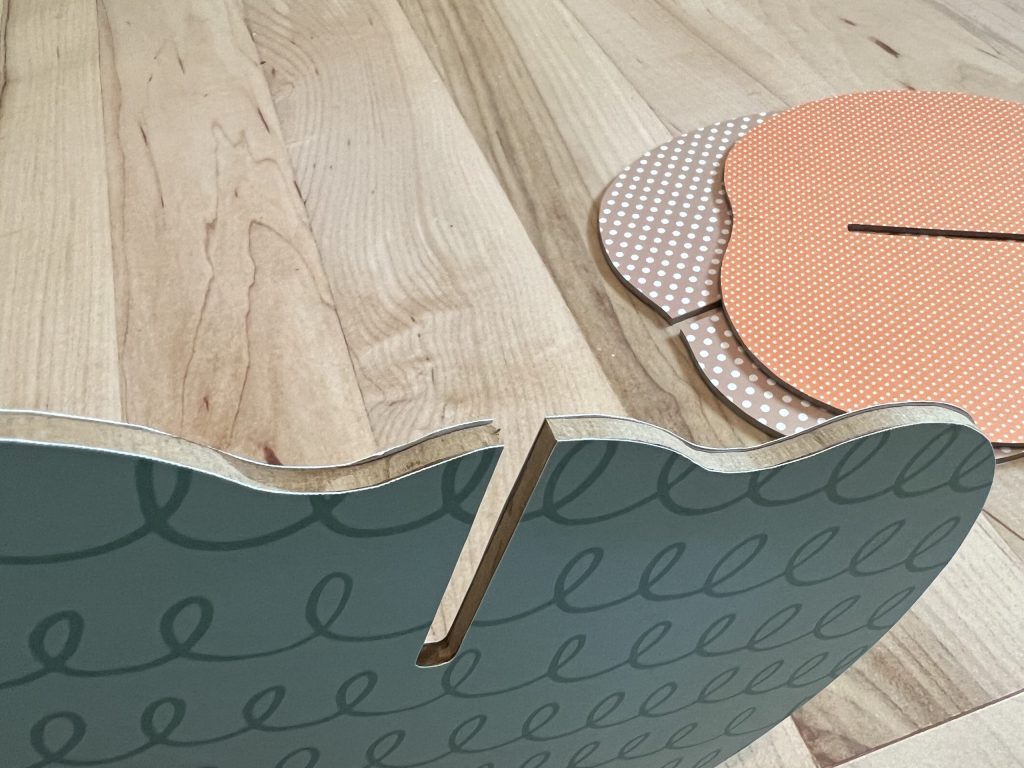
Using a low grit sanding block, I sanded down all the edges, creating a smooth and seamless surface. This step really gives a nice finished look!
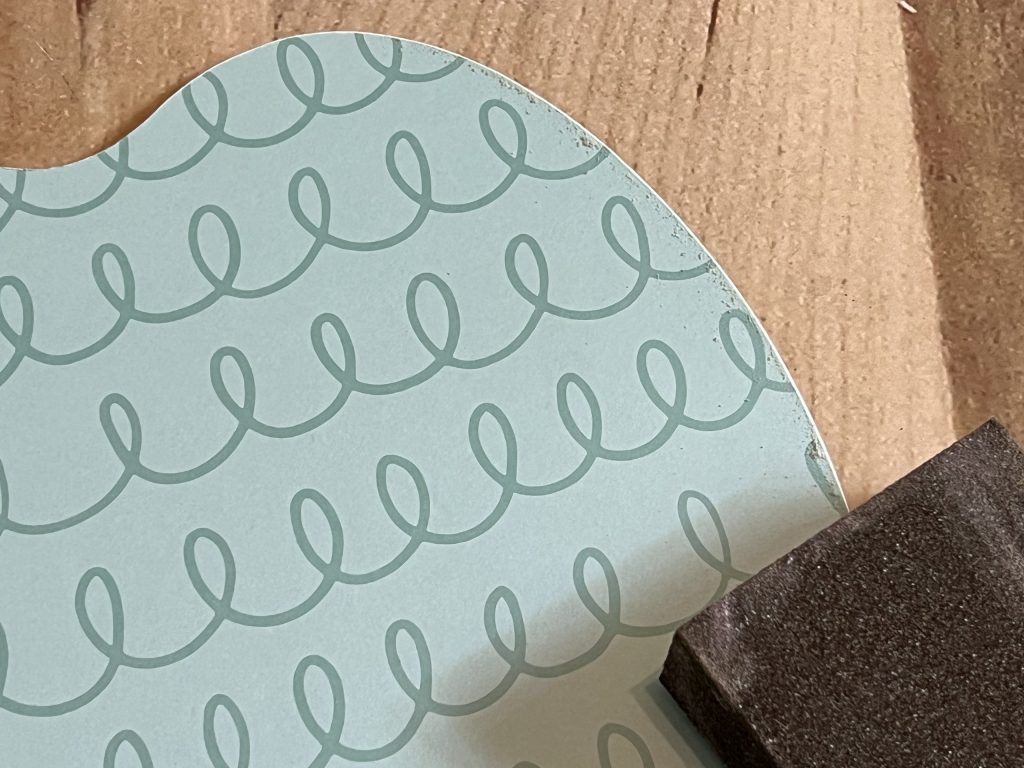
In the photo below, you can see where the right side has been sanded, and the left side hasn’t. The right side has that slightly distressed look that I was going for!
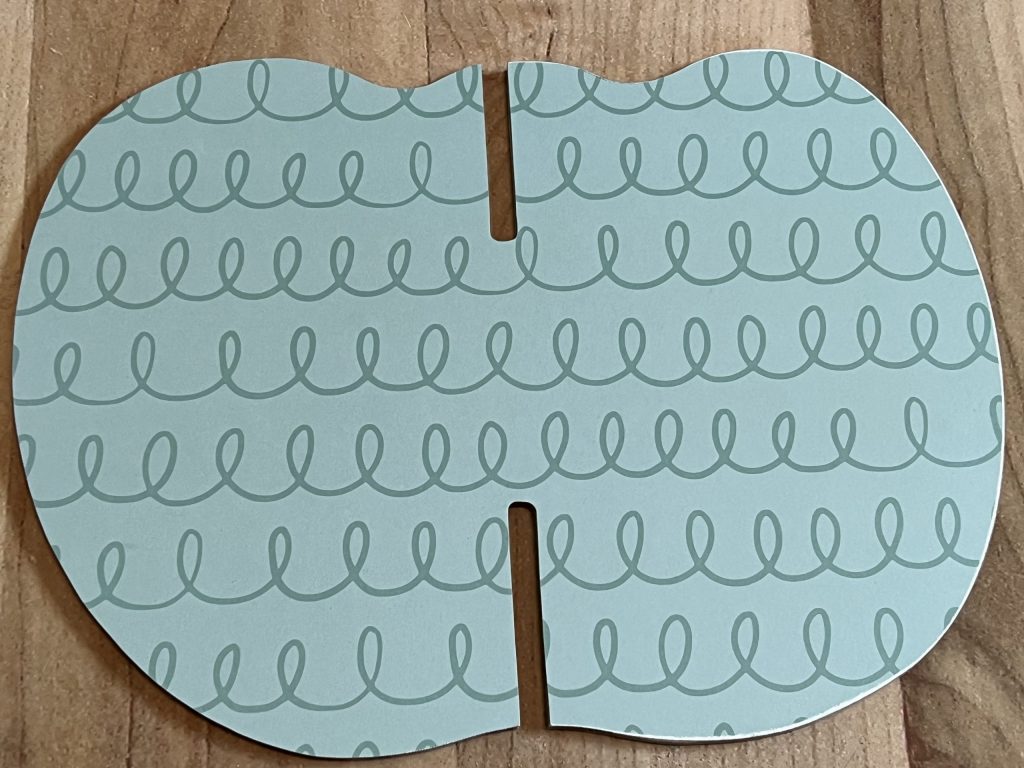
After sanding all the edges, it was time to assemble the pumpkin! I first crossed the teal and orange pieces, then I pushed down the brown and white polka dot piece through the center of the two.
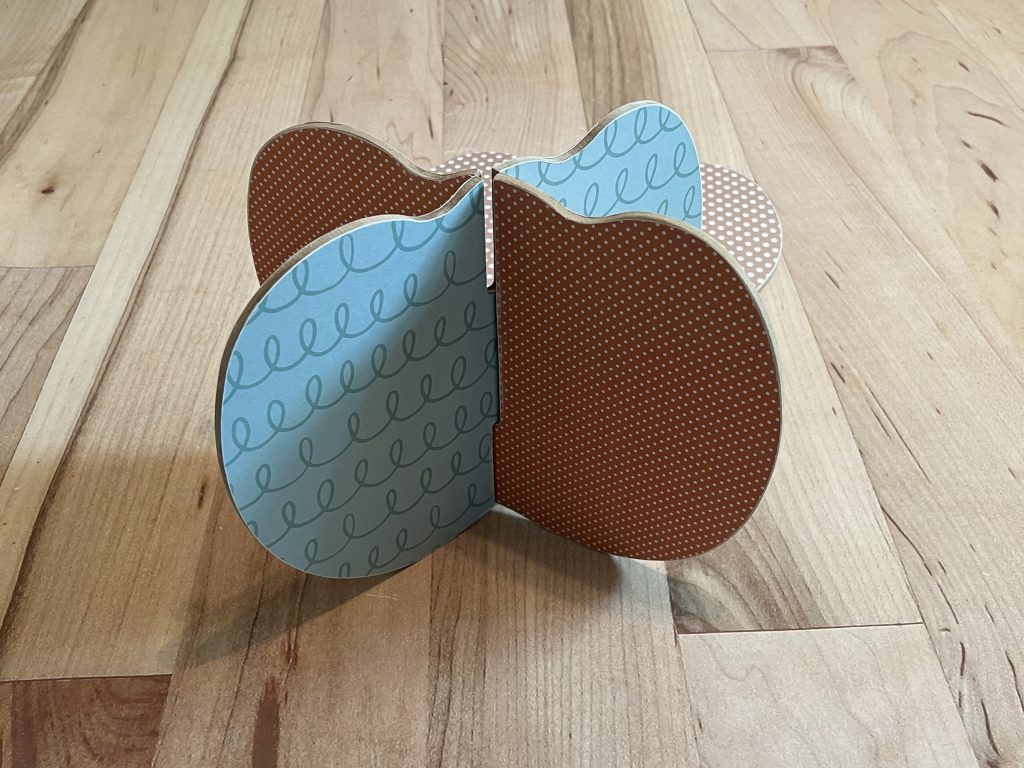
How adorable is this pumpkin?!!! Y’all know I don’t decorate much with orange, but I have to admit, this color combination is perfection!
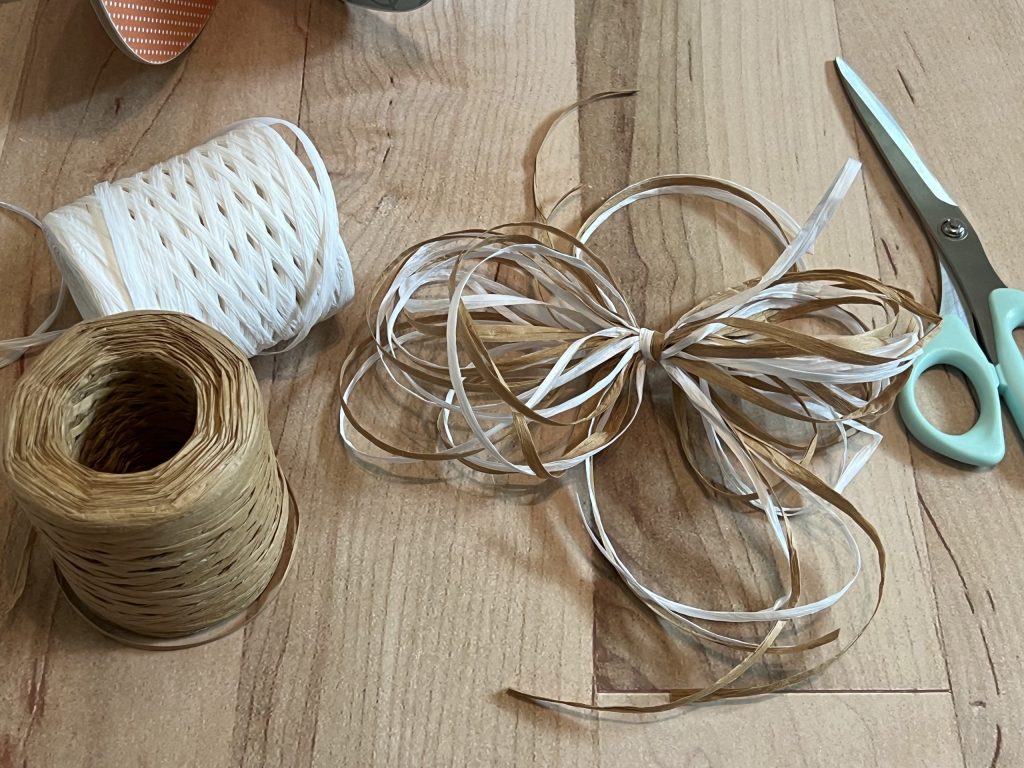
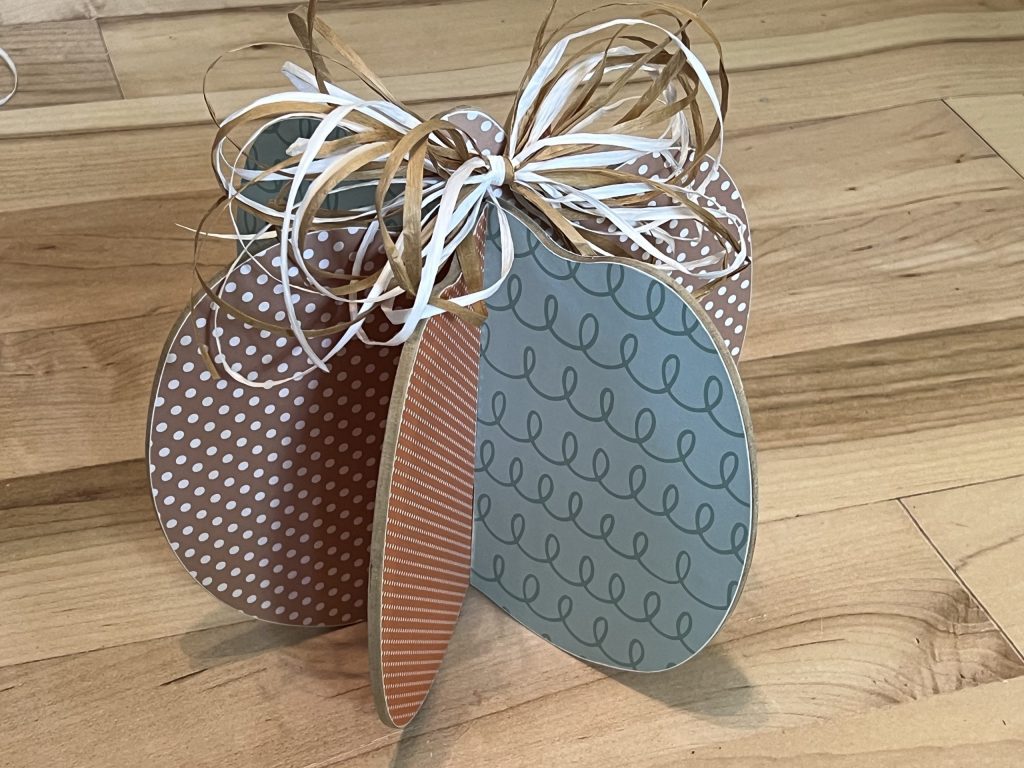
Now all it needed was the finishing touch…a raffia bow! From my Re-Fabbed raffia collection, I chose the white and brown to create the bow. Making a raffia bow is super simple! Pinching in the middle, I just made loops on each side, kind of working in a figure eight motion. Once the size was to my liking, I cut a piece of raffia and tied it around the center. I worked with it, shaping it how I wanted, and then I tied it onto the stem of the pumpkin.
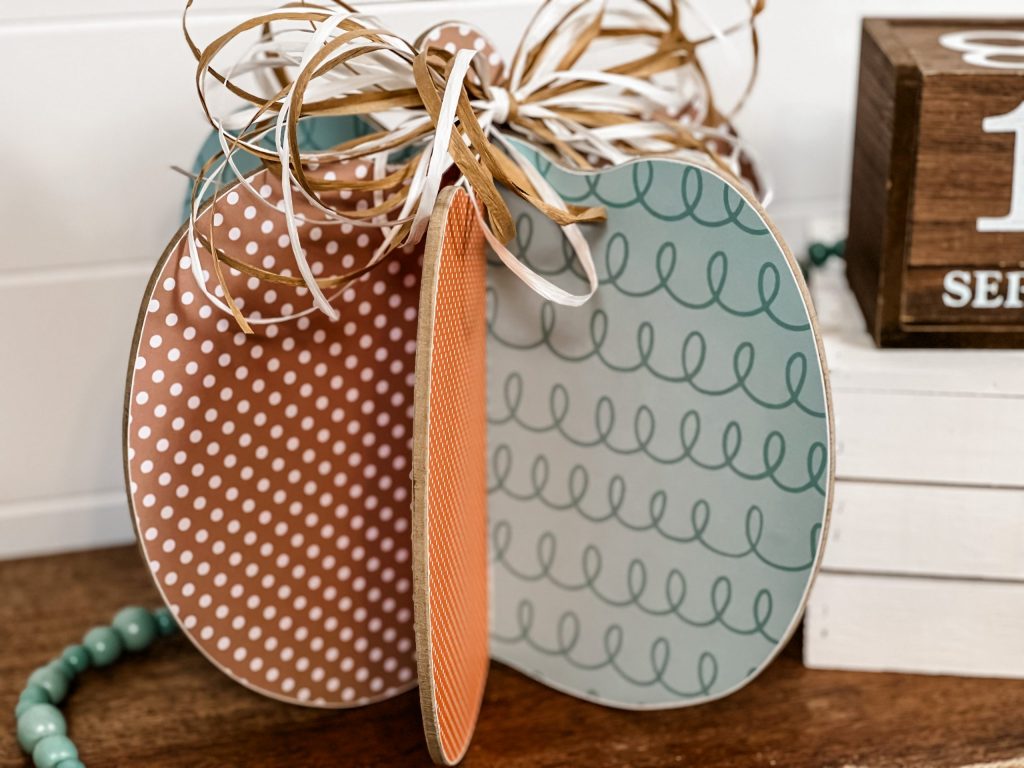
I am so impressed with this pumpkin! You would never guess that it came from the DOLLAR TREE!! After decorating it just a bit, it looks like a piece sold in a boutique! This is going to be an adorable addition to my fall decor!
Have you seen these pumpkins yet? I would love to see how YOU customized it to make it your own! Fall crafting is SO fun!
Last Updated on September 19, 2023


It looks amazing!!!
So cute, haven’t seen them in my store so far.
OMG!! This is so adorable.
Brooke, I love this pumpkin. It is so cute. Also I love you raffia that I got of yours. I have used it hundreds of times💕Keeo doing what you are doing . It never gets old!🤗
so cute!
Oh I love this! I am running to my store to get one! I have 2 3D Christmas trees that I painted but was disappointed in how it turned out. I’ve been trying to come up with ideas, and I love this! I recently bought a few packages of scrapbook paper so I’m excited to try this!!