Every season, Dollar Tree carries tons of colorful garden stakes. Of course, you can toss these stakes into large outdoor planters or around your flower beds, but sometimes they can make the best stems for a vase INSIDE your home! I am going to show you how I created inexpensive fall decor using garden stakes from Dollar Tree! Now, these corn stakes were VERY bright…and shiny…and glittery! But don’t worry, because they didn’t stay that way for long!
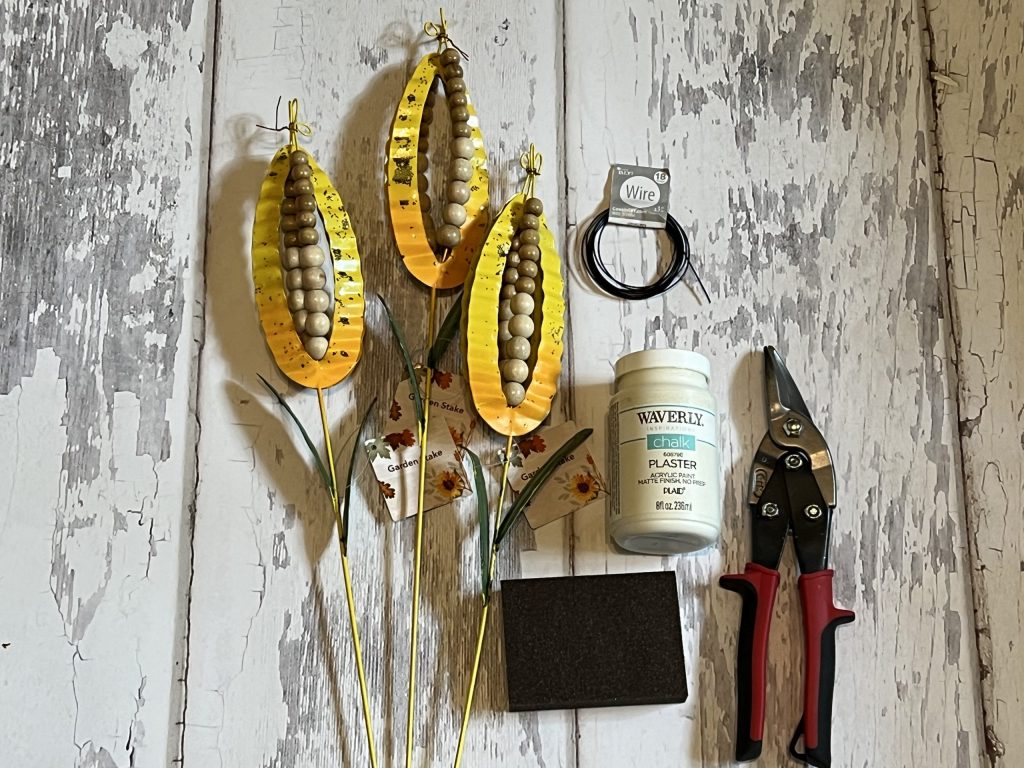
For this project, I used the following supplies:
- (3) Corn garden stakes – Dollar Tree
- Waverly chalk paint in Plaster
- Small paintbrush
- Wire cutters
- Floral wire
- Twine
- Scissors
What first attracted me to these garden stakes were the beads! Look at the cute wooden beads! I thought these had so much potential! What I didn’t like was the glitter, and that glitter was plastered on! I tried to use a sanding block to remove some of it, but did not have much success. I decided to try and paint over the glitter, and it worked just fine!
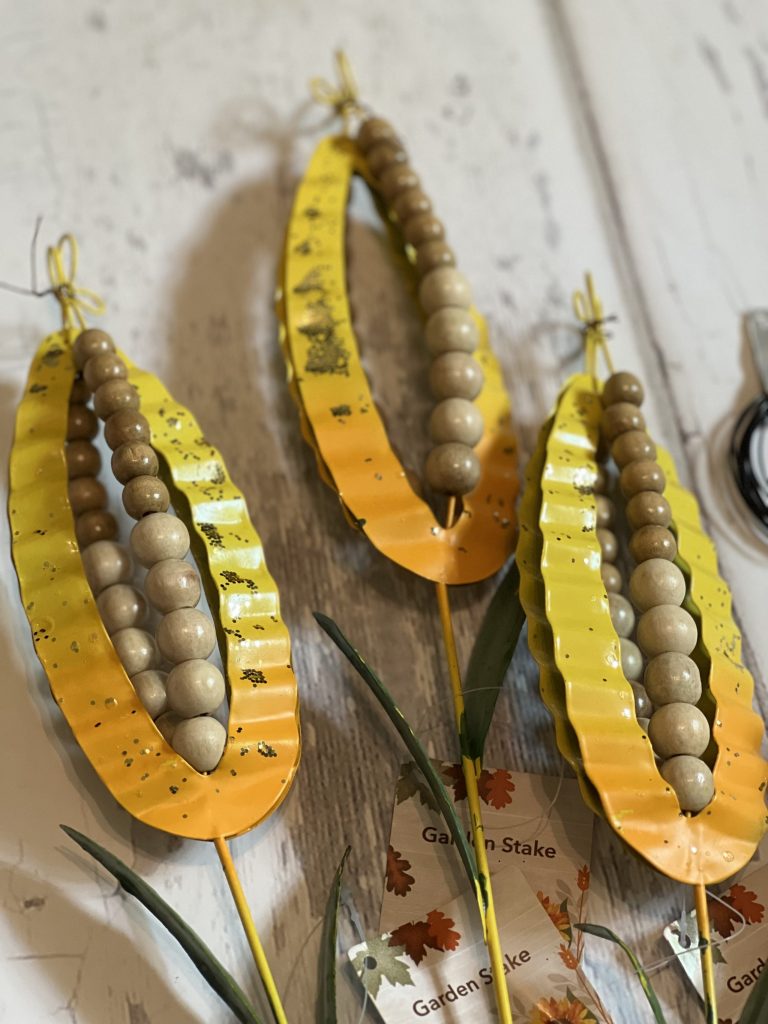
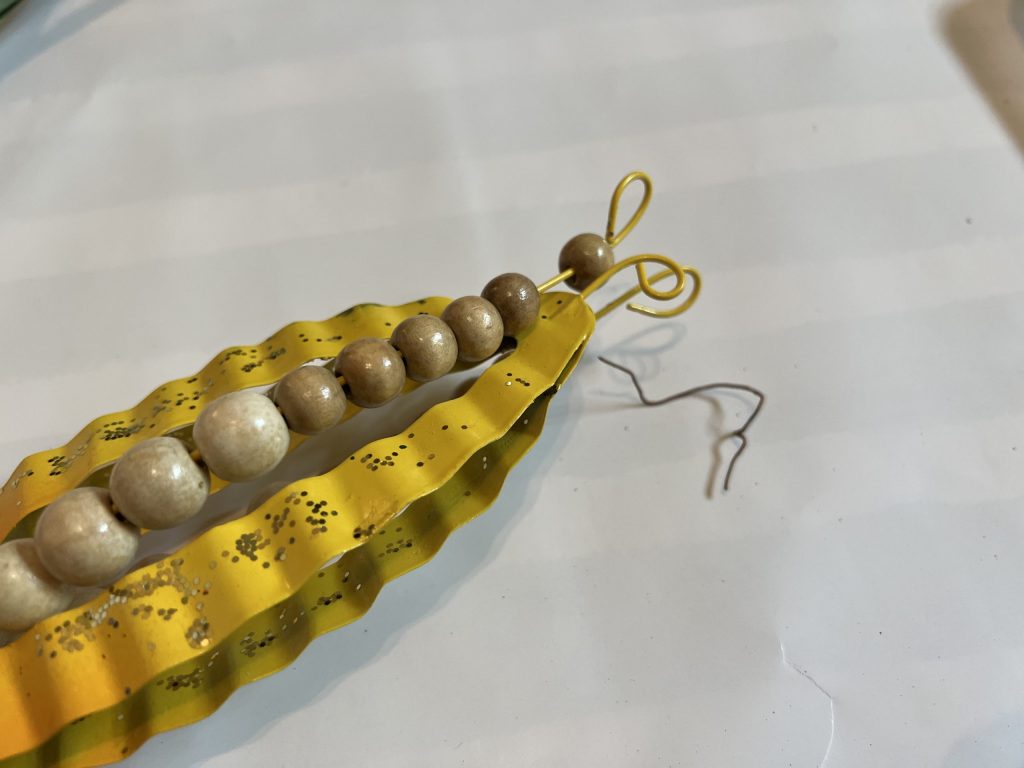
First, I removed the wire piece at the very top of the corn stalk. It was holding all of the pieces together. Once removed, I could pull down the two bead sections away from the yellow metal pieces.
Then, I painted the yellow corn and green leaves with the chalk paint. It’s important to have a smaller paintbrush for this step, because it makes it much easier to paint inside the corn sections.
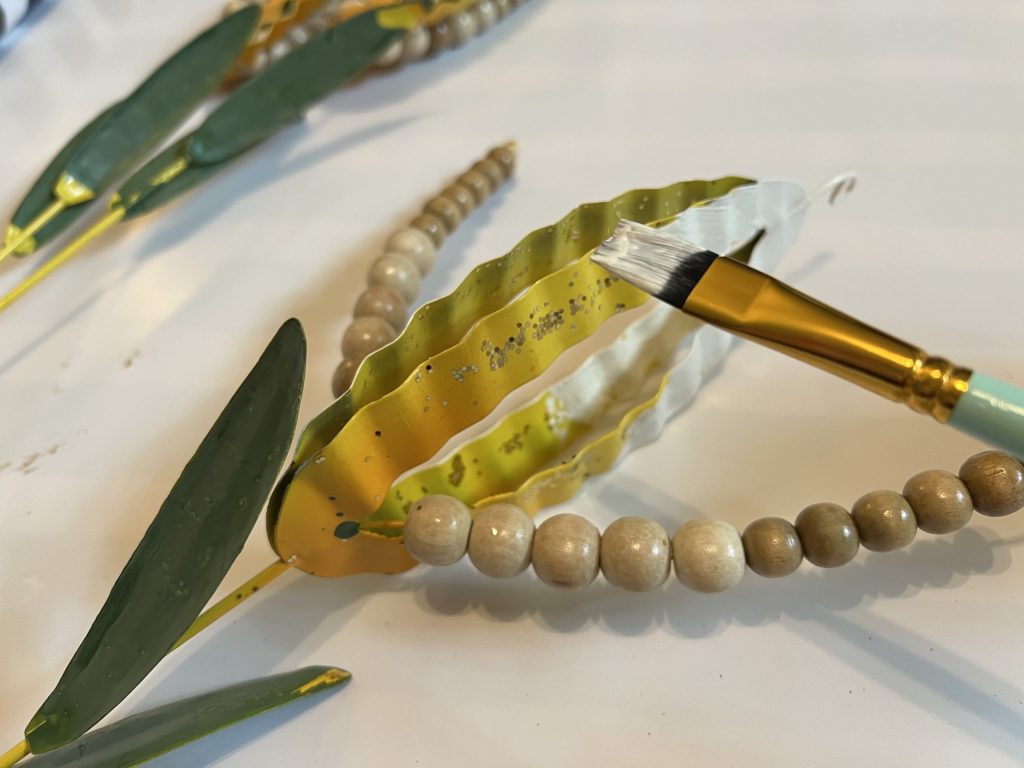
Surprisingly, it only took one coat of paint to cover the previously painted sections. I went ahead and painted the stems as well.
I allowed them all to dry completely before wiring them back together. It did not take long for the chalk paint to dry on the metal.
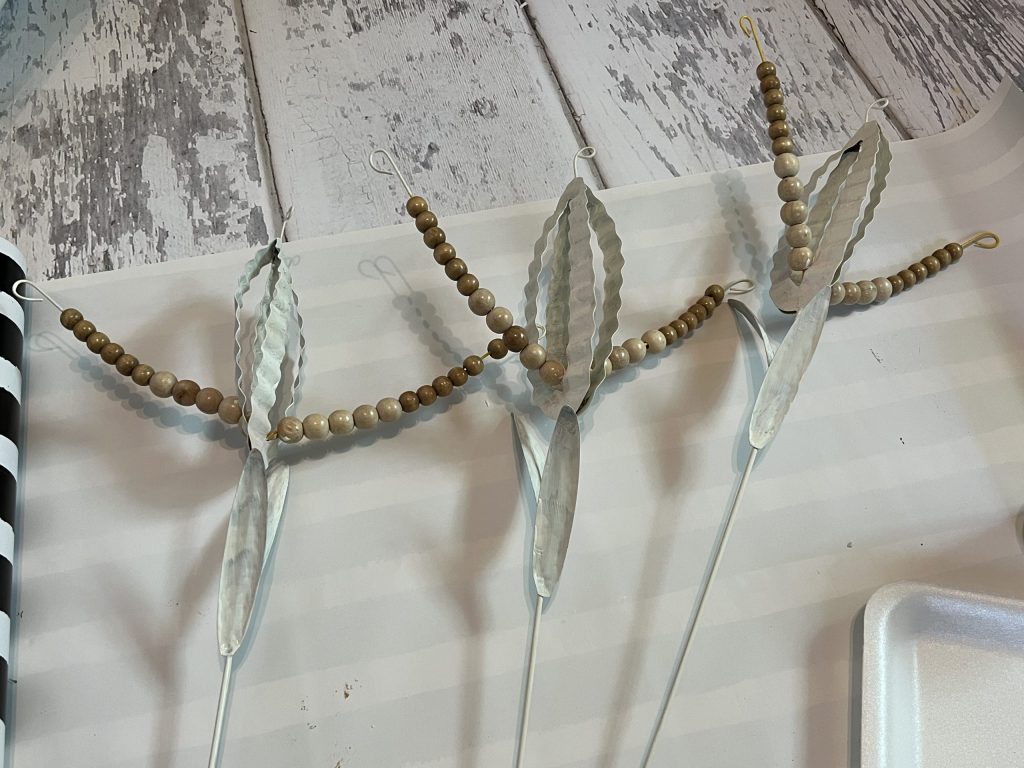
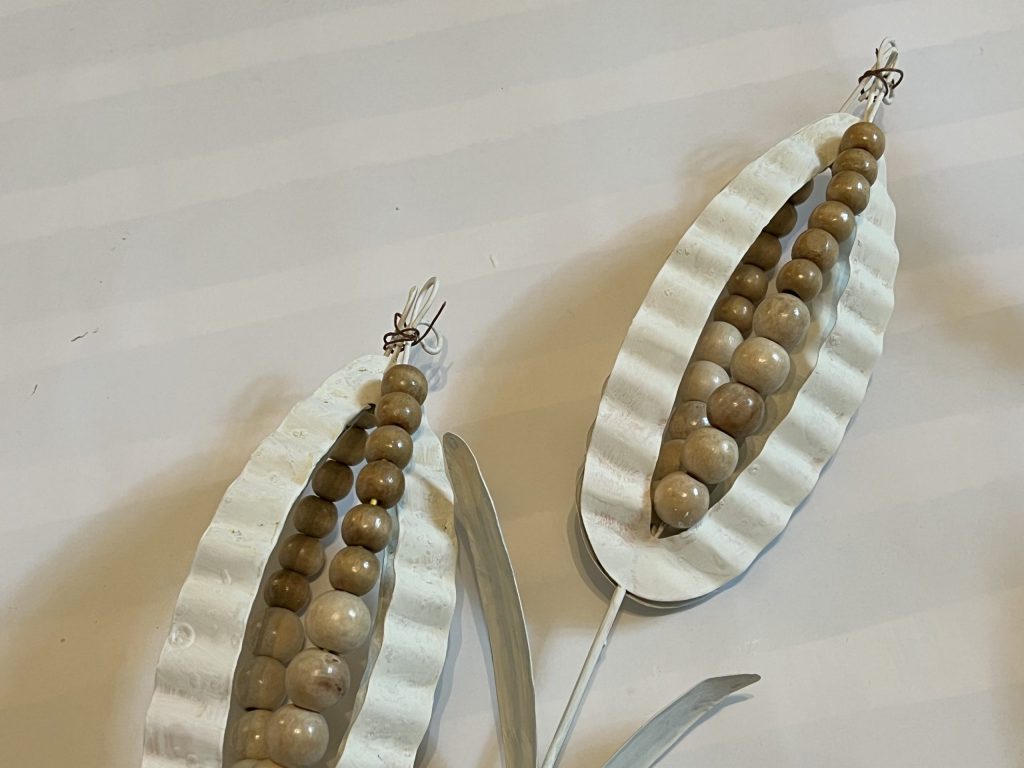
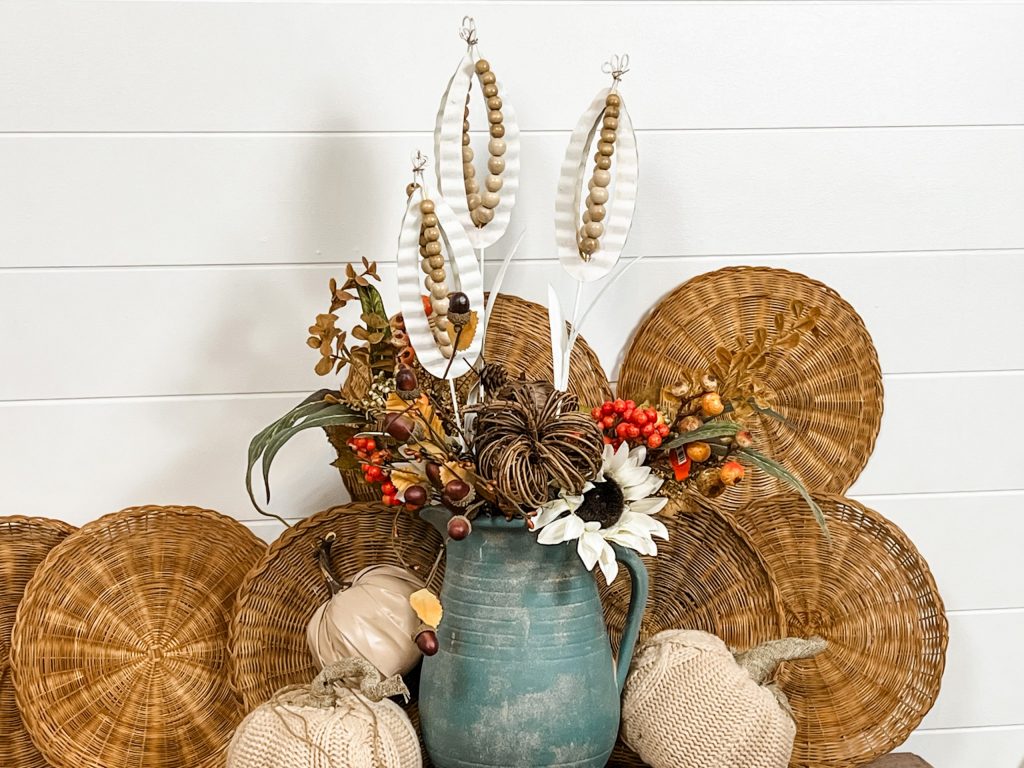
Next, I pushed the bead sections back in and tied them together with the wire. How amazing does this white look with the natural beads?!
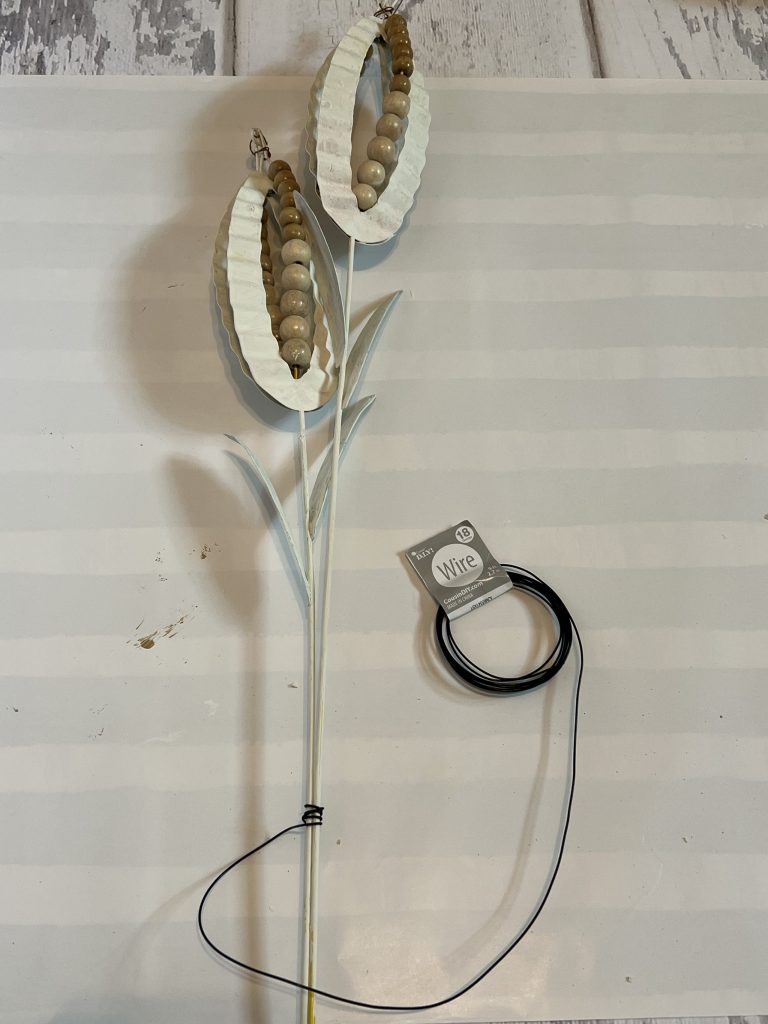
This next step is totally optional. I wanted to tie two of them together to appear more like a cornstalk, but in the end, it may have just been just as easy to leave them separate and just cut the stems different lengths.
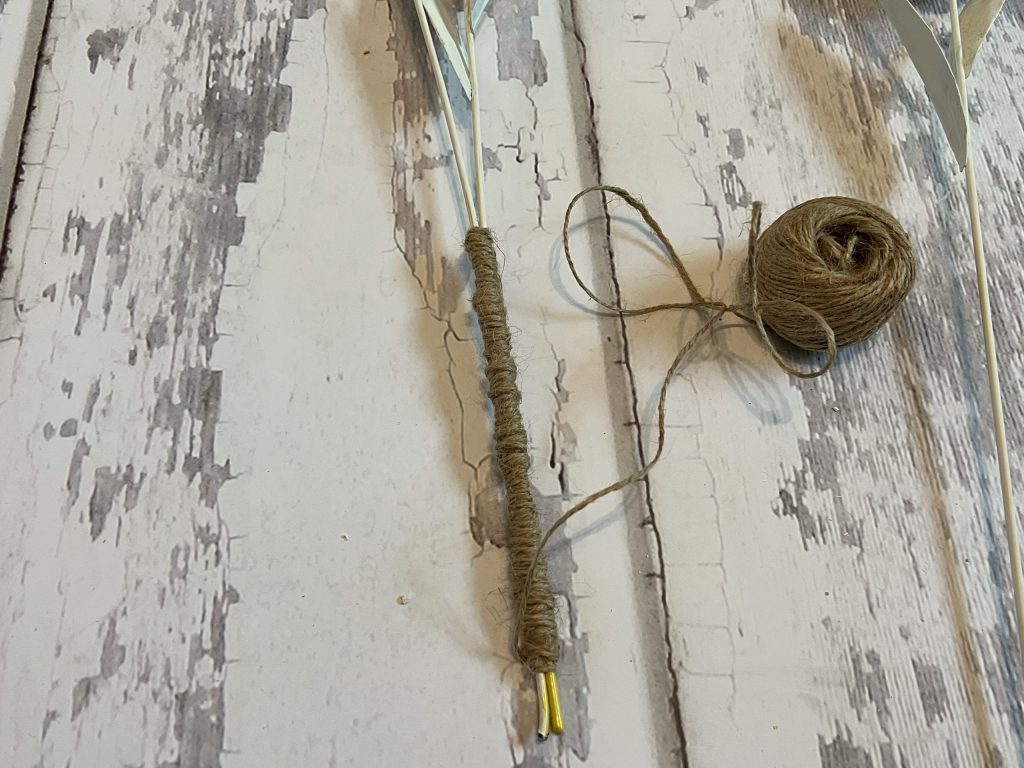
I staggered the corn just a bit, and then I wired the stems together using basic crafting wire.
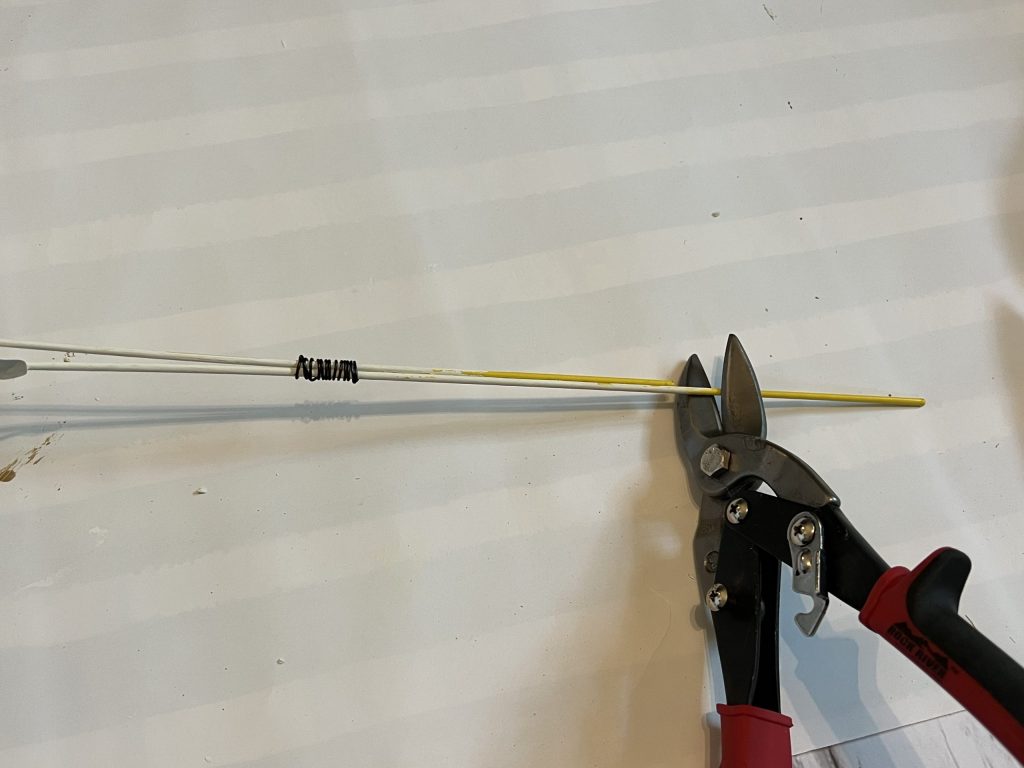
Then, I cut the longer stem so they would be equal. After cutting the stems, I wrapped them with twine to give them a more finished look.
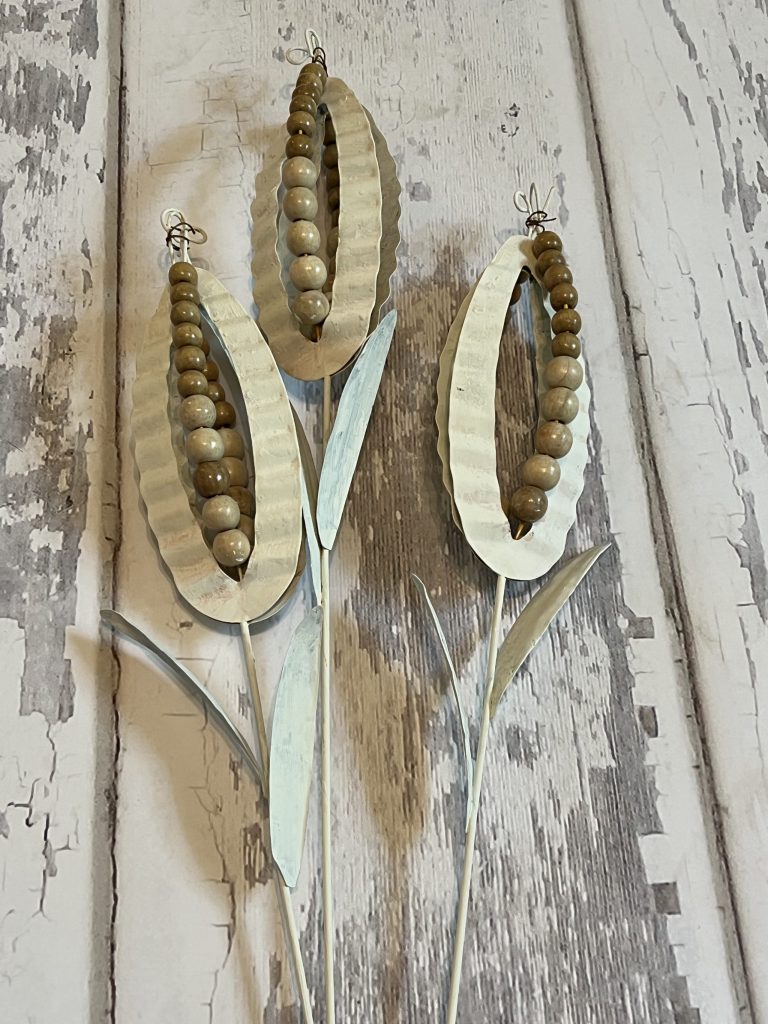
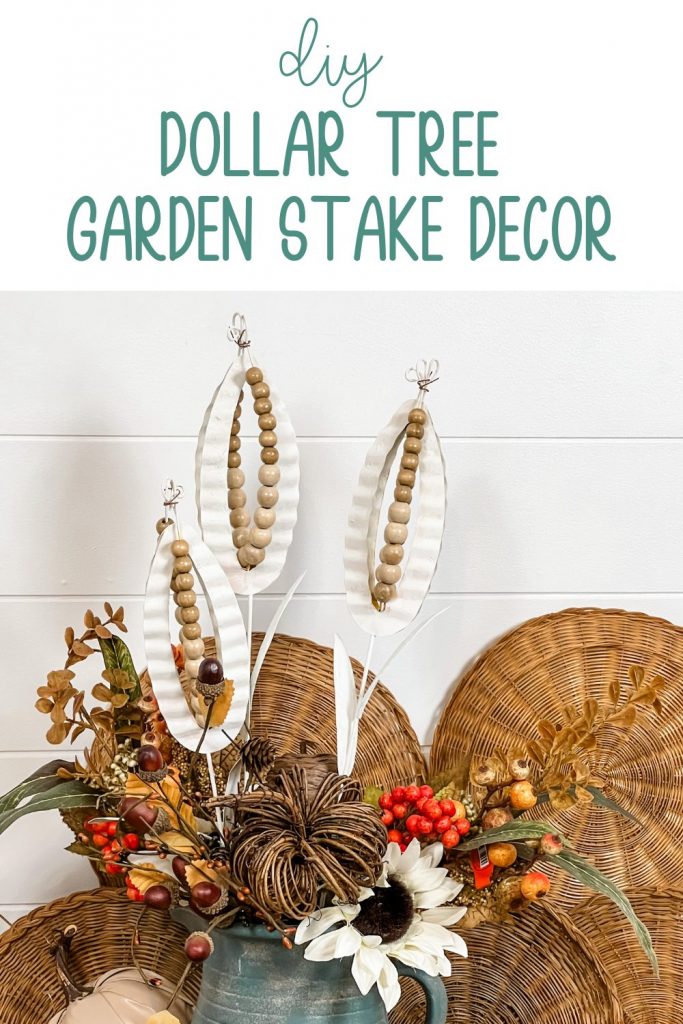
I LOVE the finished product! The white paint really helps the wooden beads pop! Before, they were kind of lost in the bright colors.
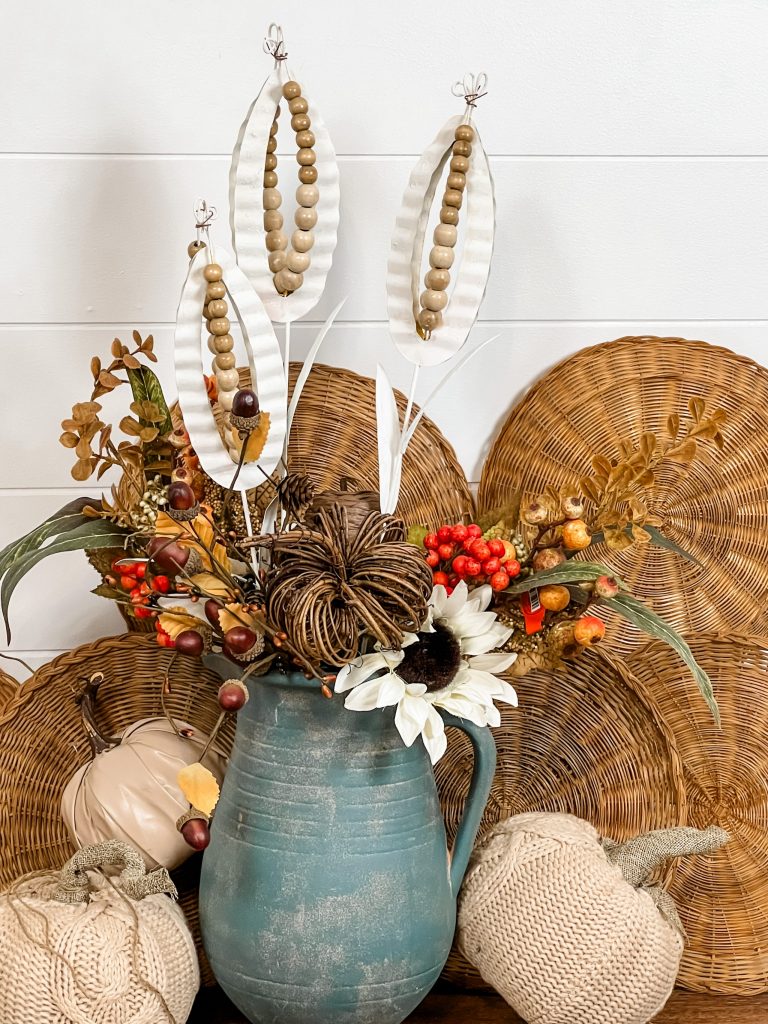
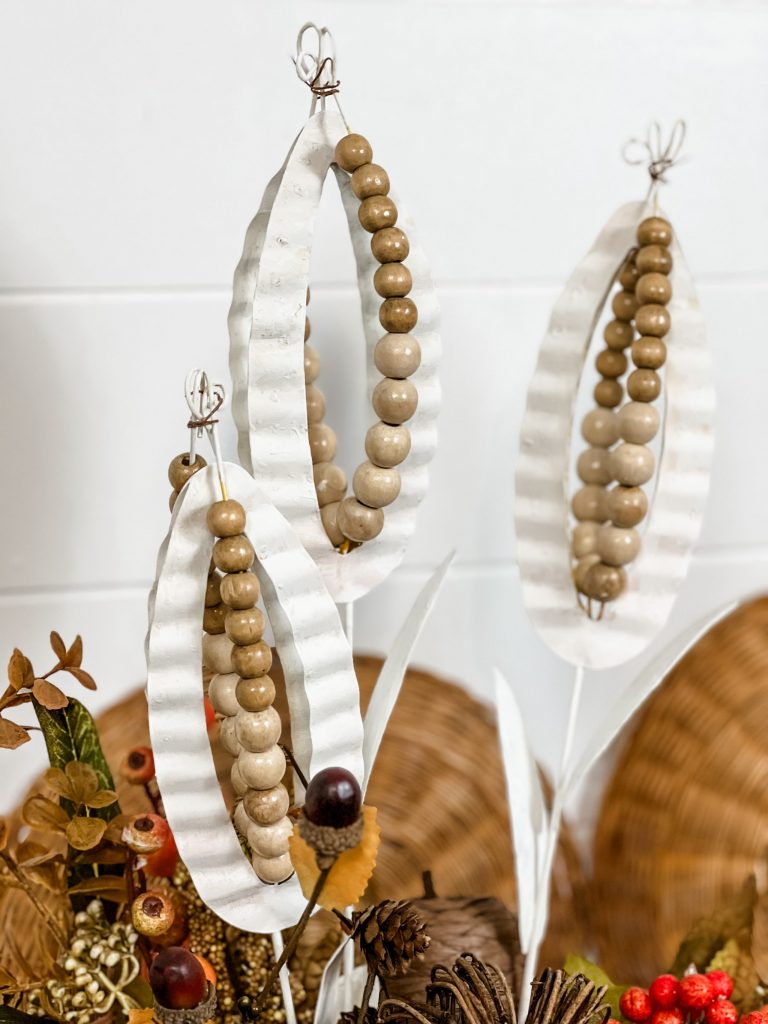
For the size, they look so much more expensive than just a little over $1!!! These will look incredible added into a fall floral arrangement! Who knew a little paint could make such an impact! What color would YOU paint them?
Pin for Later!!
Last Updated on September 4, 2023


Absolutely love watching your DIY videos. Brand new to your channel but already in love with your Country charm. Praying your surgery goes well.
They look great with the white. I’m into copper this year so maybe that, but it probably wouldn’t work as well as the white.
I love how this turned out!