Out with the dark and in with the light…at least that’s what’s trending today with furniture! It seems like the trend of bleaching furniture is all over social media, and I finally bit the bullet and decided to give it a go! Let me tell you…I did some things right, but I also would probably tackle this differently in the future. Regardless, I wanted to go ahead and share with you what I did and how it turned out.
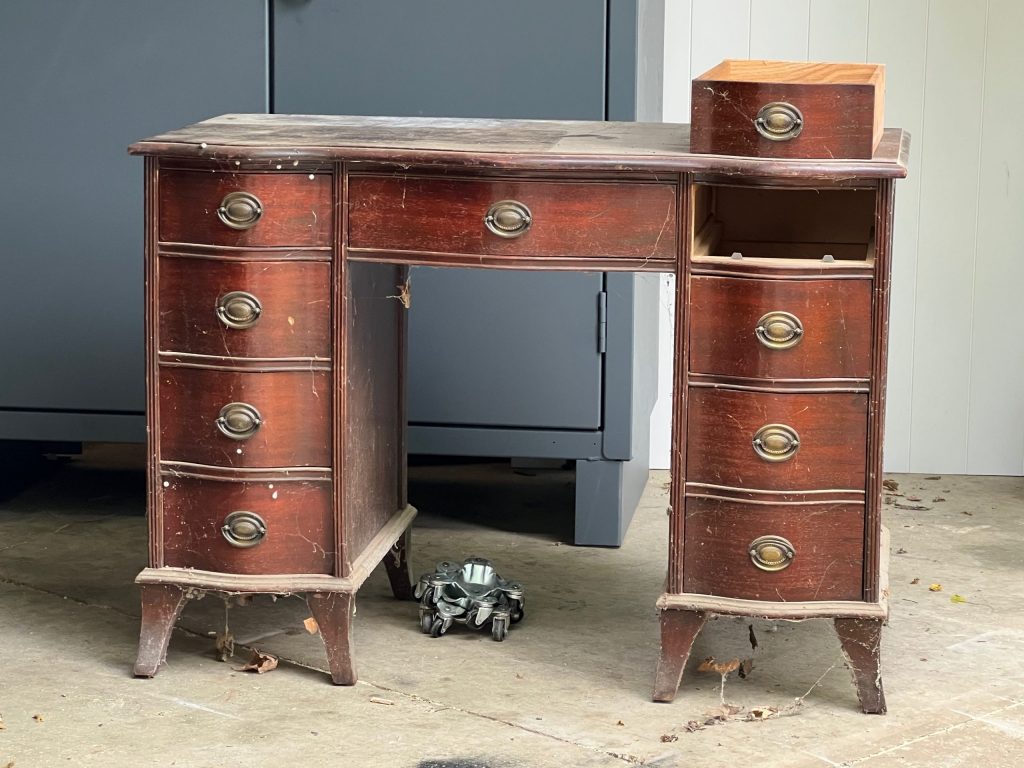
Someone offered me this desk for FREE, and although it was filthy, it was FREE! I can handle a little dirt when it comes to a project! This desk was absolutely adorable and had the “bones” to become something beautiful! It definitely took some work, so grab a cup of coffee and join me for this transformation!
For this project, I used the following supplies:
- Free desk
- Screwdriver to remove drawer hardware
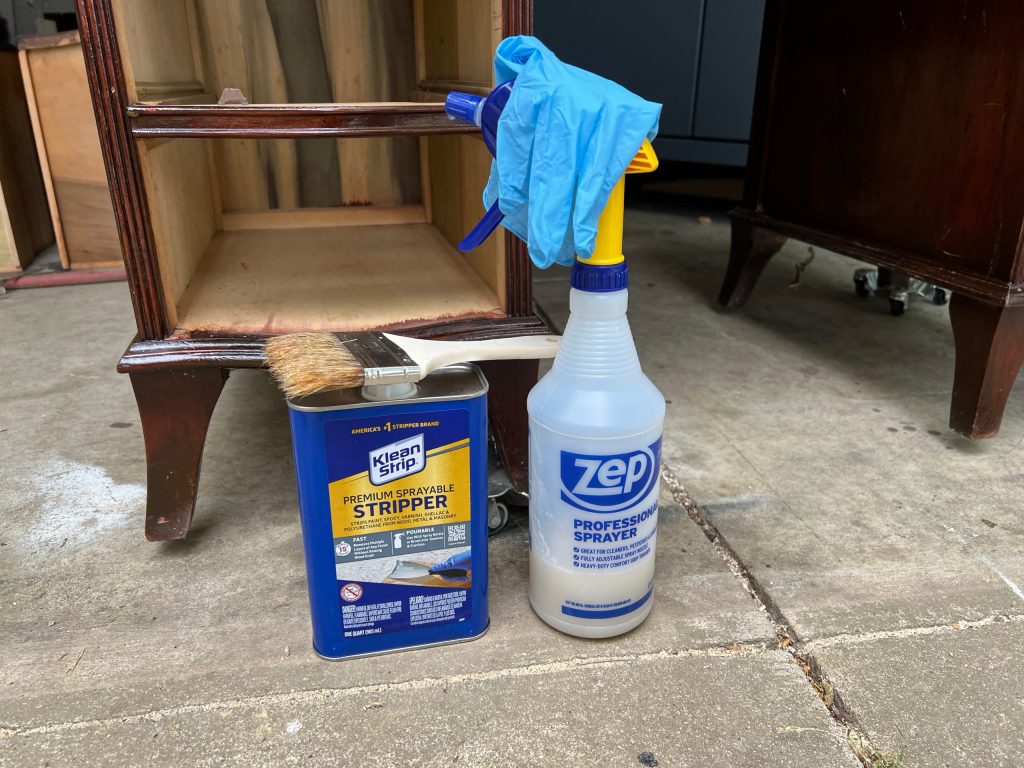
- Klean Strip Premium Sprayable Stripper – purchased at Walmart
- Zep Professional Sprayer – Walmart
- Chip paintbrush or other old brush
- Plastic scraper
- Rubber gloves
- Mineral spirits
- Old washcloth or rag
- Orbital sander with 180 grit sandpaper
- Household bleach
- Old paintbrush for bleach
- Small container for bleach
- Top coat – I used Minwax Polycrylic clear matte topcoat
- Baking soda
- Toothbrush
- Tongs
- Bar Keepers Friend
This desk had been stored in an outdoor building, so it had seen better days! The first step was to clean it up and wipe down all surfaces to see what I was working with. Upon inspection, I realized the drawer fronts were wood veneer. I was a little bummed about this, because I really had my mind set on bleaching the desk. From what I had read, bleaching veneer was not recommended, but I decided to go ahead with my original plan anyway.
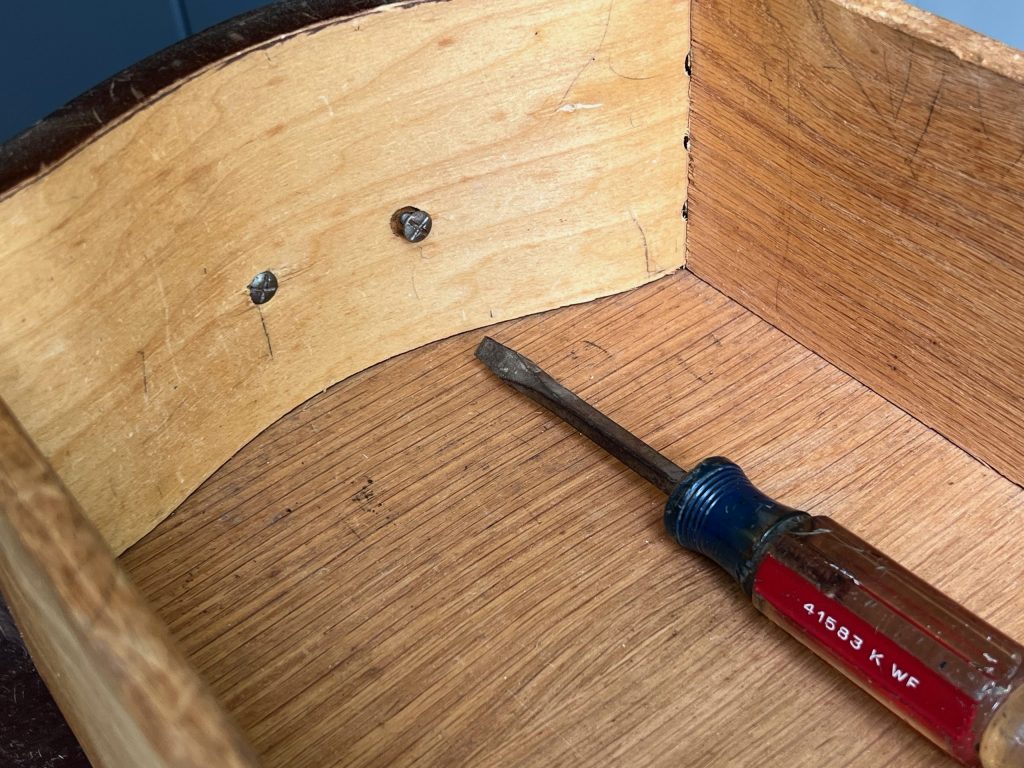
After cleaning the desk, I carefully removed the drawer pulls and set them aside for cleaning.
Next, I was ready to apply the furniture stripper to remove the varnish and stain. For this step, you will need to be in a well ventilated area and wear rubber gloves. I chose to pour the stripper into a chemical safe spray bottle and then use a brush to spread a layer of stripper onto the desk surfaces.
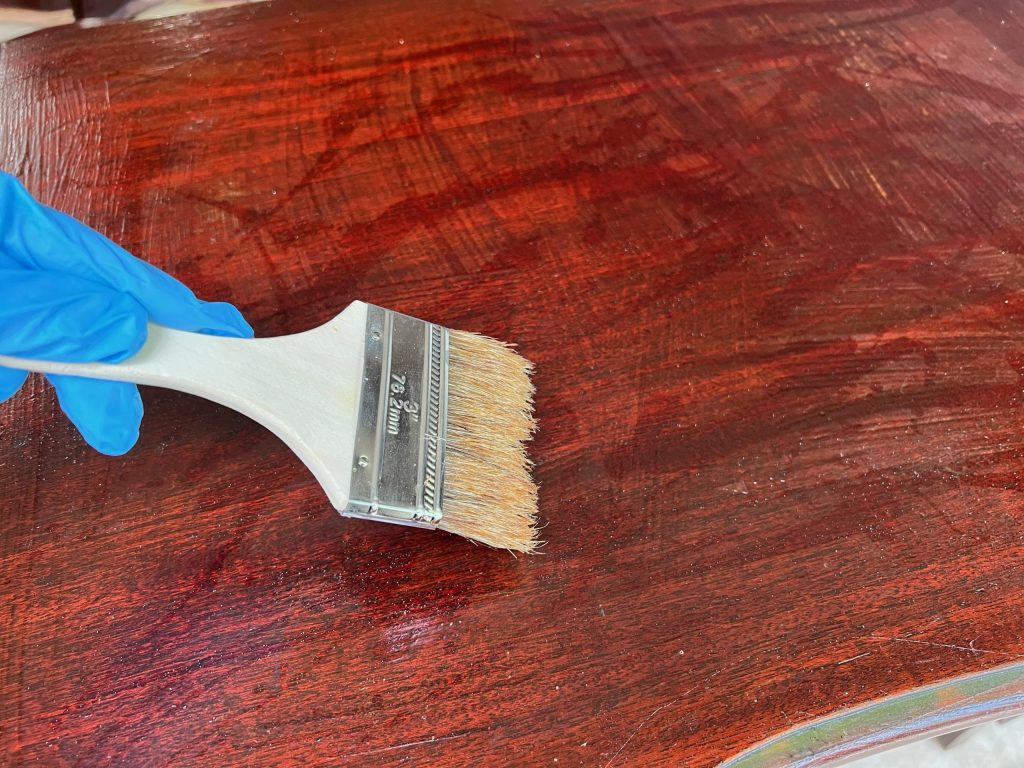
After allowing the stripper to set for a few minutes, I used a plastic scraper tool to remove the varnish. This step was SO MESSY! The varnish came off in gooey, sticky globs.
TIP: Apply stripper and remove finish in small sections. I first applied it to several sections, and the stripper had completely dried before I was able to remove it. I had to repeat the process, so it’s best to just work with one section at a time.
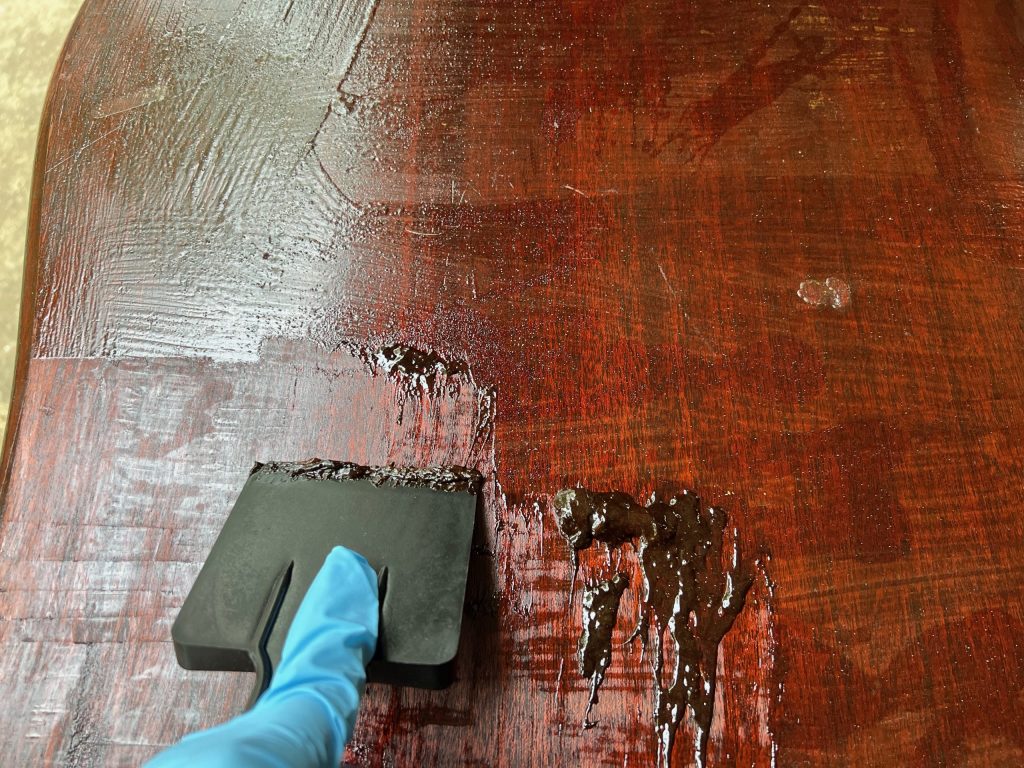
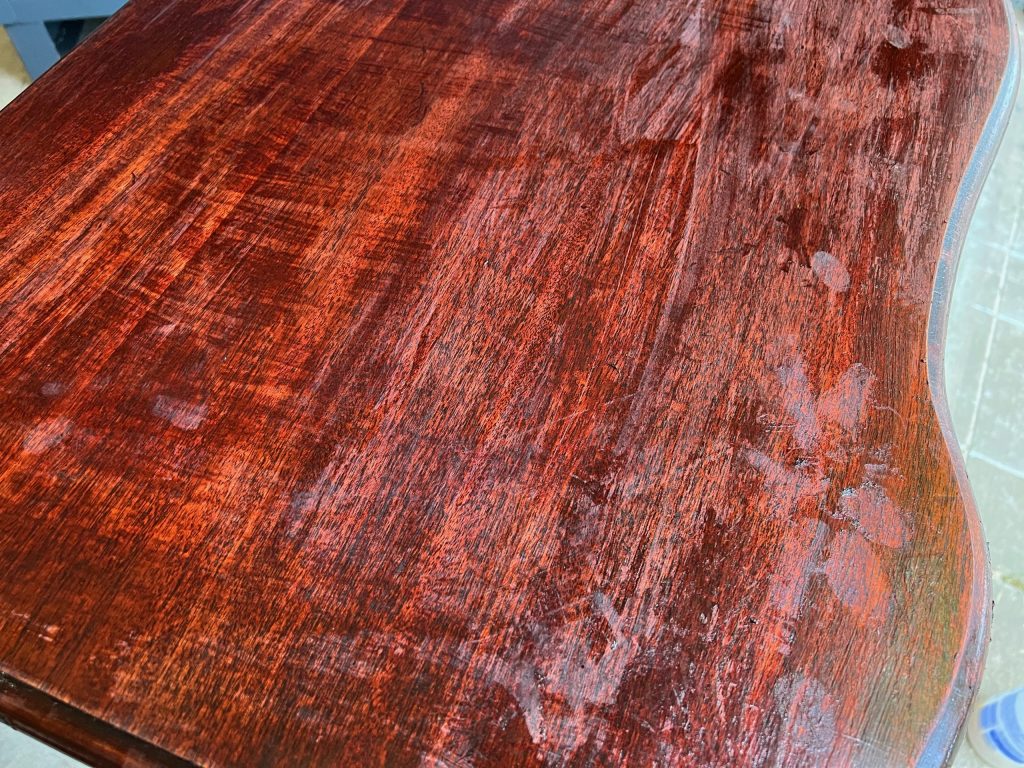
Once I had removed as much stripper as possible, I used an old rag and mineral spirits to remove the remaining residue.
Once the mineral spirits had dried and the surface was clean, it was time to sand!
As you can see below, the wood was still VERY red after the stripping process. This was a little disappointing, because I was hoping it would have lightened more.
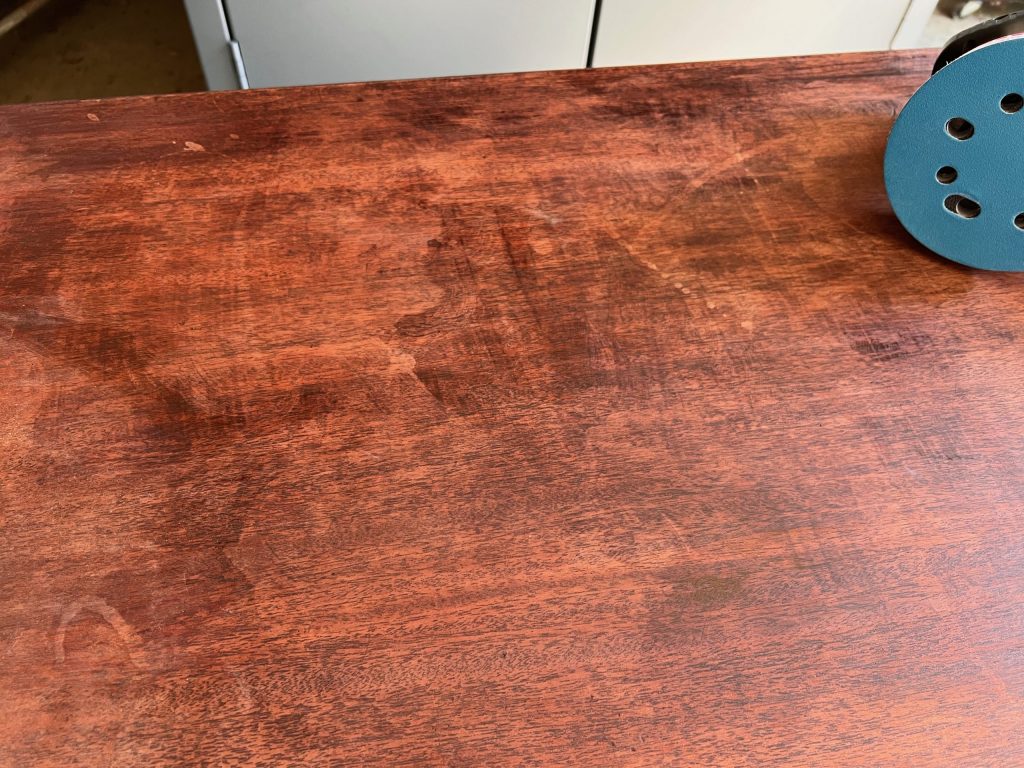
I used a small orbital sander to sand the top, sides and drawer fronts. I used sandpaper/sanding block for the curved edges.
Sanding it helped remove the remaining stain and revealed a lighter wood.
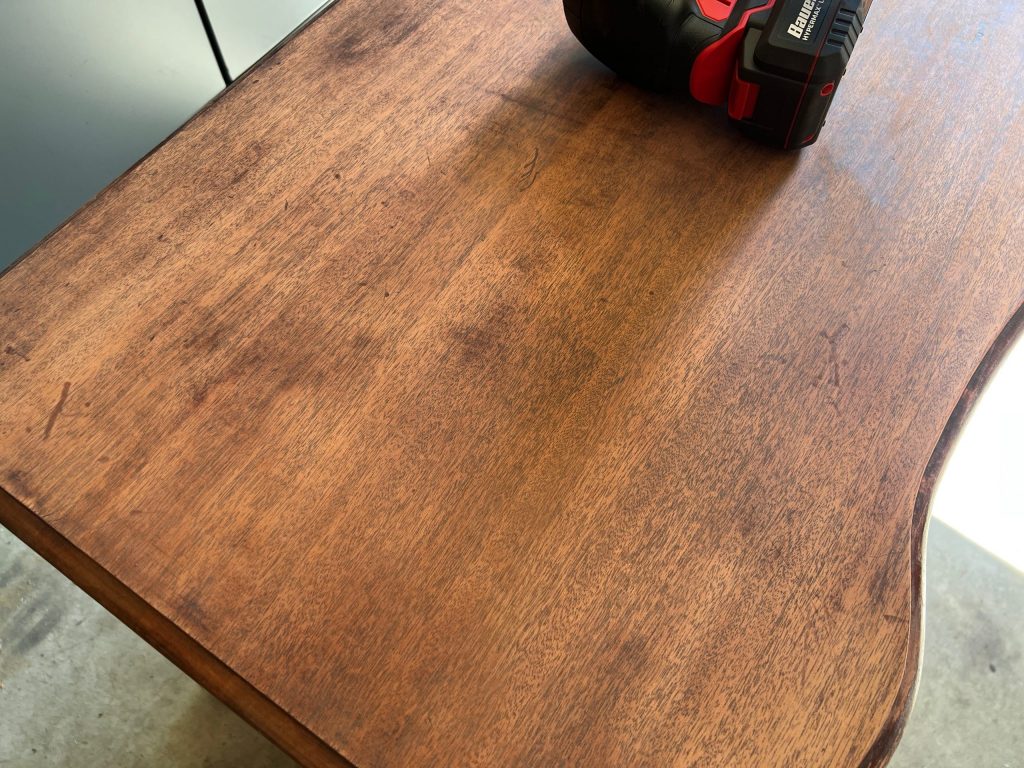
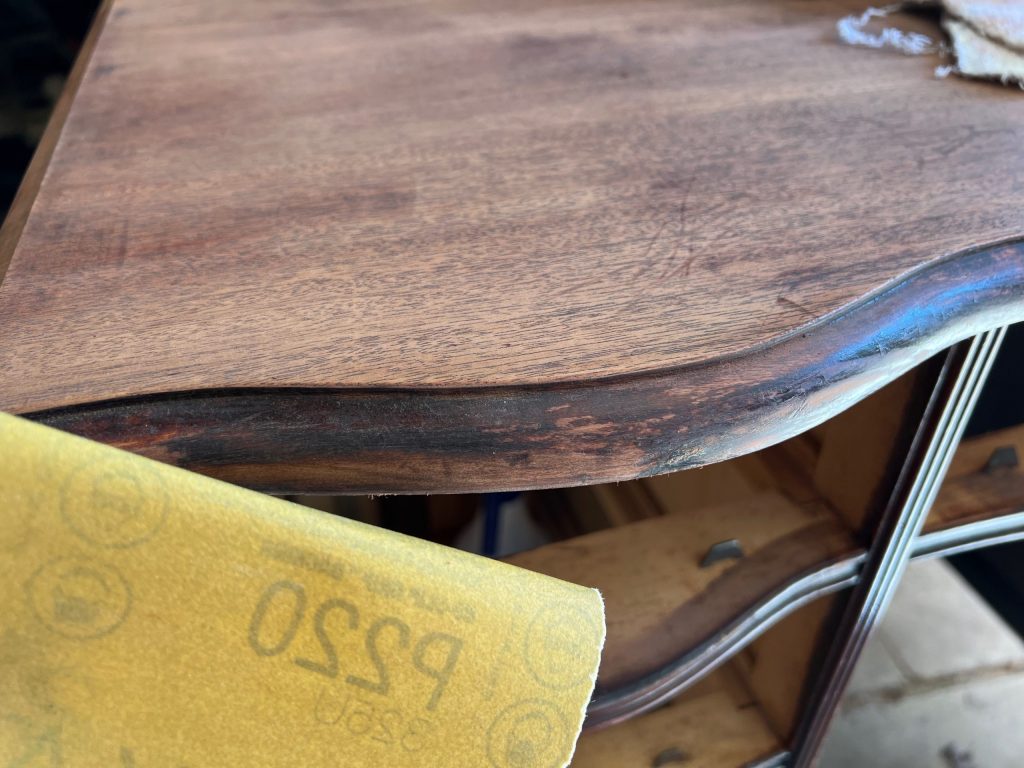
The photo below shows the difference in the wood after sanding. I had to be very careful sanding the wood veneer fronts on the drawers. Although it’s actual wood, it’s only a thin layer of wood. I didn’t want to sand it down too much.
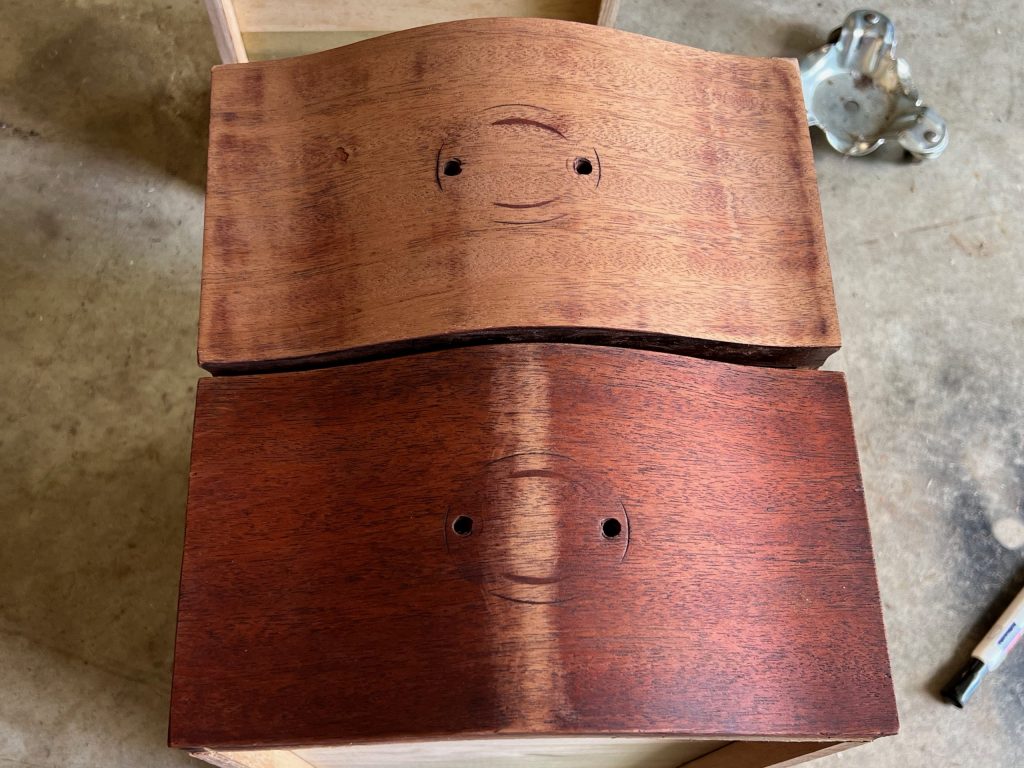
The stripping and sanding process was very tedious. I decided that I would only strip and bleach the drawer fronts and top of the desk.
When I was ready to bleach, I moved all pieces outside into the sunlight. It is best to work on a sunny day, because the bleach activates much better in full sun. Fortunately, we had a string of beautiful days in western Kentucky, so I was in luck!
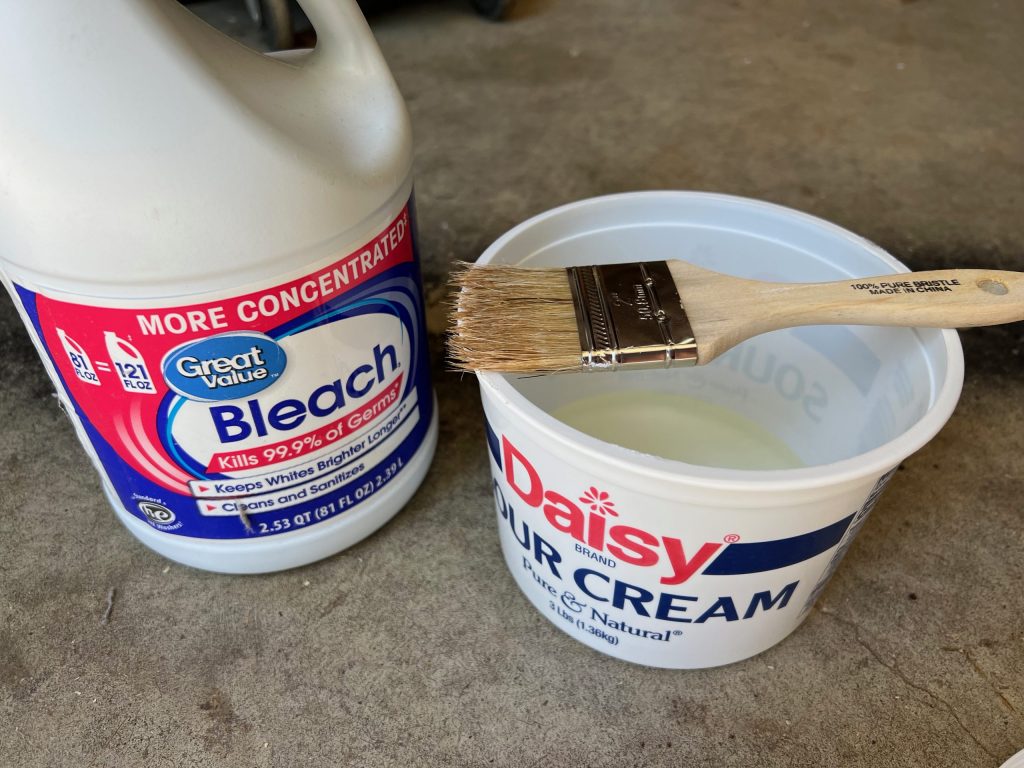
I poured just regular household bleach into a plastic container, and using a paintbrush, I painted the bleach onto the surfaces. I allowed the bleach to completely dry before adding an additional coat of bleach. I continued this process until I was pleased with the color. It took about 7 coats of bleach!
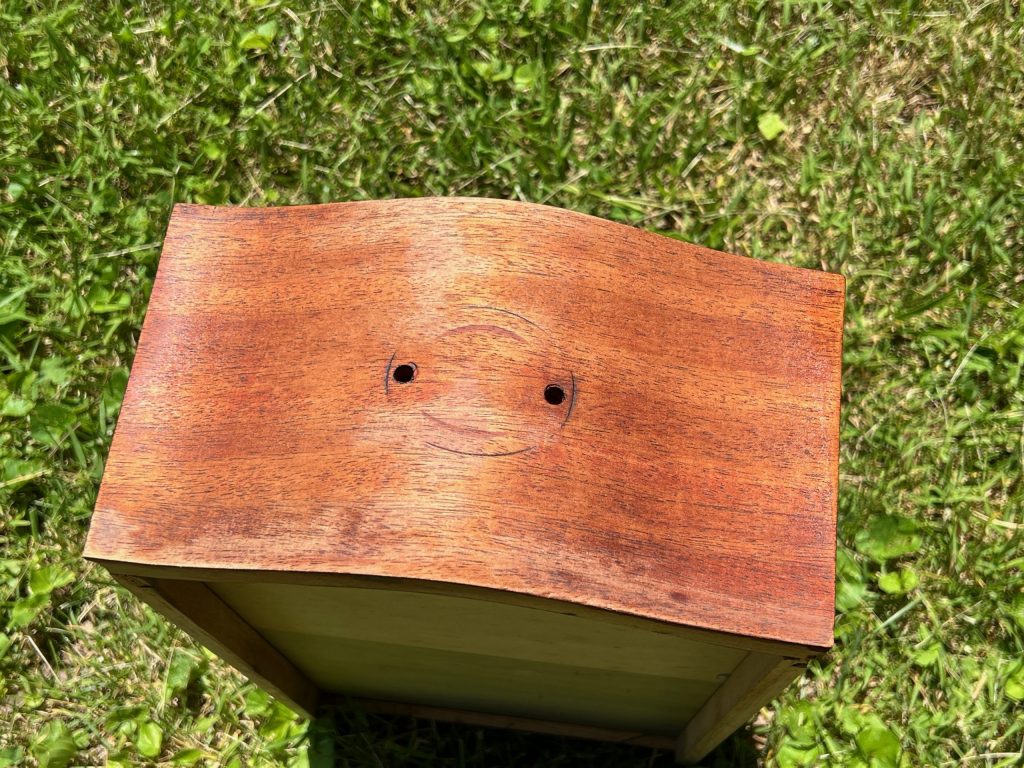
Once I was done bleaching the wood, small little sparkles remained on the wood. This was residue left from the bleach. To remove it, I rinsed the wood with water and patted it dry with a towel. I forgot to take a picture of this step! Whoops!
I left the pieces out in the sun for a few hours to completely dry.
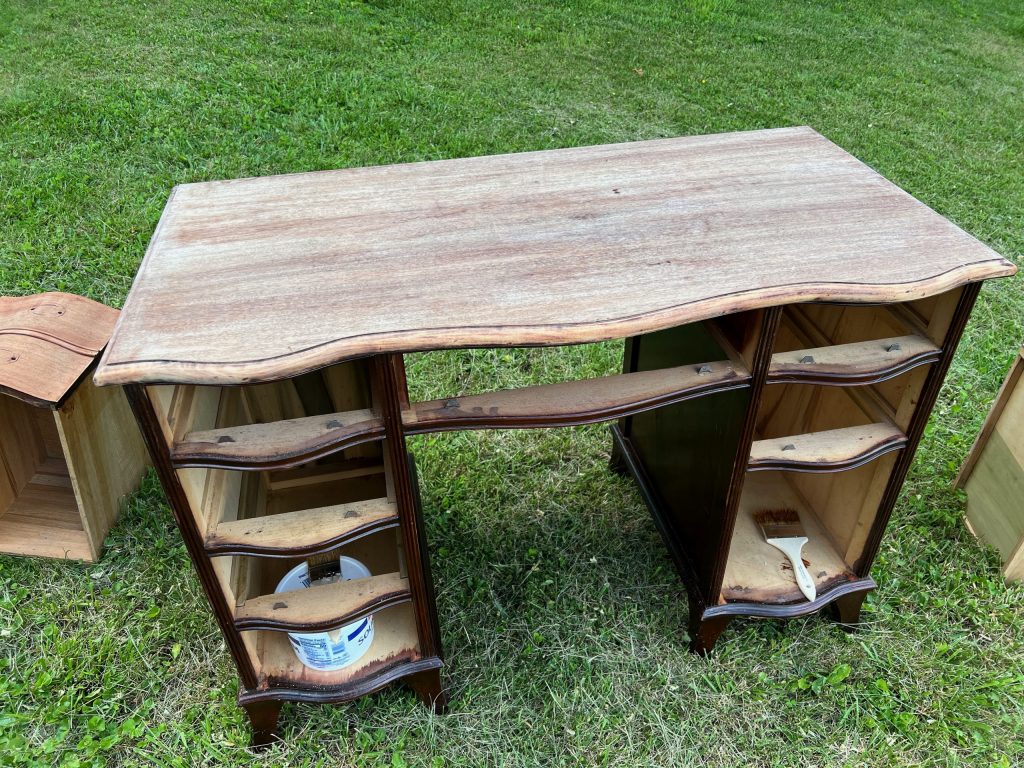
After bleaching, the wood needed a very light sanding to smooth it over. Using a fine grit sandpaper, I sanded the surfaces.
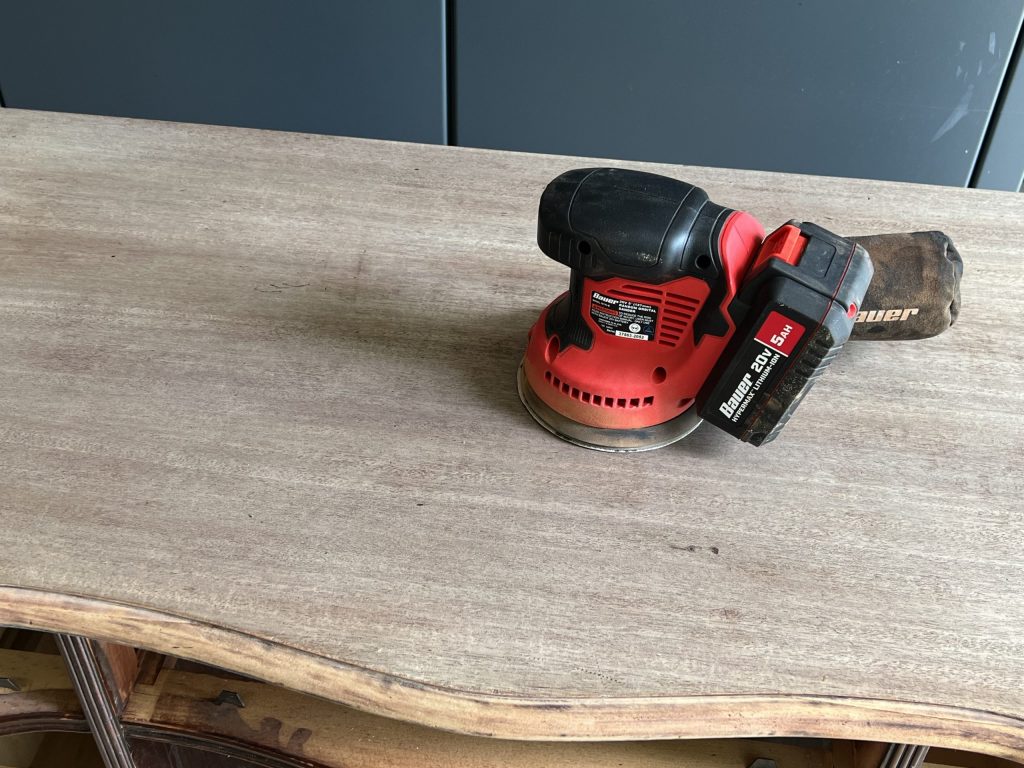
Finally, it was time to apply a clear coat to seal the wood. Using Minwax Polycrylic Topcoat in matte, I applied a coat to the drawer fronts and top of the desk.
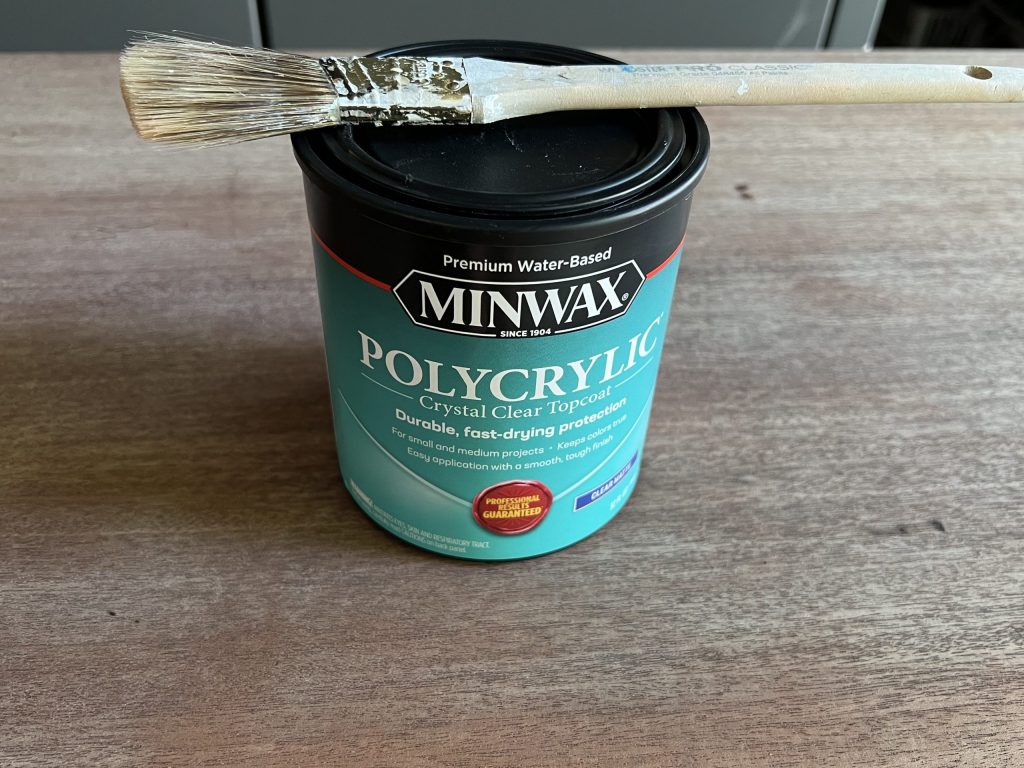
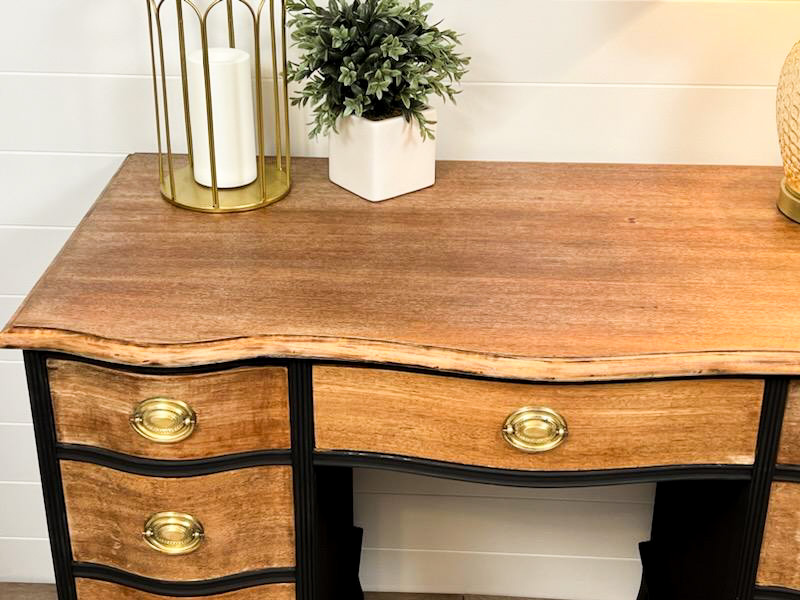
As you can see, applying the top coat darkened the wood. It did dry a little lighter, but I was hoping it would have dried closer to the bleached color. I will probably try a different top coat in the future.
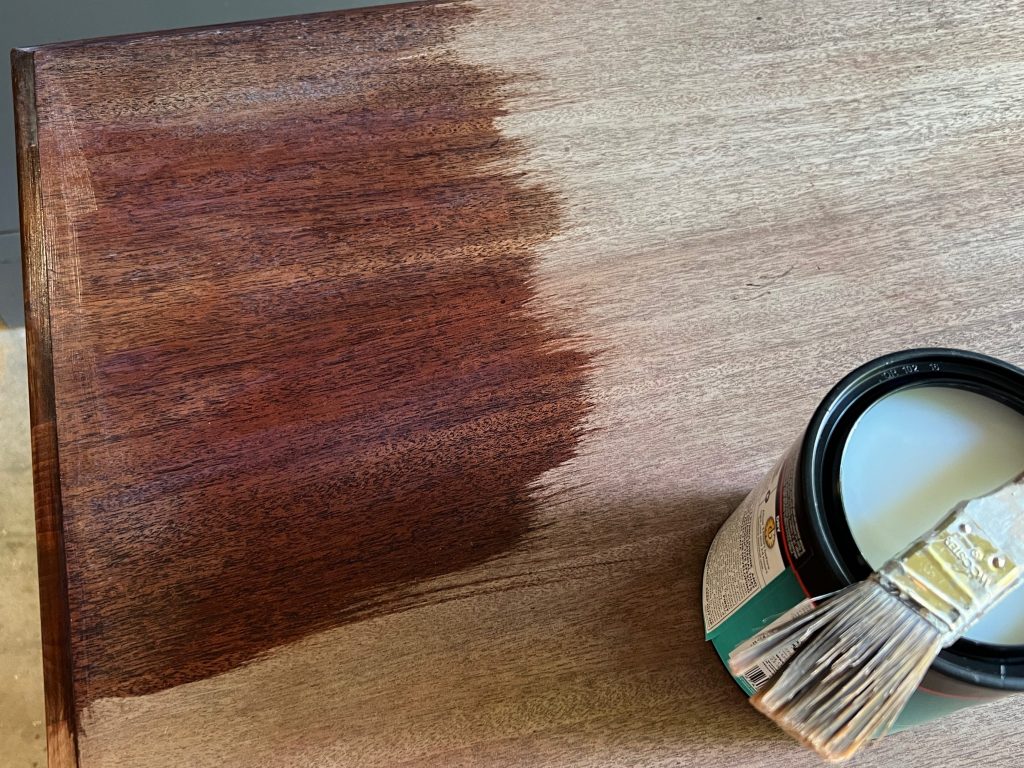
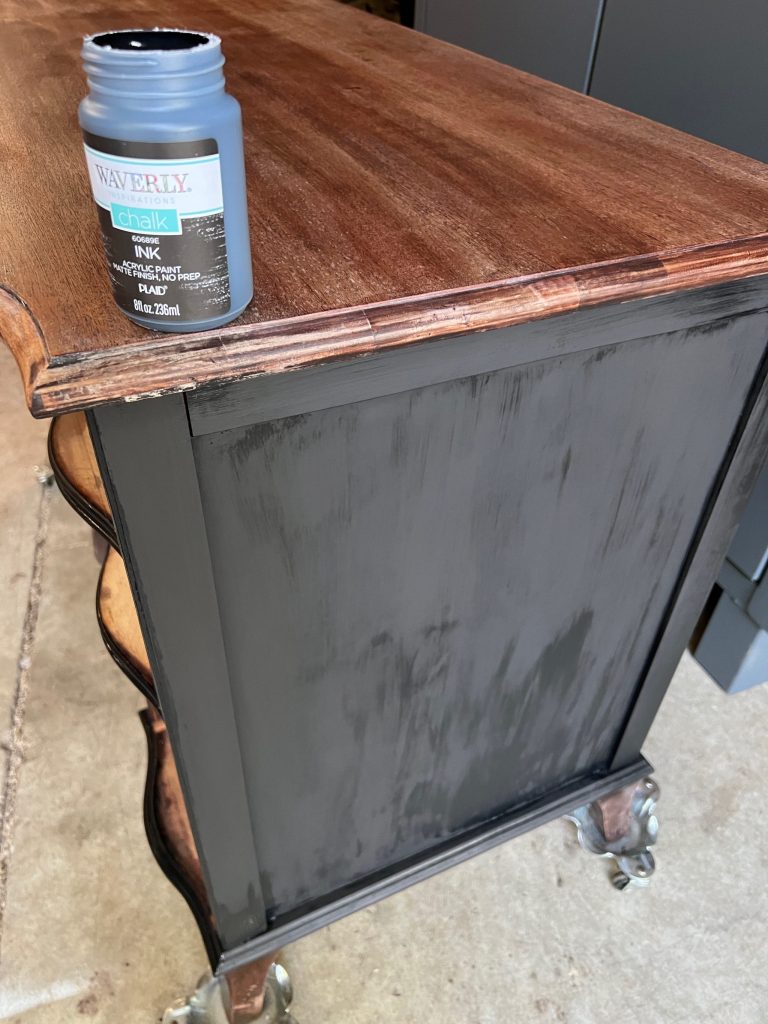
Now that the bleached wood pieces were complete, I painted the unbleached parts of the desk with black chalk paint. I used Waverly chalk paint in the color Ink.
While the desk was drying, I worked on the drawer hardware. The original hardware was gorgeous! I couldn’t wait to see how it looked after cleaning!
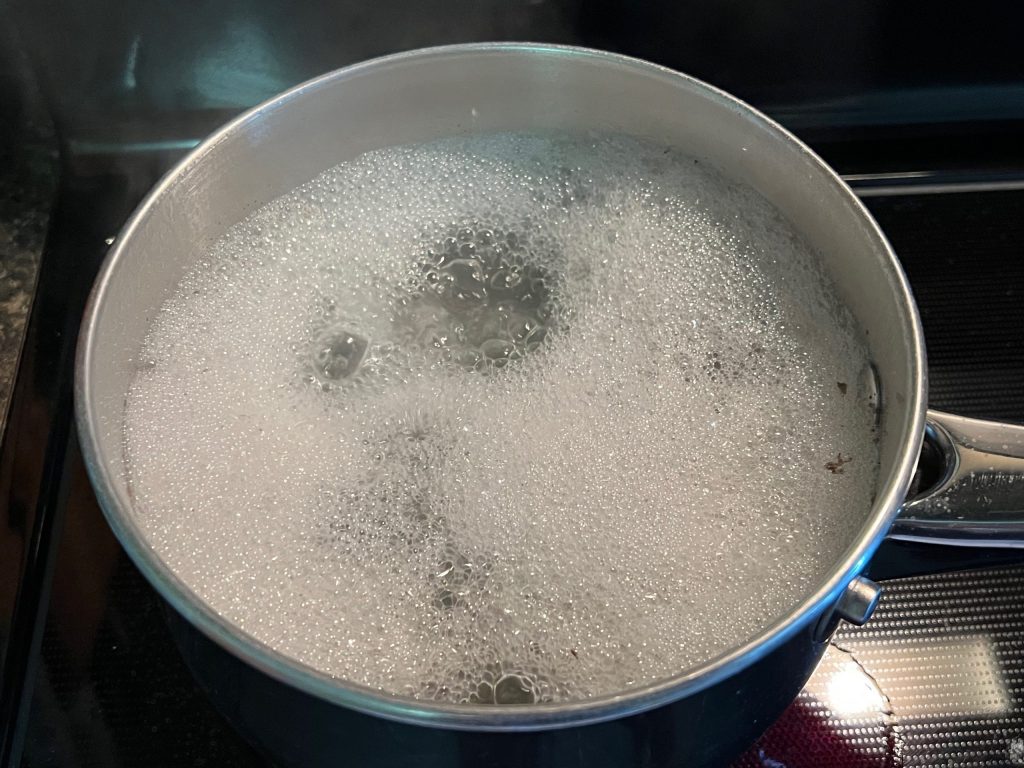
First, I boiled a pot of water in an old pan, big enough to fit all of the hardware. Once it was boiling, I added a couple of teaspoons of baking soda and then dumped in the hardware.
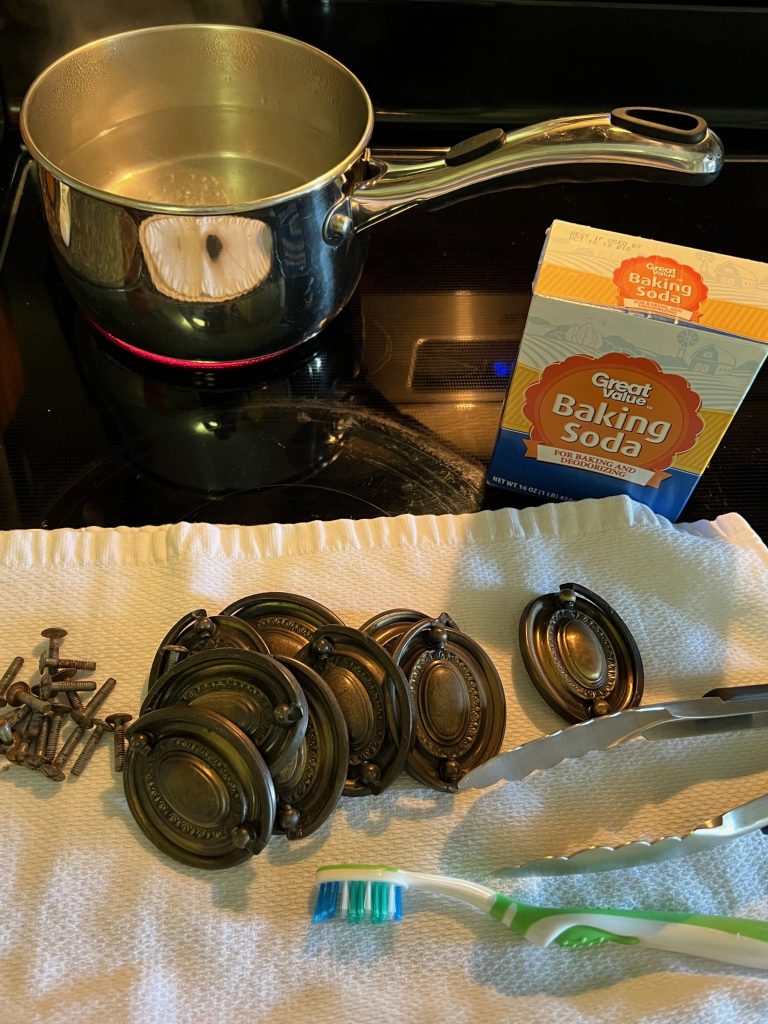
Using tongs to remove them from the water, I laid them on a towel and brushed them with a medium bristle toothbrush.
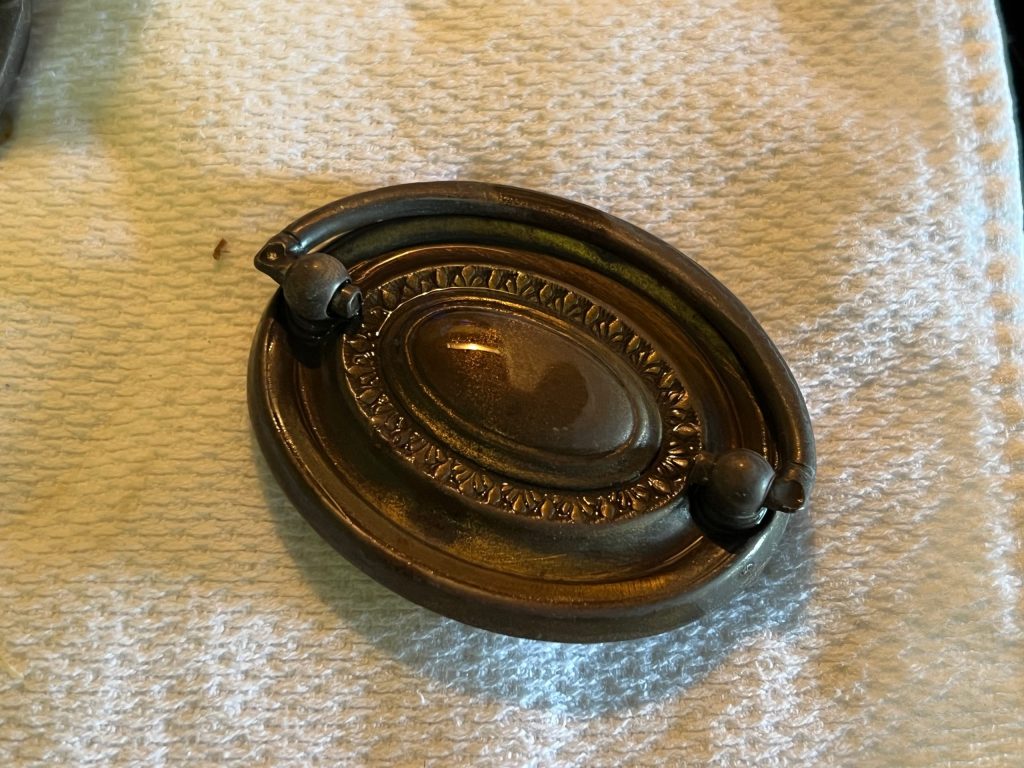
Next, I used Bar Keepers Friend and a toothbrush to scrub them down.
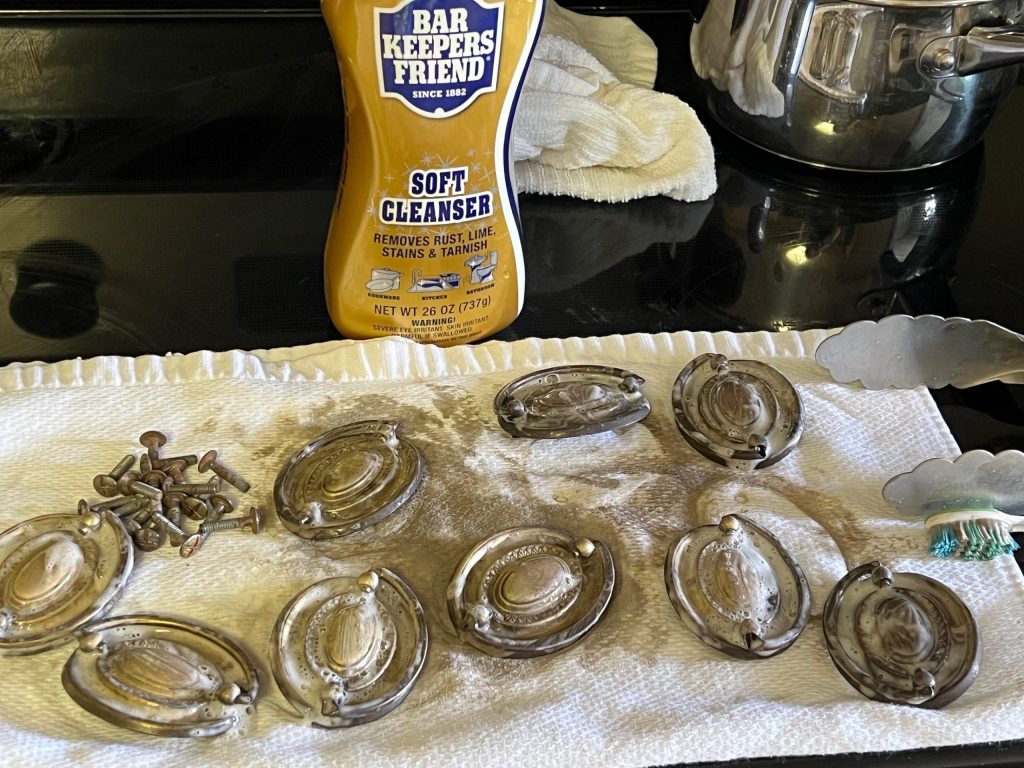
I rinsed them with water, and they came out a beautiful gold tone! Keeping the original hardware was a huge bonus!
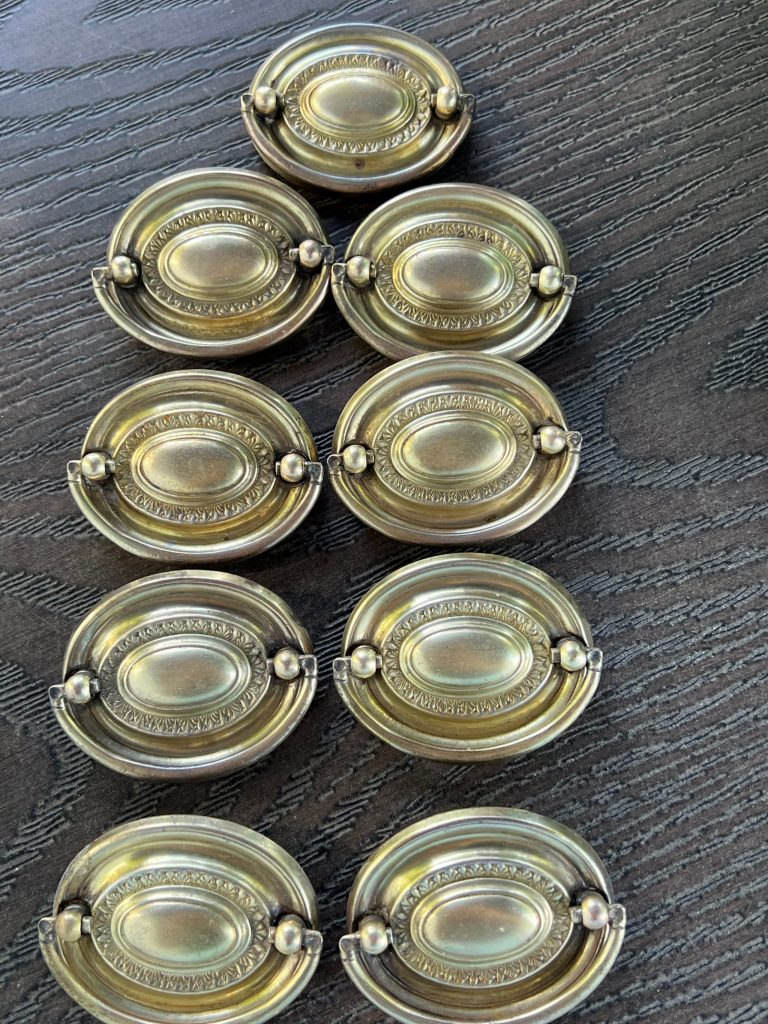
Finally, it was time to reinstall the drawer pulls!
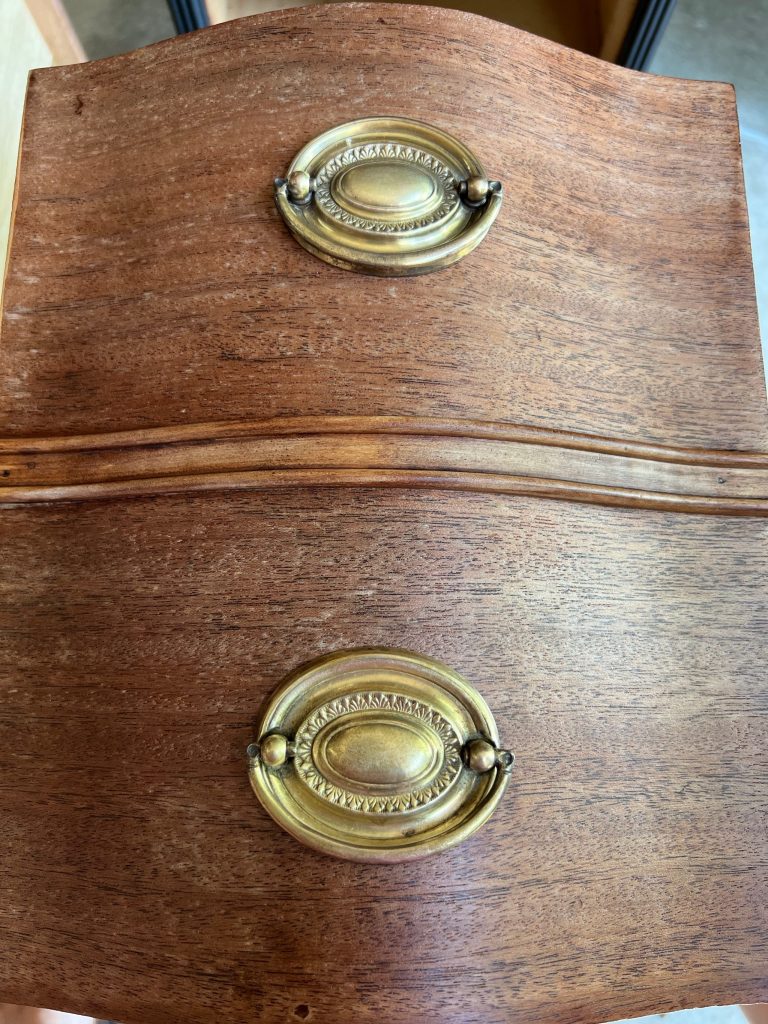
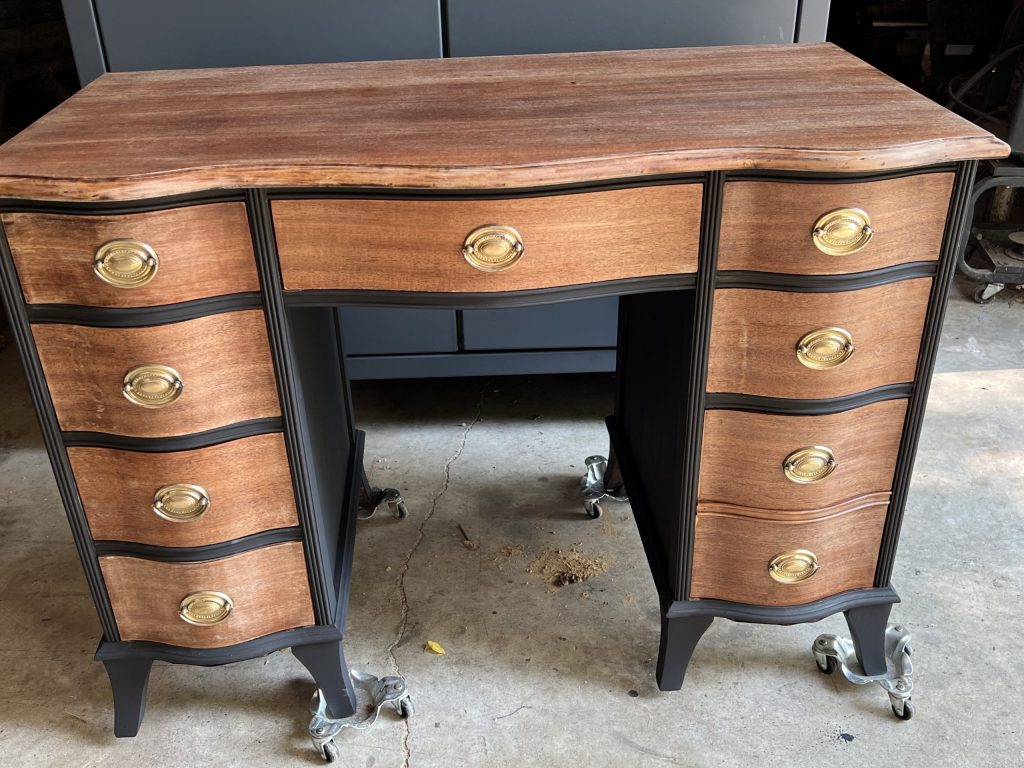
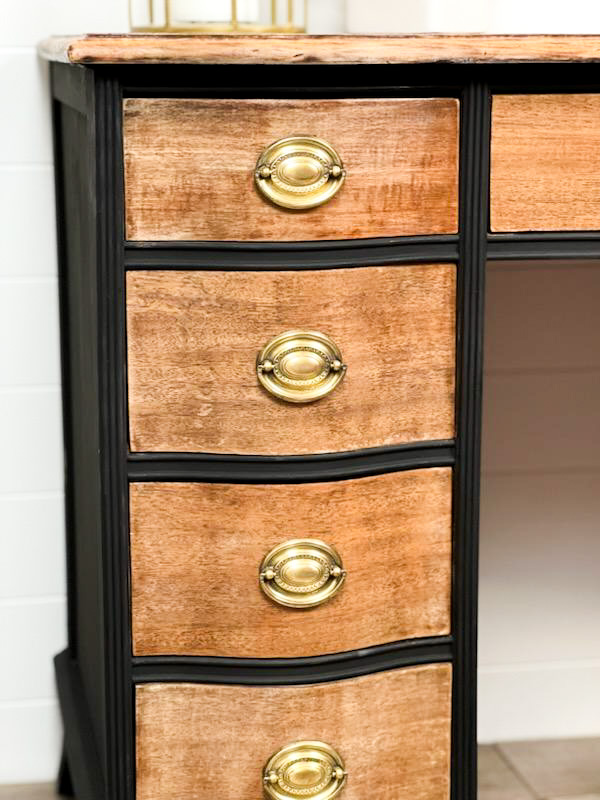
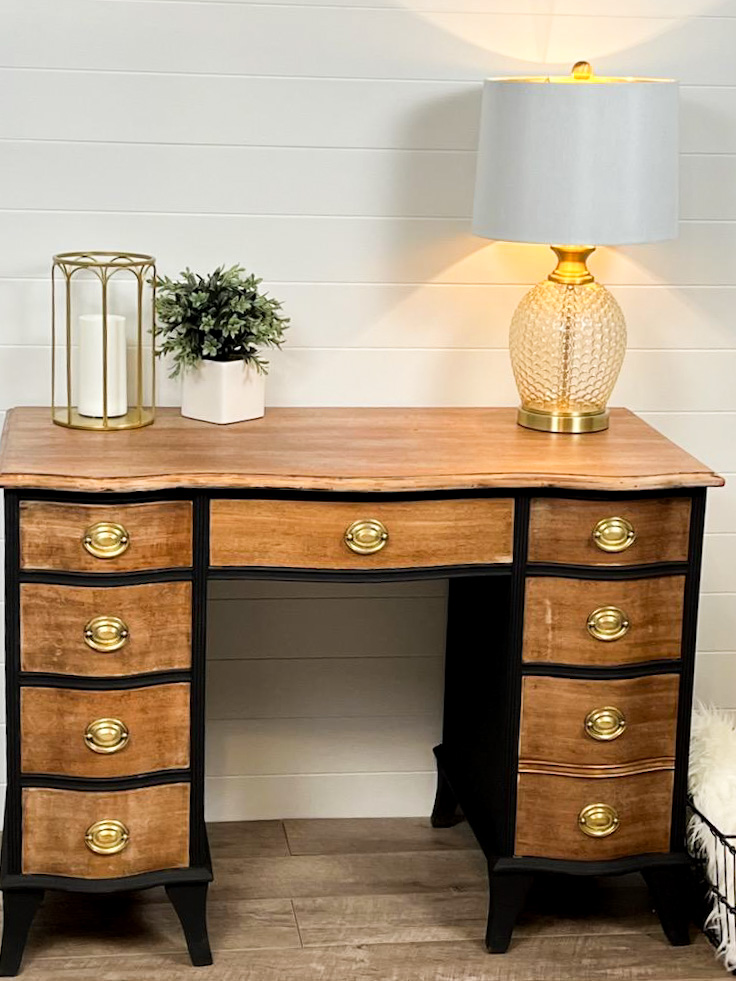
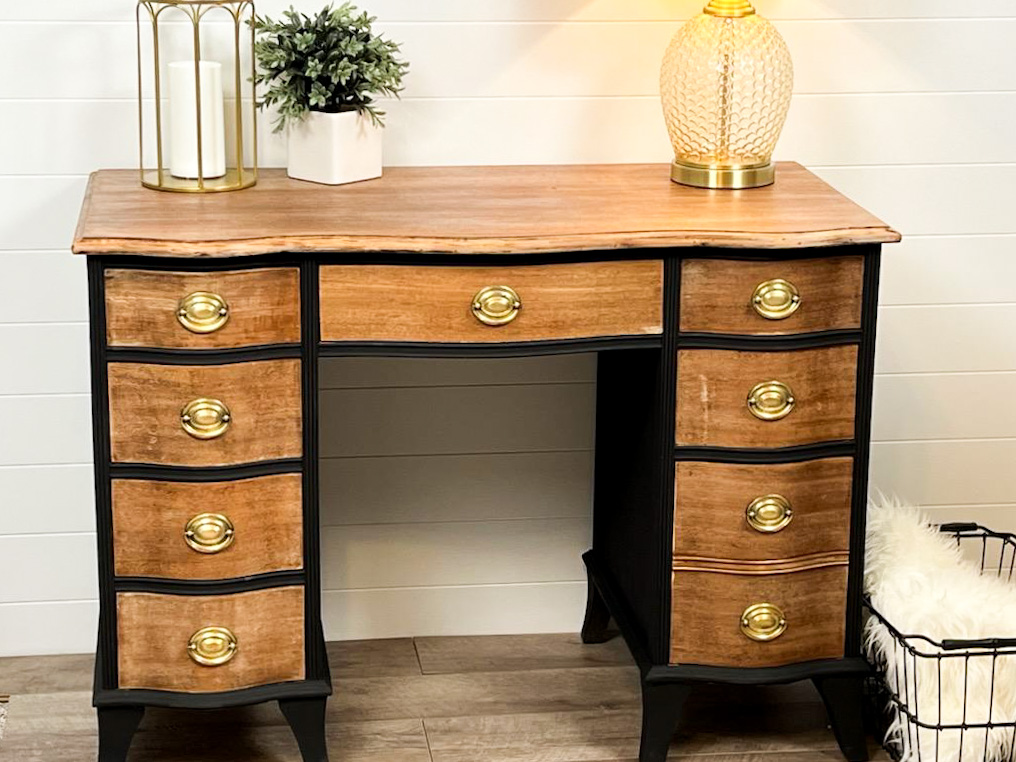
Ta-Da! Here is the final product! I absolutely love the contrast between the wood and black paint, and the gold pulls really pop!
Overall, I was pleased with the outcome; however, I was hoping the wood would have dried lighter. The original wood had heavy red tones, so I probably should have used an actual bleach meant for wood instead of the household bleach. This would have dyed the wood and removed the red tones.
I really enjoyed tackling this project, and I am OBSESSED with how it turned out! OMG y’all… I hope it inspires you to transform a piece of your run down furniture!
Be SURE to pin this for later over on your Pinterest boards!!

Last Updated on June 24, 2023


Beautiful
Love the results! Who knew you could use bleach?! Or clean hardware like that?! Thanks for sharing!
That turned out fabulous. Steel wool works well to remove paint, vanish specially in grooves.
The desk looks beautiful!! Great job!
Thank you!!
It turned out beautiful
Wow!!! Gorgeous!! How beautiful!!!
You did a great job!!
So worth all the attention you gave this piece
Have you ever tried GreenEz furniture stripper? It is amazing!!
Would this bleach process work on kitchen cabinets ?
Yes it should, but I always recommend testing it on a small spot on the back of a cabinet door to make sure!
I absolutely LOVE how it turned out, Brooke!!
I bought this same desk off of FB Marketplace, years ago for my husband….and now you’re making me want to go refinish his desk!! Lol
Brooke this desk is beautiful and so classy!!! Love it!
Thank you! ❤️
Absolutely LOVE this!! I have this same exact desk…and now I know what I want to do to it!!😍
I love the way the drawers and top turned out! I have a very old wood mantel I need to do something to. Thanks for this idea.
Oh I loved how the desk turned out! You did an amazing job Brooke! It looked like alot of hard and messy work, but it was so worth it! It’s beautiful! Thank you for the tips! I never knew you could bleach furniture or clean the drawer hardware like this!
What a transformation! Love it!