It is no secret that I am a frame hoarder. I could seriously never have too many. The possibilities are endless, and you can find them for so cheap! I LOVE budget decorating…in fact, I think you could call it my passion, so sharing fun and cheap makeovers like the one today make my heart beat just a little faster 🙂
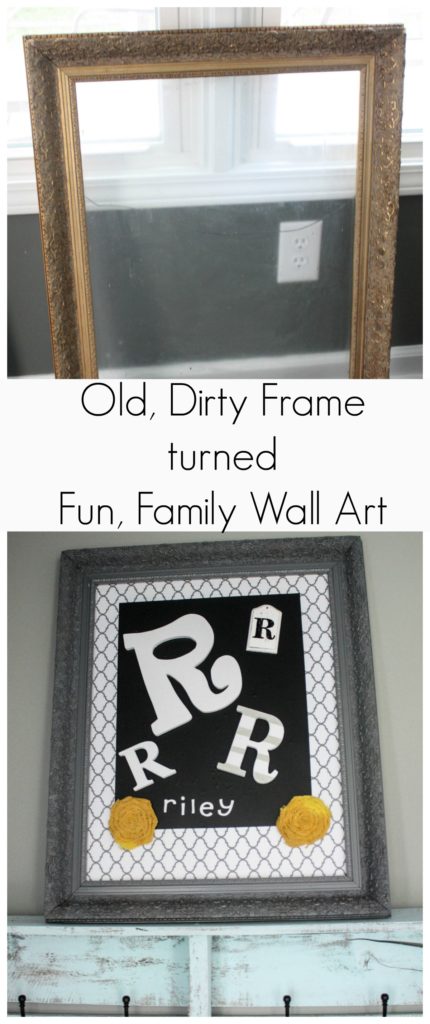
This frame was one that we got from an auction about a year ago. We racked up on upwards of 50 + frames that day, and while I did sell a few along the way, I kept several for projects. This specific one was in kind of rough shape. It had chips all over the place, the glass was SO DIRTY that it honestly could not be salvaged to use in its current state, and it was missing the back portion of the frame. It did still have the hanging wire and good bones, and I knew I could do something pretty with it…one day.
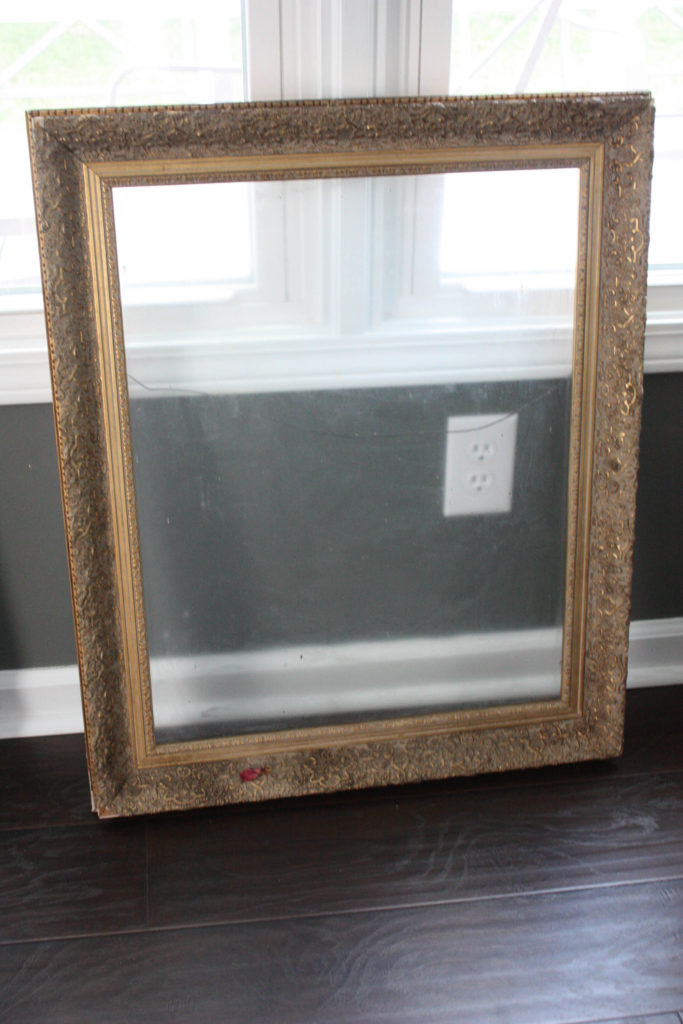
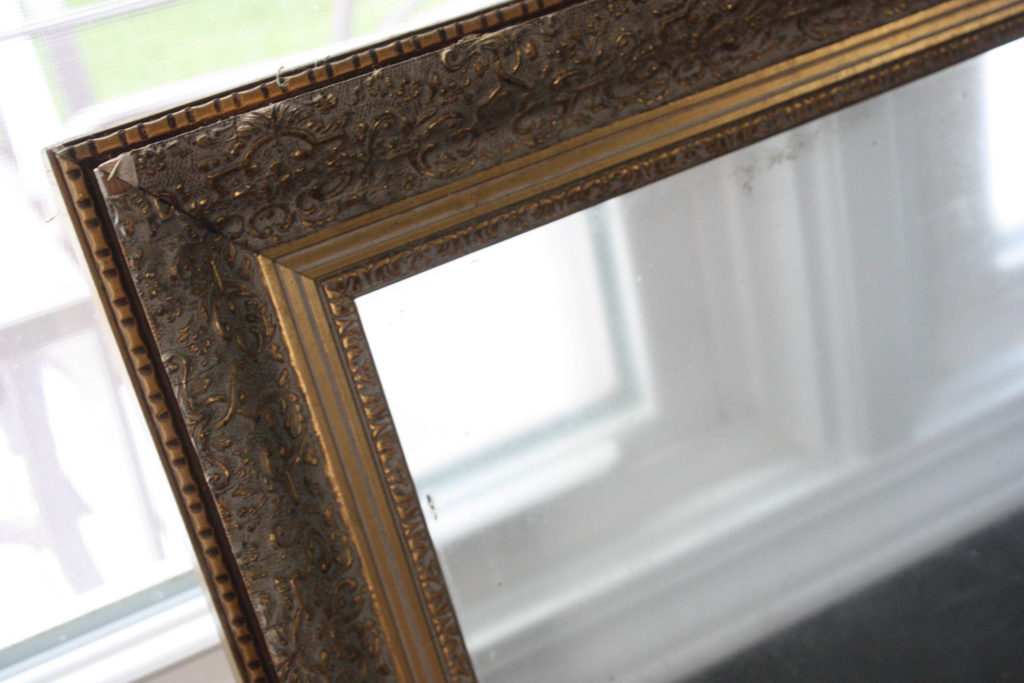
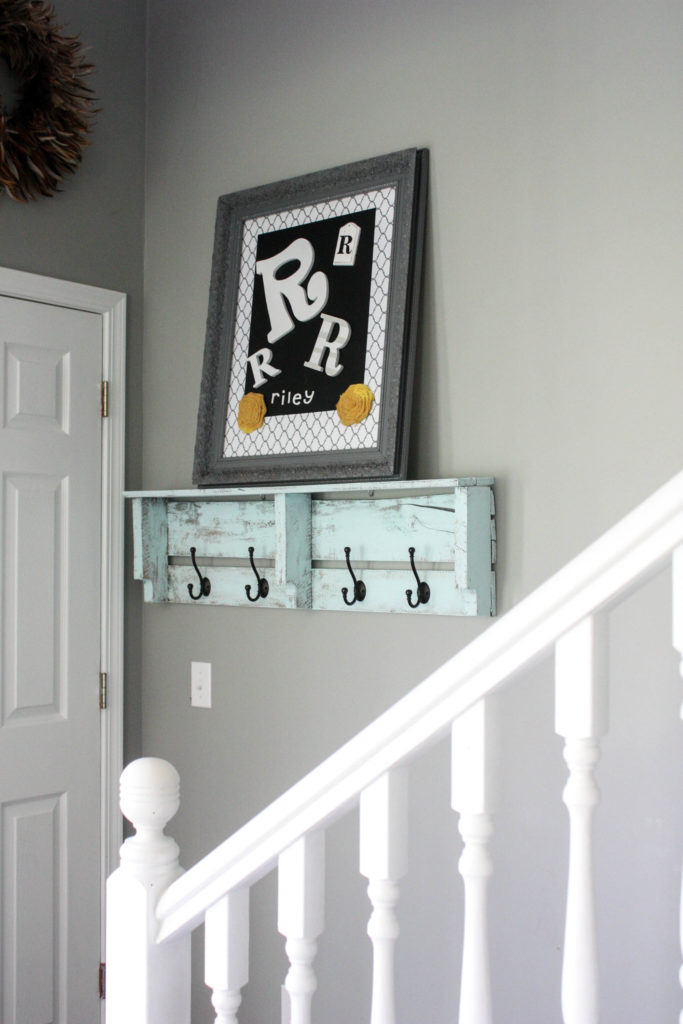
Along the way, this frame was kind of forgotten. It sat in the garage and collected more dust, until this past week when I had a hankering for a new piece over my pallet coat rack.
I originally thought I would turn it into a chalkboard, because I love those…but as I began the makeover, I changed my mind!
So read on to see what I decided to do 🙂
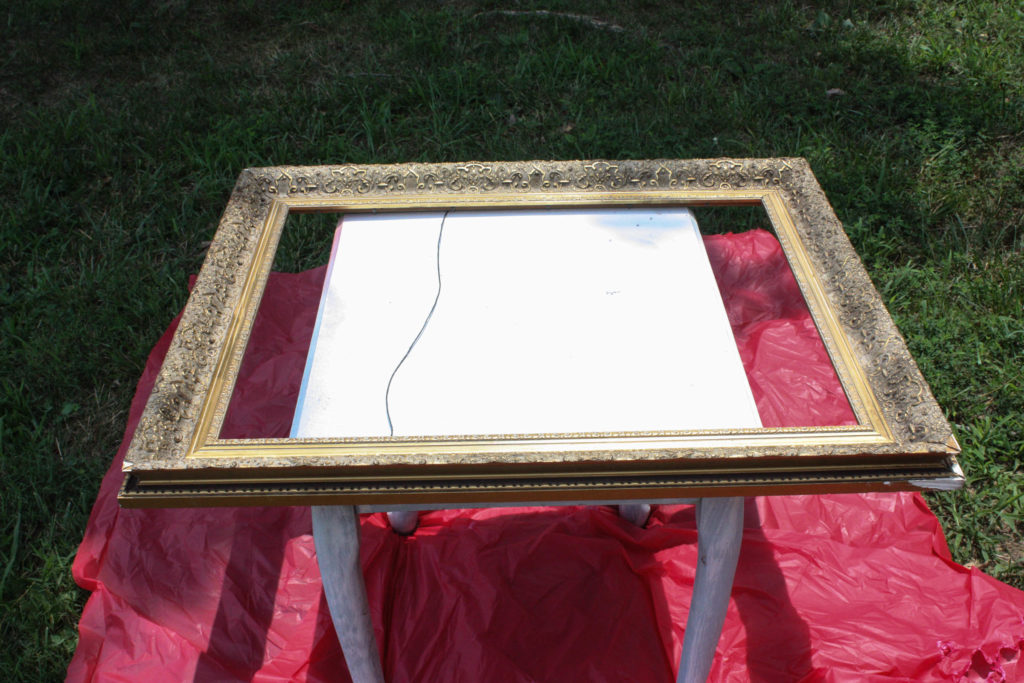
I started off by taking the glass out of the frame. It came out fairly easily. I then cleaned the frame with a wet cloth really well to get all of the excess dirt and grime off.
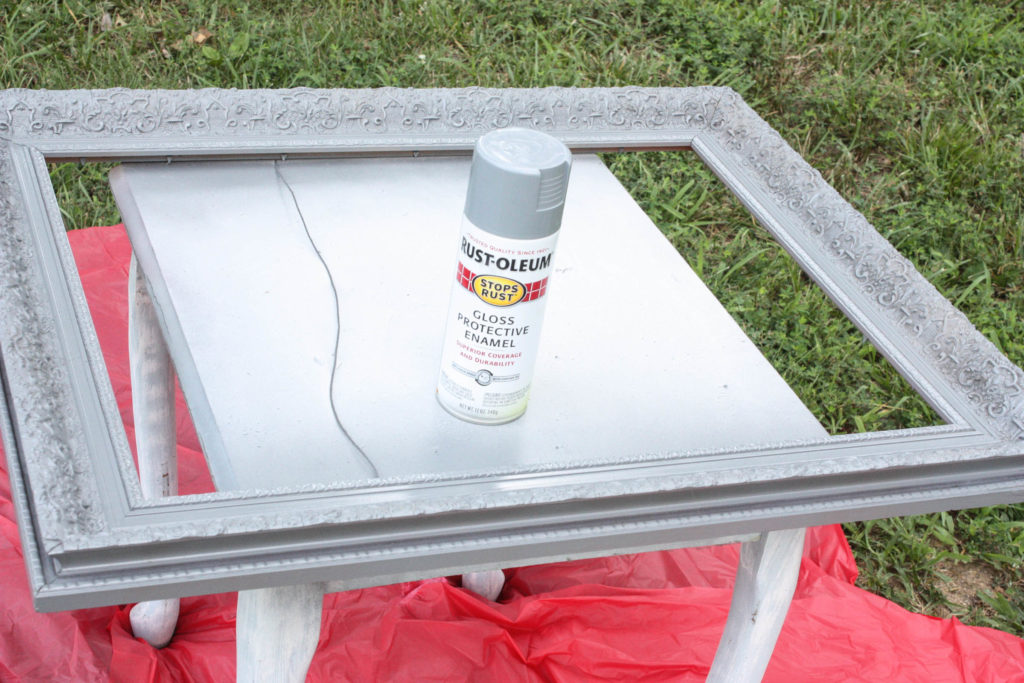
After it was all clean, I laid it out on my “paint table” to start spraying with my favorite gray paint! (You all know I LOVE gray!)
Here it is after a light coat. It took 2 coats to cover completely. It is a gorgeous gray!
You can find this spray paint HERE.
You can see the color much better in this picture!
So here is what I did next:
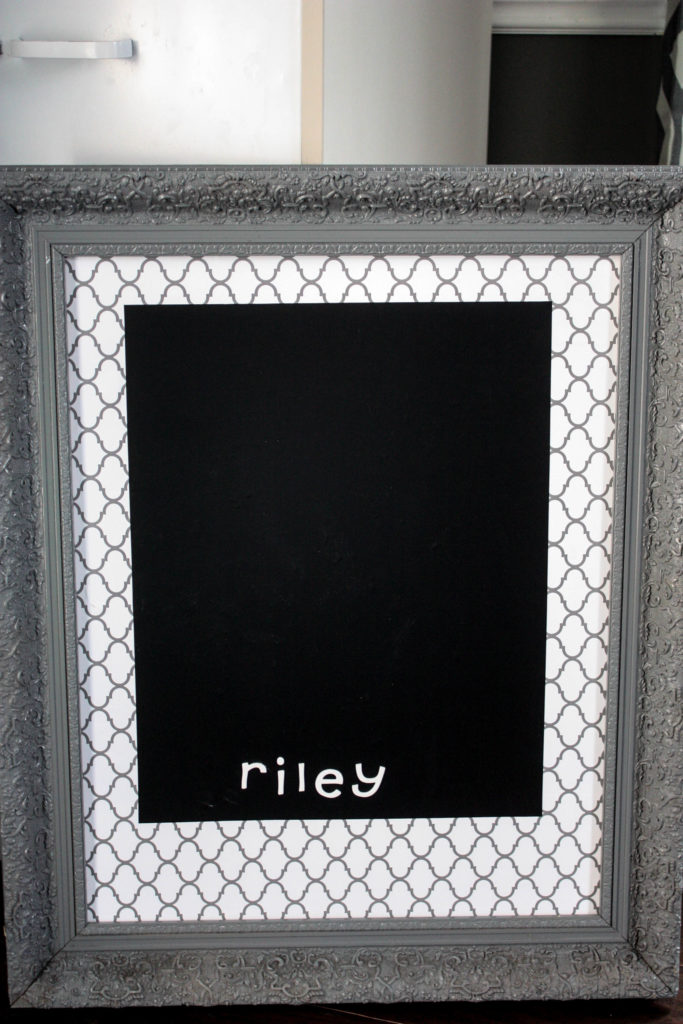
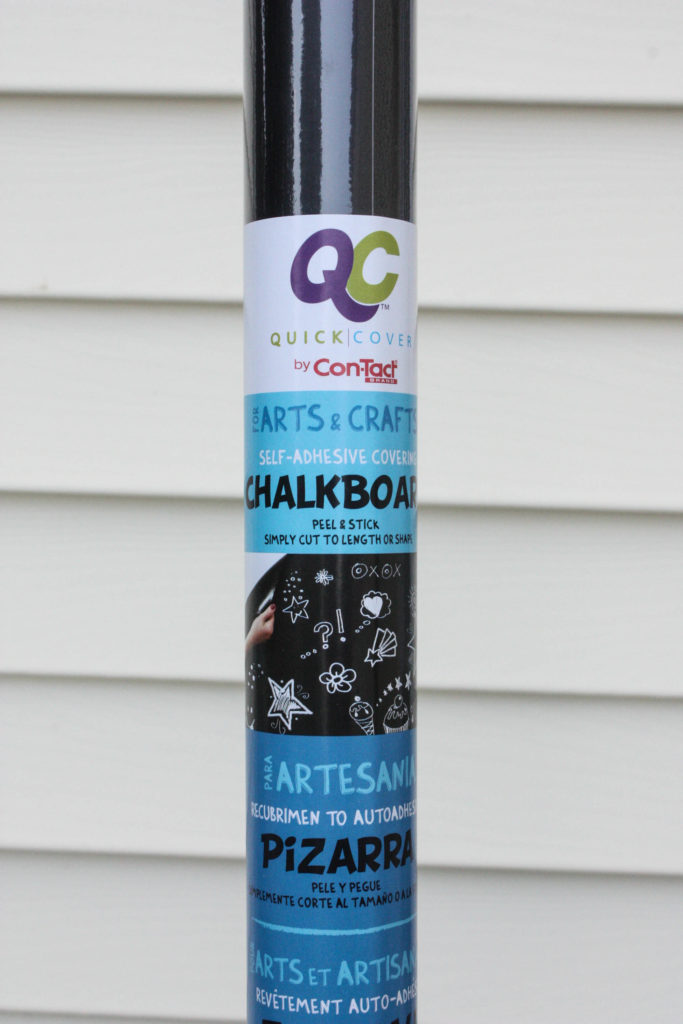
After the paint had dried, I brought the frame inside and had no idea what I was going to do next. I looked in my craft closet for ideas, and I saw that I had leftover vinyl paper from my pantry makeover! The gray would match perfectly, so I decided to cover the glass with this stick on vinyl. It looked great and matched just like I thought, but I felt like it was still lacking. I had recently bought some vinyl chalk board stick on paper from Dollar General for $1, so I got my roll out to see how much it would cover and thought I would go ahead and still do a chalkboard.
It covered an 18x14in area, which was much smaller than my frame, so I thought it would give a good accent in the middle. At this point, I still thought I would do a chalkboard inside the frame 🙂 BUT…when I got it on there, it just didn’t have the “look” I wanted. Sooooo…..I went back to the craft closet and got to searching for more inspiration. {It pays off to have lots of random craft items!}
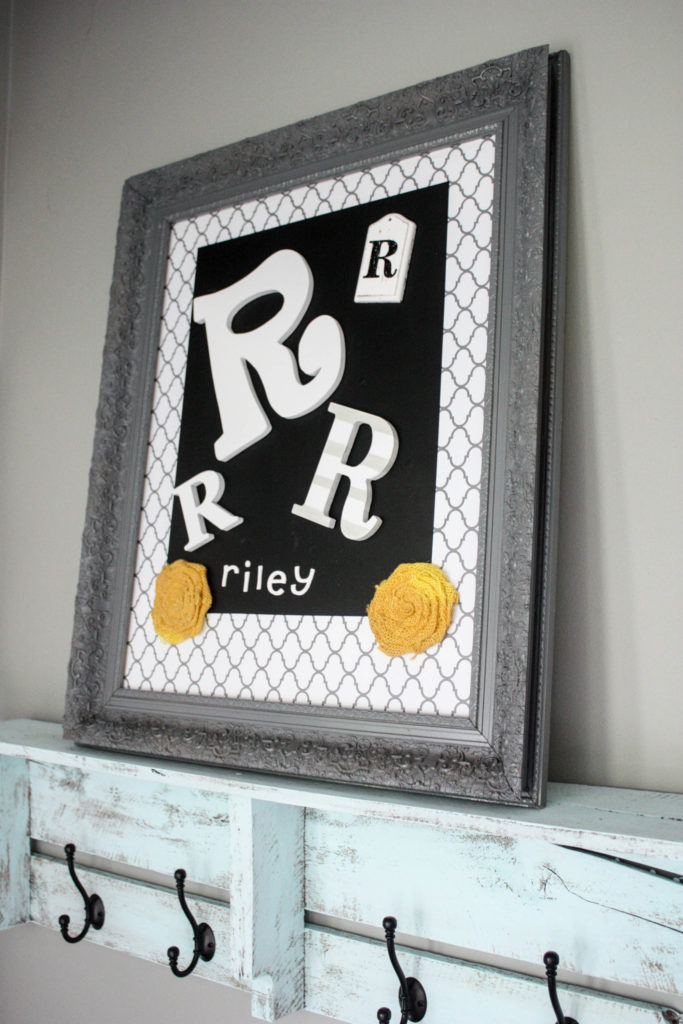
I found some little alphabet stickers that I had used for my DIY Framed Wreath, and with them being white, I thought….”I could make my name on the black and it would really stand out!” So…I did! I loved the quirkiness it gave my frame- and it is what inspired me for the next step!
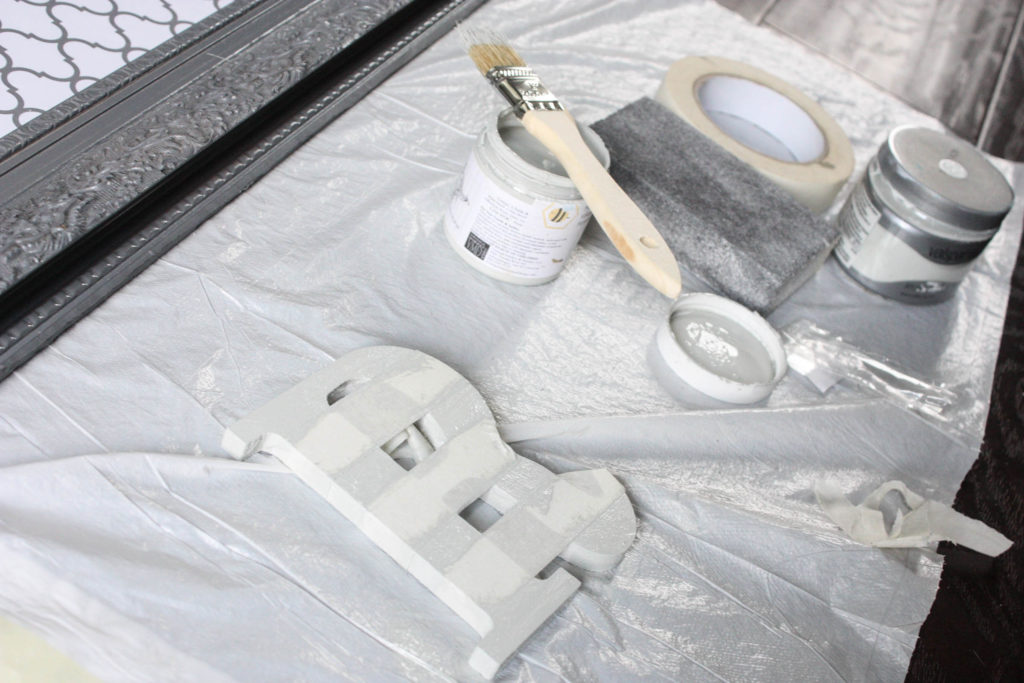
I had accumulated several “R’s” along the way that I found for cheap here and there…so I thought it would be a neat idea to take them all and spray them white to match each other and place them on the black above my name.
I took them all outside and sprayed them white, and when they dried, I laid them out on the black vinyl to see what I thought. They really stood out, and I loved the look!
I wanted one to have a little more contrast, so I took some masking tape, and decided to make some striped with some light gray paint I had on hand. When it dried, I removed the tape and hot glued all of the letters onto the black in a fun way.
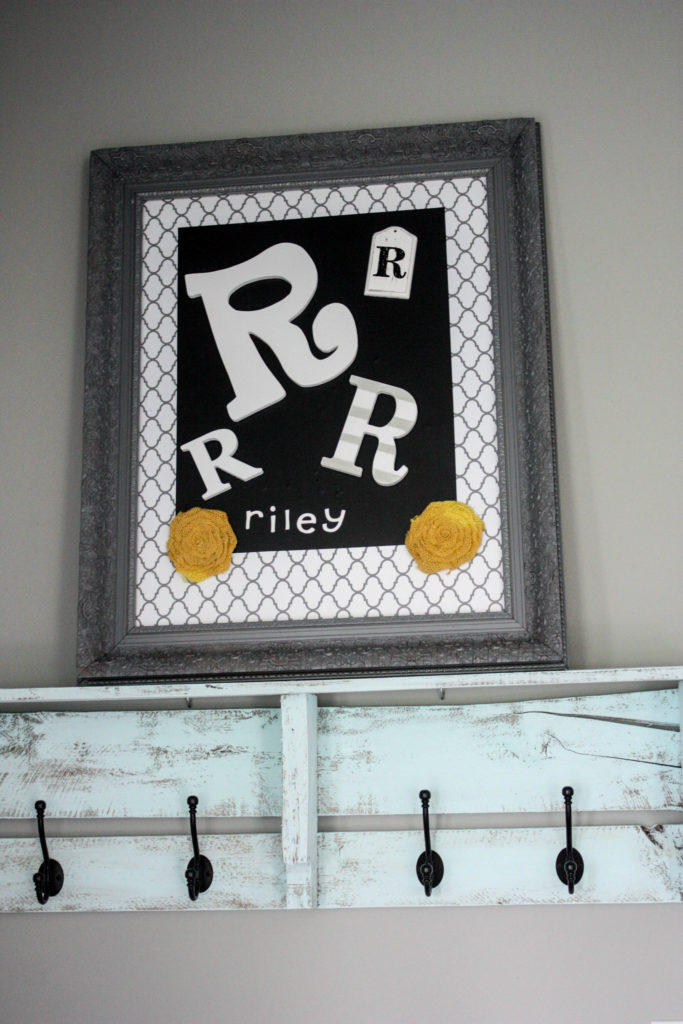
THIS is the finished product!
Folks, this was such a SIMPLE project! And once again, it was very cheap!
{And these cute little yellow flowers?? Well, I had them on hand from a project I did for my front door about 5 years ago! I am telling you, it helps to hang onto a few things 😉
This piece makes a BIG statement for LITTLE money. It is different, and it is fun. In all honesty, I really love it. Big frames like this are a dime a dozen at thrift stores and yard sales, so be on the lookout the next time you are out. Look past what they look like at the current moment, and look at what could be!
Pin for Later!
Need more frame inspiration?? Here are a few other fun projects I have done using old frames!
Last Updated on July 20, 2016


Hi Brooke – you have made a really unusual and beautiful frame of this – love all your ‘R’s too and the cute little flowers – well done and very creative 🙂
Thank you very much, Denise!!
You are so creative. It really is inspiring to see what you can do. It doesn’t have to cost an arm and a leg to decorate and look fun and beautiful too! I always have loved shabby chic. And your design has a reminder of that style. Thank you for sharing where you get everything as well.