Change. Change is so good! I tell you what…I am obsessed with changing things up. There is nothing easier (other than paint) than doing this easy DIY upholstery project for a chair.
Now listen, I am NOT a sewer. I am NOT an upholsterer. BUT, I can do a very very very simple upholstery project like this one (and if you are like me and you don’t do this kind of thing, you can do this too!)
Changing the upholstery on a chair can completely change the whole feel of your kitchen table. Although I am still in the process of changing my whole kitchen table (painting it, etc…), I wanted to go ahead and share my kitchen chairs! I will be sharing the whole table set up later this week 🙂
Supplies for this project: (some of these are affiliate links for your convenience, at no additional cost to you, of course!)
Fabric of your choice. Mine came from Hobby Lobby.
Fabric Scissors
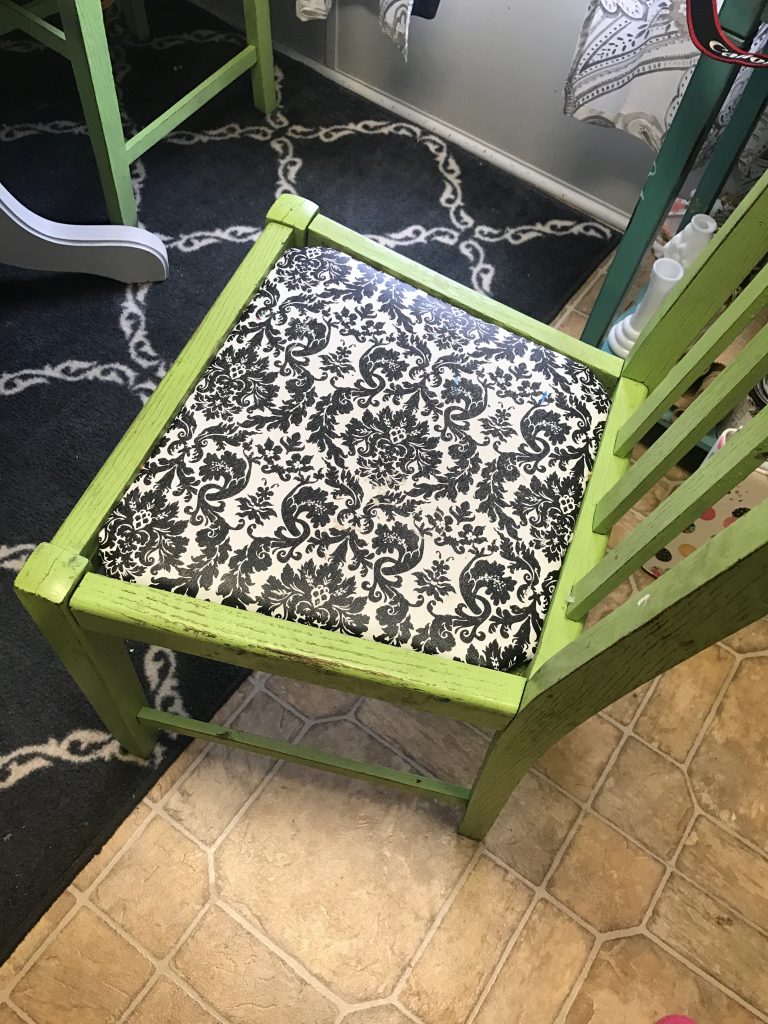
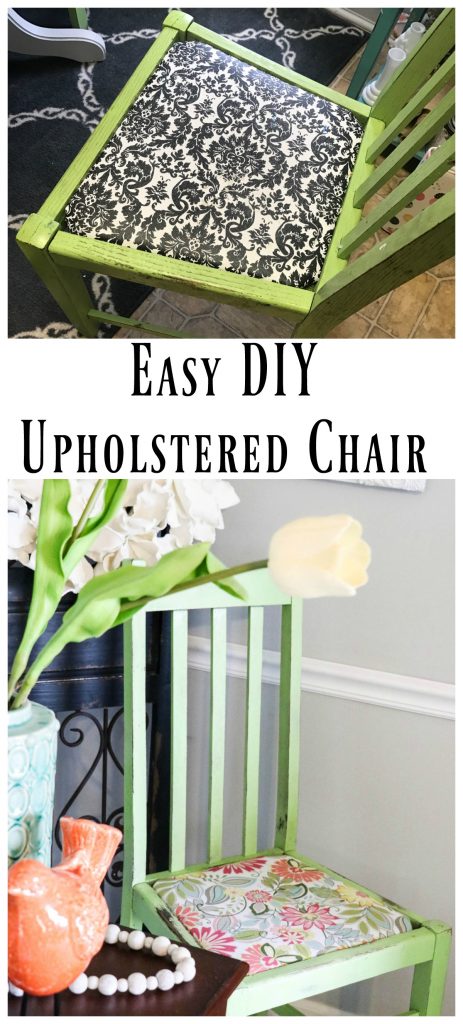
Here are the original chairs:
I spray painted these chairs a little over a year ago with this pretty lime green spray paint because I wanted something fun! WARNING. Do not follow in my footsteps. Use a brush or use a spray GUN, not cans of spray paint! I literally thought my pointer finger was NEVER going to have feeling again. It stayed numb for a good solid month. No joke.
But anyway, I am kinda over the green, but I am not ready to paint them just yet…so changing the covers from this black and white was the best solution for now – it is a SUPER easy DIY upholstery project that you can do in no time!
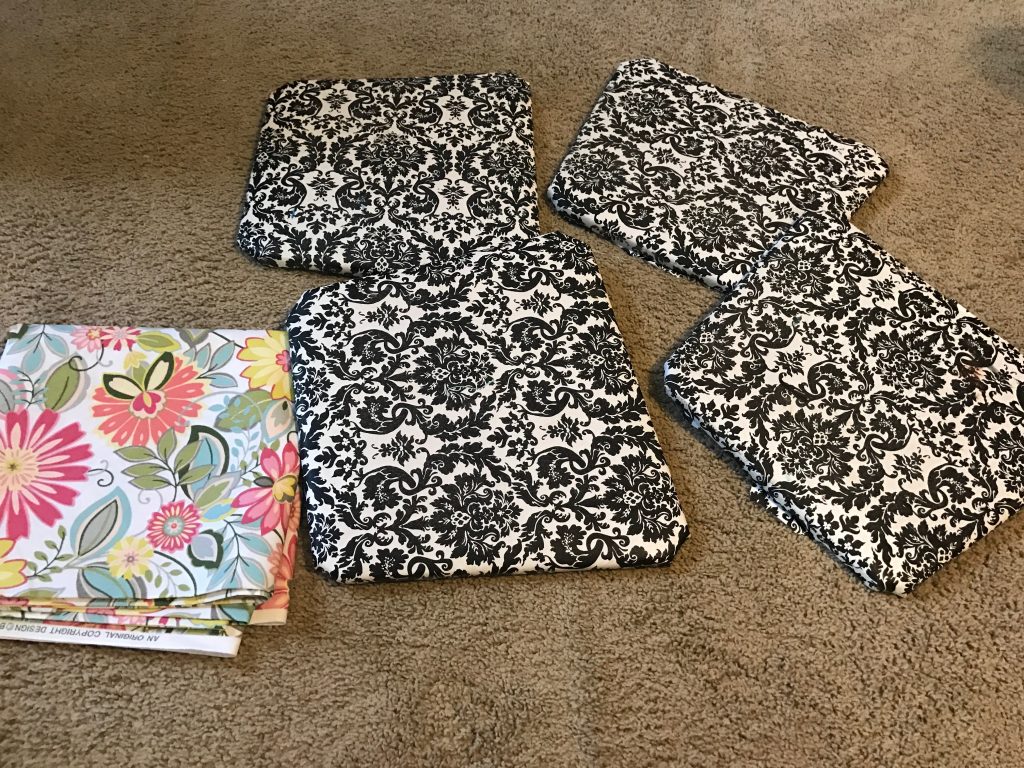
I simply took the current fabric off (because you could see it through the new one) and I left the other layers.
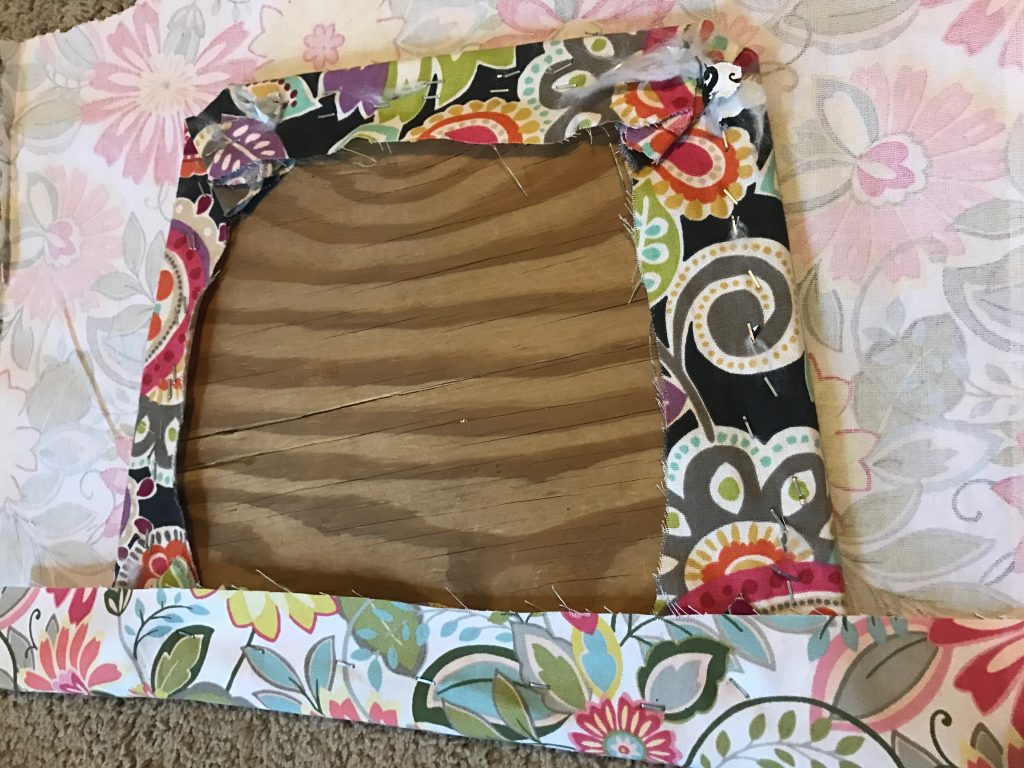
I laid the new fabric out, put my little seat where I wanted the design to be, cut just enough to cover really well, and then stapled it on- making sure it was very tight. The staples are VERY close together, just to ensure a very good fit.
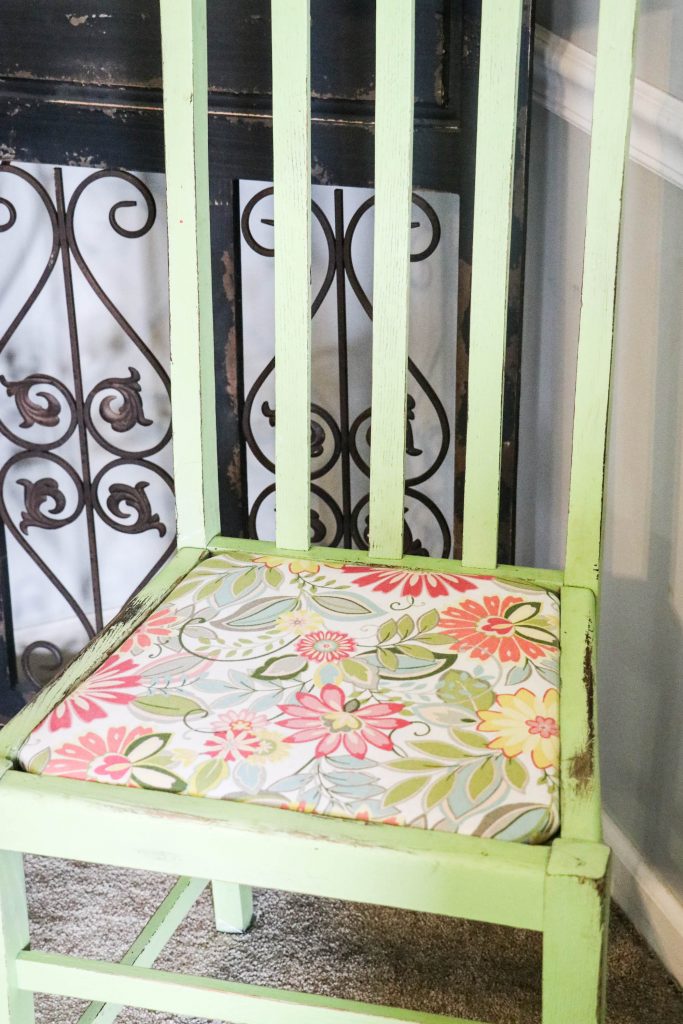
Is this fabric not the most GORGEOUS ever??? I shared a pic of just the fabric on my Facebook page, and it got rave reviews…but on a chair- it is even better!
Like I said, I am NO pro at this…so this was very much a beginners tutorial! haha but look how much of an EASY DIY upholstery project this is!
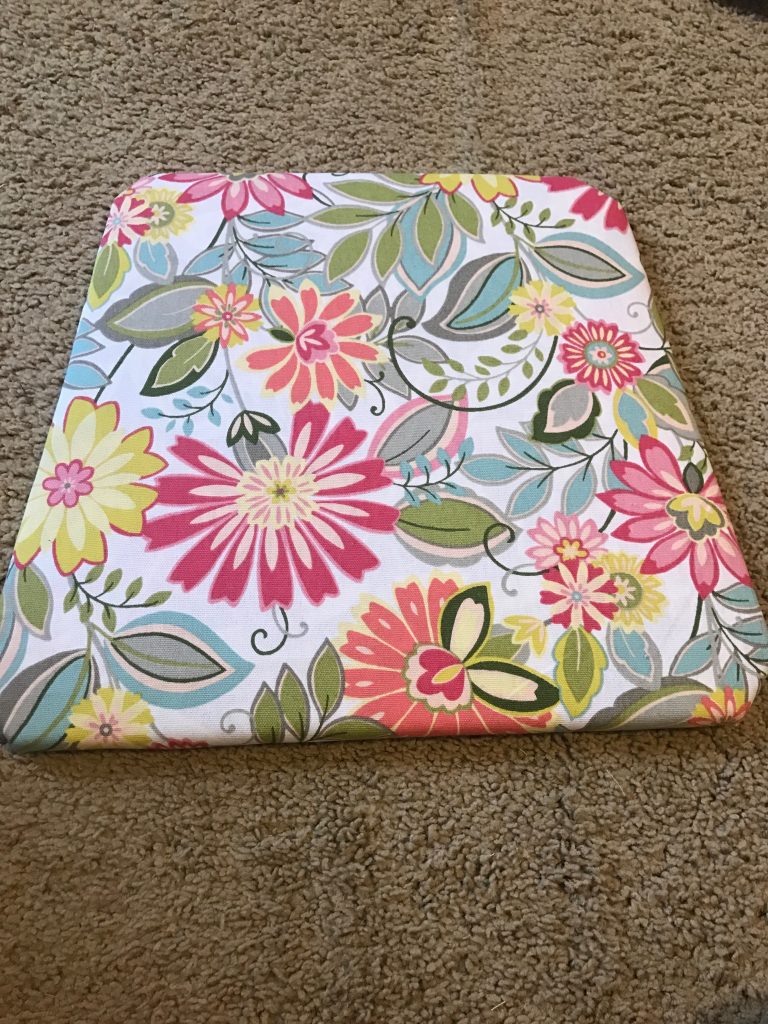
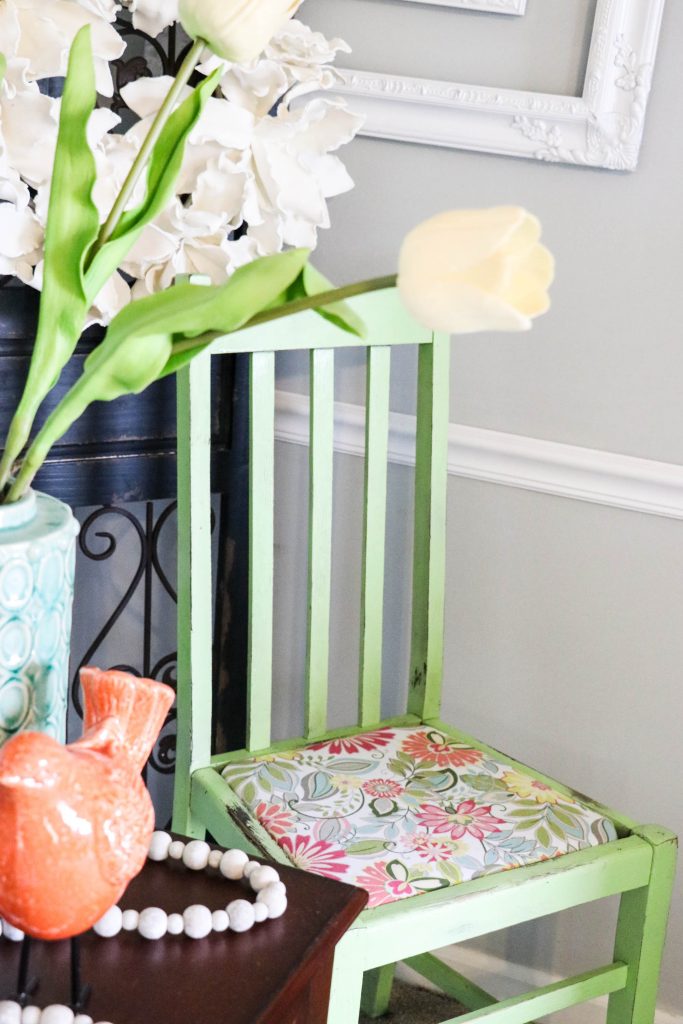
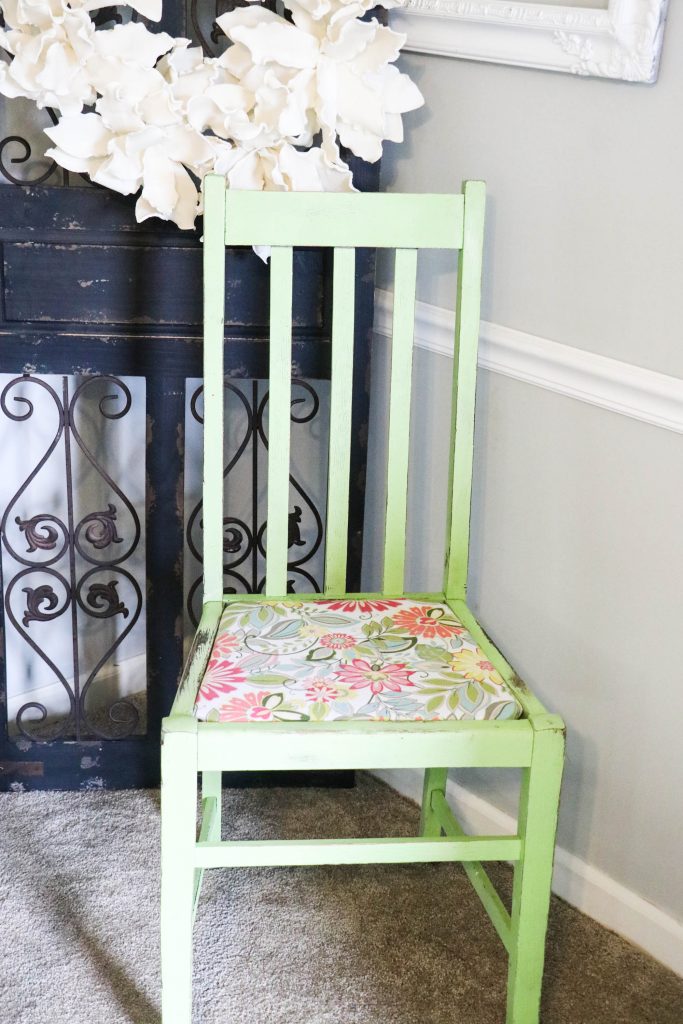
And here they are all finished!
(The table is still in the process of being finished, so I staged my chair to show it separately!)
Isn’t it crazy what just a little dab of fabric and a staple gun can do?
After I had all of these upholstered, I sprayed some Fabric Protect on them to keep them protected. I have heard it is amazing stuff to use, but this is my first time- so I will have to get back with you on how well it does. I mean, I do have a 4 and 6 year old…so if it can stand up to them- it is good stuff!
This whole project took me less than 30 minutes for all 4 chairs! Super EASY!
What do you want to change up in your home? What is holding you back from doing it!? Little changes can make you feel so good!
Pin this for later!
Are you following along on Social Media??? You should be!
Facebook/Instagram/Pinterest/Email
Last Updated on July 5, 2018



Hi, Brooke, I loved your black & white upholstery with the green chairs. And this multi-color floral is mighty cute! What I would suggest for your kiddos is to place a coordinating bath towel folded in half over their seat. Maybe in the pretty green matching the wood on the chairs. I would purchase 4 inexpensive green towels. If they get messy throw them in the washer. Or, if it is something you could spot clean, do that. Also, you could turn the slightly dirty side inside, and like magic you have another clean side! (Oh, and did you know you can spot clean with the household cleaning wipes that come in the canisters? I use the Dollar General brand, The price is great! I have used them on my work dresses and blouses, and they don’t leave those circles like water does when you spot clean in a restaurant bathroom sink. These same cleaning wipes are great for getting old coke stains and old coffee stains out of the carpet and upholstery in my car!) You can just get some cheap towels maybe at Walmart. If you want, you could grab some cheap hand towels and wash cloths for the kitchen, to make the dining chair seat towels look intentional.
I have used this trick not for kids but for my indoor cats, to train them to sit or lay on a certain spot on the sofa, or on the top back of the sofa, to keep that hair in one spot! And poof, when guests come over, you just grab up the towels and like magic, no cat hair! I have 2 off-white sofas.) Also, whenever I purchase a new bedspread, I purchase 2 or 3 matching bath towels for the cats to lay on so their long hair, or shedding fur stays on the towels, and they think they are being pampered with the soft towels. I place the towels for the bed at the foot of the bed. So, they learn to stay there, and also the sleep there too!
Well, Brooke, I hope you like my ideas, the towels will save you a lot of frustration and grief, because I noticed your new fabric has a white background. Oh, have you thought of painting your table white? Then you could go to Dollar General, and get some round green place mats the color of your chairs. Right now, they have a lot of melamine dinner plates in different patterns, and different colored place mats. If your store is out, remember you can order on-line.
I love your web-site and your gorgeous ideas! Thanks for sharing your wonderful talent!!!!
I love these!
Oh my gracious, I absolutely love this colorful fabric. The old was beautiful too. I am re modeling my kitchen due to a grease fry, I went in room to check on my Mom & forgot I had grease on stove. Shoot me some farmsyle looks on a budget. My house is over 100 years old , and we like to keep it as historic as we can.
I liked the before, but the after is absolutely gorgeous!
Thank you so much! ❤️
Thank you! ❤️