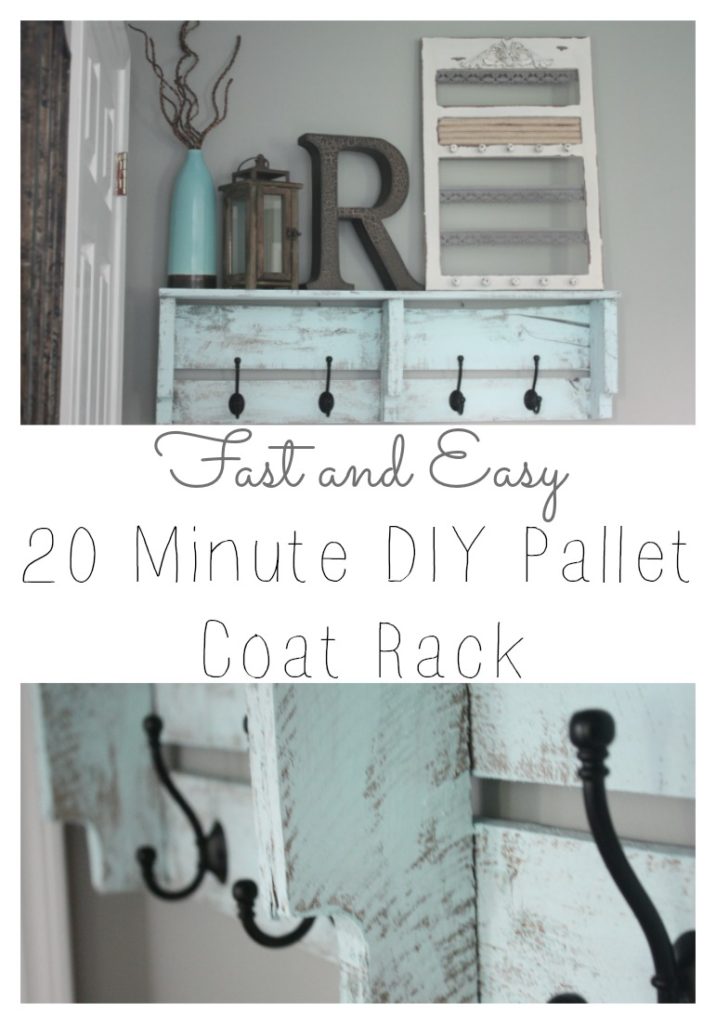
I am so excited to share this SUPER EASY DIY pallet coat rack with you today!
Be prepared for lots of pics 🙂 I like to be pretty detailed if I do a tutorial, although…I still manage to forget a step from time to time, so if I do~forgive me and just ask! {And… be prepared for a fine looking hunk in the photos. Sorry ladies…he is taken!}
So, let’s get going!
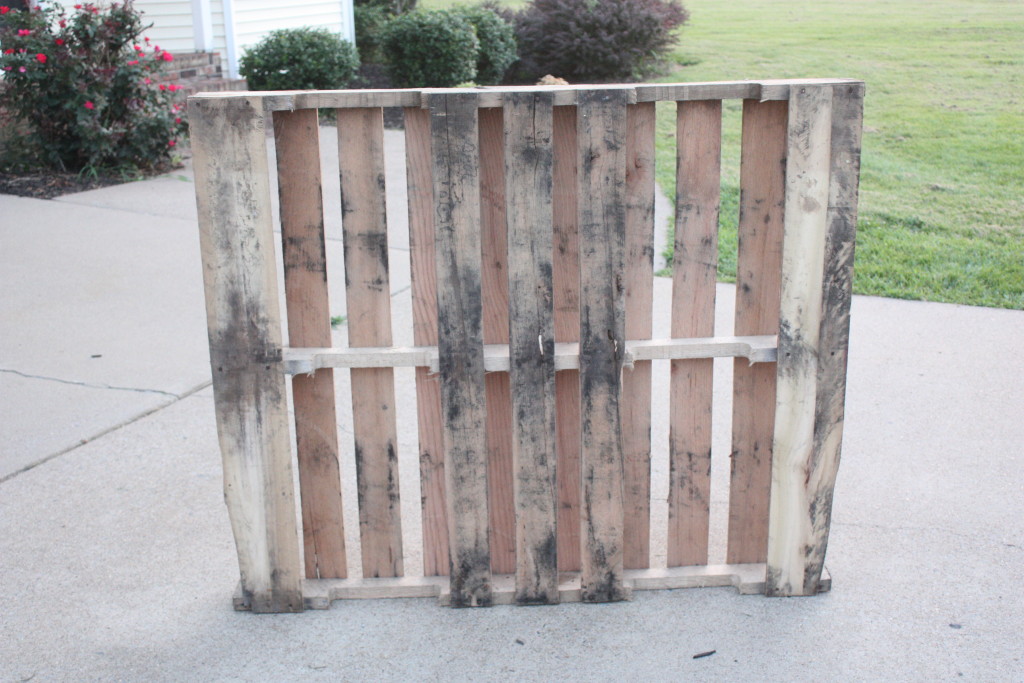
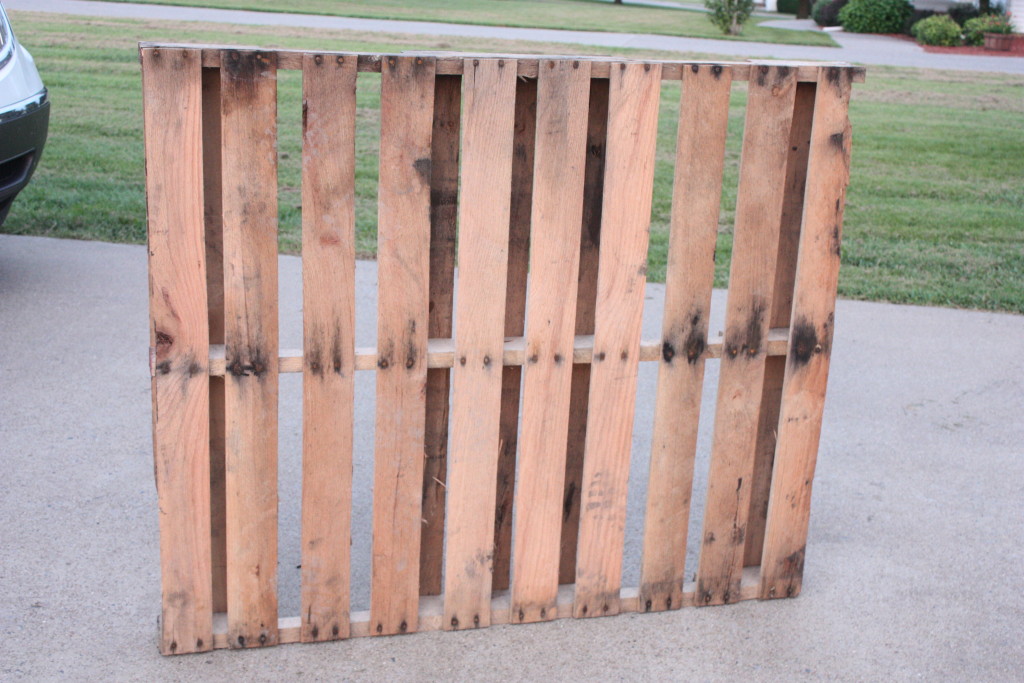
First off, find a pallet! (HA) There actually are certain types that are better than others. {I am lucky because I am able to find pallets all day long at my workplace and at my husband’s work for free.} ALL can be used to make a coat rack, but for the EASIEST way, chose one that is made like this one:
Ok..so after you find your pallet, you are ready to get started! This whole process takes my husband about 10 minutes {dead serious}.
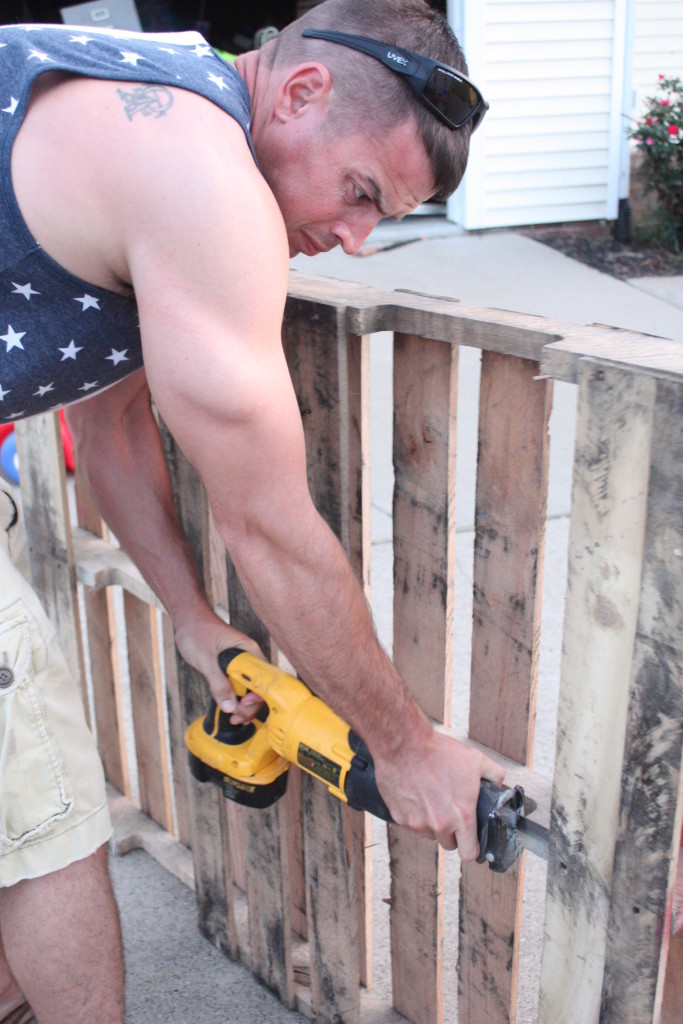
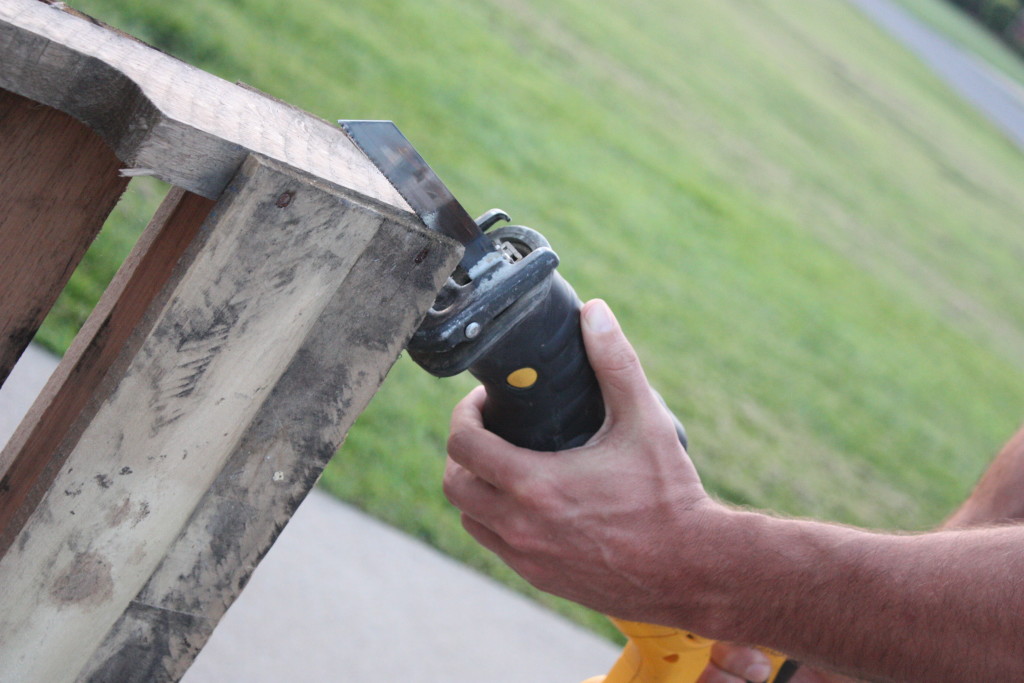
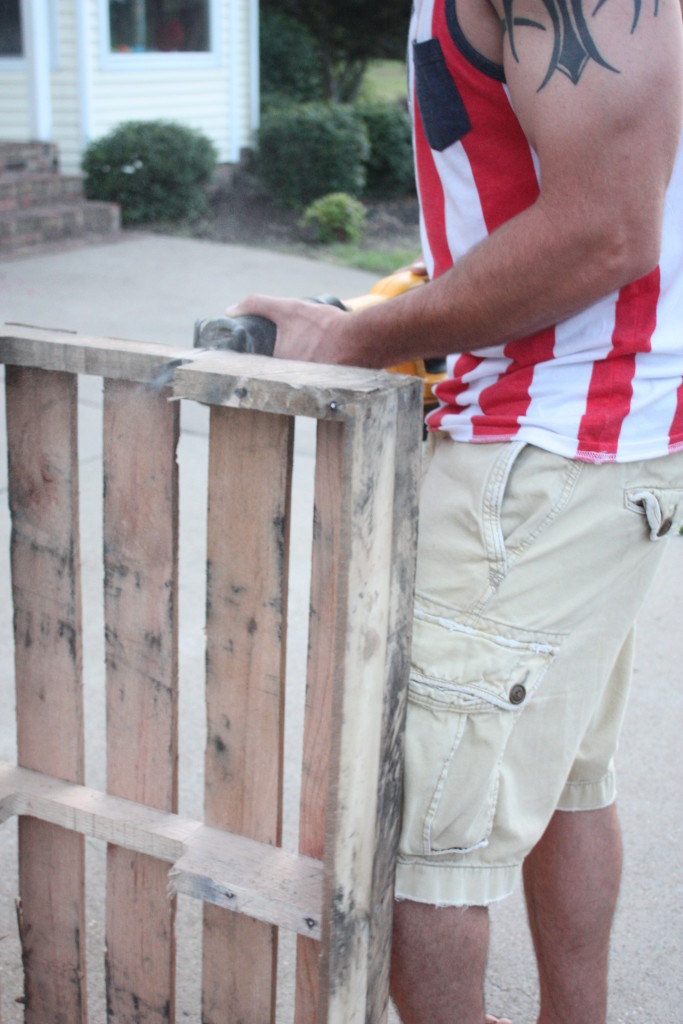
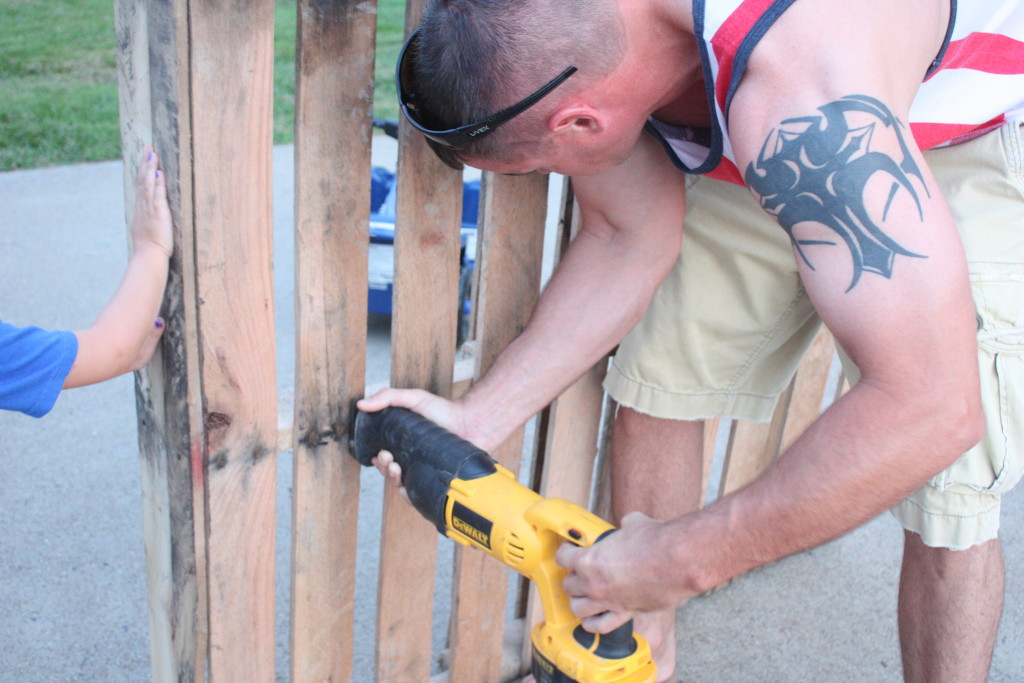
First, take a sawzall and cut off your end board. {Look at those muscles!} You will be using this board as your “shelf” later. It cuts right through the nails like nobody’s business. It may help to have someone holding the pallet because it really shakes. My hubs doesn’t need the help, but I know if I was doing it, I would.
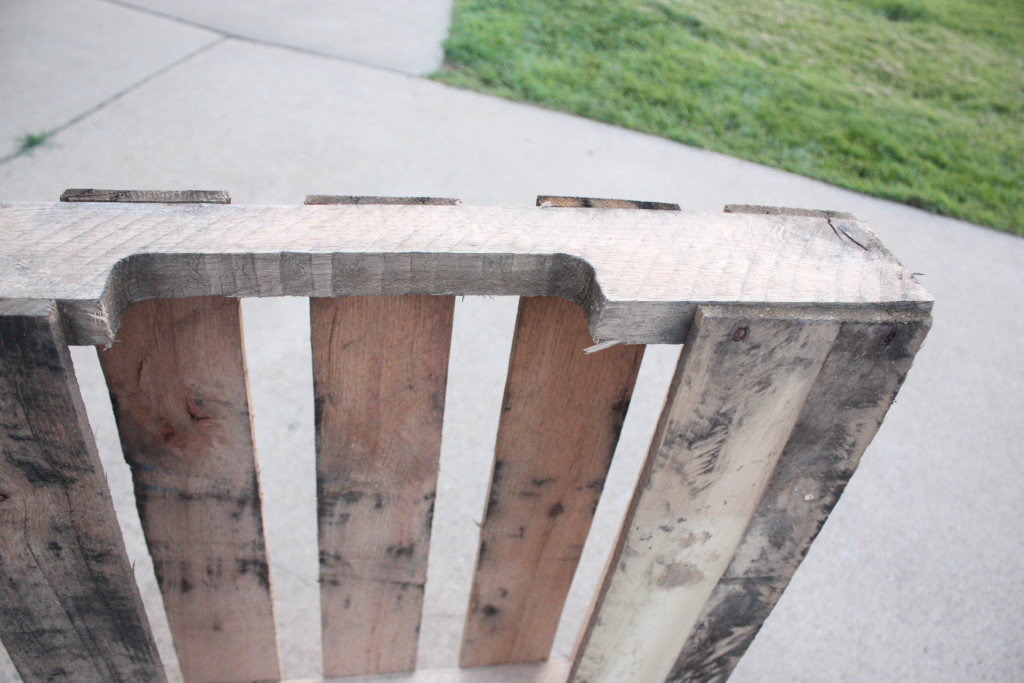
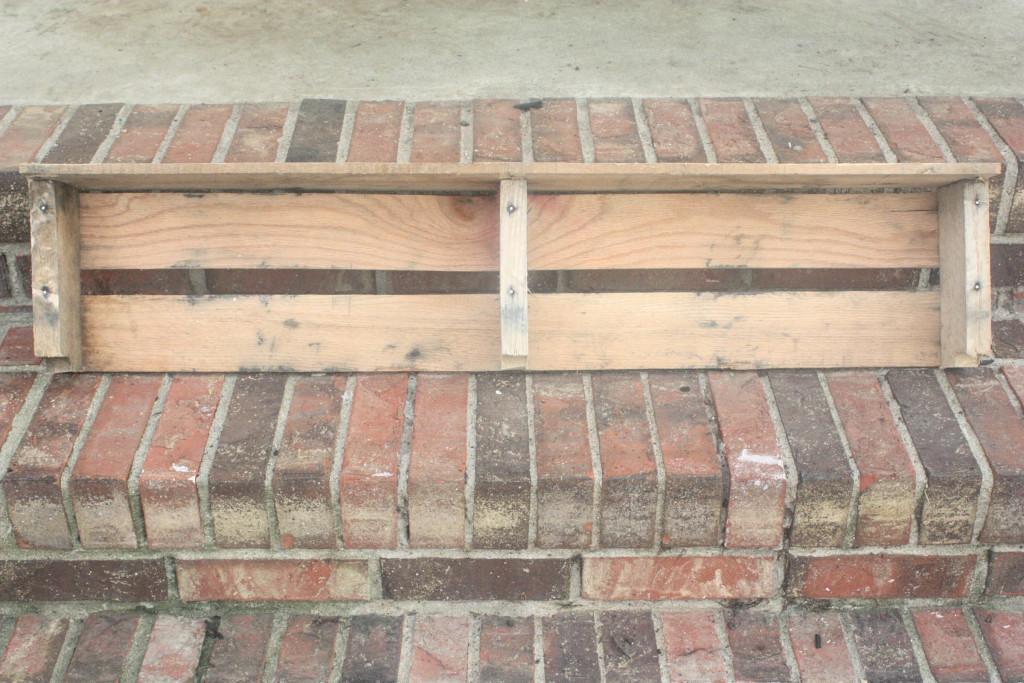
After you get the board cut off, you will take it and place it on top of the pallet. You can see in the picture very clearly where to place it.
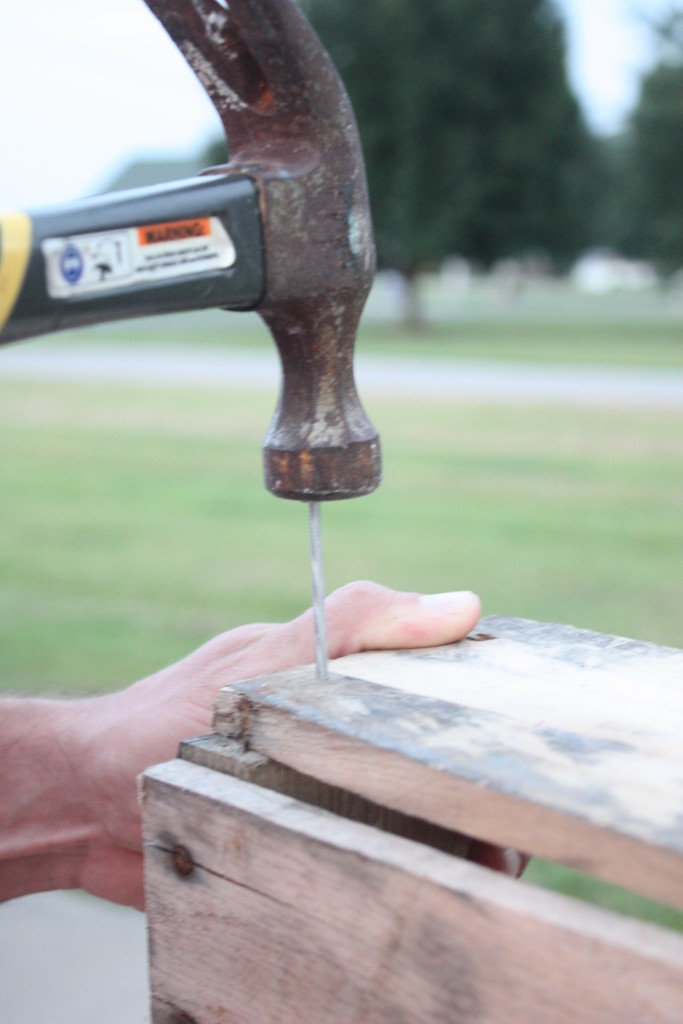
After you get the board placed across the top of the pallet, you are ready to nail it on. This board will be your shelf!
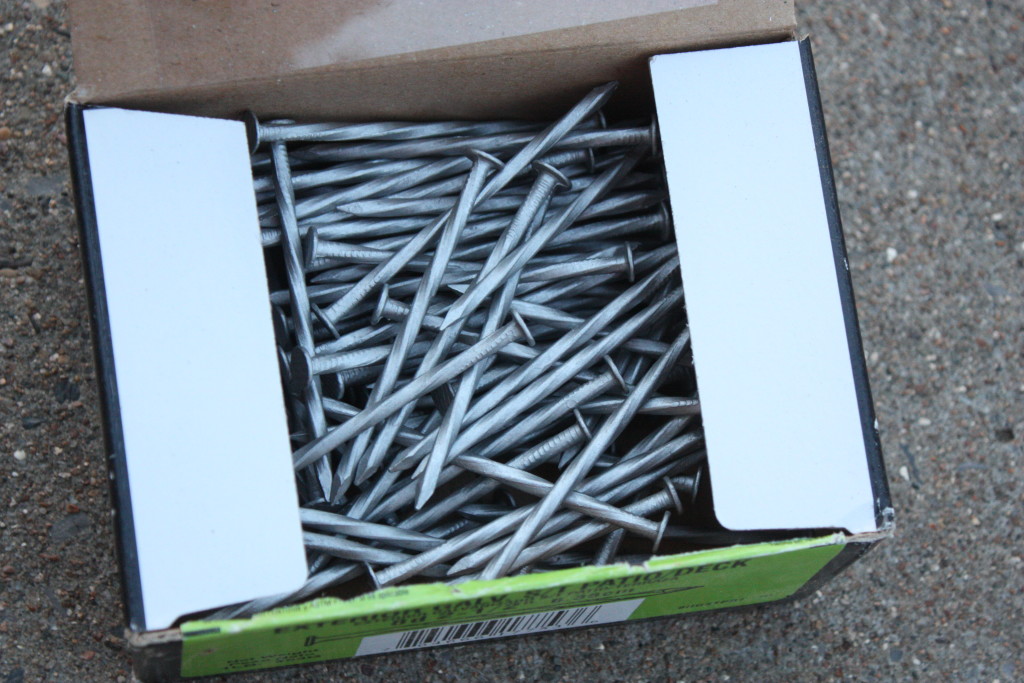
Mr. Re-fab says he likes to use these nails because they don’t back out as easily. You can use screws as well, but we like nails because it flows better with the “pallet look.” Now just nail each side on, and in the middle and you are finished with that part!
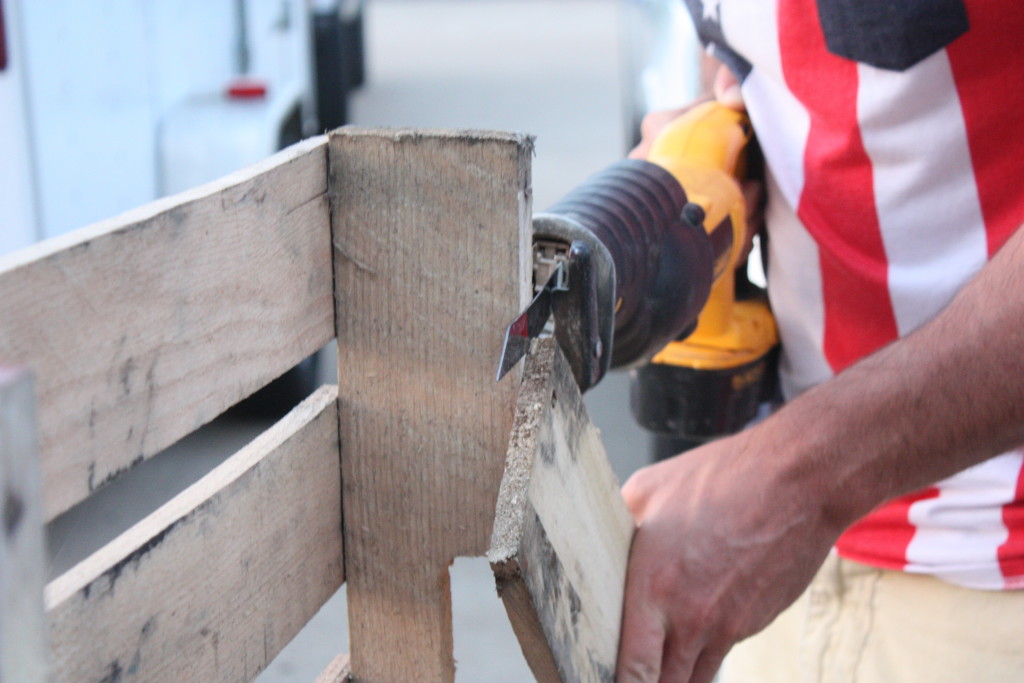
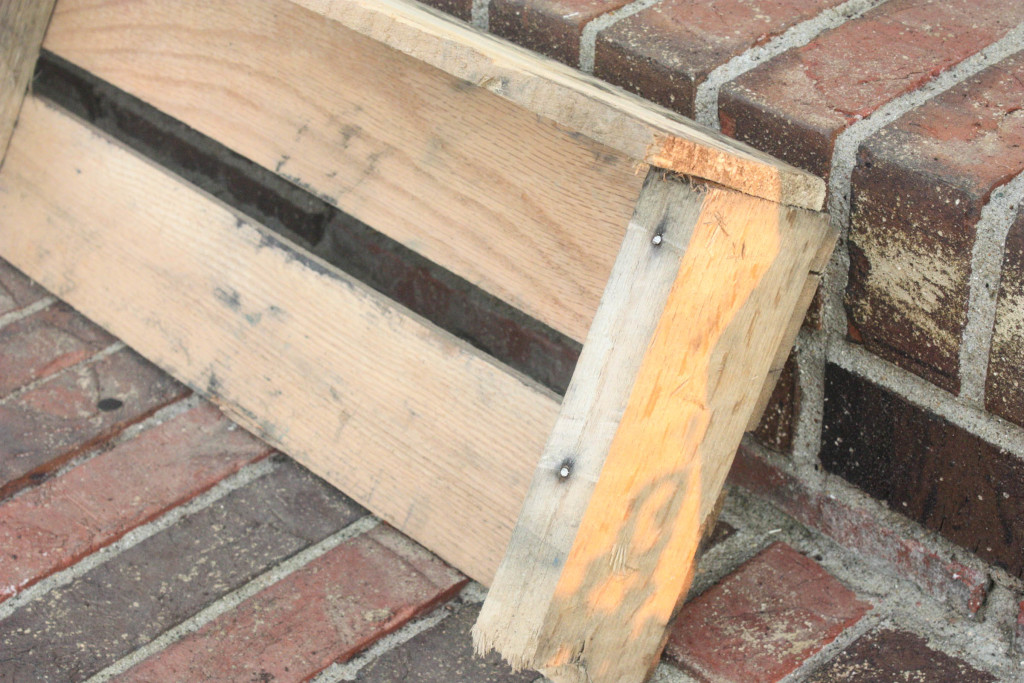
When you are finished nailing, you simply cut the board off right below the curve in the pallet.
Can you spot the little helping hands? She loves to help with projects 🙂
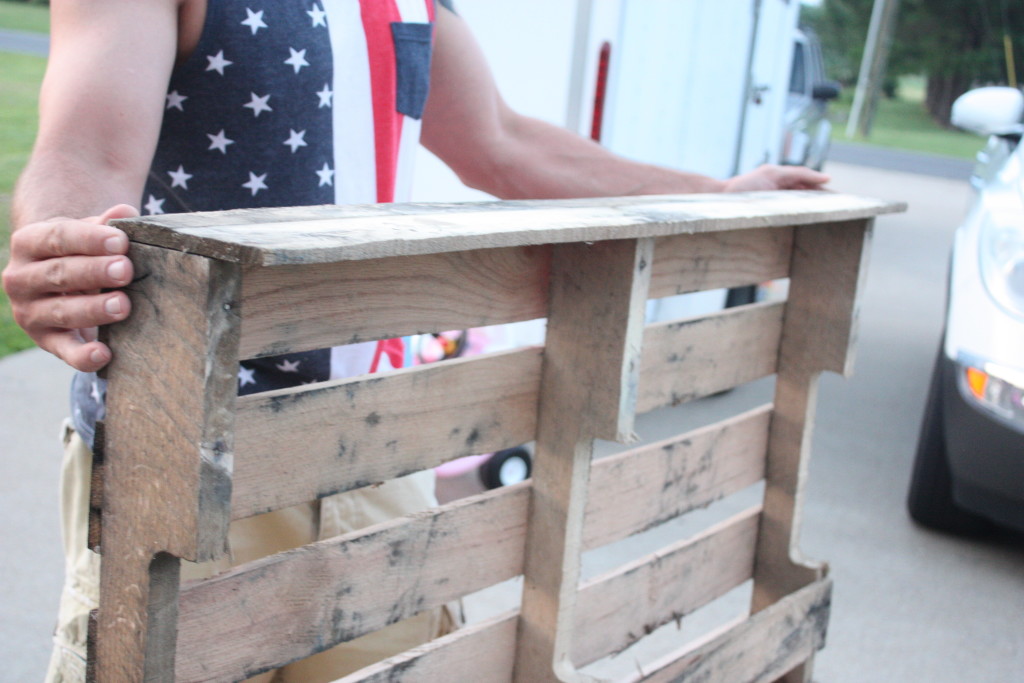
Here is the finished product! All it needs at this point is some sanding on the super rough areas {although I barely sand at all because I love the roughness of it}, painting or staining {if desired}, and adding hooks! I am serious when I say that this entire project, even the painting and hooks, takes about 20 minutes total.
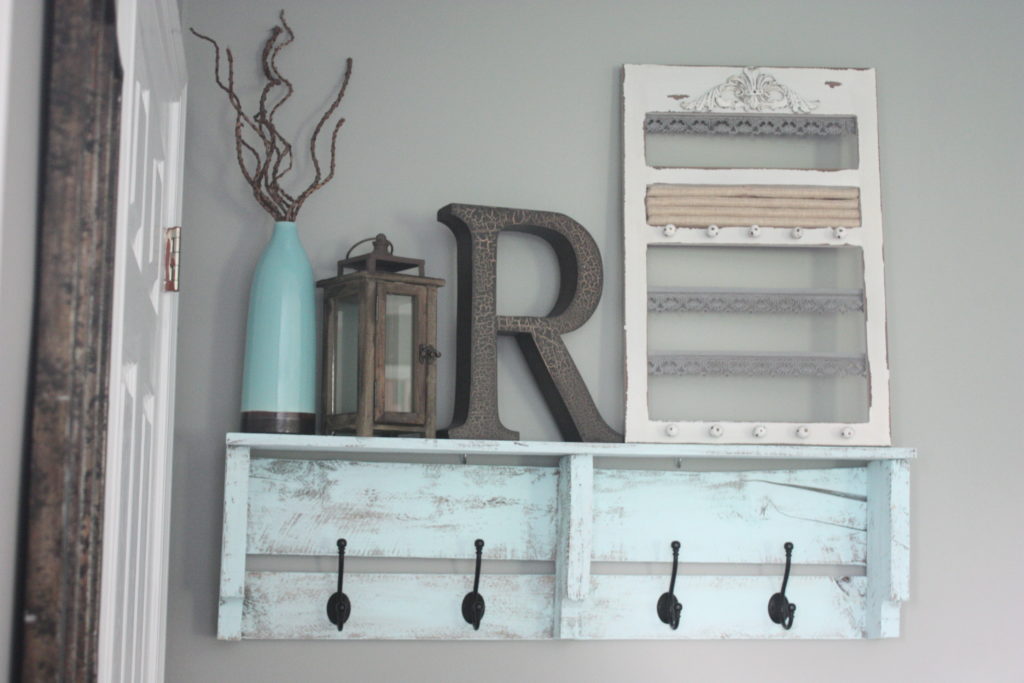
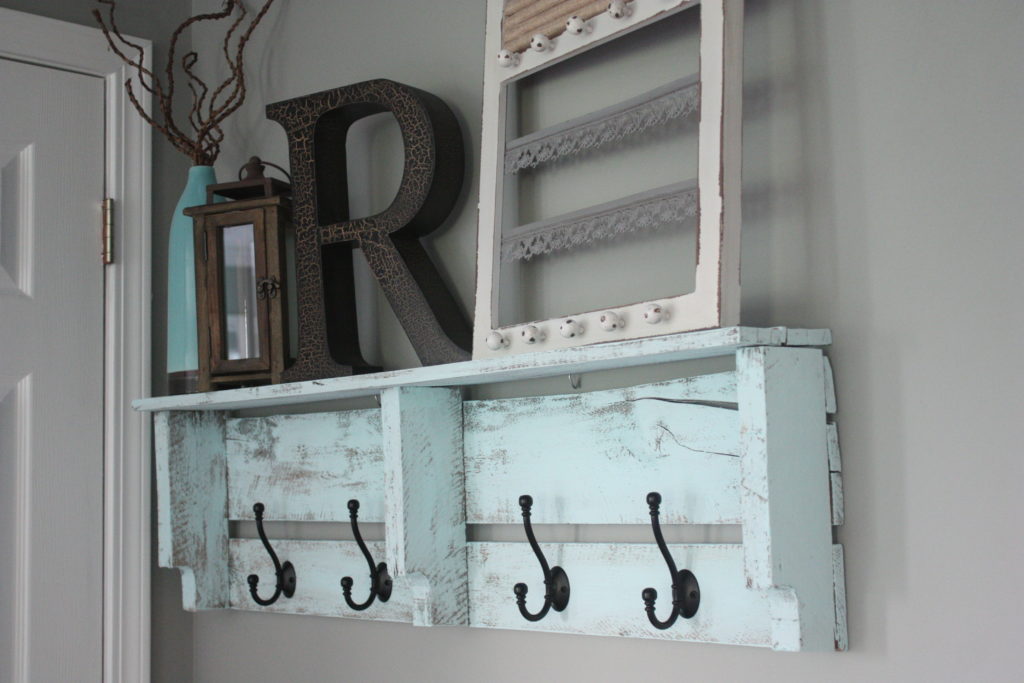
Now…let me show you one that I have hanging in my own house! It is slightly different than this one, although barely…it is the SAME exact process…so no difference there! The only difference is that the top board is a little larger.
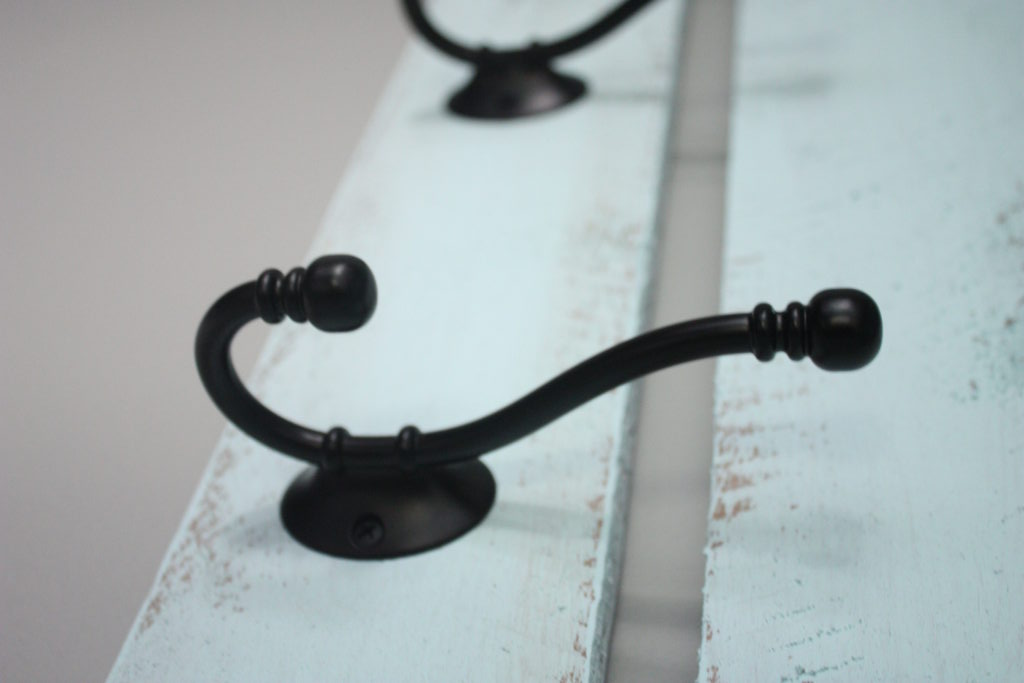
I painted this one Glacier by Vintage Market & Design. It is chalk paint, and I had it on hand at the time. I took a regular little chip brush and just barely went over the wood. I wanted it to look really worn, so I did not want good coverage. It took about 5 minutes 🙂 {This is such an easy, fun project!} The hooks came from Lowe’s, and they were around $4.00/each. With the rest of the project being free, they were the whole cost! So basically, for $16.00, I have a beautiful coat rack! How awesome is that?!
Well, that’s all folks! I told you it was easy!!
I am now trying to decide exactly how I am going to finish out the one that I showed you to earlier. I can’t decide if I want to leave it as is and add hooks or cool knobs…or if I want to paint and add hooks/knobs. I kind of like the idea of the rough, natural wood, but who knows 🙂 When I do decide, I will certainly share with ya!
I found several different hook options (plus MANY more not mentioned!) on Amazon. Possibilities are endless there for sure!*affiliate

Be sure to pin this for later so that you have this quick and easy diy at your fingertips!

Follow along on Social Media!
Instagram/Facebook/Twitter/Pinterest
Last Updated on August 24, 2021



Love it! I’m sharing on my FB page!
Katie
Thank you Katie! 🙂 I sure appreciate that!
love cheap easy pallet products this is cool, and the scenery was very nice lol i am 66 may be old but not dead yet xx
Thanks so much!
Chris Aka Monkey – just made me laugh – I thought he looked very nice too and I’m 63 and certainly not ‘passed it’ and certainly don’t look it – lol 🙂 Well that’s what people say anyway 😉 Well, that’s enough of the ‘destraction’ now to your coat hook – it looks great and obviously very useful. I also love the way you ‘show’ your items – with all your ‘bits’ and ‘bobs’ – it makes whatever your photographing look great. I need to think more like that myself in ‘arranging’ stuff – so that’s a good tip in itself for your ‘followers’ too – so thank you for showing us 🙂
Oh….. and by the way does Mr Re-Fab fancy a trip to Spain? 😉
HAHA you and Chris aka Monkey are making me laugh today! Thank you 🙂 I am pretty lucky girl. He likes to remind me of that sometimes too 😉 And great advice about the tip on arranging stuff! I need to do a post about that kind of thing sometime soon. Thanks so much! And there are days I would send him on a plane to Spain in a heartbeat! HAHA.
I love quick projects, especially pretty ones!
Me too!! Quick and Easy 🙂 Thank you!
Love this project Brooke! I like that it is a little shelf and a coat rack, such a great idea for a small entrance like mine.
Thank you Gilly! Sounds like you need to make one for your home 🙂 SO easy and quick!
This turned out just great, and I especially love that shade of blue and your gorgeous styling! I am featuring your coat rack at The Creative Circle link party today! Thanks for partying with us! I hope you’ll link up again so we can see what else you’ve been up to!
Thank you, Angela! So excited to be featured. I enjoy your party and will certainly be back. Have a great day!
Oh my goodness. I have seen these and have just never thought about their working (holding the weight they claim.) thank you and again you pallet project is great.
Thanks so much Lane! They do work very well!!
Love it. Don’t we love pallets? One question…what do you use to hang it with so that when a child grabs his coat, he doesn’t take the coat rack with him?
Thank you so much! We used monkey hooks, and they have held up VERY good! We have a 2 and 4 year old, so there is a LOT of pulling!
I wondered the same thing as well about the mounting in the back. Thanks for answering it.
WOW!! This is just fabulous! Check out my version at http://www.lovesthefind.com/2015/10/pallet-coat-racks.html
Love this! Also, what color did you paint your walls? The blue shelf looks great with that color!
Thank you very much! The wall color is Valspar Wet Cement.
Wow. I love it! I have those same hooks everywhere in my house – the best! Pinned!
Thank you so much, Christina!! 😀
Omg. Your readers are so funny! Great project. Anything with a pallet and painted turquoise is a hit with me.
LOL I know! I was cracking up! Thank you very much!
This is awesome! I love what you did 🙂
Thank you so much, Lindi!
Brooke this is soo fun! I love seeing what creative things can be made with pallets. This is so beautiful and farmhouse chicness!
Thank you Stephanie!! 🙂
This is super cute! Thank you for the great instructions. You mentioned that you used monkey hooks to hang the rack. What did you attach to the back of the rack to hang on the monkey hooks? I’m a newbie at projects so would appreciate any guidance!
I have read so many posts on the topic of the blogger lovers except this article is really a pleasant article, keep it up.
How awesome!! Thanks for the detailed steps; I have a partial pallet like this sitting outside and I was thinking of doing something similar; it’s real heavy though so not sure if I can secure it safely to my wall…plus I don’t have a hubby with amazing arms like yours to help (seriously ripped!!!! LOL) What exactly are “monkey hooks that you mentioned?