Well friends, this project has already went in a million directions, and to be honest with you, I am not 100% sure that I am finished, even now! Let me explain. I had this wonderful idea that I wanted to take some pallet boards that I had on hand and attach modge podge letters to spell my last name. I had some vintage papers that I had recently gotten, and they were going to be the perfect combination for my letters. So, I got to work!
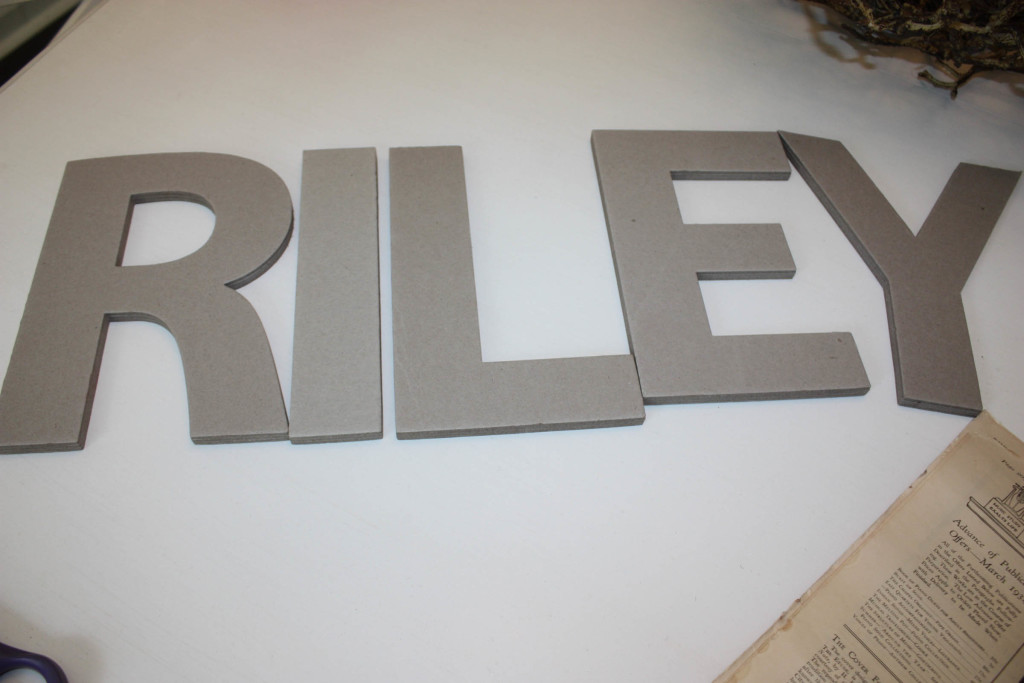
I laid my letters out in a line and had my papers out, ready to get these bad boys covered.
*My letters are chipboard letters from Hobby Lobby, and they were only $1.00/each, and my vintage papers were only $1.00~hence my $6.00 total! All of my other supplies I already had on hand!*
(For a full tutorial on how to modge podge letters, see my previous post)
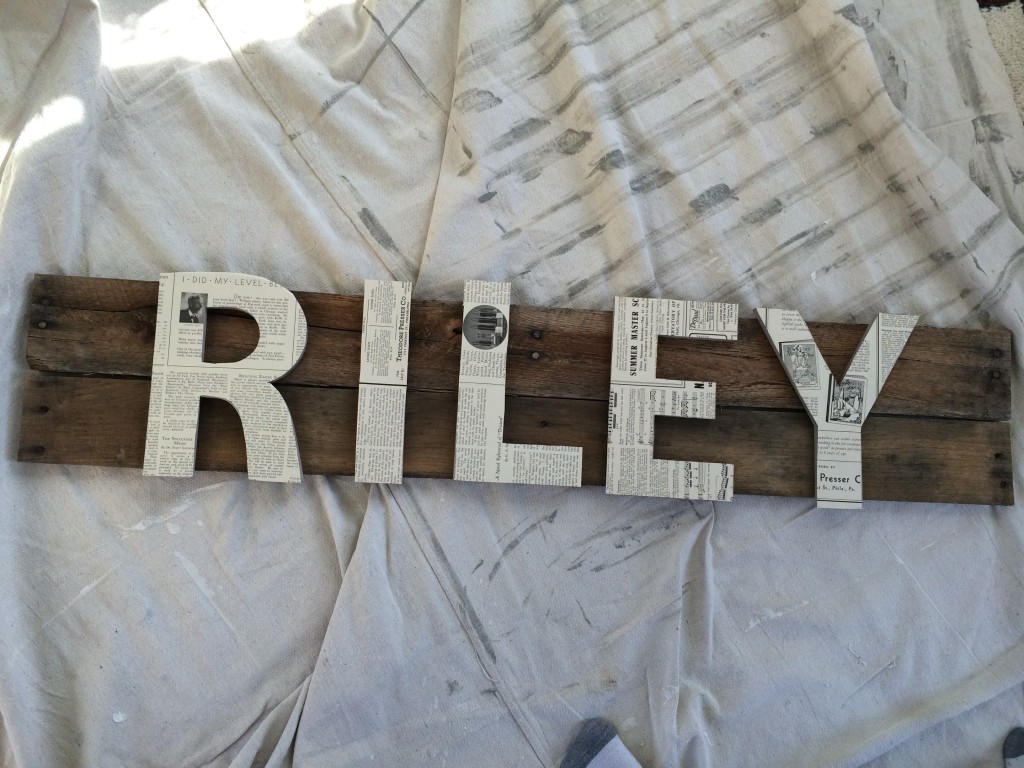
After I had finished each letter, I laid them out on my pallet boards. I simply took 2 boards that were already cut off the original pallet, and laid them up next to each other as close as they would go. In this picture, nothing had been officially attached.
I thought it had a really cool look to it, so I attached the boards by hot gluing them together. They were VERY sturdy, so I proceeded with hot gluing each of my letters to the boards.
Now it was time to see how this was going to look in my living room!
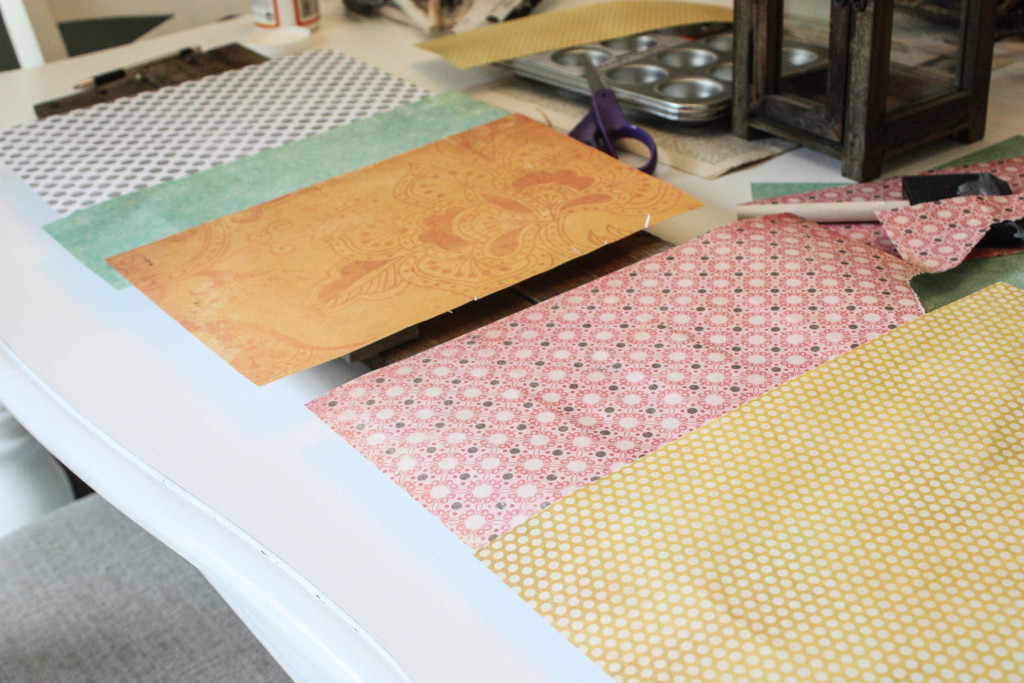
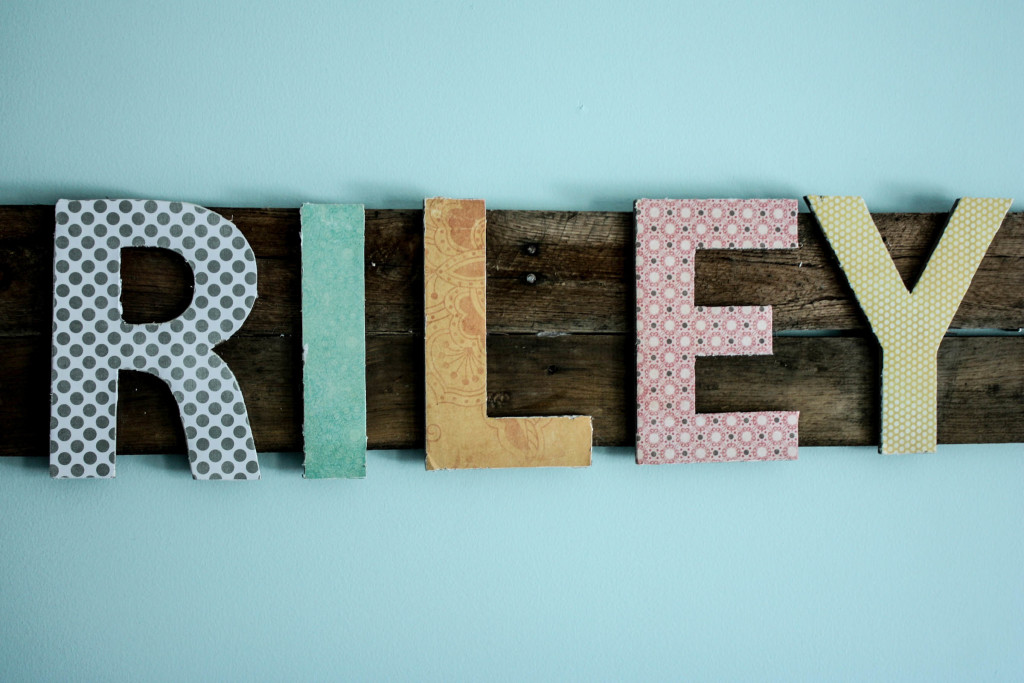
Well, isn’t that a dandy?! I did NOT measure for the space that I was wanting to hang this sign (WHY?! What an idiot.) This sign was too big. It would not fit. I truly only had one other place that this would work, and it was in my bedroom above my bed. I have been needing something in that space anyway, so I gave it try. No. This was not going to work there. Why? Because it did not match the look of my room AT.ALL. Frustration set in. UGH! I loved this sign, and I really wanted to use it…but it was not going to happen, not unless I re-did the letters to match my room. So I did. I gathered up some scrapbook paper that I had on hand and got to work…in a different fashion than usual because remember- these are HOT GLUED onto the boards and they are not coming off easily!
SO, I decided to leave them on, apply the modge podge to the existing paper, and cover them as they are. I had never done this before, so it was a new experience. It wasn’t hard, but it was much more time consuming than the original way! (Take my advice and learn from my mistakes- MEASURE your space!)
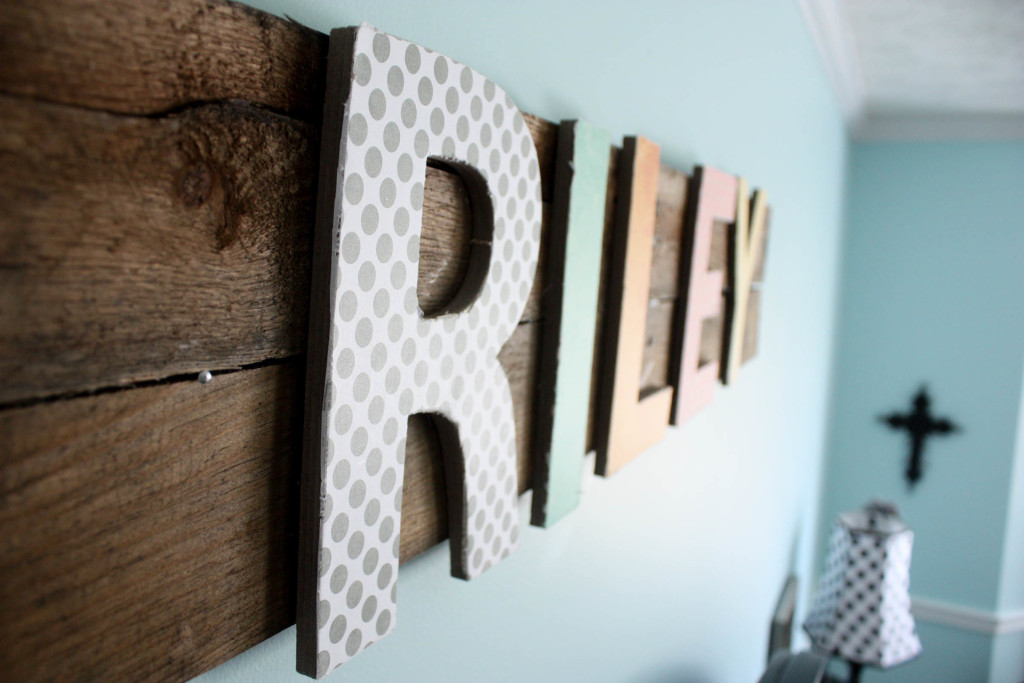
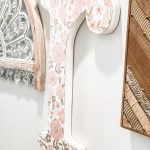
After I had modge podged the paper on all of the letters, I took my scissors and cut the letters out. After I had them cut, I took a piece of sand paper and sanded the edges down to give them a rugged look. (Since the pallet itself was somewhat rugged, I liked the idea of having my letters “not perfect”.)
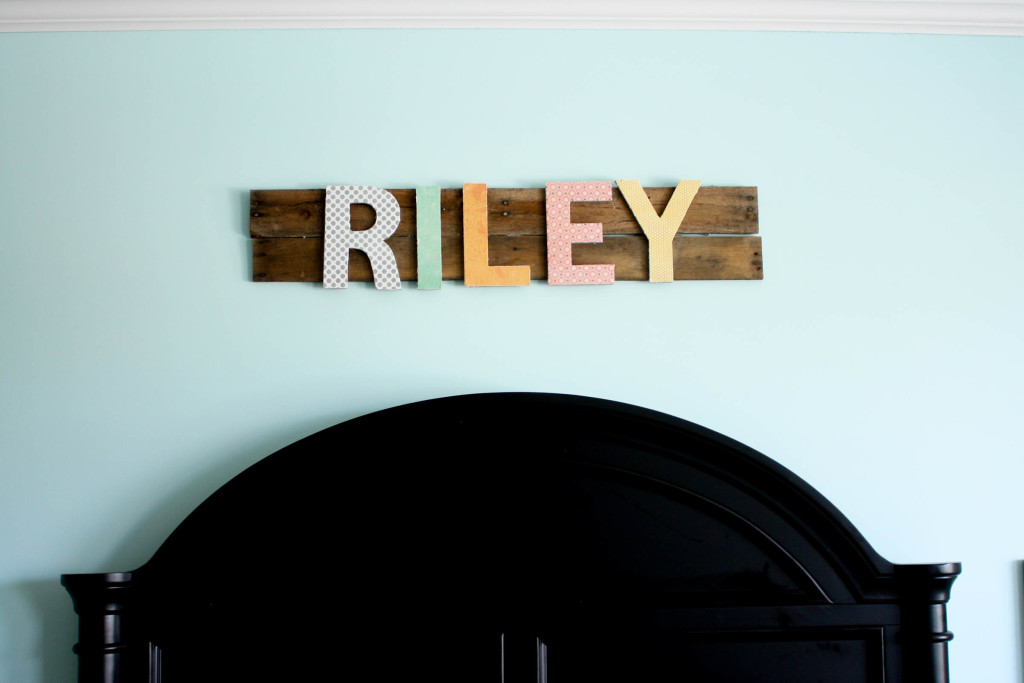
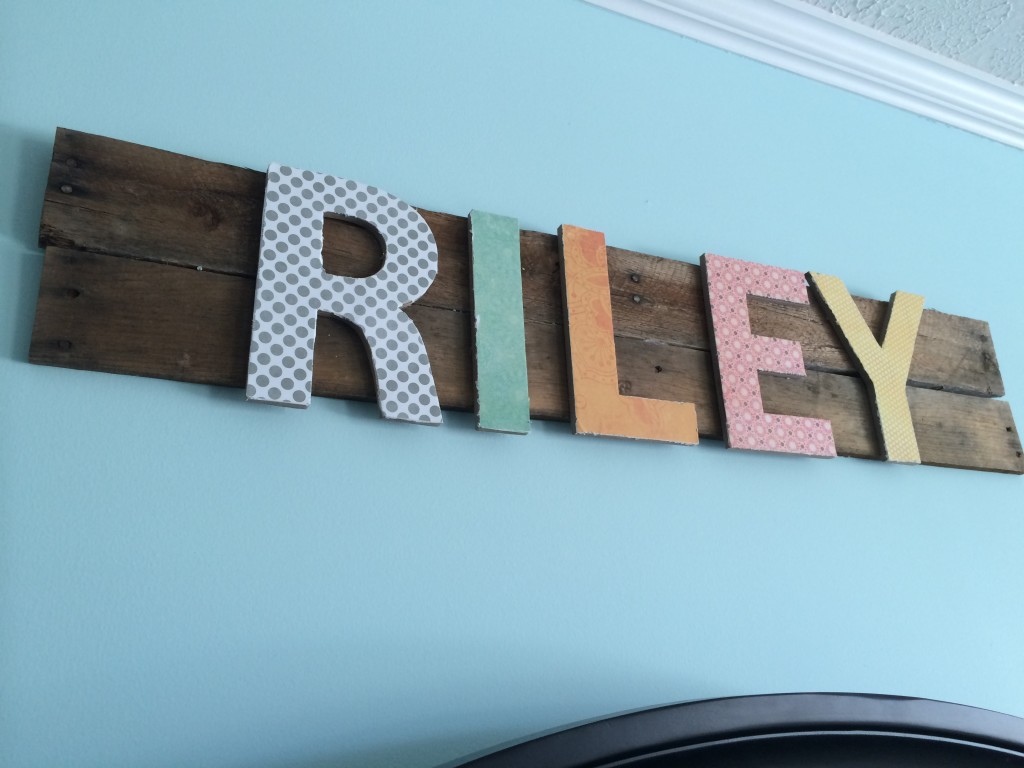
When I had it all completed (for the second time), I had my husband hang it over the bed!
I think it turned out SO cute!! I still haven’t decided if over my bed is the perfect spot for this, but there is no doubt that if it isn’t, there is somewhere for it! I just love it! (And for a mere $6.00!!!)
So, what do you think of my $6.00 pallet sign?! Is it something you would like to give a whirl? Trust me, you CAN do it~and it will be fabulous! Just remember…measure your space first or you may be like me and have an awesome sign but nowhere to put it!
Last Updated on May 13, 2016

love this both ways xx
Thank you!!! 🙂