Ahhhhh….the good ole Dollar Tree, otherwise known as Heaven on Earth. The place where you can walk in like a rockstar and buy ANYTHING you want!
Y’all know I love a good Dollar Tree makeover, and this one is no exception…BUT I want to start off by saying that this makeover is one of those that you gotta work through the UGLY to get to the PRETTY. It is a classic example, or at least it was for me anyway- yours may be nice and sleek the whole time!
So, let’s get started!
What you need for this project:
Dollar Tree pumpkin cut out
Hot glue gun
2 pieces of scrapbook paper (mine is polka dot and stripe)
Fabric of your choice
11×14 white canvas
Scissors
Pen or pencil for tracing
Mod Podge
Any embellishments for the eyes and mouth, stem, bow, etc…
Let me show you what I did step by step. This kinda felt like the long way around, if I am being totally honest- so please….feel free to try your own way too!
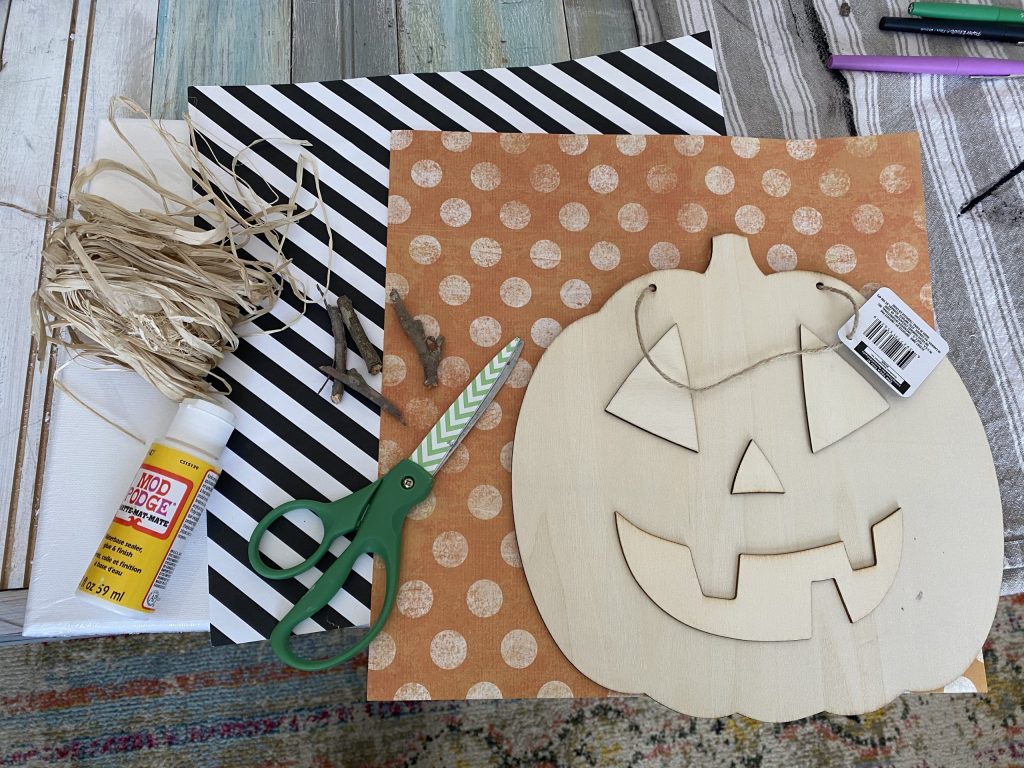
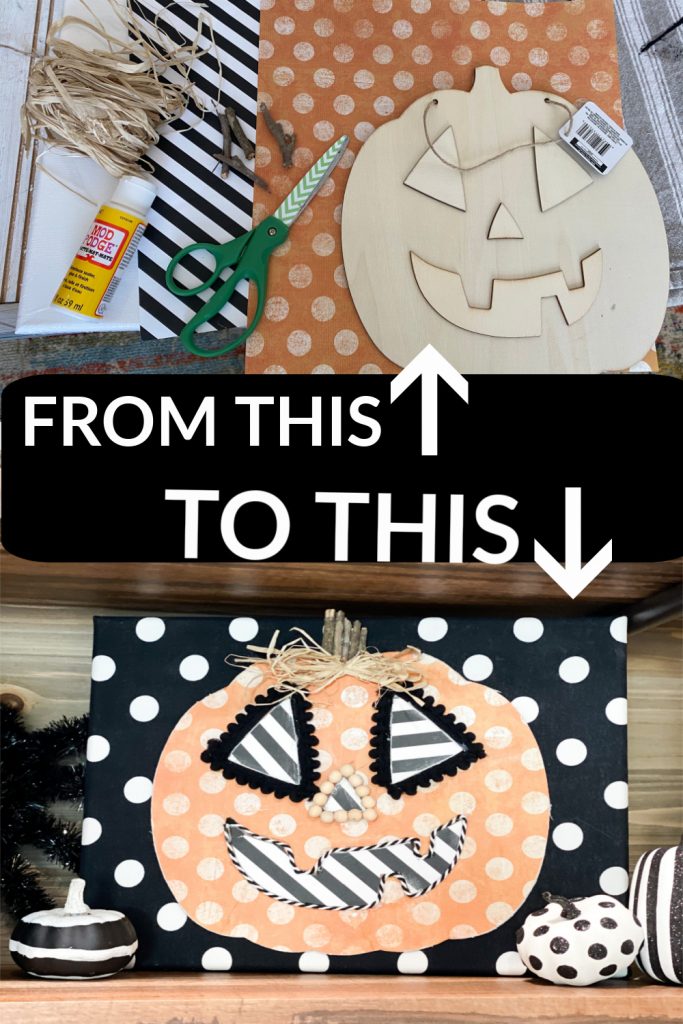
I started off by taking my piece of scrapbook paper and tracing the pumpkin! I then mod podged it onto the wood piece. YES, even over the eyes and mouth!
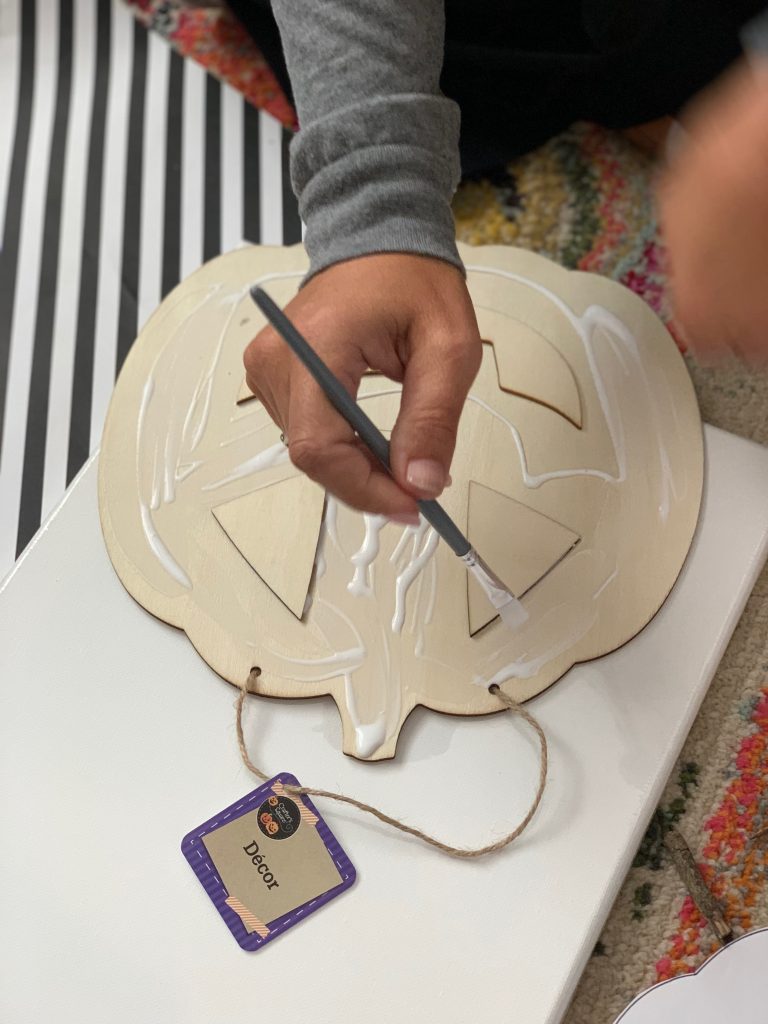
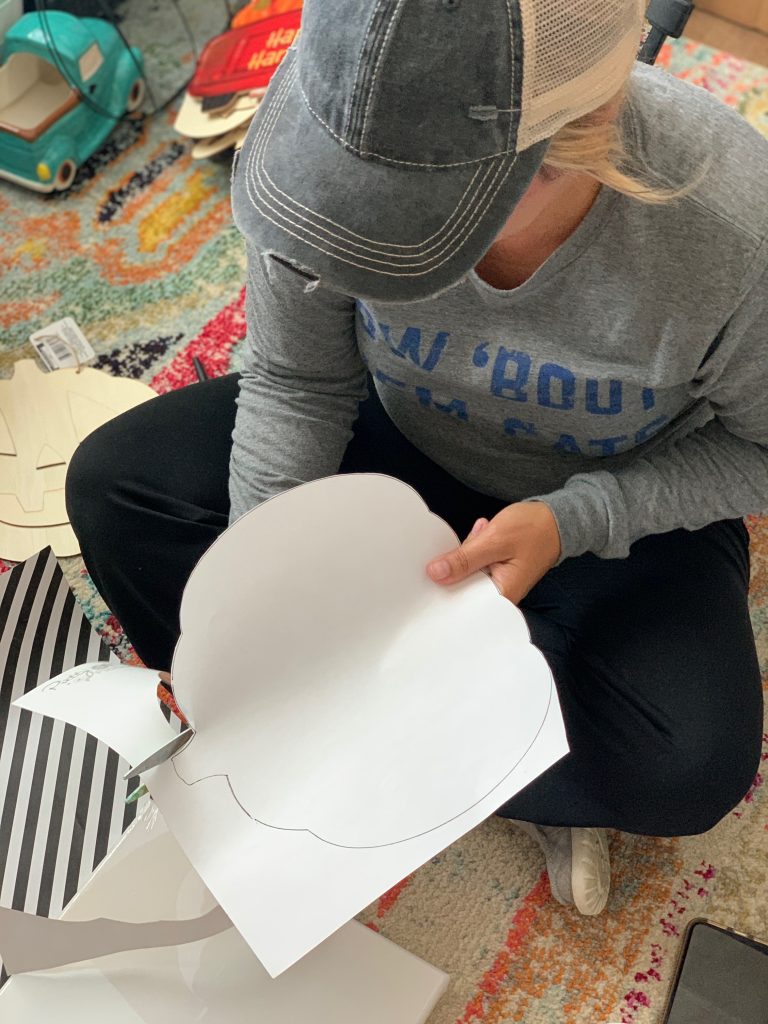
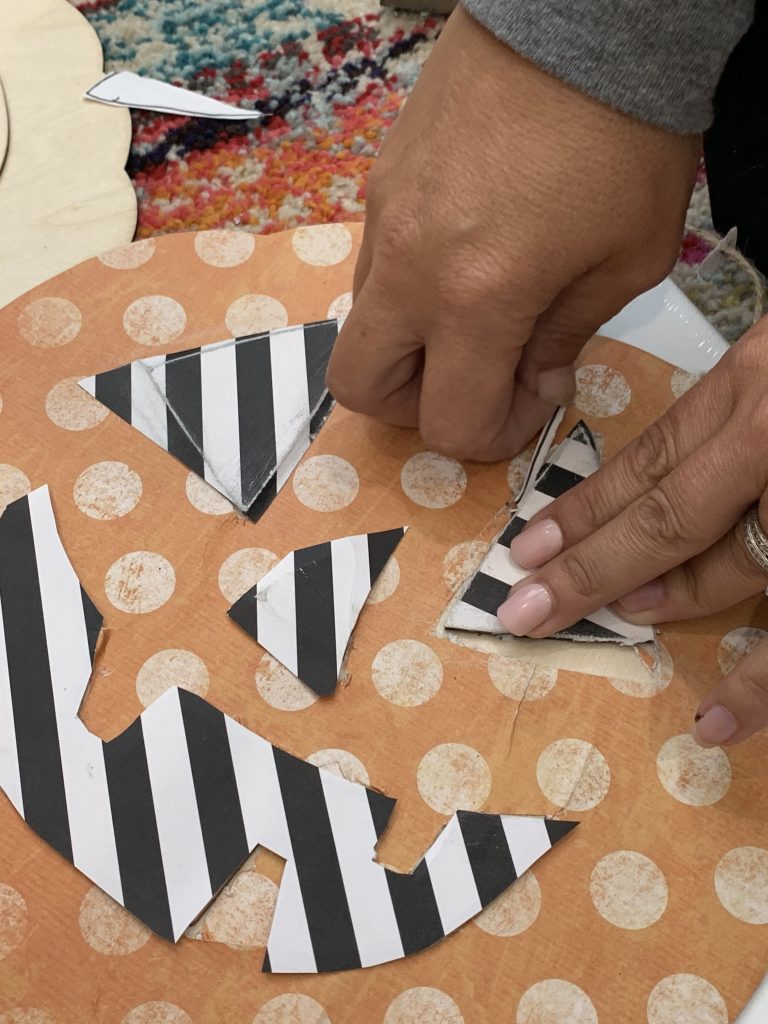
As you can see below, I then took my scissors (a knife or box cutter would be better) and cut around the pieces of eyes and mouth that stood out.
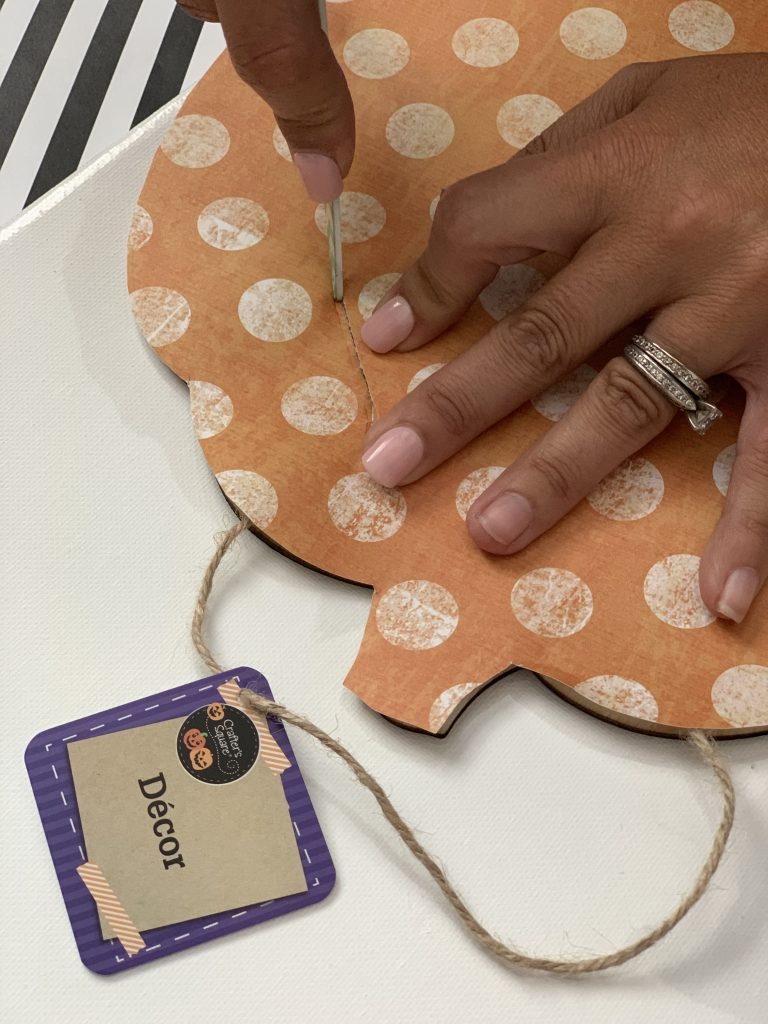
Once I cut the mouth and eyes out, it looked rough as a cobb…but that’s ok!!!
I told y’all it was look worse before it looked better, and I ain’t lyin!
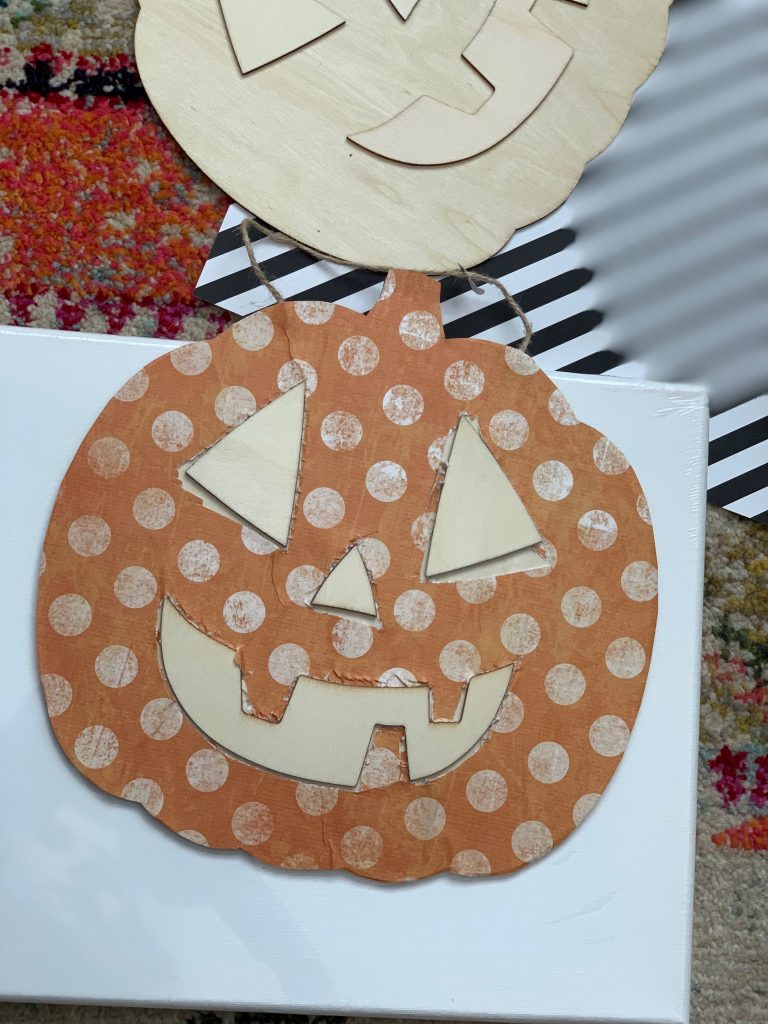
Now that your eyes and mouth are ready for some love, let’s move on to that step!
Trace those eyes and mouth with your other piece of scrapbook paper that you want to use to accent. Mine is black and white striped!
You may notice that I am tracing on a pmpkin that hasn’t been mod podged yet. That is because I had TWO, so I am using the fresh one to trace. You do NOT have to do this!
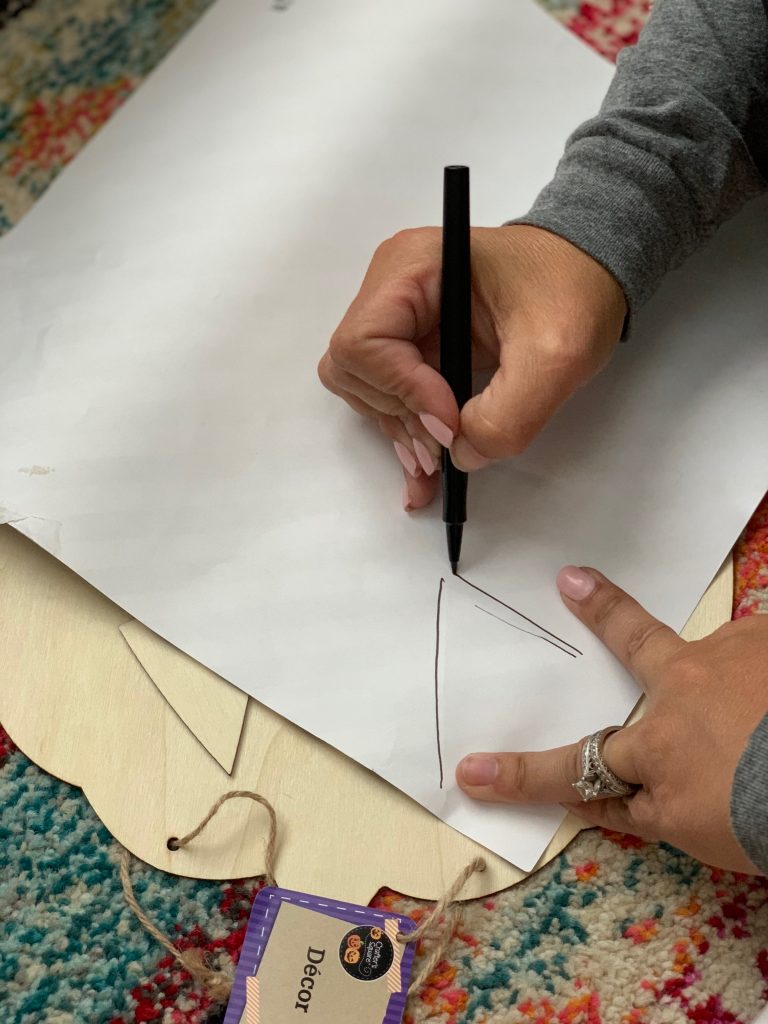
After tracing these, just cut them out and mod podge them onto your face. I cut mine a little larger so they would hang over and help hide some of my severe imperfections! LOL
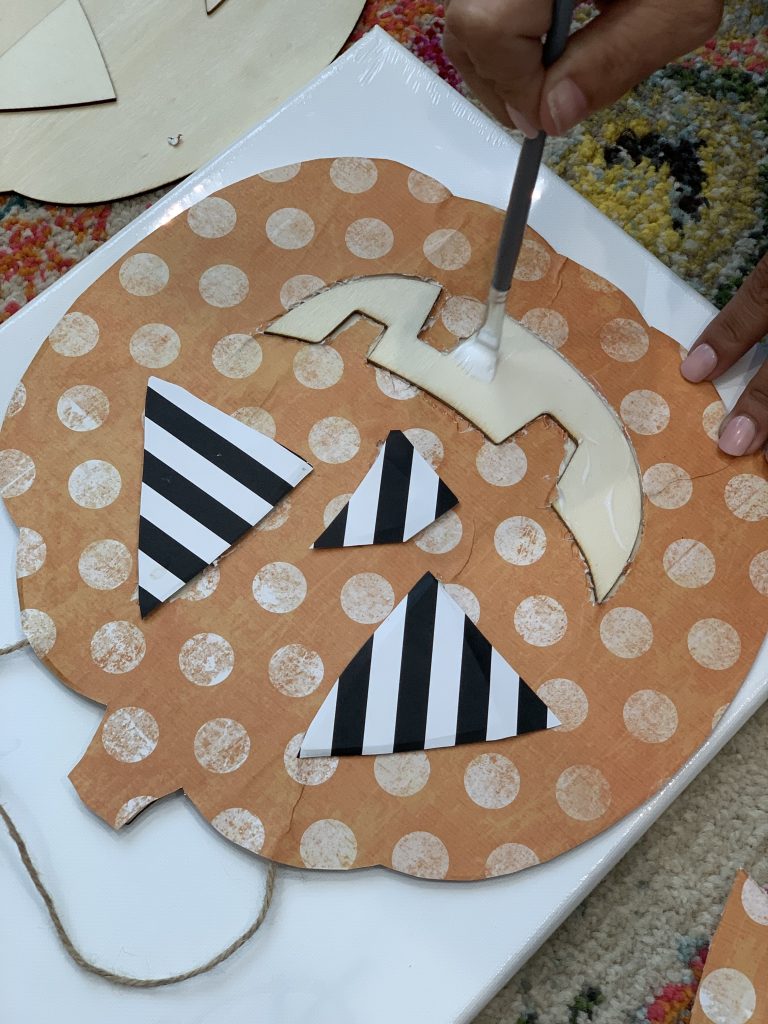
As you see above, I did NOT worry about how straight they were. I sanded the edges, so that part doesn’t matter yet.
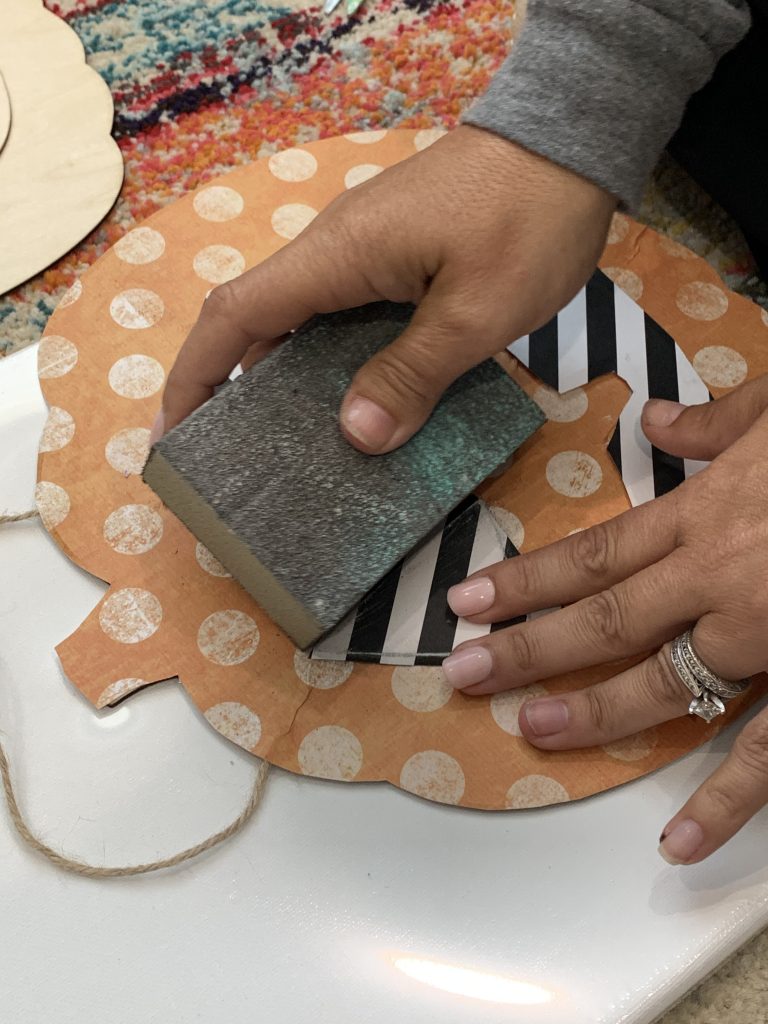
This is what it looked like after sanding the edges. They pulled off super easy!
Now that all of our paper is covering the face and we have it all fixed up, we need to FIX those imperfections by adding embellishing!
I had lots of random ribbon choices in black and white to match, so it was a no brainer to use that for this project!
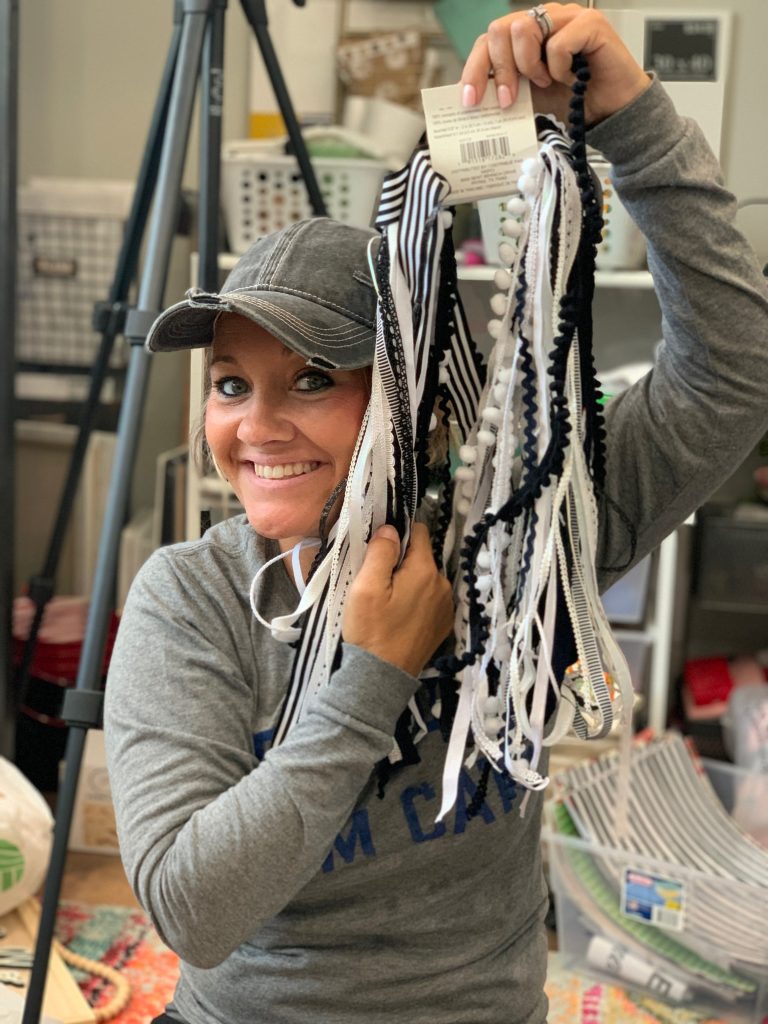
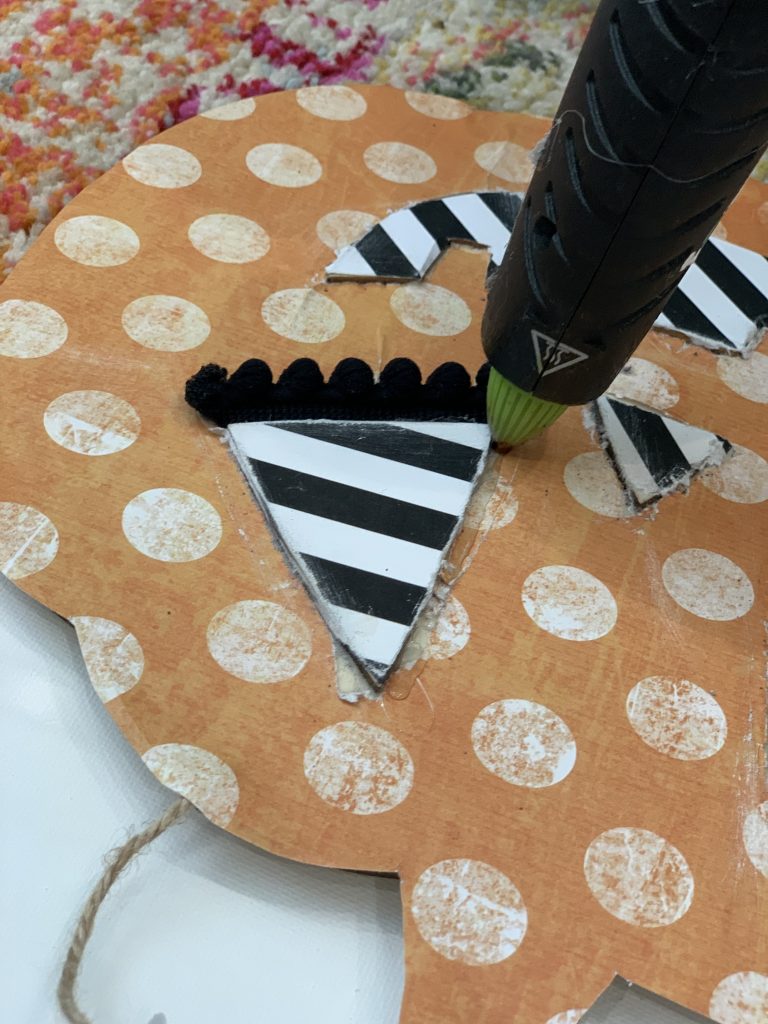
Just hot glue the embellishing of your choice around the facial features for a FUN look! I used this little pom pom ribbon around the eyes and LOVED IT!
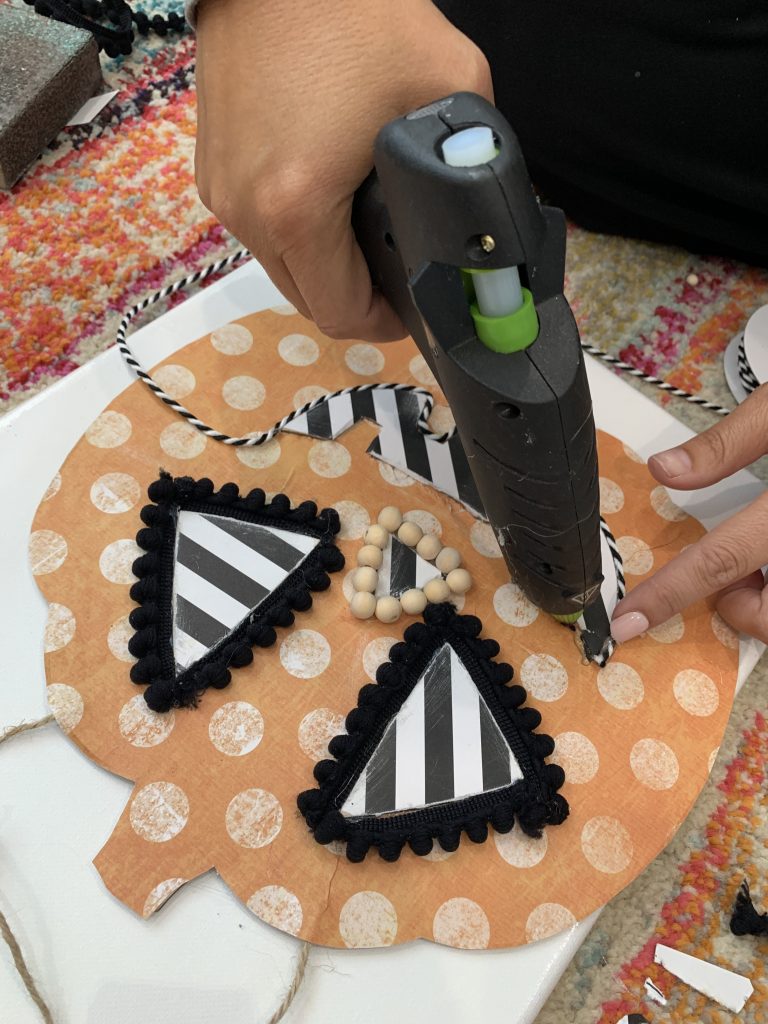
Instead of doing the same thing on each facial feature, I mixed it up a tad. I used mini wood beads on the nose and the rope ribbon stuff (I don’t know what it is called LOL) on the mouth!
Now, onto the canvas.
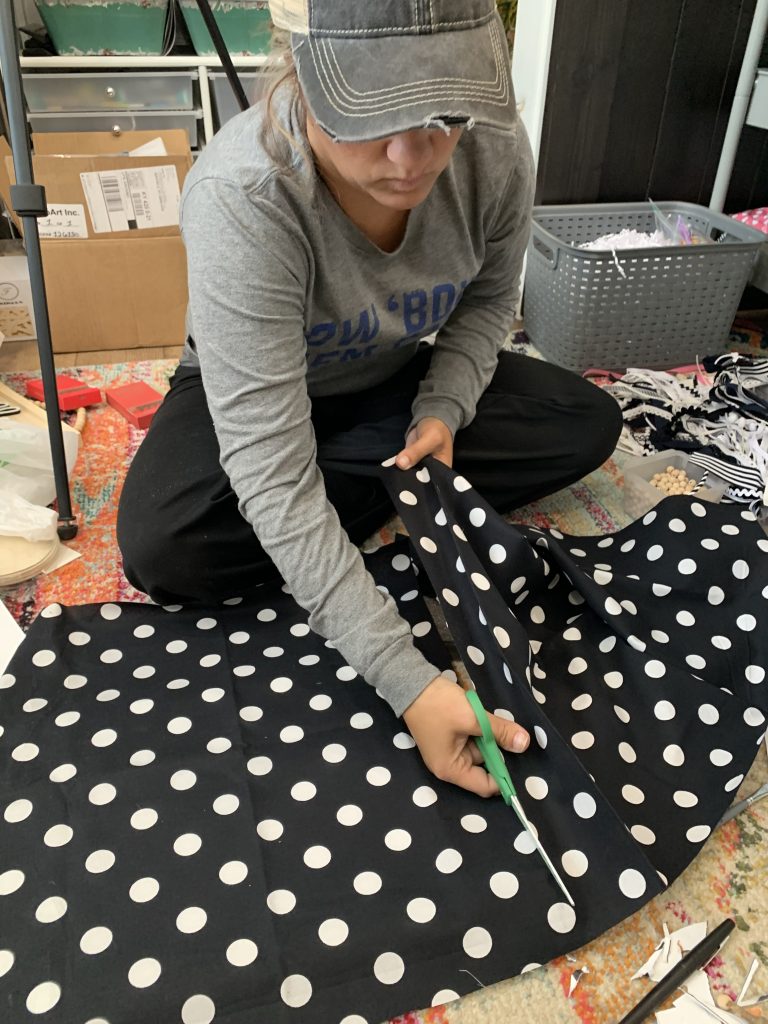
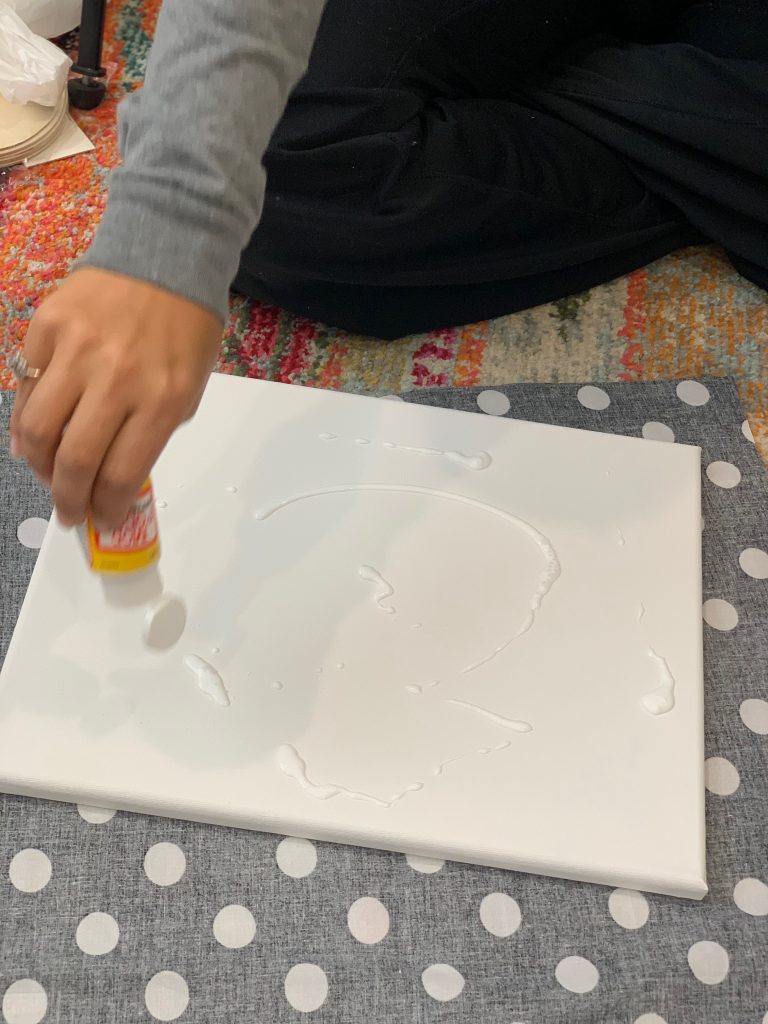
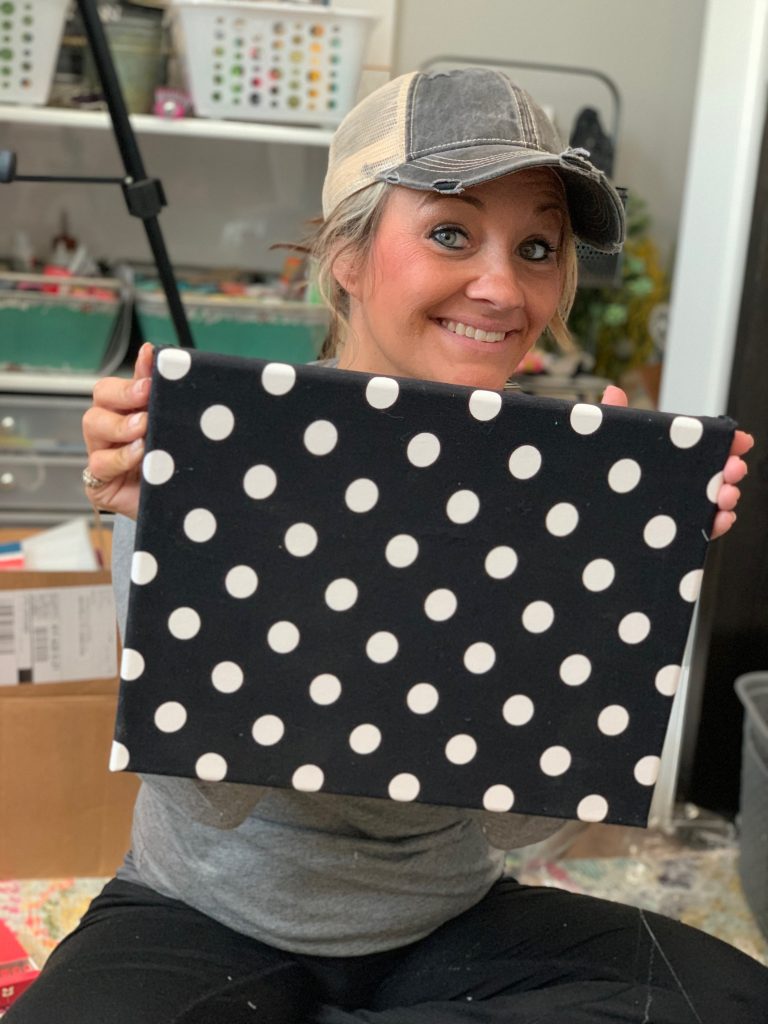
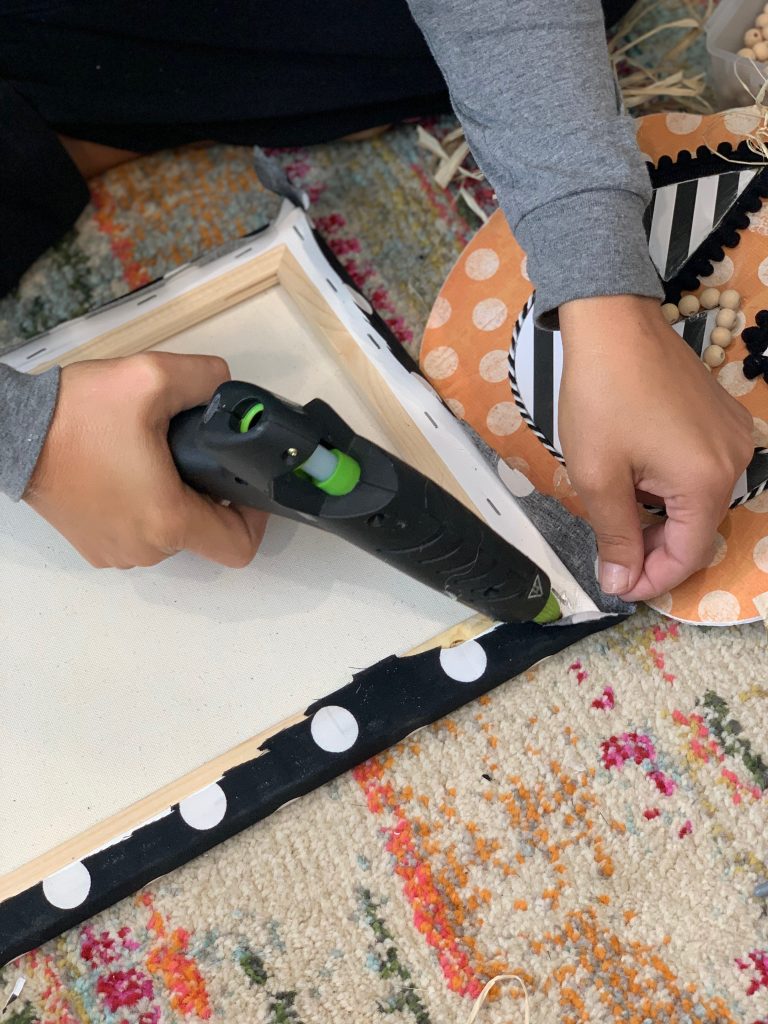
I picked out some super cute fabric that I had on hand (black and white polka dot for the WIN) and mod podged it onto my canvas! I then hot glued the back part on to tighten it up, and it worked like a charm!
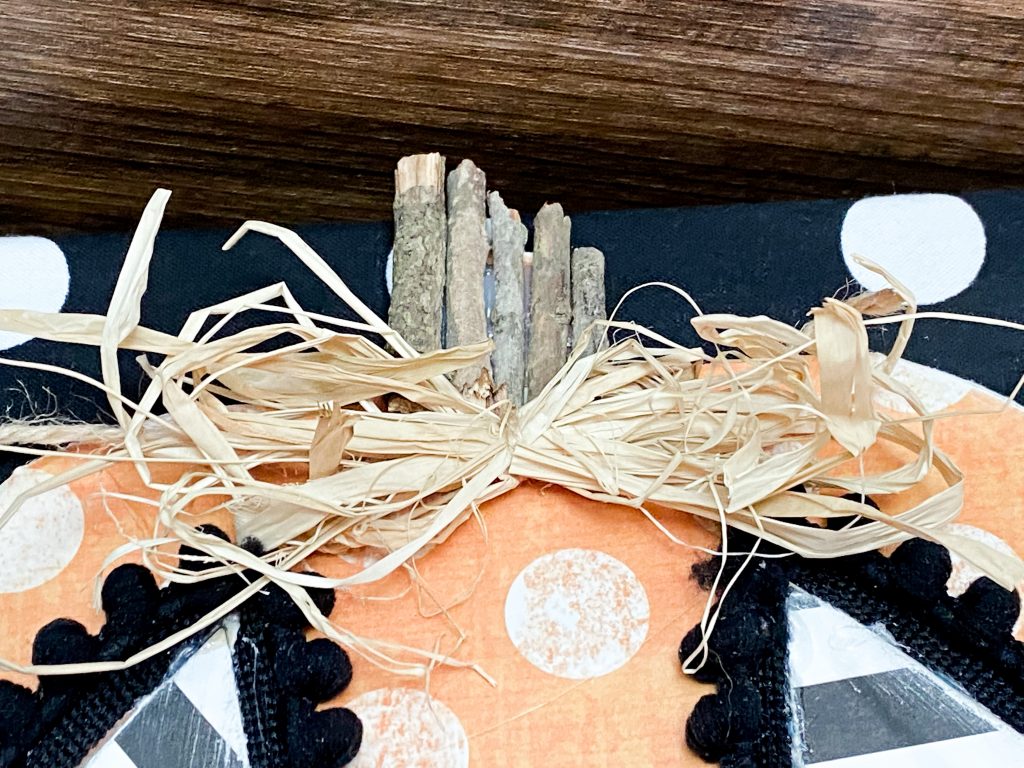
Once I was done with this part, I added some little sticks from my bag of sticks (that I had collected from the yard) and glued them onto the stem! I then added a raffia bow for good measure 🙂
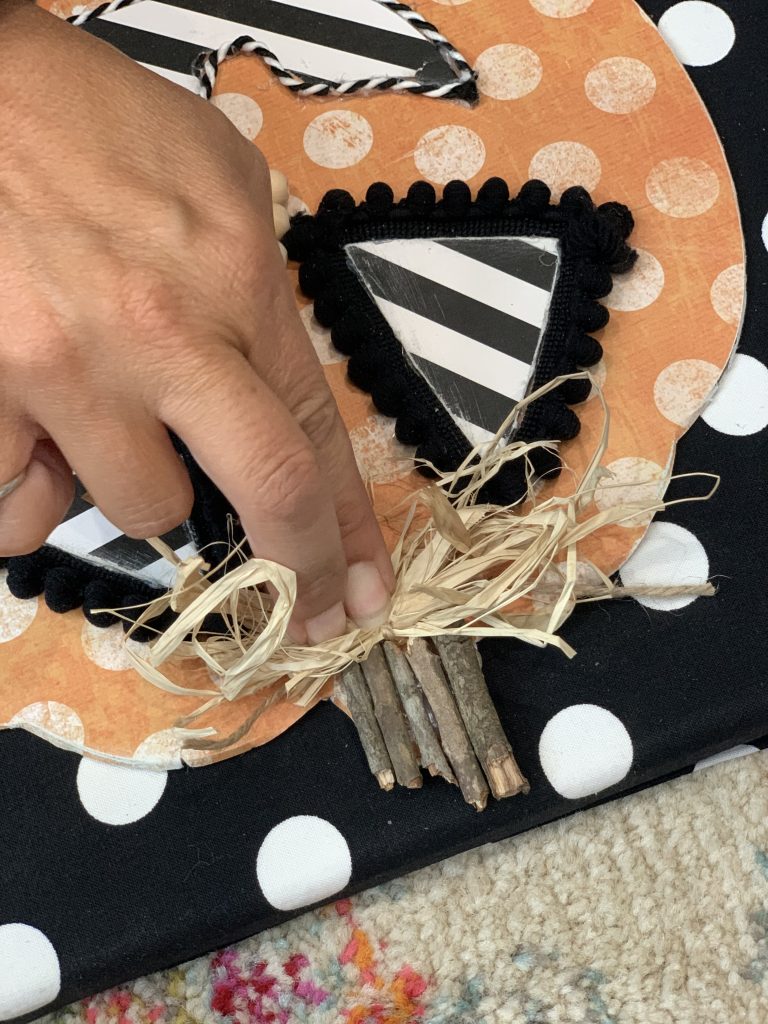
Once that was done, I went ahead and hot glued my pumpkin to my fabric canvas, and it was DONE!
Check out how SUPER CUTE it looks on my Halloween coffee bar (coming to ya real soon!)
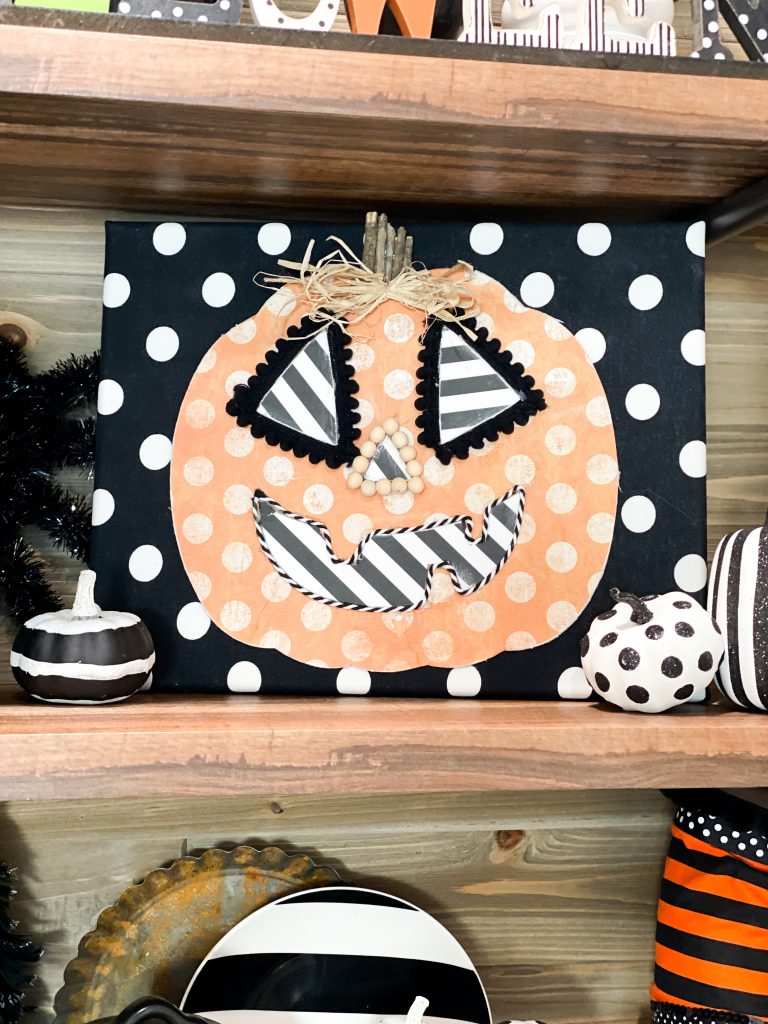
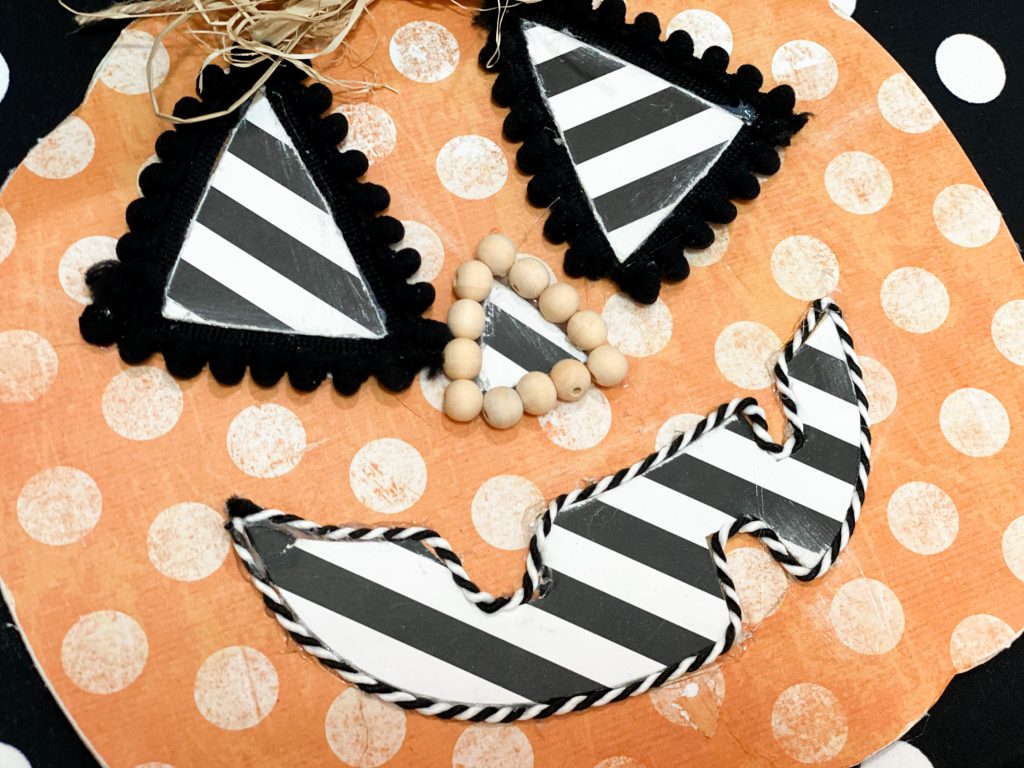
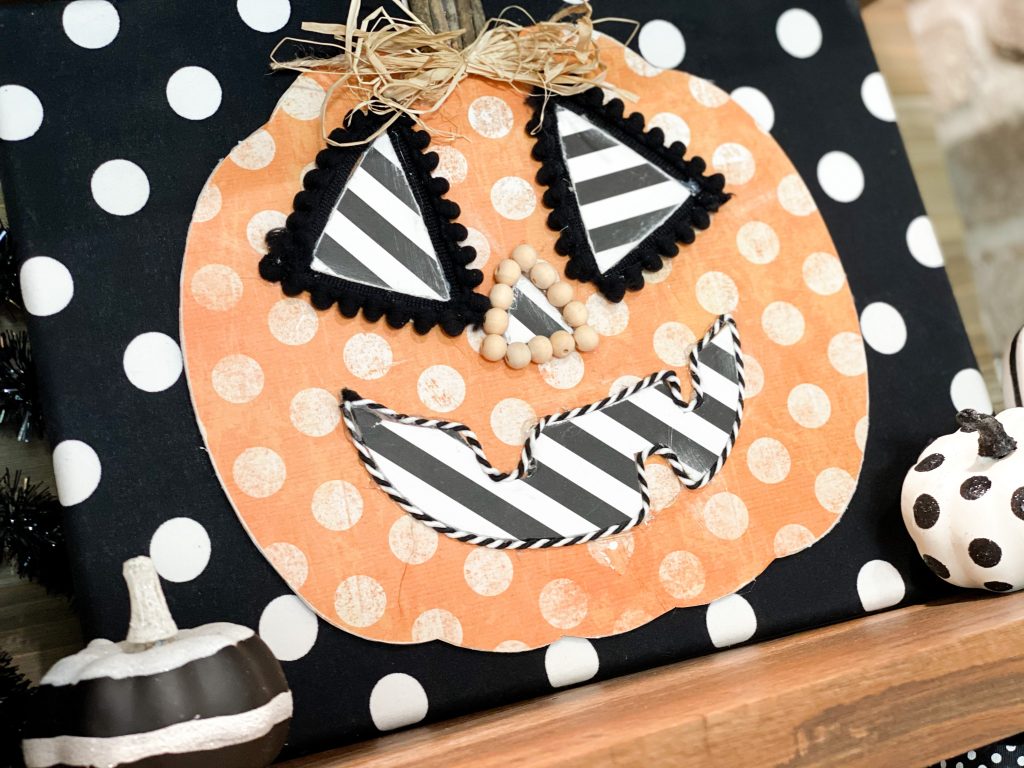
As y’all can see, this little DOLLAR TREE pumpkin took on a whole new FUN life with me! I hope you love it!
If you do love it, would you wanna do me a solid and share it with some friends?!?! Or pin it on Pinterest?!?!
PIN FOR LATER!
Are you on my text club?!?!?! TEXT ME! 270-200-5848
Last Updated on November 4, 2020


[…] The focal point of the whole coffee bar is this pumpkin sign that I also diy’d!! I bought a blank pumpkin sign from Dollar Tree, worked a little magic, and came up with this!! You can see the tutorial on how to make this sign RIGHT HERE. […]