Is there anything better than a good ole Dollar Tree makeover? I don’t think so!
Today, we have a fun little sign makeover that I am tickled to share with you. It was very easy, took little time and looks so much more “custom” and “homemade” than before.
Don’t get me wrong, I do think some of the items in Dollar Tree are very cute as is, but the majority of the time…I feel like they are a little generic in nature, and I LOVE to put my own spin on them!
Let’s get started!
What you need:
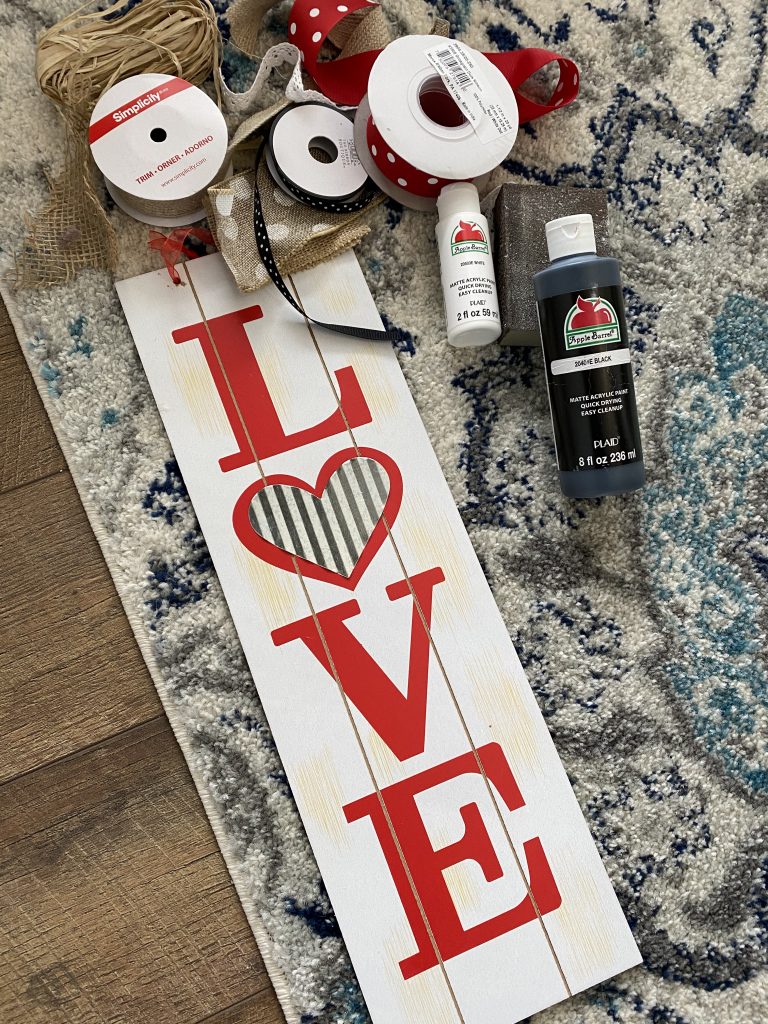
Dollar Tree LOVE sign
White craft paint
Black craft paint
Paint Brush
Sandpaper/or sanding block for the distressed look
Ribbon for your bow
Scissors to cut ribbon
It is very easy to follow along with what I did! Let me show you!
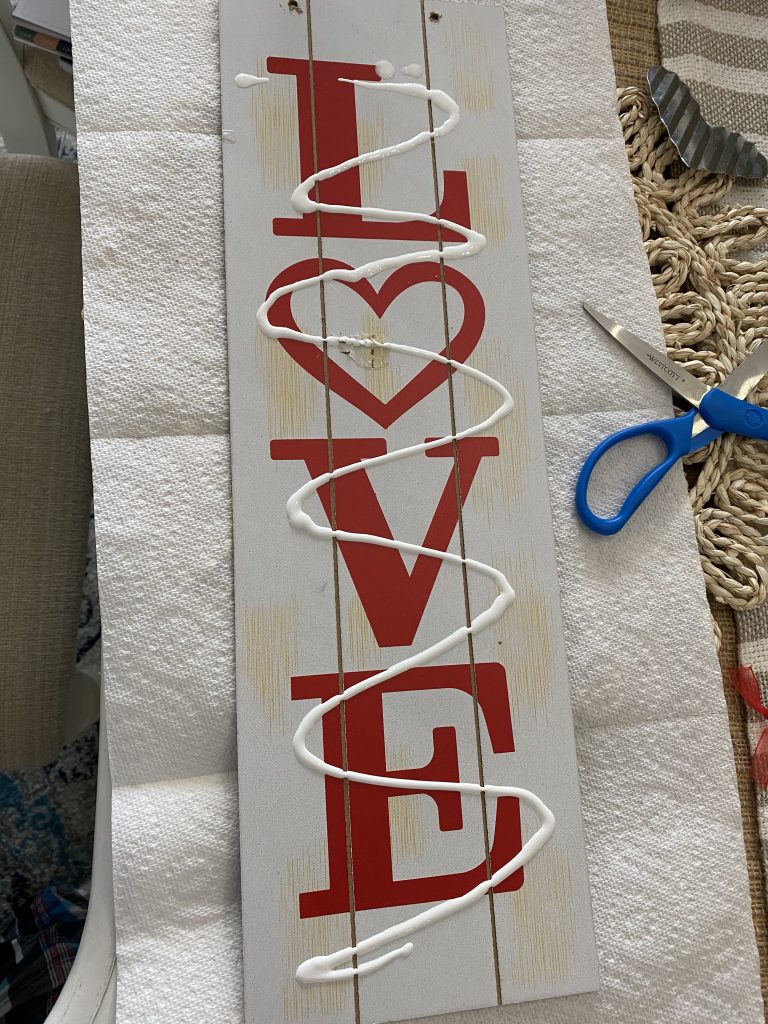
First, remove the galvanized heart from your sign. It pops right off.

Put white paint all over your sign so that you can paint it. It will probably take a couple of coats. Do 1 coat, let dry…then do another.
*tip: I used a chip brush. I liked using it because it didn’t “cover” as good…and it gave it a more distressed look.
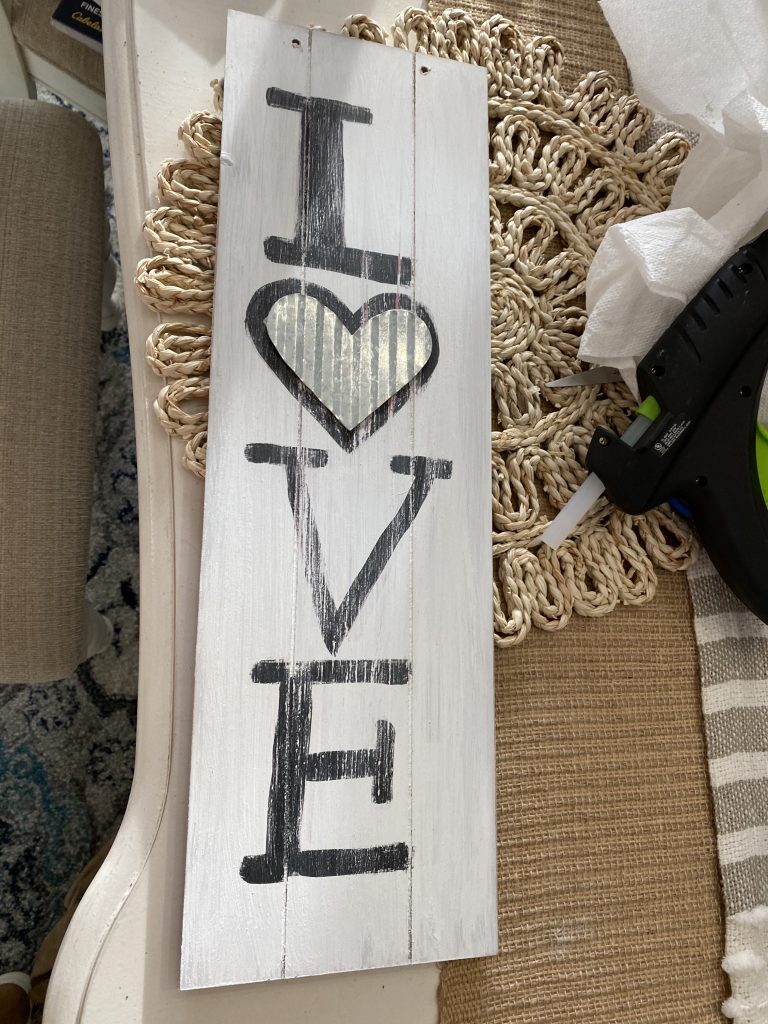
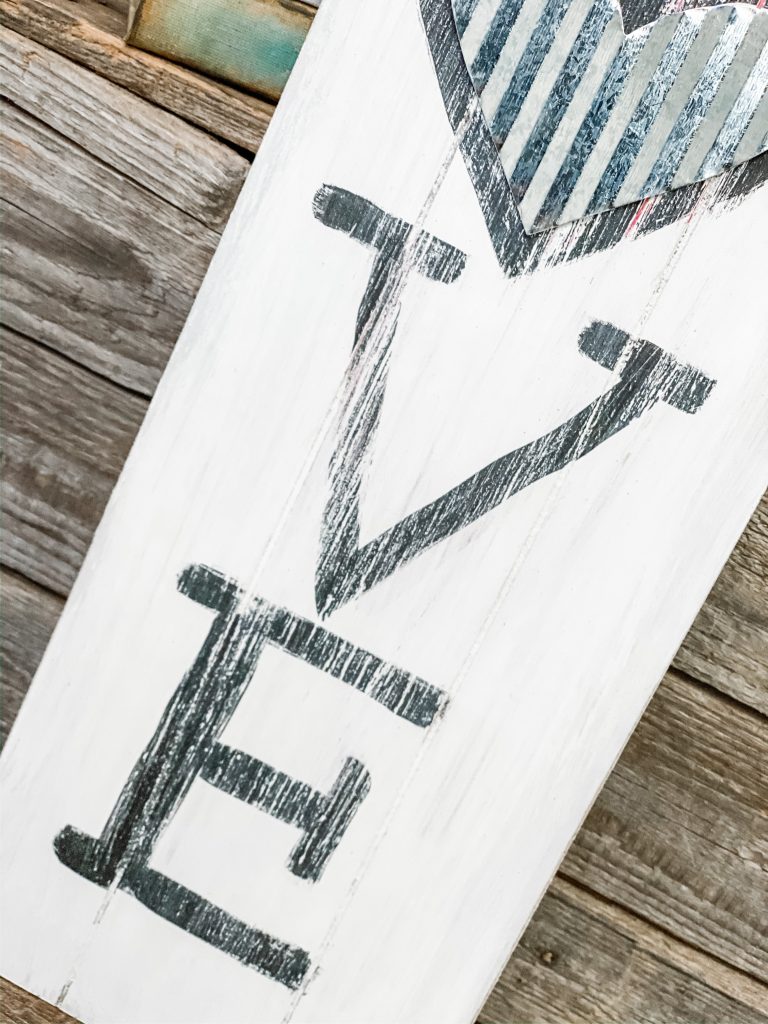
After painting over the sign with the white, I could still see the letters for LOVE, which is what I wanted! I wanted to be able to slightly see them so I could trace with my black paint and paint them similar to the original!
(Do you notice the big glob in the heart? That is where the glue from the heart was. I DID NOT worry about this, because we will be gluing the heart right back on in the same place)
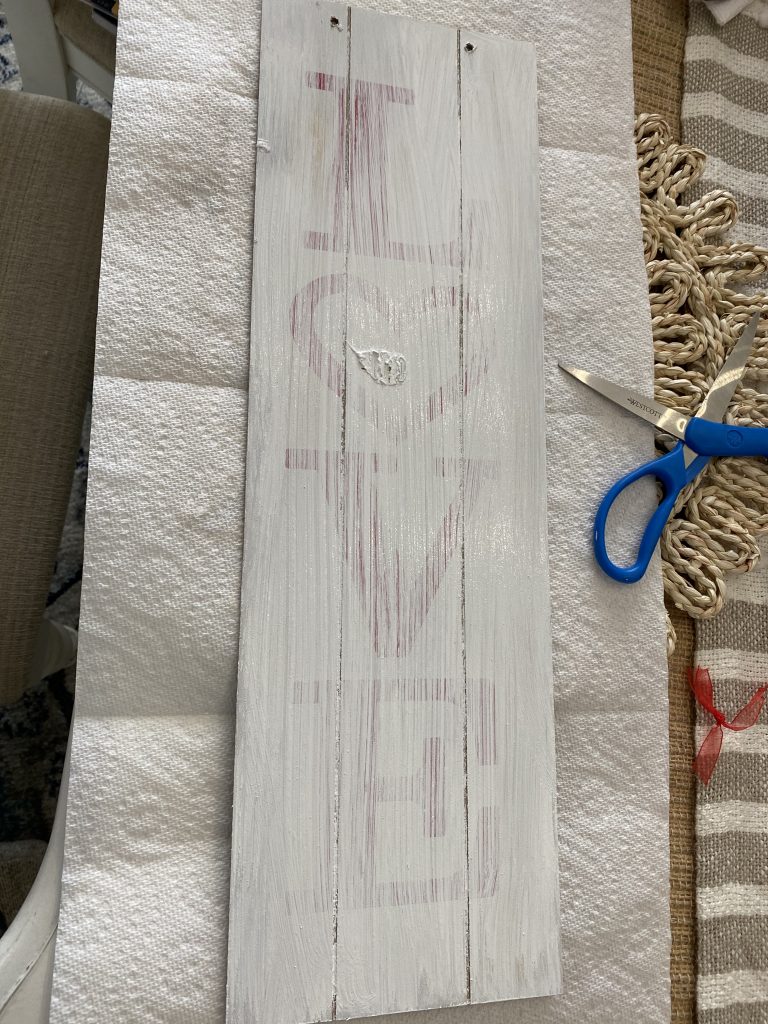
The above picture IS HOW YOU WANT IT TO LOOK. You WANT to see the letters. You are painting over them.
I then simply painted over the letters with my black paint (with a thinner paintbrush)…I did NOT make them perfect. That is part of the fun…plus you will be sanding!
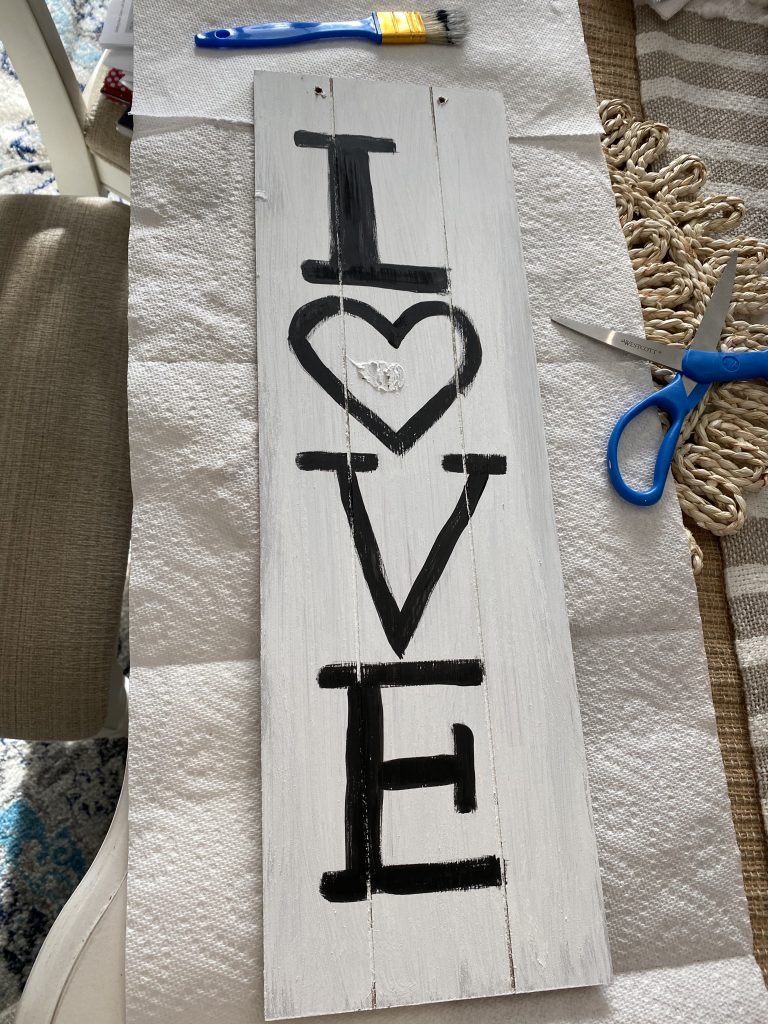
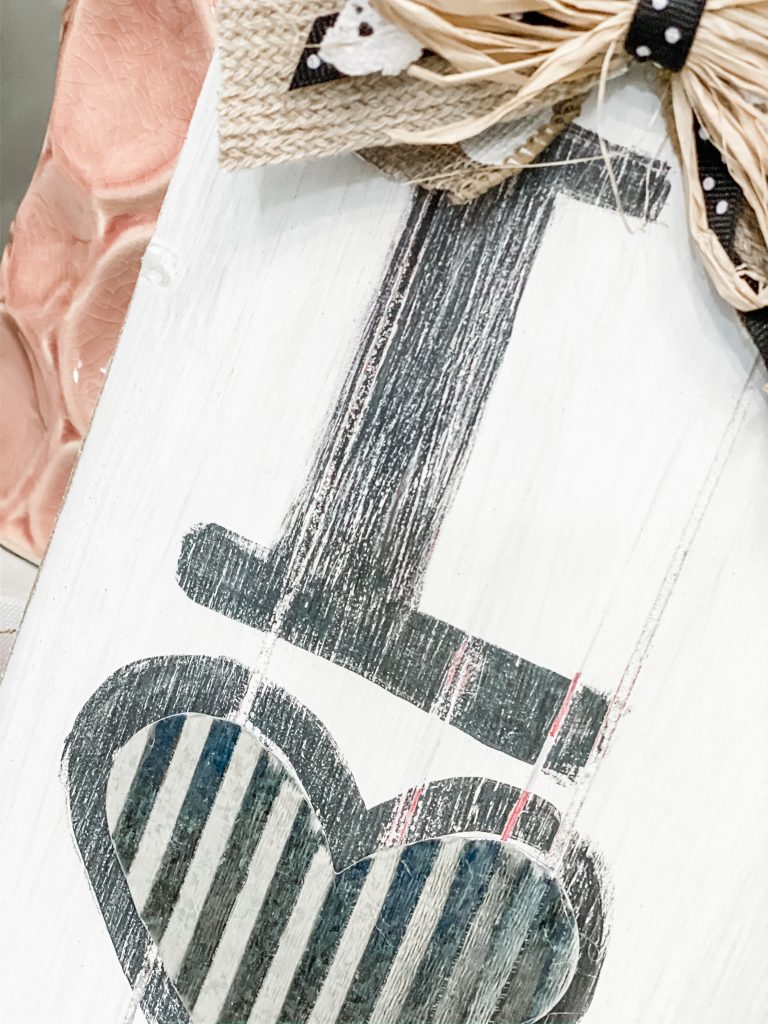
Next, I took my sanding block and went to town, sanding the whole board down very well! It gave it a beautiful rustic look.
I then hot glued the heart back into place!
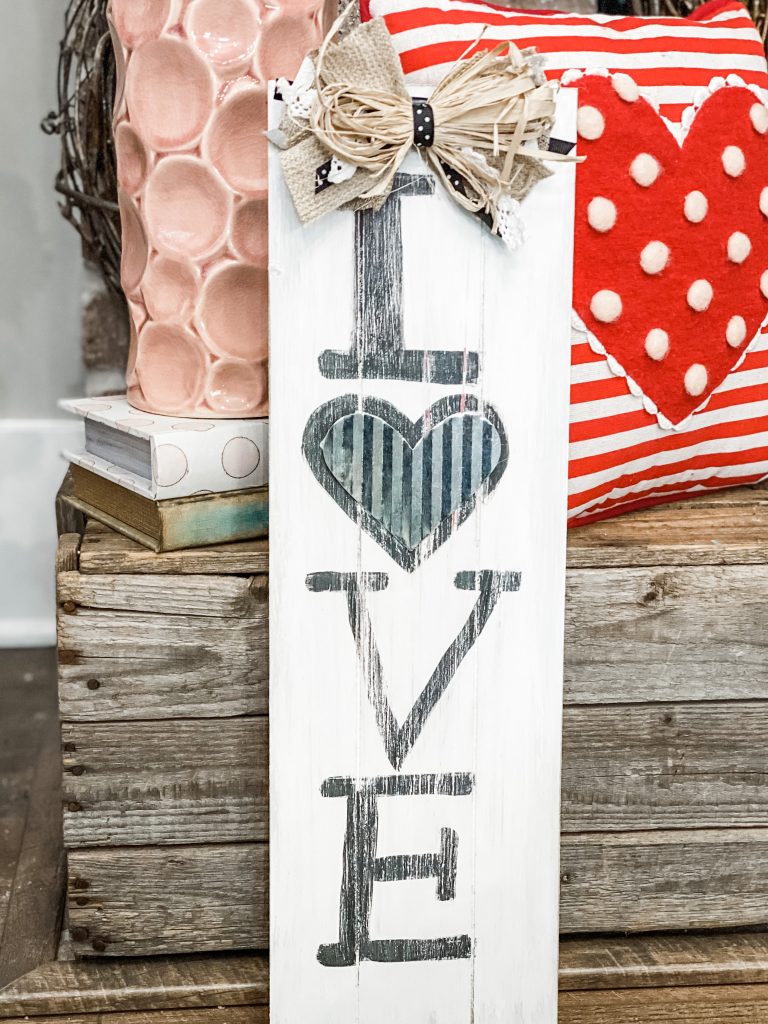
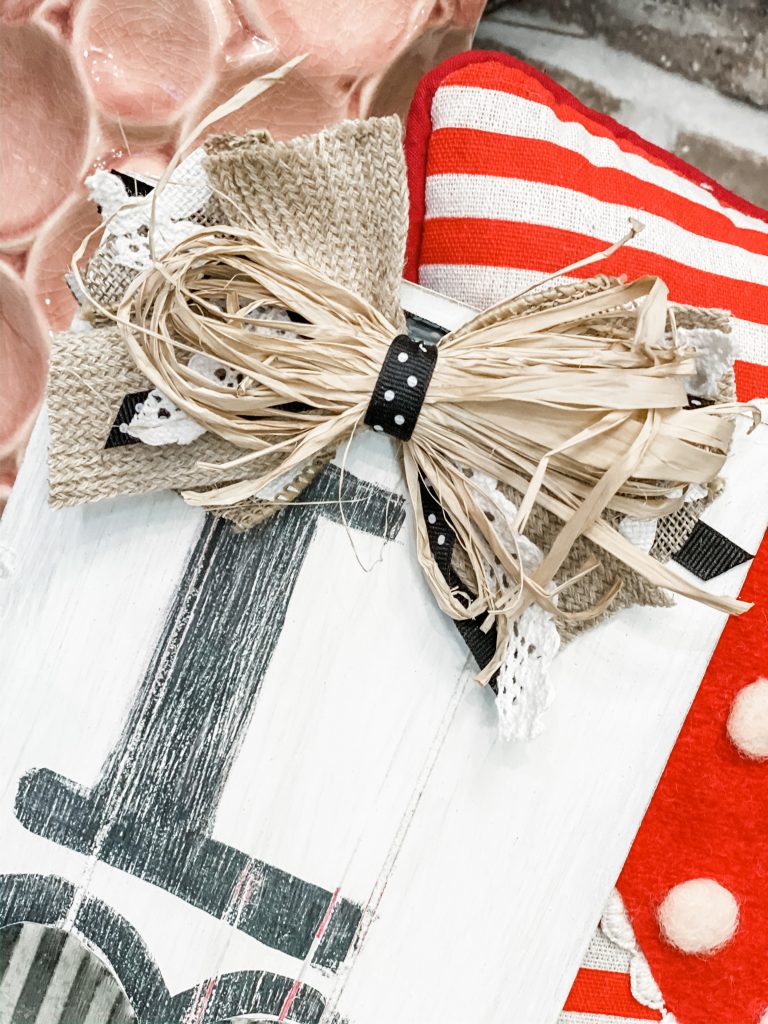
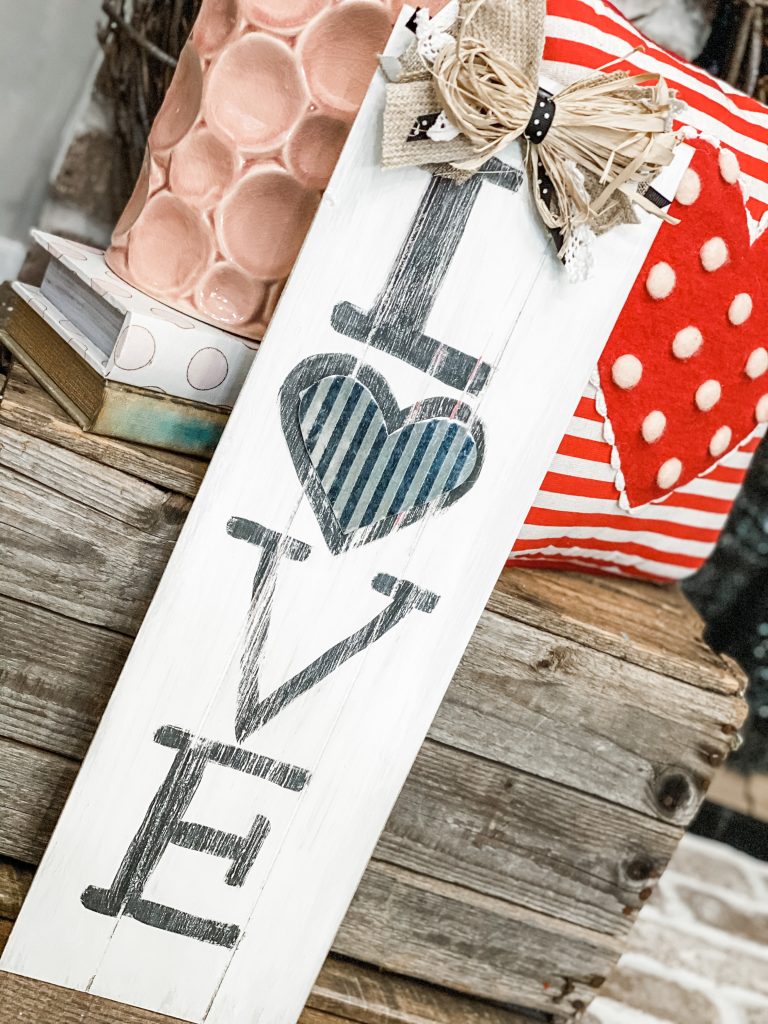
Once I had finished these steps, I simply made a RE-FABBED BOW and hot glued it to the top, for the perfect finishing touch!
Here is my finished project! What do you think?!?!?!?!?!
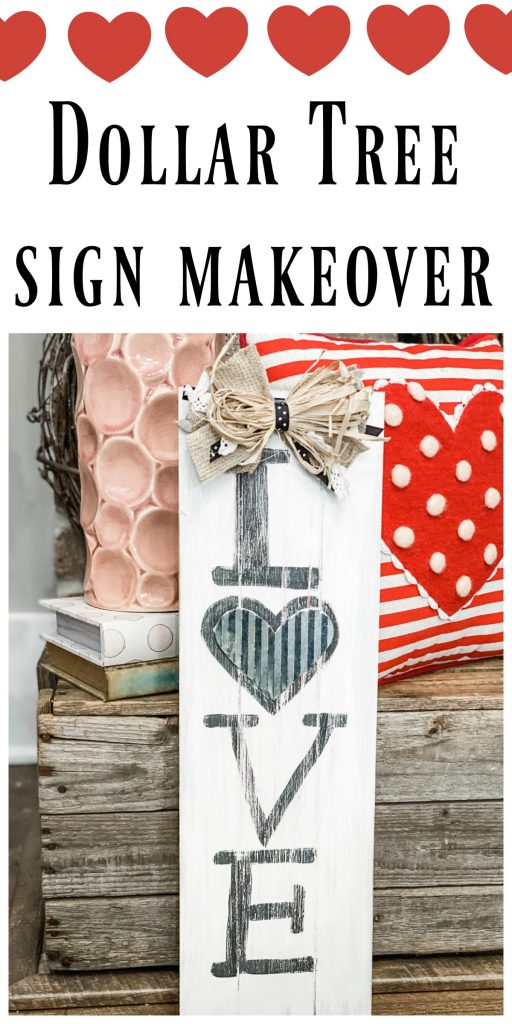
Show me some LOVE and PIN FOR LATER!
Follow Along on Social Media:
FACEBOOK|INSTAGRAM|PINTEREST|YOUTUBE|EMAIL
Last Updated on November 4, 2020

Love it ♥️
Thank you!!!
So cute!
Absolutely love it❤️❤️❤️❤️????????
I like the new look with the black lettering. I agree that it looks better than the original and I love the heart better with the black paint. It seems it would fit in with anybody’s decor. Thanks for showing this.
The after is much much better!
Thank you Bev! ❤️