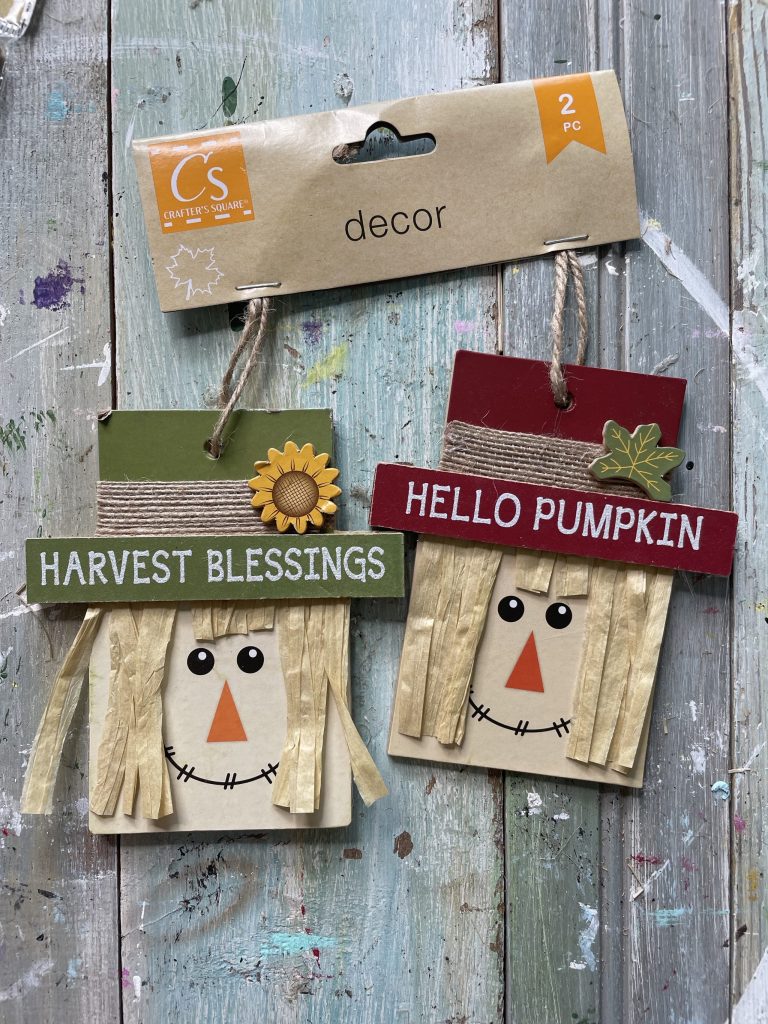
I ventured out to my local Dollar Tree to see what they had in store for Fall… and boy was I in for a treat!!!
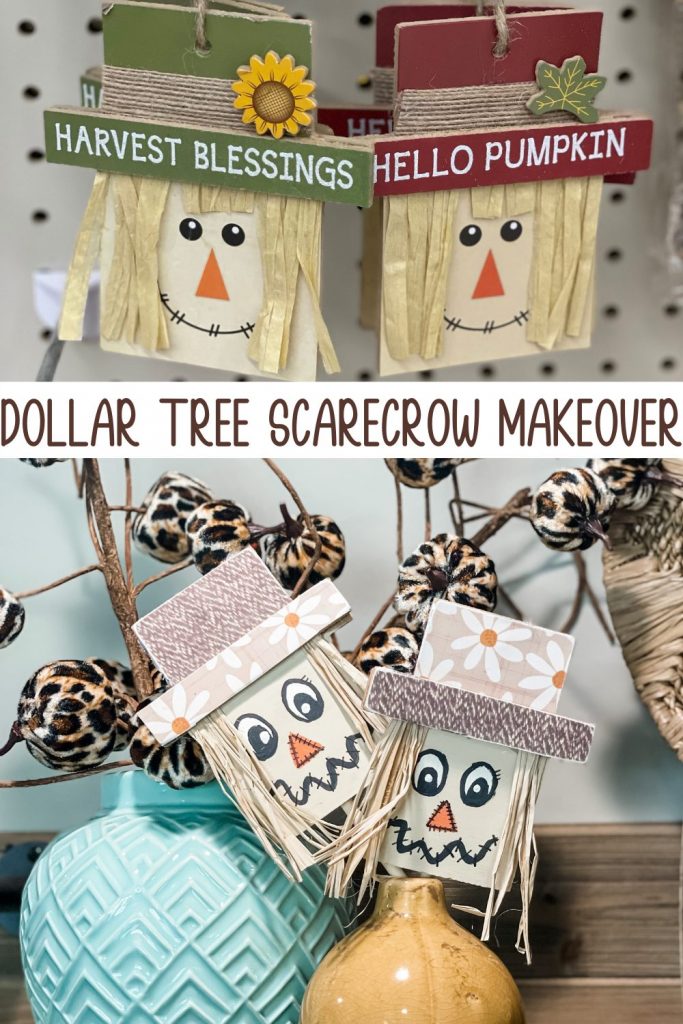
I found this set of 2 ADORABLE scarecrow “ornaments” and knew just what I was going to do with them.
What you’ll need:
*click on the bolded item to shop my affiliate link!*
- Dollar Tree scarecrows
- Dollar Tree dowel rods
- 2 pieces of scrapbook paper
- Mod Podge
- Hot Glue Gun
- Apple Barrel Paints (white, black, khaki, harvest orange)
- Raffia
- Sharpie

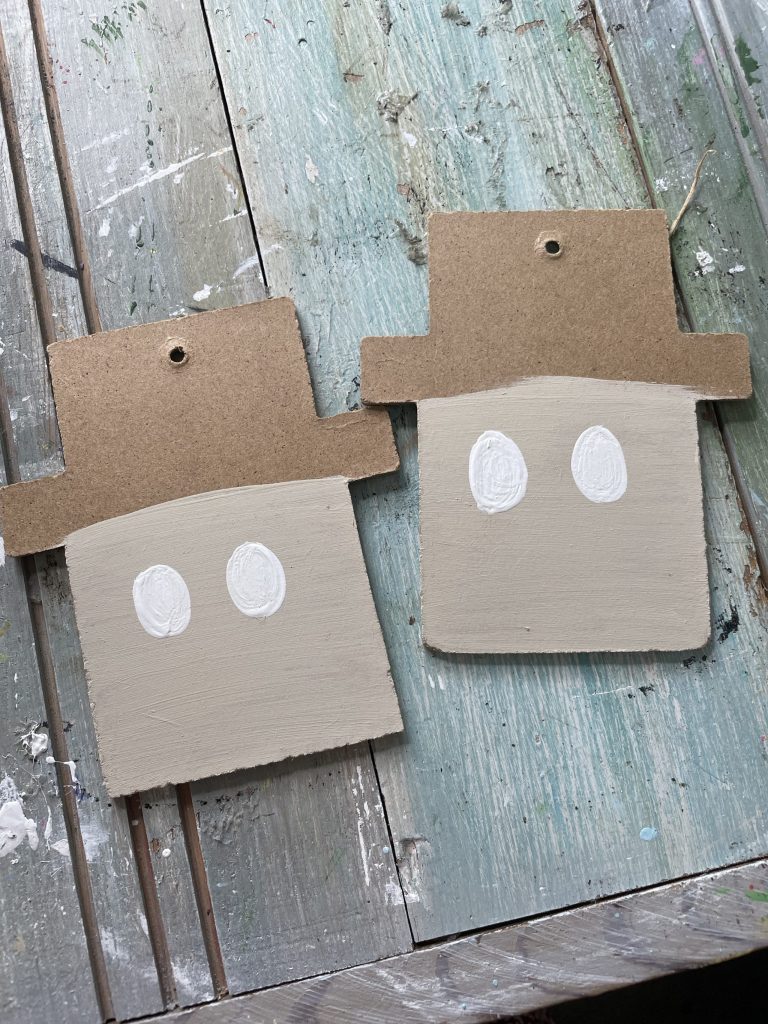
First things first, we need to deconstruct our scarecrow. Cut off the twine hanger, pop off the hat brim and hair… we need to start fresh!
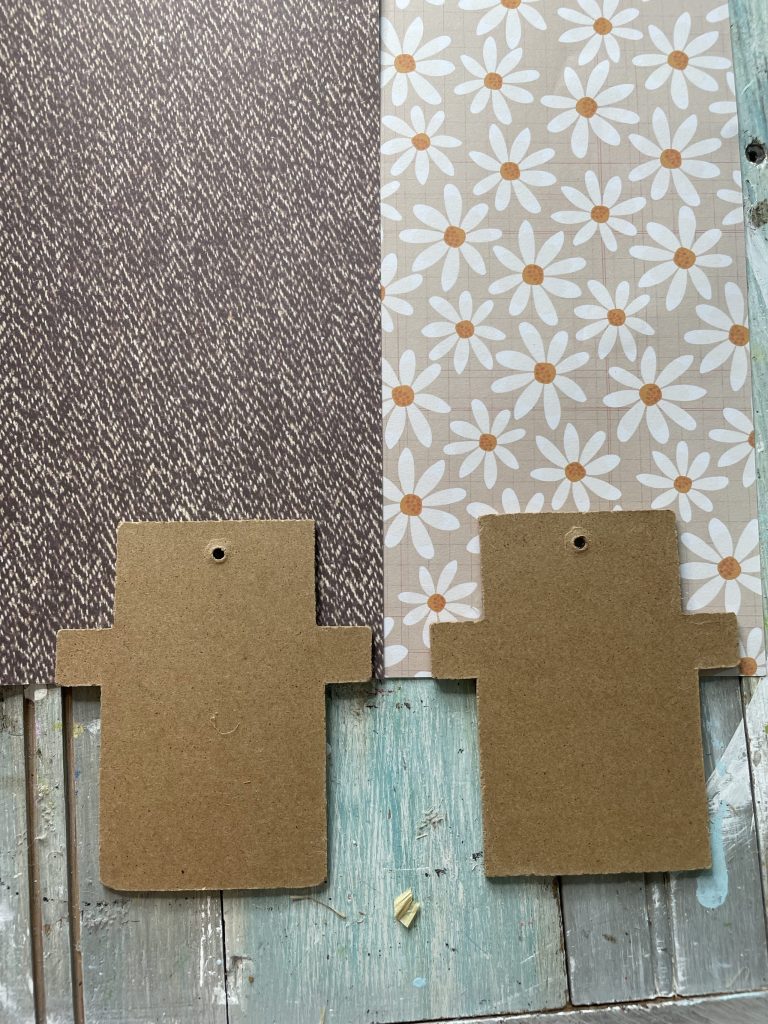
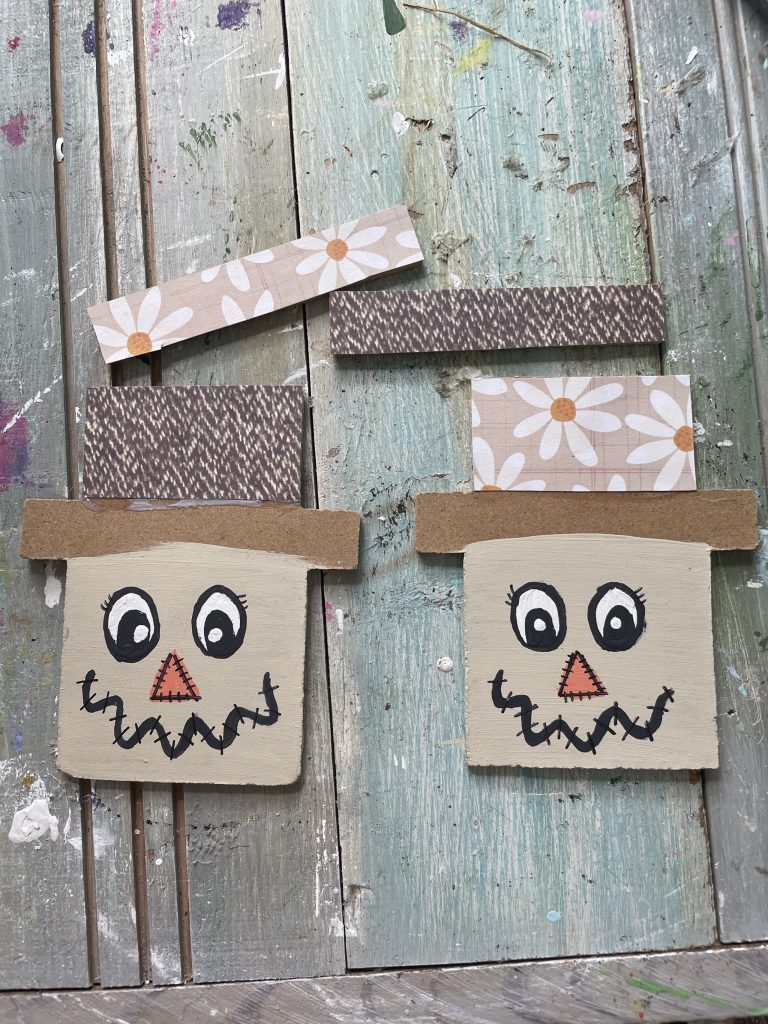
Once everything is all off and our scarecrow are now flat, pick out two Fall themed scrapbook pages. Mine came from Hobby Lobby!
Simply trace the shape of your hat onto the paper, then cut.
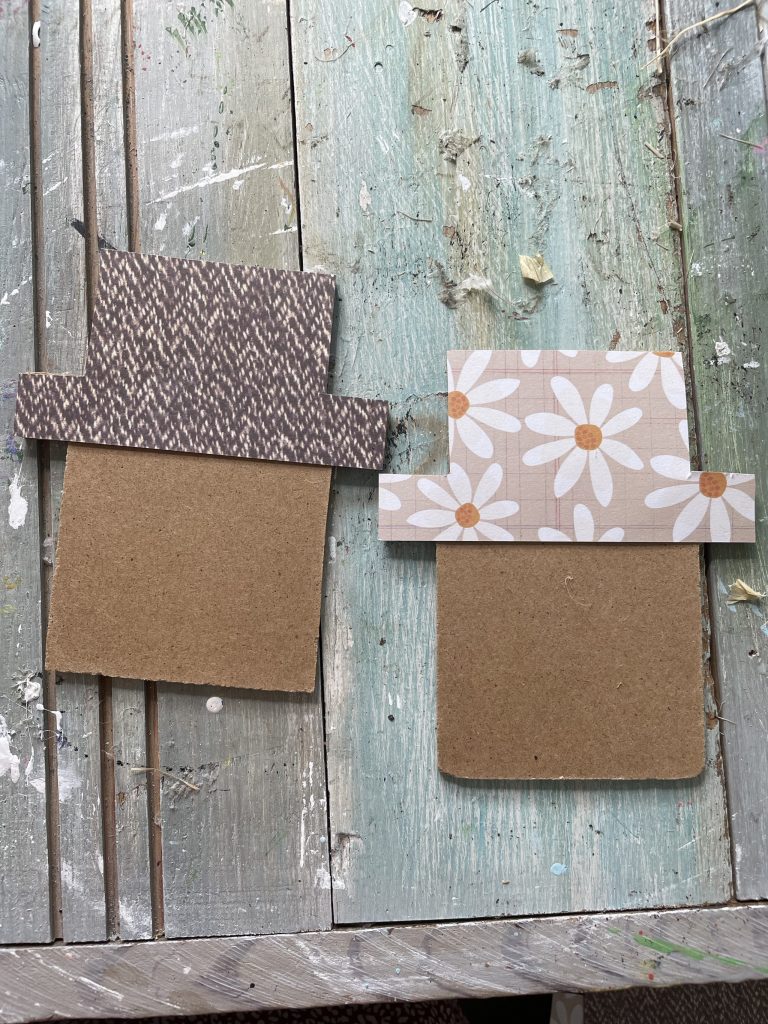
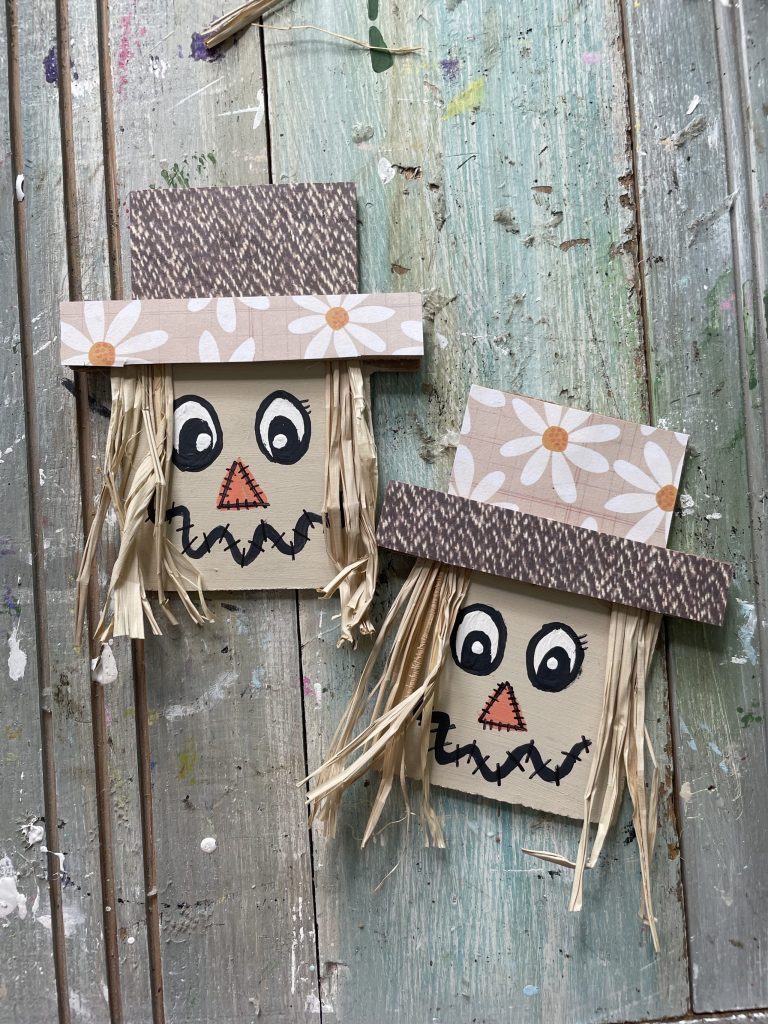
Here’s what it’s looking like so far! HOWEVER- I wanted to add a little more dimension by making the hat a different pattern than the brim… so, I cut off the brim, and swapped it with the other scarecrow!
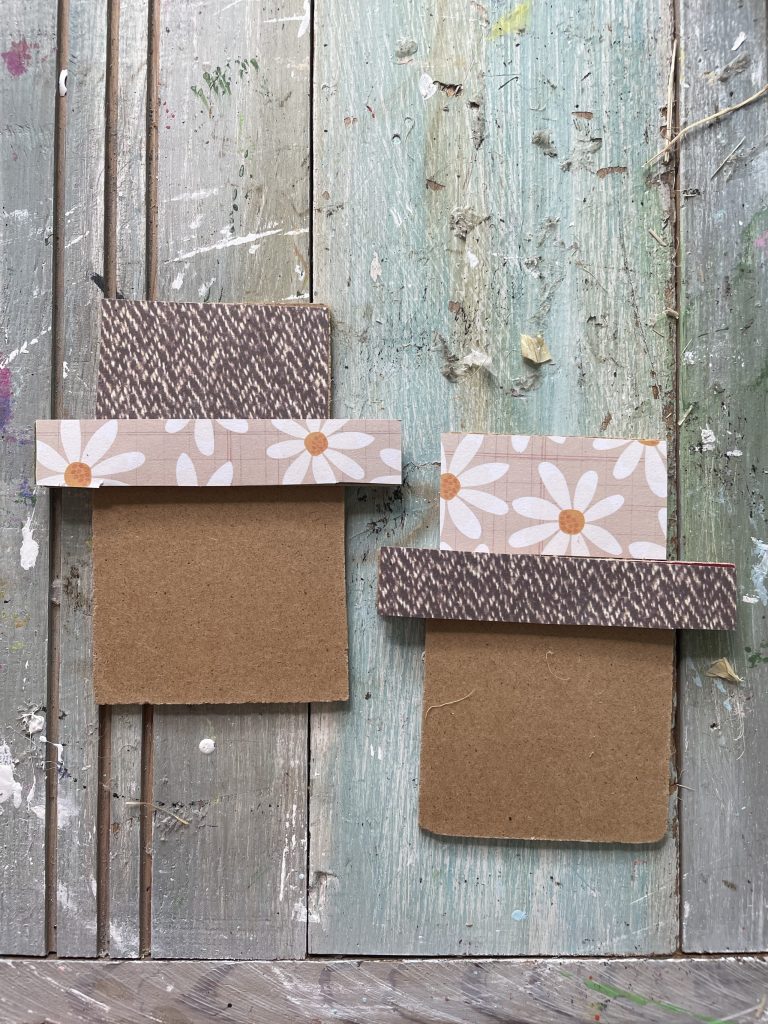
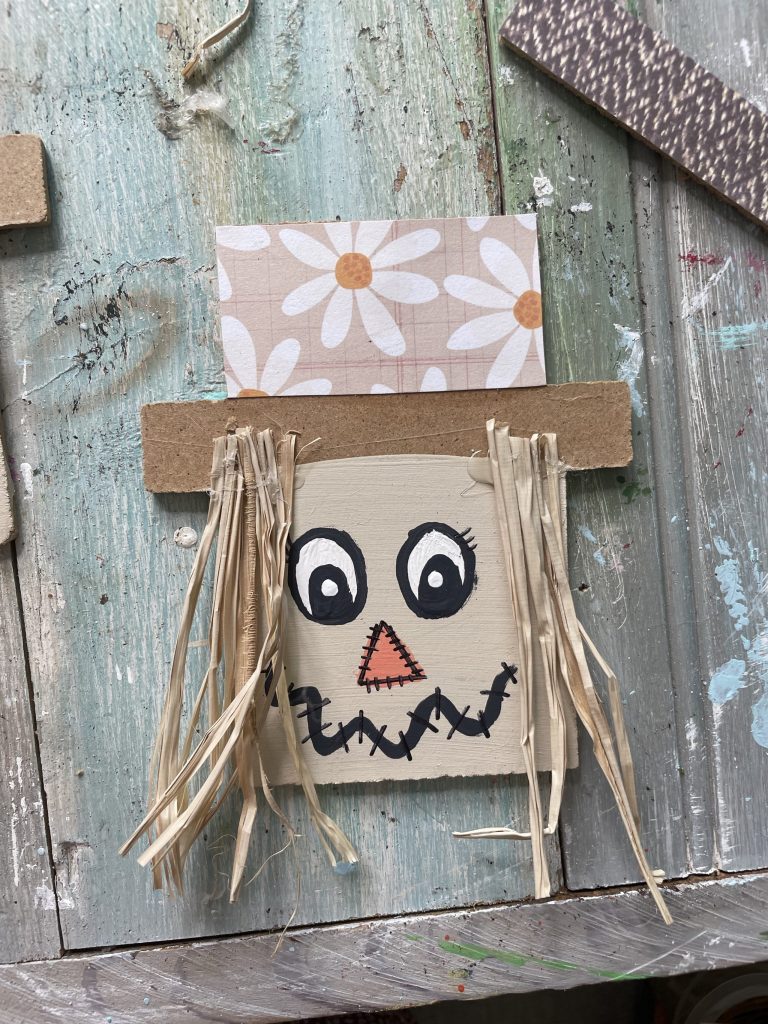
Like this! Now that we have it all cut, set them aside. We’ll begin working on the face!
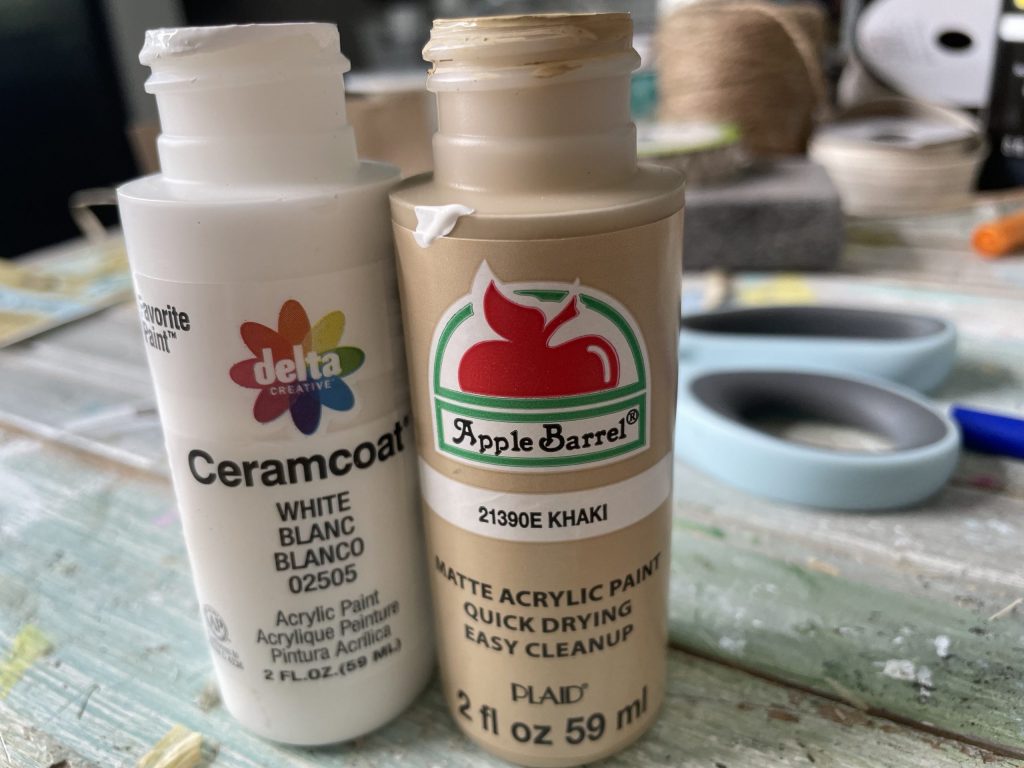
I mixed these two colors together to get the shade we needed for the face!
Time for its features!!! I was very inspired by a scarecrow I made a few years ago, which you can see HERE!
I just painted on each facial feature very carefully… and let it dry between each coat!

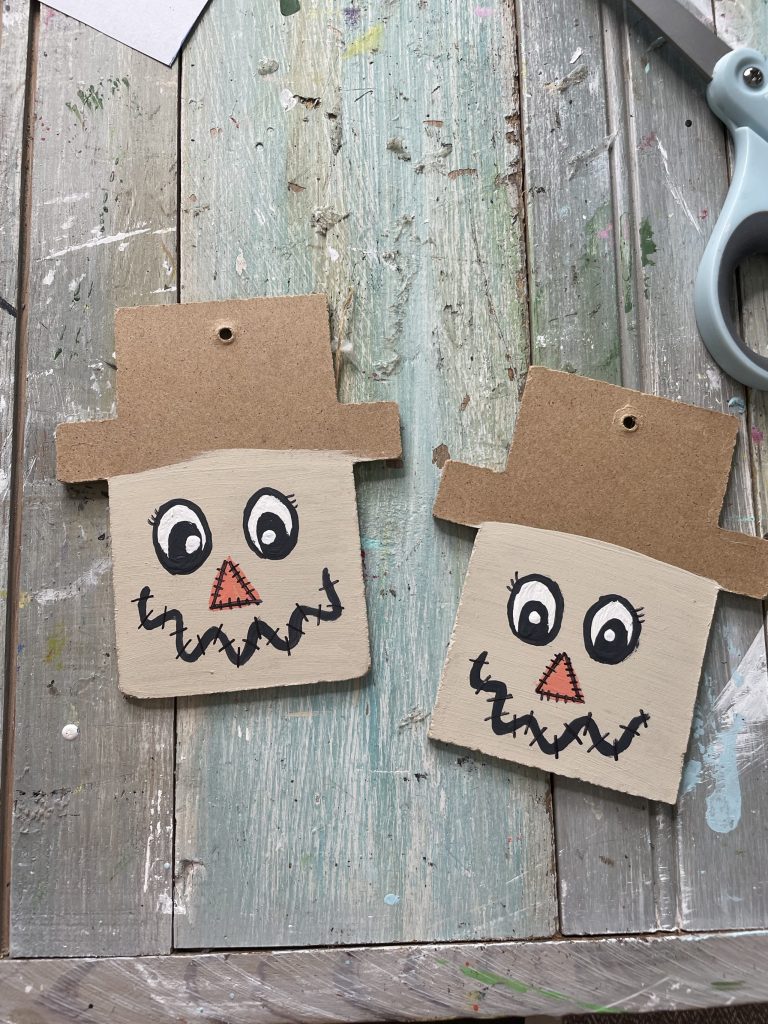
For the smaller details, I used a fine point sharpie!
Now it’s time for the hat and hair! Go ahead and mod podge the top of your hat to each scarecrow. DO NOT add the brim on just yet!
Grab a little bit of raffia, crunch it up a bit, and hot glue it to the blank space of the scarecrow! this will be hidden under the brim.
Hot glue your brims to the scarecrow! Once it’s all attached, sand down the edges!

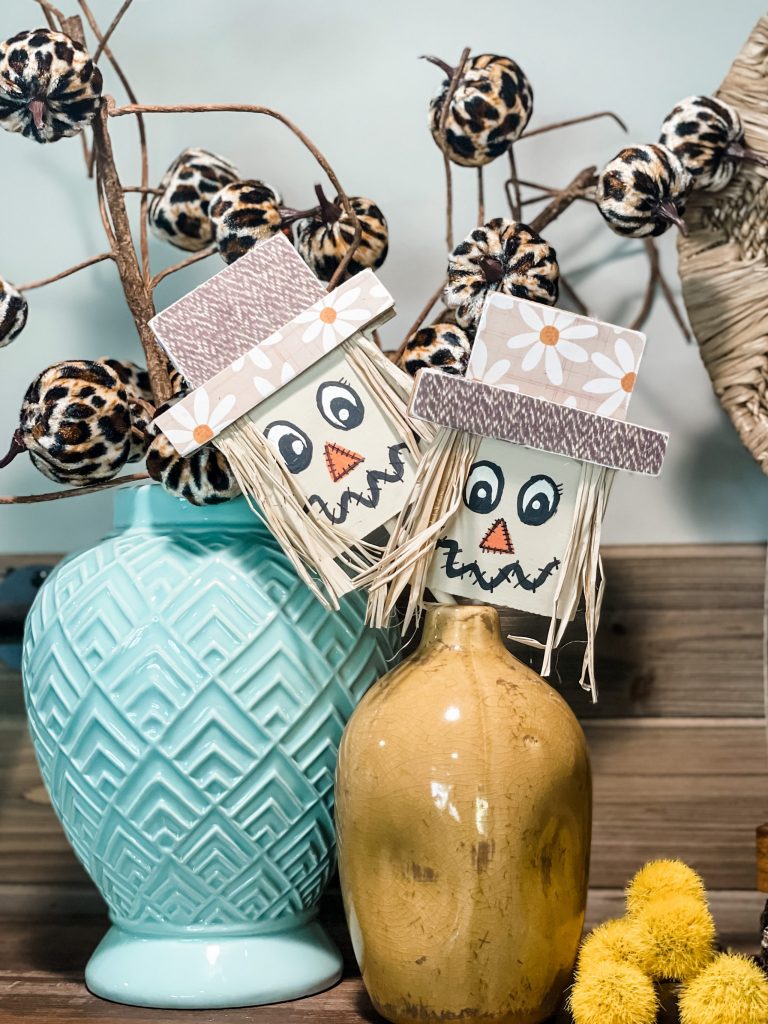
Hot glue a dowel rod to the back of each scarecrow… and use them to stick inside vases!!!
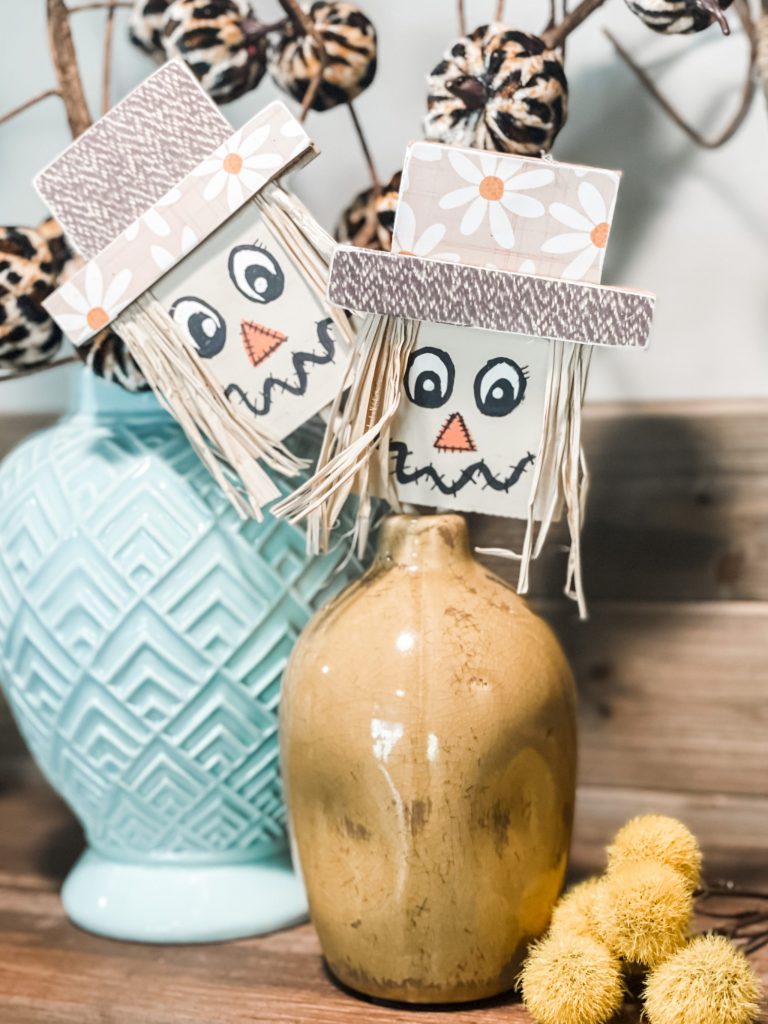
Y’ALLLLLL!!!!!! How cute are these to stick inside a small vase, or even use as filler in an arrangement!
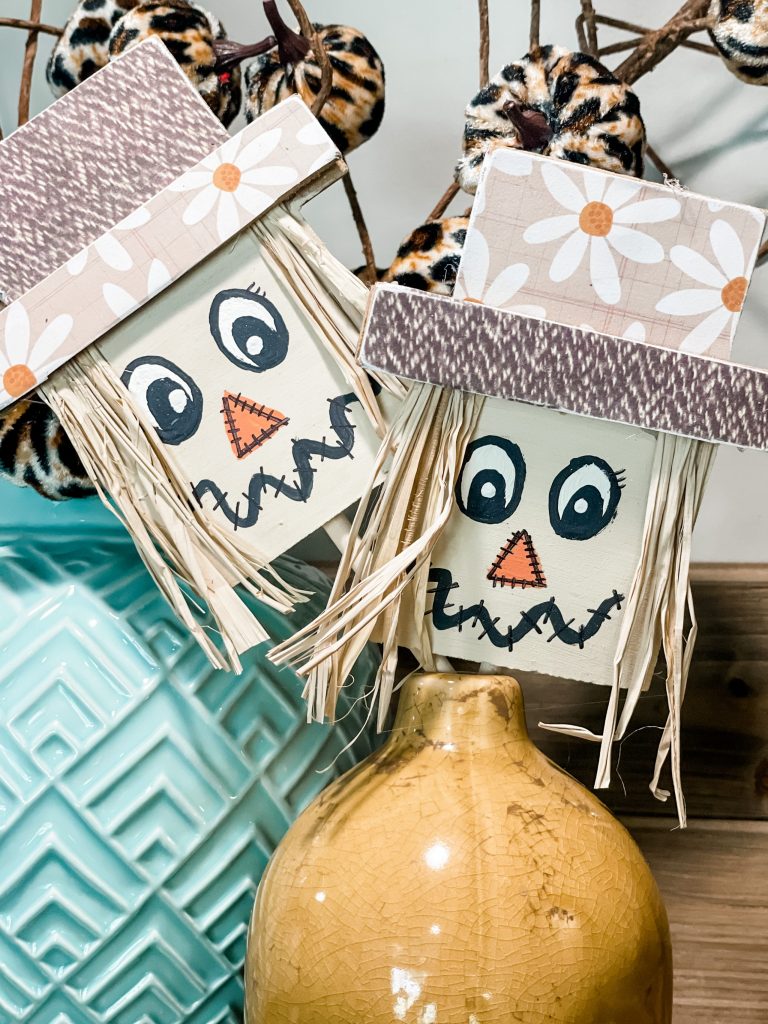
I must say… their faces NOW are much cuter than their original state!
Isn’t it crazy what you can do with a little bit of imagination, and some simple supplies from the dollar store?!?!
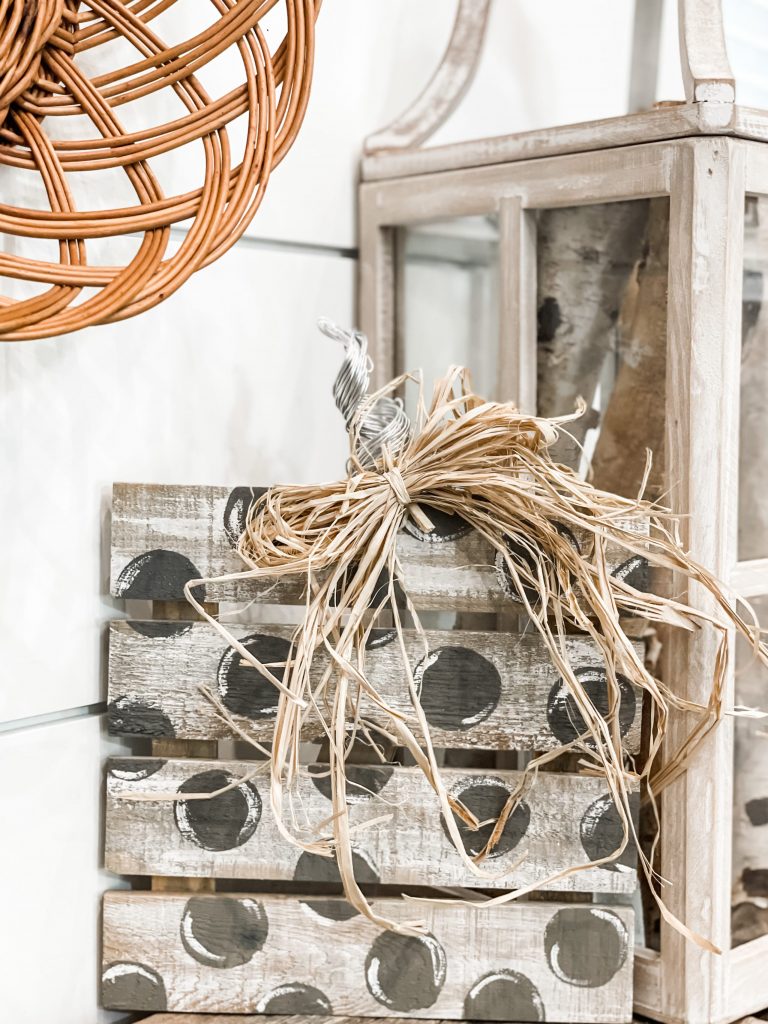
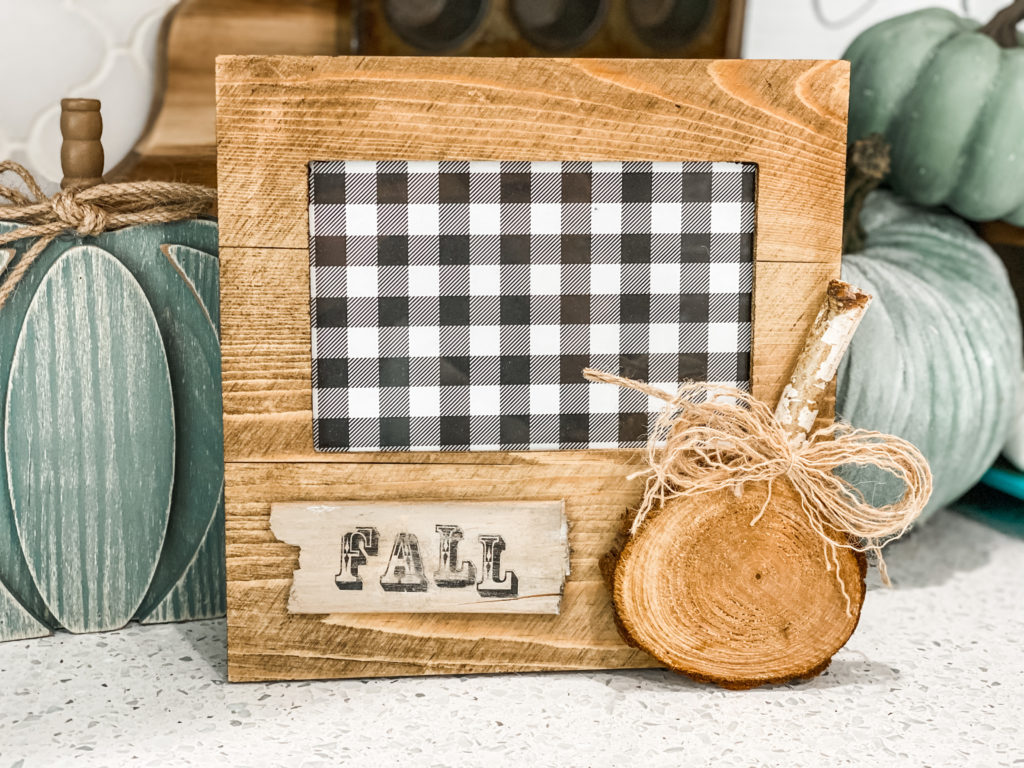
If you enjoyed this tutorial, check out the ones featured below!
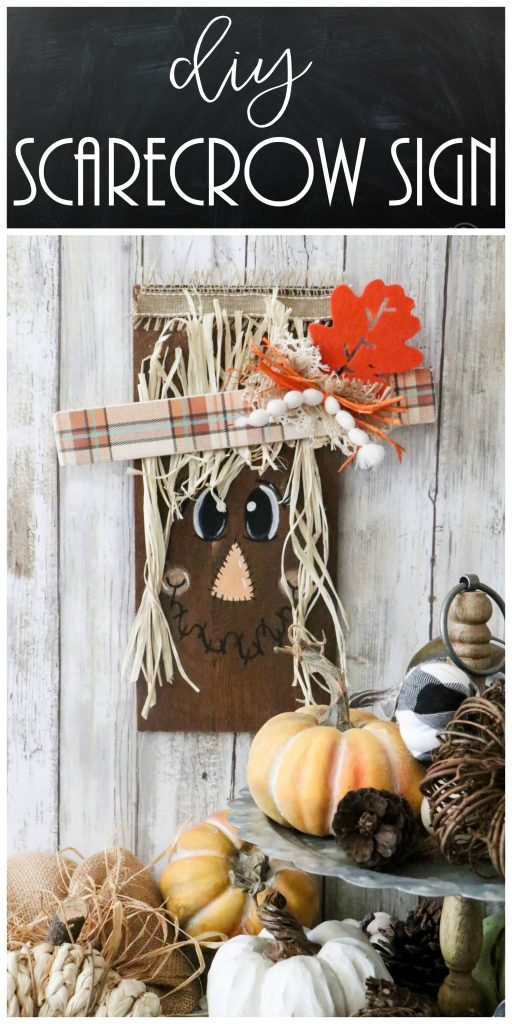
PIN THIS FOR LATER!


Last Updated on August 5, 2021

How cute!! Just love a find and bringing it home and tearing it apart to make it ME!!
very cute!!! You are so talented
Blessings to you and yours
Lynn Easley
Super cute! And super funny…I just realized the original, in fact, seemed to have a snowman face. ????
Brooke, I love how you remade these scarecrows. Adorable!!
I absolutely love the makeover!