Summer is coming and who doesn’t love a fresh pineapple?! I absolutely LOVE bright, happy colors, and the yellow and green combo of a pineapple has me craving some sweet summery treats! Today, I have a super fun craft using a pineapple sign from the Dollar Tree!
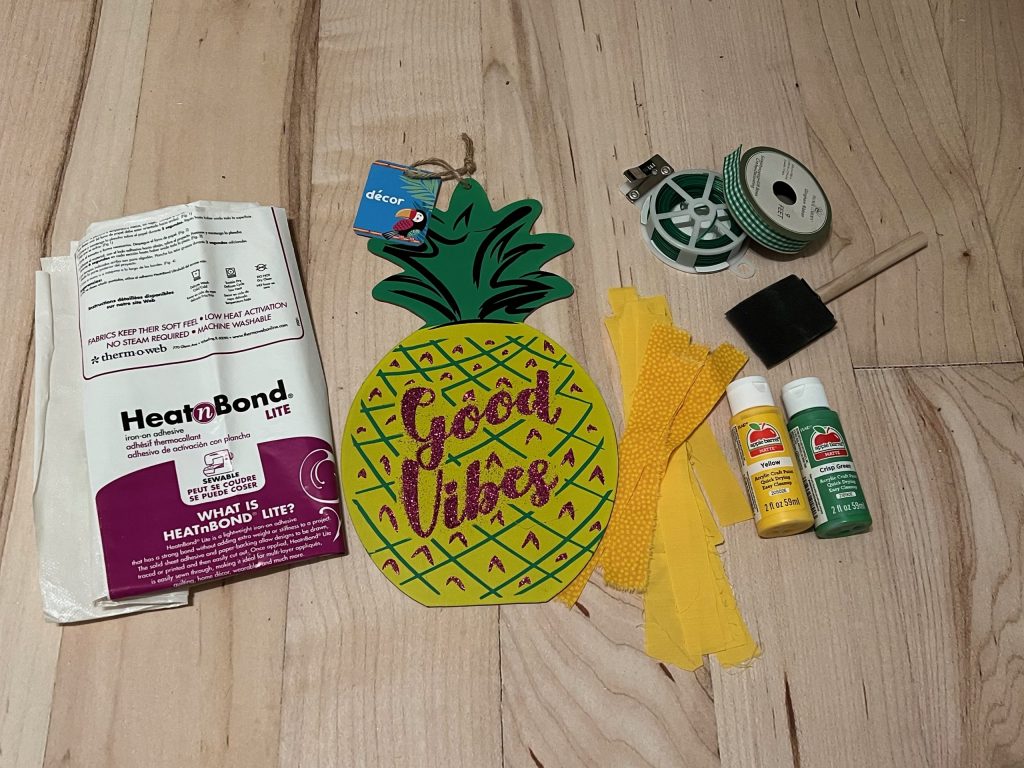
For this craft, I used the following items:
- Pineapple sign from the Dollar Tree
- Yellow fabric strips
- Green ½” ribbon
- Craft wire
- Heat N Bond Lite (can be purchased from Walmart, Amazon or craft stores)
- Apple Barrel paints in Yellow and Crisp Green
- Mod Podge
- Foam paint brush
- Scissors
- Hot glue
- Parchment paper
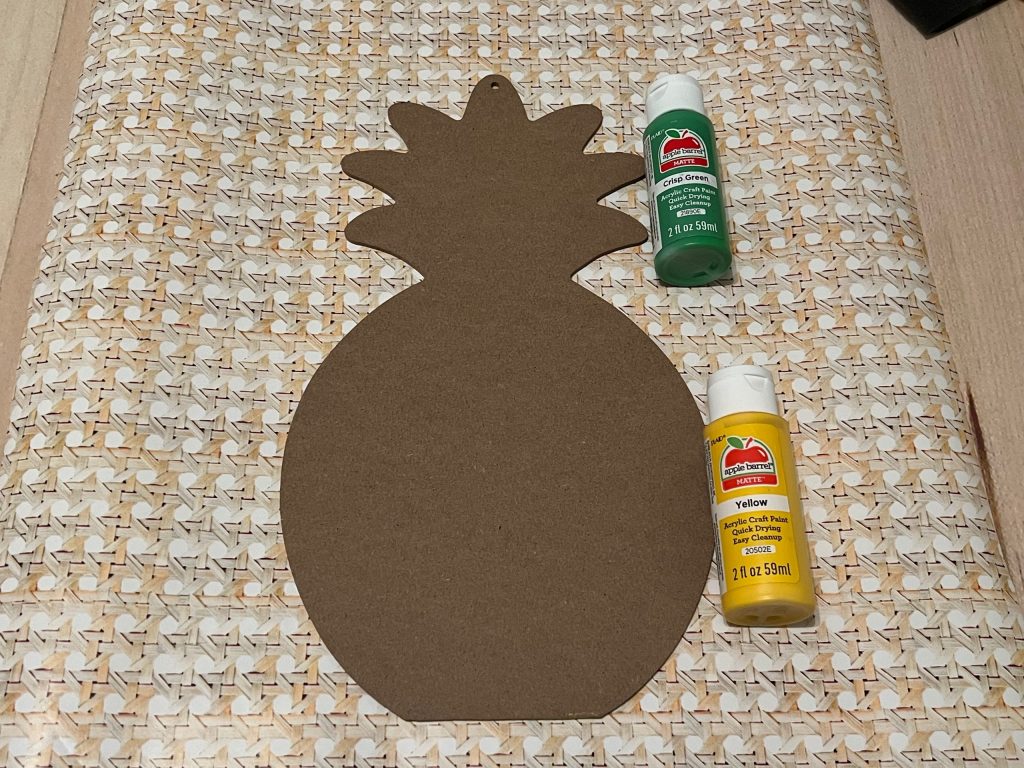
I bought this pineapple with the intention of using the back as a template, so I flipped it over and painted the leaves with Crisp Green and the bottom in Yellow.
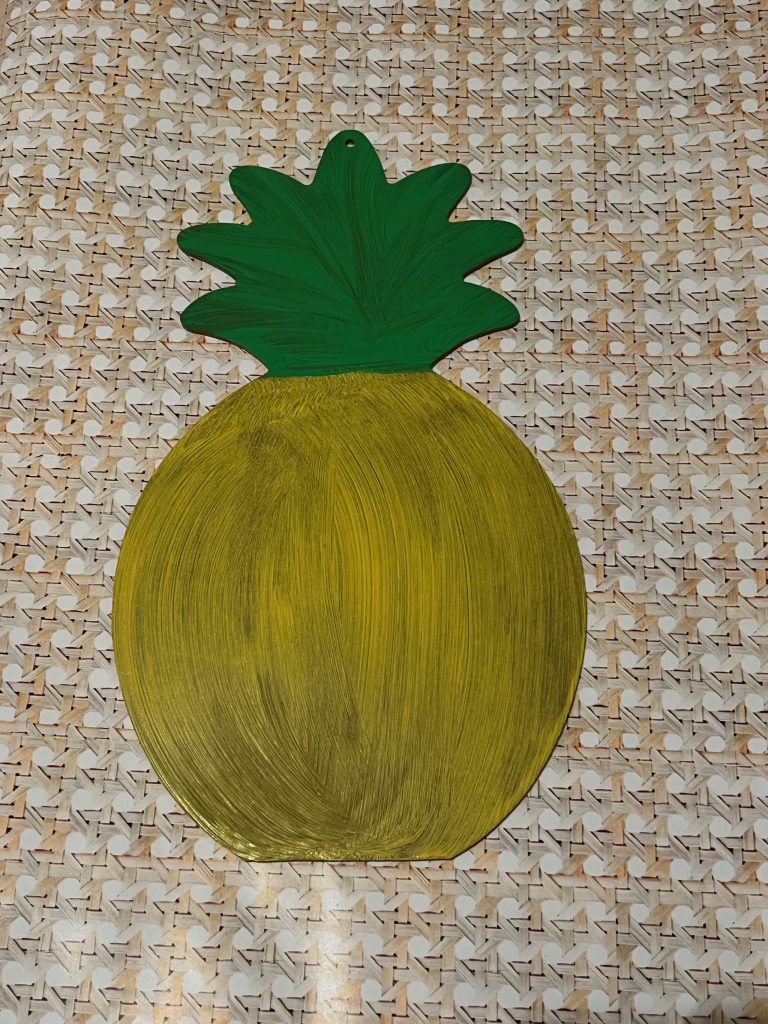
Next, I cut fabric strips around 9″-12″ long and 0.75″-1″ wide. I used two different fabrics, a solid and a print. You can be creative with this and use whatever colors you desire!
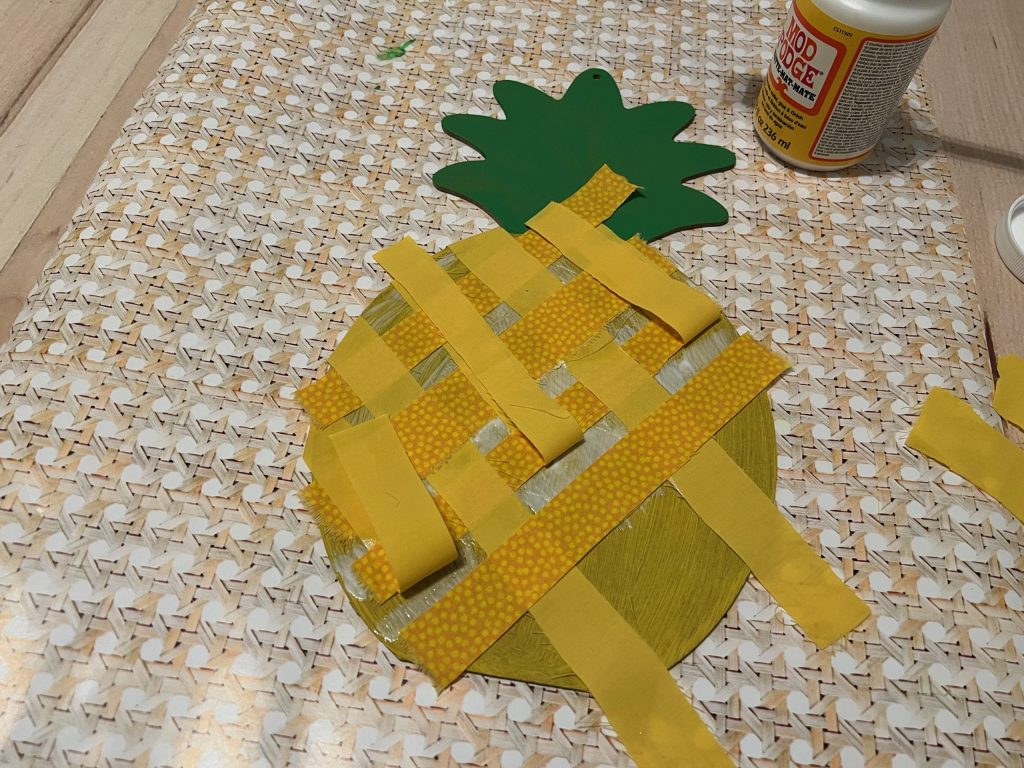
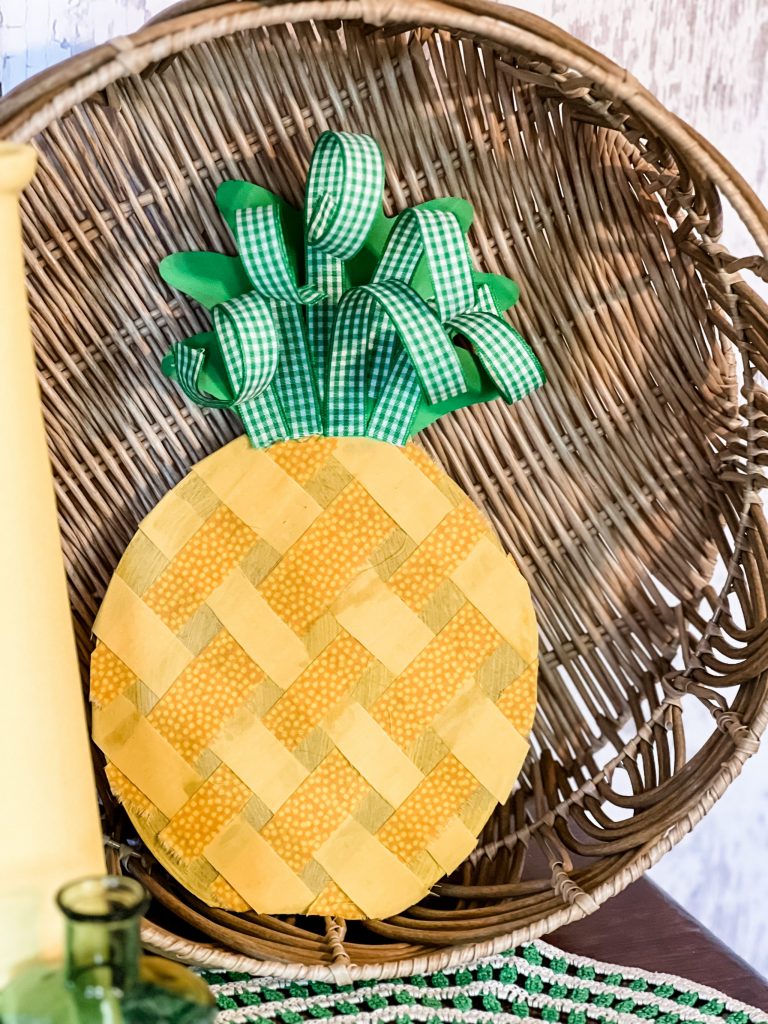
After the pineapple dried, I laid the strips diagonally on the pineapple with a little space between each strip.
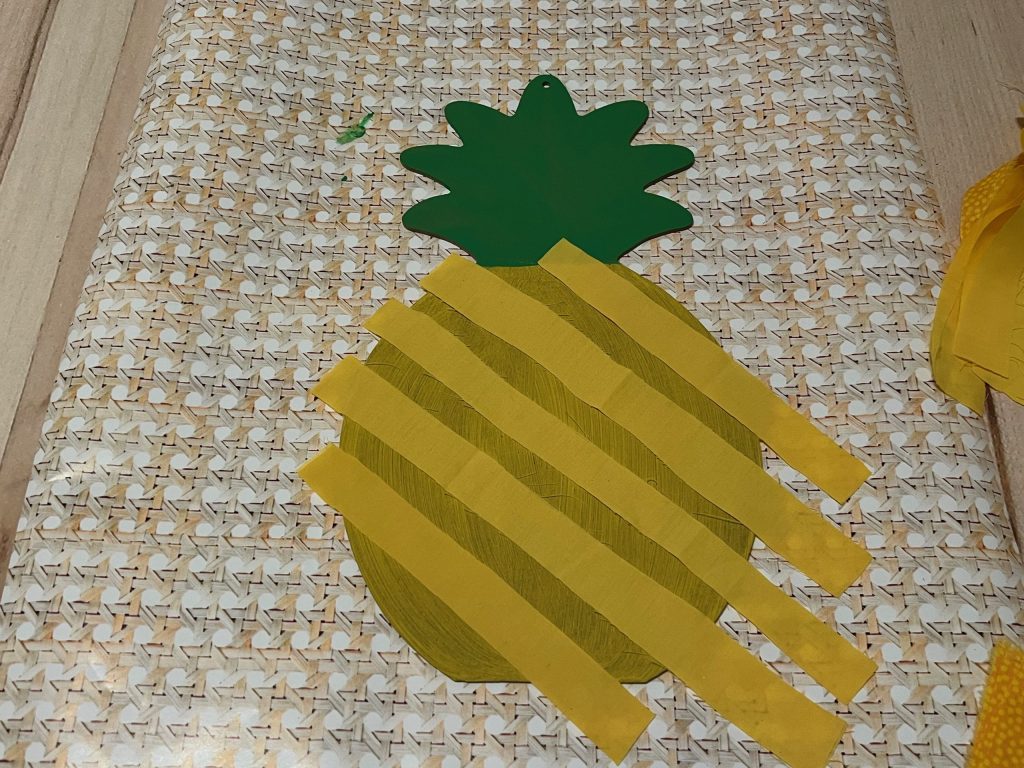
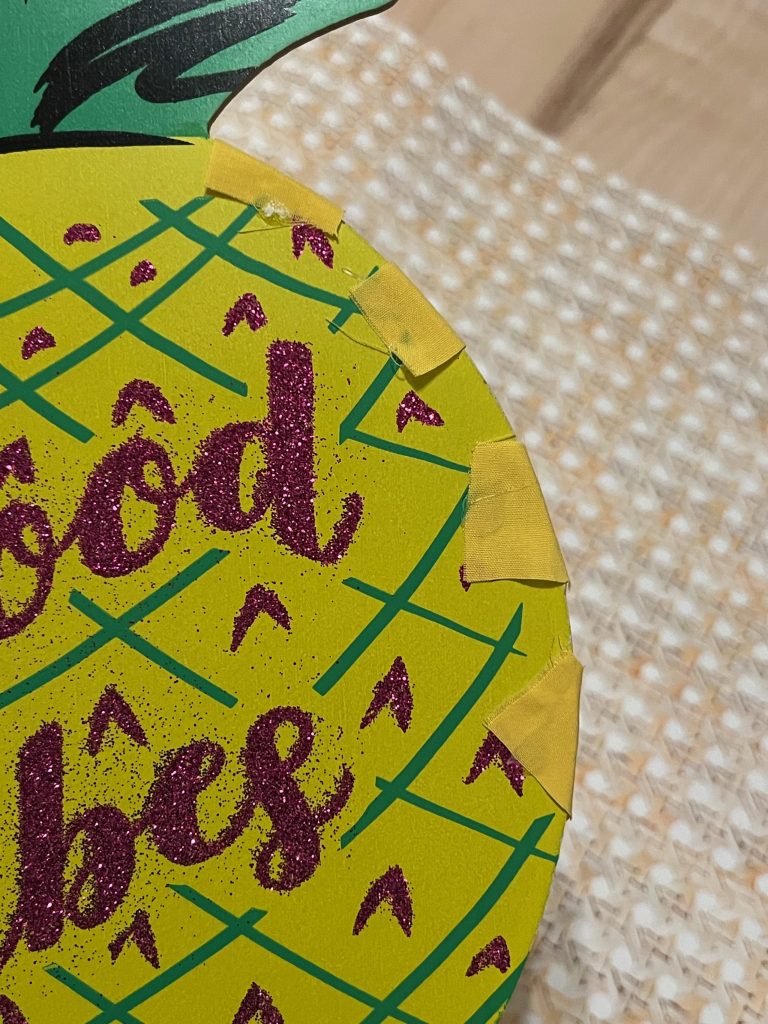
Next, I wrapped the ends on the left side around to the back and secured with hot glue. For the piece on the far right at the base of the crown, I just placed a dab of hot glue to secure it.
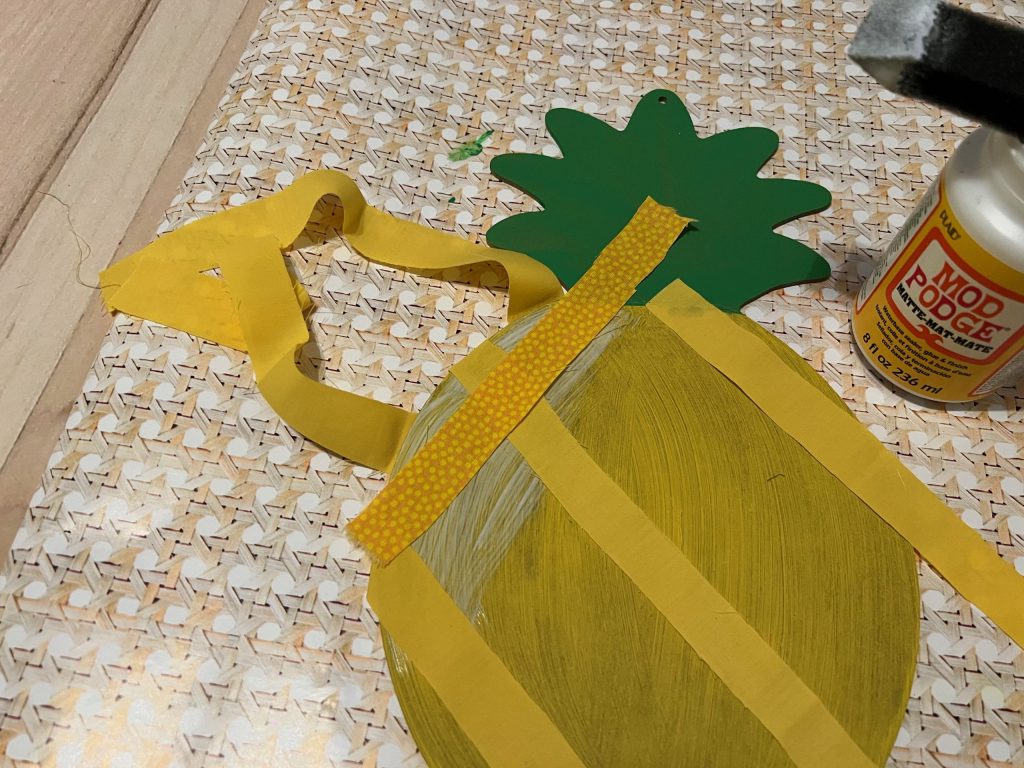
I decided to sort of weave the fabrics to create a pattern. To do this, I lifted every other fabric strip and pulled them back. Using Mod Podge for the glue, I laid a strip going diagonally the opposite way. Then, I laid the two strips back down over top of the printed strip.
Next, I lifted the three strips that were laying down first and pulled them out of the way. I laid down another printed strip over the Mod Podge, then returned the solid strips back down over the printed strip.
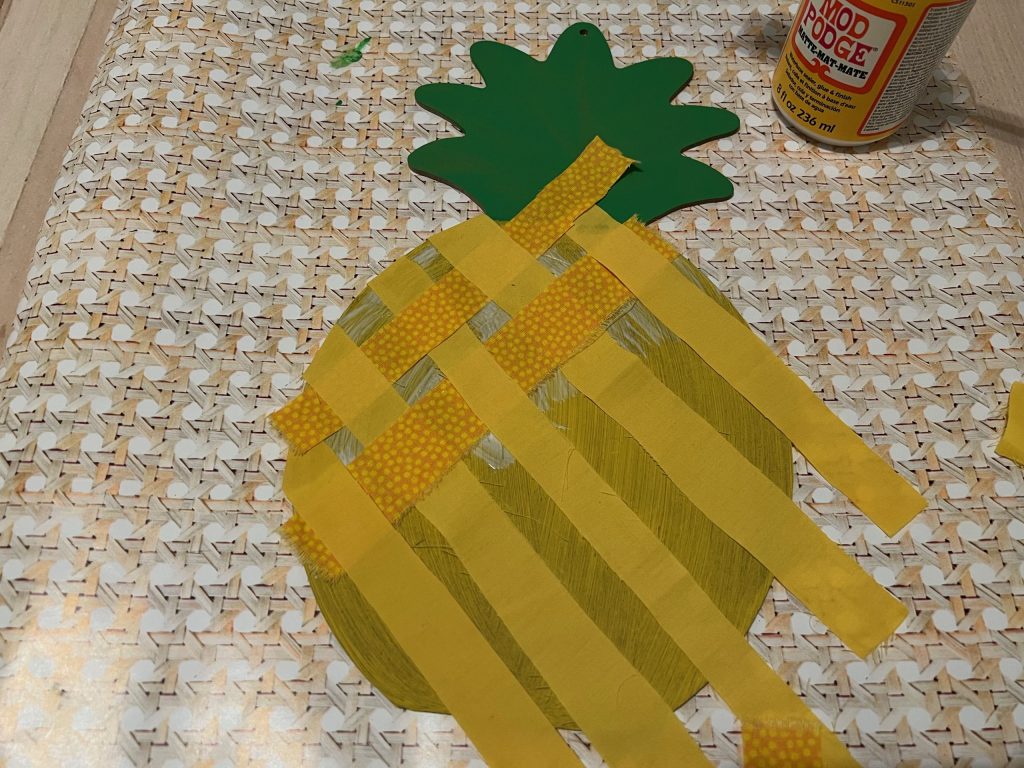
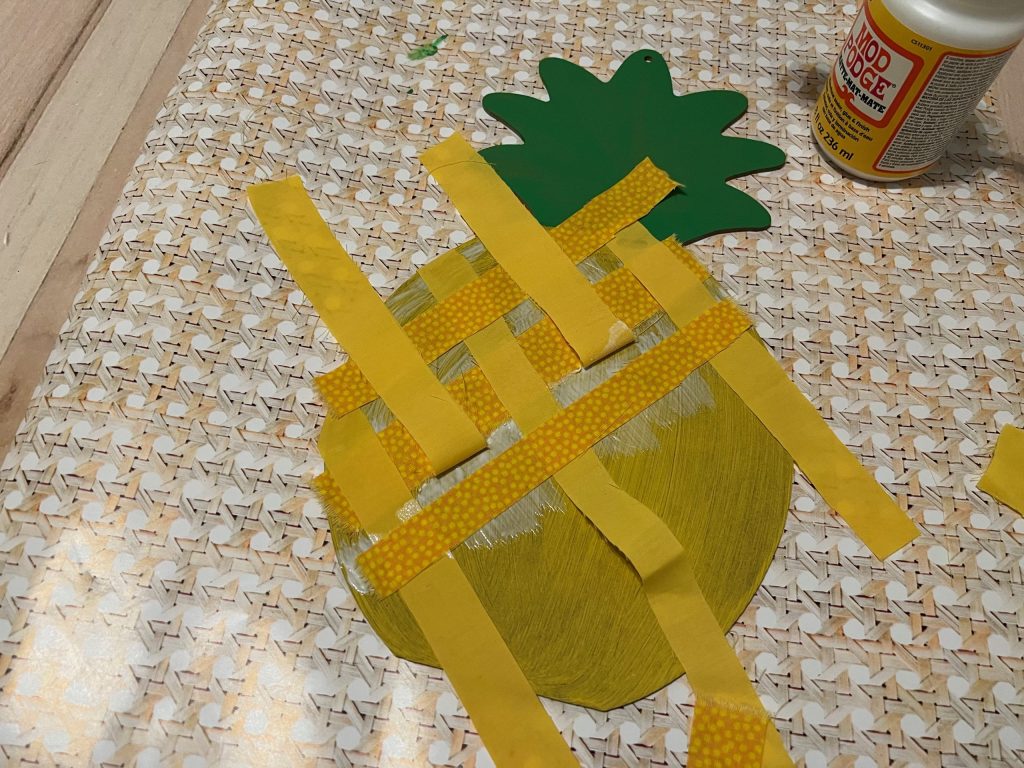
I continued this same process of alternating the lifted strips until the pineapple was covered. It seems tedious, but I promise, it’s not hard at all! It only took me a few minutes to complete the process.
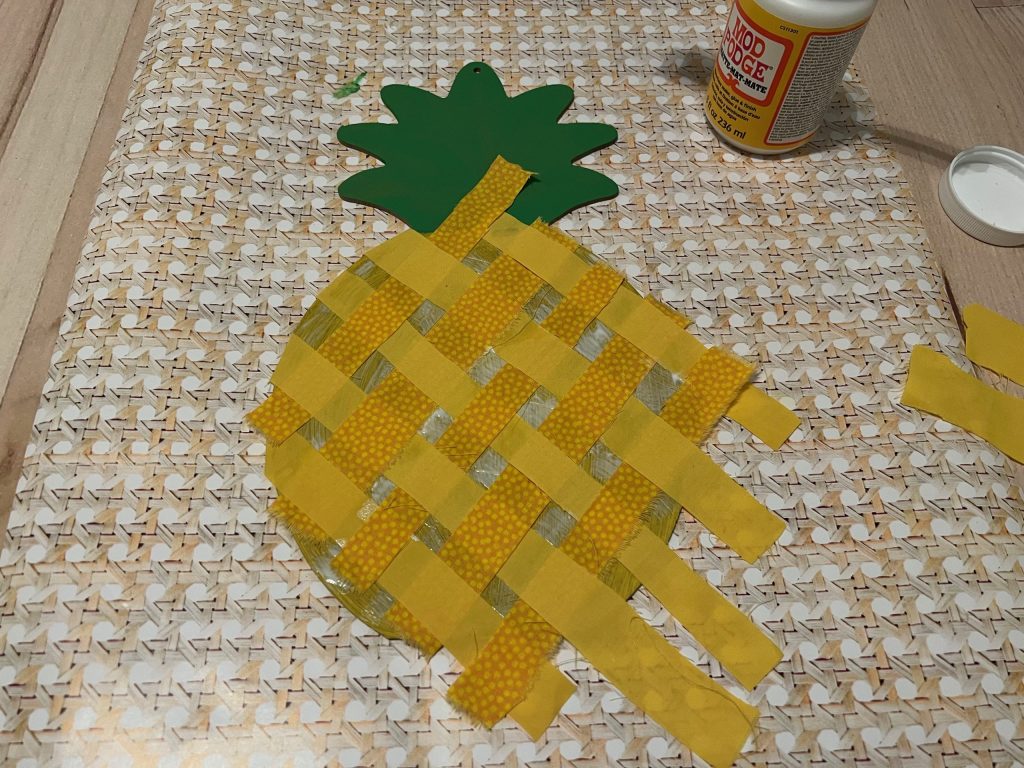
After I was finished, I trimmed the excess fabric around the edges.
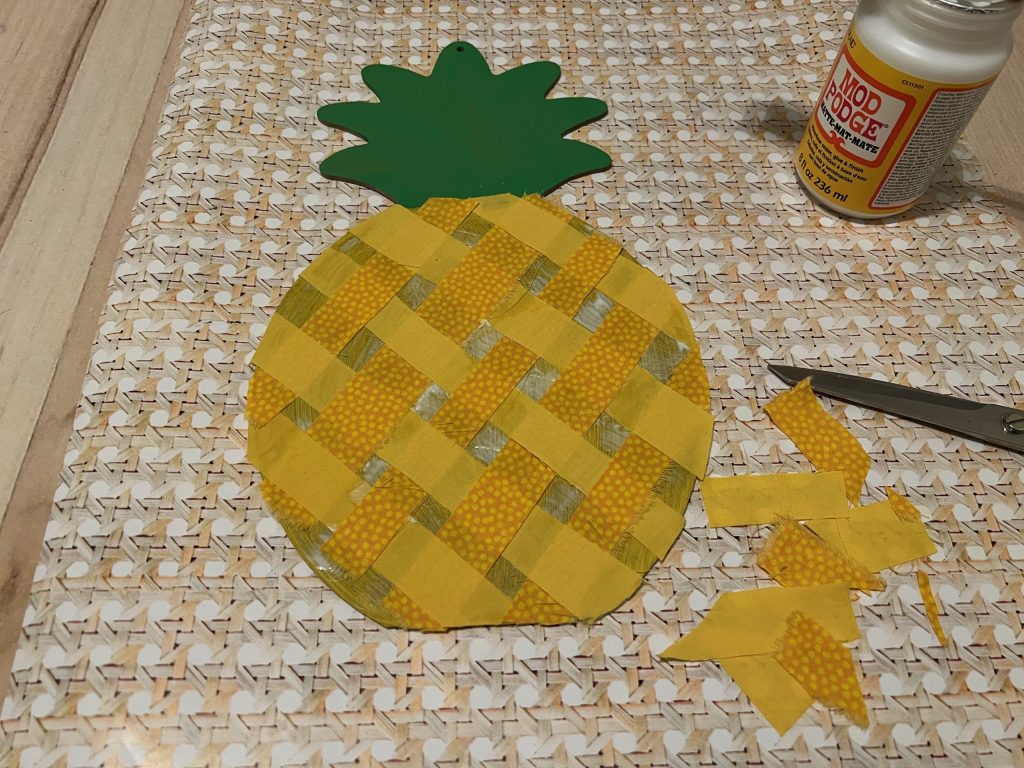
While the Mod Podge was drying, I started working on the crown. Y’all, this part had me excited! I really wanted to do something a little different for the leaves of the crown.
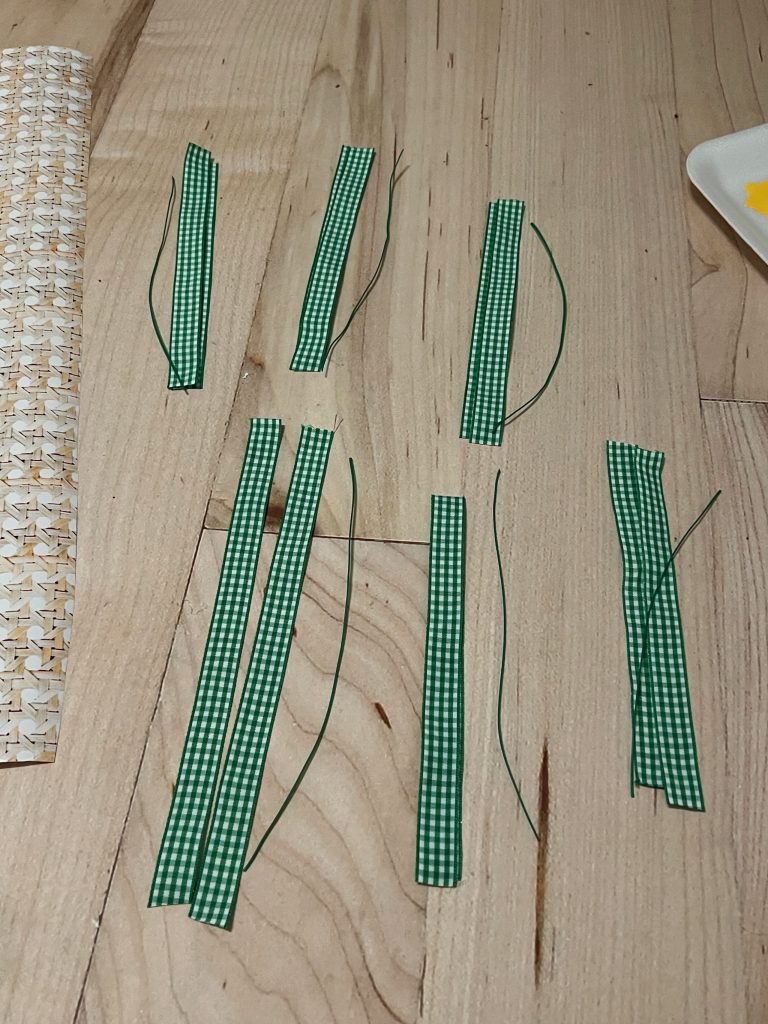
I cut pieces of craft wire around 5″-7″. They were not all the same length. Then, I cut my ribbon to the same lengths as the wire, two strips of ribbon for each piece of wire.
I really had some polka dots in mind for my ribbon (imagine that!), but this is what Dollar Tree had, so I went with gingham instead.
Next, I pulled out the Heat n Bond Lite. This is an iron-on adhesive. I used this to avoid using glue, and I think it turned out fabulous! This comes in many forms. You can buy it in a plastic package, on a spool or even off of a bolt in the fabric section.
One side of it is shiny with texture, and the other side is more like paper or wax paper.
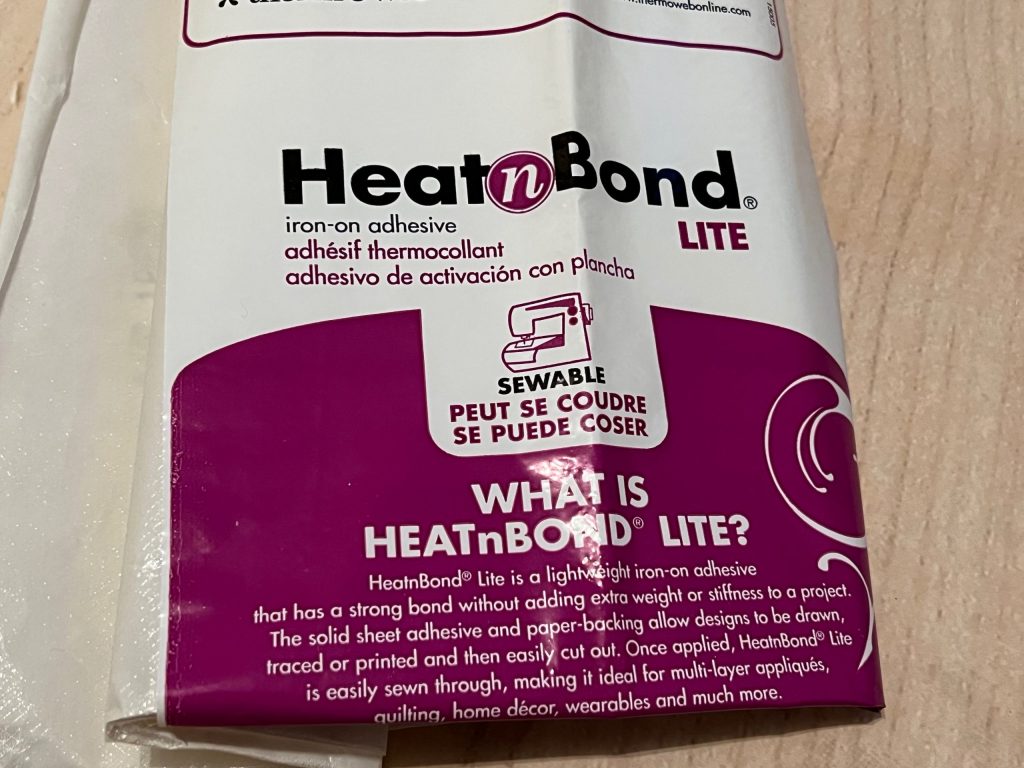
Mine was in a large sheet, so I laid it out with the shiny, textured side facing up. Then I placed all of my ribbon strips on top of it as closely as possible. Once everything was laid on top, I cut the excess Heat n Bond Lite off. I can use if for another project!
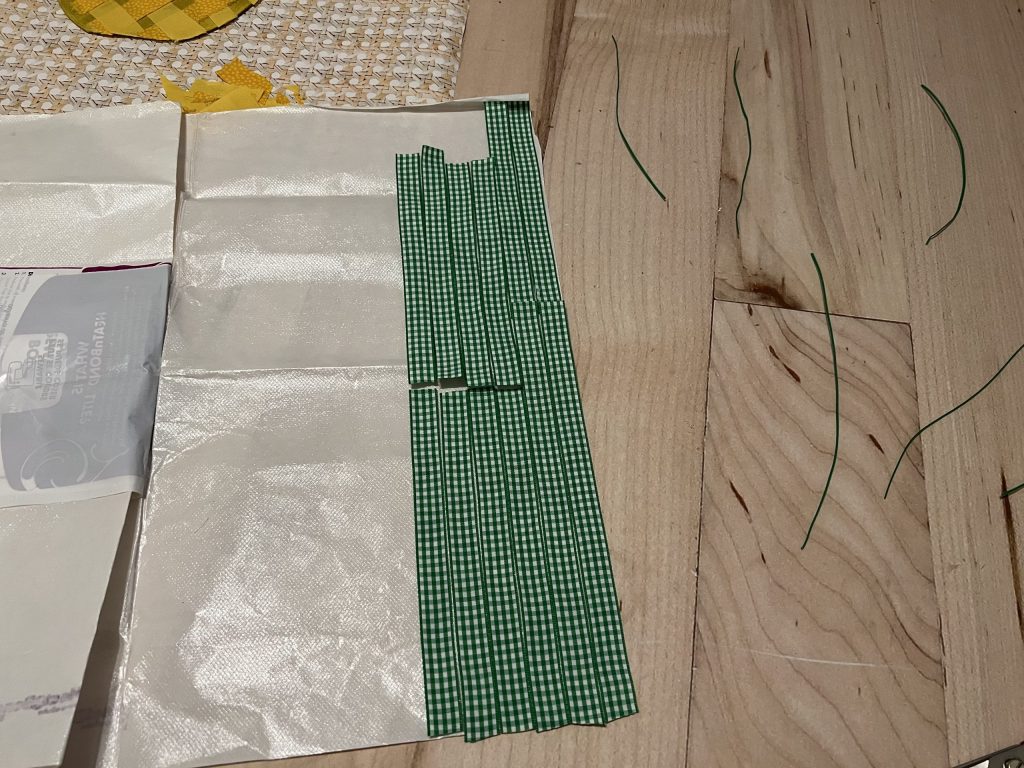
Next, I took a piece of parchment paper and placed it on top of the ribbon and ironed over it with an iron on a medium heat setting. This melts the adhesive to the back of your ribbon.
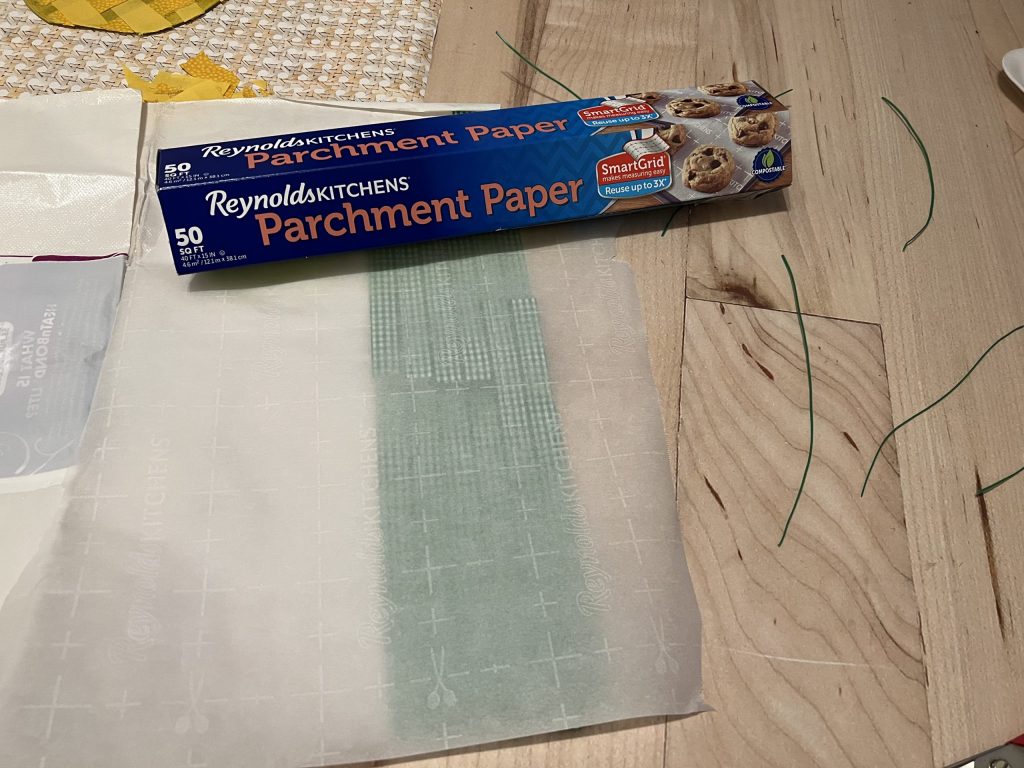
Then, I cut out all of the strips of ribbon and paired them together by matching lengths.
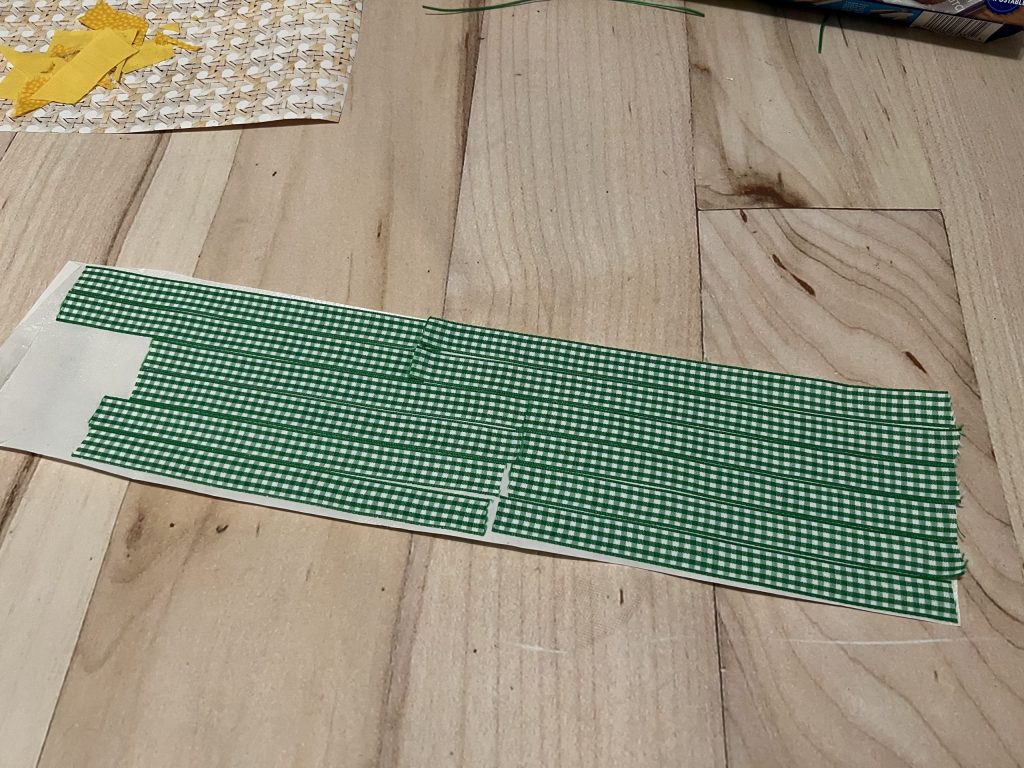
Then, I grouped together the wire and two pieces of ribbon of the same length. I peeled off the paper backing of each ribbon. This revealed the adhesive that will be activated by the heat of the iron. It is shiny and smooth, not sticky at all.
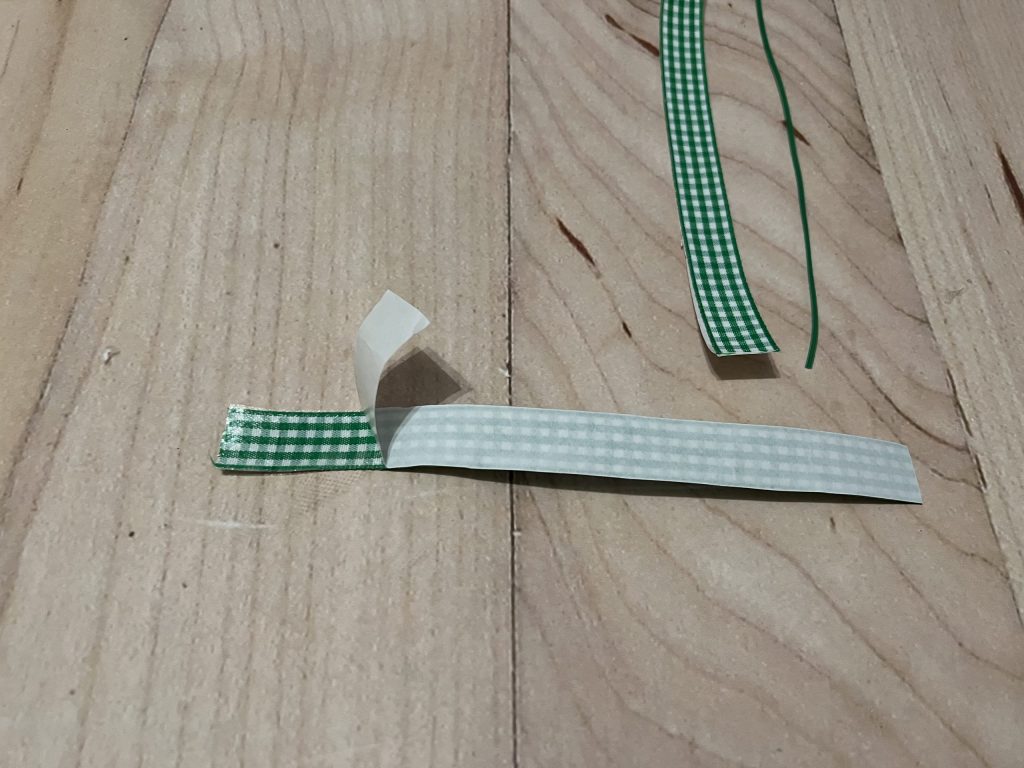
I placed the wired on top of the shiny adhesive and then laid the other piece of ribbon on top, shiny side down. The wire is now sandwiched between the adhesive layers…the smooth, shiny sides.
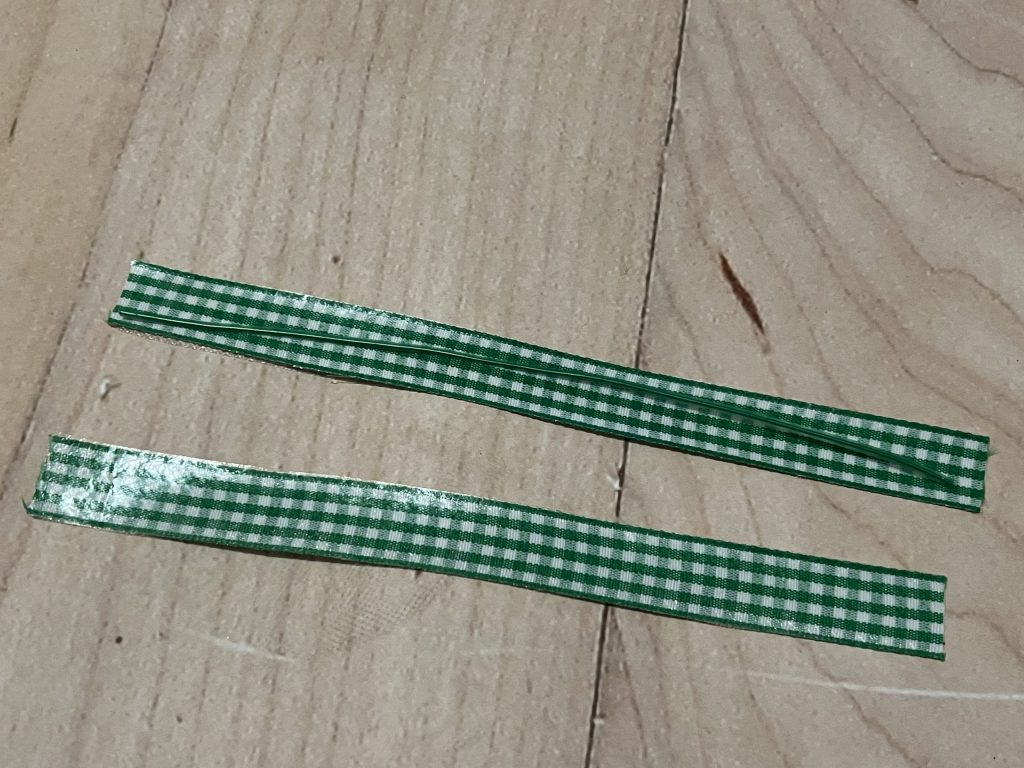
Then, I again placed parchment paper on top of the ribbon and ironed it on a medium setting for a few seconds. This activated the glue.
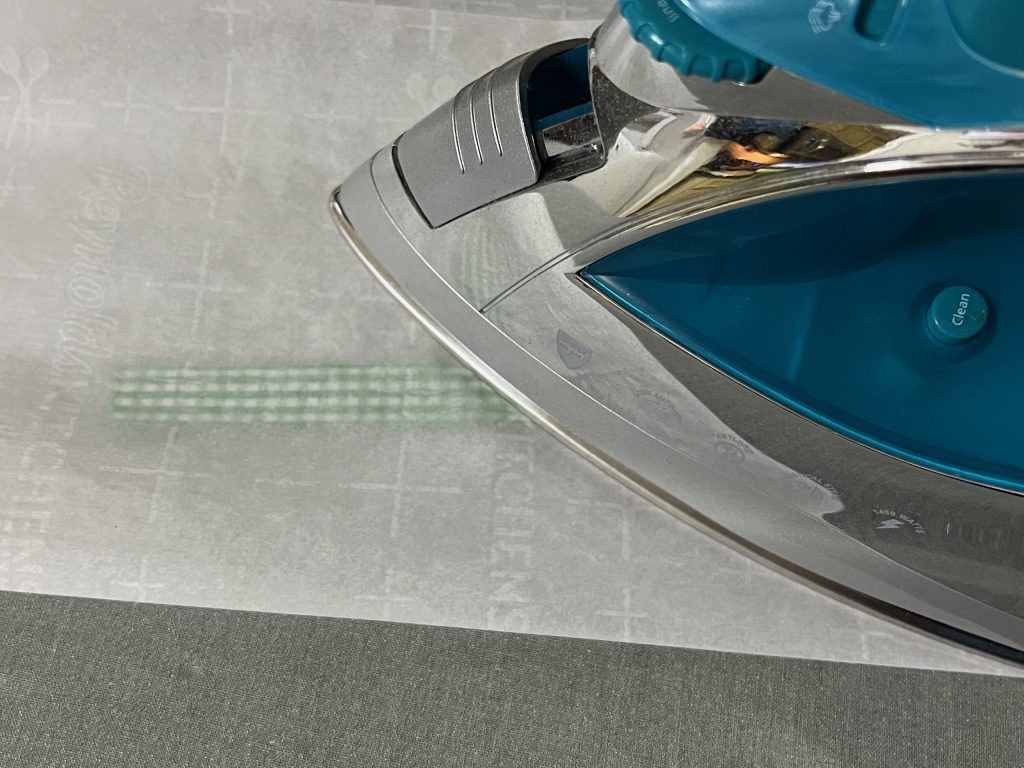
I used this same process for the remaining wire and ribbon. This left me with 6 strips of thick ribbon with wire! They could now be bent, curled or shaped however I wanted!
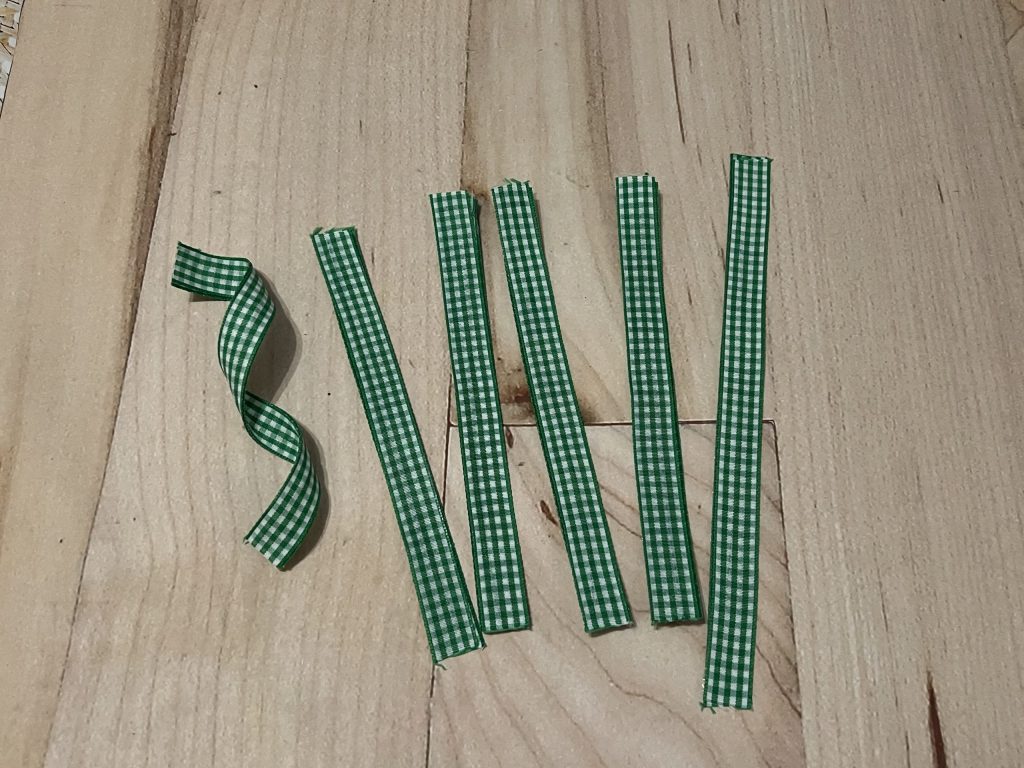
Finally, I hot glued the ends to the crown of the pineapple and shaped them.
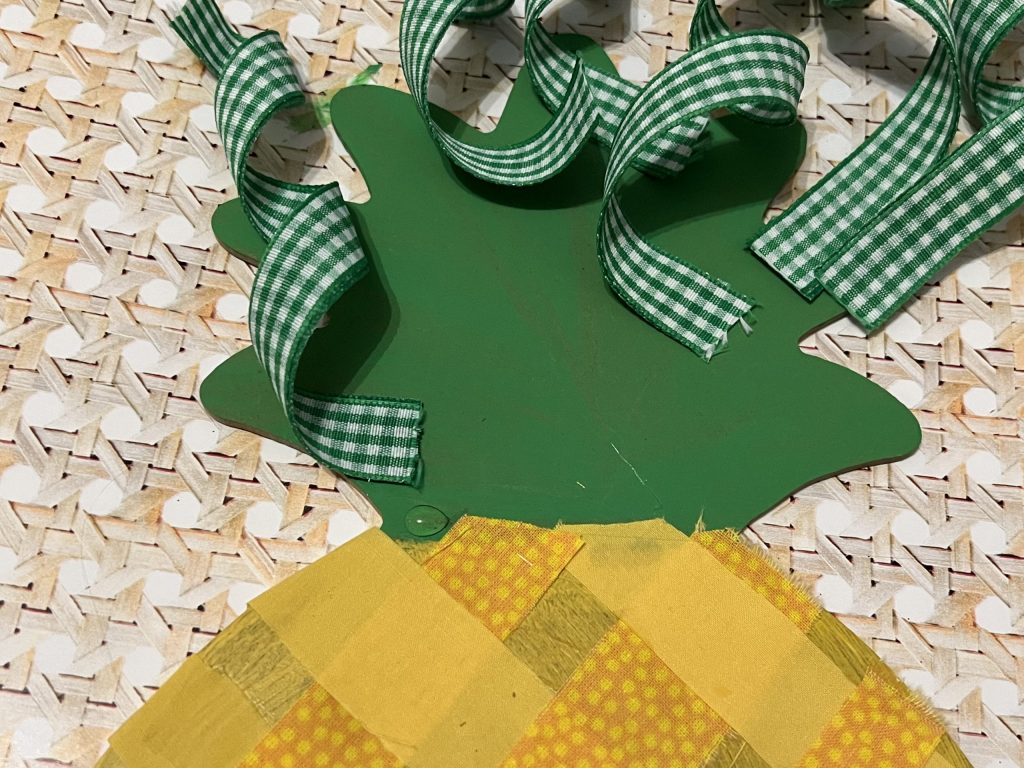
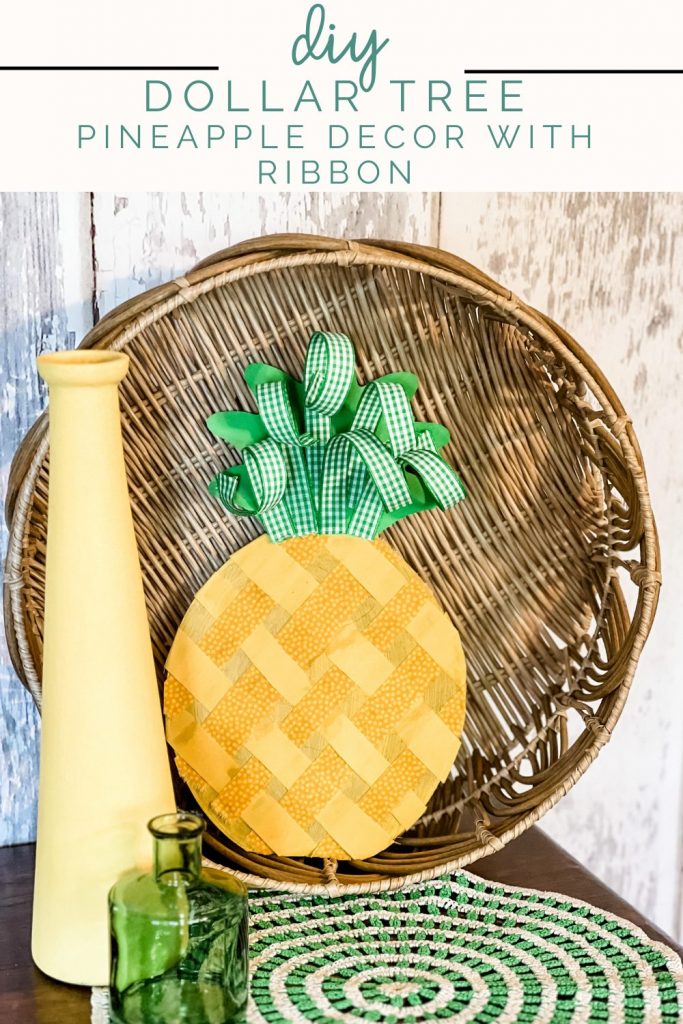
How adorable did this turn out?! I love the dimension the fabrics and ribbon give the pineapple! It’s so fun and will look so cute setting on a shelf or even in a wreath!
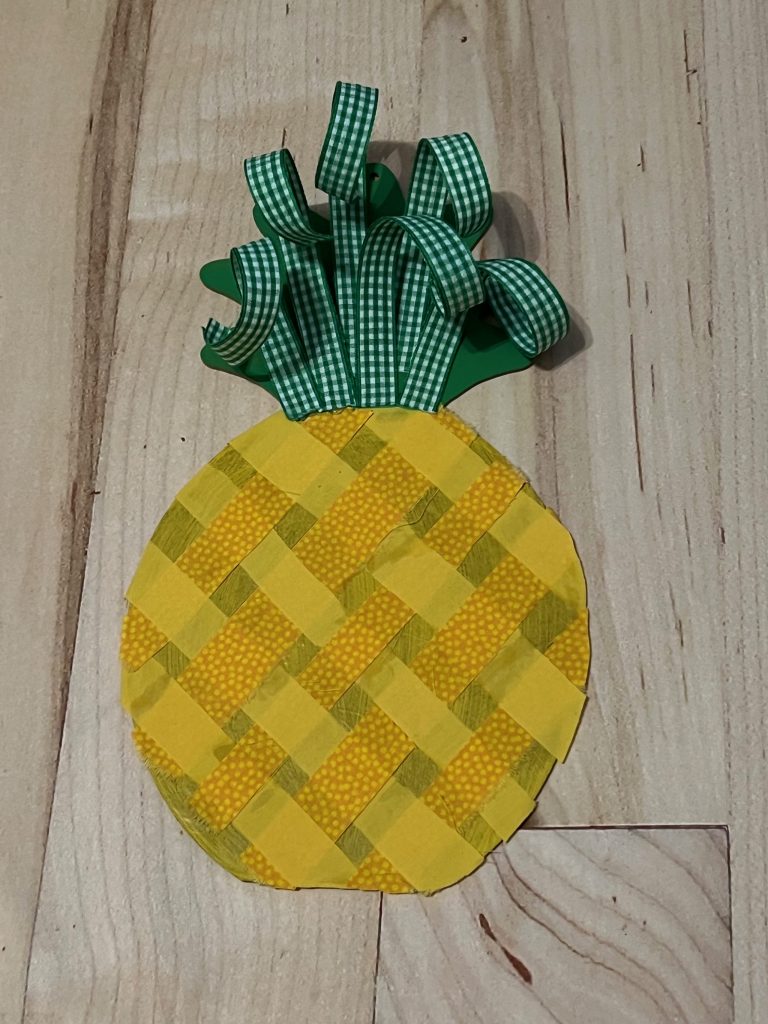
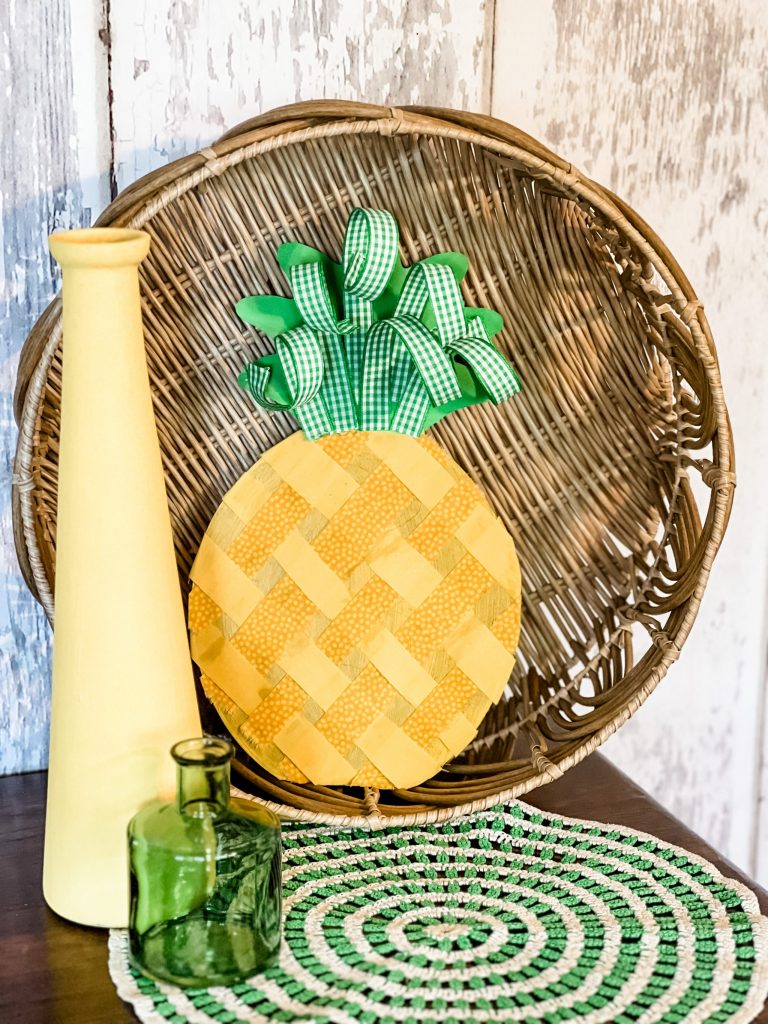
I LOOOOOVE this project! I can’t imagine it being any cuter at all! I hope you love it and will make one for yourself!
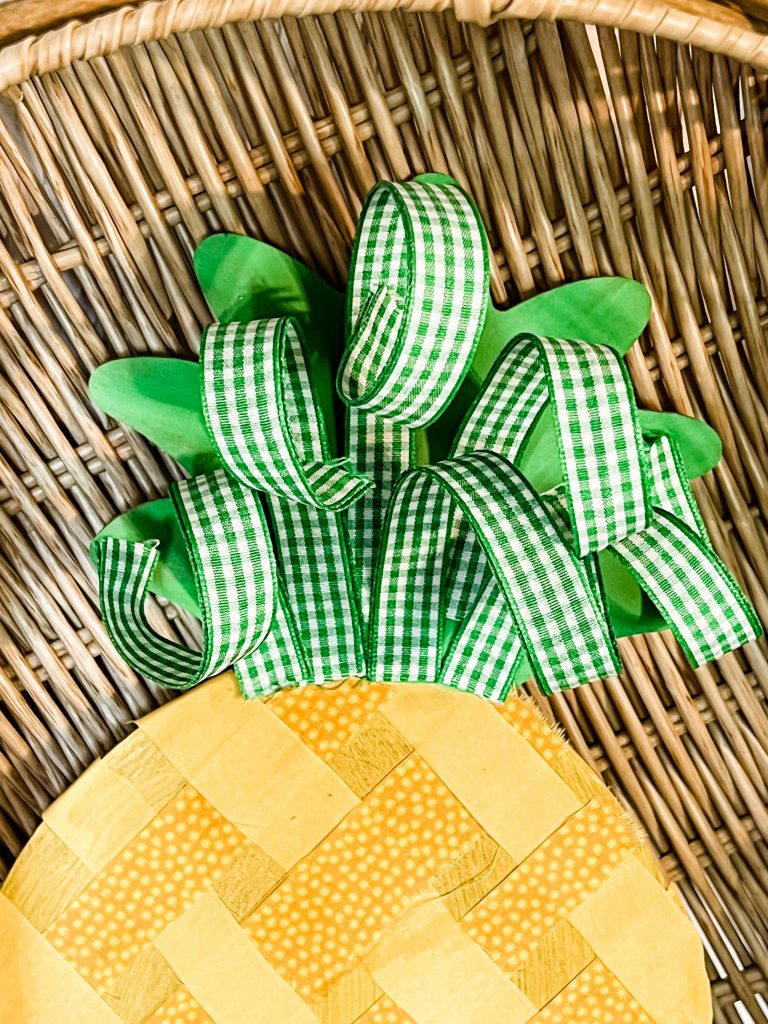
Be sure to pin this for later!
Last Updated on April 24, 2023

You come up with the cutest designs. I just wish I could come up with those myself.
This is the cutest pineapple. I love it!
Yummy 😋
So creative!
This is an adorable project Brooke!! I love how you took it up more than a notch!!