Do you ever see something on the shelf and immediately see it as something COMPLETELY different?!?! (Please tell me I am not the only one who does this!)
Well, when I saw this trick or treat pumpkin sign sitting on the shelf at Dollar General, I immediately saw something totally different. What is funny is that what I saw it as and what I turned it into are actually 2 different things!
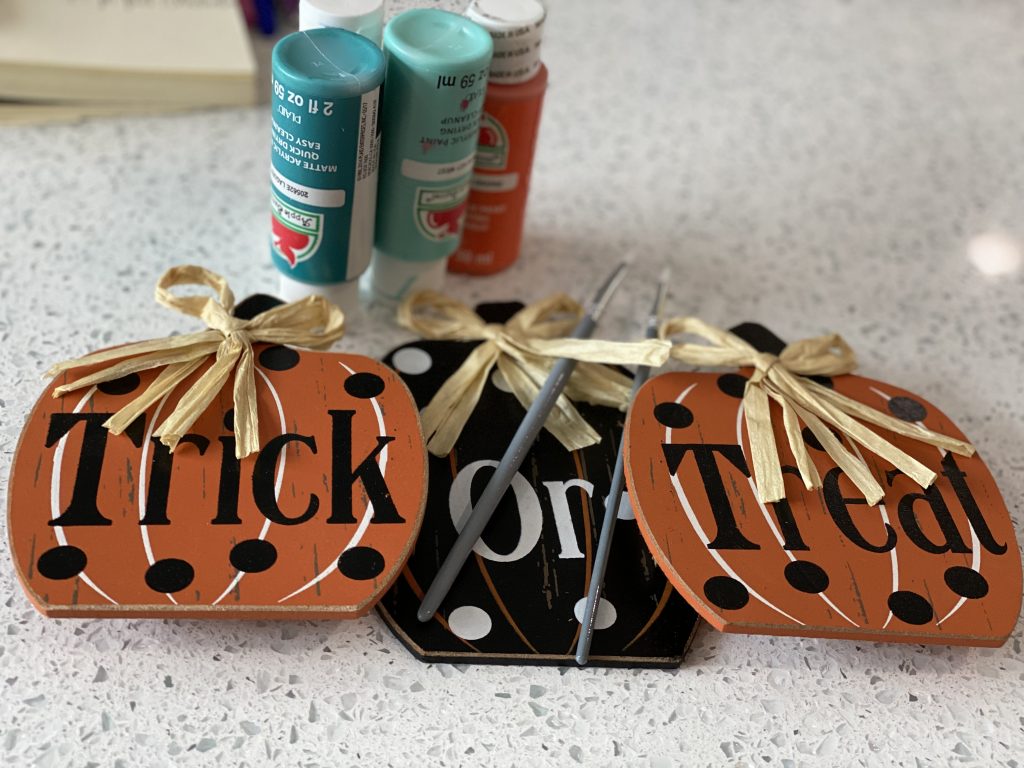
Let me walk you through how my mind worked in this project (scary, huh??) I cannot wait for you to see how it turned out!
First, I took off those bows. I mean…those bows need some love.
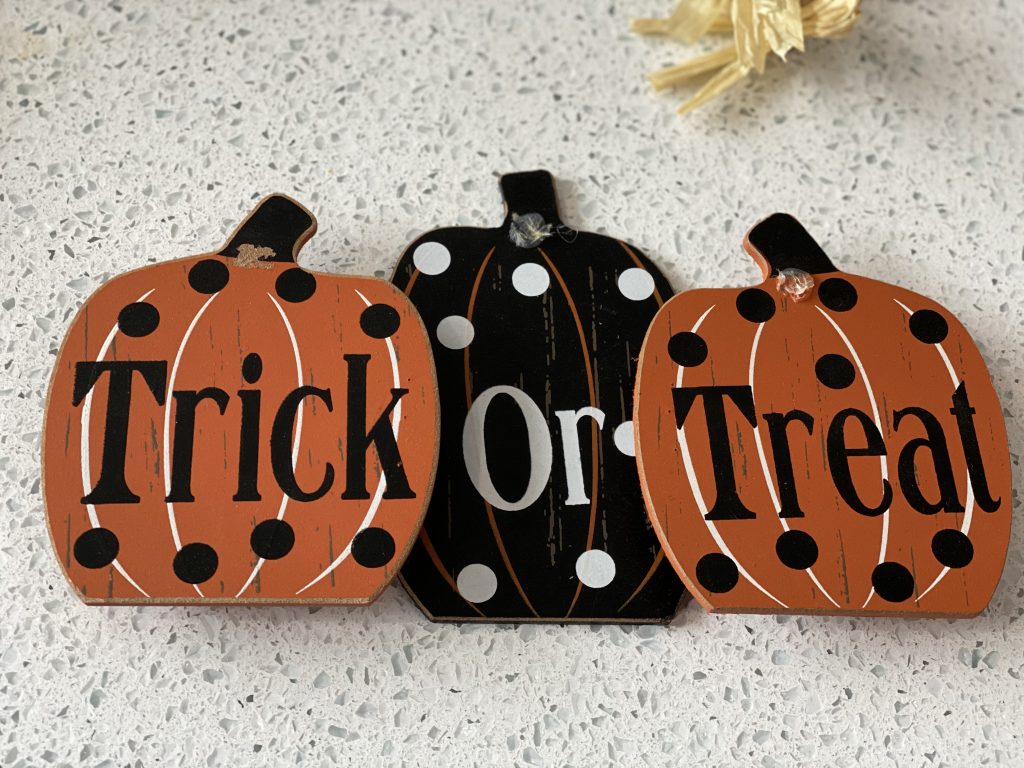
After I did that, I THOUGHT I was gonna paint the pumpkins and then do some fun designs, distressing and shading…..
SO, I started the paint process and did 3 coats. This part is not important anymore because I did NOT leave them like that.
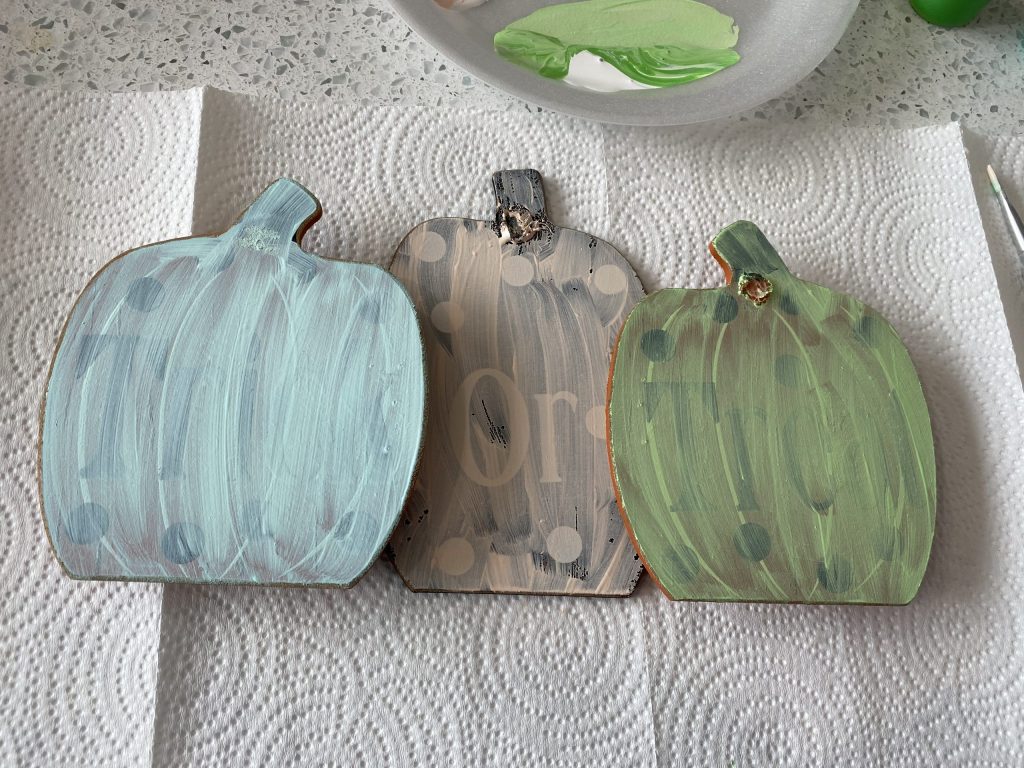
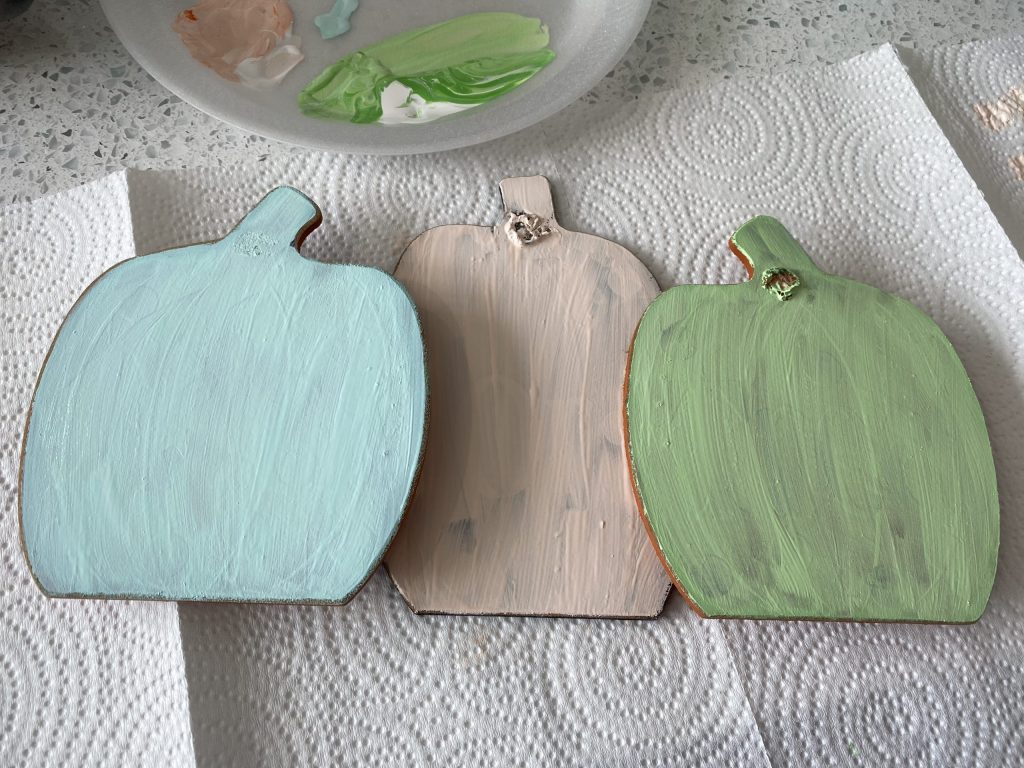
Once I could see that I wanted to go in a different direction, I ran into my craft stash and grabbed a few things. I didn’t know what my goal was, but I did know I wanted neutral and fun with different textures!
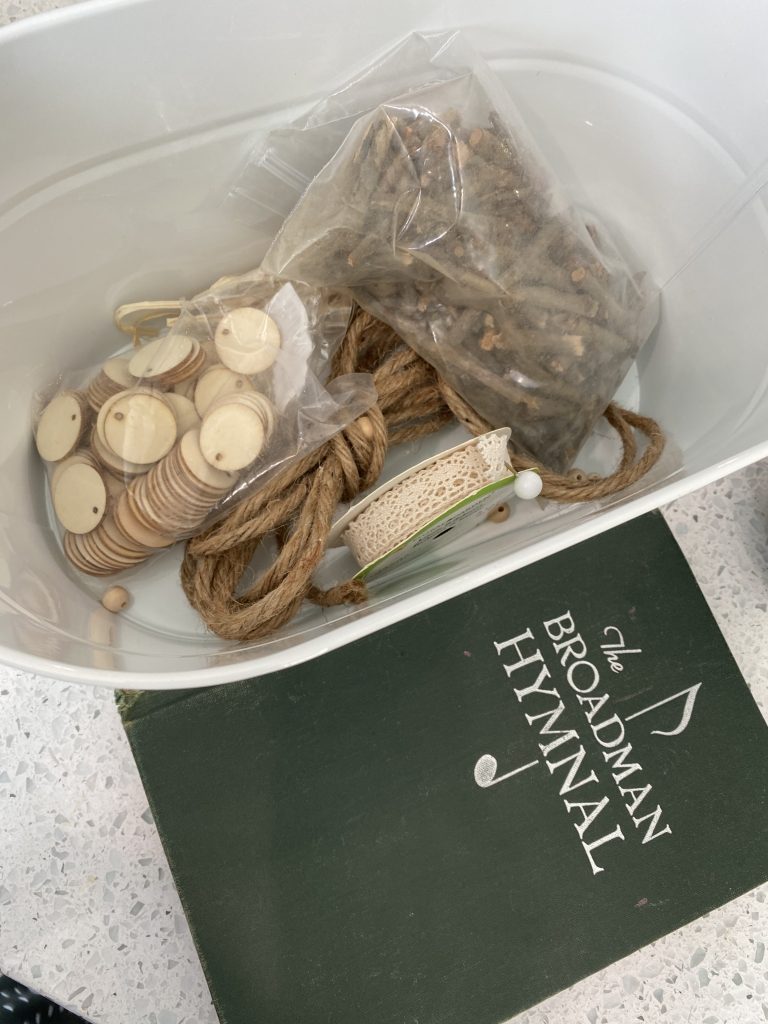
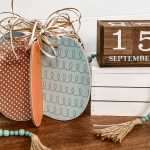
First, I took a piece of paper from my hymnal and traced my first pumpkin and mod podged it on!
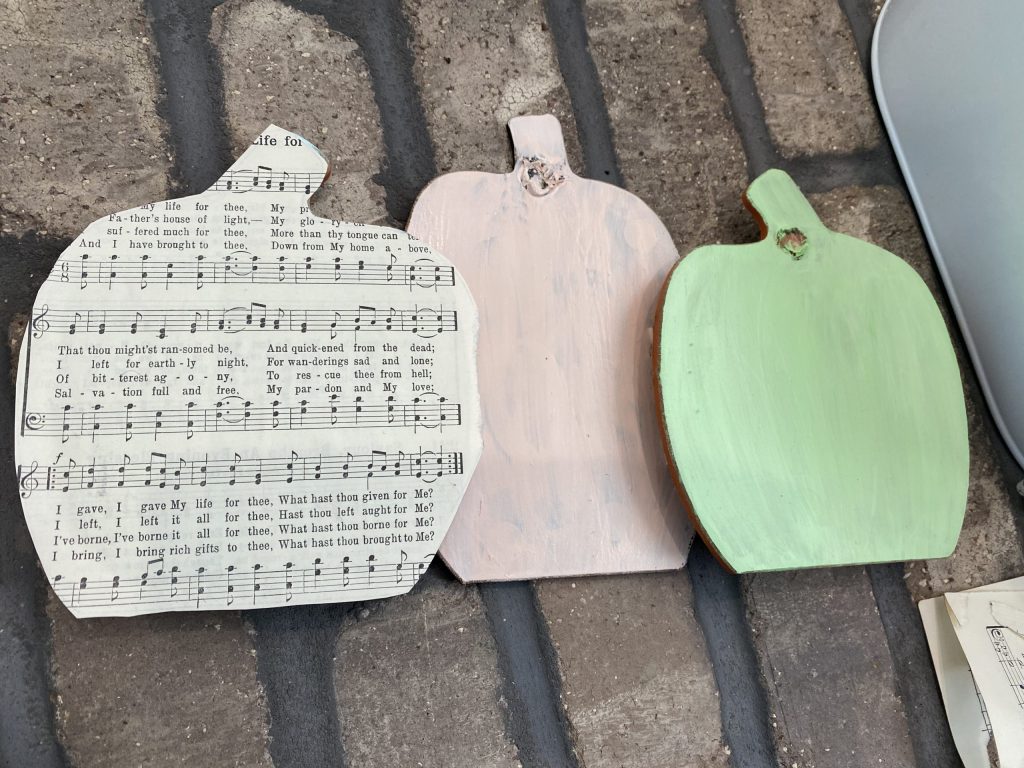
After that, I took some stain and just kinda rubbed it on the paper and distressed it!
Next, for the middle pumpkin I took some of my rope that I had on hand from the Dollar Tree and simply lined it up all the way up the pumpkin! SUPER easy. I just hot glued it on.
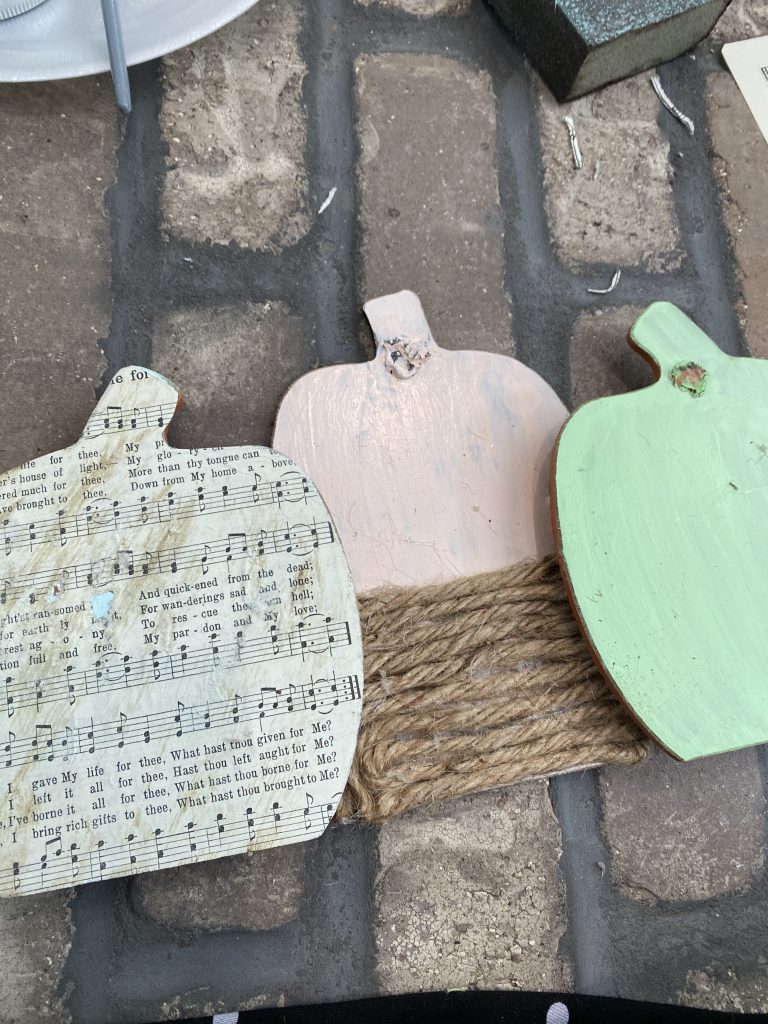
I didn’t have a clear vision for my 3rd pumpkin, so I decided to do a little work to the first two in order to see if I could come to a decision on the 3rd.
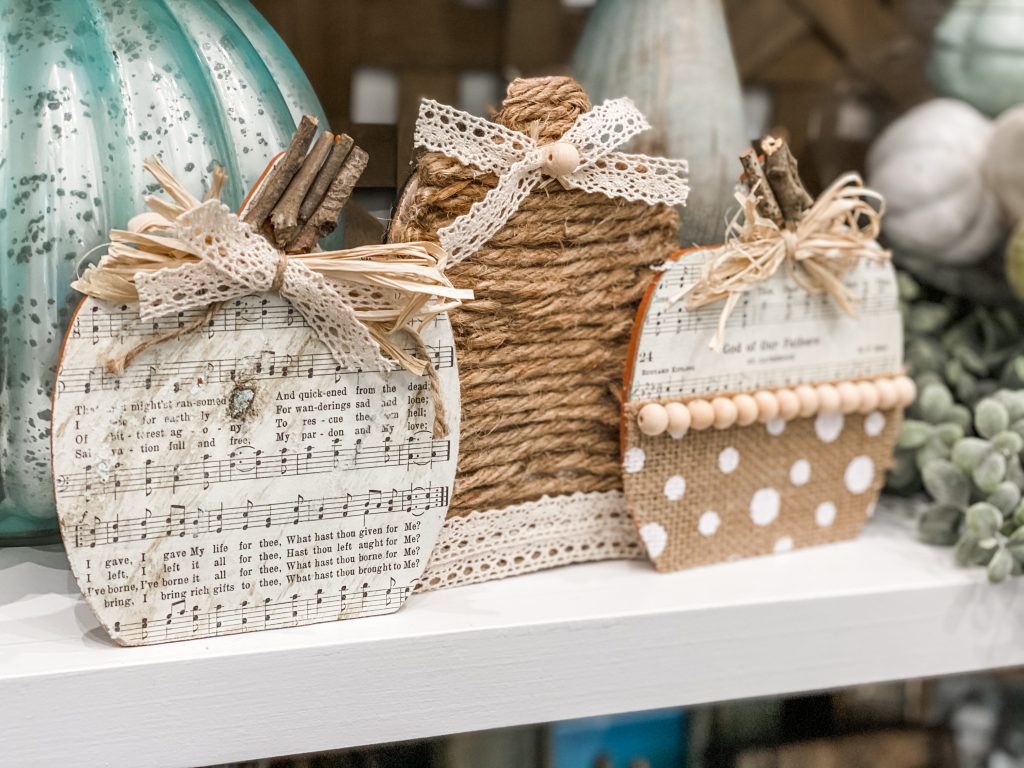
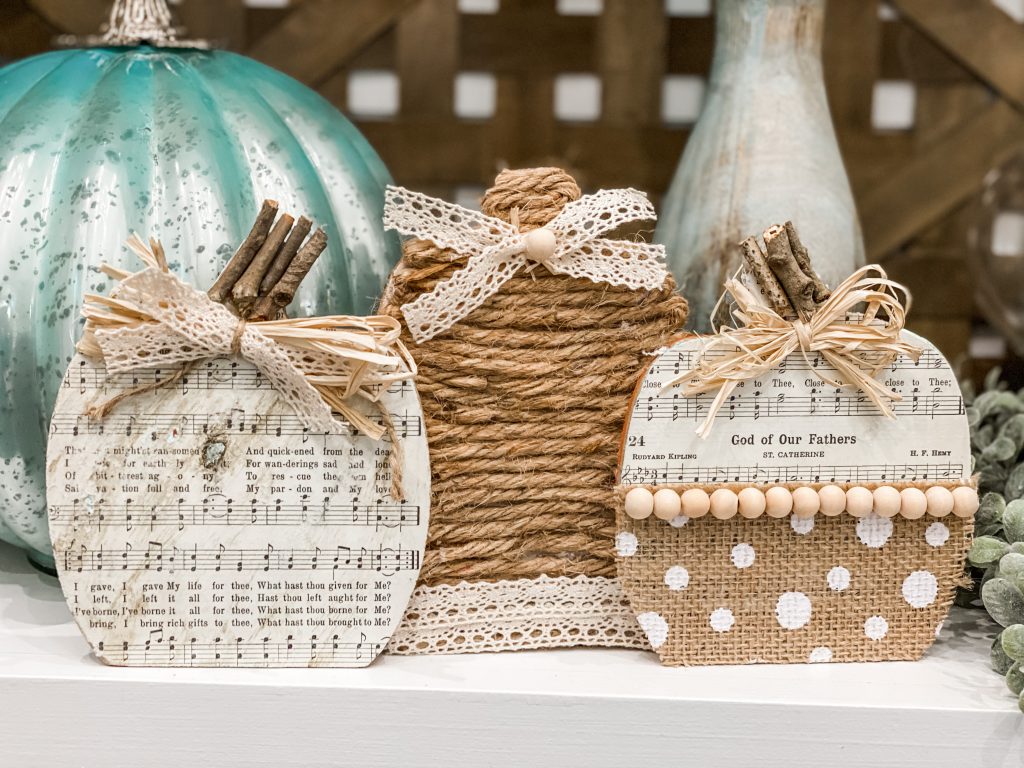
I added sticks to the stem of the first one and then added a couple pieces of neutral ribbon and glued them onto the bottom of the second one.
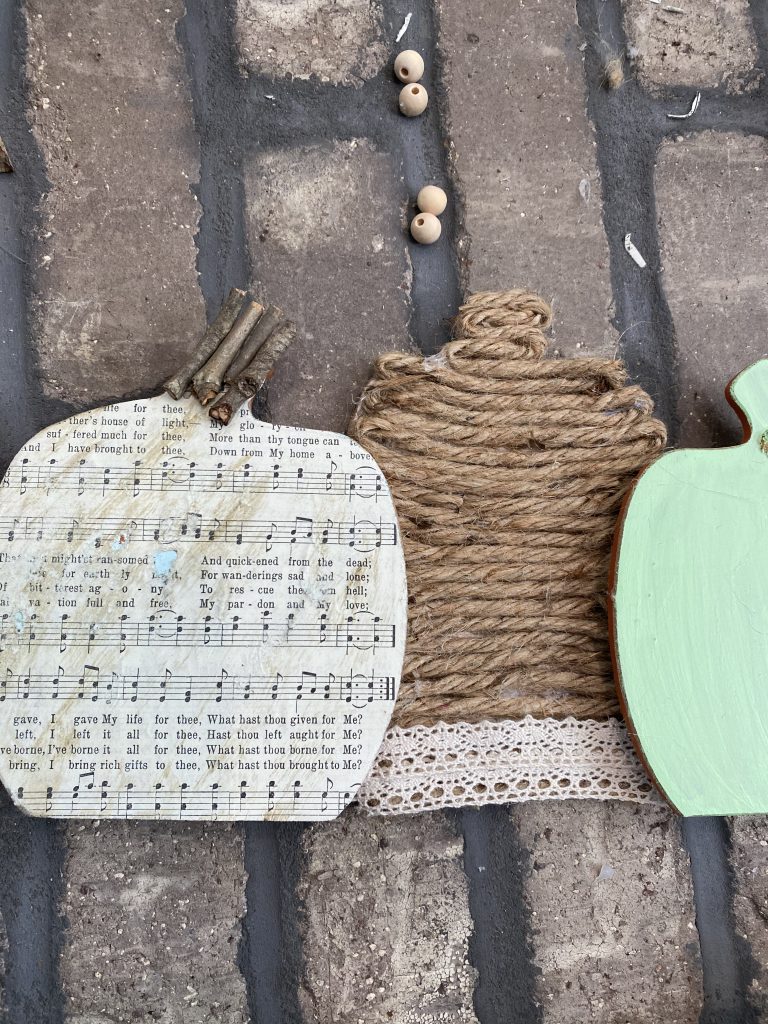
A bow was certainly on the agenda! This is a VERY simple bow made of raffia and a couple pieces of ribbon!
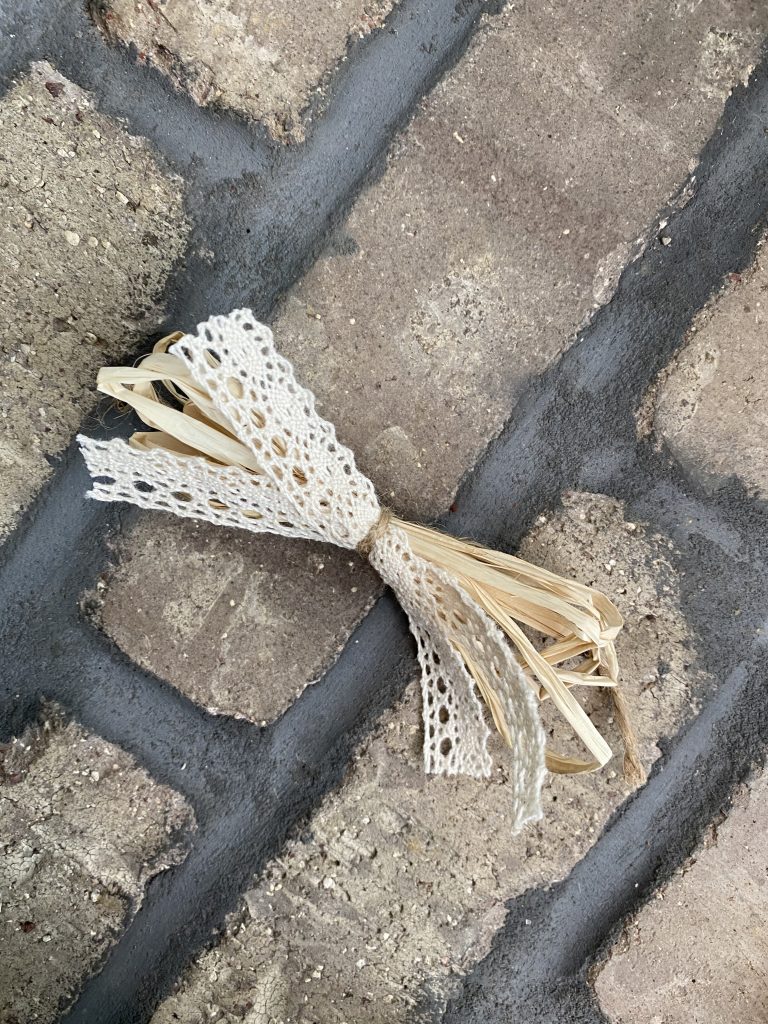
It was just hot glued on the first pumpkin! The second pumpkin got a bow with just 2 pieces of ribbon with a little wood bead glued in the center.
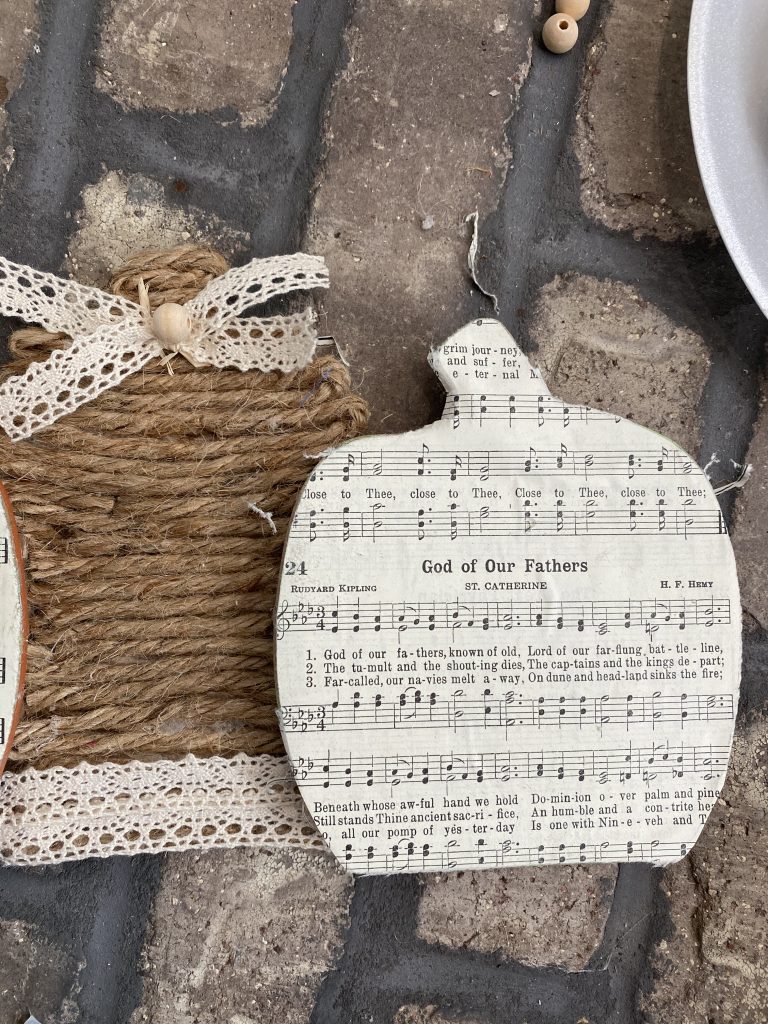
For the third pumpkin, I decided to continue with the hymnal paper to bring the two together…I just took it a step farther!
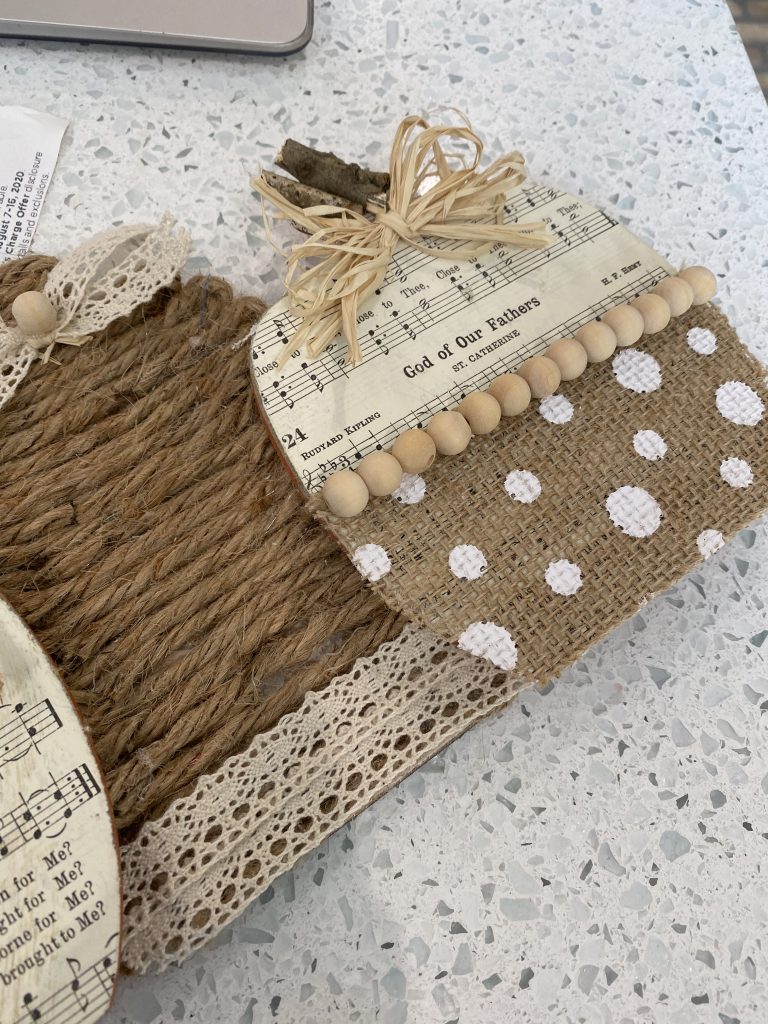
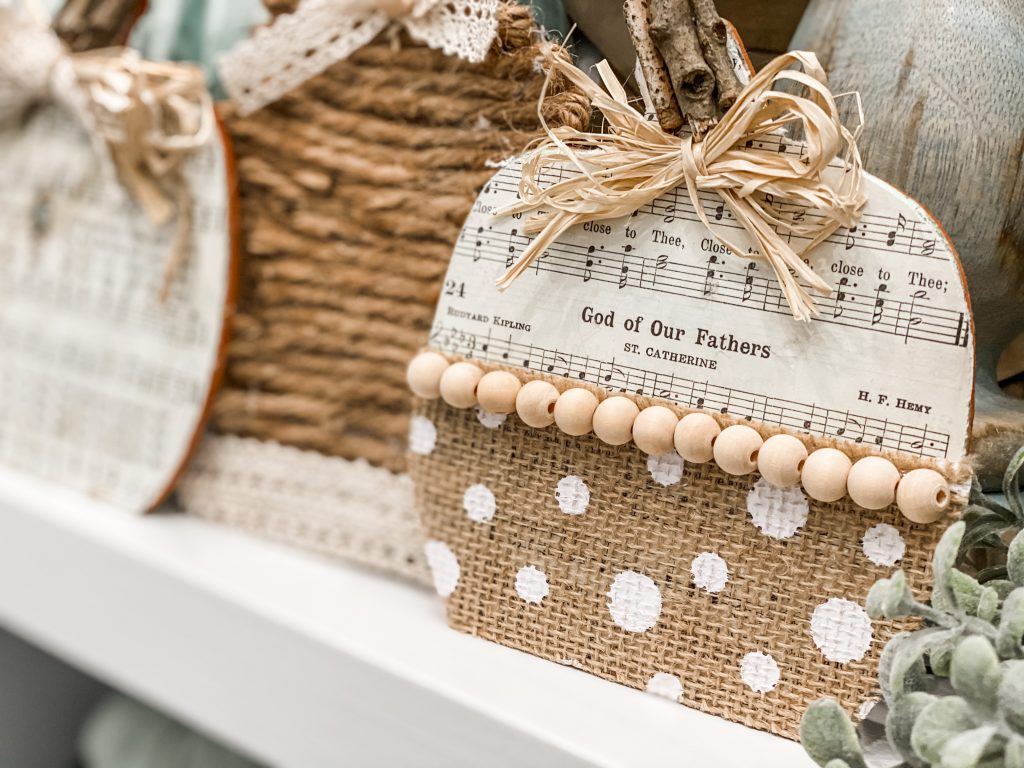
I took some burlap ribbon (it already had the polka dots) and simply hot glued 1 small piece to the bottom of the pumkin and then cut the sides to match the sides of the pumkin bottom.
To bring it a little extra texture, I took my tiny beads and hot glued them along the top portion of the ribbon to create a line…and then made a little raffia bow to top it off!
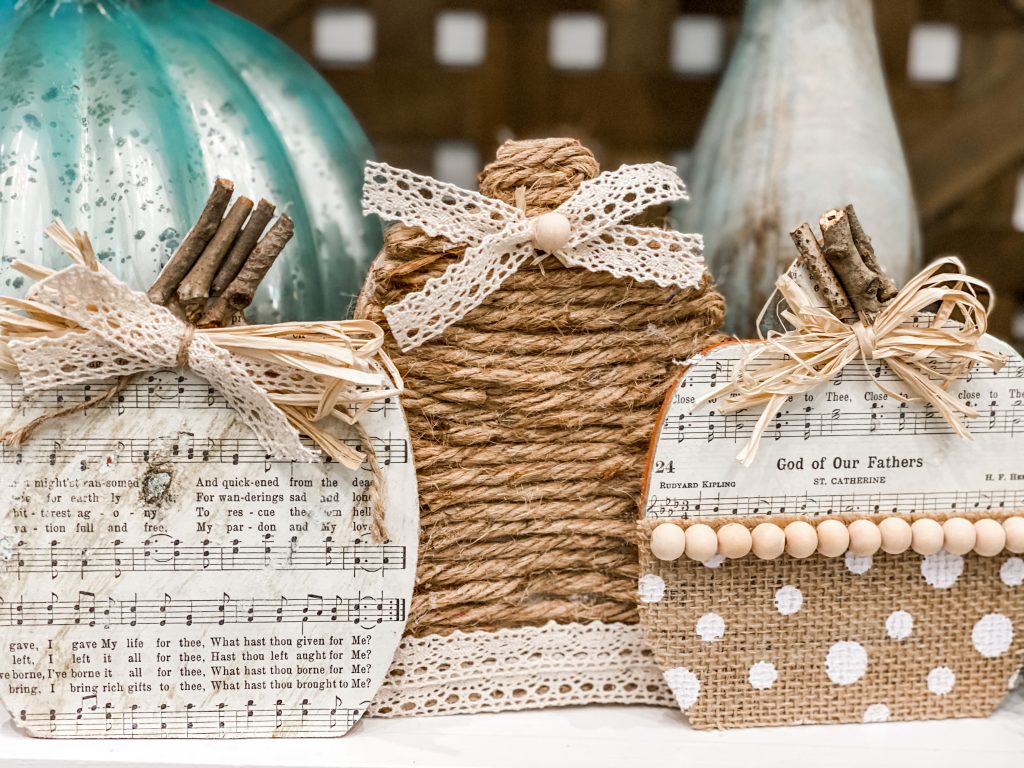
I ABSOLUTELY LOVE how this project turned out!
Let’s look at it all pretty in my home!
PIN FOR LATER!
JOIN MY TEXT LIST! Text HELLO to (270) 200-5848
Last Updated on November 4, 2020


I just want to say Thank You, I love crafting and last year had a major brain operation, it’s been a year and I am finally getting back to some sort of normal, you dont realize how much you help me with crafting again. My brain dont quite work like it did before but your videos have been such a big help and the bows!! Are the best ever. THE LORD has blessed me beyond belief and I wanted to let you know you have become a part of my story and I love you spirit…..thanks again. Tammie
Thank you for that Tammie. I am so glad you are here!! God bless you!
What a makeover! If I were to shop for the original it would still be in the store. So yes I shop like you do. I see what I would do with it and not what it necessarily looks like. I don’t decorate in traditional Halloween. I do cutesy stuff and pretty Fall. And hardly ever black and orange. So I love what you did with this!!
I absolutely love this makeover!
Thank you!!