I know lots of people didn’t have much luck finding the Hobby Lobby nativity kit that I did last year… (if you haven’t seen that DIY, check it out HERE) but luckily, I stumbled across THIS!
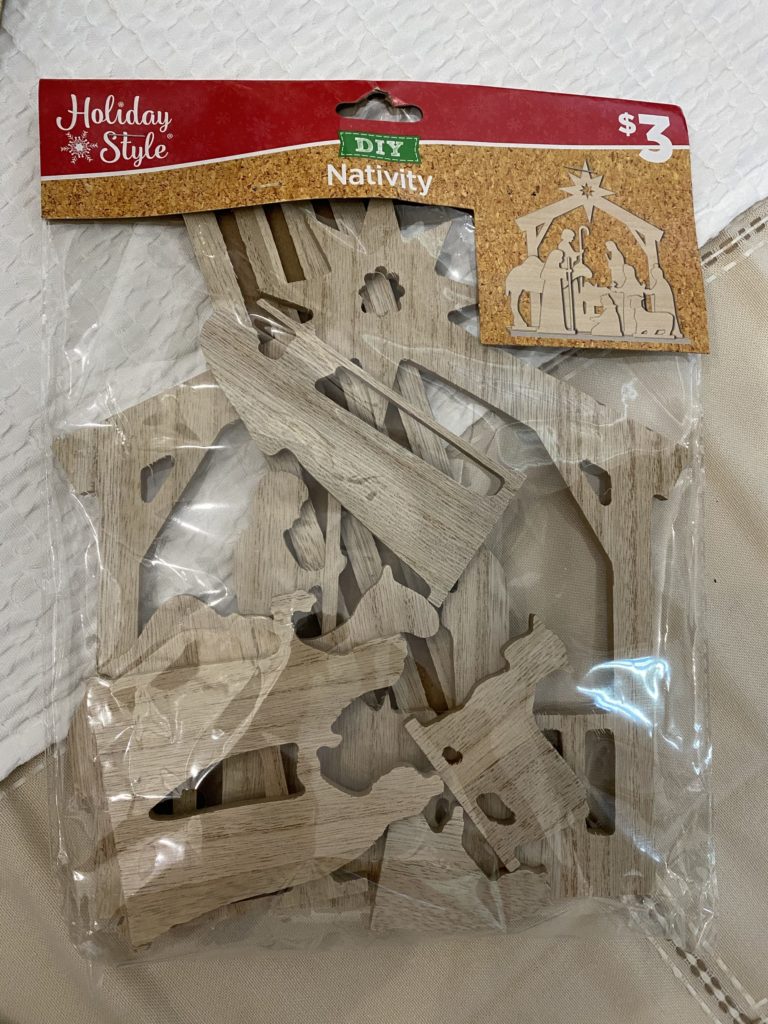
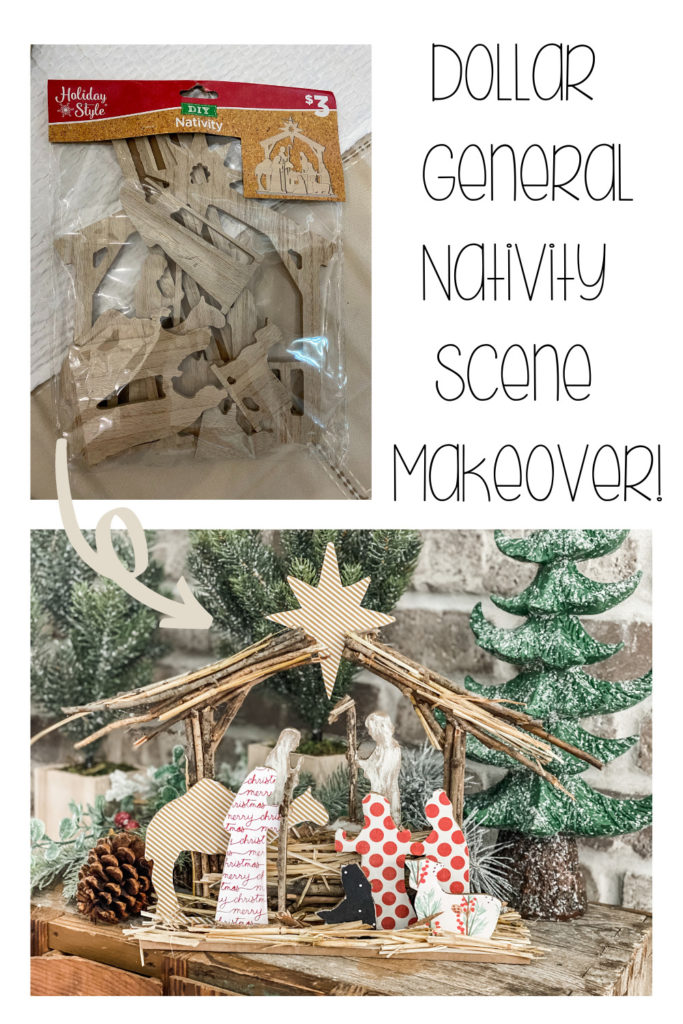
I was perusing around the local Dollar General, and I found this AMAZING gem… a $3 DIY Nativity scene kit!!! Of course I had to grab it, and give it a go!
Here’s what you’ll need…
- Nativity kit from Dollar General
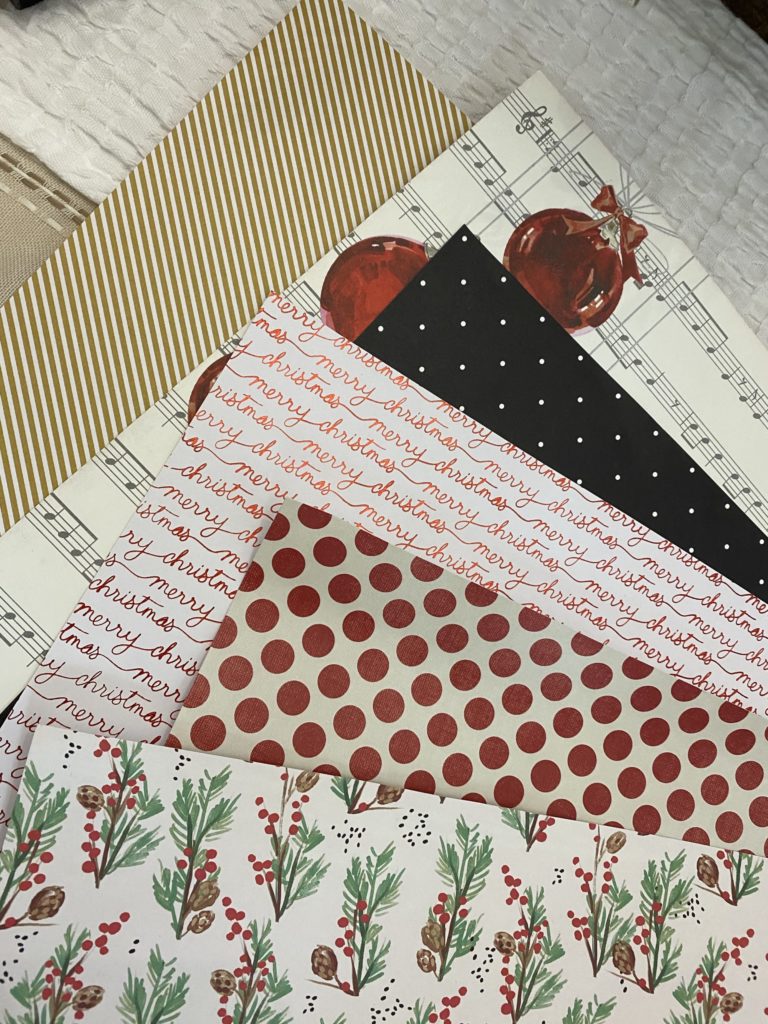
- Scrapbook paper of your choice
- mod podge
- hot glue gun
- hay/straw
- sticks
- sanding block
- white paint
- stain (optional)
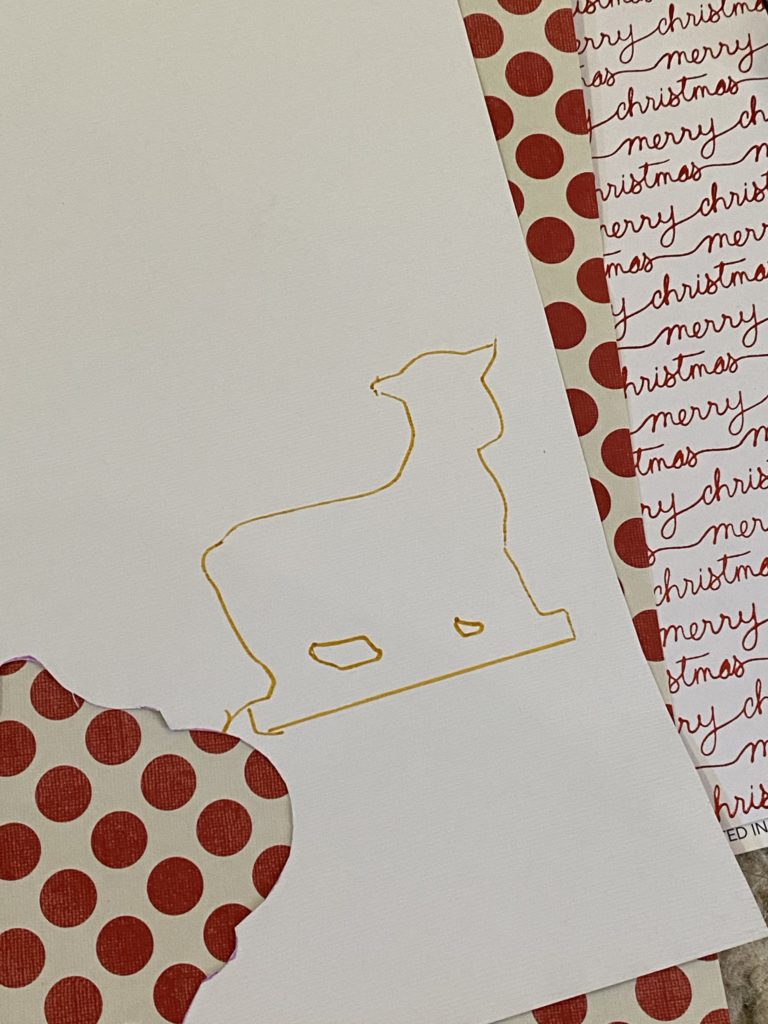
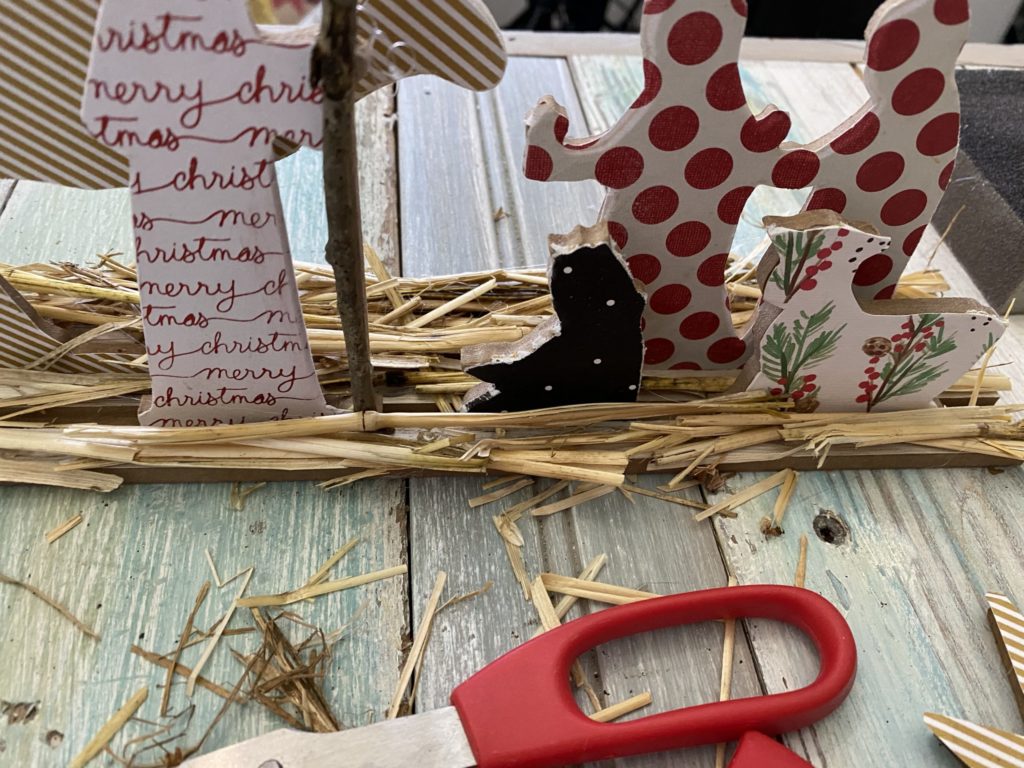
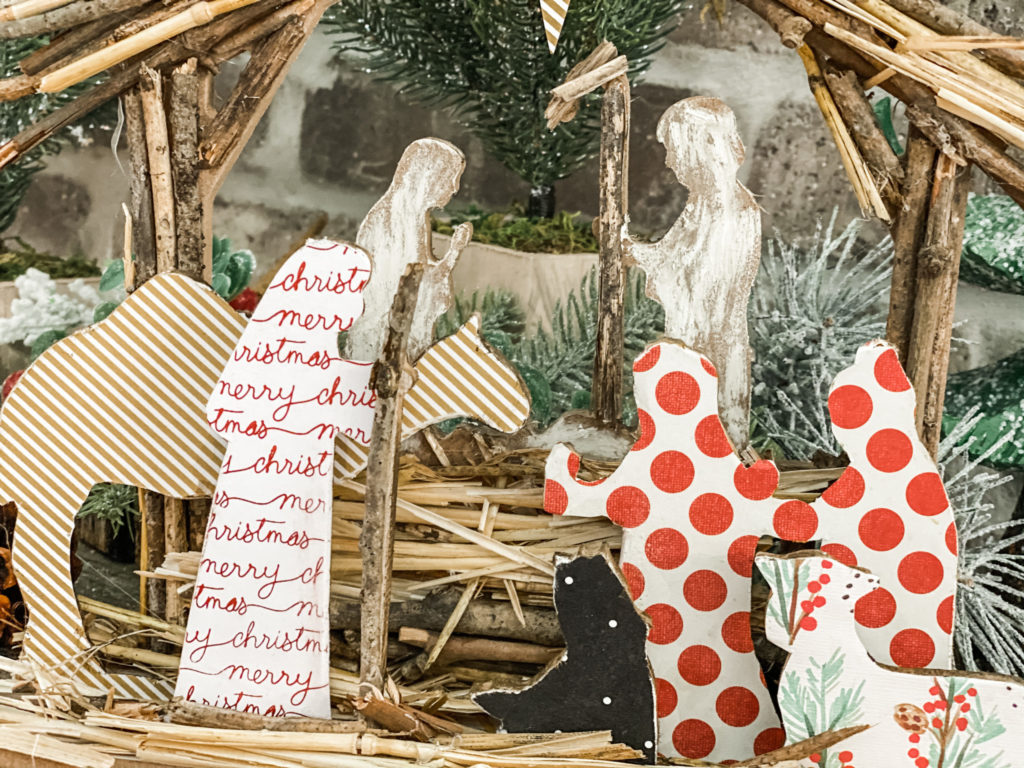
First things first- trace out your Nativity pieces onto scrapbook paper, and cut them out. I decided to use different designs of paper, but you can do whatever you want!
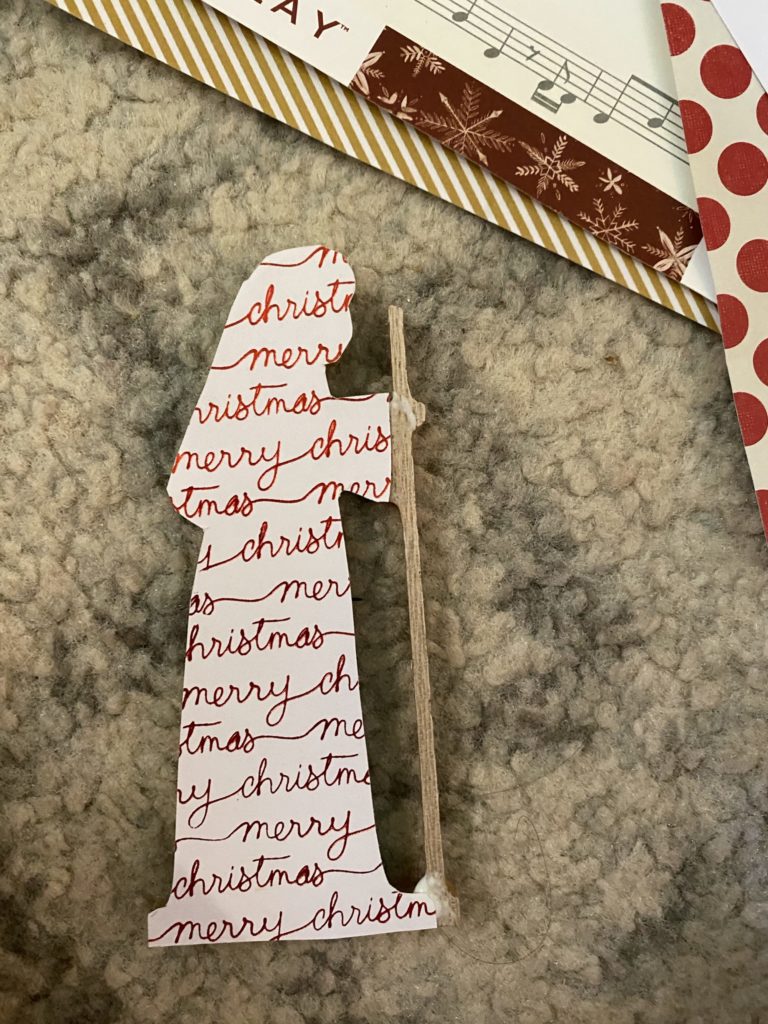
After you have all your scrapbook pieces cut out, go ahead and mod podge them onto each nativity scene piece. Super simple, right?
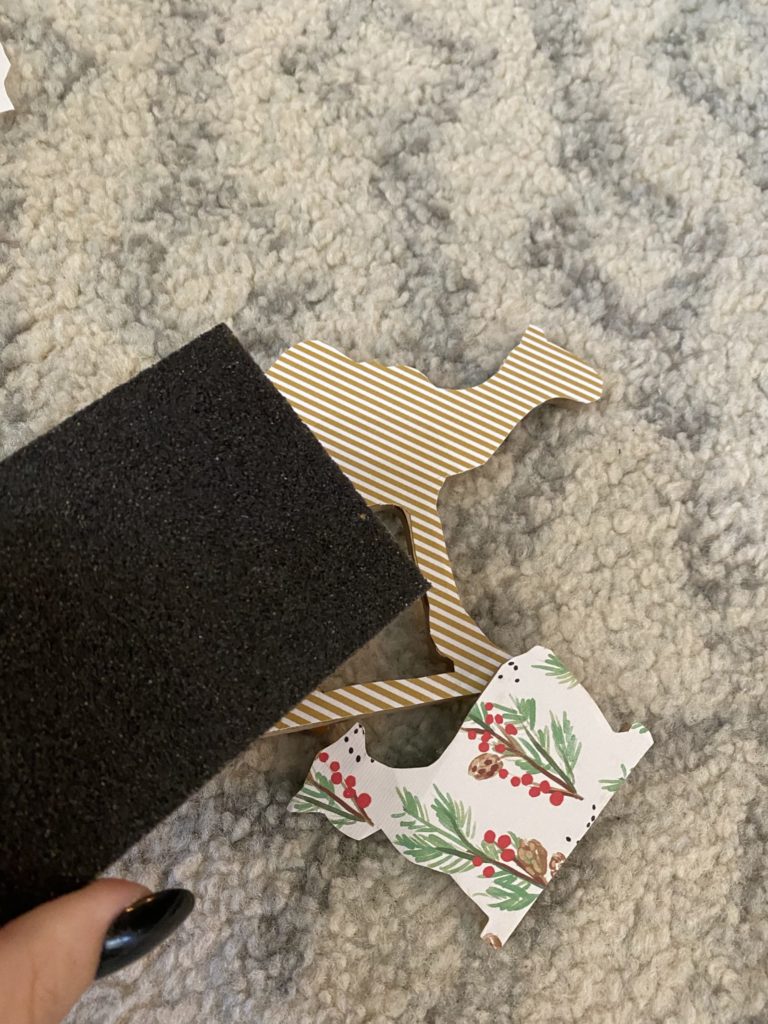
This step is optional, but I HIGHLY recommend it!! I hit the edges of the pieces with a sanding block, so that way it looks more natural and less rigid. It makes a huge difference!
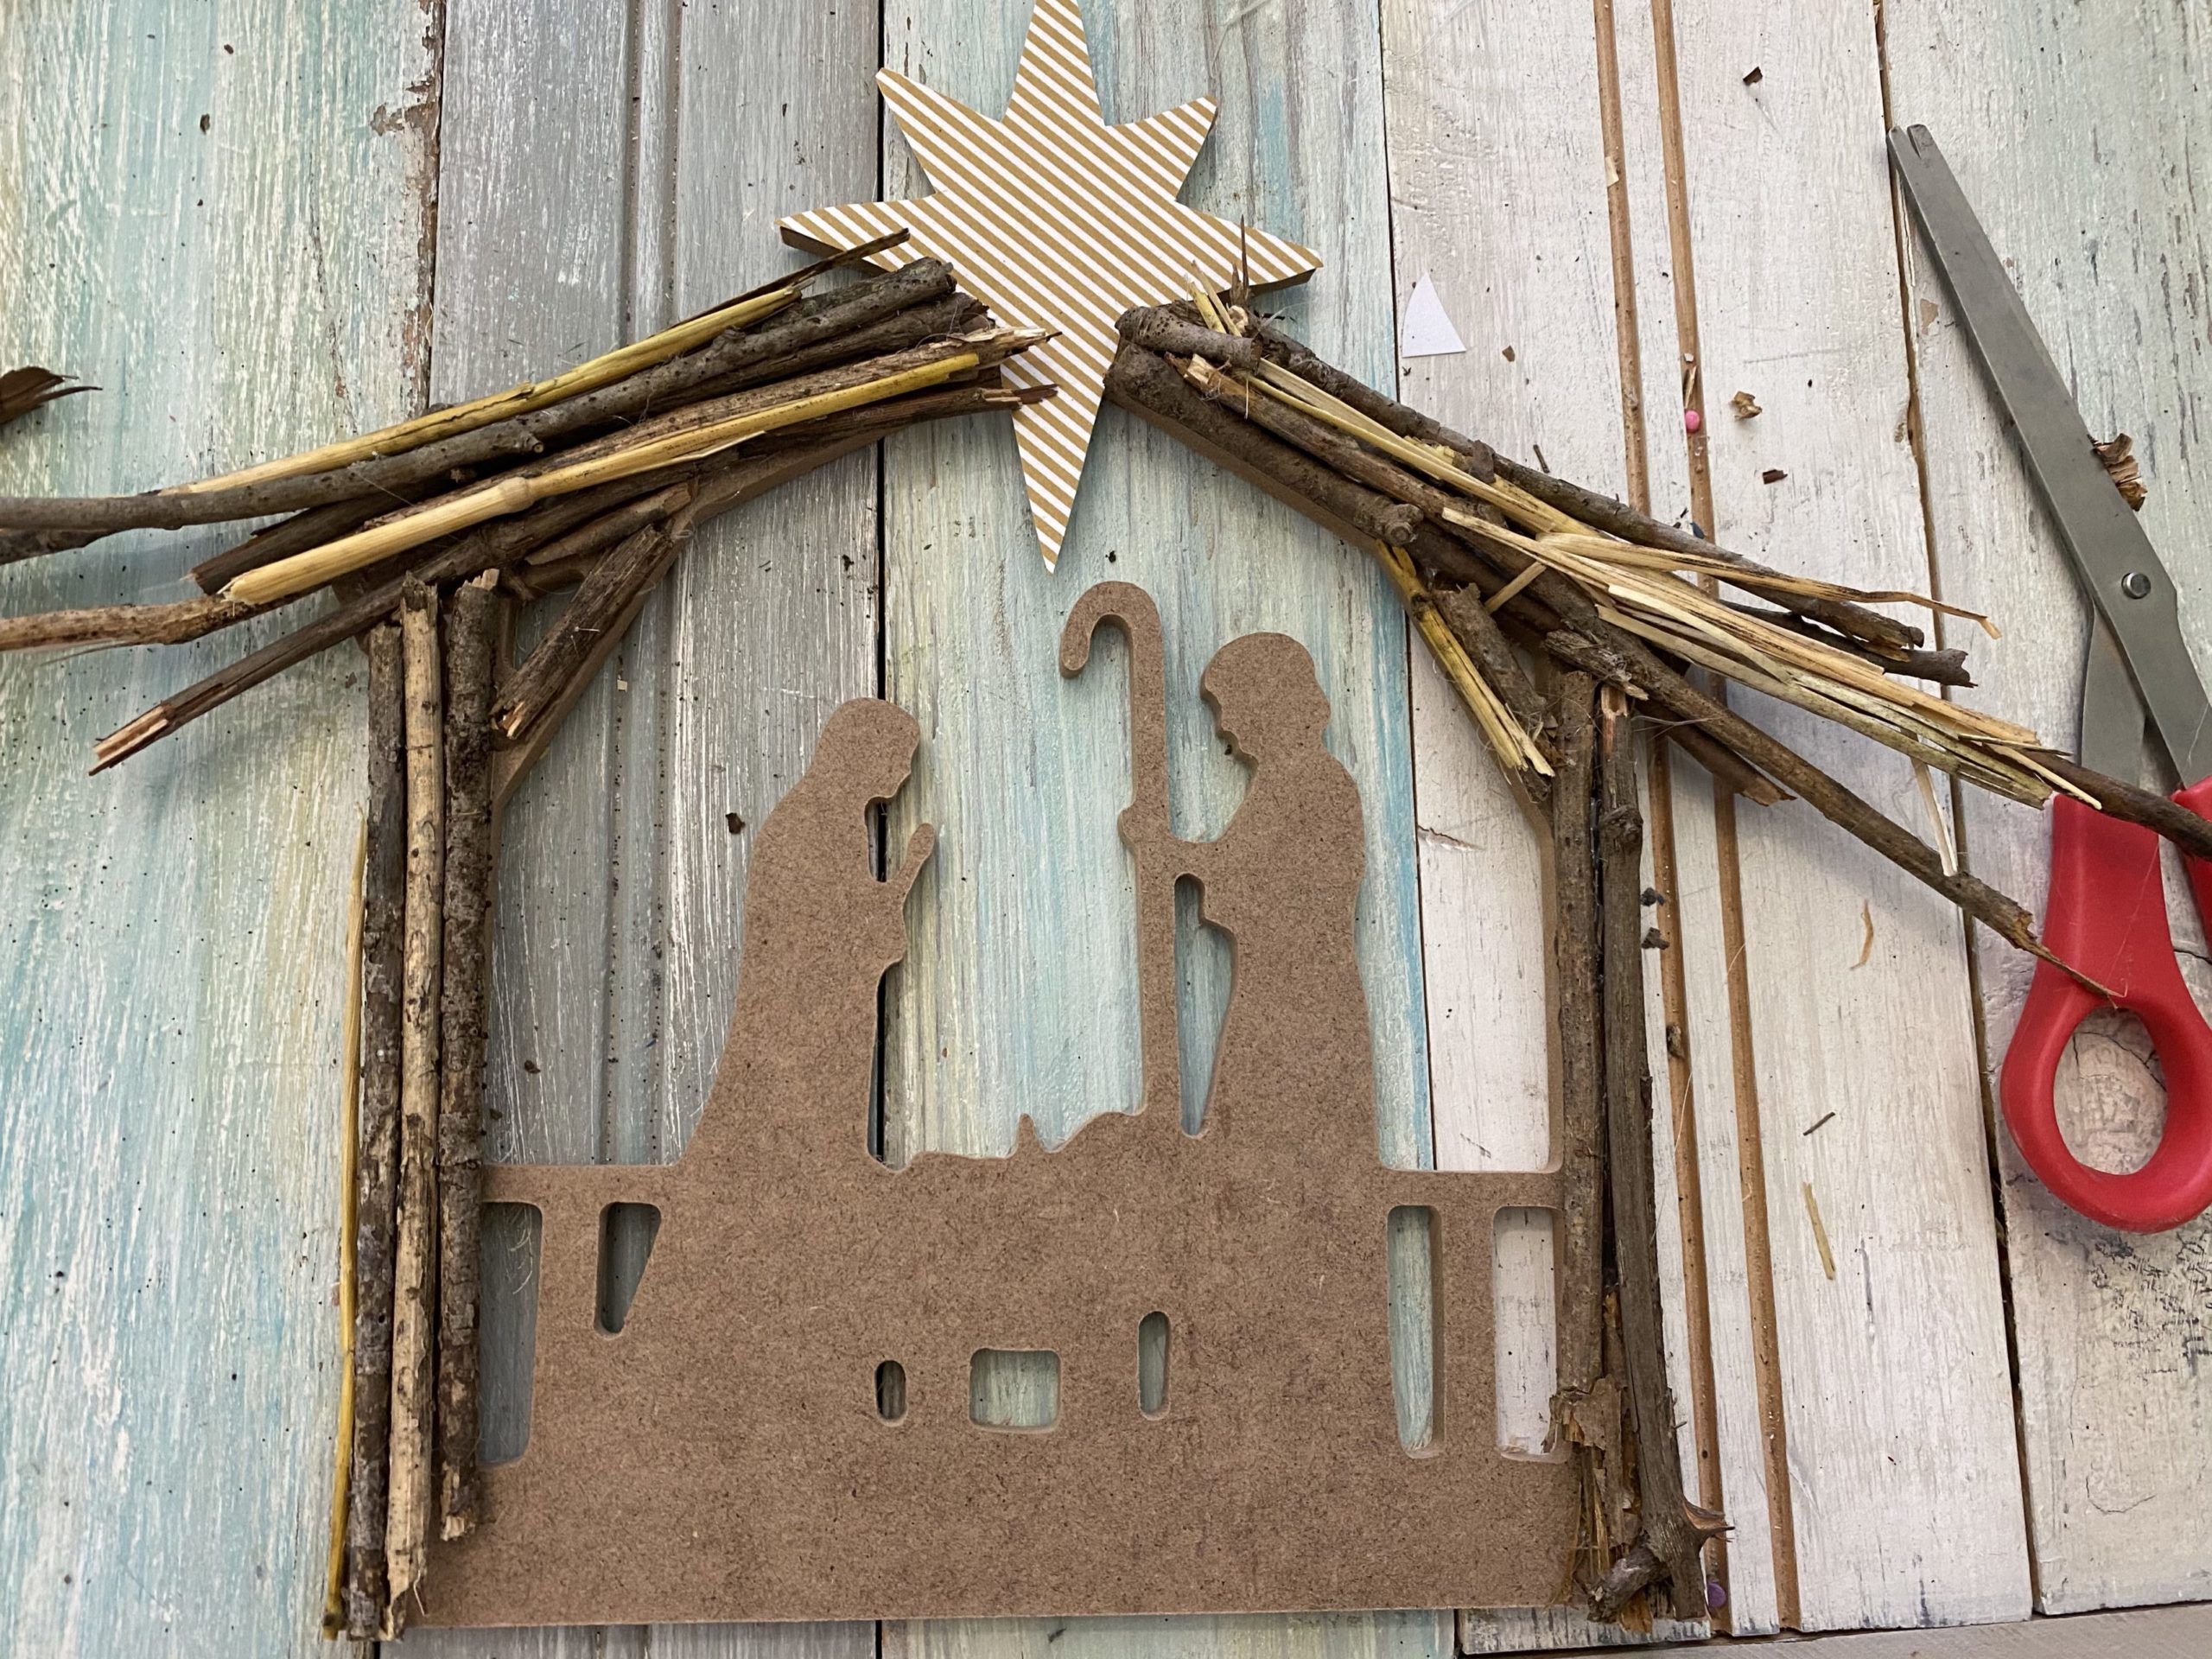
Next, I worked on the outside piece! All I did here was hot glued a mix of sticks and hay onto the outside. I thought this really added a more realistic element to it… since ya know, he was born in a manger full of HAY!
This is where I started to assemble everything back together! Just a heads up- I had to hot glue the main piece down since it was a little heavier with the sticks and hay attached!
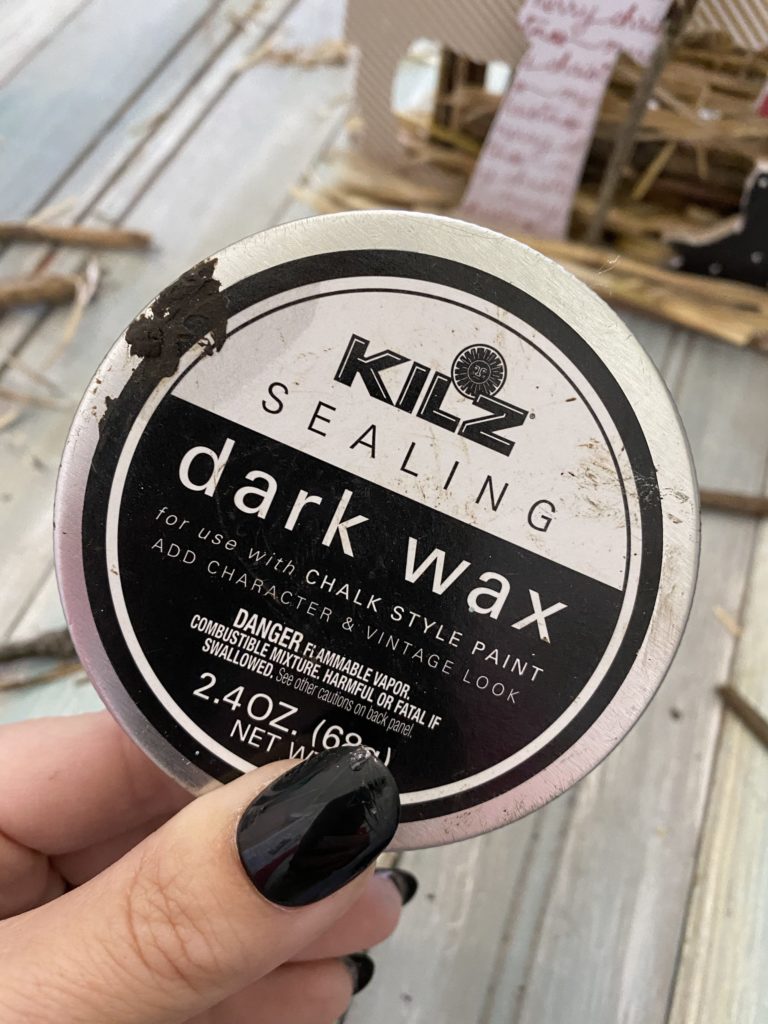
I finished it up by taking a small paint brush, and adding a tiny bit of stain around the edged of each piece… just so they would look more finished!
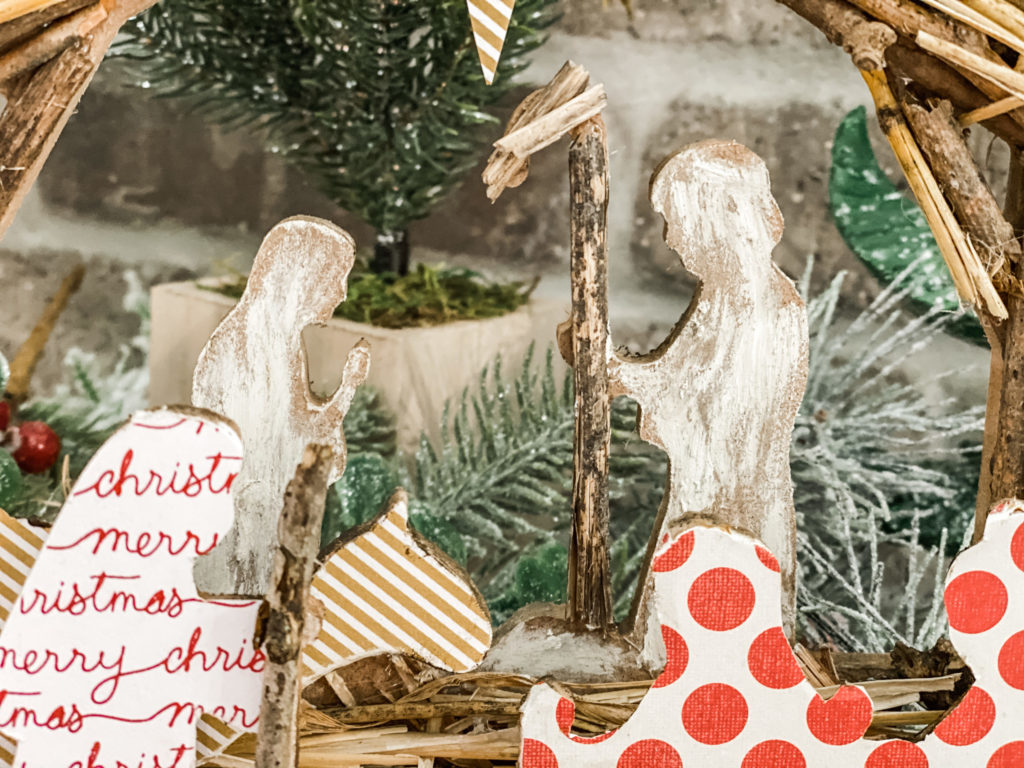
Once I got everything assembled, I added a tiny bit of white paint onto Mary, Joseph and Jesus- just so they would pop a bit!
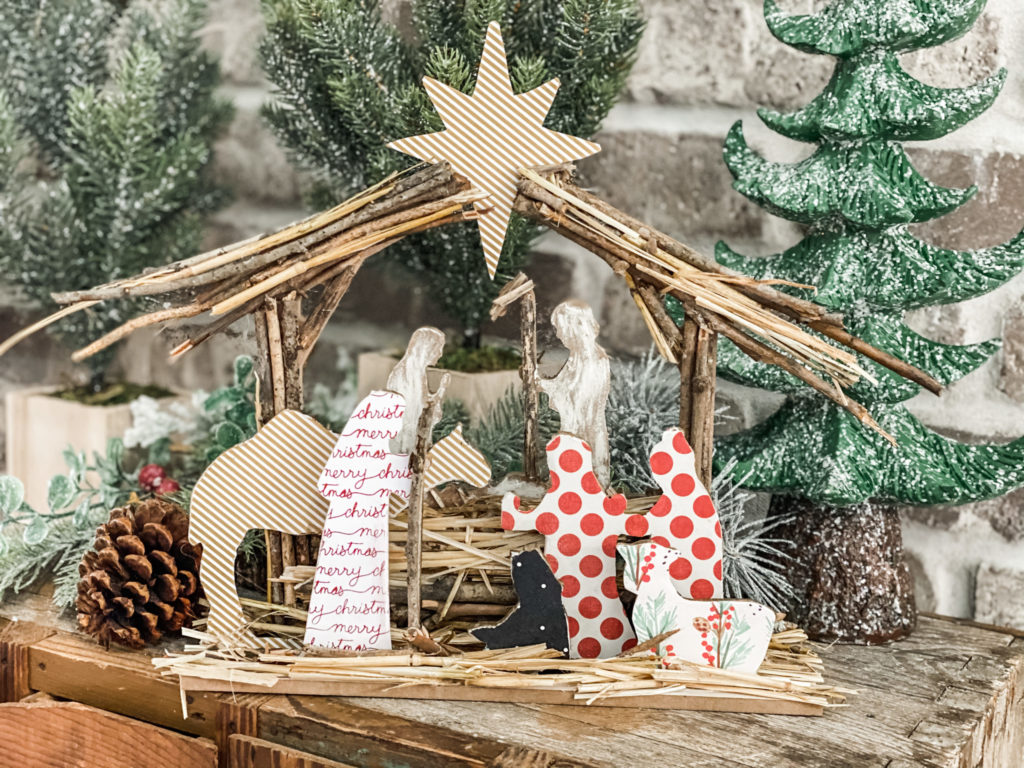
And there we have it folks!! I took a $3 nativity set, scrapbook paper (which is 4 sheets for $1 at Hobby Lobby), and some sticks & hay from the yard to create THIS!
If you liked this budget friendly DIY nativity scene, be sure to check out one that I THRIFTED a few years ago! You can see it HERE.
PIN FOR LATER!
Text me! 270-200-5848
Last Updated on November 13, 2020

Brooke, I Love how this turned out!! I bought one of these WEEKS ago, but haven’t done anything with it yet. I’m gonna work on it this weekend. The stable is just perfect! ????
Beautiful but simple. I love how you did the different papers and added a touch of the outdoors to an already outside scene. Great piece Brooke!!!
I think I will leave mine the natural wood color, maybe stain them a little darker.
I have one of these in my bin of projects to work on. Now I know exactly what I am going to do with it!! As usual, thank you for a wonderful inspiration! I love that I can look at different creatives blog posts and pages and get such great inspirations!!