Hey there, yall! I hope you caught the live video on my Re-Fabbed Facebook page featuring this
adorable $2 Dollar General sign makeover! I absolutely LOVE spending time crafting with y’all! If
you happened to miss it, or if you’d like the play by play so you can create your own version,
stick around!
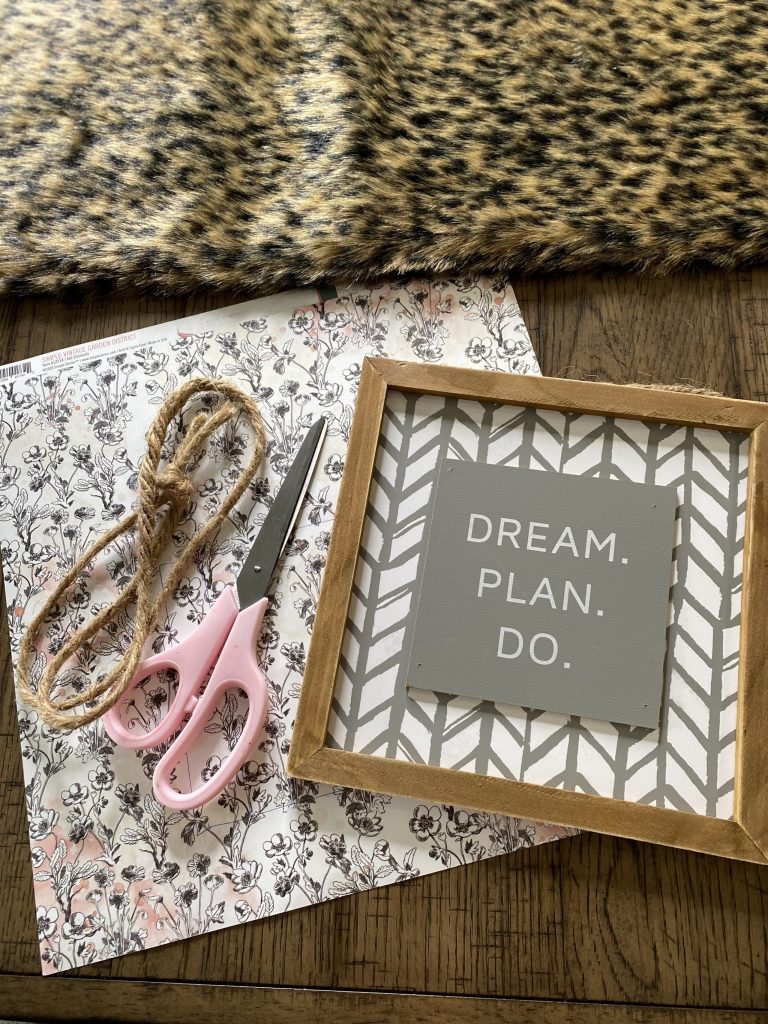
I found this super cute sign at my local Dollar General. Pretty good advice, right?? “Dream. Plan.
Do.” If I stop and take a look around at my own life, this could be my motto! So this sign could
easily hang in my office, exactly as is! There’s nothing wrong with it at all, and I LOVE that
chevron background so much! I just wanted to make some changes to keep with my current
Valentines themed projects!
For this craft you’ll just need:
A small sign like the one I picked up at Dollar General
Mod Podge
Sponge brush
Scrapbook paper
Scissors
Hot glue gun (affiliate link)
Twine
Wood beads (affiliate link)
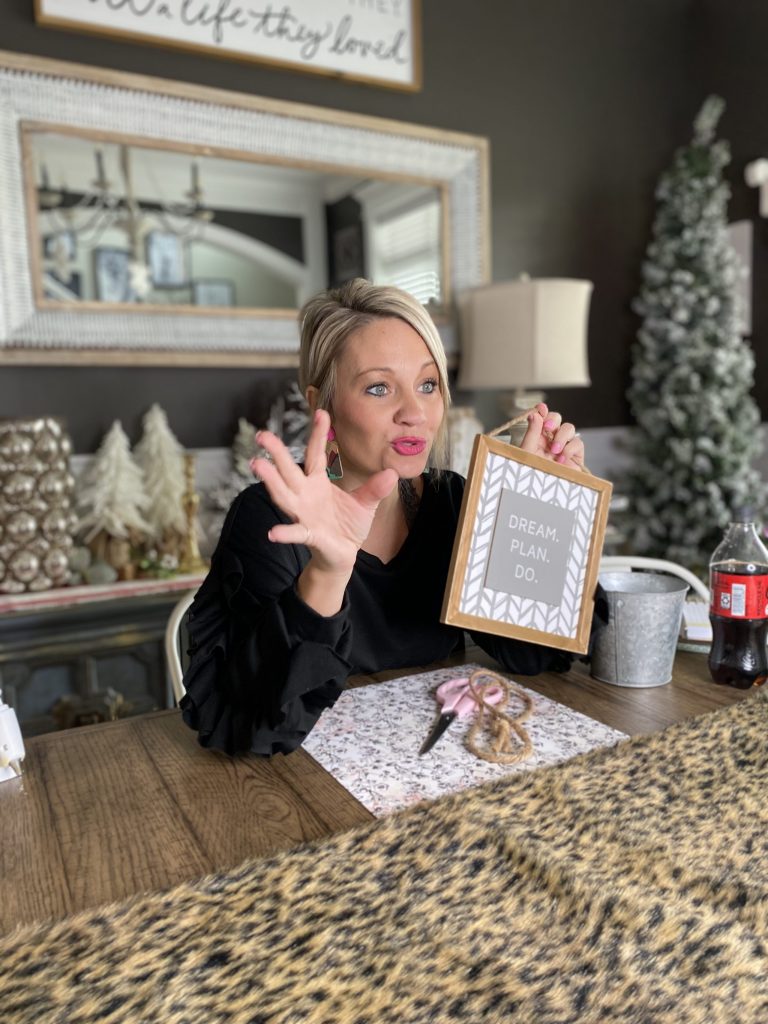
This sign has GREAT bones. That background is already a perfect neutral pattern, the wood is a
stained a great shade ANNND it includes the twine hanger on the back! Feel free to remove the
twine if you don’t think you’ll hang the sign when you’re done but save it for another project!
It’ll come in handy when you least expect it!
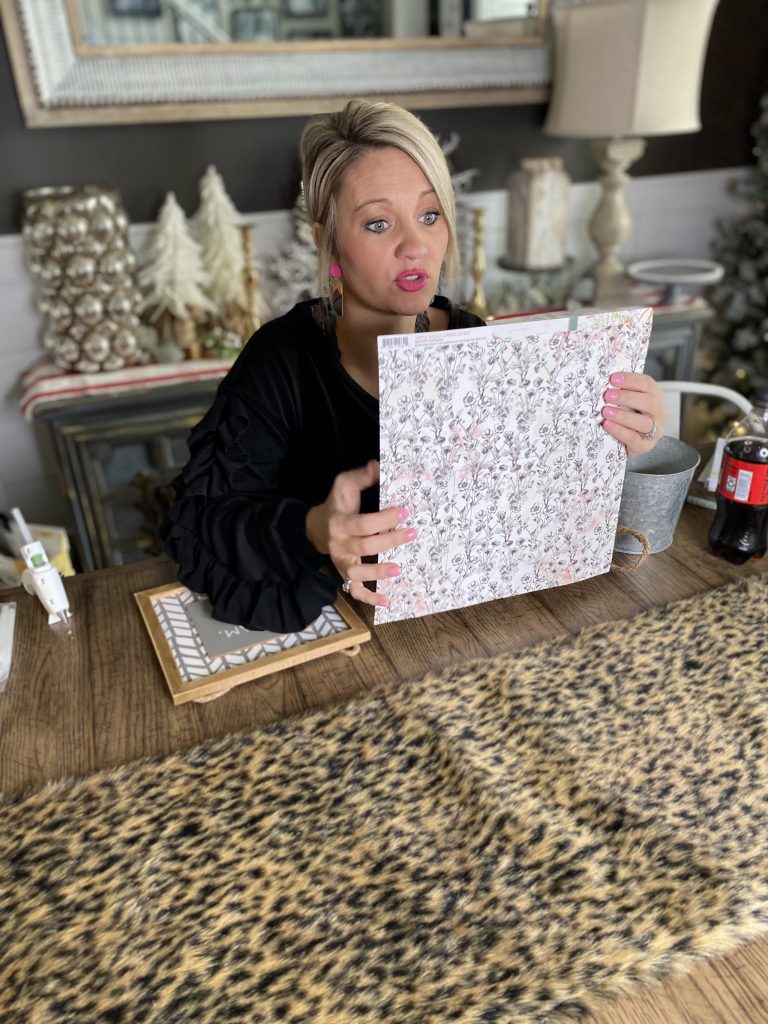
I picked a really pretty piece of scrapbook paper from my stash with a white background and a
dark gray floral pattern, and subtle washes of a light pink. I can’t remember where I got this
single sheet or what my original plan for it was, but it was PERFECT for the look I was going for
here!
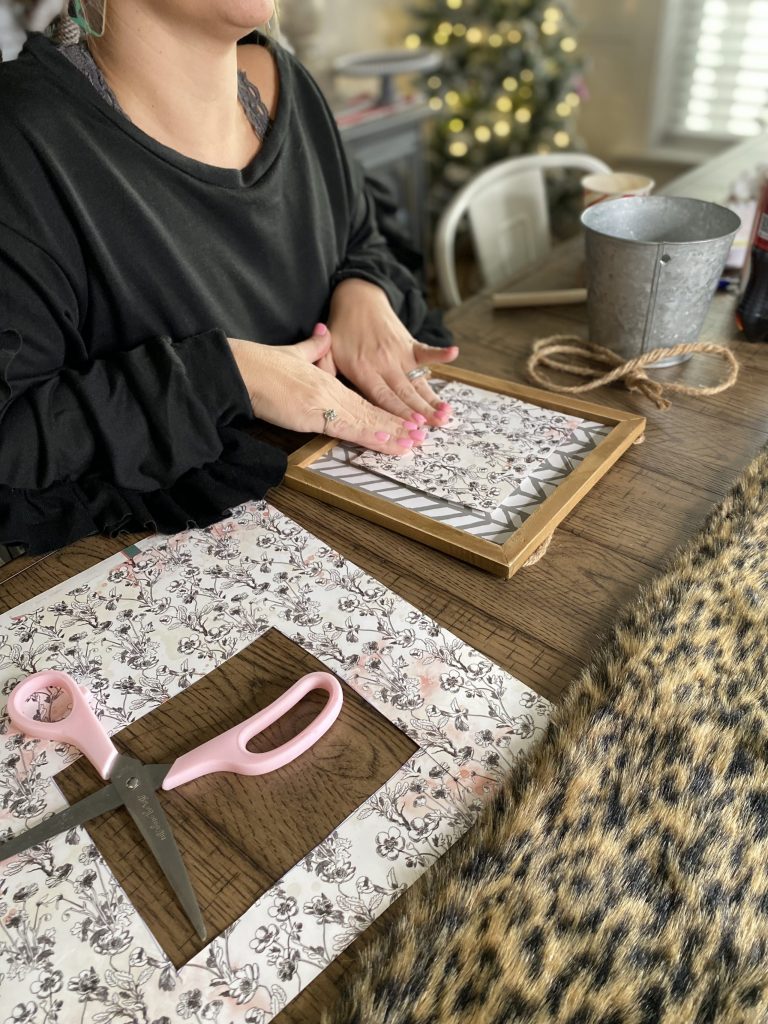
I took my scissors and freehand cut a square slightly bigger than the square in the middle
of the sign. I used my Mod Podge to stick the paper down to that middle square and used my
fingers to “shimmy” those bubbles right out (catch the video replay for a record number of uses
of the word “shimmy” LOL!!)
Once I had the scrapbook paper smooth and attached, I used one of the blades on my scissors
as sort of an X-acto knife and trimmed the paper down to the same size as the square on the
background. No need for fancy tools here at Re-Fabbed! We use what we have and it WORKS!
LOL! The original square is attached with some dimension, so it wasn’t hard at all to make that
cut.
I had a GREAT length of twine that I’d saved from a gift I received in the mail (ALWAYS save
things like that- they come in SO handy for your DIY’s and crafts…and they’re FREE!) and I
wanted to use that to form a heart shape on top of my scrapbook paper square. If you’d like,
you can definitely use a pencil to lightly trace a heart on the paper, but you know me…I just
went for it! I placed a dot of hot glue at the top center of the paper and attached the twine
there.
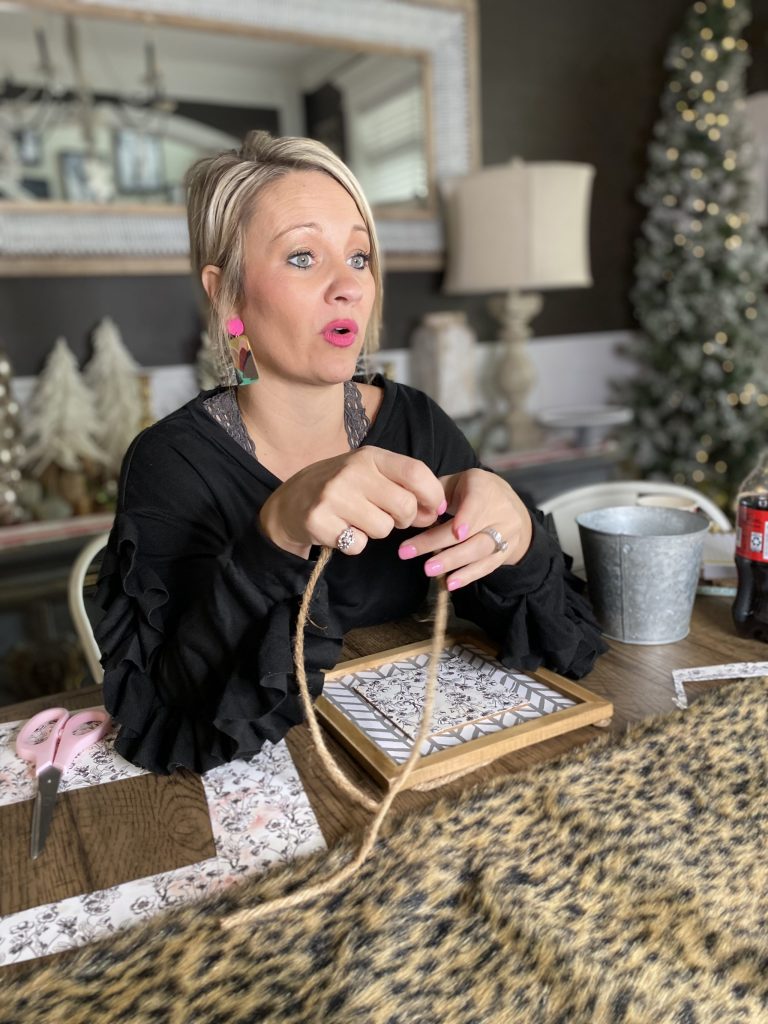
I just started forming the twine into a heart shape and then placed another dot of glue at
the center near the bottom to form the “point” of the heart. Then I just kept moving the twine
upwards to the starting point, shaping it as I went and using the hot glue to keep the form I was
looking for. I was SO happy with the way that heart turned out but check the replay for one
phase of heart shaping that MAY have slightly resembled a butt cheek. LOL!
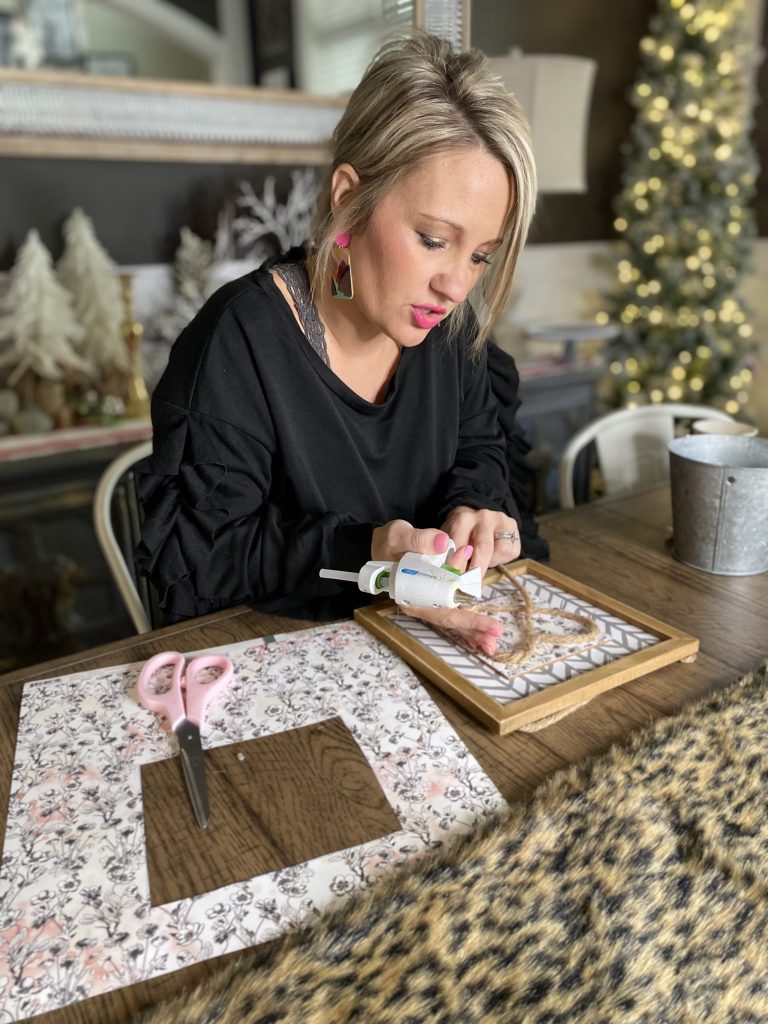
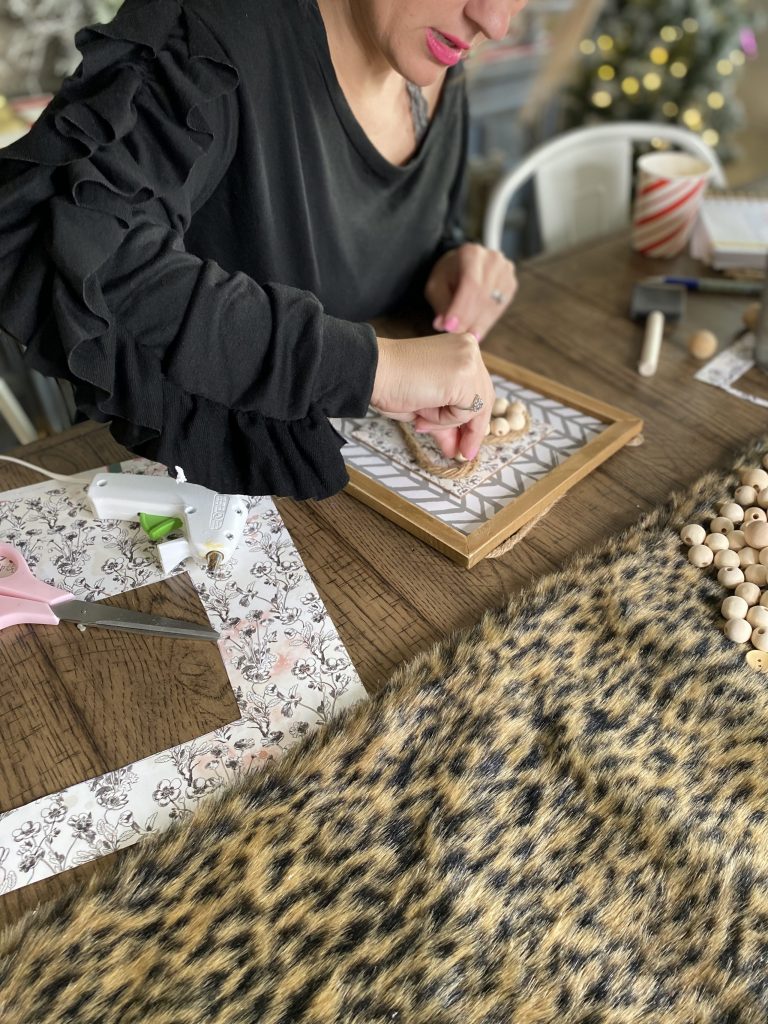
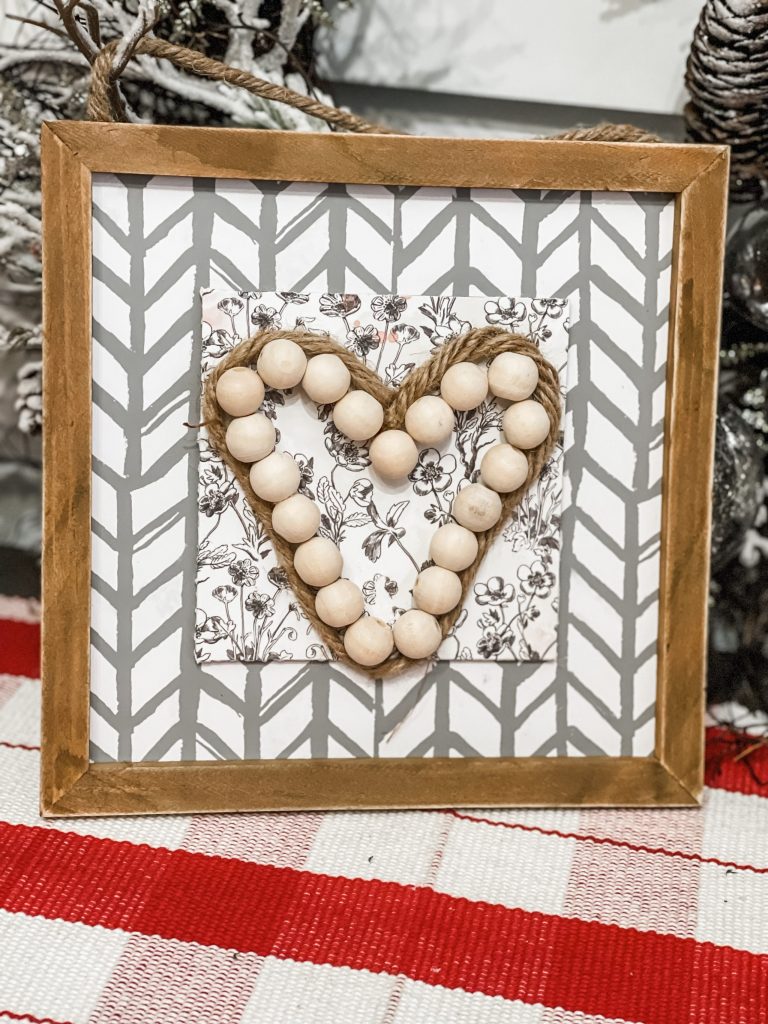
Once I had the heart shaped to my liking, I grabbed my bucket of wood beads and hot glued
them individually just inside the twine to really add some dimension and texture to that twine
heart. Those wood beads are so trendy right now, and they are inexpensive and so easy to work
with.
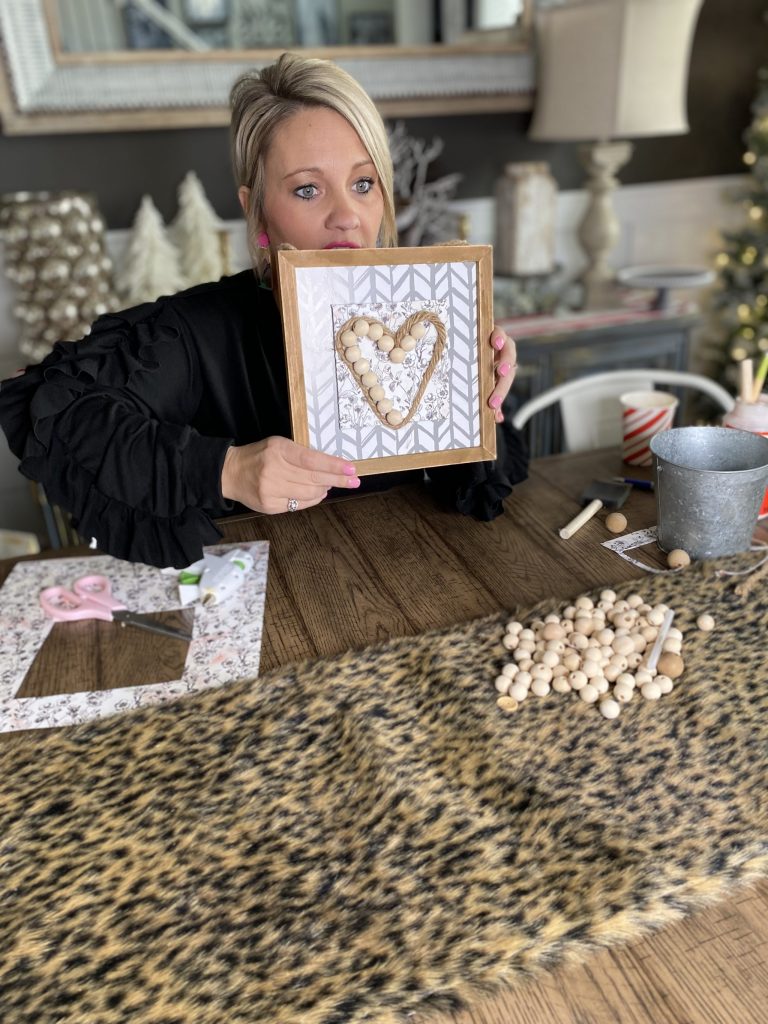
I absolutely LOVE how this super sweet makeover changed the look of this sign! I was looking to
mix subtle patterns by layering similar colors and then adding that heart with twine and the
wood beads just REALLY brought it all together. I couldn’t wait to find the perfect spot for this
sign! And it may have found a permanent spot, because hearts aren’t just for Valentines, y’all!
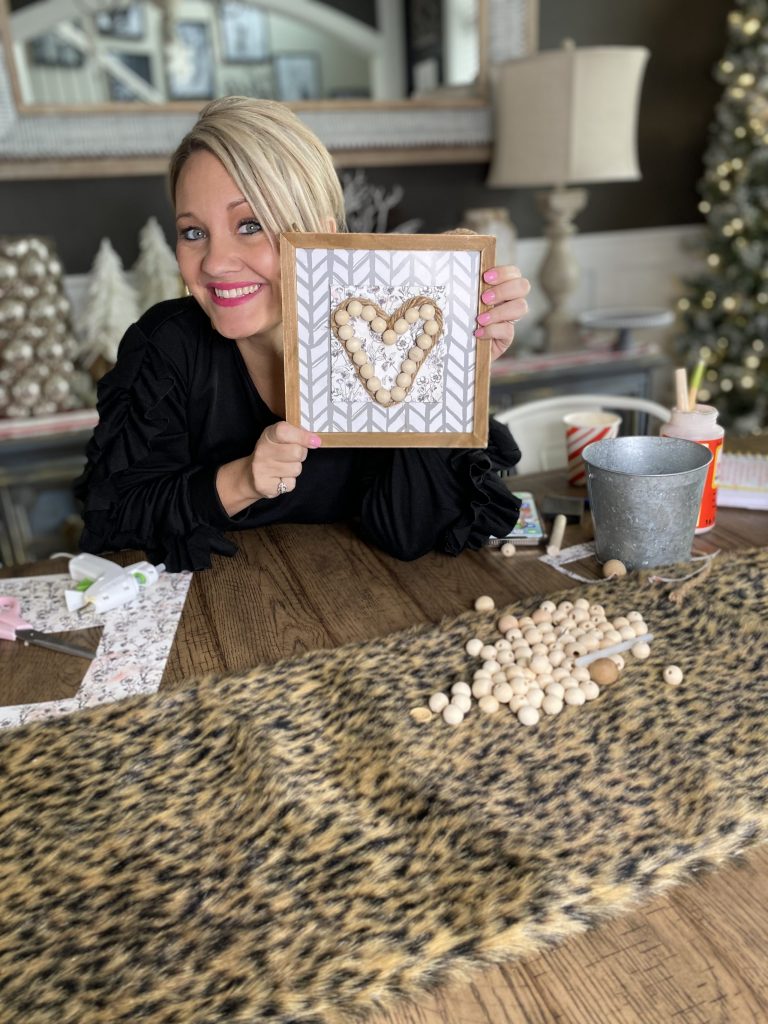
Hope you love the finished look of this simple and cheap project! Maybe it will help you to look at a cheap sign completely differently now!
Last Updated on February 4, 2022

I loved the heart sign
I love it!! Simply, yet stylish.