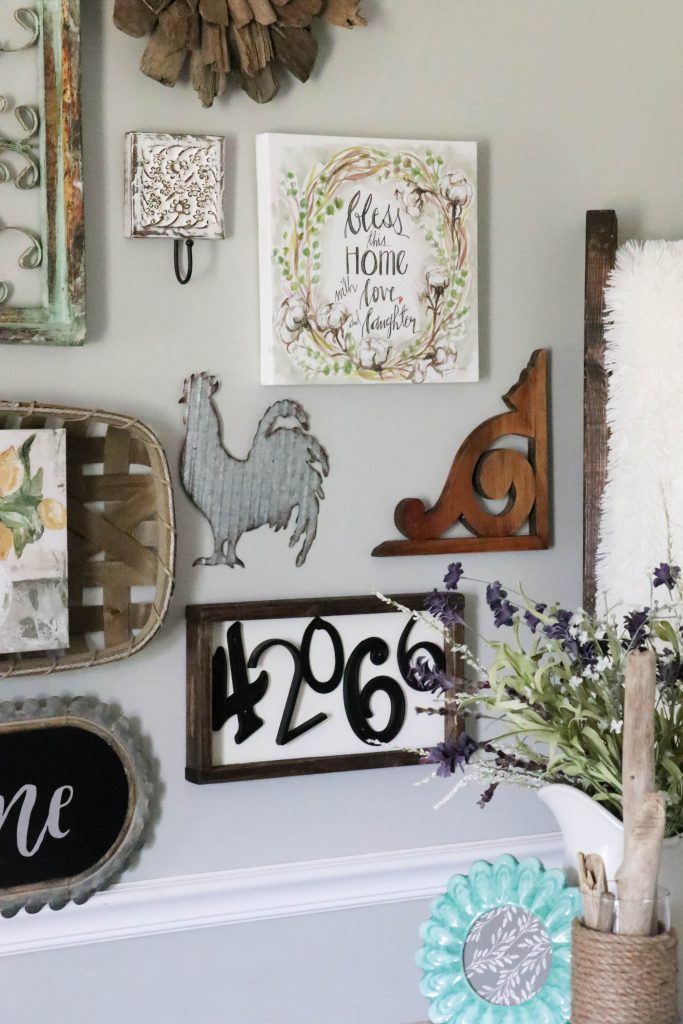
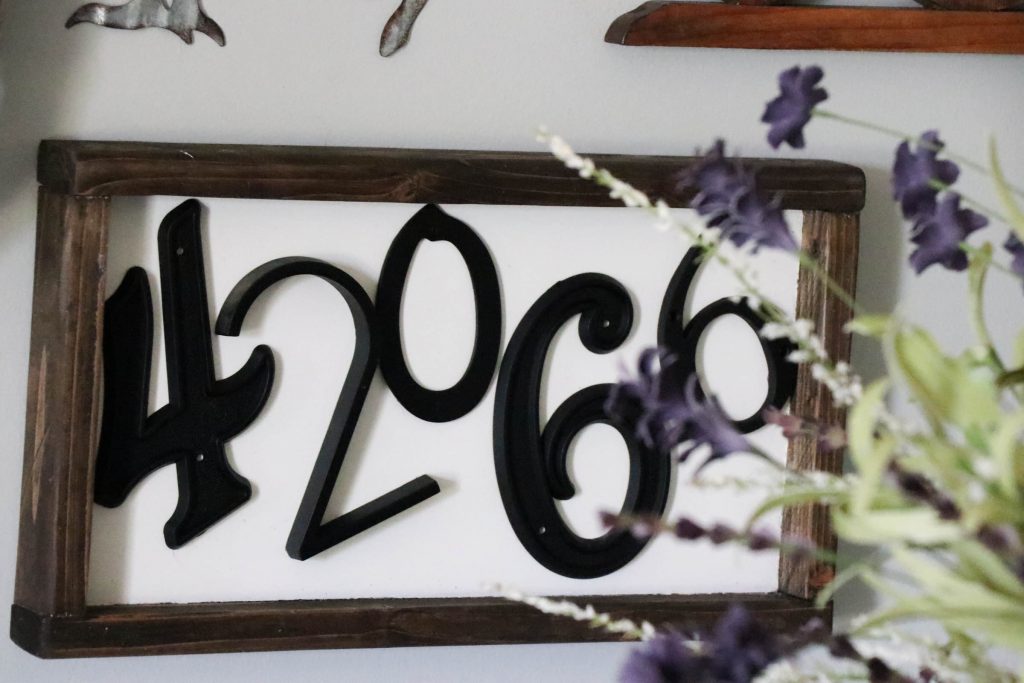
I am all about EASY projects! I mean, “Ain’t nobody got time for hard projects!” This DIY Zip Code Wood Sign is right up on the top of the Easy list, but it makes a huge statement—and I am in LOVE with how it turned out!
I am a huge fan of “zip code” stuff. Does that make sense?? Like, I love pillows, signs, etc… that have my zip code on it. There’s just something about the look of just those numbers and what all they represent to my family.
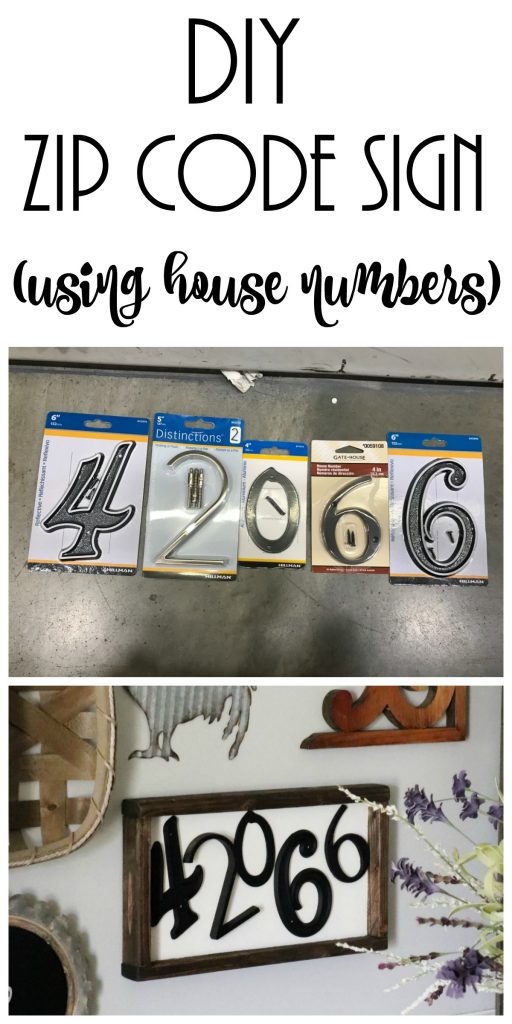
Well, while at Lowe’s the other day (one of my homes away from home), I saw these house numbers and IMMEDIATELY knew that I wanted to get some to make my own zip code sign.
I could have gotten all the same style, but what is the fun in that?
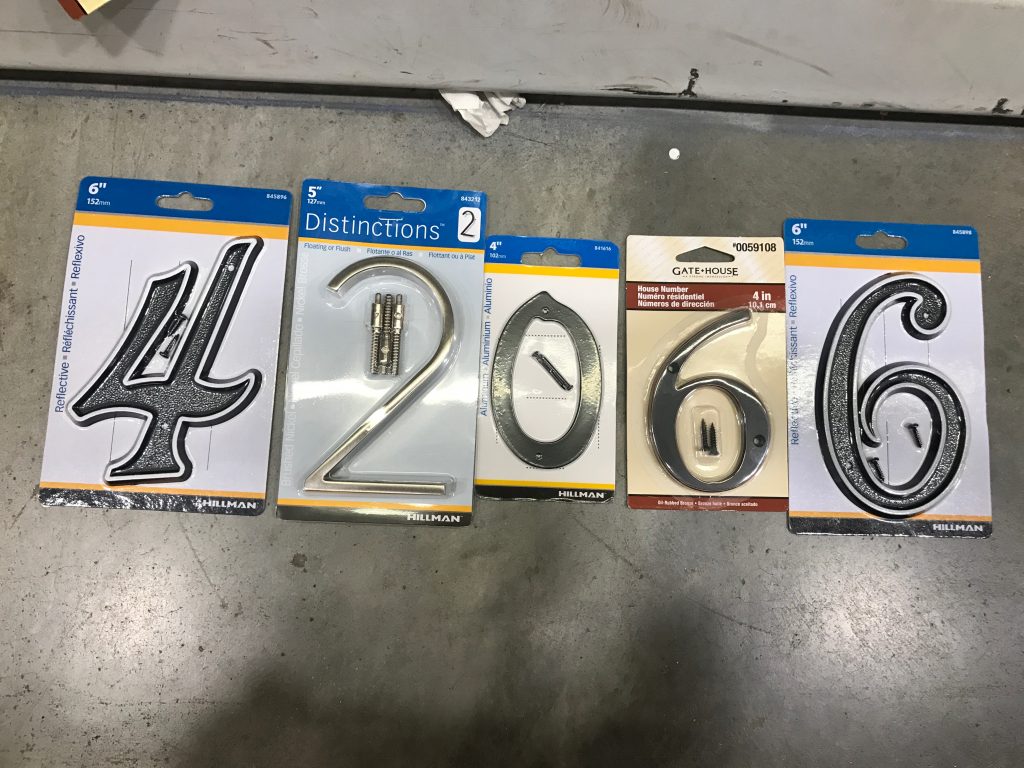
As you can see, I laid them all out on Lowe’s floor to see if I liked the look- and YES I DID! (I actually changed the 6’s position when I got home- but this gave me a good idea on the final look!)
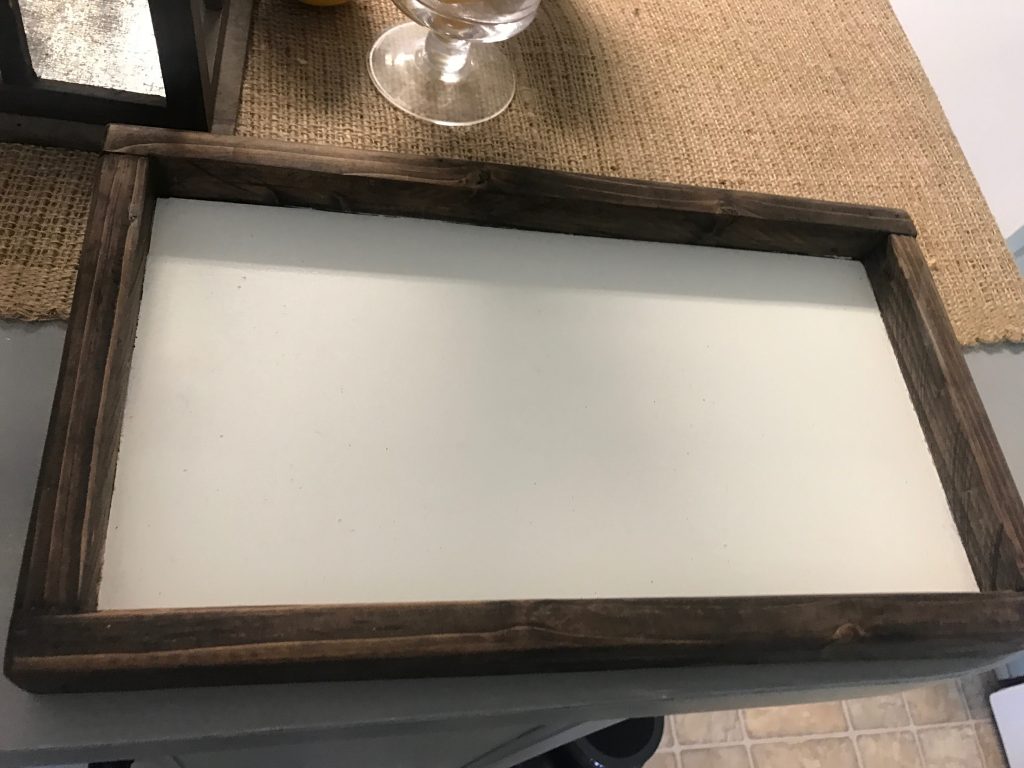
I actually already had this beautiful wooden sign that I had bought from a local lady who makes them, and this was the PERFECT project to use it for!
Supplies Needed for This Project:
House numbers from local hardware store (ANY style you want!)
Wooden sign- any style–just big enough to fit your numbers!
Spray paint of your choice (any color)
Hot glue gun
Here is what I did!
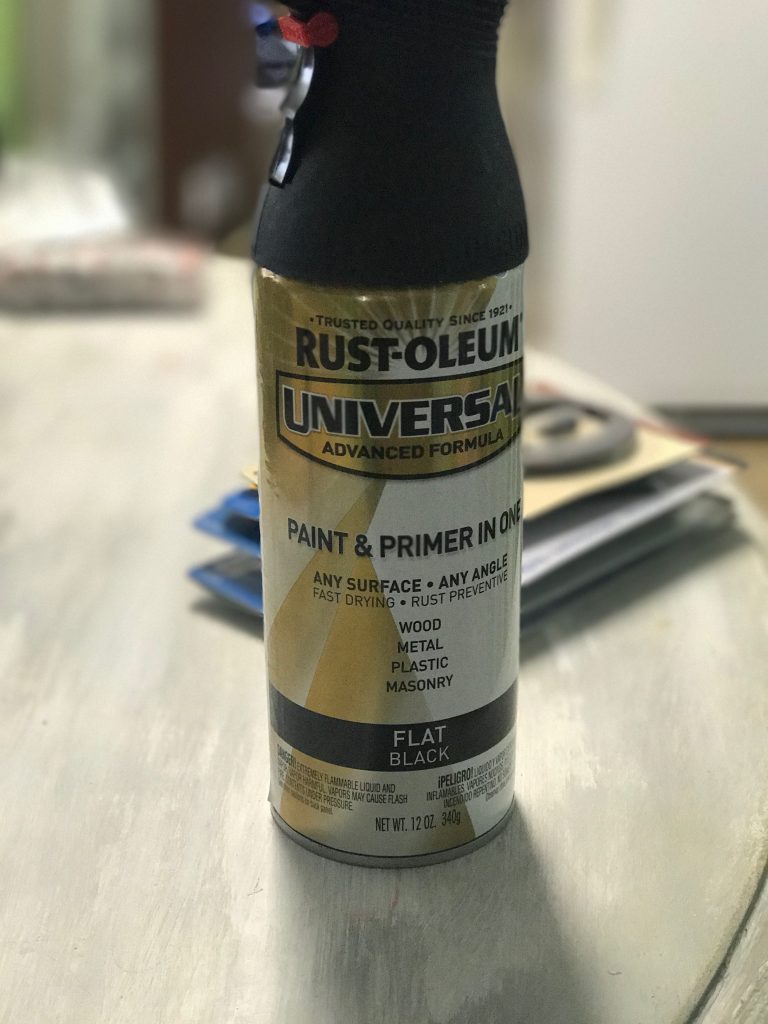
I simply took my house numbers and spray painted them all in this flat black, so that they were all a cohesive color- even though they had totally different styles. This would bring my look together better.
I LOVE this spray paint. It goes on soooo smooth with no runs.
No pictures of the painting process, but I just laid them on a flat surface and painted the front with 1 good coat of this spray paint…and let it dry. Then, I was done.
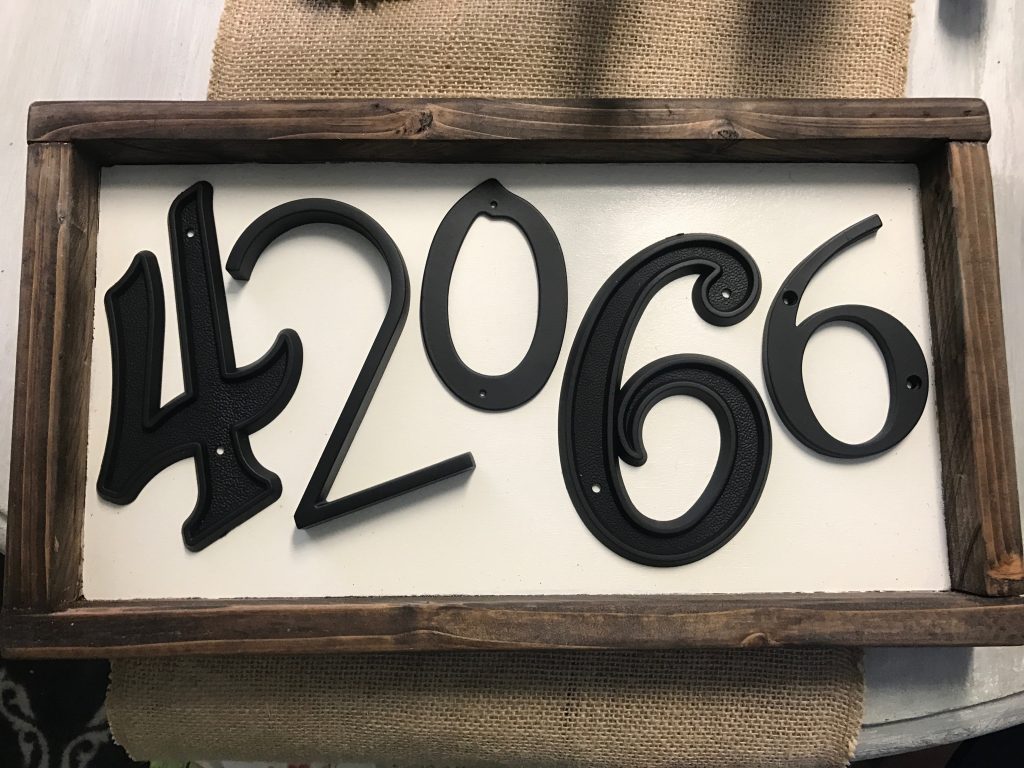
Once I was done and they were dry, I arranged them the way I wanted them on my board before hot gluing them on!
SO CUTE!
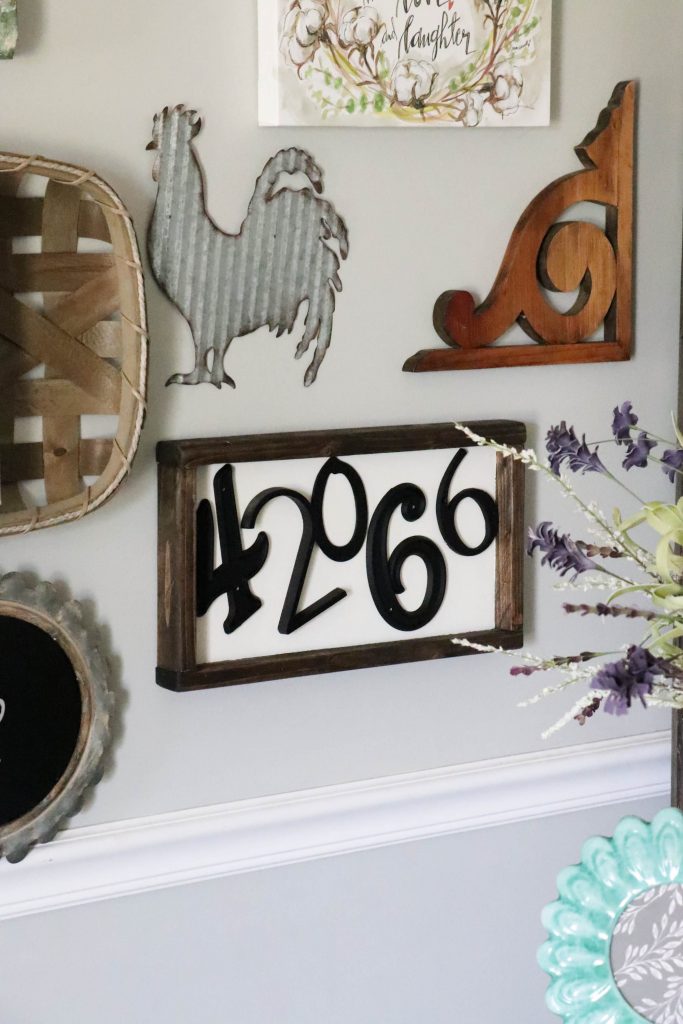
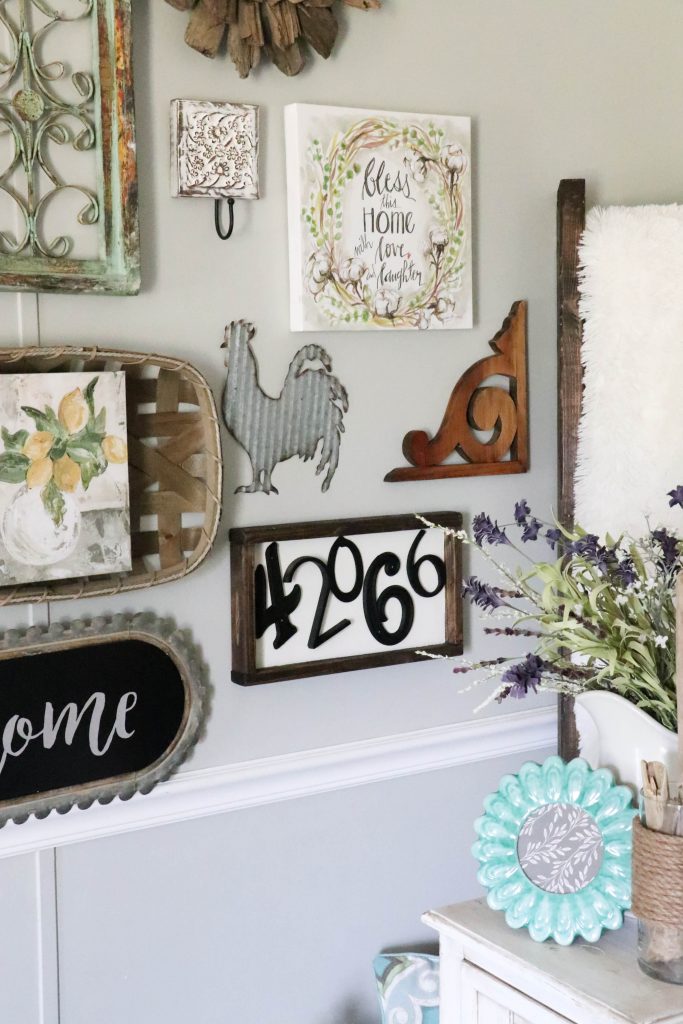
I hot glued each number on, and I was good to go! It was ready to hang it on my gallery wall—where it looked PERFECT, if I do say so myself!
Doesn’t this DIY Zip Code Wood Sign fit in perfectly???
This DIY Zip Code Wood Sign is such an easy project, but doesn’t it just have the coolest look hanging up on that gallery wall!?!?
PIN THIS FOR LATER!!!
Be sure you are following along on Social Media and by Email (the ONLY way you will see ALL of my posts! But don’t worry- NO SPAM from me!)
Facebook/Instagram/Pinterest/Email
Last Updated on July 2, 2018




Cute! Cute! Cute! I want to do this!!
Thank you!!! I loved how it turned out too!
I’m a sucker for numbers and letters myself, so I love this idea! It really does look perfect with your collage!
Love this brook
Love it!
Cute idea!
Really great idea, I like it! Going to make me one! Thanks for sharing.
I am one of those people who has no real visualization. I couldn’t imagine what in the world you would do with a zip code sign. That is adorable. It works on your wall grouping for sure! I just love your ideas Brooke. Love watching your videos too. Most of the time I have to catch them on the replay, but that’s Ok (sometimes). I would much rather get to interact with you on the live.
Such a great way to display our zip code ,I will be making me one , loving it
Oh Sweet Jesus! I just Love this idea !
I am just getting my very first wall started I don’t have a lot on it yet
But this would go just perfect with it
Thanks so much
You always amaze me! I’m makimg one❣️❣️❣️❣️
Love it! I think I will make one for each zip code we have lived in during our 30+ years of marriage. Thanks for sharing!
I love love 💕 this idea!! Will definitely be doing this. Looks great in your collage.
OH MY GOODNESS, I absolutely love this!!!😍
Simple, but cool idea. Personally, I would probably go a bit more glam with it by adding sparkle and perhaps expand to the numbers on the outside of the house. Of course, including the letters of street name just to have a bit more fun with it! Thanx for the visual, excellent step by step instructions!