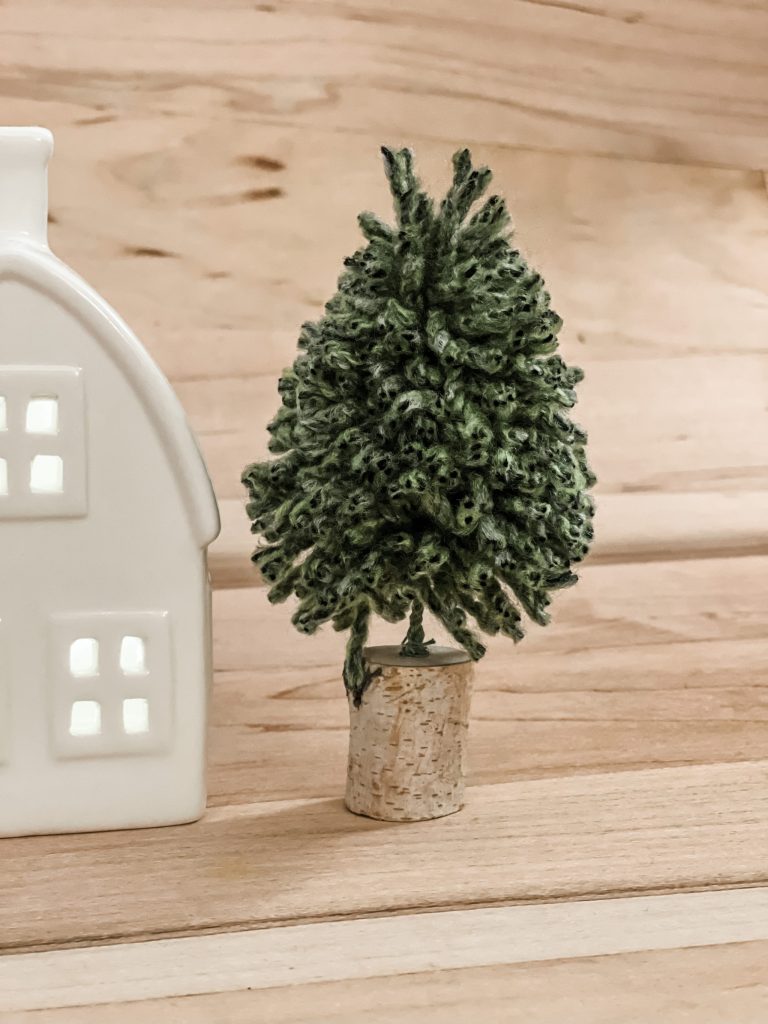
If you like inexpensive and unique Christmas décor, you’re going to love this christmas tree craft! I absolutely love decorating for Christmas with so many different styles and colors, and today- we are doing a little more of a traditional vibe!
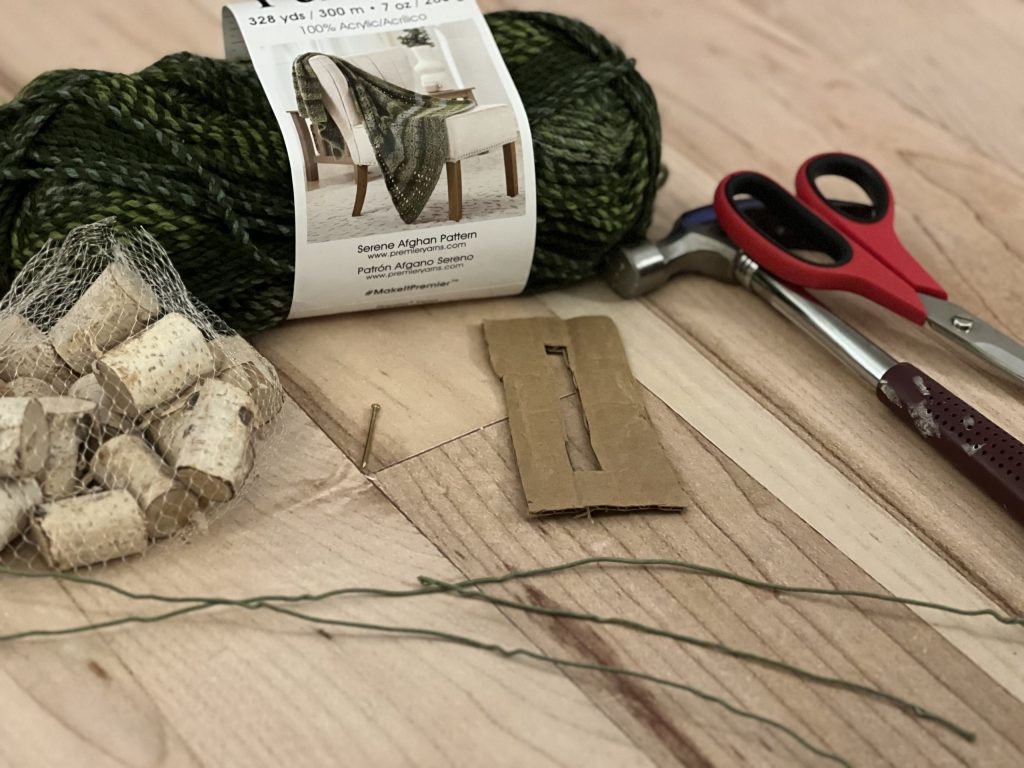
We are going to make the cutest little Christmas trees, and guess what? They are made from YARN! That’s right, you can create a Christmas tree using just about any color imaginable! Have you seen the yarn choices these days? The possibilities are endless! Whoo hoo!
Let’s get started!
Here is what you will need:
Yarn
Craft wire
Small wooden bases
Nail
Hammer
Piece of cardboard – 5” tall and 3” wide
I found the small wooden bases at the Dollar Tree! Can you believe it? They have a great craft section, as you well know!
When picking my yarn, I chose a variegated green yarn to give the trees a little more dimension. I love the different tones of green in this yarn!
The first thing you will want to do is cut a slim rectangle out of the center of your cardboard that is about 3.5” long. This will be needed to secure the yarn with your craft wire.
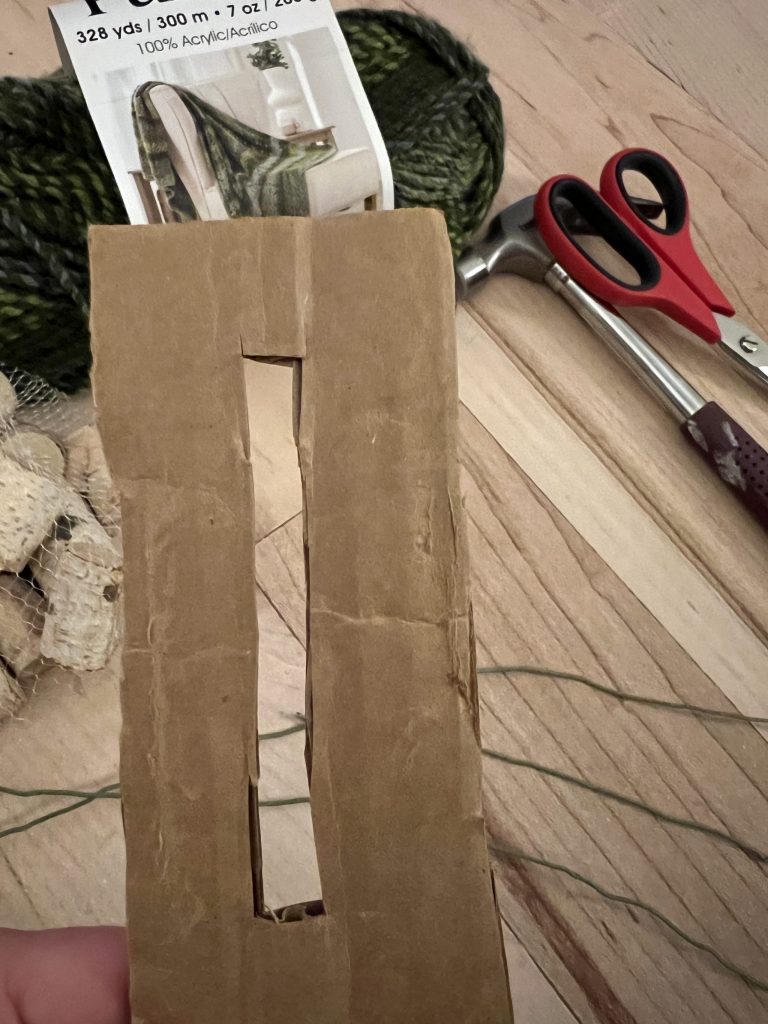
Once you have the cardboard cut, you will start wrapping the yarn around the cardboard, going across the rectangular cutout in the center. Be sure to leave a little room at the top and bottom to fit the wire around the yarn.
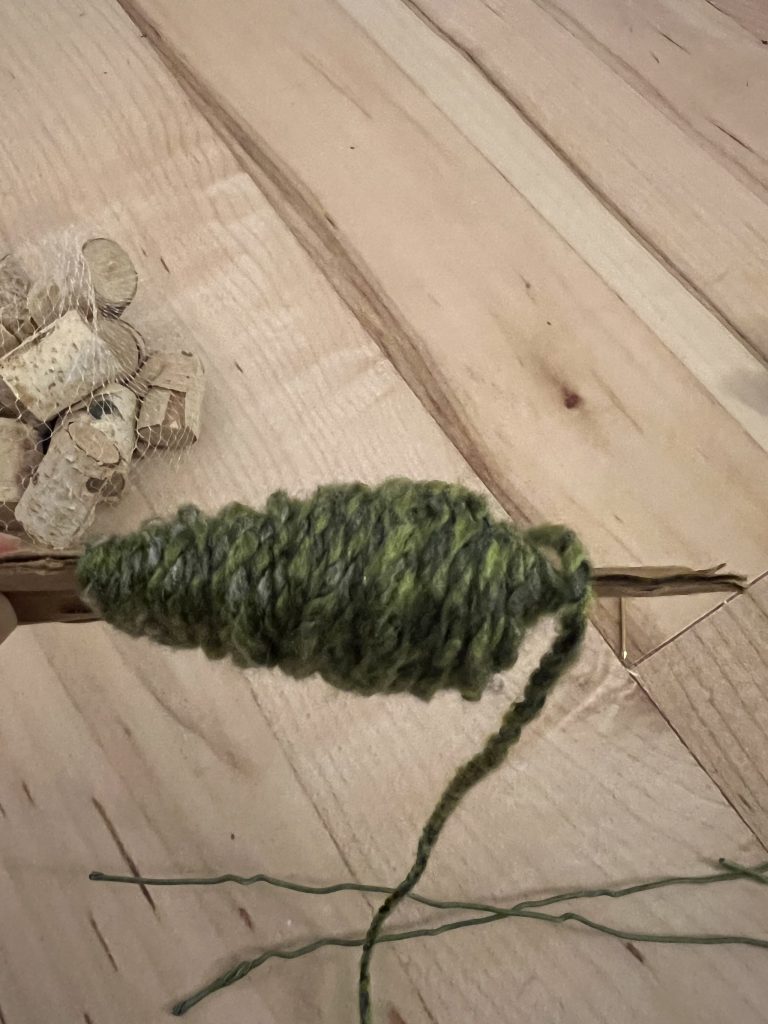
As I worked my way down to the end of the cutout, I gradually increased the thickness of the
yarn. I wrapped it several times more towards the end. Once finished, I cut the yarn.
Next, you will need to wrap the craft wire around the yarn using the center cutout. Twist the wire at the bottom of the yarn, and continue twisting the wire an extra 1-2 inches to create the base of your tree.
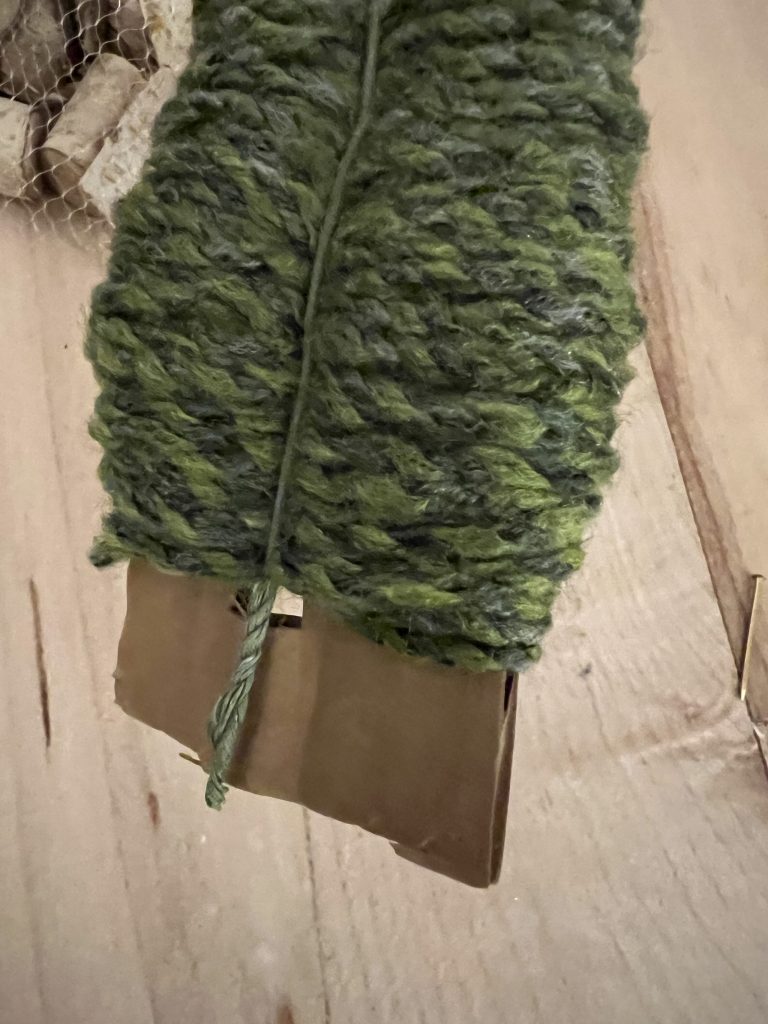
After the yarn is tightly secured with the wire, take your scissors and cut the looped yarn on both sides. Simply slide the scissors underneath the yarn and cut as close to the edge of the cardboard as possible. Do this on both sides.
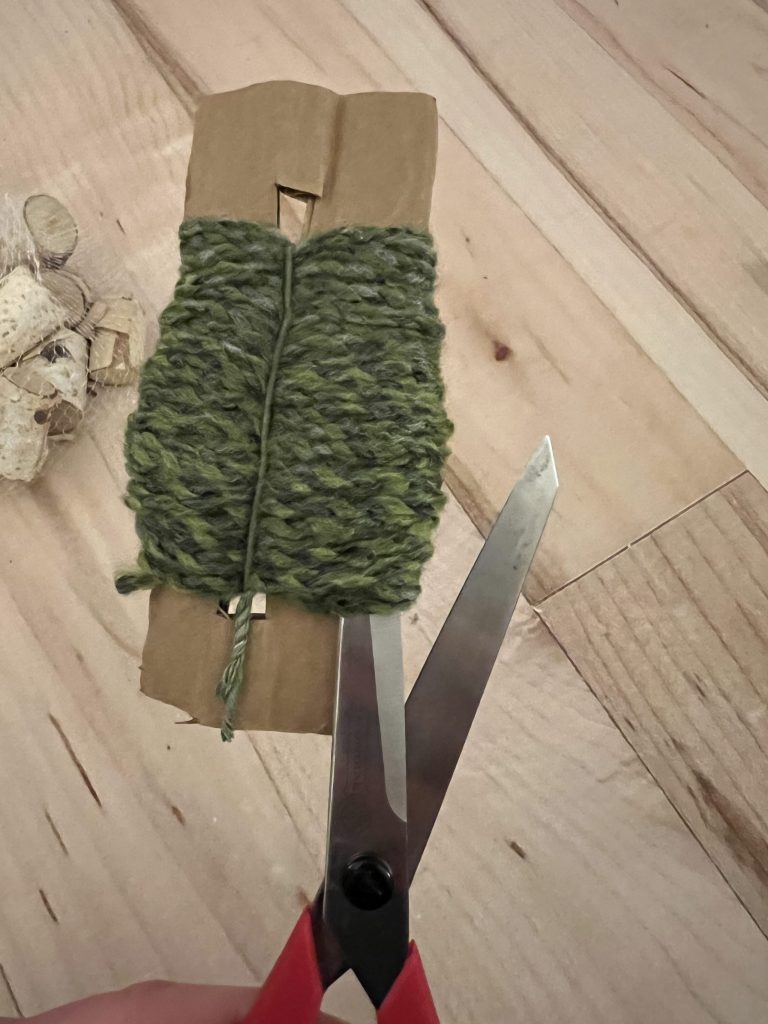
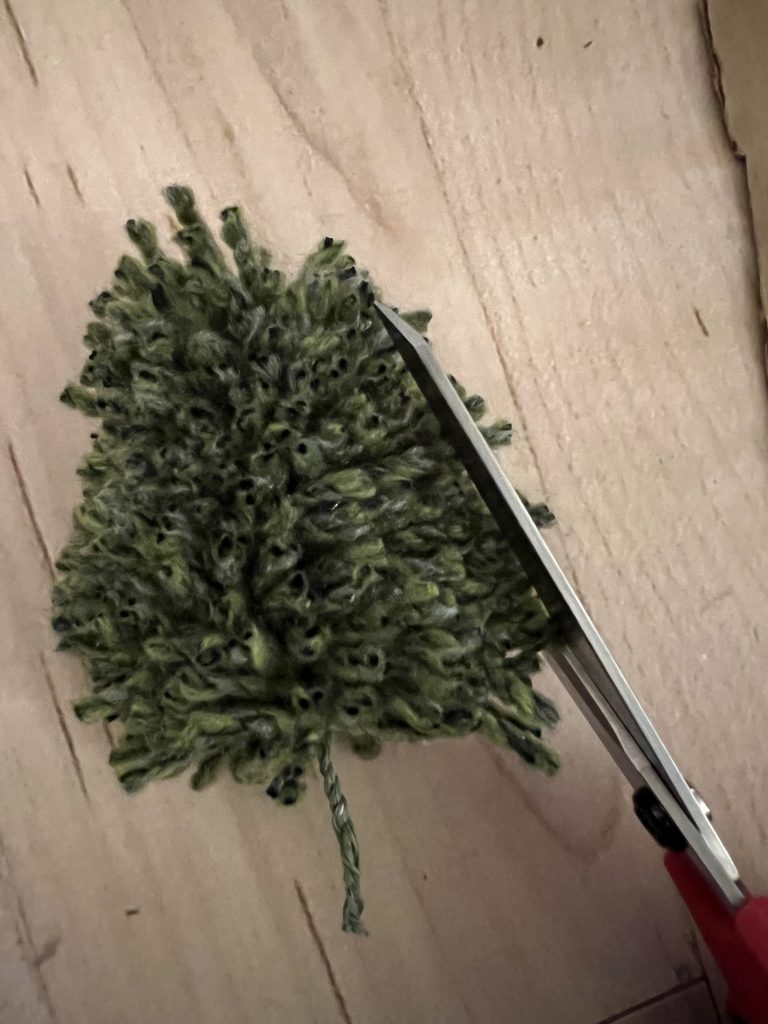
Now, you can push the tree through the center to release it from the cardboard. Your tree will need a little trim to shape it more like a Christmas tree. Take your scissors and give it a trim by angling your scissors slightly.
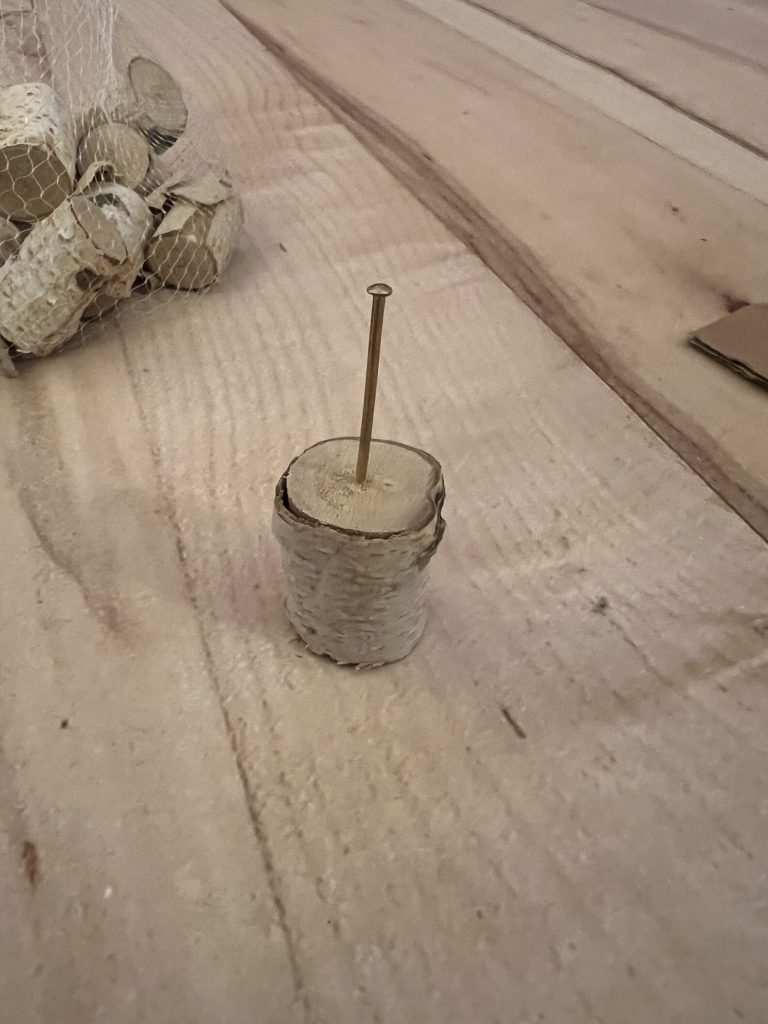
Next, you will need to create a hole in the wooden base to fit the wire on your tree. *PRO TIP* To avoid using any power tools, I hammered a nail into the center of the wooden base. Hammer it in about one inch, then remove the nail. You can now insert the tree wire. If it is not a snug fit, put a little hot glue on the wire to secure!
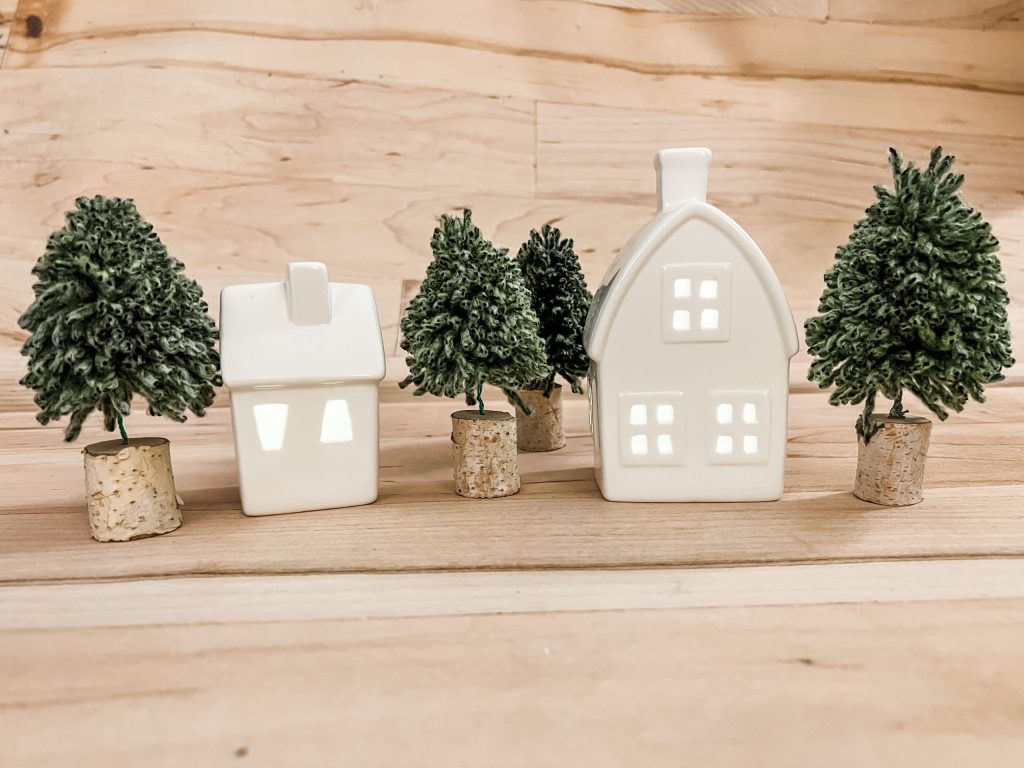
You can create several as free standing trees, or you could even add a hook or loop through the top wire and use as an ornament. Add a cute ribbon or jute bow on the wooden base to dress it up a bit. This fun little craft is very inexpensive, and there are so many possibilities!
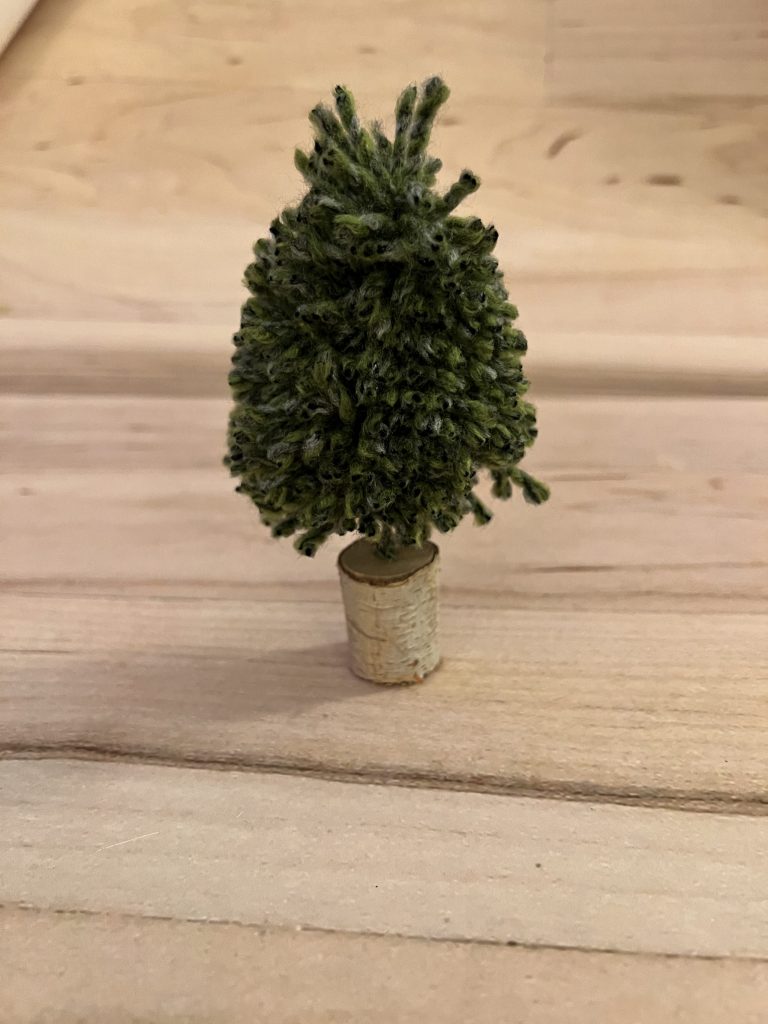
How cute would these be in bright colors for a little whimsical twist? What color would you choose?

I hope you enjoyed this easy and fun project!!!
Be sure to PIN FOR LATER!!!

Last Updated on December 6, 2022




Love this. Great for older kids, with supervision of course. I would love to do shades of teals and pink trees.
I just adore these! They are the absolute most precious little trees ever!
This is perfect. My daughter has been home sick, I wanted an easy craft that we could do without making more snowflakes. Thank you!!!
Those are the cutest trees! I love them!
These are so stinkin CUTE
These are adorable. I’m going to try to make one of these. Love you post!!
These are sooooo cute love them.
Thank you for sharing.