When I have the chance to walk the aisles of Hobby Lobby, I literally ALWAYS snag up the little wooden signs! They have so much potential! Just wait till you see how this little sign became the perfect addition to my Valentine’s tree!
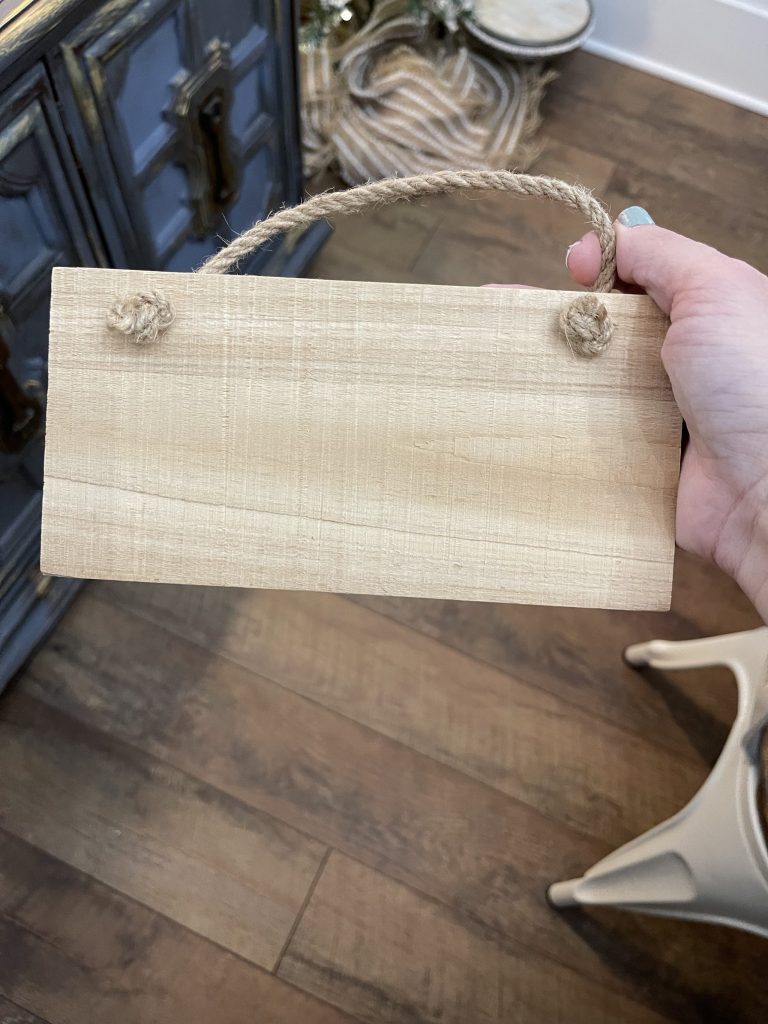
This sign was just $3.49- and there may have been a discount that day- but I can’t say for sure.
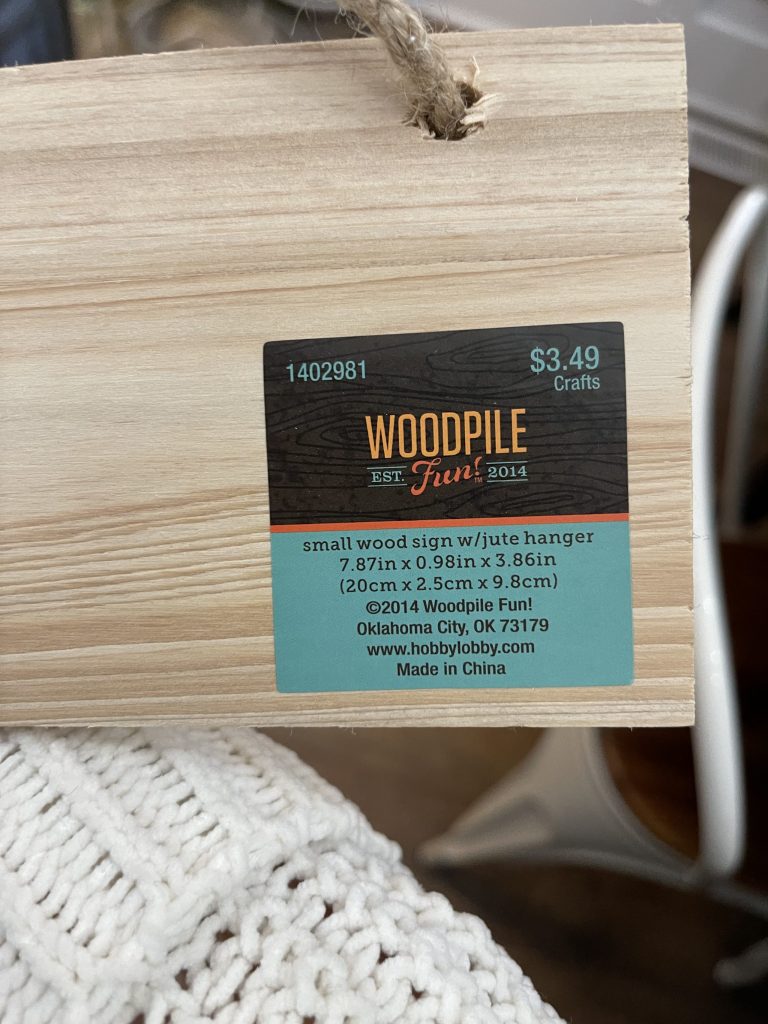
Here’s a list of what you’ll need to make one of these beauties for yourself! *referral links are included for convenience*
Wooden sign from Hobby Lobby
Kilz Dark Wax
White craft paint
Red craft paint
Scrapbook paper
Sanding block or sanding paper Pencil
Scissors or X-acto knife
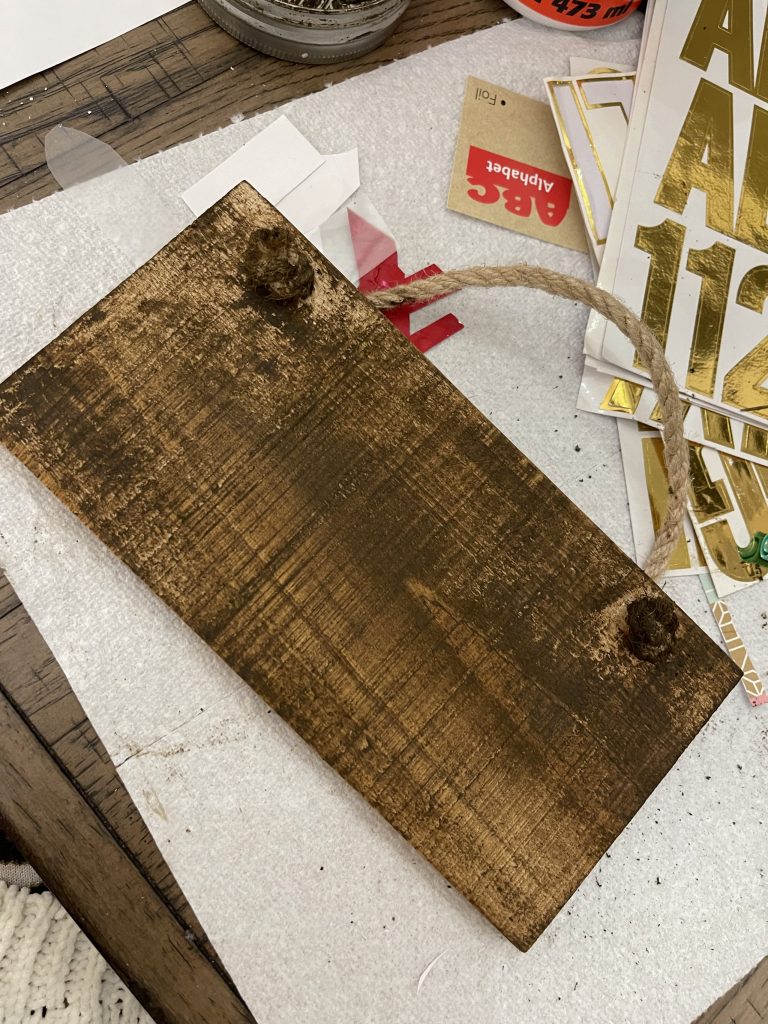
Let’s get started! I started with my all time favorite Kilz Dark Wax and my BIG staining brush. (Recently a follower on Facebook commented that my brush is as big as I am…she wasn’t that wrong!) I put a good coat of stain on my sign to give it a darker look.
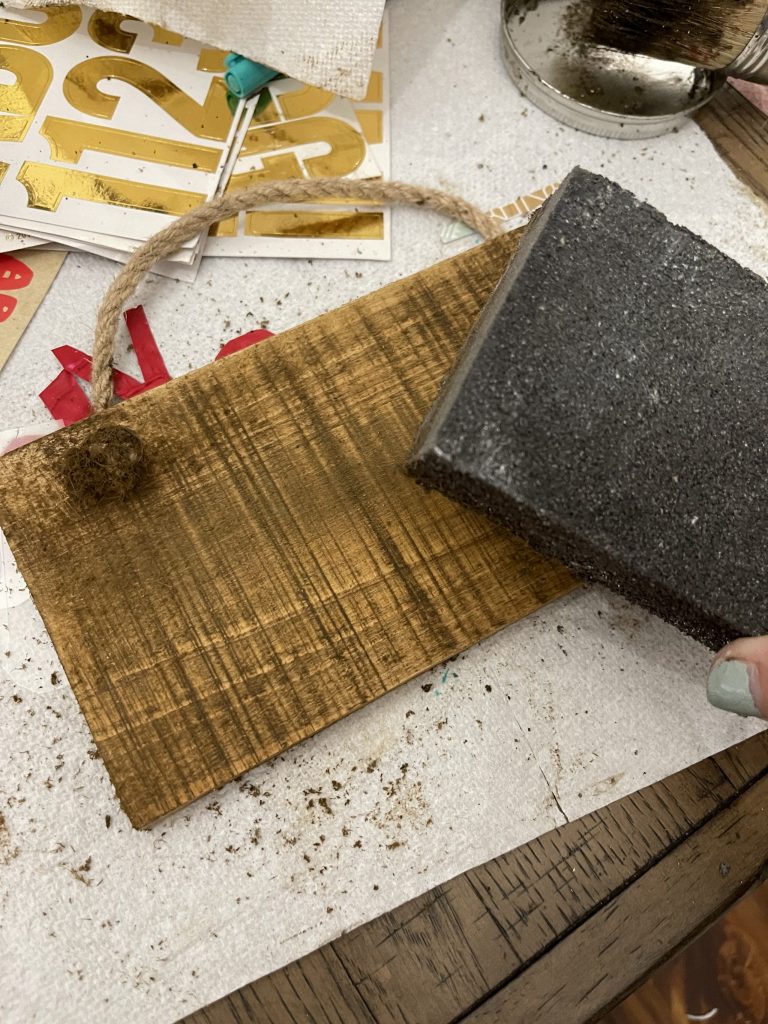
Next, I used my handy sanding block to really even out the edges of the sign and bring the stain down a notch to give it a more finished look.
Now, onto the paint.
I painted over the stain with the white craft paint that I always use when I’m crafting…Apple Barrel acrylic paint in white. It’s a great paint, and the BEST part??? It’s about 50 cents at Walmart! I wasn’t going for a super smooth coat of white paint because I knew I’d want to sand that white layer too so that the darker stain could peek through! So I let the paint dry and went to work sanding again!
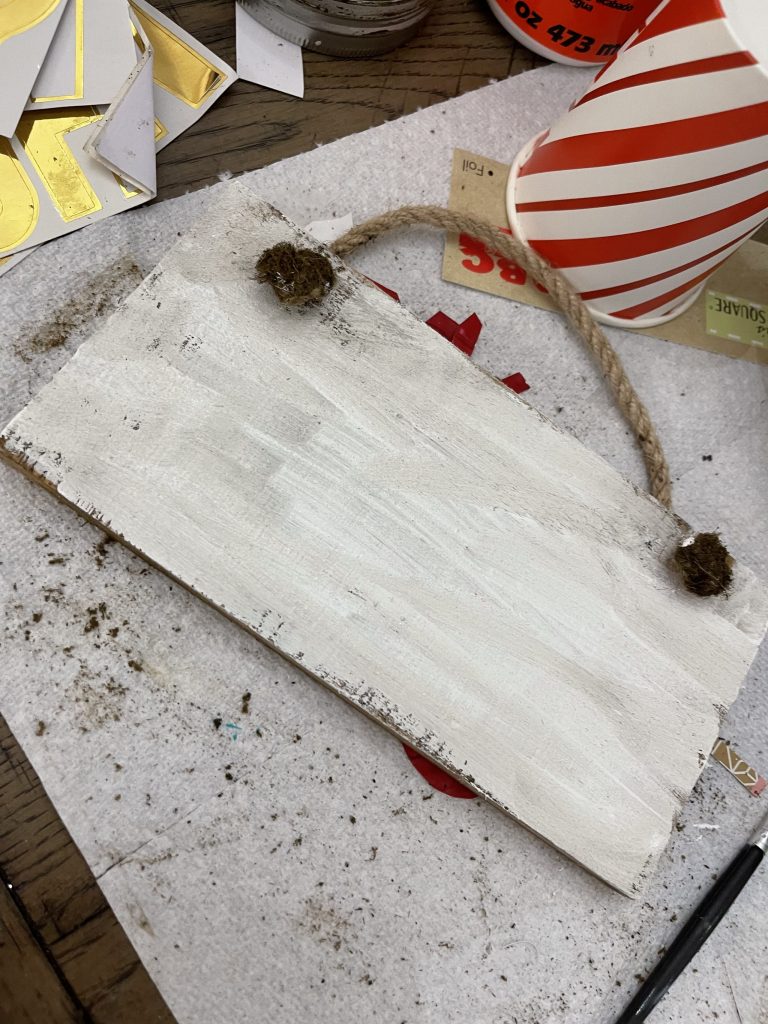
I let the paint dry and went to work sanding again! Here’s how we are looking after sanding those edges again. (You can see how it looks behind the red rectangle!)
Next up- painting a red rectangle in the center of the block! I wasn’t sure EXACTLY where I was headed next, but I knew I wanted to draw attention to the center of the sign for whatever I decided to use. I just freehanded my rectangle, but feel free to trace yours with a pencil if you want it to look more “perfect.” I was going for that handmade, not so perfect look, so I just went with it! The color I chose for this was Cardinal Crimson…apple barrel, of course!
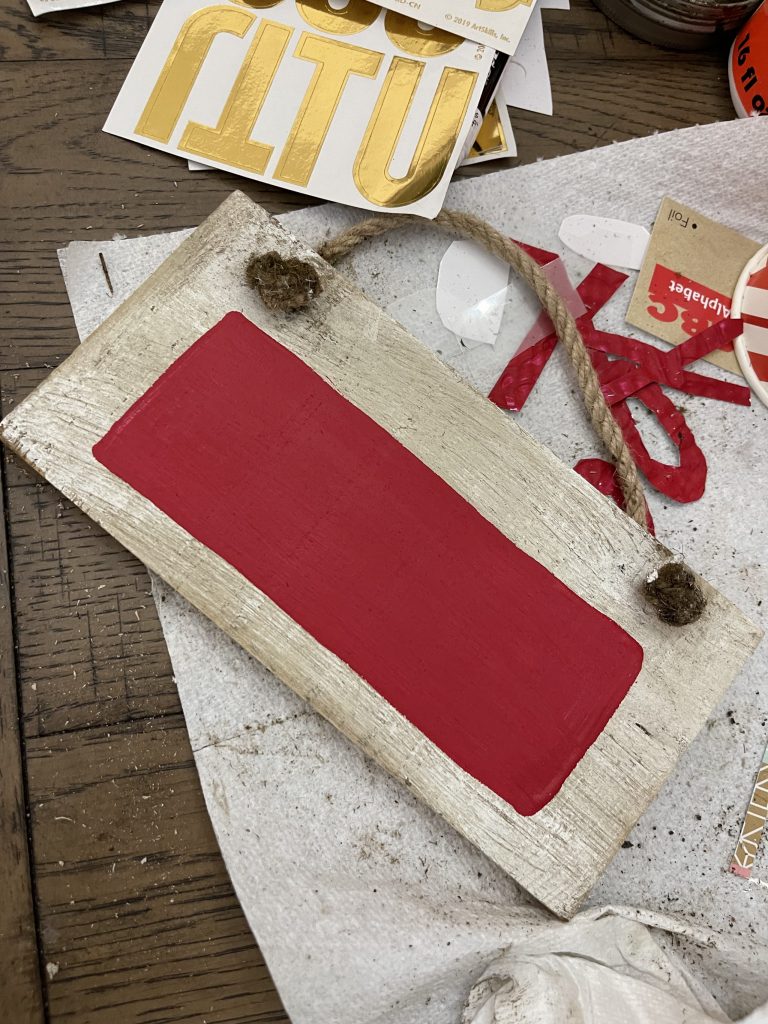
Now I needed to decide what to feature in the center of the sign! I knew this was going on my Valentine’s tree, so I thought long and hard about what would scream LOVE but in a subtle and cutesy way… and it finally occurred to me- the CITY OF LOVE!! What if I looked up a zip code for Paris, France, and used the zip code on the sign? How stinking adorable, right??
So, I went into my stash and picked one of my favorite scrapbook papers (a black and white stripe- surprise, surprise, right?? 🙂 ) and then I just wrote out the numbers in block style writing. If you have a die cutting machine like a Cricut and prefer the numbers to be perfectly sized, feel free to use that! I really like a more hand lettered look so I wrote out my numbers and just cut them out with scissors!
Next- and we are almost done!- we need to adhere the letters to the red rectangle we painted!
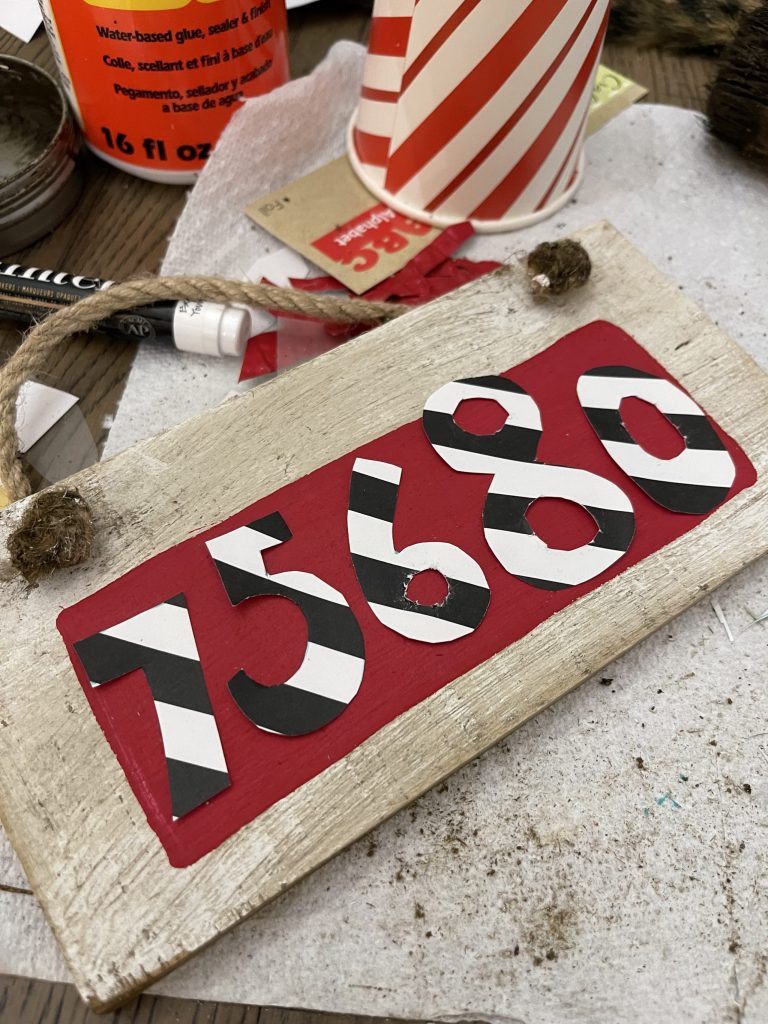
You know what I’m using for that… Modge Podge! Here’s how it’ll look before the Modge podge is dry. It dries clear, of course…so no worries 🙂
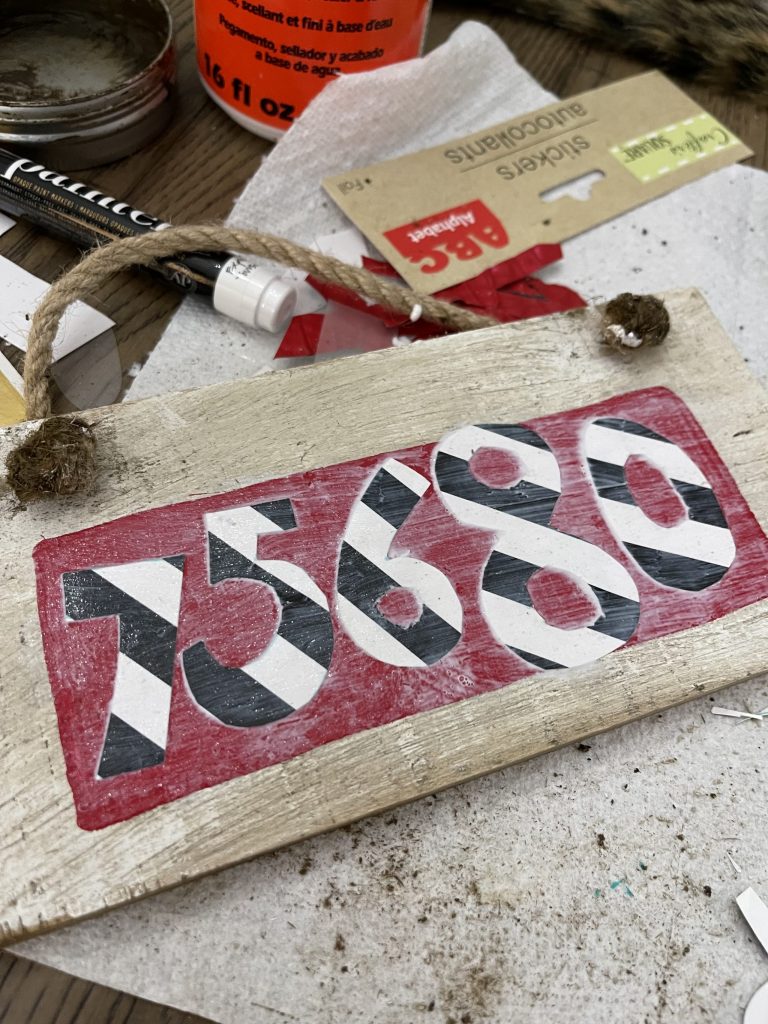
Ta-da! It is done!
It’ll be a great conversation piece on my tree because I doubt everyone will know what city the sign is referring to! None other than the REAL LIVE City of Love!
Happy Valentine’s, y’all! Here’s a look at the finished piece. I hope you love it as much as I do!

If you haven’t checked out my Valentine’s Day Tree, you can see it RIGHT HERE!!!

PIN FOR LATER!

Make sure you are on my TEXT LIST so you don’t miss anything!!!
Last Updated on January 20, 2022


Leave a Reply