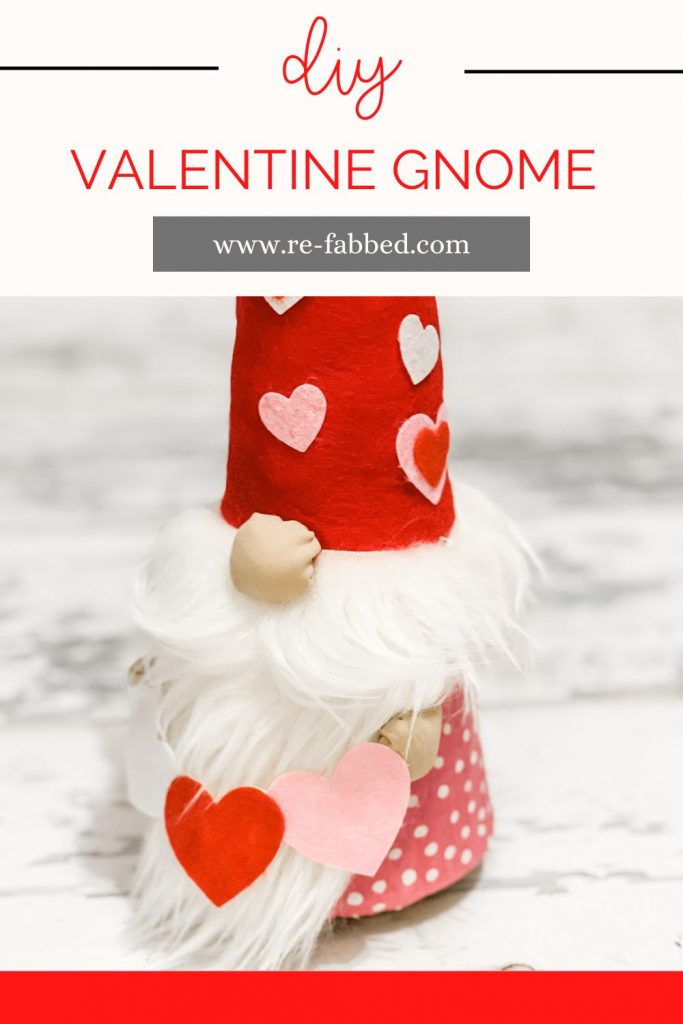
Who doesn’t love a cute little gnome every now and then?! You know how much I love gnomes, but I don’t decorate with them as much as I used to… I was still so excited to try my hand at creating one for Valentine’s Day…for a little inspo, and boy did he exceed my expectations!
I had a cardboard cone from Hobby Lobby that I purchased during the 90% off Christmas sale, and I thought it would be perfect to transform into a gnome.
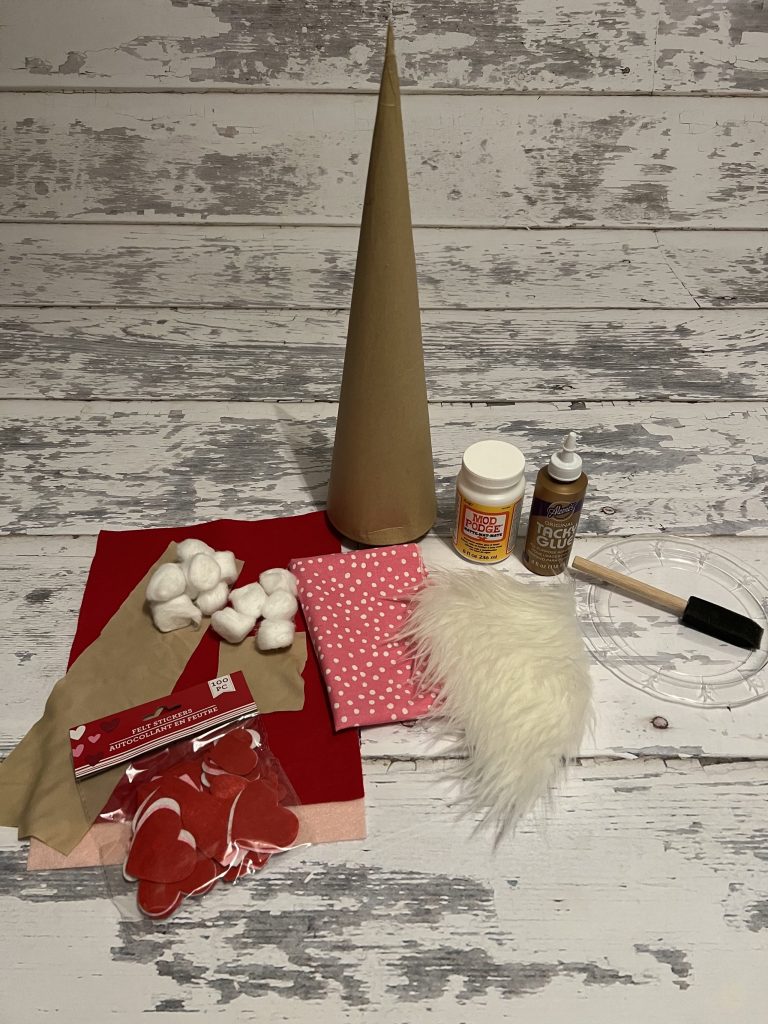
For this project, I used the following supplies:
Crafting cone – the one I used was a 17” cardboard form from Hobby Lobby
Craft felt – I used a red piece that was 9”x12”
Small piece of fabric for the base – 10”x14”
Tan colored fabric for the nose and hands – 6”x6”
White fur or felt – 8”x8” is sufficient
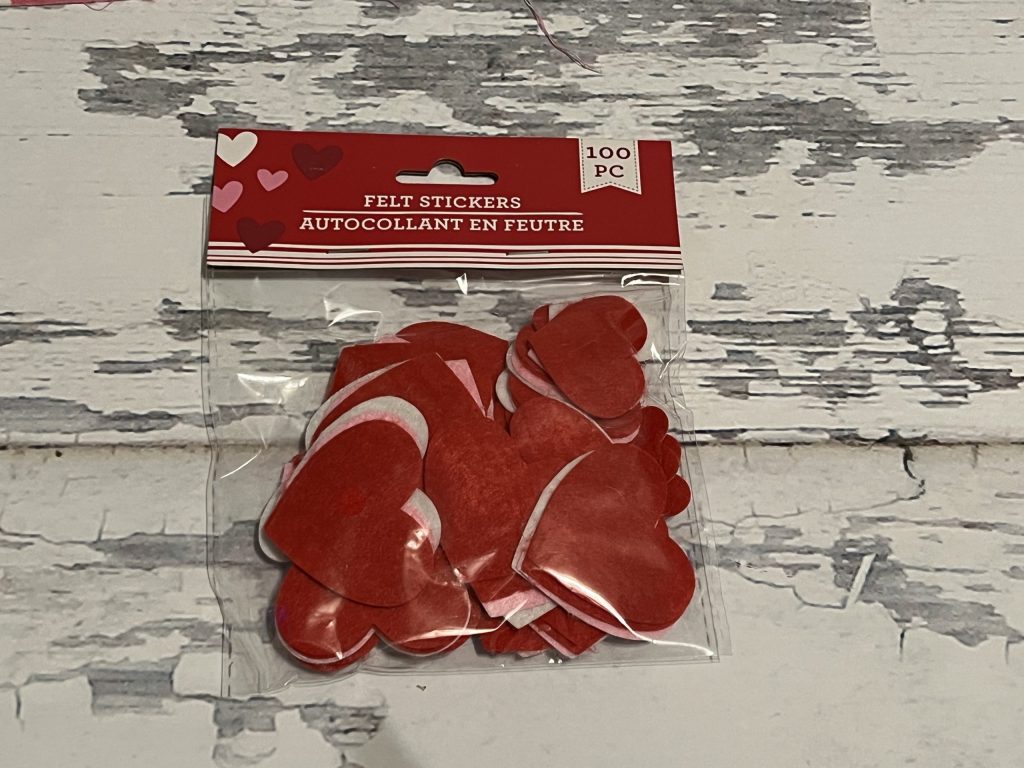
Felt heart stickers – Dollar Tree
Cotton balls
Mod Podge or other fabric glue
Sponge brush
Hot glue gun
Scissors
Remember to be creative and choose fabrics and colors that appeal to YOUR style!
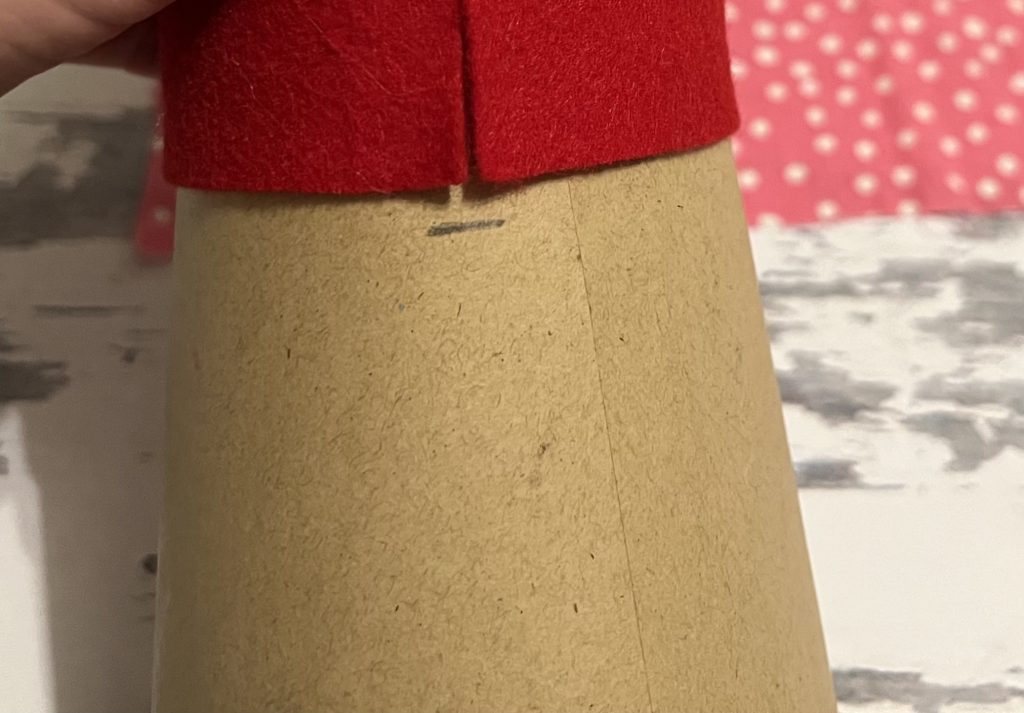
The first thing I did was determine where I wanted the hat to end and the beard to begin. My cone was 17”, and I wanted the hat to be about two thirds of the cone. I knew I wanted to use the red felt for the hat, so I turned it vertically and marked twelve inches down from the top of the cone. This left about five inches at the bottom that I needed to cover for the gnome’s body.
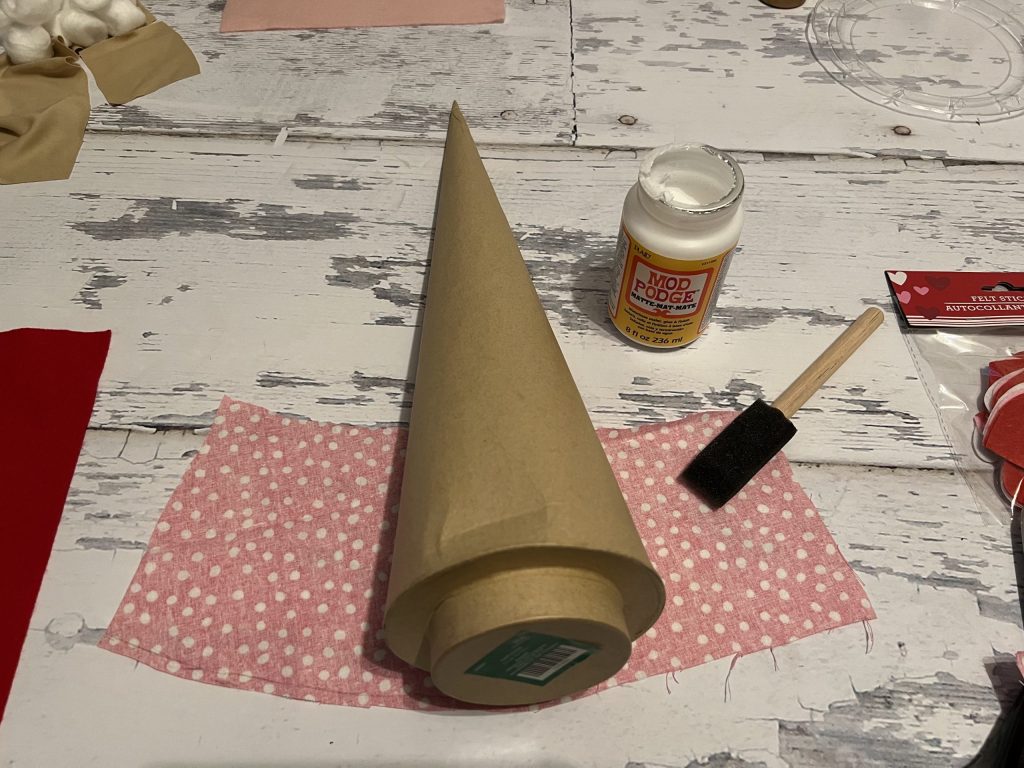
Next, I used my polka dot fabric to cover the base of the cone, which was going to be the body of the gnome. I painted a layer of Mod Podge on the cardboard and wrapped the fabric around the cone.
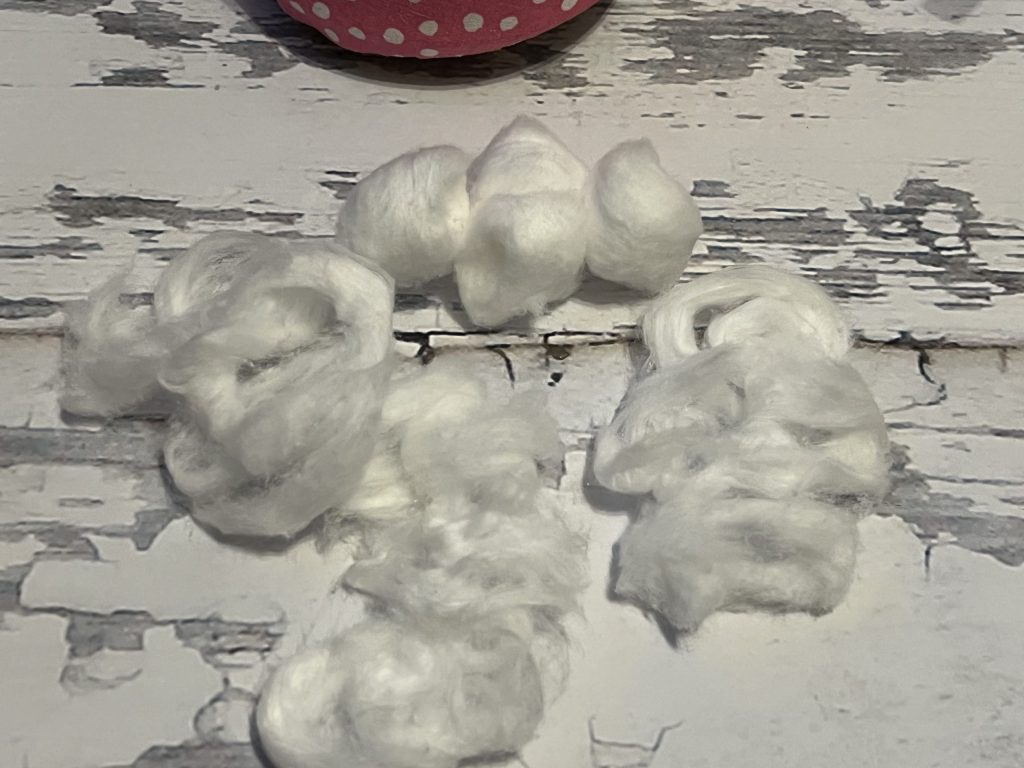
I thought the hat would look better if it was padded underneath, so I decided to glue cotton on the cone before adding the felt. To do this, I simply separated some cotton balls loosely and applied Mod Podge on the cone to secure them.
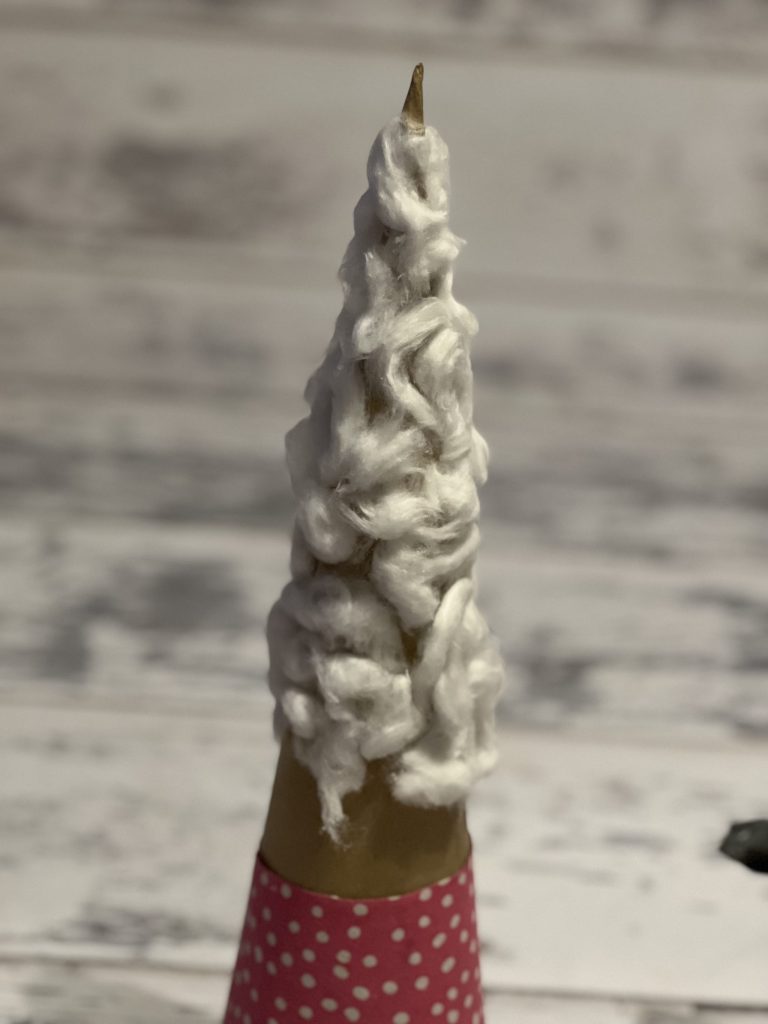
After gluing the cotton, I wrapped the felt around the top of the cone, starting at the top of the pink fabric.
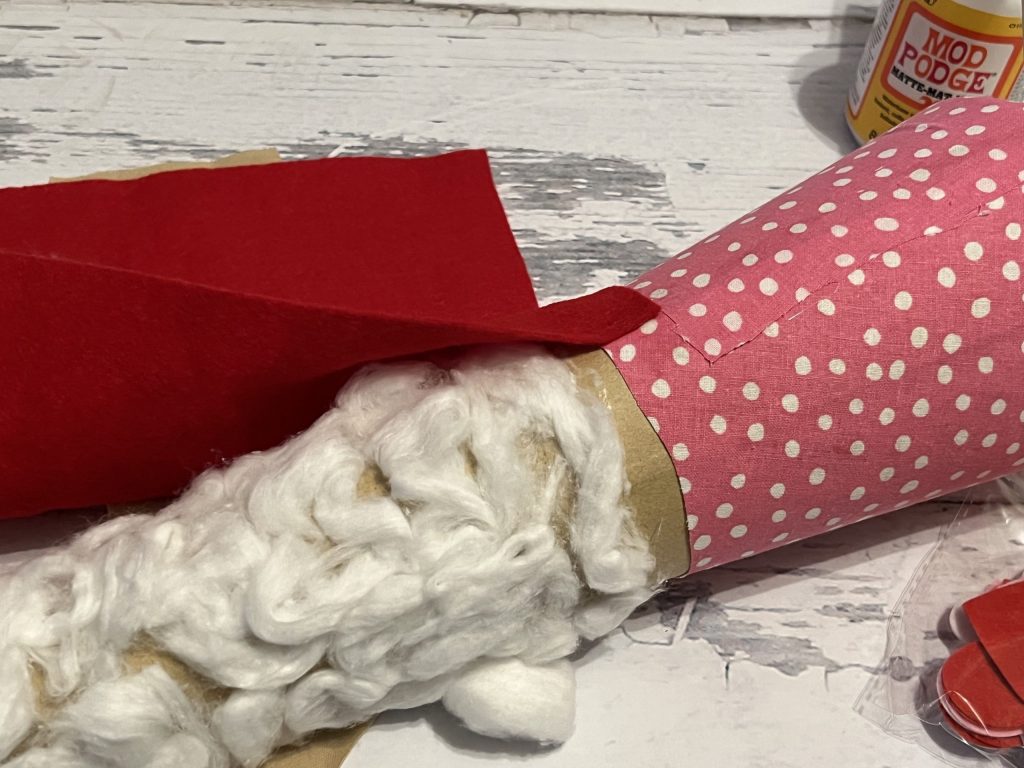
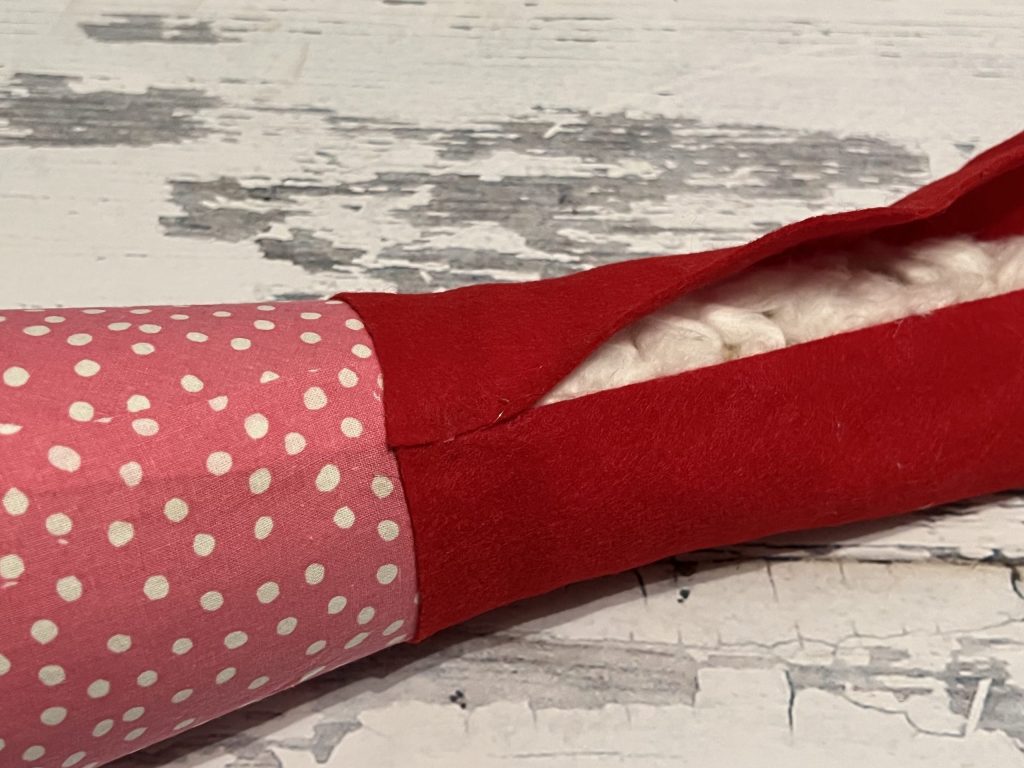
Once the base of the felt was glued in place, I pulled the fabric snug and used a hot glue gun to glue down the felt. This step is easier if you cut sections out of the red felt as you pull and glue it down. Don’t get too caught up with the look of the glue seam, because this will be in the back of the gnome.
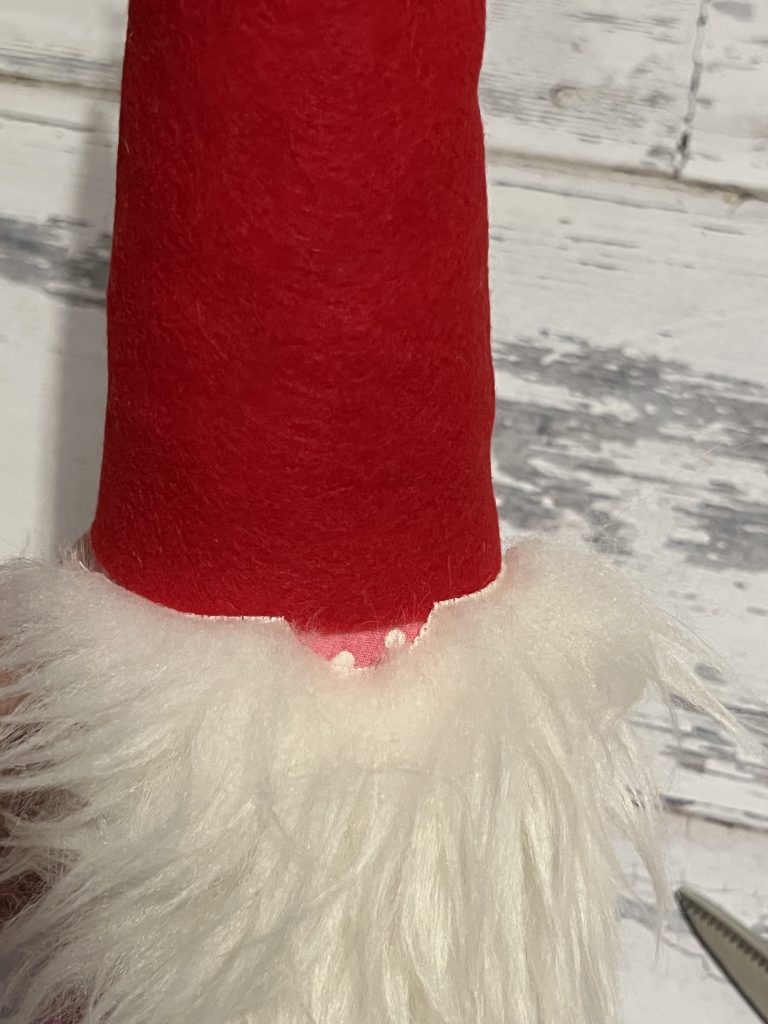
Next, you will cut a triangle piece from your fur to be the beard. Mine was about 5” wide at the top and 6” tall. You will need to cut a notch from the top to accommodate the nose. My fur piece was actually cut from a small rug that I was no longer using, but many craft stores sell small pieces individually.
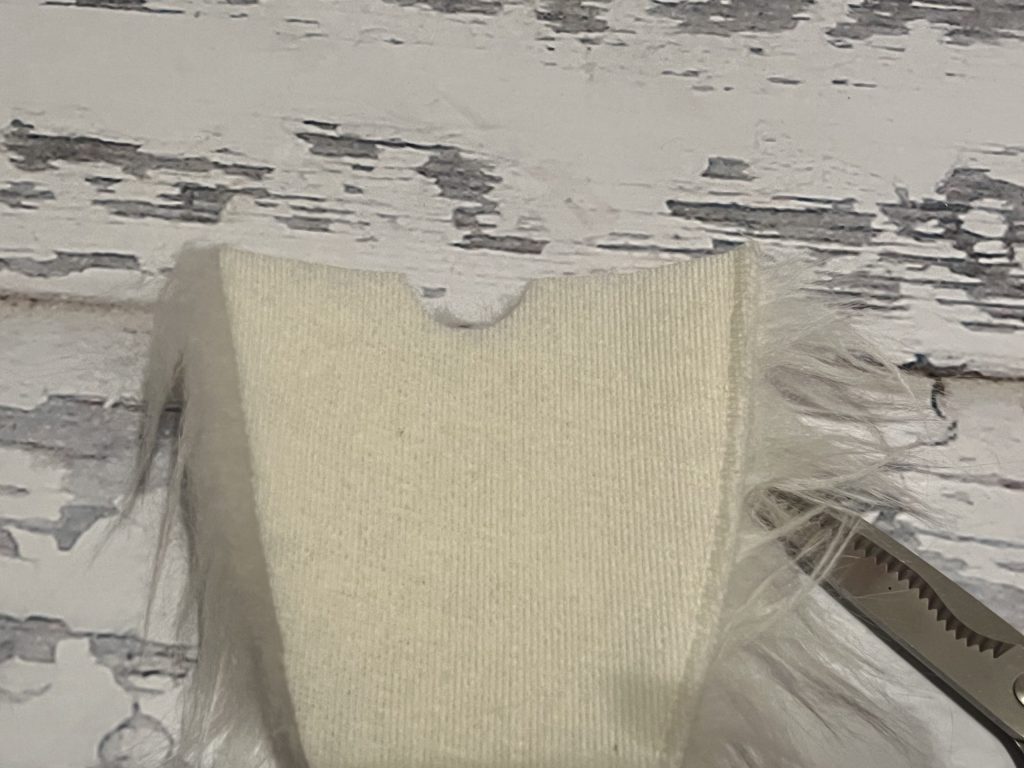
Using your glue gun, glue the beard on the front of the gnome. I chose to use my scrap pieces of fur to glue around the bottom of the hat in the back so it looked like hair. This step is totally optional. You don’t have to do that.
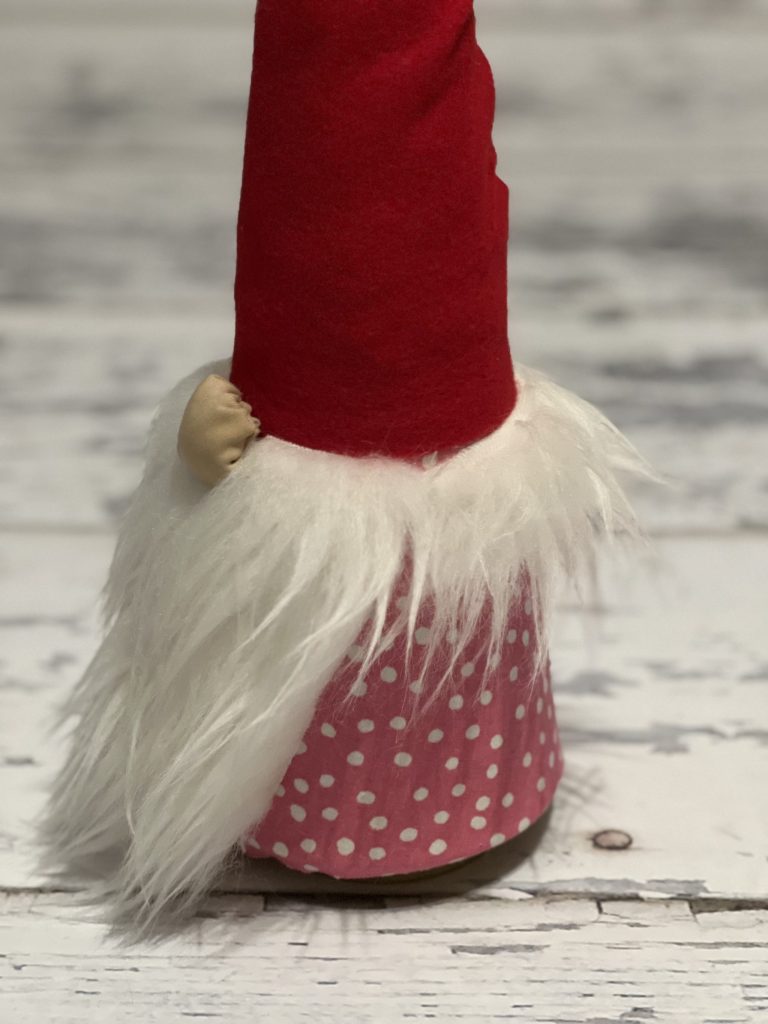
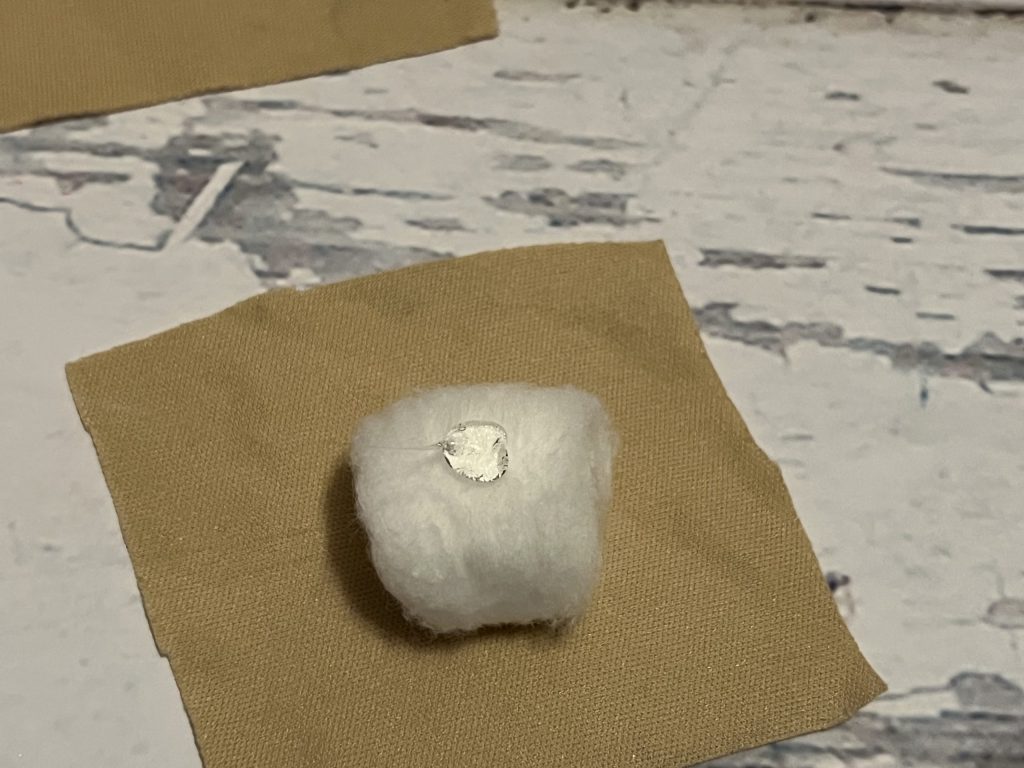
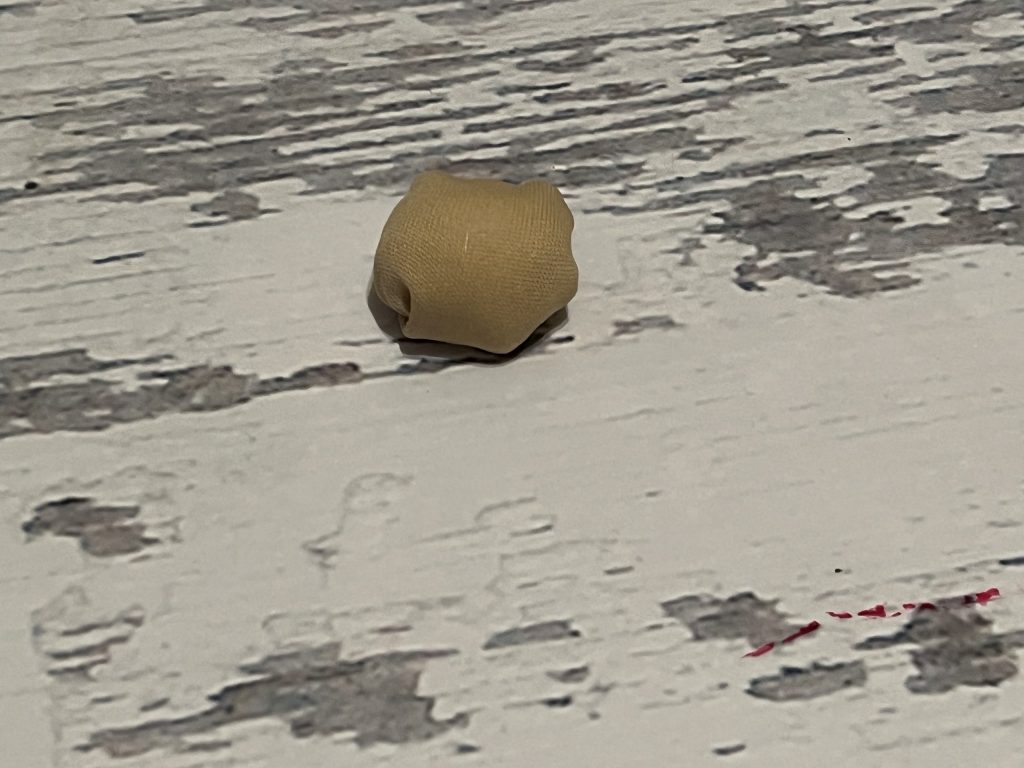
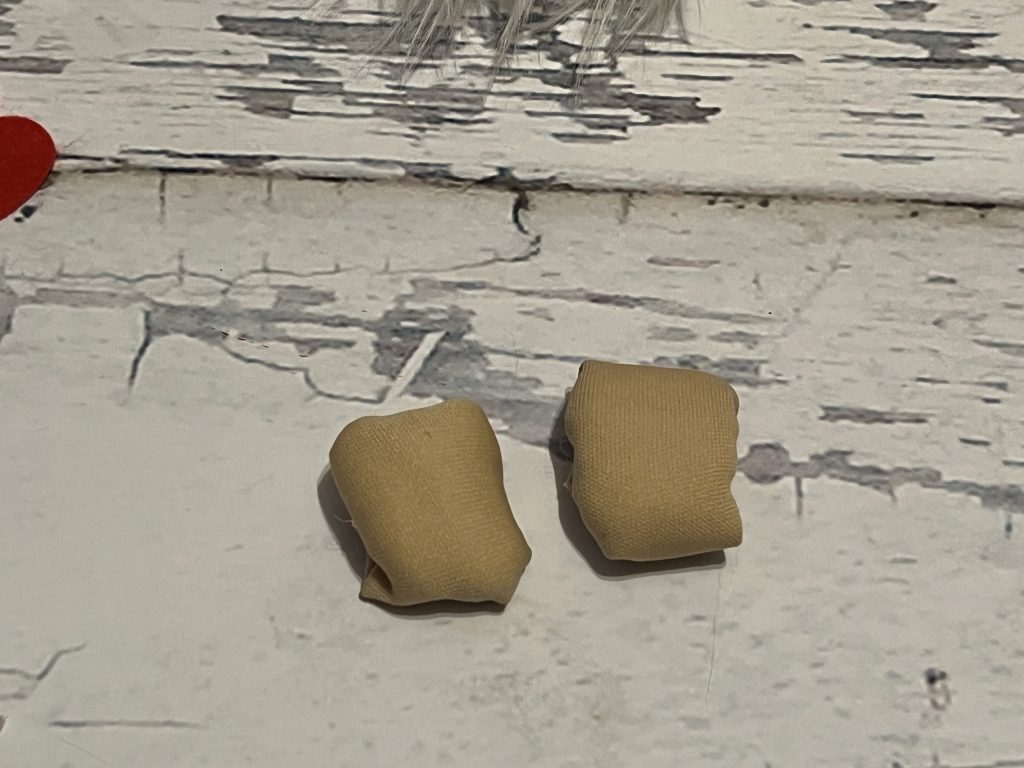
Now, he’s ready for a nose! I took the tan colored fabric and some cotton balls to construct a nose and some hands. I simply wrapped the cotton in the fabric and hot glued it closed. Again, this does not need to look perfect. You can literally just wrap the cotton in fabric and glue it.
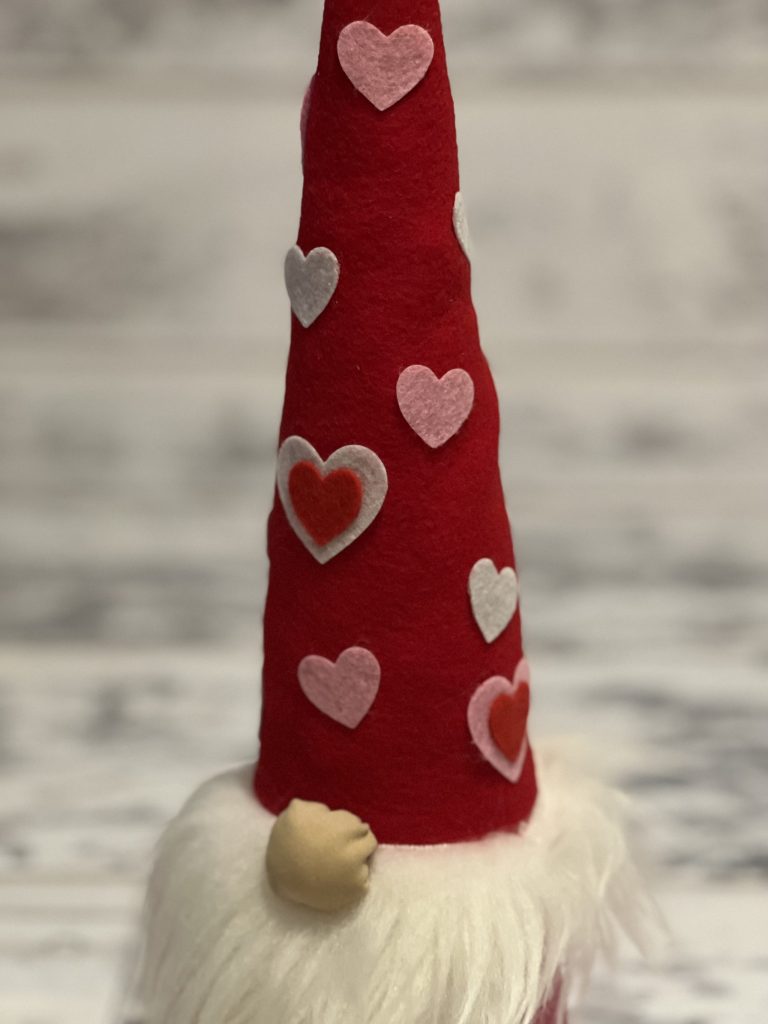
After gluing on the nose, I used the felt heart stickers to decorate the hat. This is where you can get creative and decorate it to your liking.
Then, I glued the hands on.
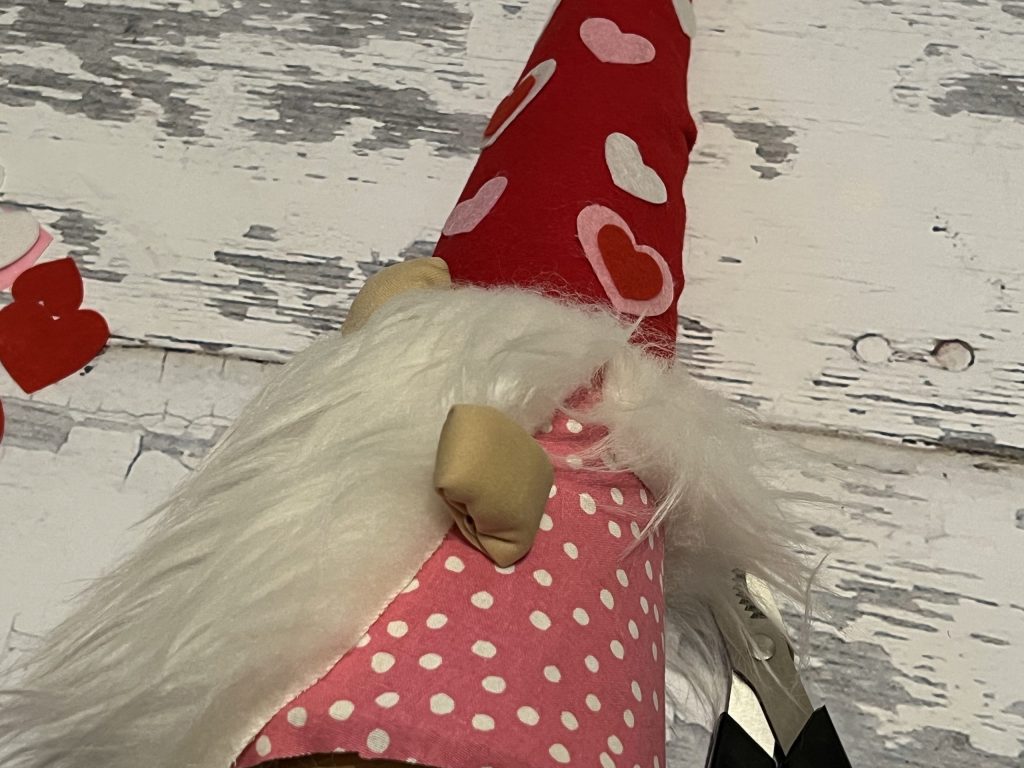
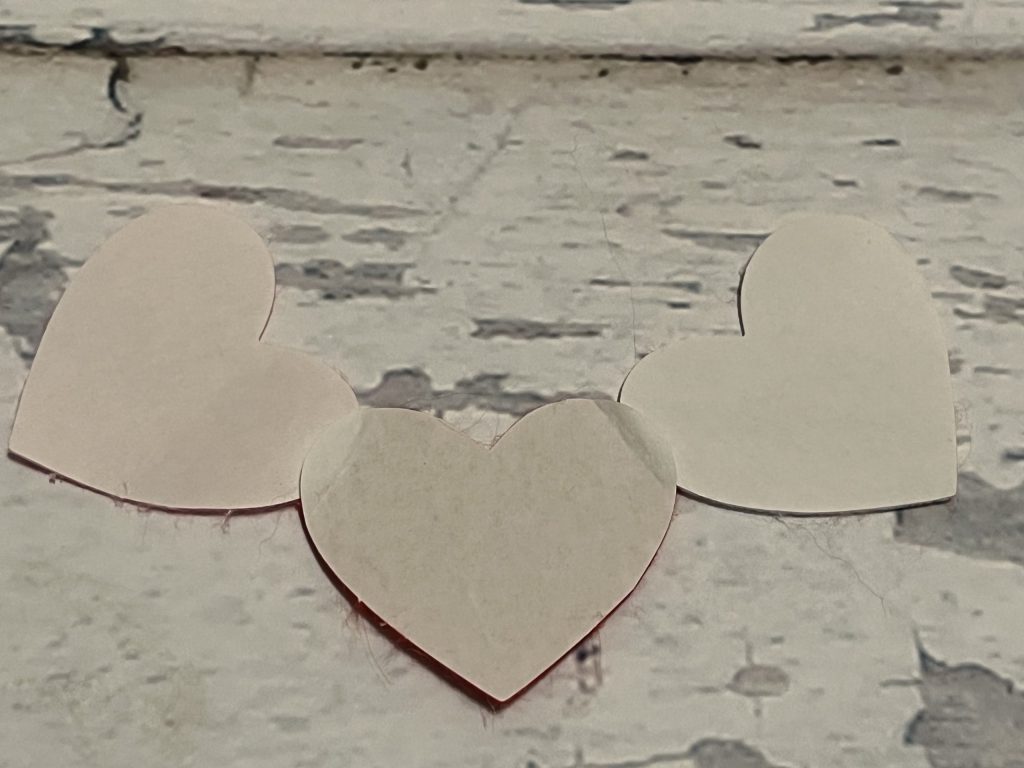
I took some of the heart stickers and created a banner for the gnome to hold. You can glue them together, or you can peel back the sticker backing to adhere the other hearts. Then, I glued the ends of the banner to the hands.
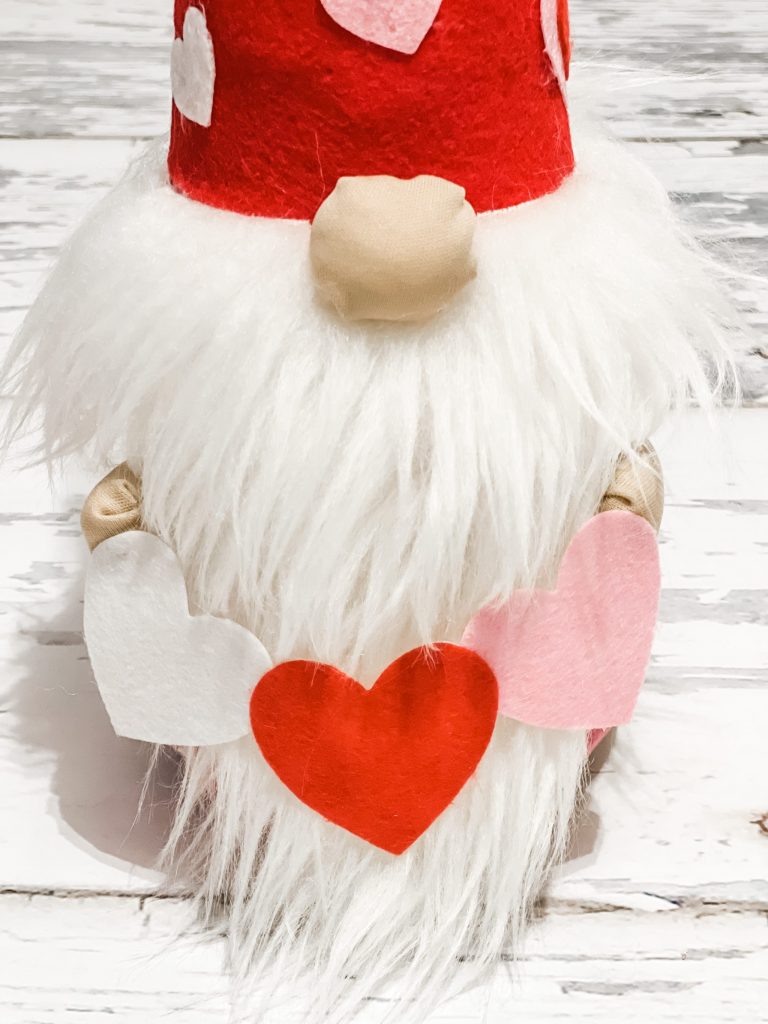
Finally, I separated the fur underneath his nose and curled it up just a bit to create a little mustache. I just LOVE this part!!
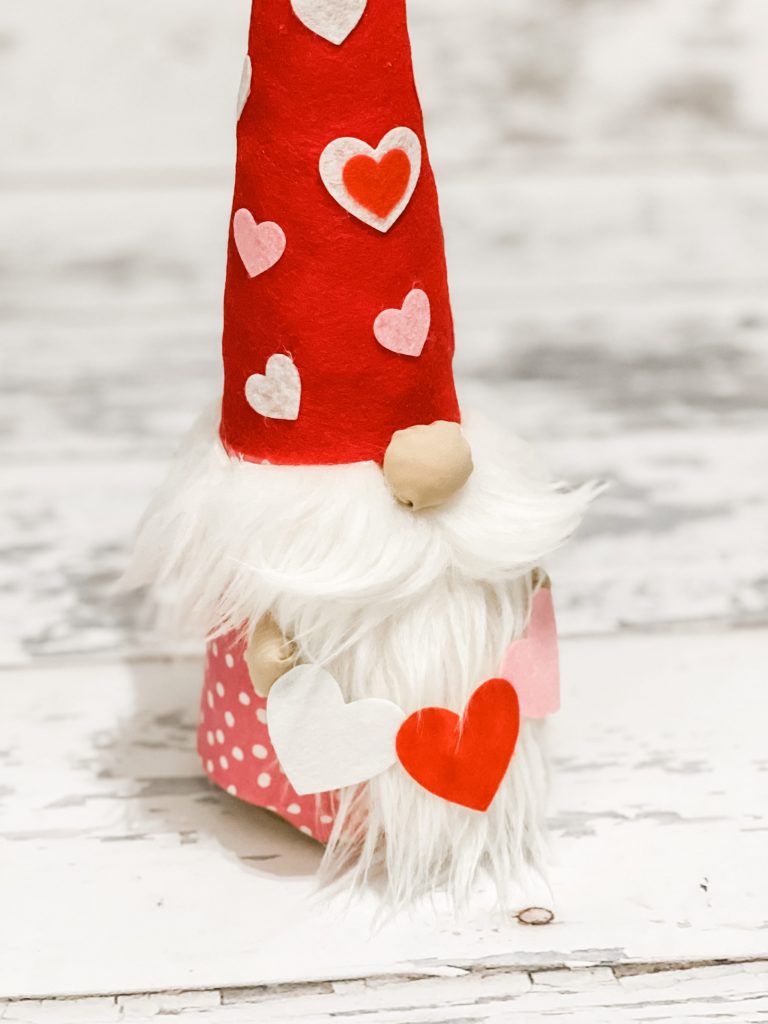
Look at him!!! Is he not the absolute cutest??? I mean, gahhhhh….

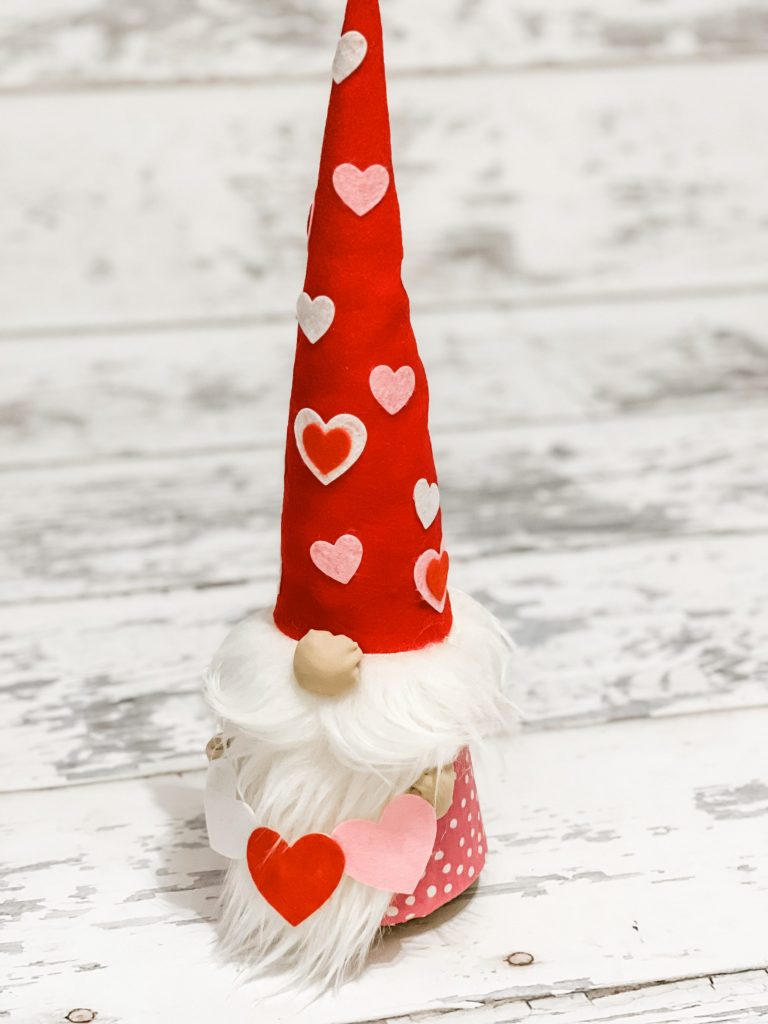
Be sure to PIN FOR LATER!
Last Updated on January 13, 2023

He’s adorable
Thank you ❤️