I am ALL about decorating for the holidays!
I will be honest, I do WAY more for Christmas than fall, but THIS YEAR, I have been killin’ it with some fall DIY’s! (Sorry to toot my own horn LOL)
BUT, even though I am having a blast with the fall DIY’s, my heart still longs for Christmas DIY…so I filled both needs with today’s DIY- and I am over the top about how it turned out.
What you need:
Galvanized metal hanger (Dollar GENERAL store or anywhere else that carries them)
Wood beads
Cotton twine or any other thread that is strong enough to hold the beads and small enough to thread the beads.
Ribbon of your choice (3-5 different styles…)
Dollar Tree pumpkin storage piece (not sure what to call it!)
Stain of your choice!
Hot Glue Gun
Now, let’s get started!
So, I bought this little pumpkin storage piece from the Dollar Tree a couple of weeks ago, and I didn’t know what to do with it. It is double sided. 1 side has a plain pumpkin, and the other has one with a little more detailing cut out.
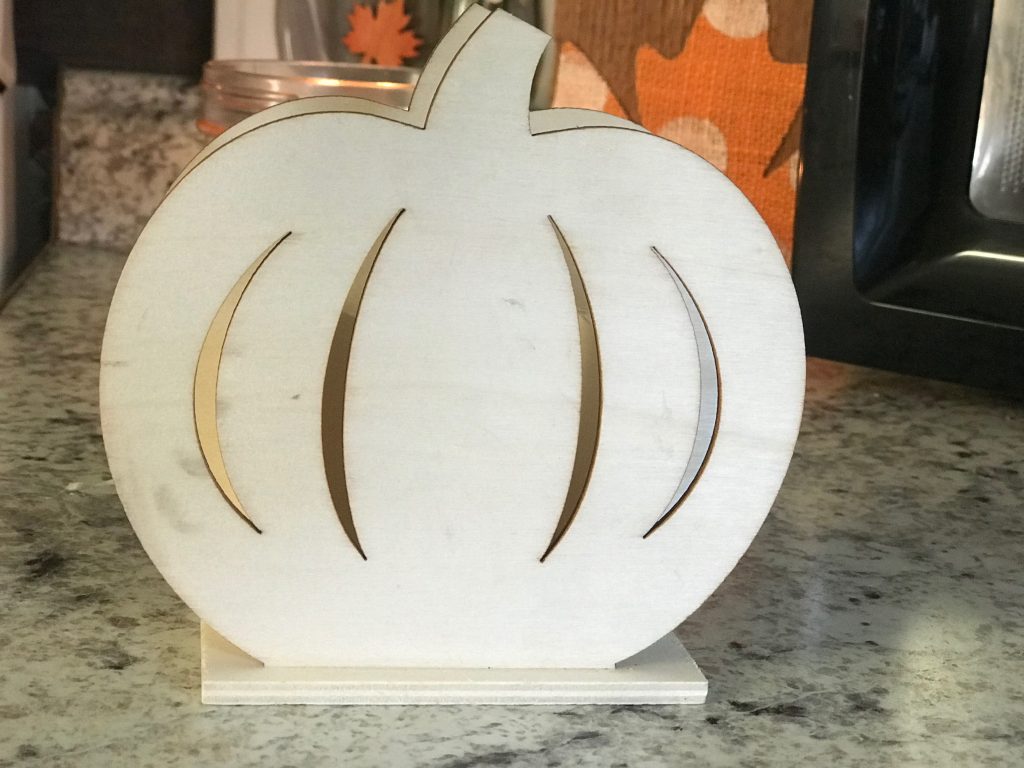
I had no idea what to do with this piece once I got it home, but I finally figured out what I wanted to do with it. I tore it apart, of course!
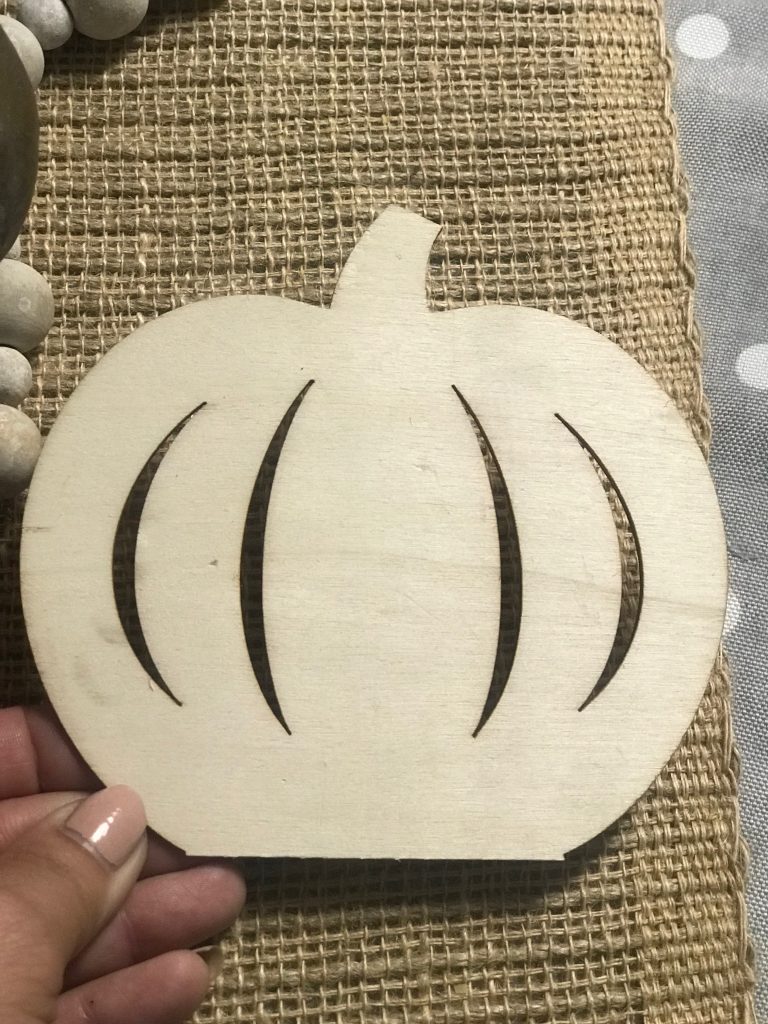
Now, onto the next portion of the project!
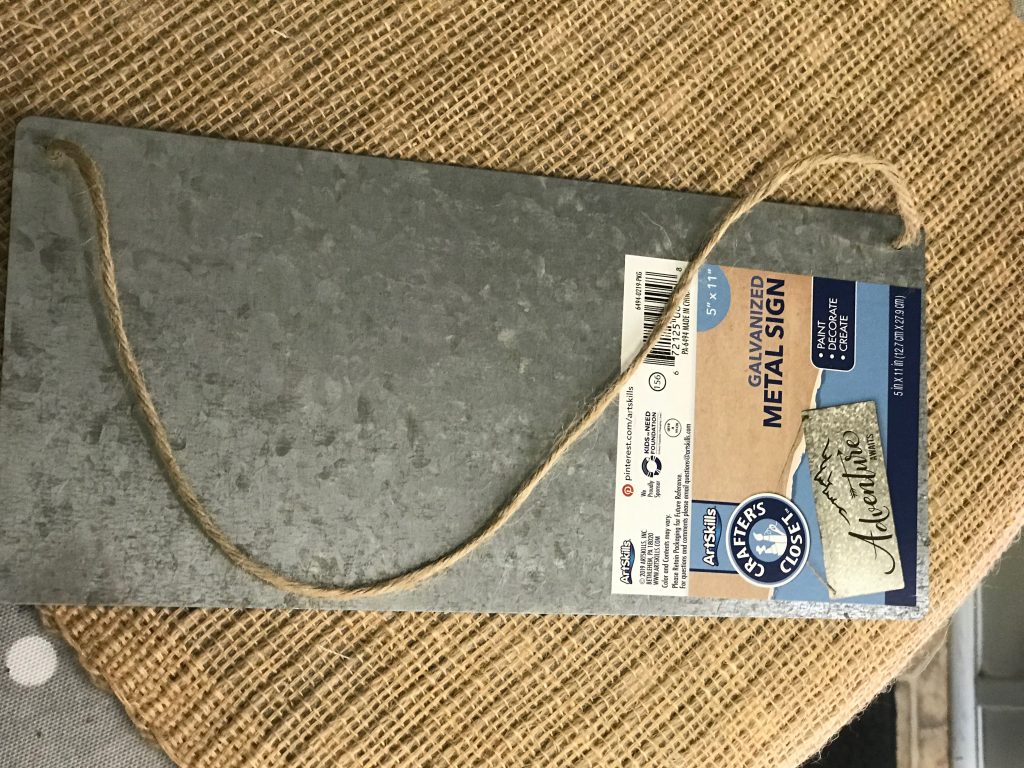
I found this amazing galvanized little hanging sign at the DOLLAR GENERAL store! I believe it was $2 but it could have been $4! I am not positive.
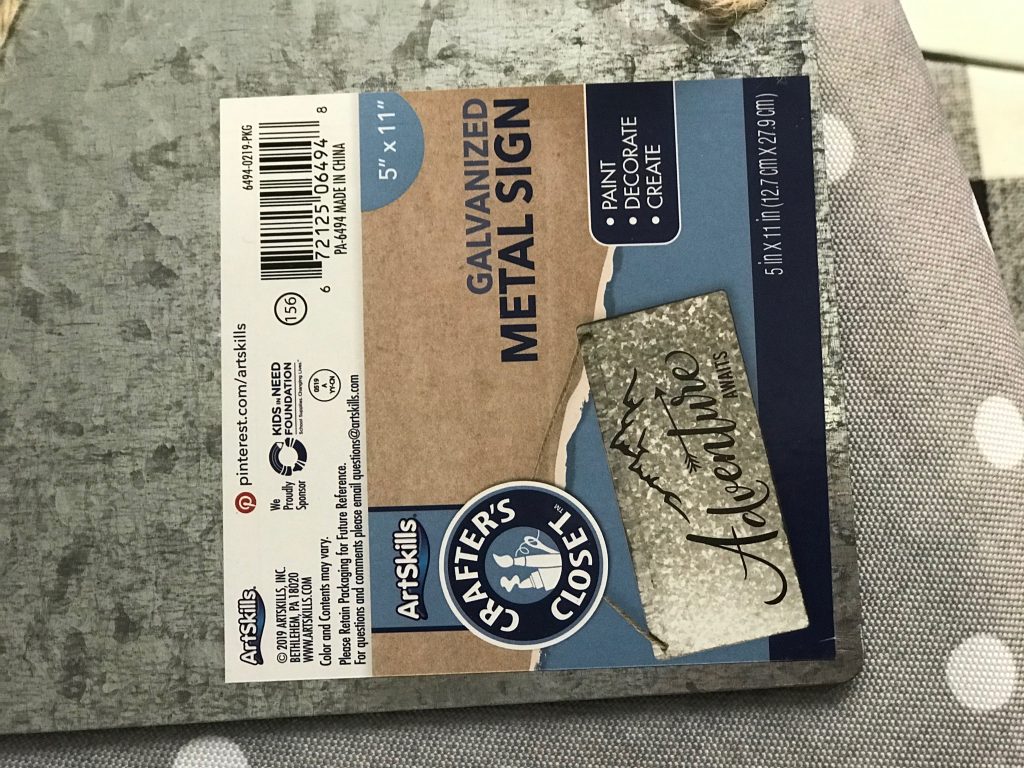
I decided that to spruce it up a bit, I wanted to add beads to the twine! Only 1 problem…the twine was too thick for my beads. NOT an issue, though.
I simply took the twine off and used some cotton twine instead! It worked perfectly.
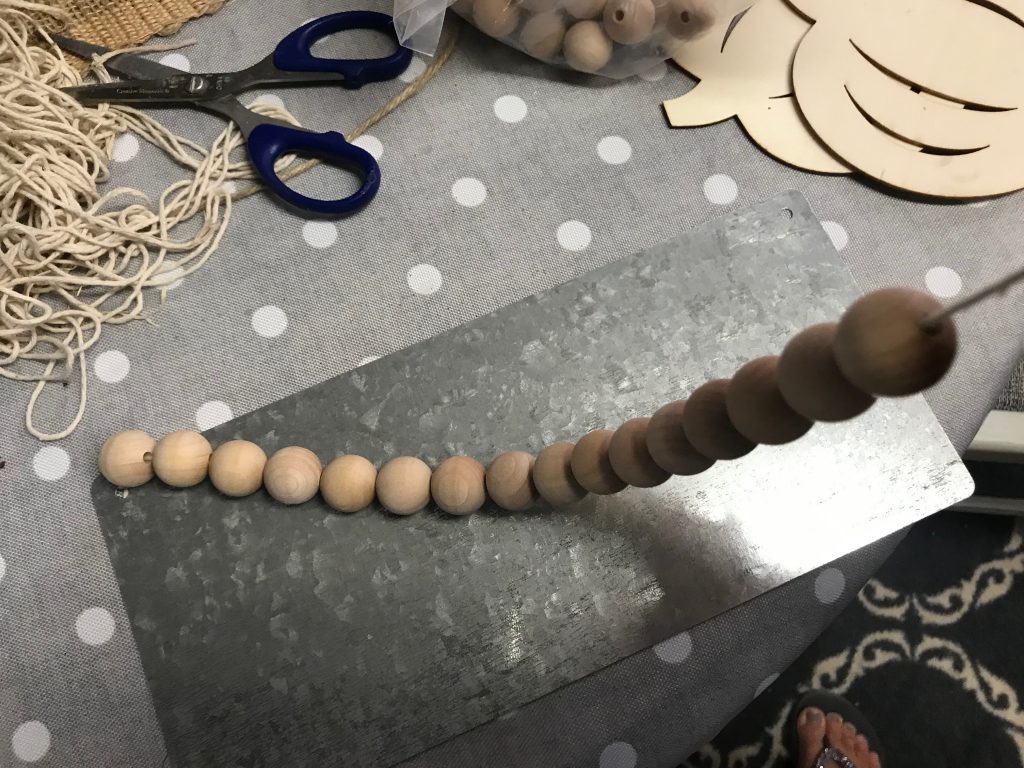
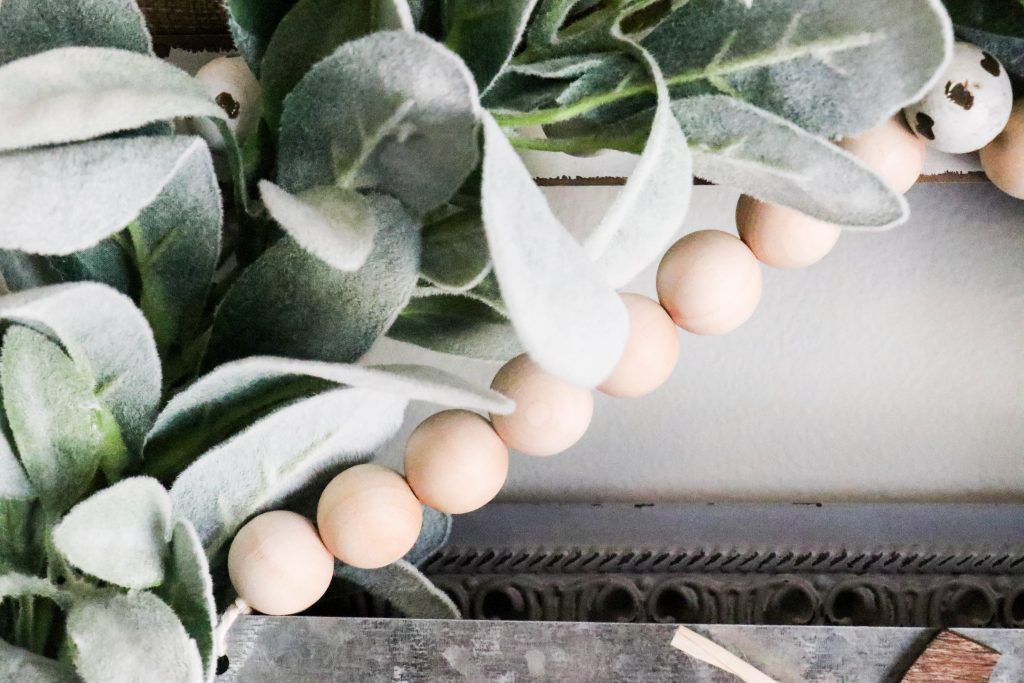
So, I simply threaded the beads through the cotton twine until I had my full hanger!
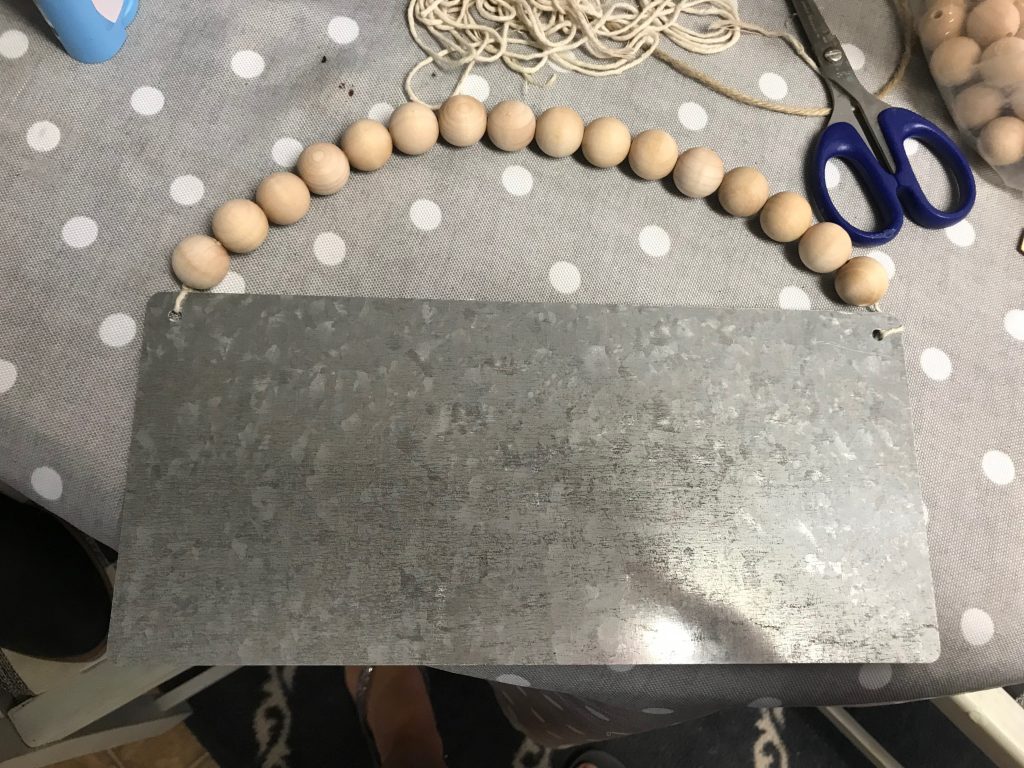
It was already looking soooo cute.
Now, I decided I was going to take my pumpkin and add some stain to it, to give it a farmhouse look/feel!
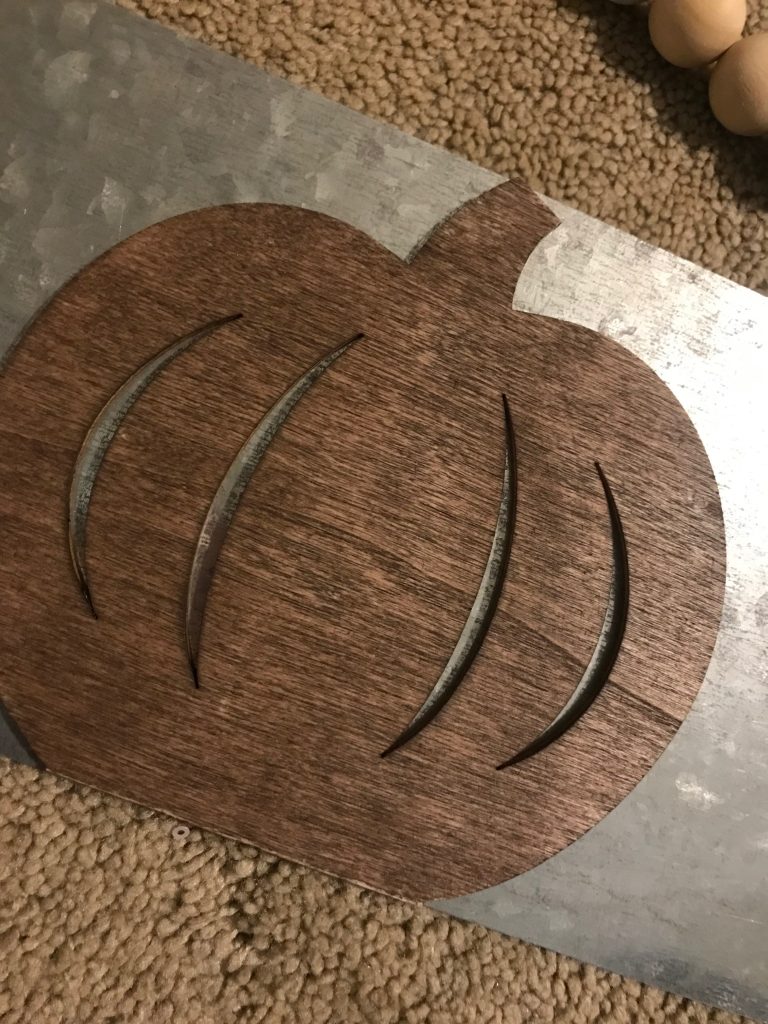
I used my fave Minwax gel stain- WALNUT! (*affiliate link)
I simply wiped it on with an old rag and then wiped it off with that same rag in a different spot. It covered amazingly well.
To spruce the pumpkin up a tiny bit, I added a small raffia bow. I attached the bow to the pumpkin and then hot glued the pumpkin to the sign!
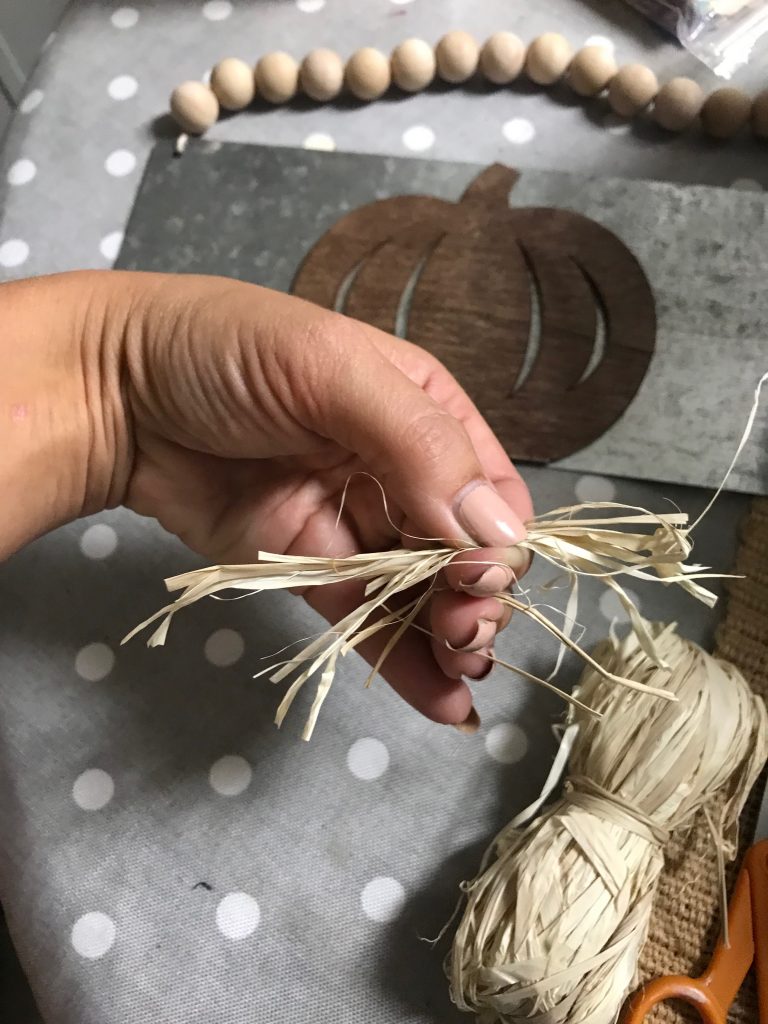
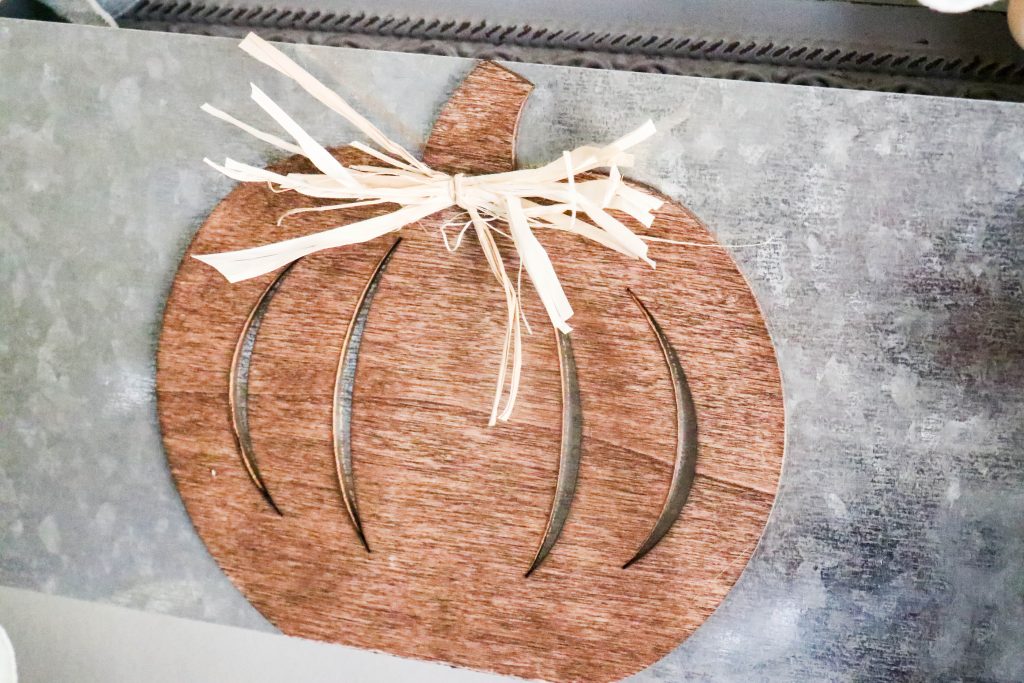
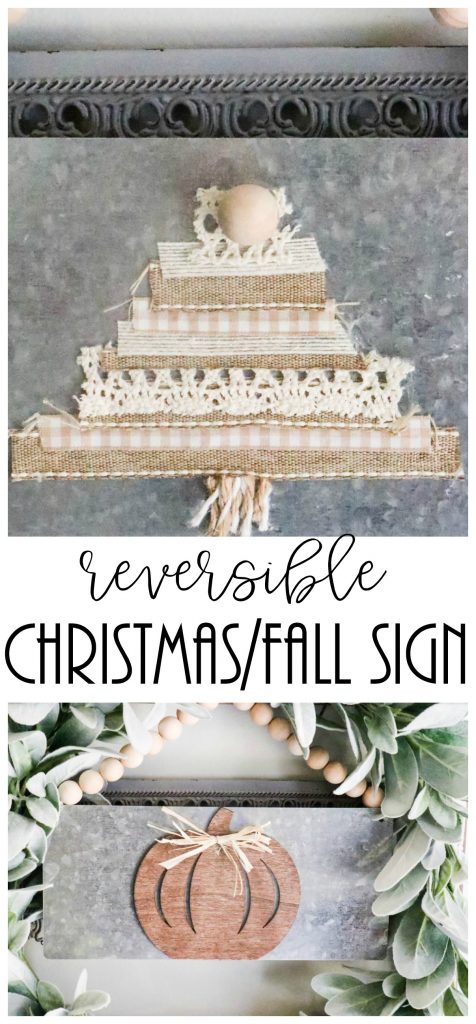
SO, let’s see how this FALL part of the sign turned out!!!
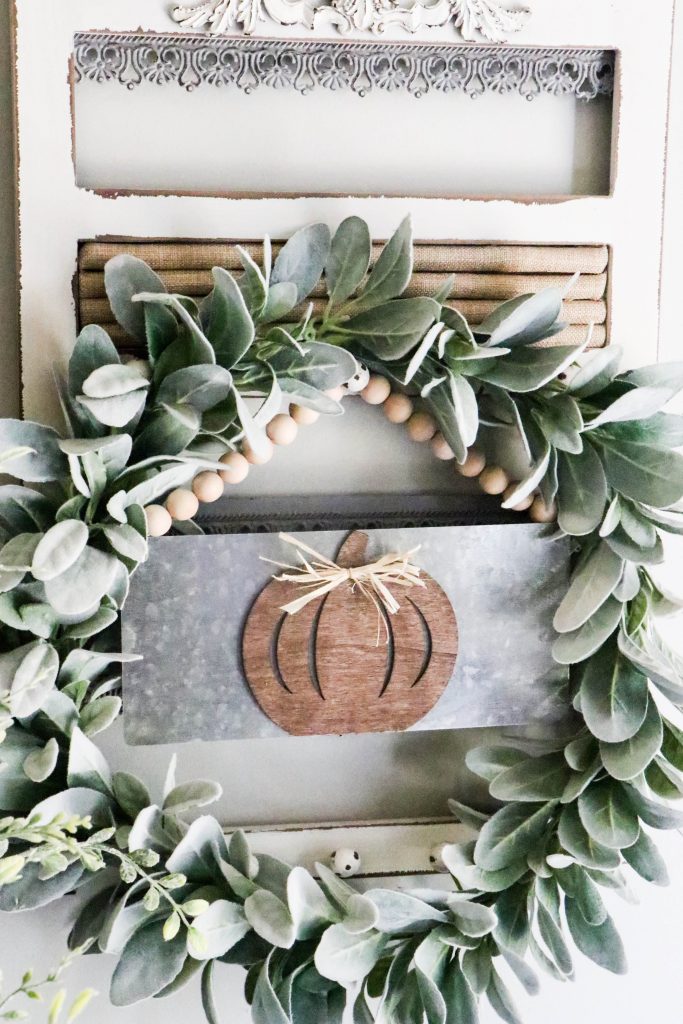
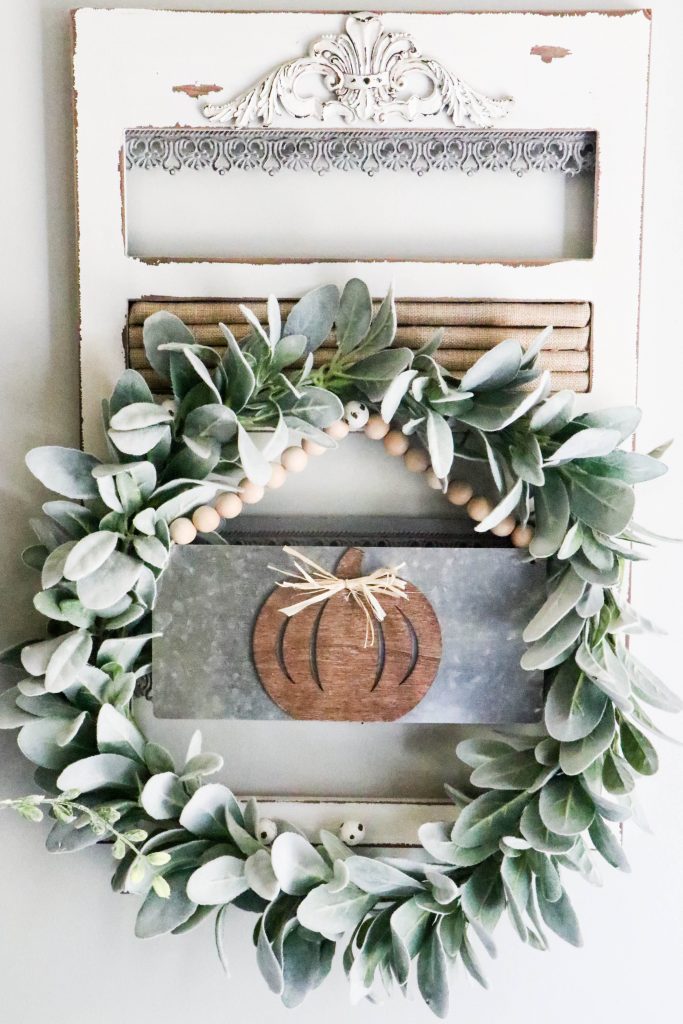
At FIRST, this was all I was going to do. BUT, when I turned the sign over, I realized the back looked identical to the front, and you could not tell the difference. Sometimes that isn’t the case!
SO, I did what any good crafter would do. I decided to do another sign- A CHRISTMAS sign!
So, let’s go over how I did this side!
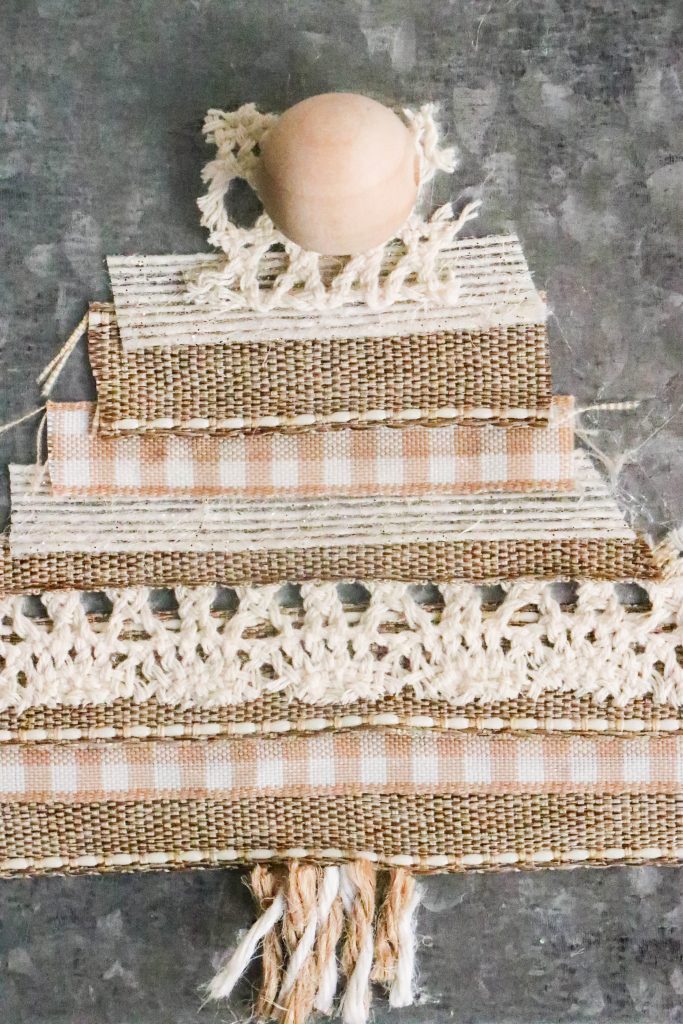
I took several pieces of neutral ribbon that I had on hand and cut them into different sized strips.
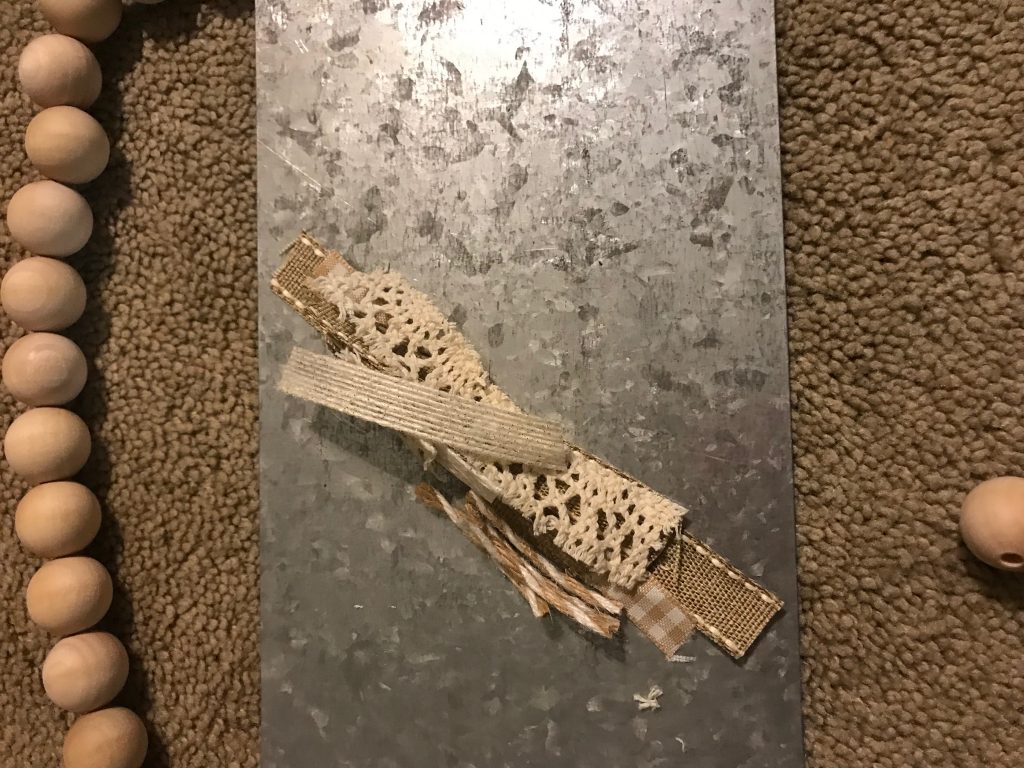
I put the longest at the bottom and worked my way up until I had the shape of a “tree”. I added a little bead at the top for good measure!
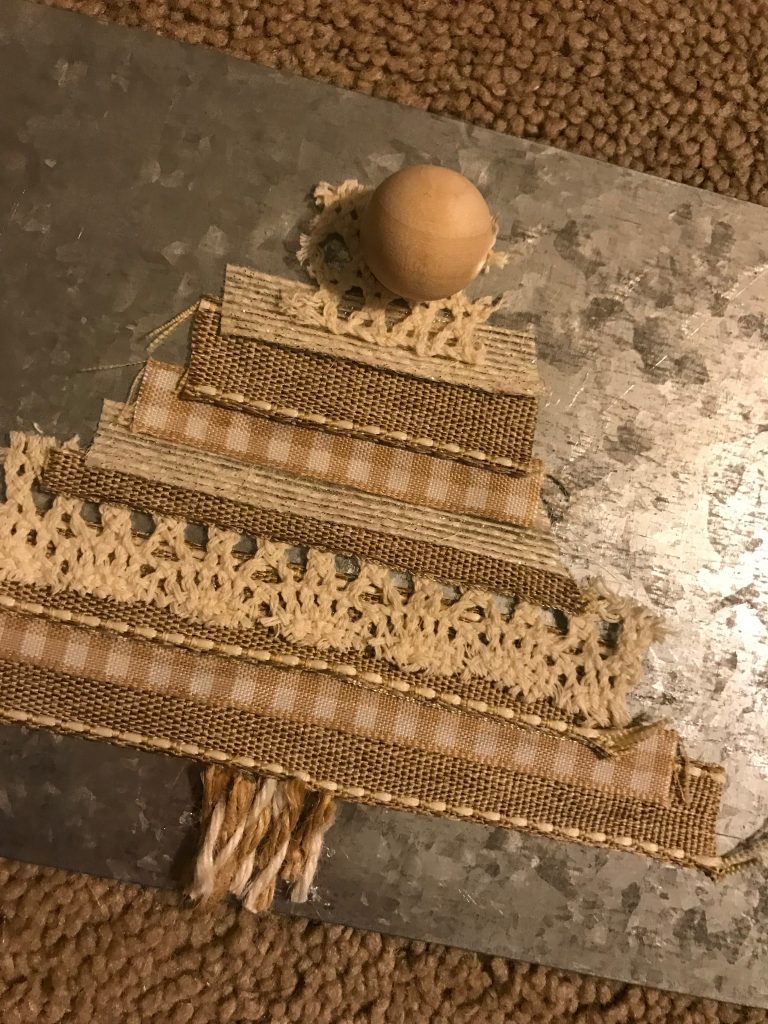
This is sooo easy!
Now, let’s see the CHRISTMAS side!
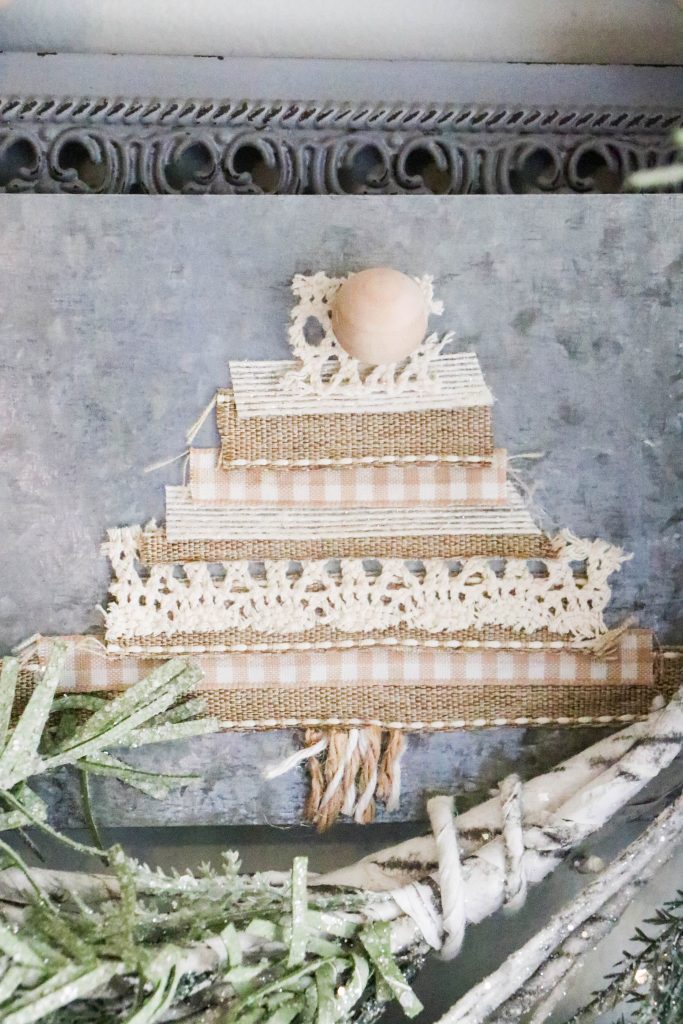
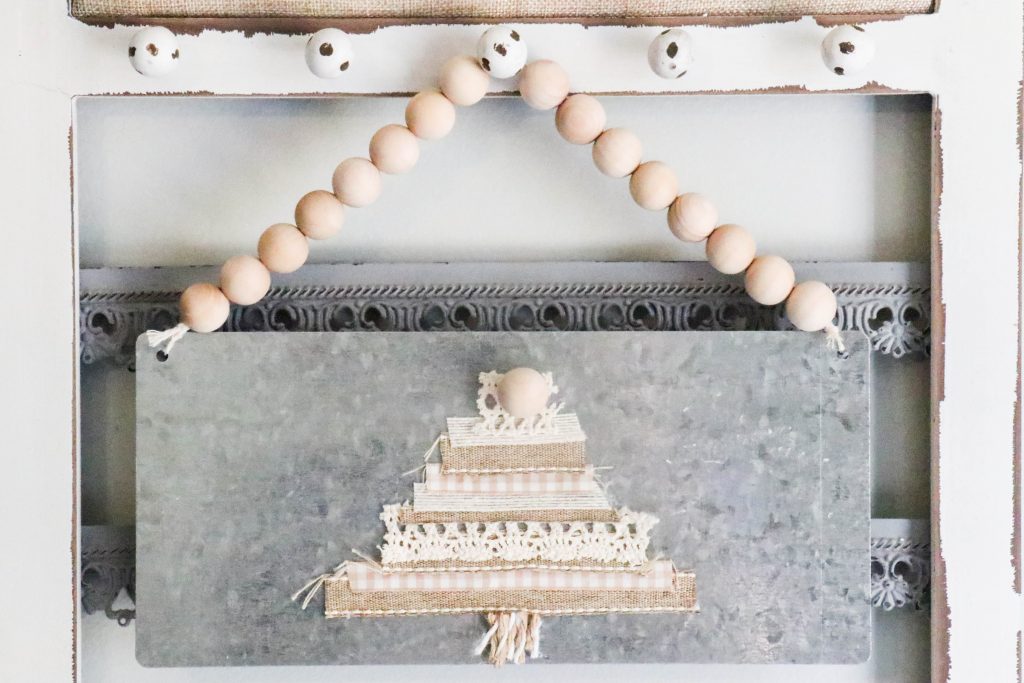
Do you love this project as much as I do????? If you DO, would you mind sharing it on Facebook or Pinterest?!?!?!! That would be AMAZING!!!
PIN FOR LATER!
Make sure you are following on Social Media!
Facebook/Instagram/Pinterest/Email
Last Updated on November 4, 2020




Love this two for one craft ! It can stay up from September to January!