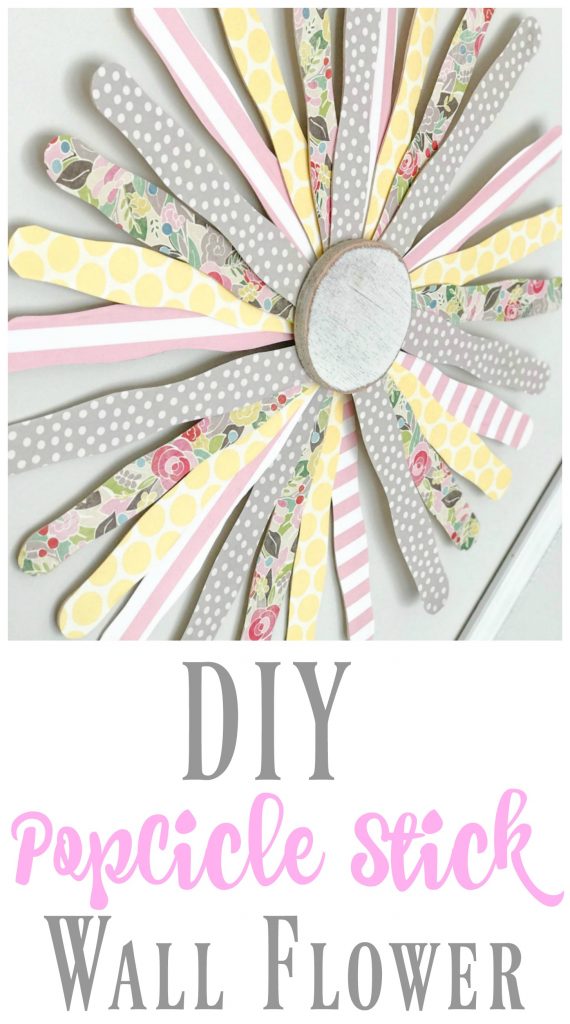
The other day, as I was in Michael’s doing a little shopping for a home I am decorating soon, I had an idea. It kind of came out of nowhere. I passed a pack of wavvy Popsicle sticks, and I immediately saw flower petals! Anyone else do this kind of thing? Like, I do this stuff all the time! I guess it is just part of that creative mind, and you just never know when your next idea might hit ya. But anyway, I saw the Popsicle sticks and immediately knew that I wanted to make a DIY Popcicle Stick Wall Flower. My original idea and the end result are kind of different, because as you know- sometimes ideas don’t turn out exactly like what you had in mind.
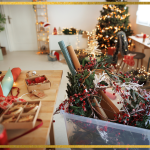
Here is what I gathered up for my DIY Popcicle Stick Wall Flower:

You may notice some plant stakes and a foam ball?
Well, those were bought for my original plan. I had planned to do a standing flower, but because of the size of my flower, I decided it worked MUCH better as a wall flower. The standing flower will come very soon though, because I definitely figured out my new plan 🙂
Supplies for a DIY Popcicle Stick Wall Flower
Jumbo Wavy Sticks
Mod Podge
Pencil
Scissors
Scrapbook Paper of your own choosing
*not pictured, but I used a hot glue gun to adhere the sticks, and I also used a wooden circle that I got from Michael’s for .99* I apologize that they are not pictured. Sometimes I get carried away and forget what I am doing! 😉
So, here is what I did!
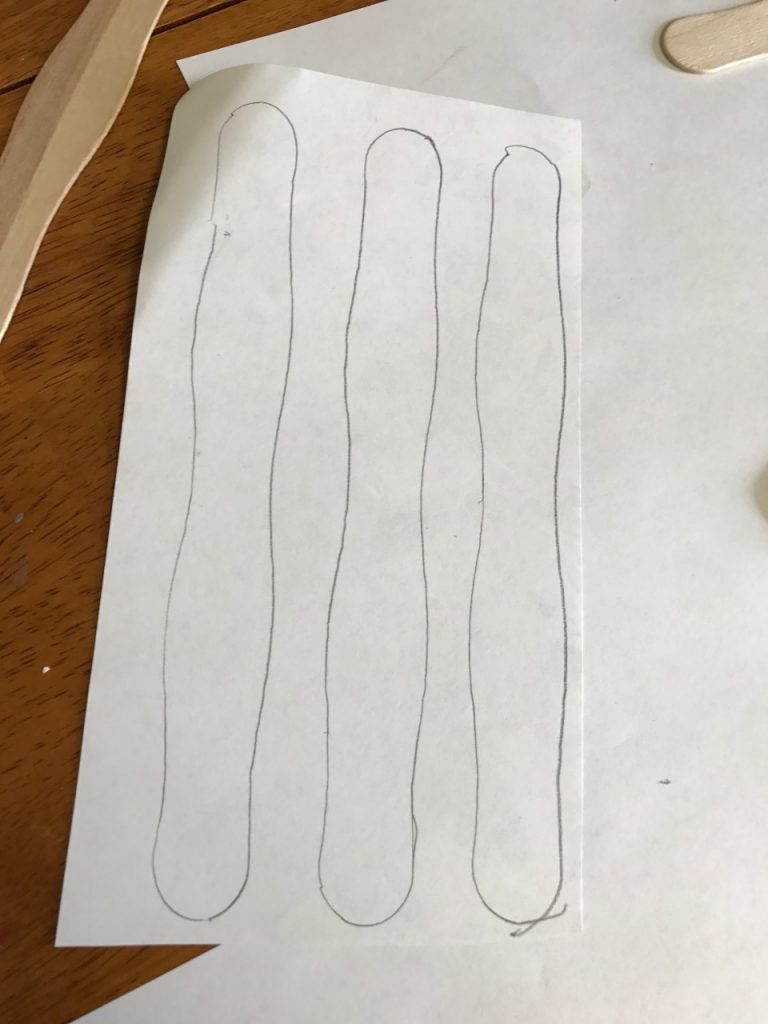
I took my 4 different pieces of scrapbook paper, and I traced a stick several different times on each piece.
Aren’t these papers gorgeous??

I am not the best tracer, but you get the point.
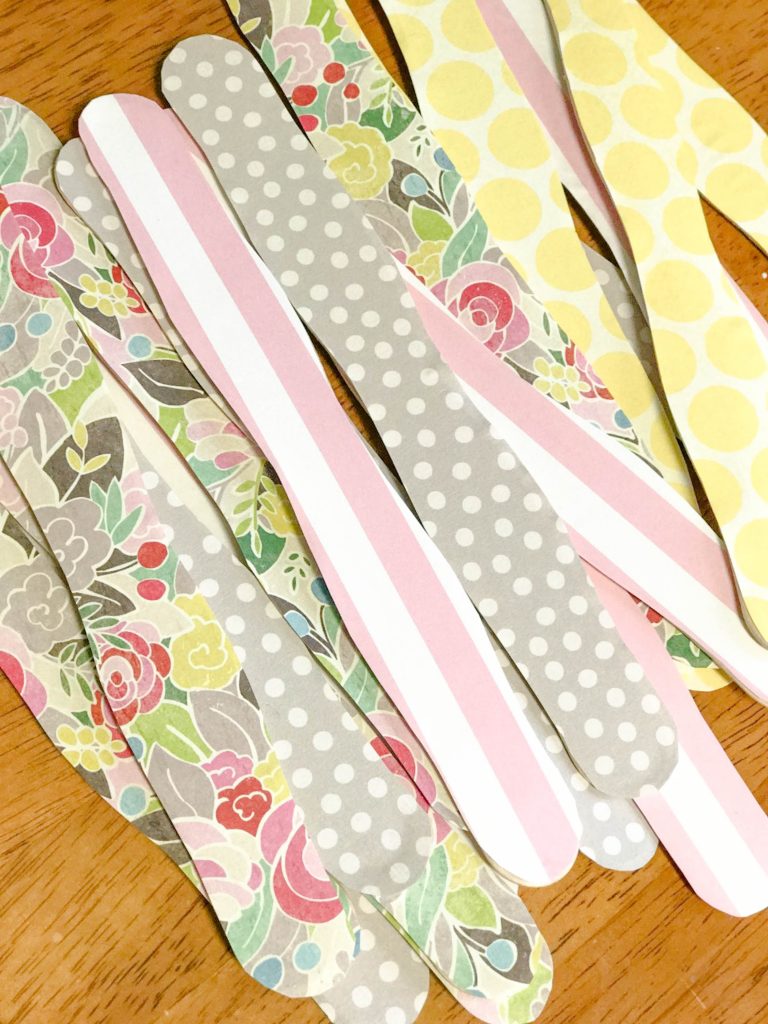
So, after I traced all of the sticks, I started cutting each one out. It takes a few minutes, but the end result is worth it!
When each one was cut, I took the mod podge and adhered it to the stick with a small paint brush (no pic! sorry!), and then I placed my cut out paper on top of the mod podged stick and pressed firmly and rubbed it down until it was smooth and all perfectly adhered to the stick!
This is what they looked like when I was done!
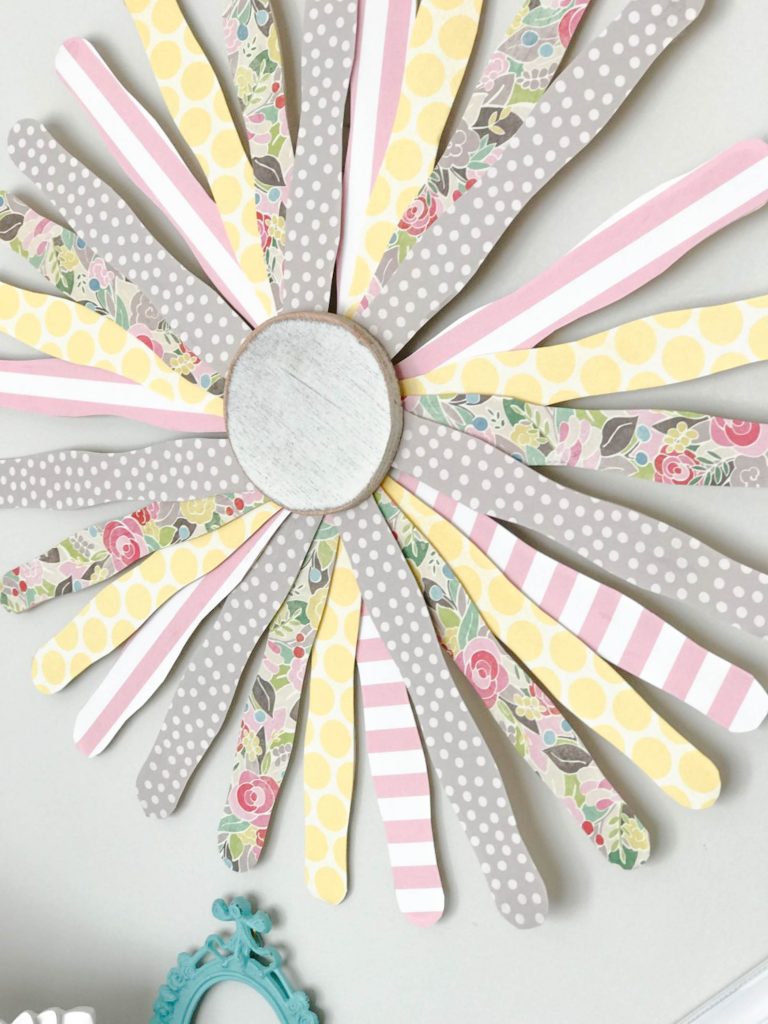
After they were all cut and covered, I got my wooden circle that I had on hand from a previous trip to Michael’s, and I took 4 of the sticks (1 of each design), and I fanned them together in the order I wanted to put them on my flower.
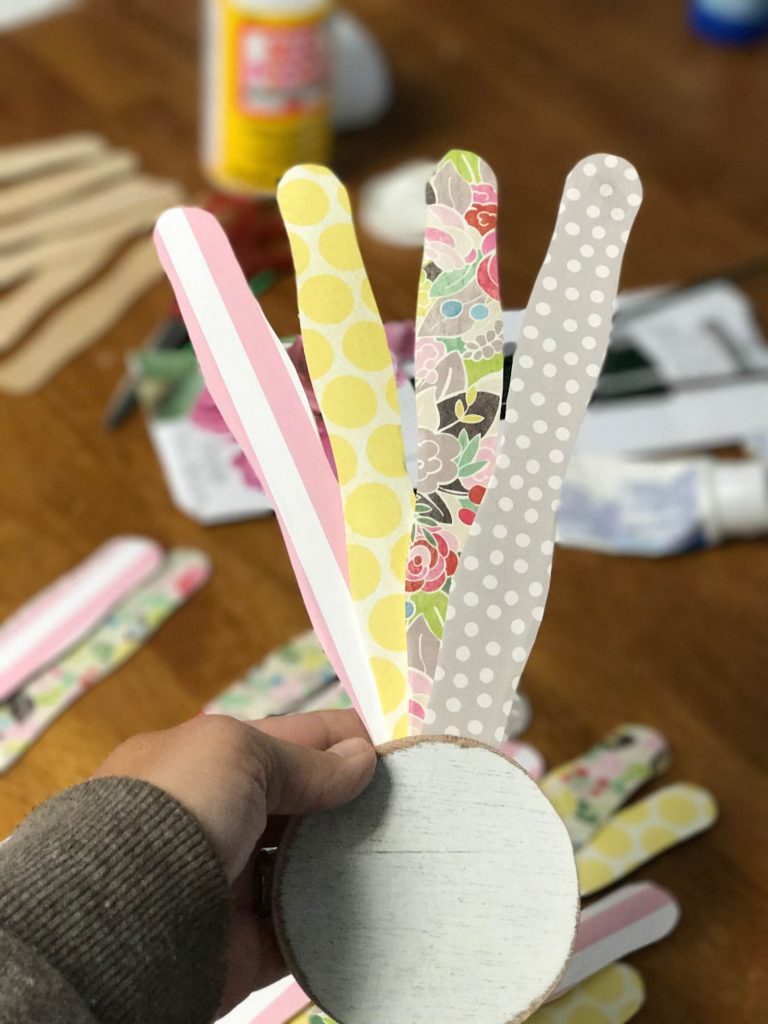
When I had them how I wanted them, I took my hot glue gun and glued each stick in place and then glued them as a whole to the back of the circle.
I did this process over and over until the flower was complete! SO easy. Be careful! That glue is HOT to trot!
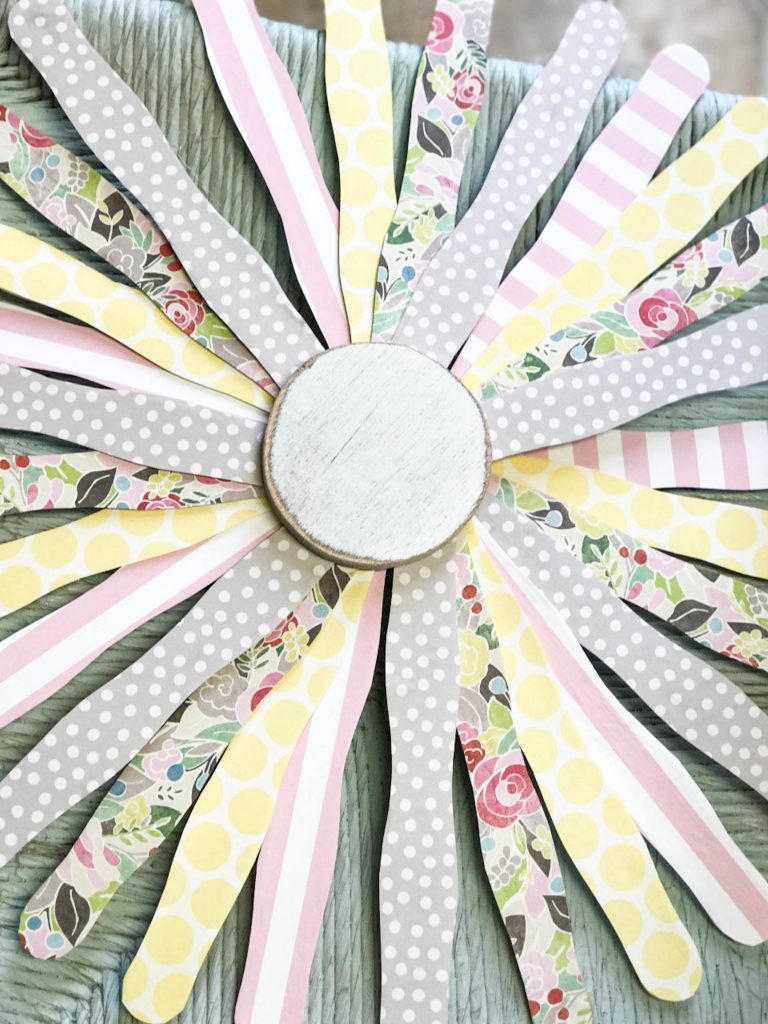
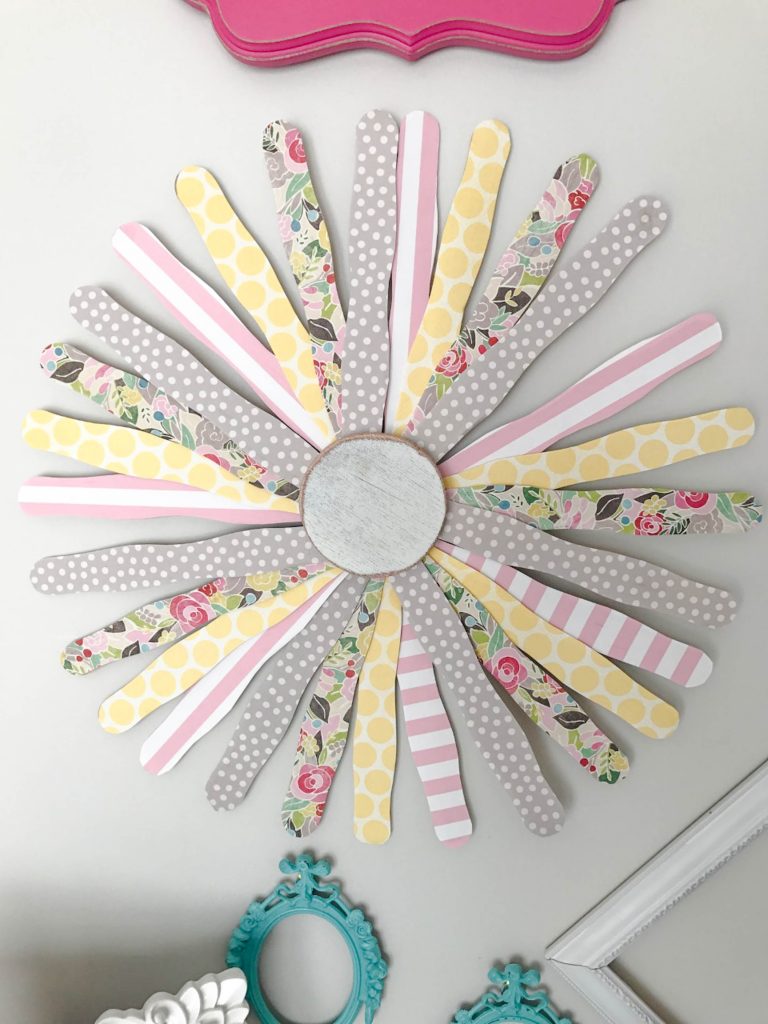
Since I wanted to hang this on my daughter’s wall, I used my hot glue to attach a saw tooth hanger onto the back. This flower is very light, so the hot glue holds up perfectly for this project.
And here is it on her wall! I wish I could show more of her and my son’s shared room while we are living here in our temporary home, but I just can’t. It is disastrous right now. Yikes.
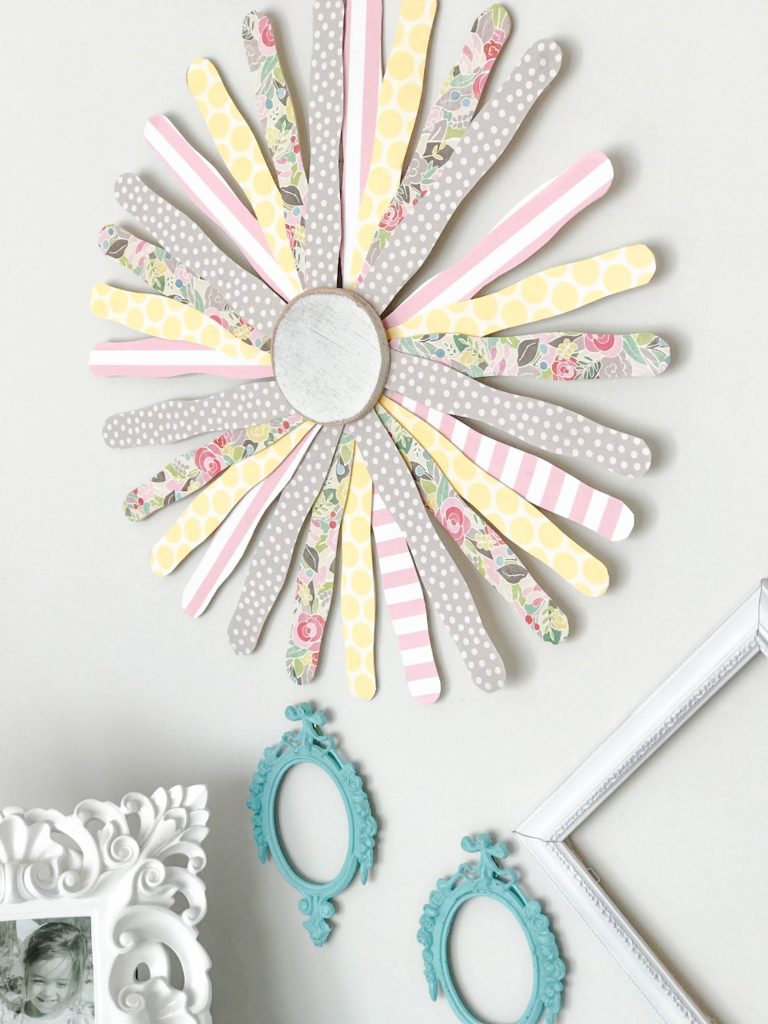

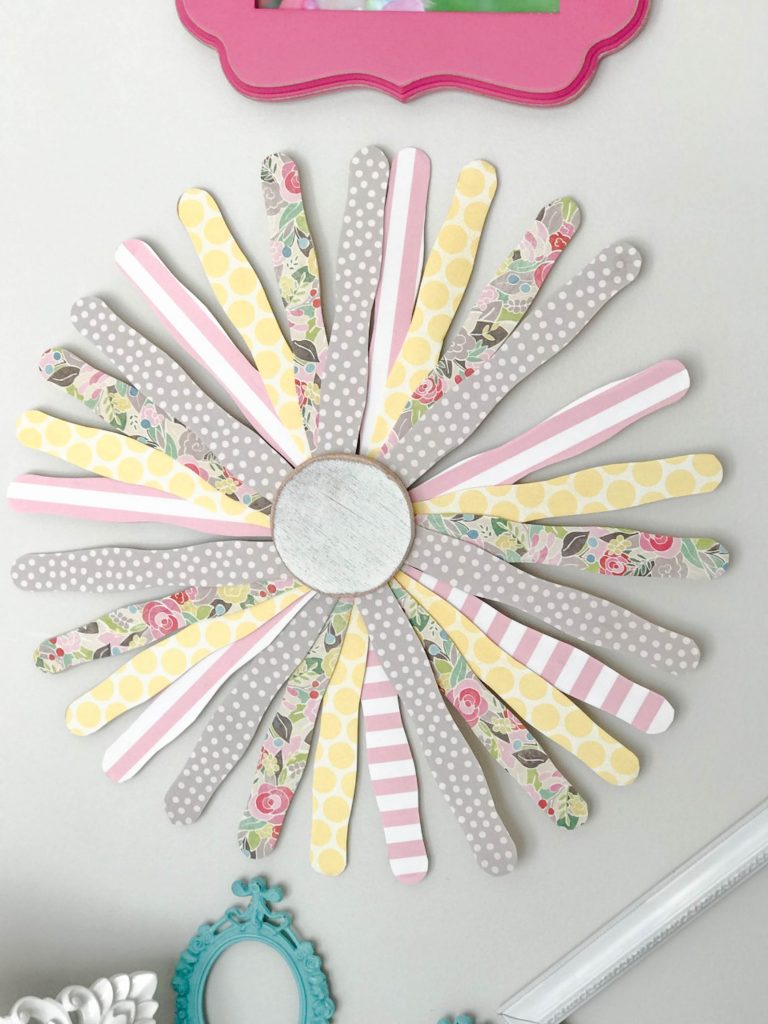
So, what do you think? Turned out pretty dang cute if you ask me! You can do so much with this, just mix and match different patterns and have fun! Wouldn’t it be cute to do a wall of flowers, all with different patterns?
Pin For Later!
Follow Along on Social Media!
Never Miss a NEW Post!
Last Updated on July 10, 2018


Adorable!
Love this!
This is so fun and creative! I will have to make one soon too! Love the colors!
What a fun summer craft! Love the papers you used.
Beautiful, you could also add a mirror in the middle.
Sure could!!!
Omgoodness…love love love it ☀️❤️
Love this so much that I made one like it. Hung it in m my craft room. It makes me happy!
I absolutely love this one. Loved it so much that I made one similar and it is hanging in my craft room! Great inspiration!!
This is an amazing idea from you AS USUAL ! You have the most creative mind Brooke !
Thank you so much for Sharron’s your creativity with all of us, Your a sweetheart !
How extremely creative. You show all of us how to “ look outside the box”. I try my best to get in your head and find that layer OUTSIDE the box!! Thank you for always being so inspiring.
Thank you so much, Christine! That means so much to me! ❤️