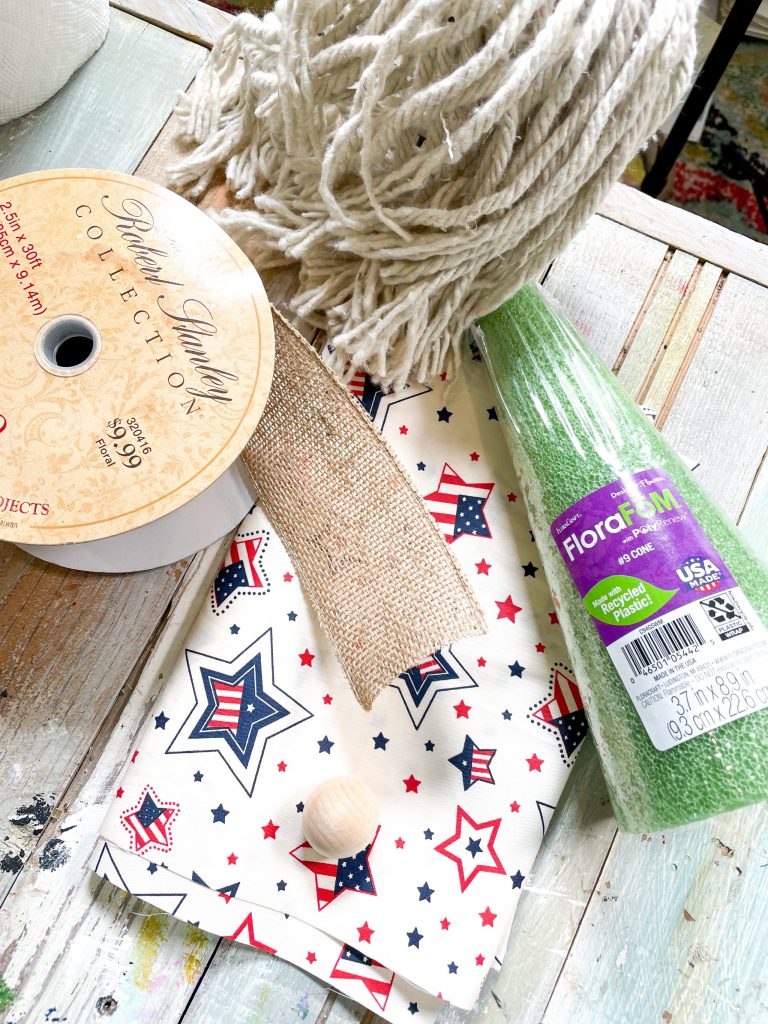
In all of my years of crafting, I had never made a PATRIOTIC gnome to add to the blog! I’ve made them for Halloween, St. Patricks Day, Christmas… but none to represent the red white and blue… so, I’m changing that today!
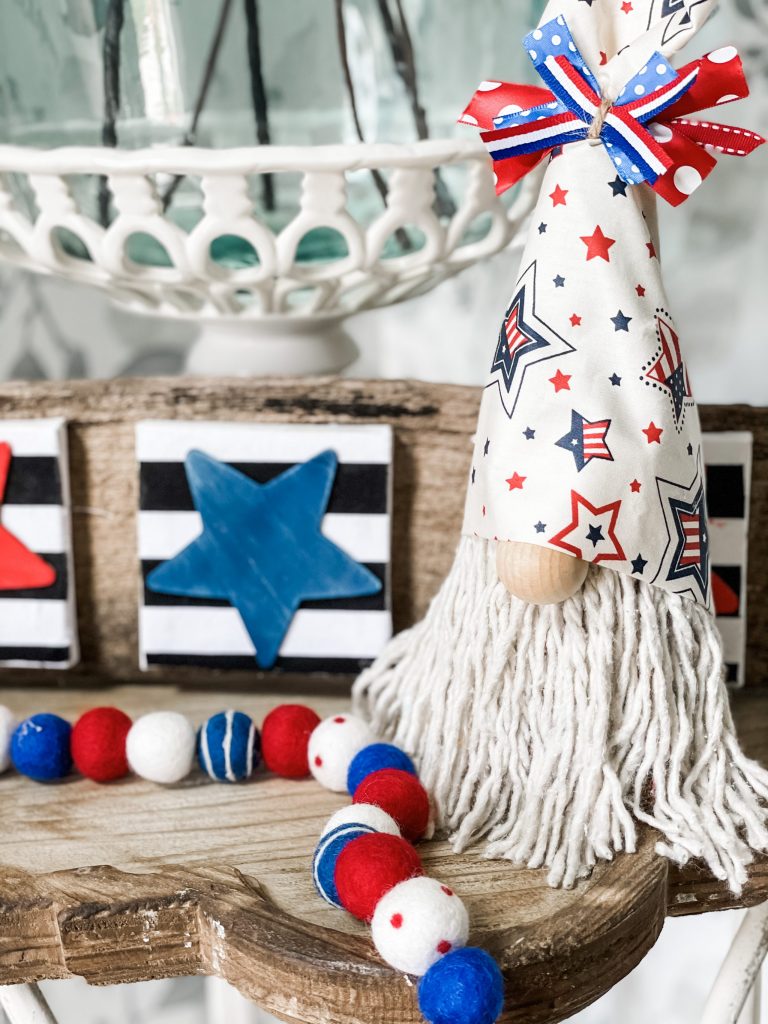
This diy gnome can be made for DIRT CHEAP, and let’s not mention how CUTE it ends up being!!!
what you’ll need…
*click on the bolded item to shop my affiliate link!*
- foam cone (can get from the dollar store)
- mop head (mine is from Dollar Tree)
- wood bead/blank “doll head”
- patriotic fabric
- burlap
- ribbon of choice
- scissors
- hot glue gun
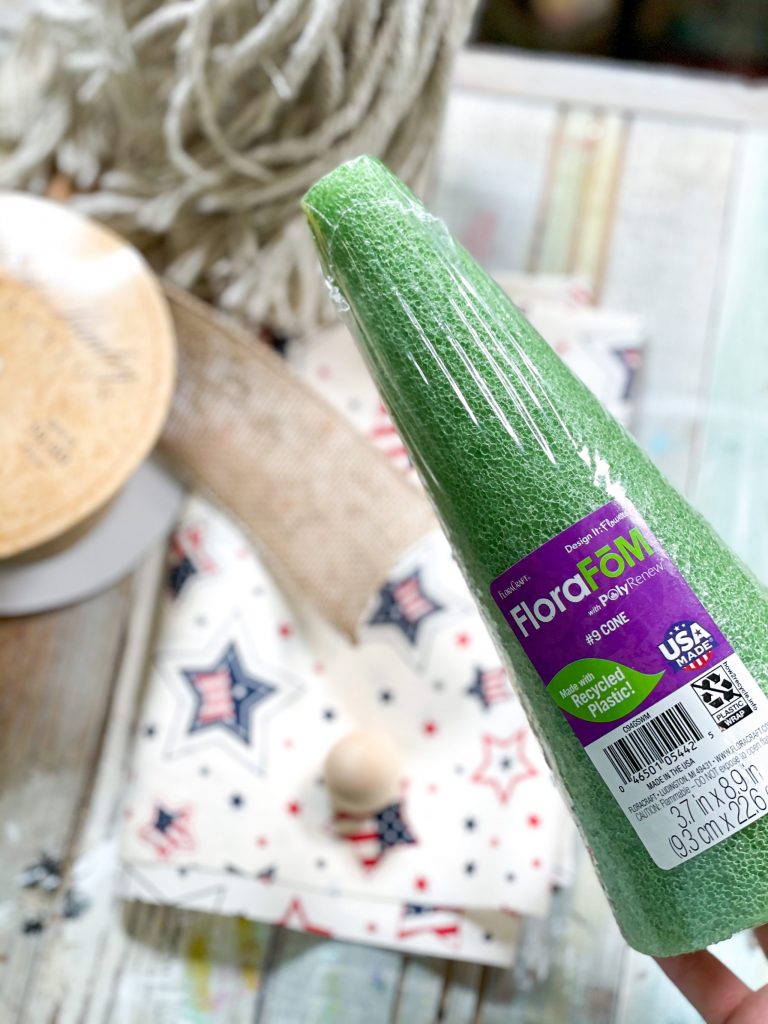
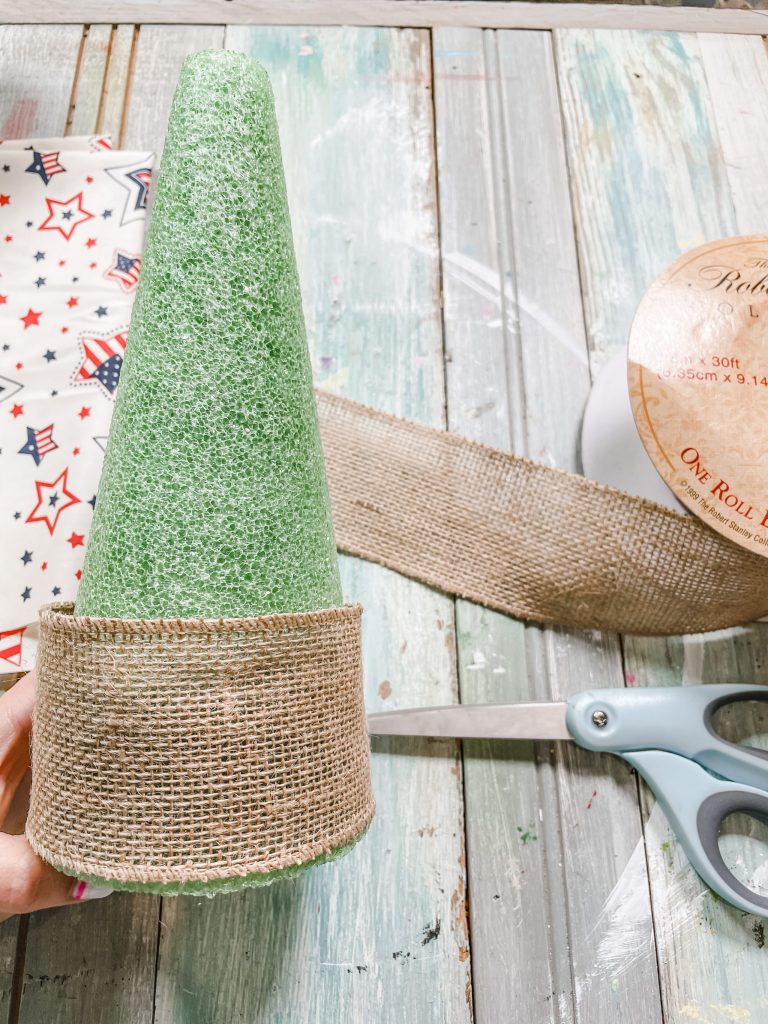
The star of the show today will be this foam cone! You can find them at the dollar store, Walmart, craft stores… basically anywhere!
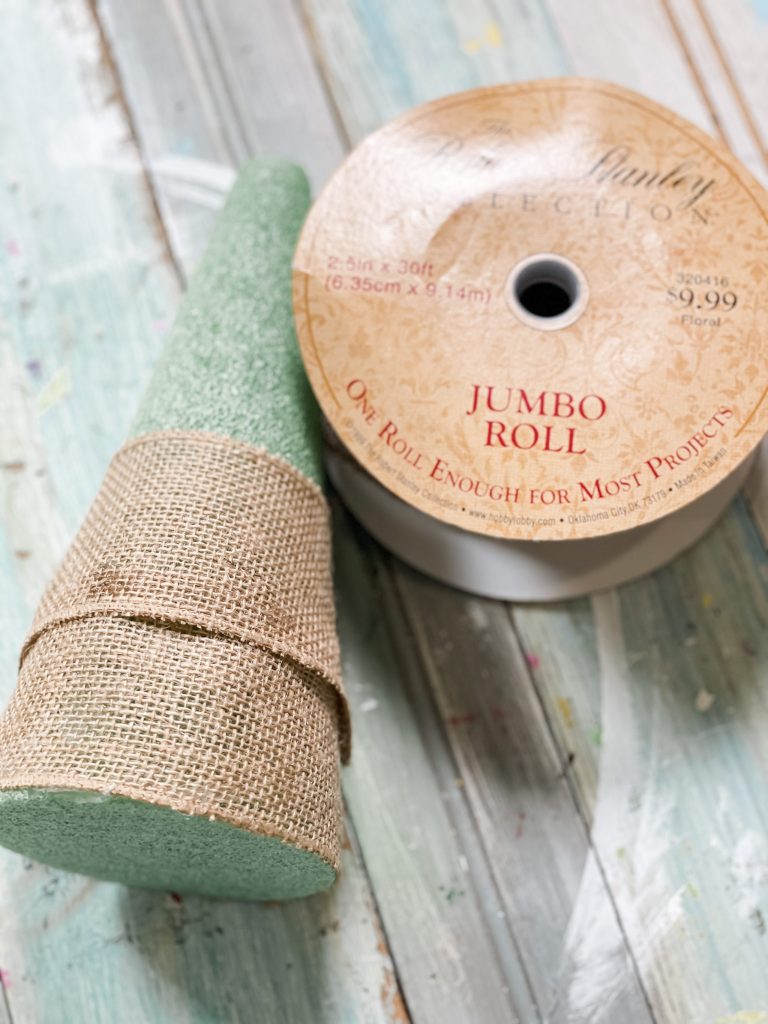
To start, all I did was wrap around some of my burlap. The only reason why this is necessary, is because I didn’t want any of the green foam to show through the beard… it will make more sense in the next few steps!
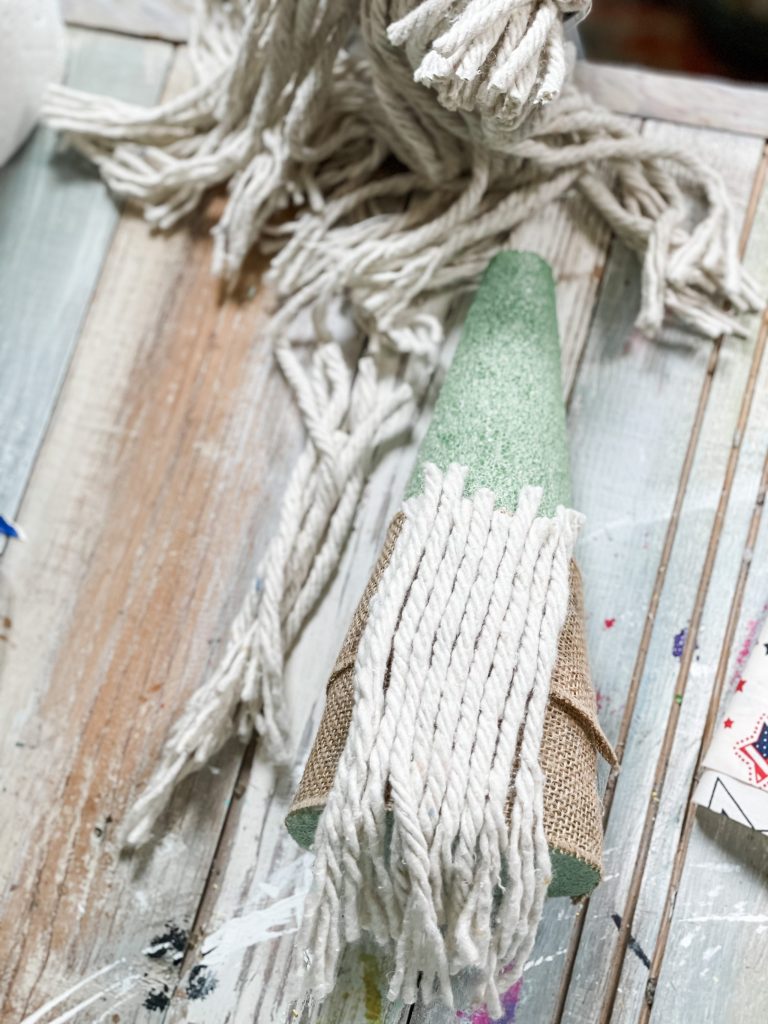
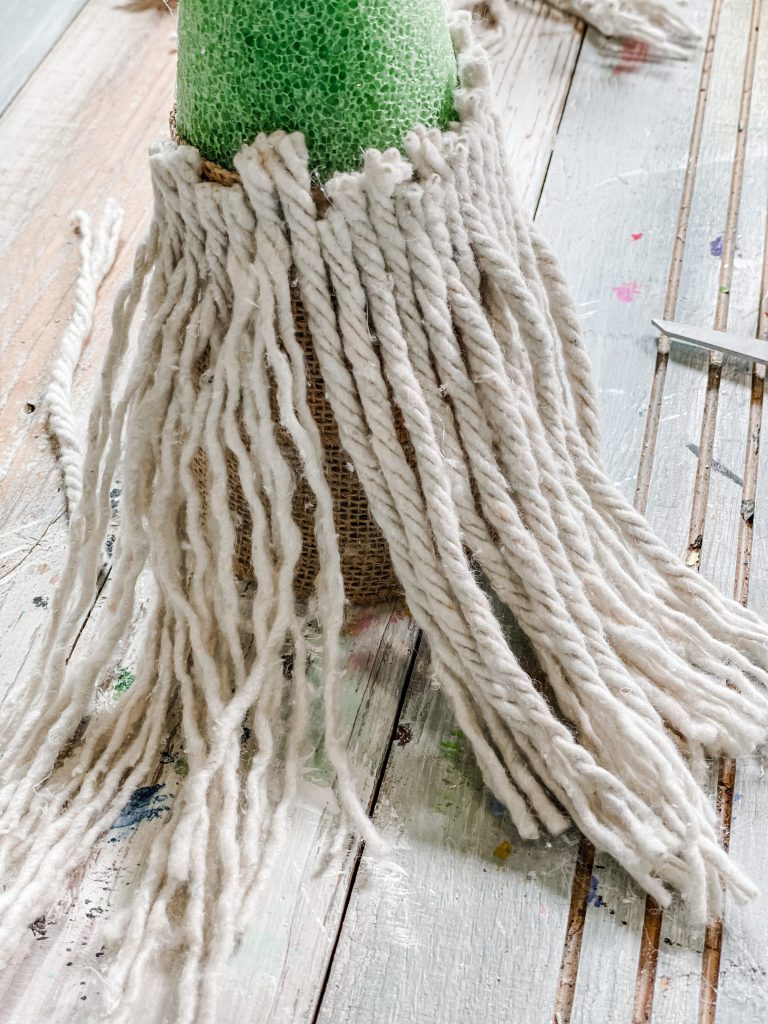
Now it’s time to make his beard! I bought a $1 MOP from the Dollar Tree, and cut off some of the pieces to form the beard! Don’t worry too much about how the ends are looking, because we’ll cover them up later!
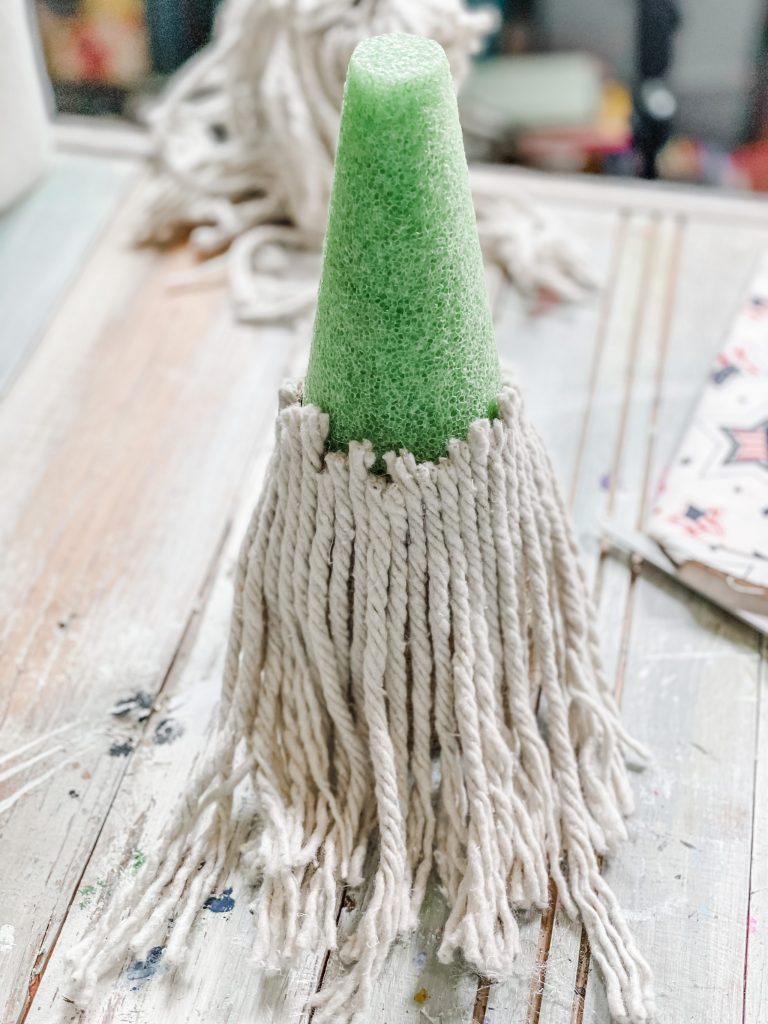
This part is up to you… use as much of the mop as you want! (You can kind of see what I was talking about earlier with the burlap- you can see through the strands, and I wanted to make sure the green wouldn’t show!)
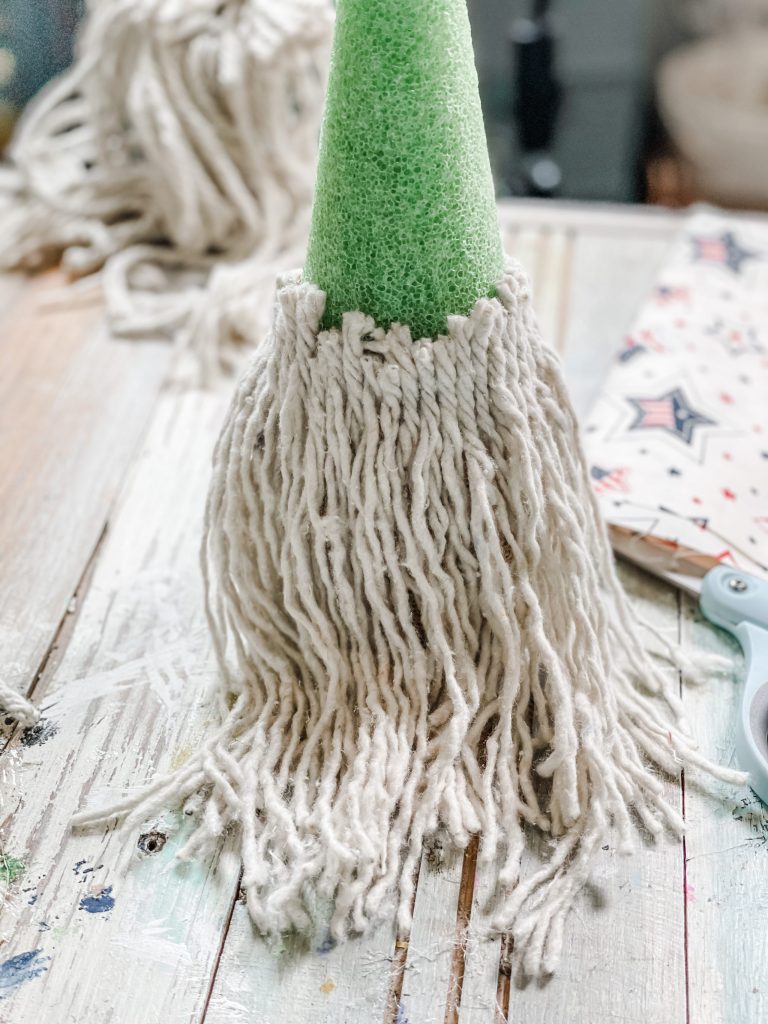
Here’s an optional (but recommended) step! I untwisted each mop strand to make his beard look nice and full! You could totally keep them how they originally are, but I thought he looked a little nicer with a combed out beard 😉
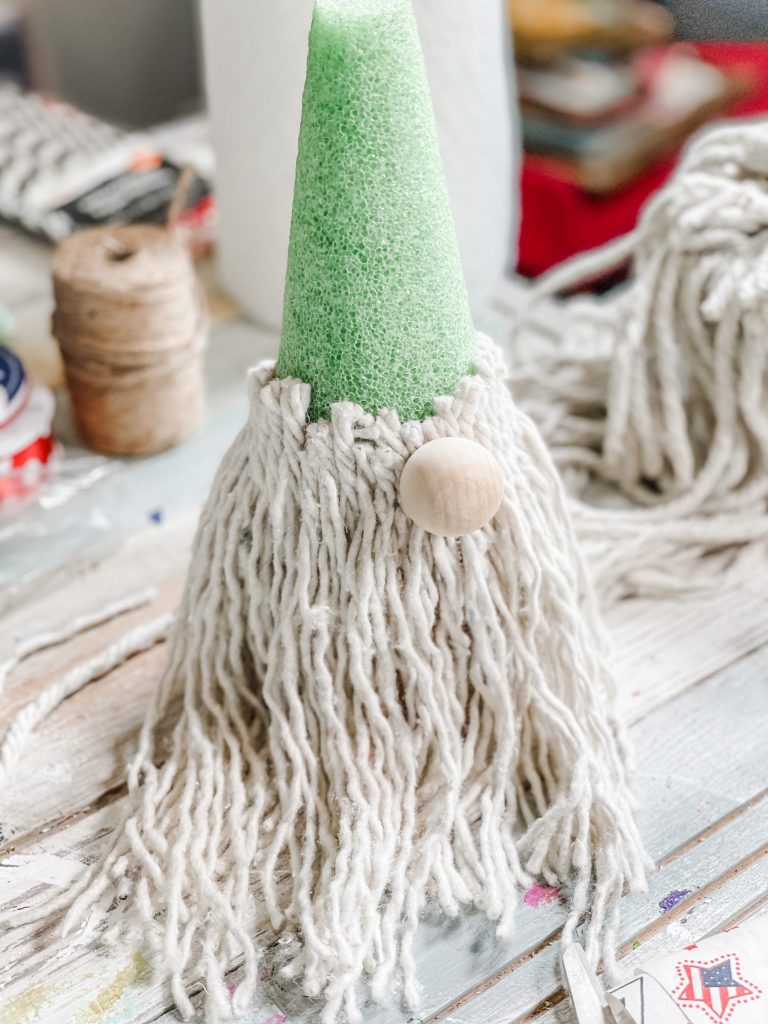
Go ahead and hot glue your wood bead on. He’s starting to look more like a gnome now!!
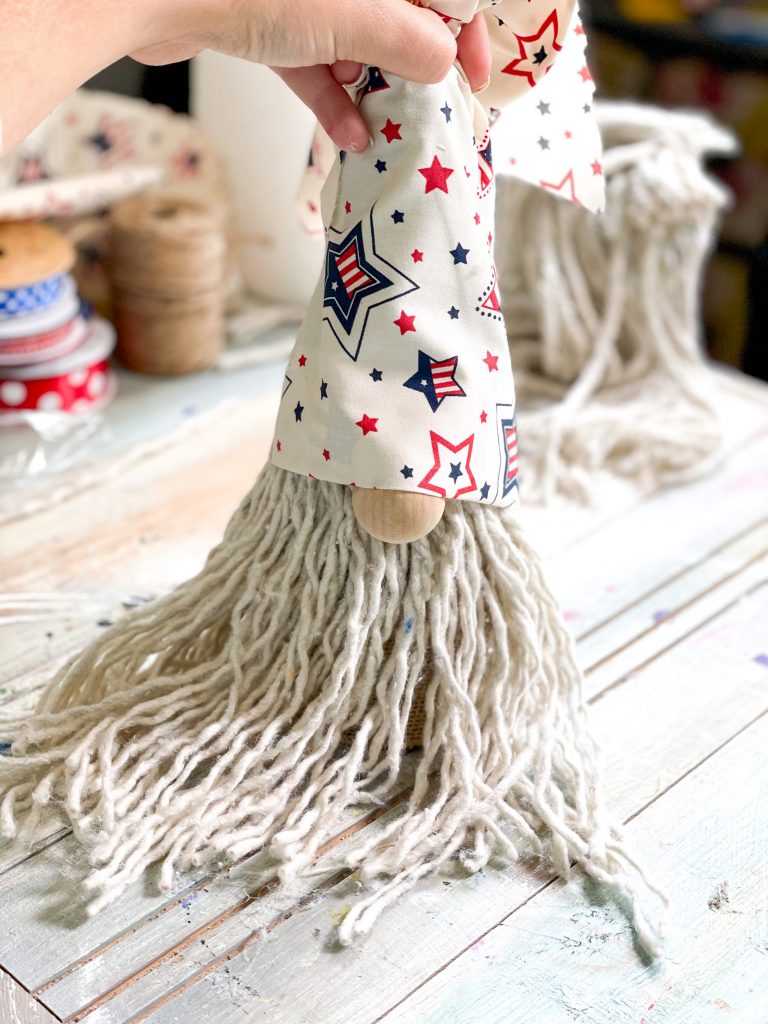
This step was a little hard to take photos of- but it’s very self explanatory! Just take whatever fabric you want, and simple wrap it around the cone. Make sure you cover a little bit of the nose!
All I did was hot glue the fabric around the cone, then bunched up the remaining fabric at the top.
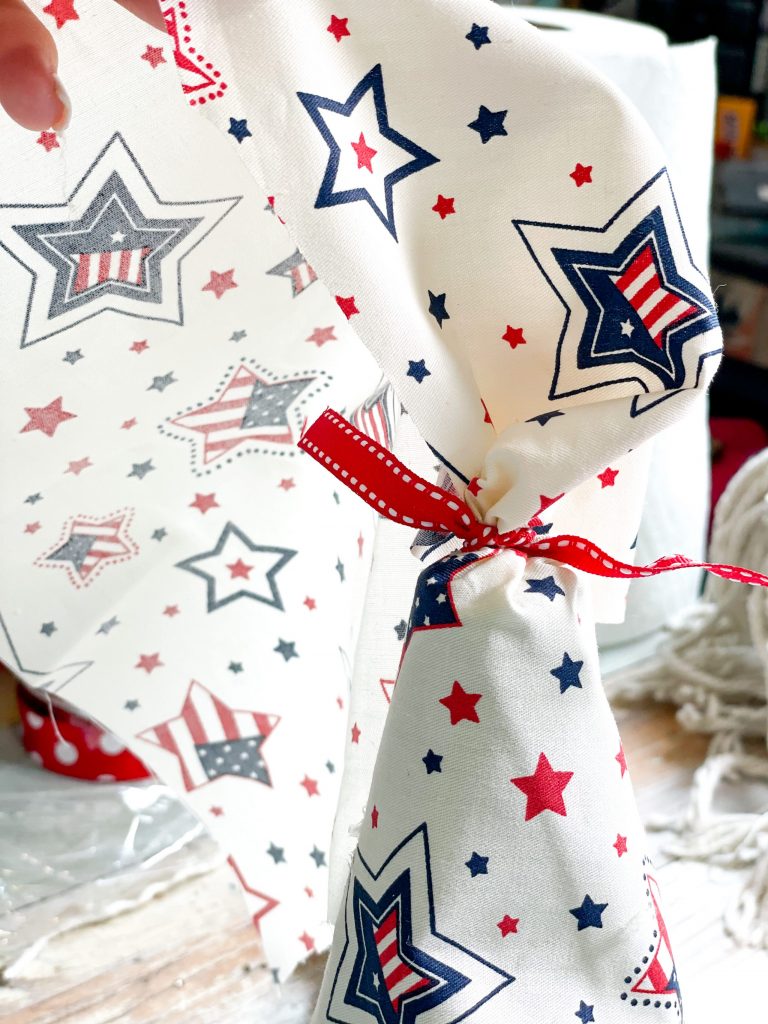
With that leftover fabric at the top, tie a ribbon around it and trim the excess!
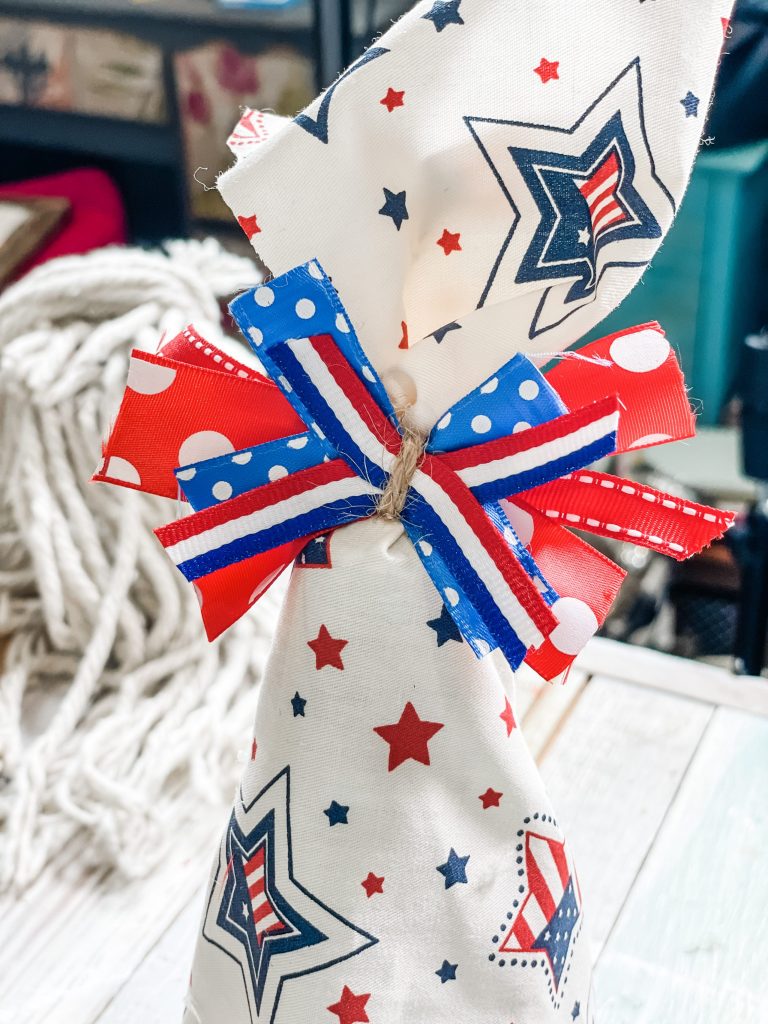
This bad boy wouldn’t be a true re-fabbed gnome without a re-fabbed bow!!! If you aren’t sure how to make this type of bow… no worries! Click HERE to see my tutorial! (it’s SUPER easy)
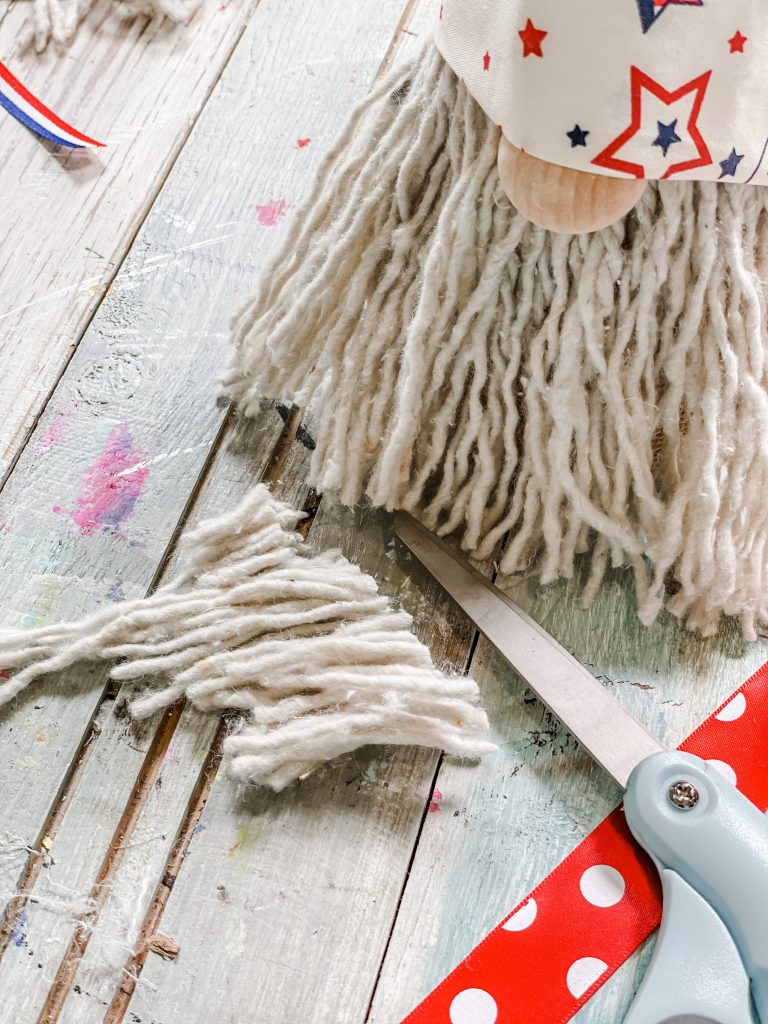
Here’s the very last step!!! Give his beard a nice trim so that all the pieces are even… and we’re DONE!!!
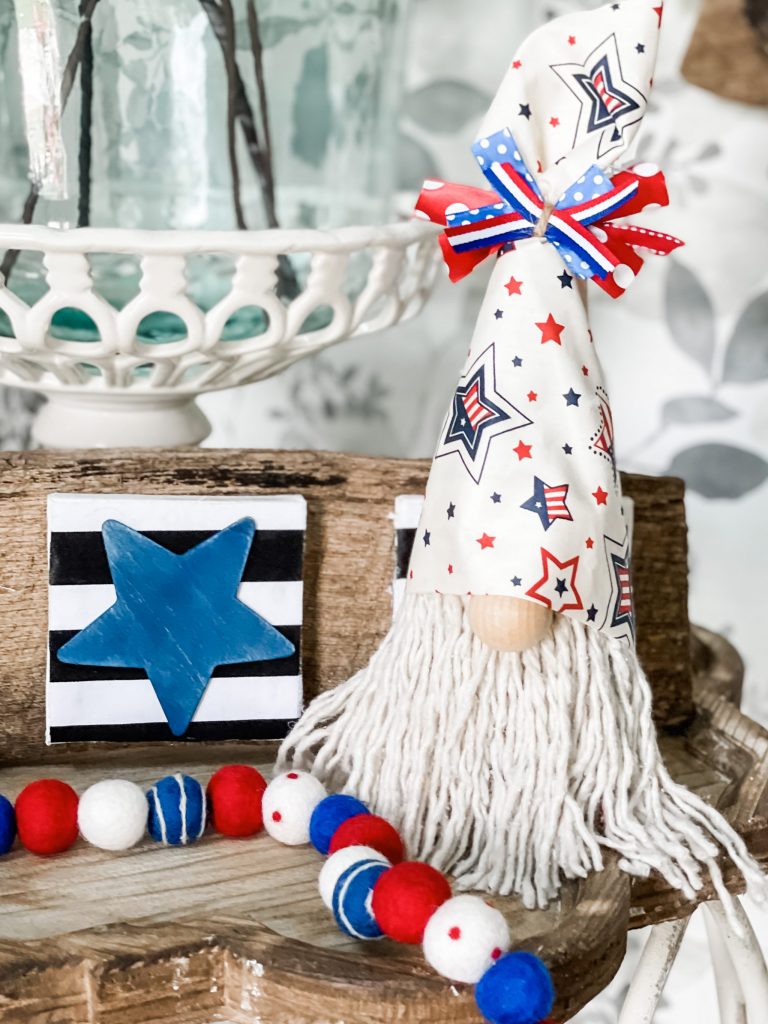
Is he not the most ADORABLE little guy you’ve ever seen?!!?
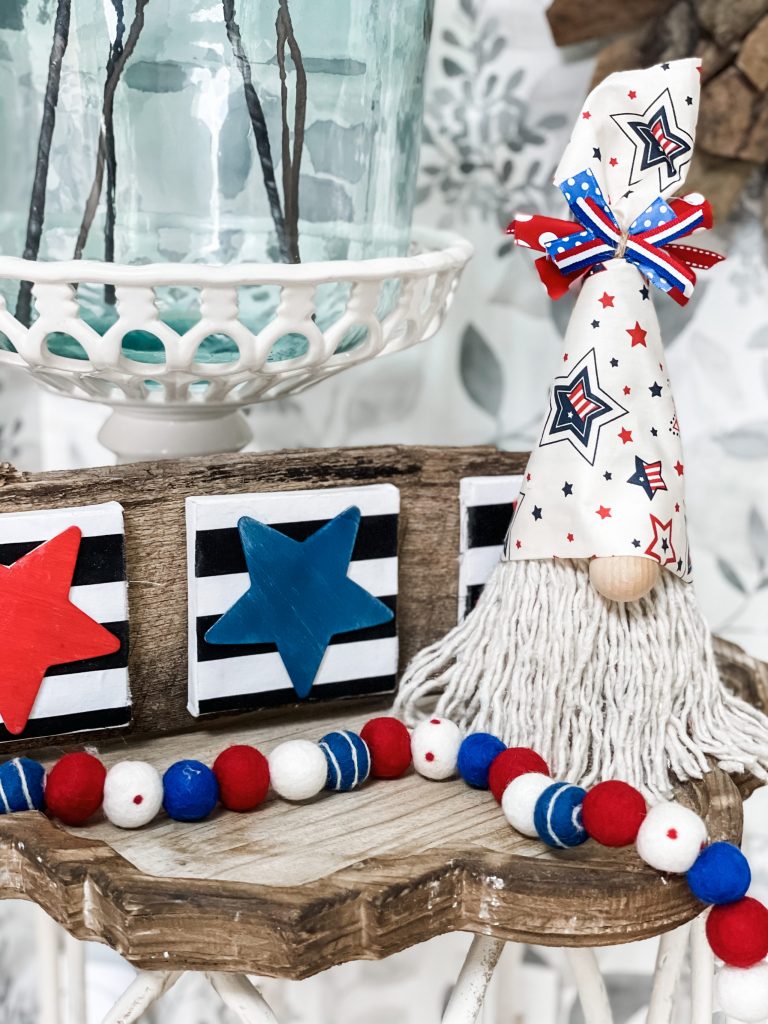
I hope you enjoyed this tutorial! It’s a super easy one that you can make on ANY budget… and for any holiday!
Check out the tutorial for the “stars and stripes” sign that is featured in the background HERE!
BE SURE TO PIN THIS!!!


Last Updated on May 28, 2021





Omg that’s adorable!
You did a real great job making him, I make him a different way, never seen him made like that, its a new way of making him, I love him. Thankyou
Brooke,
Thank you for sharing so much! I’ve always wanted to , but was afraid I couldn’t do crafting projects. I made a couple gnomes and they were alright, but thanks to your tip on untwisting the mop strands, what a difference. I also really enjoy when you share what God has laid on your heart. Such a blessing!