As you know, we are building our home! Well, that means that paint chips are a dime a dozen around these parts right now! LOL.
I have always been a big fan of what can be done with paint chips as far as DIY projects go, so it was super fun for me to be able to incorporate some into my latest Christmas project!
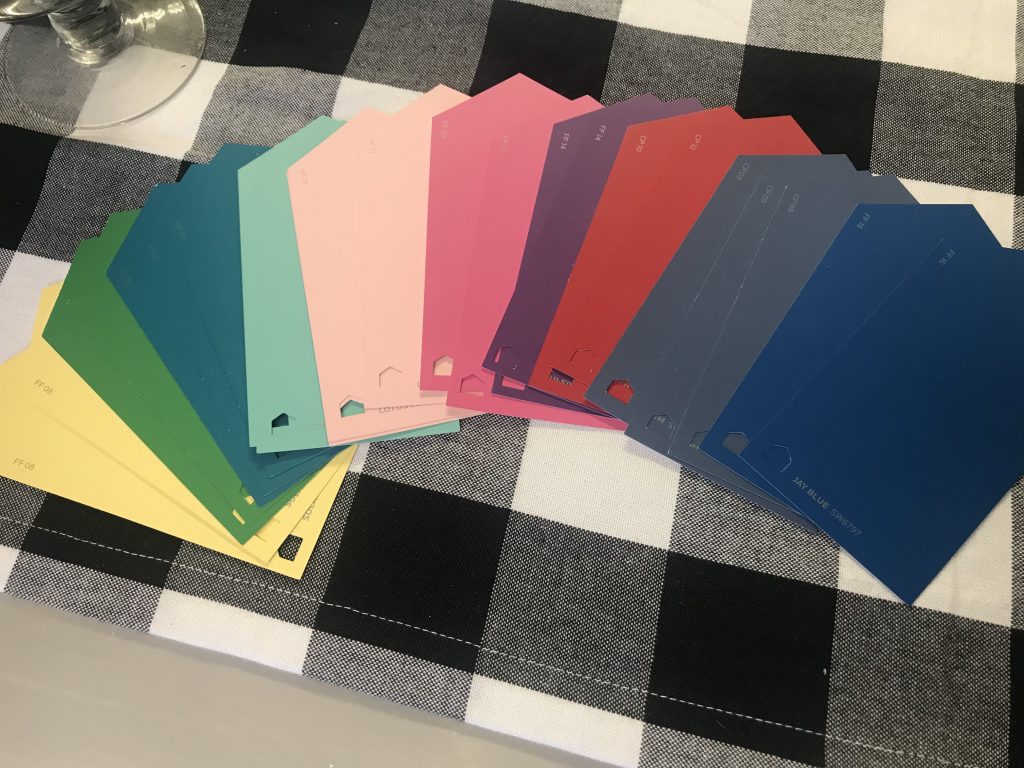
First, we went to Lowe’s and picked out some colorful paint chips that had ONE color per chip! This worked best for the look I was going for with this project!
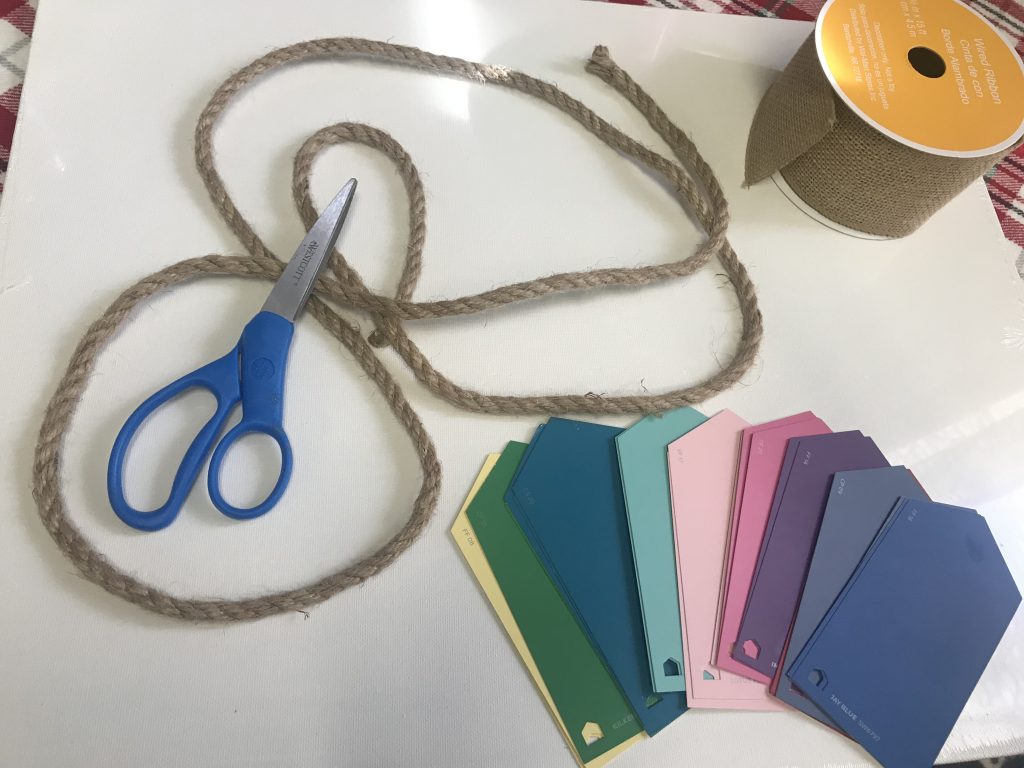
I had a large, flat canvas left over from another project, so I decided to use it for this specific project. It is 11×14. I gathered up some leftover rope (from the Dollar Tree), scissors and a roll of wired burlap ribbon.
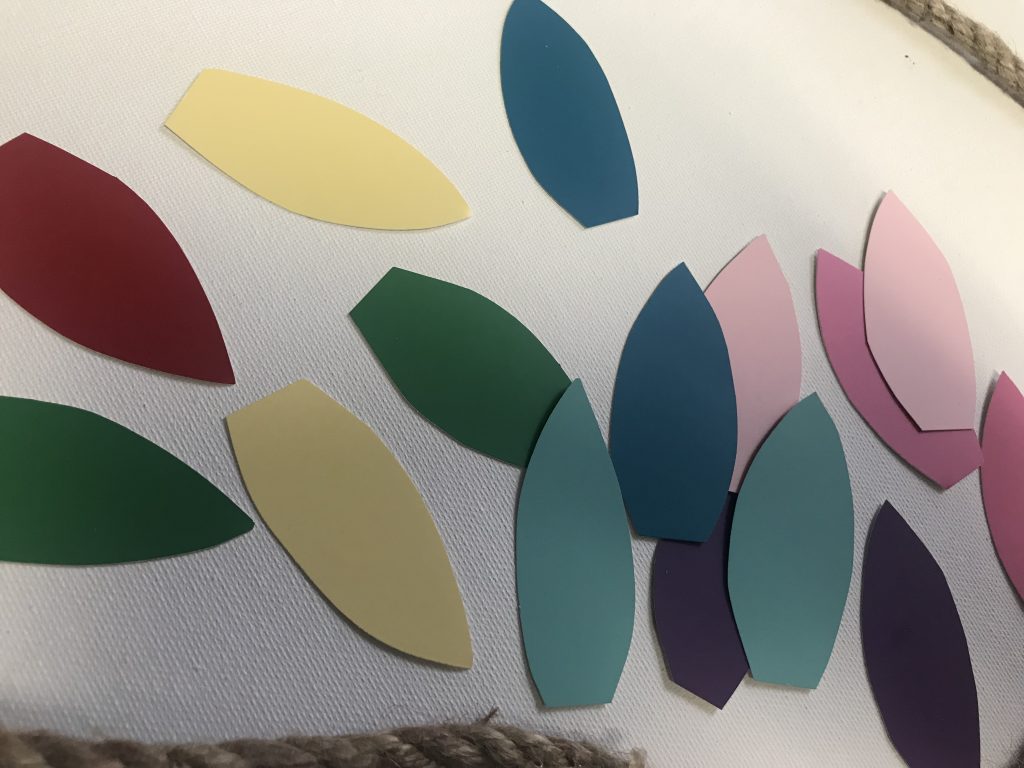
I started out by simply taking each colored paint chip and cutting it to look like a “bulb”. Listen, these will NOT look perfect. Just do the best you can…or draw on the back and cut. I just free handed them.
After cutting out my colorful bulbs, I took my rope and laid it out on my canvas to look like the wire for my lights. I made a few loops for “extra” cuteness. I took some hot glue and dabbed it under the rope in a few places to be sure that it stuck well to the canvas. It didn’t take much.
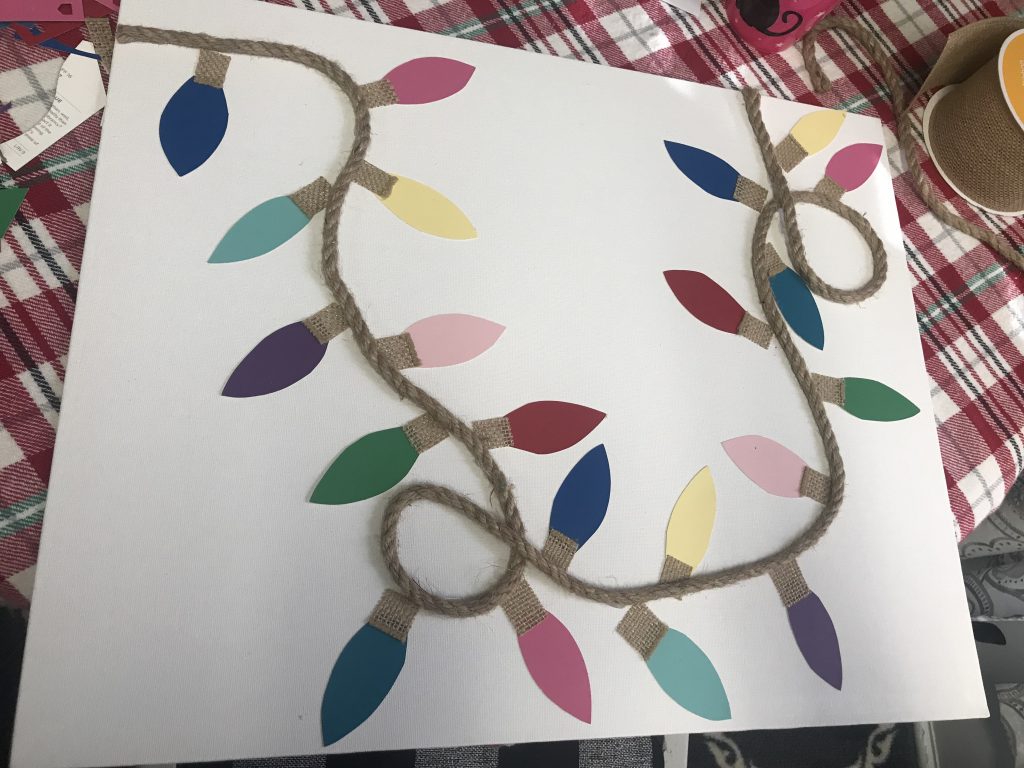
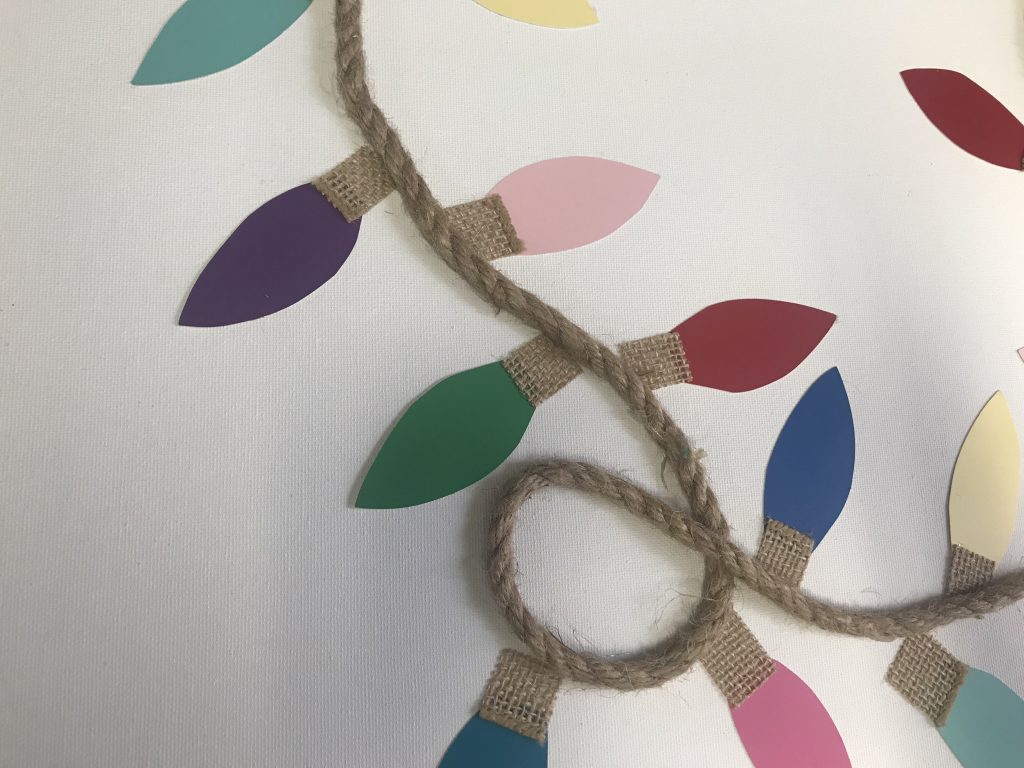
After I put the rope on, I took my burlap ribbon and cut it into little small squares, to make the “top” of my bulb. I put a tiny dab of hot glue on the burlap and glued it to the flat part of my bulb. I then glued the actual bulb to the canvas along the rope, to make it look like lights!
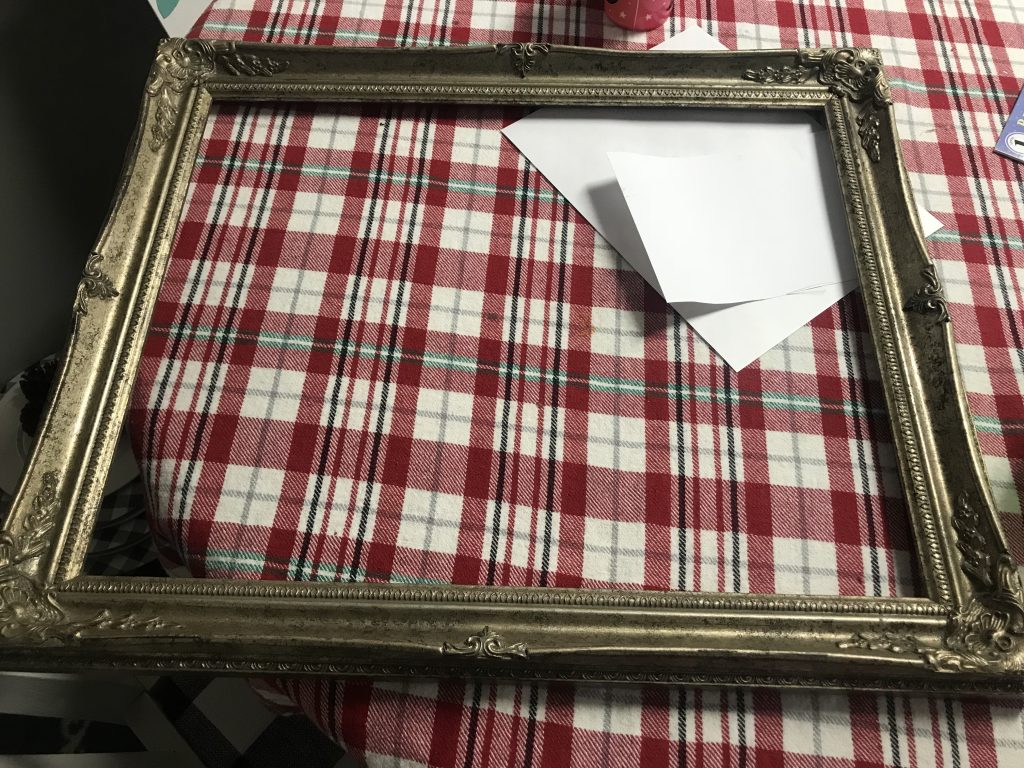
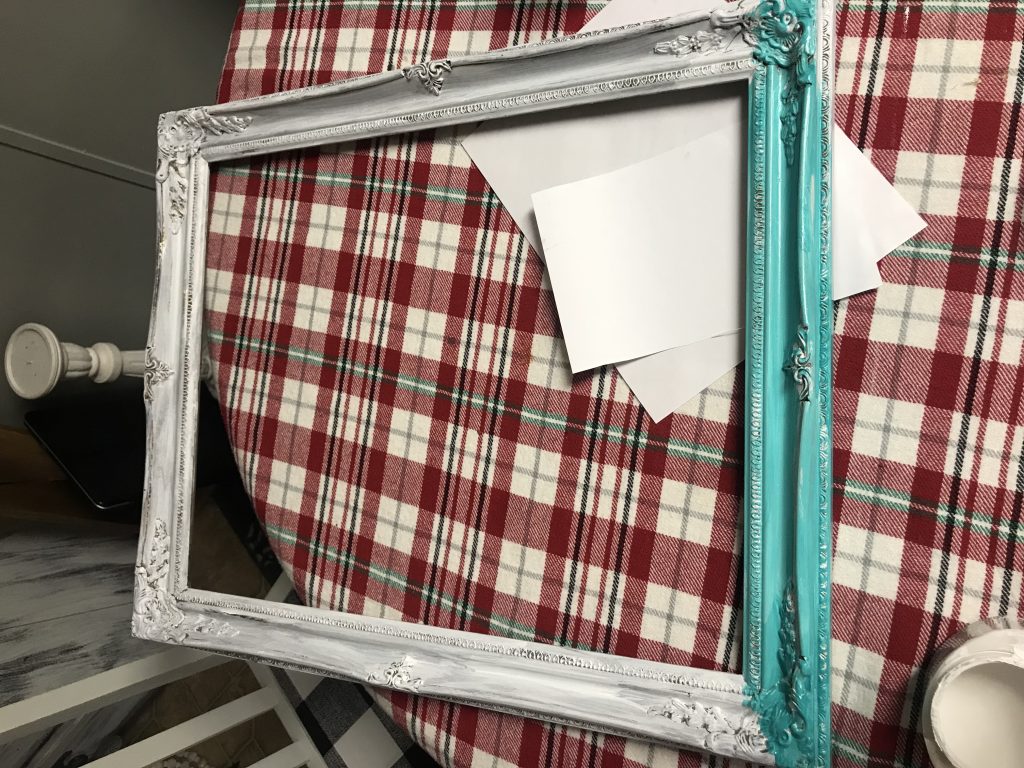
I had this frame out in the shop from a photography studio auction that I went to years ago…and it was just begging for a makeover. It was the perfect size for my project, so I brought it in and gave it a fresh coat of white paint (any will do)…and then I covered the white with a beautiful turquoise!
I simply painted it on with a little paintbrush and then lightly sanded to make sure the details would show through just a little bit!
After it dried, I took my canvas and placed it in the frame. There is no glass, and that was PERFECT for this project!
I am OVER THE TOP with how cute this turned out!!!!!
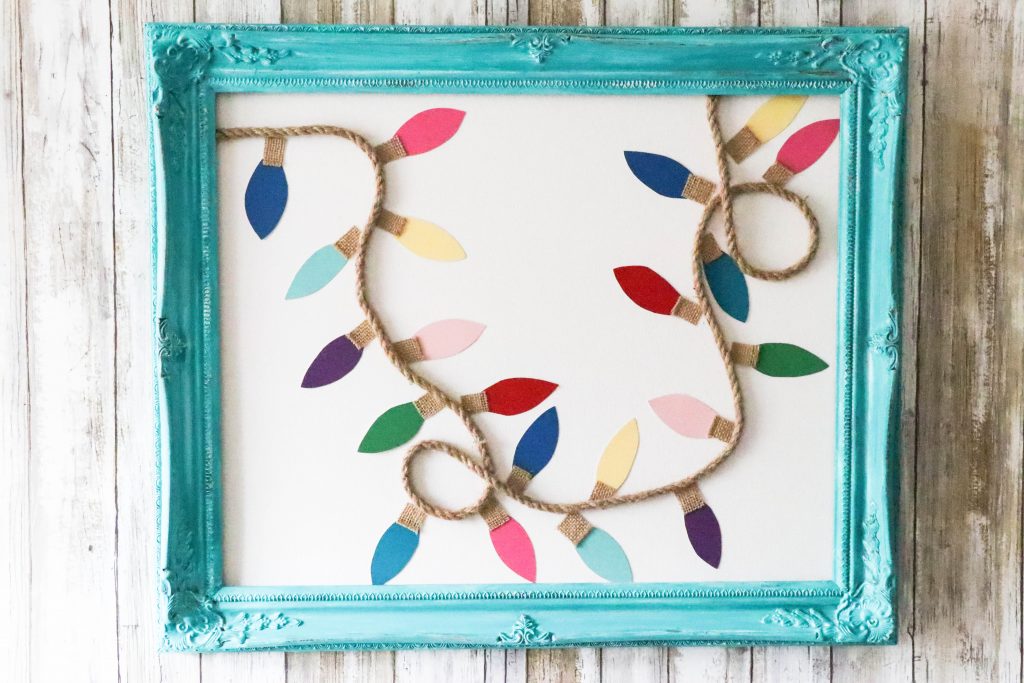
How gorgeous are these colorful lights?? And don’t you love how the rope adds extra texture and dimension??
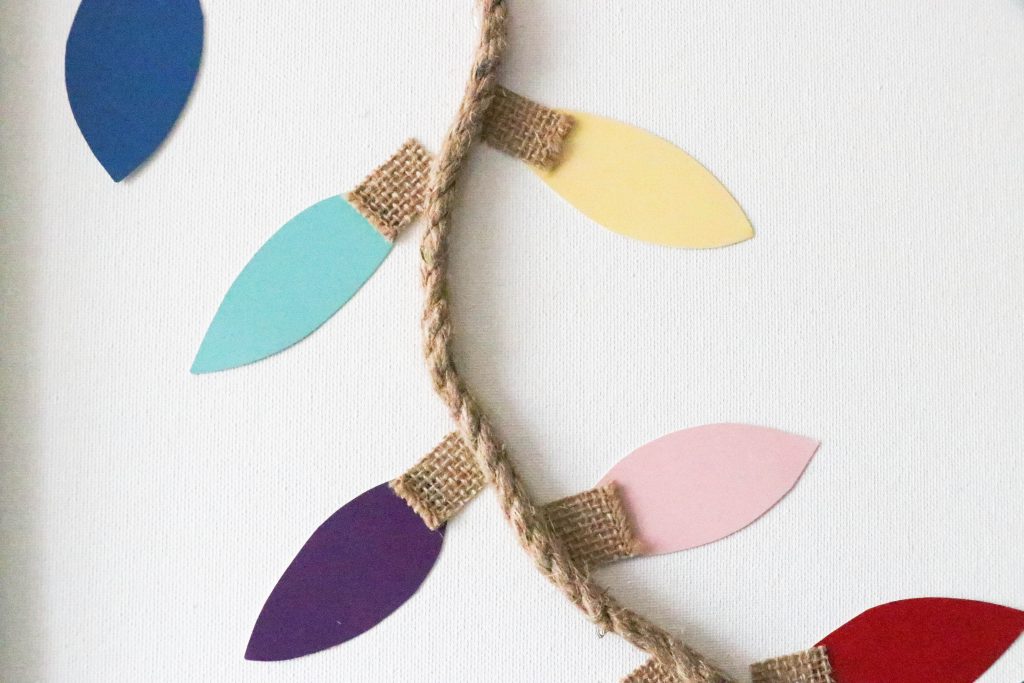
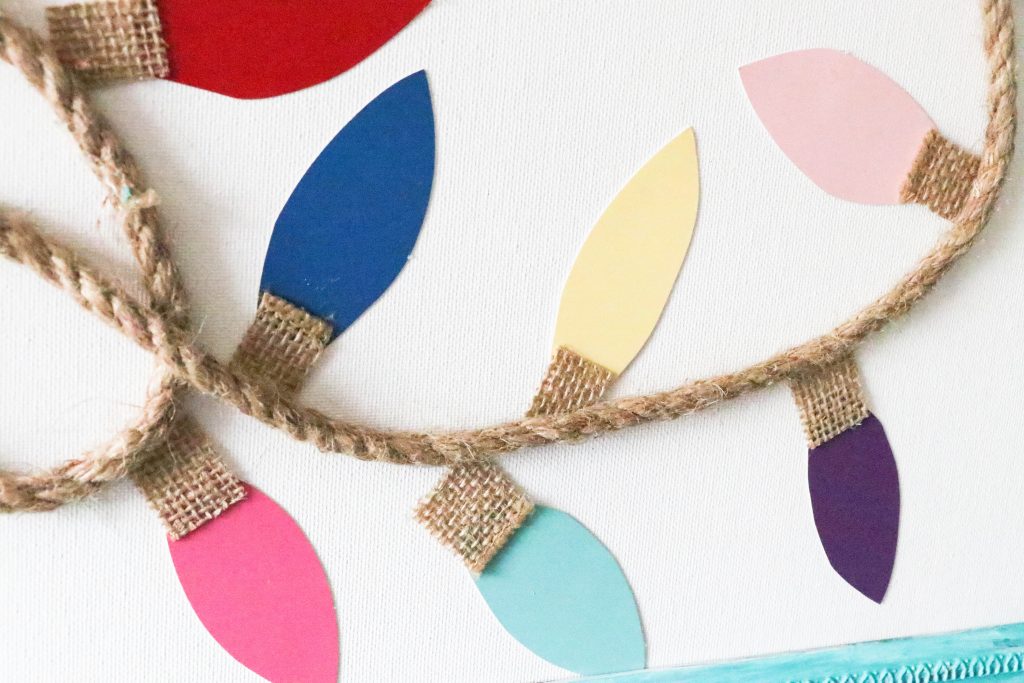
Isn’t it so much fun to take something so simple (and free) and turn it into a work of art that can be enjoyed for years to come??? I see this being a staple in our playroom for the next several years! How adorable!?!
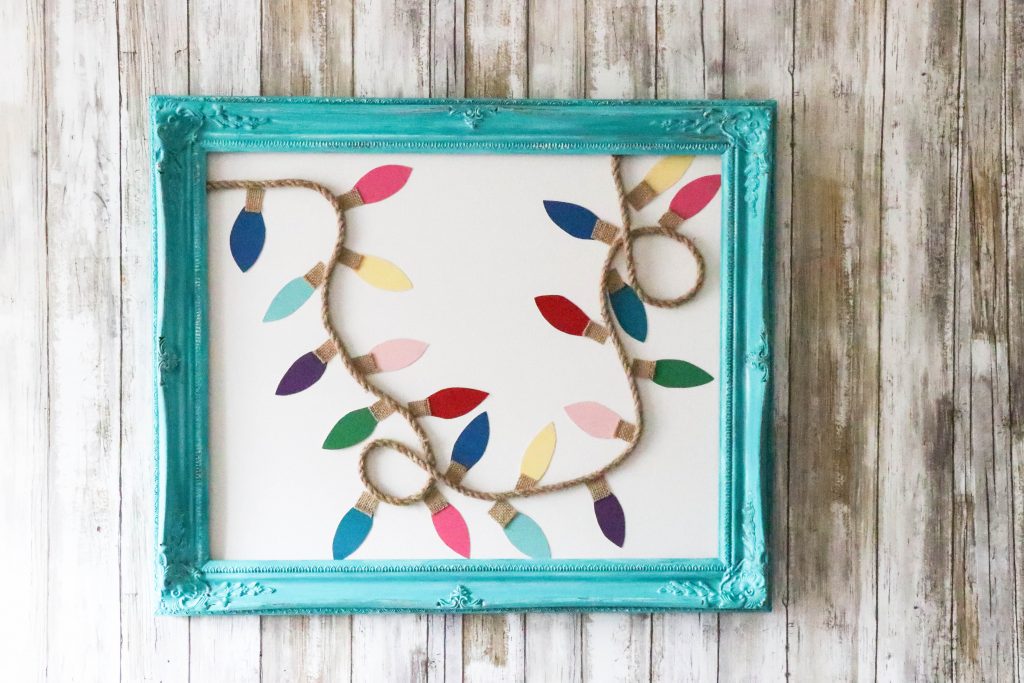
Hope you enjoyed this simple little craft! Make it your own and use colors that match your decor! Have fun! Be creative! And be sure to show me when you do 🙂 I LOVE to see your crafts!
Pin for Later!
Make sure you are following along on Social Media! I do lots of fun stuff on there, as well as LIVE videos of some of these crafts!
Facebook/Instagram/Pinterest/Email
Last Updated on November 4, 2020



You amaze me!! Such a clever idea.
This is beyond adorable, and I’m a fan of you, your adorable self and your amazing DIYs…. I found you on Facebook since that’s my primary social for my business, She Paints. I wanted to show you my PAINT CHIP PROJECT that i did a couple of years ago, because what can i say, I thrive on words of encouragement. 😀 Hey, at least I’m real about it!
Screen Shot 2018-12-26 at 10.07.36 AM
Wow, I love this idea. Can’t wait to try it.
Absolutely love, ❤️, Love this idea!!
Super Cute. I will most definitely do this for the playroom!
This is adorable. I love the colors too. A trip to Walmart, Lowes or Home Depot for paint chips is in my near future.
This is one of my favorites. I would probably use similar colors.
I love this one too!