Can I be real with you for a minute???
This craft has been in the works for a hot second… I’ve been trying to gather all the perfect pieces to make it work, and it has FINALLY come to fruition!!!!
I feel so giddy sharing this with you, because that’s how EXCITED I am with how this project turned out!!!! Even if you don’t decorate much for Halloween… you can’t tell me that this sign didn’t turn out just ADORABLE!
Alright, enough with the teasers… lets dive in and make this bad boy!!
What you will need…
*click on the bolded item to shop my affiliate link!*
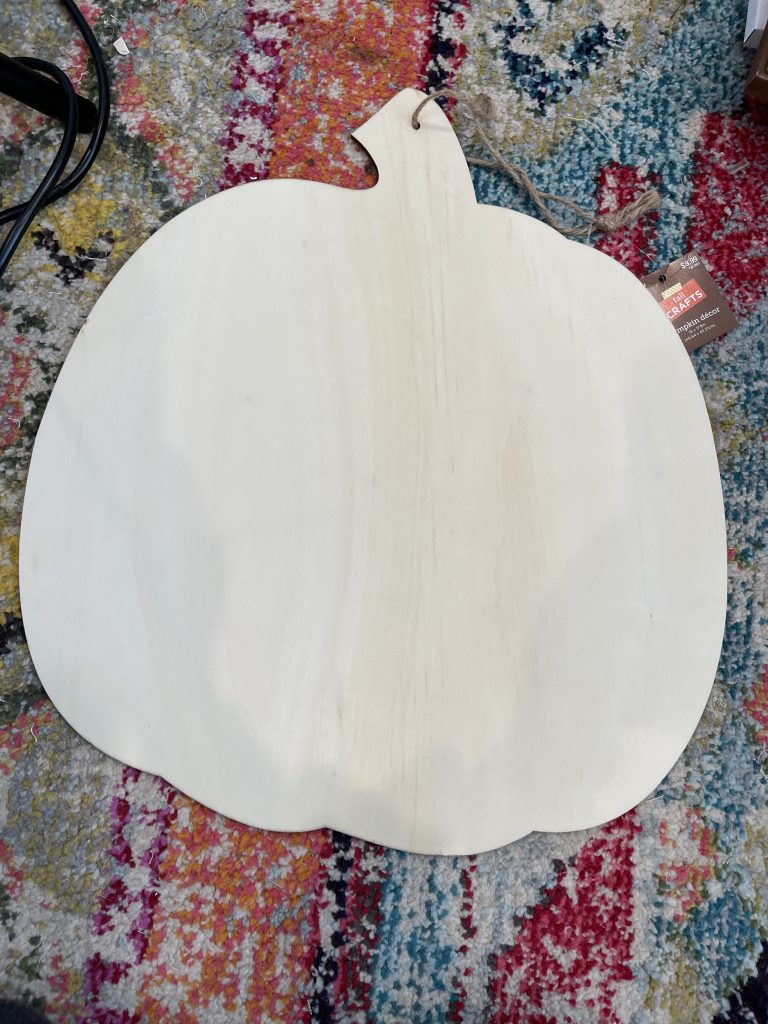
- Blank wooden pumpkin from Dollar Tree
- Apple Barrel paints (White, Harvest Orange)
- Scrapbook paper
- The numbers 3 & 1
- Letter stickers (mine are from Hobby Lobby)
- Mod podge
- Sanding block
- All kinds of embellishments!
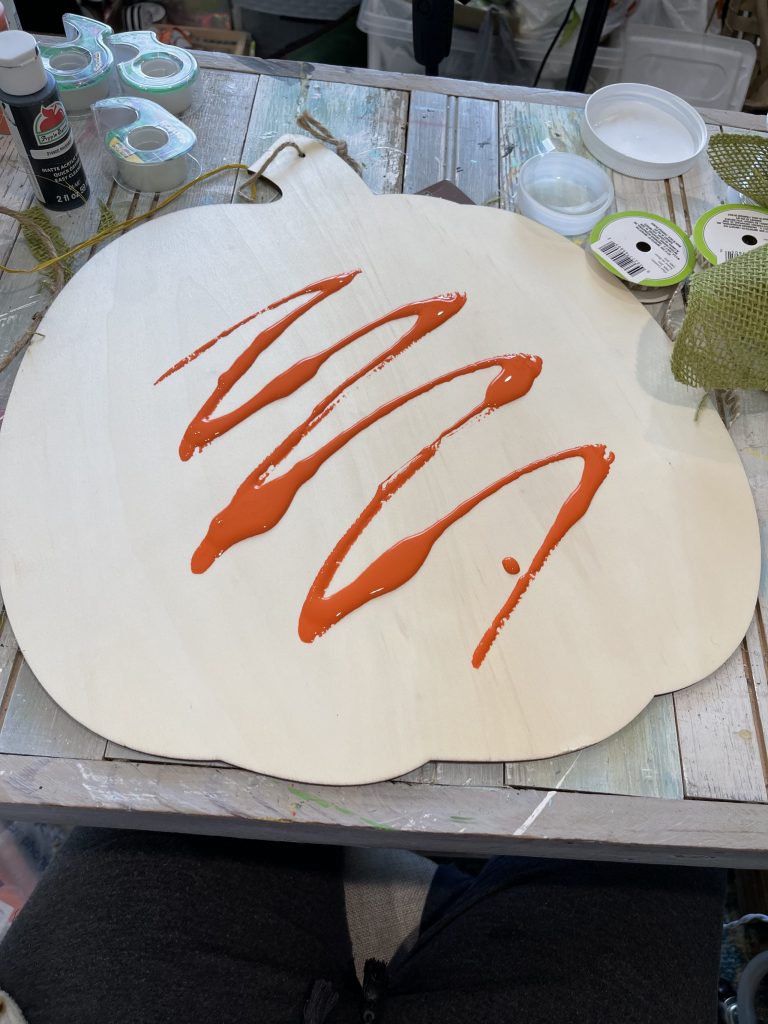
We’re starting off this project by giving it a little paint job!!! We’ll start by painting the whole thing with Apple Barrel’s “Harvest Orange”.
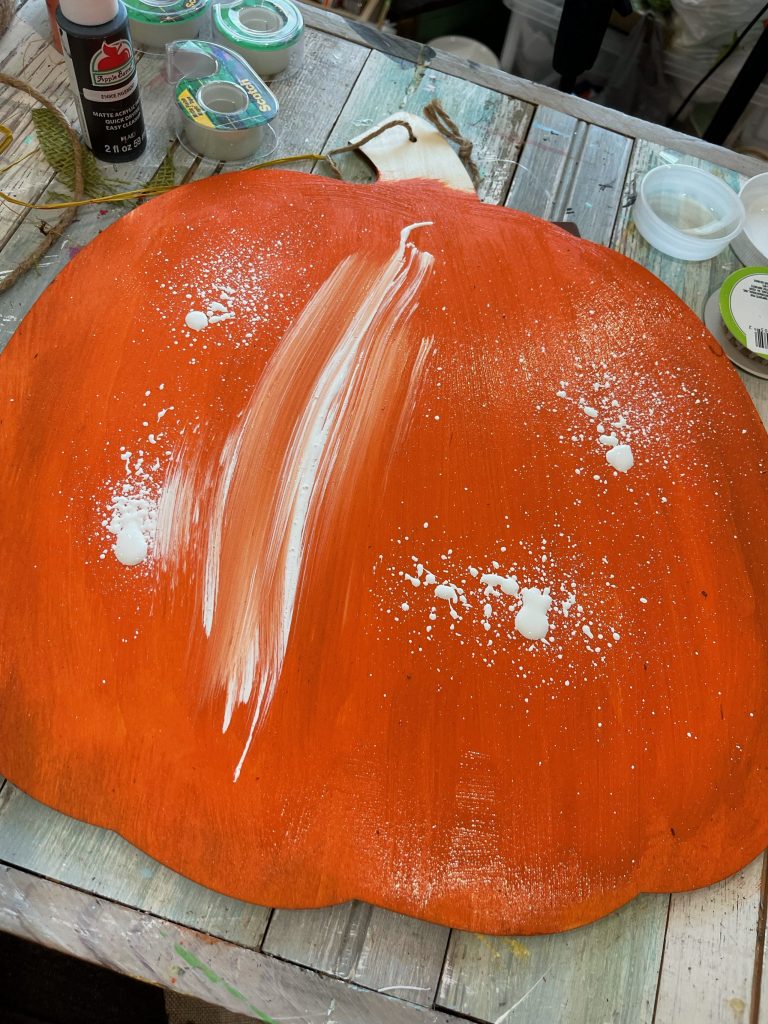
Now… I love this color of orange, BUT- I wanted it to be a tad bit lighter for this specific project!! So, before the orange dries- paint on some white to lighten it up!
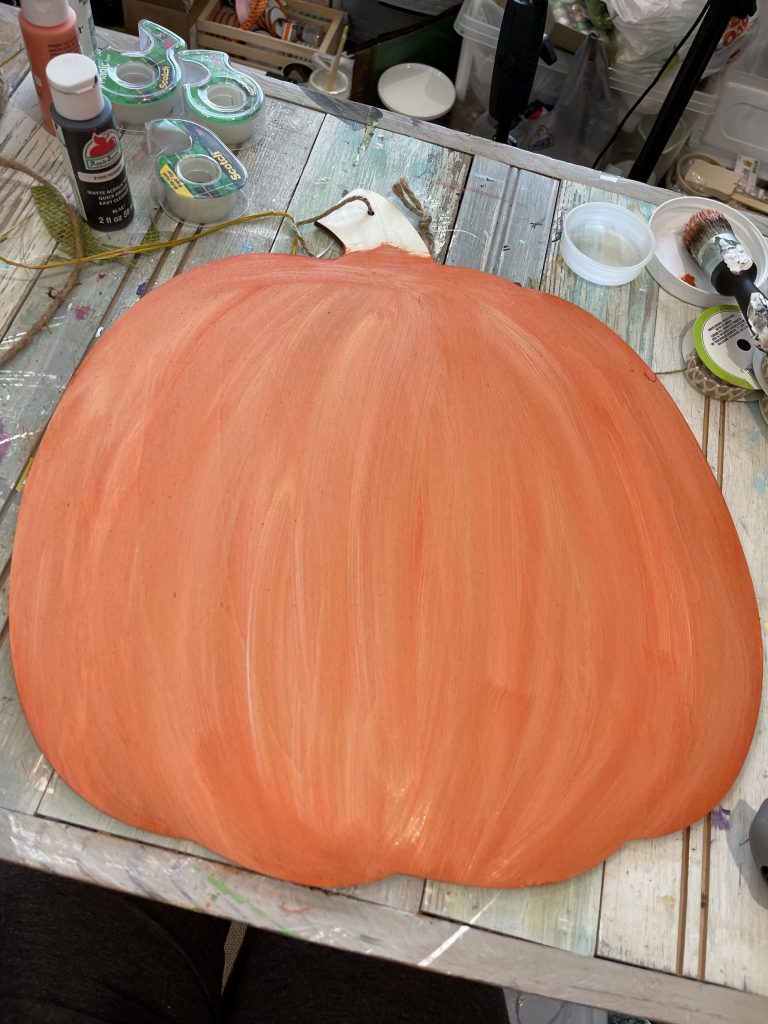
MUCHHHH better!!!! I love that it isn’t completely flat- and that you can see the white streaks within! It helps it look a little more lifelike.
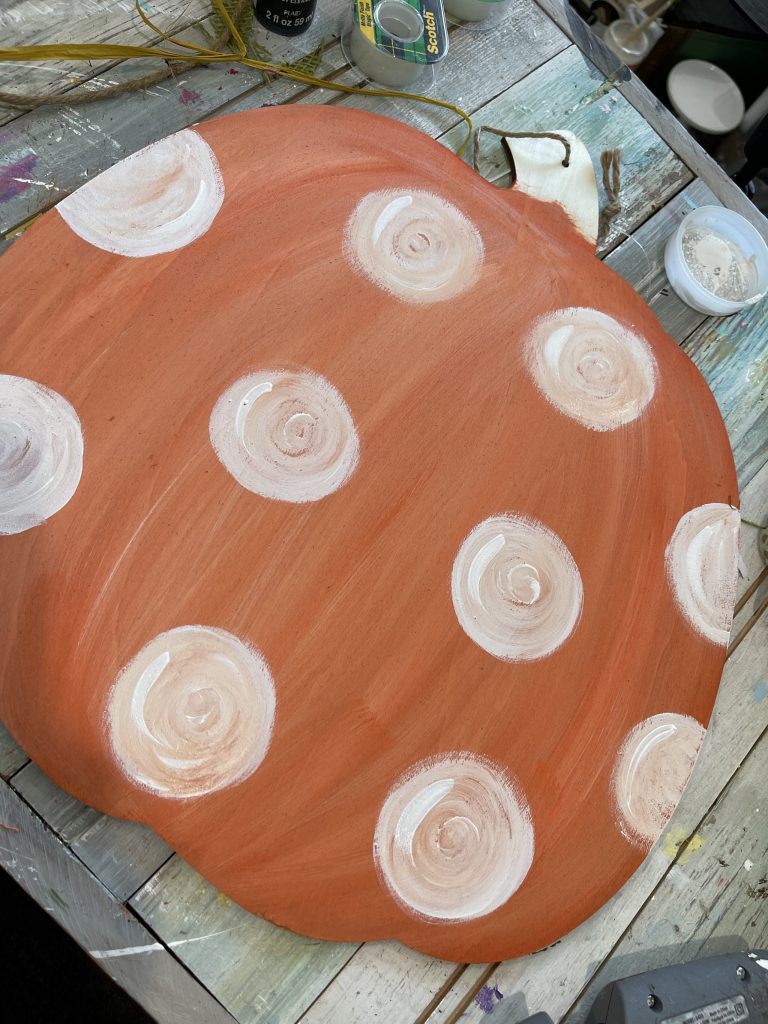
Now… this wouldn’t be a Brooke project if there were no polka dots- am I right?!?!? I simply painted them on with my leftover white paint!
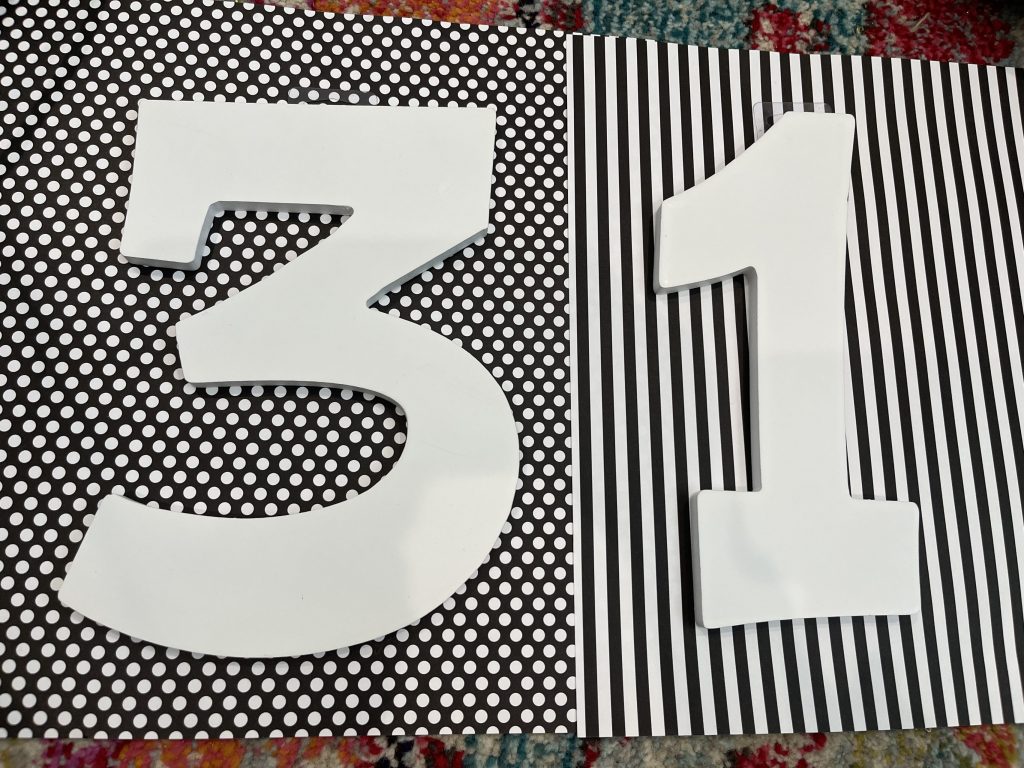
While we’re waiting for all that to dry, let’s move on to the star of the show… the 31!!
I found my numbers from Hobby Lobby! They were $3.99 with 50% off… so I only paid $2 each for them!
All I did was pick out two different scrapbook papers that I liked the design of, and traced the numbers onto them… then, cut them out!
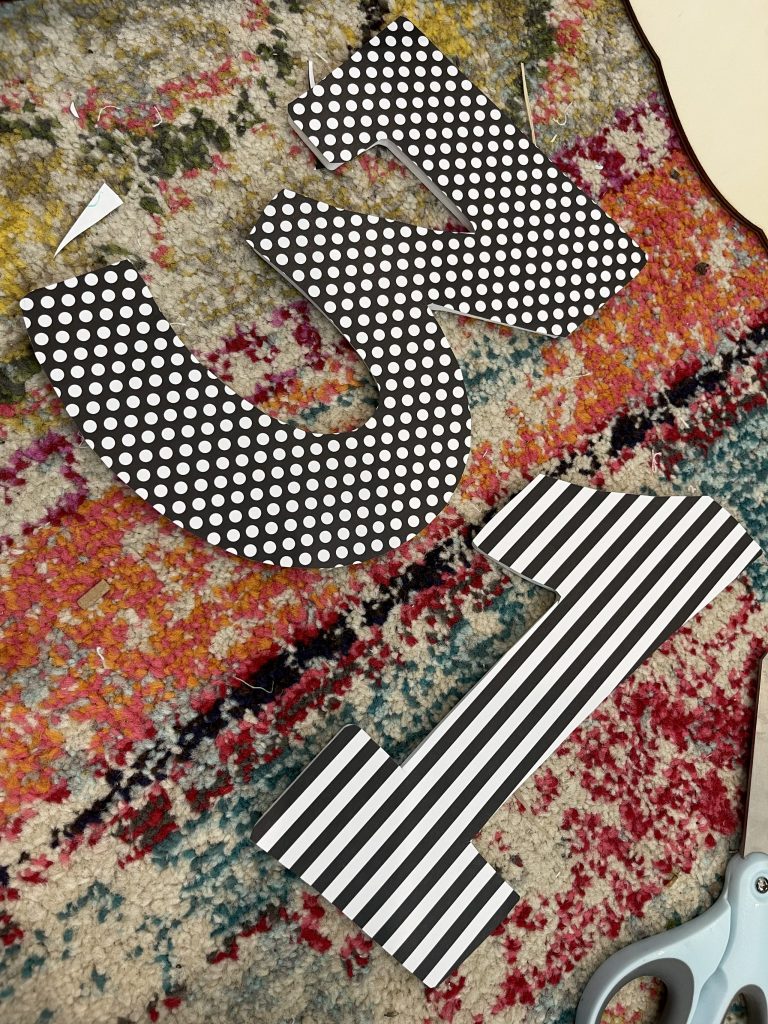
I’m sure you can guess the next step… that’s right, Mod Podge them onto your numbers!!
Once the paper is dry, MAKE SURE you sand them down!!! This is what helps the edges of the numbers look more “finished” and not so choppy!
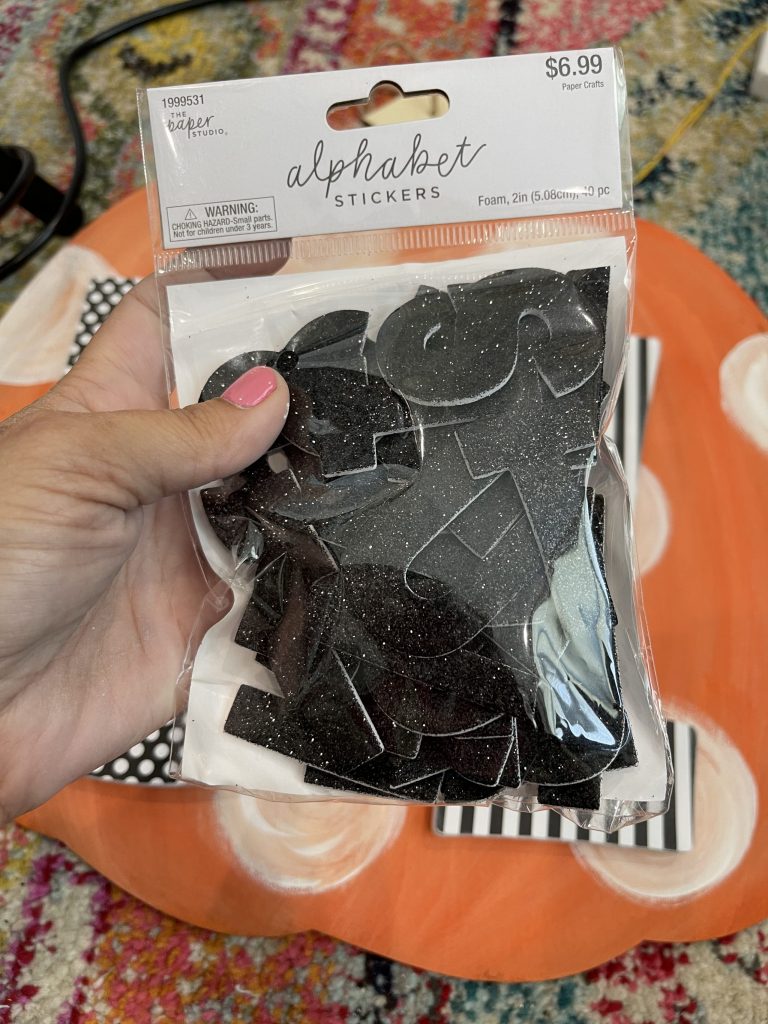
I also found these adorable black sparkly letter stickers from Hobby Lobby for 50% off!!
I found all the letters to spell out October… then, I stuck them on (along with the 3 and the 1) onto my pumpkin!
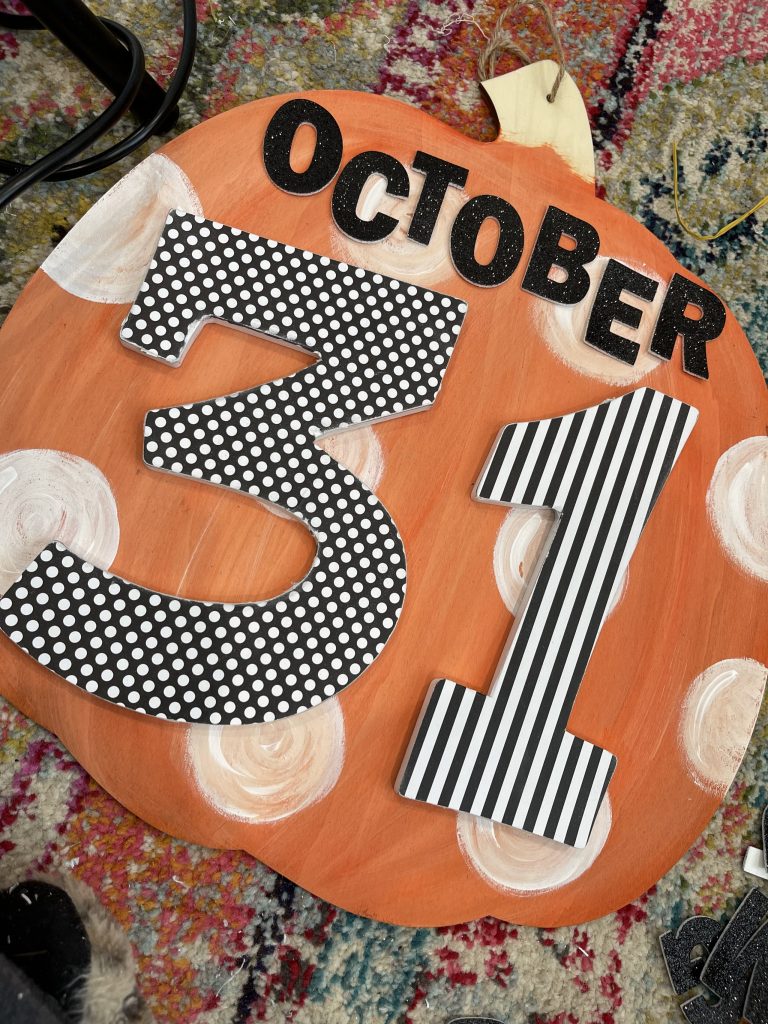
Now that they’re all on, it’s time to EMBELLISH!!!
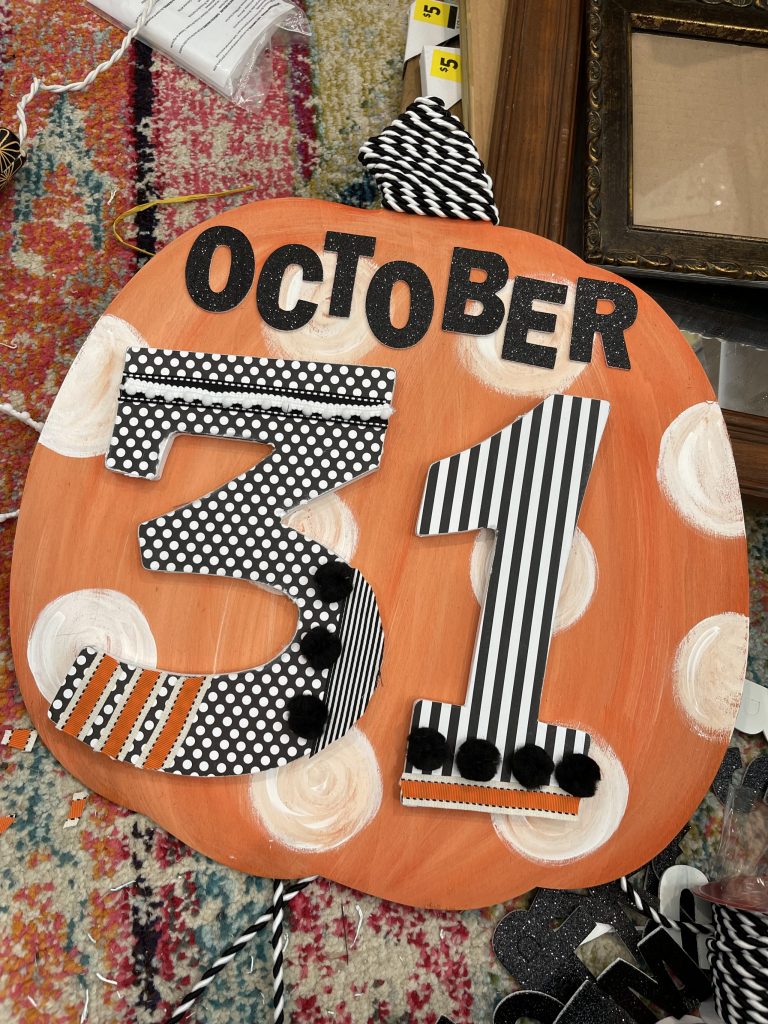
As you can see, I just had fun with it! I stuck on some random ribbons, and also attached little black pompoms!
For the stem of my pumpkin, I took some black and white cord, and wrapped it full around until it was covered!
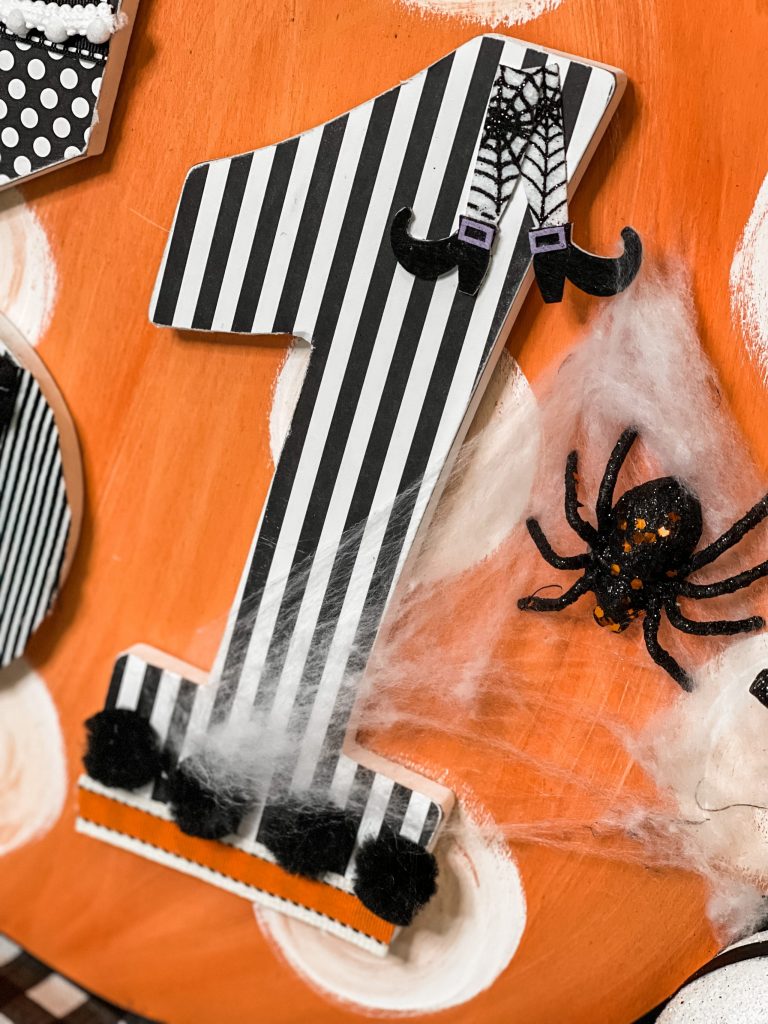
I even took it a step further, and added some faux spider webbing and a spider!!!
Also, how cute is that witches leg sticker?? I bought a pack of them from Hobby Lobby a few years ago on clearance for 80% off!
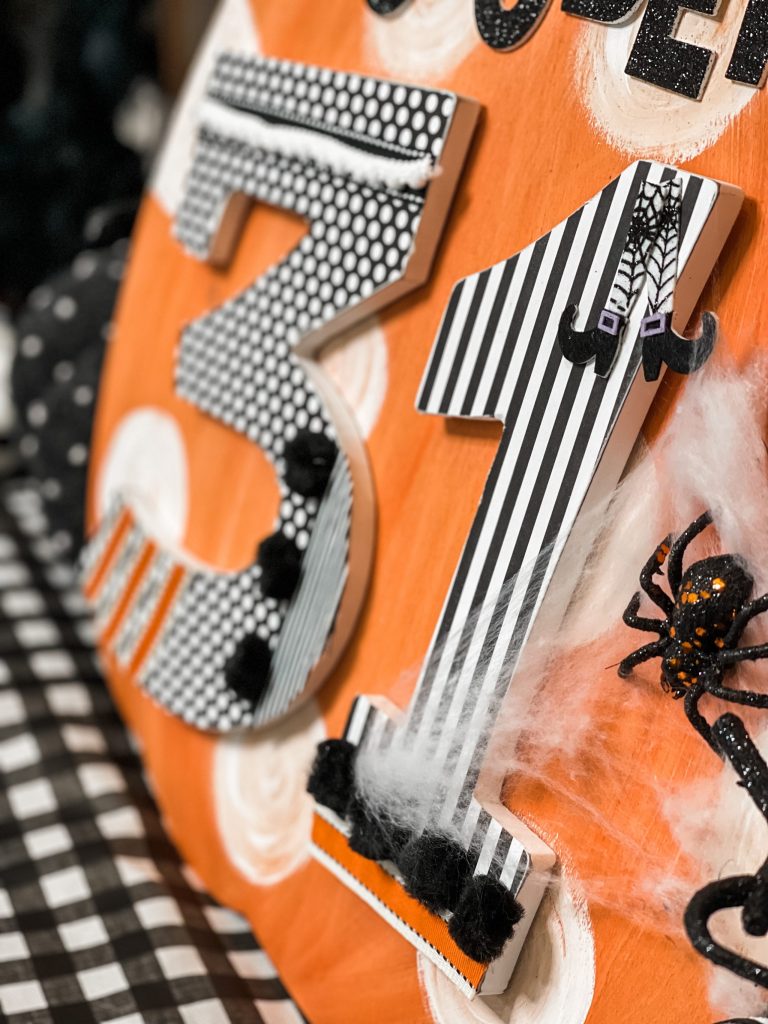
Now do you see why I’m obsessing over this sign?!?!?! It’s SO CUTE!!!!
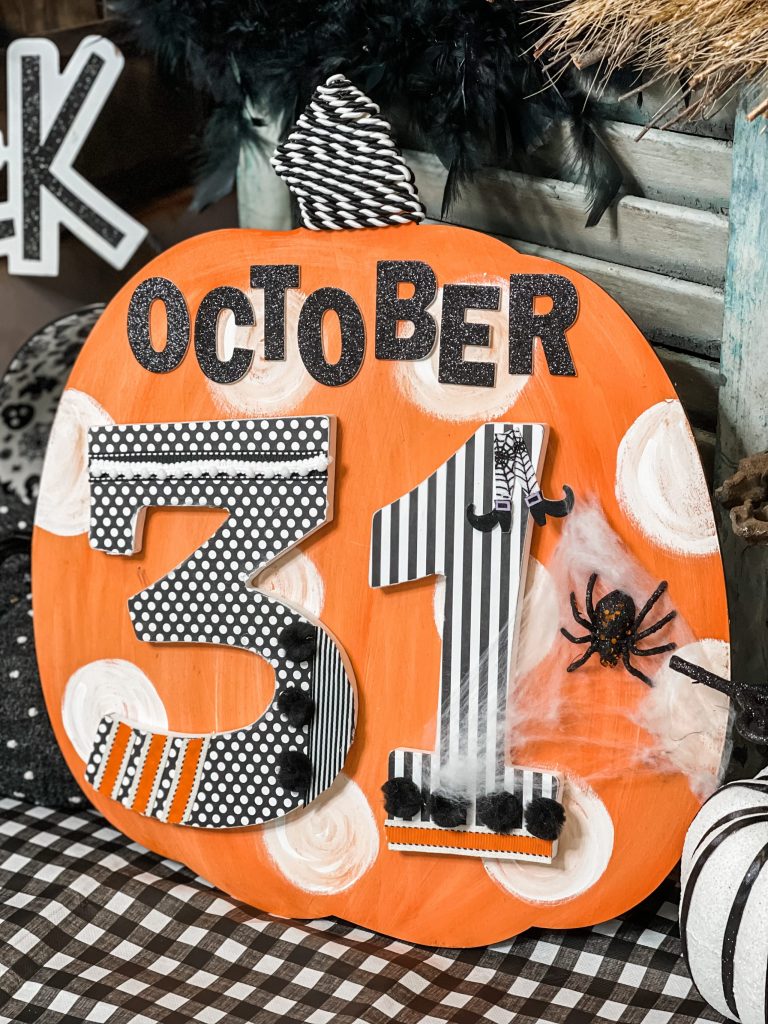
I absolutely cannot WAIT to set this out to display for Halloween. If you decorate for Halloween, this needs to be a MUST for you!!!
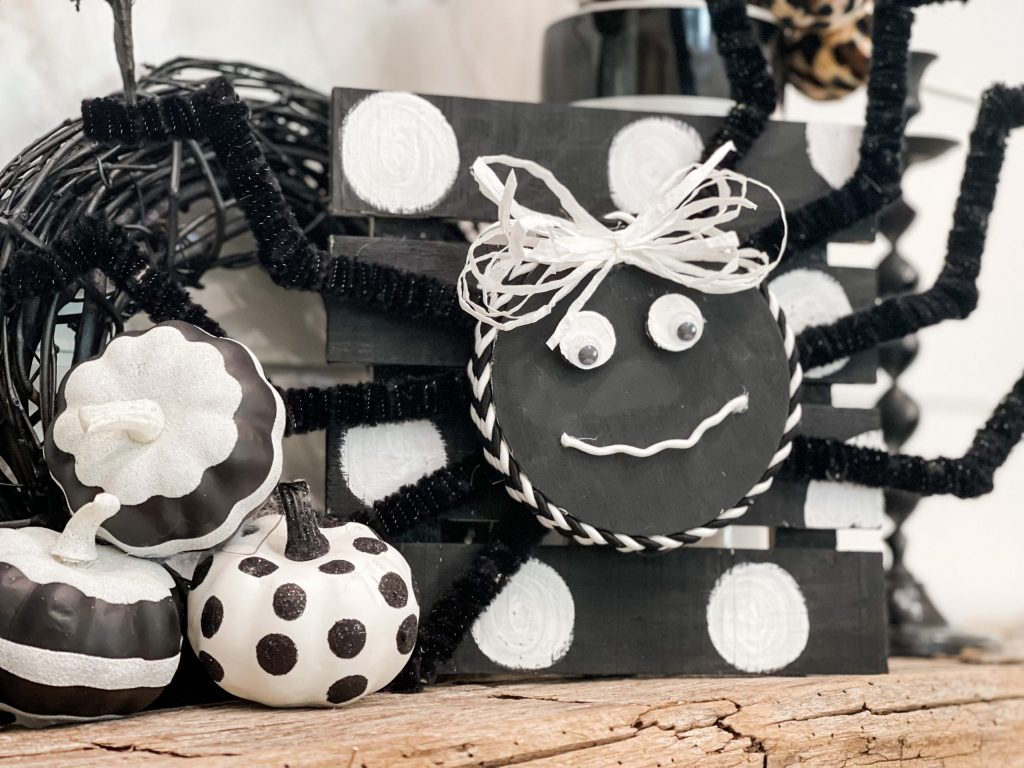
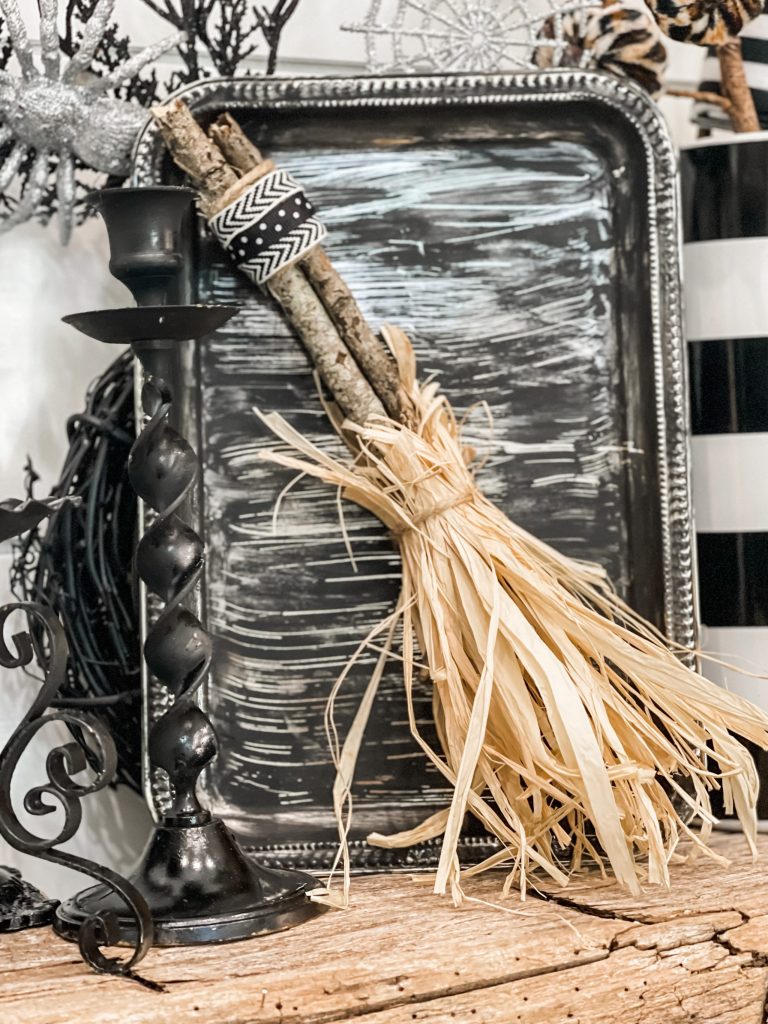
If you want to see more “cute not creepy” Halloween crafts, you should check out the ones below!
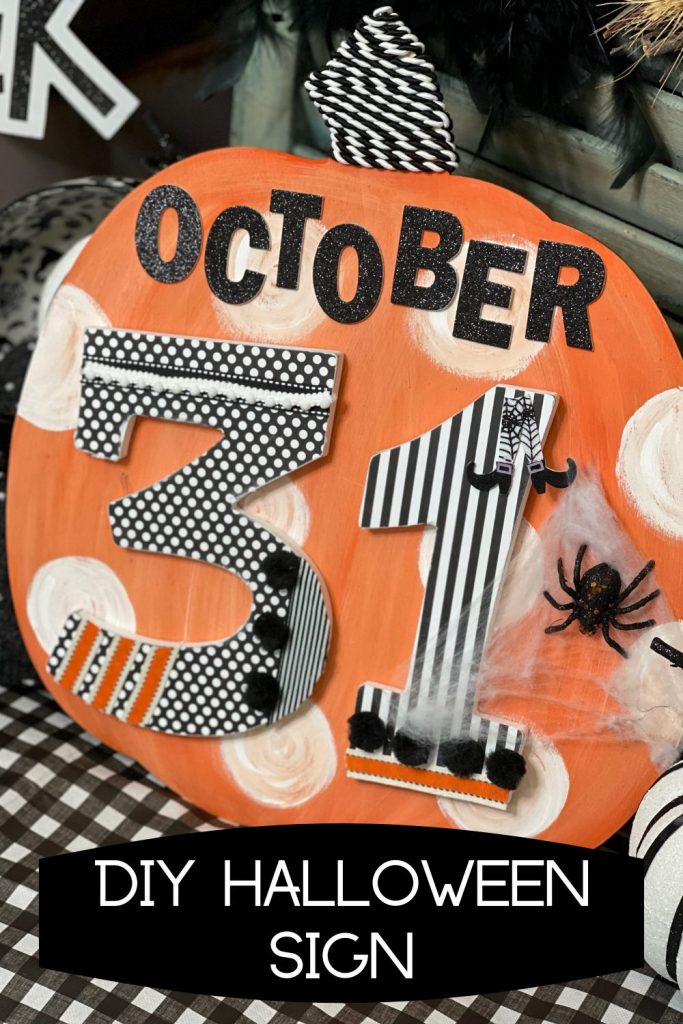
PIN THIS FOR LATER!!!


Last Updated on August 16, 2021

This pumpkin is adorable and I’m certainly glad you made it and shared it. It will look cute on my porch!!
I love this October 31 pumpkin so much! I love Halloween and will definitely make this with my own spin! Thanks Brooke for the inspiration!!!!
Love that pumpkin. Of course love everything you do.
Hey Brooke, it’s Tammy, girl I just luv that pumpkin. You did an Awesome job. I’ll have to send you a pic of the floor I painted , under I
our Gazebo. It took me 32 hrs, it’s all hand painted. I hope you like. I’ll be sending you a photo. Take care luv ya girl, your amazing. Tell sweet family hello, TY. God Bless you and your family my friend🥰🥰🥰🥰🌹
This is the cutest pumpkin. I love it!
So stinkin cute!!!
Love this one, but I’ll have to wait and do it next year.
Really cute project! I think I have that pumpkin laying around somewhere. Going to have to try it!!