Sometimes when decorating, you need “filler” wall hangings. It may be a small wall or a larger open space. Framed art can be very expensive, so today, I’m going to show you how to create framed art on a MAJOR budget!
You can find inexpensive frames at thrift stores, or many retailers offer multipacks of gallery wall frames at a discounted price. I found a four pack of 13”x18” black frames for little of nothing, so I decided to get creative and find inexpensive neutral artwork that would fit in any size frame!
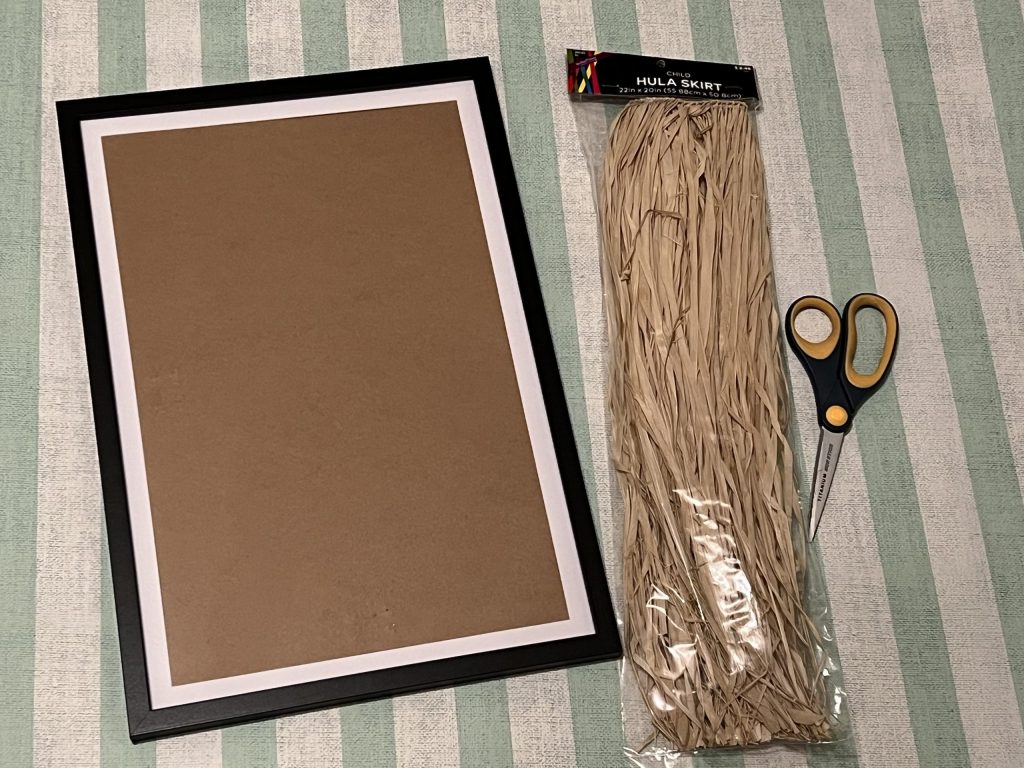
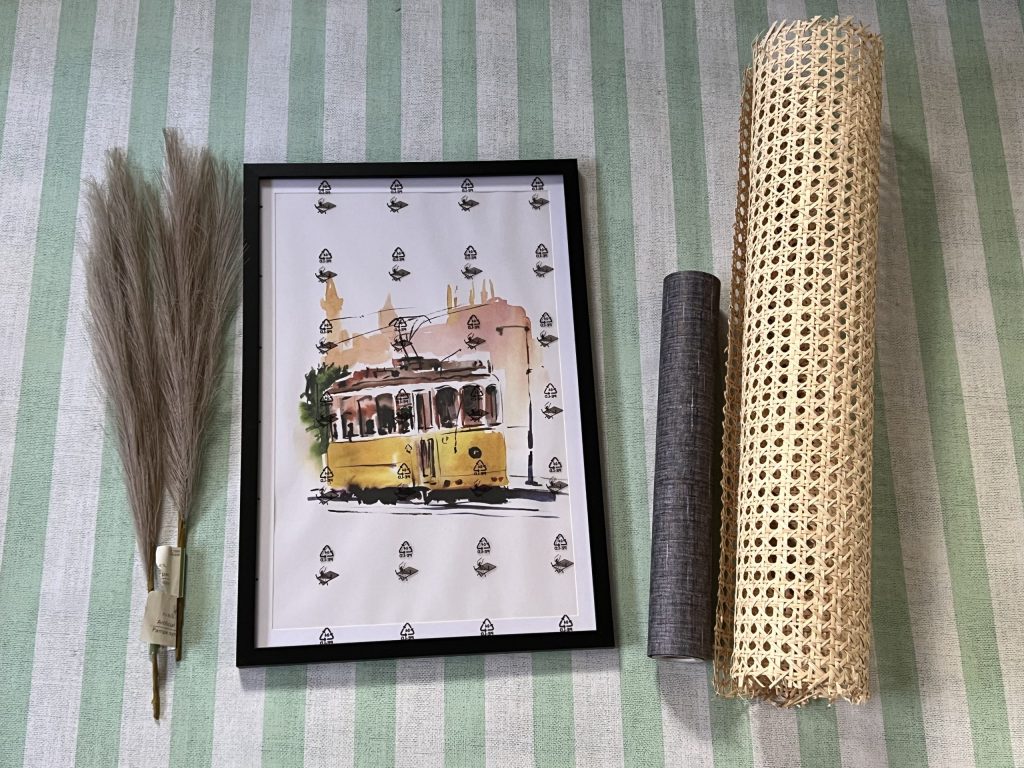
For this project, I used the following supplies:
- (3) 13”x18” wall frames
- Child size grass skirt
- Black linen print paper
- Pampas grass – Dollar Tree
- Webbed caning
- Scissors
The frames came with a white mat, and I decided to use them because I loved the contrast against the black.
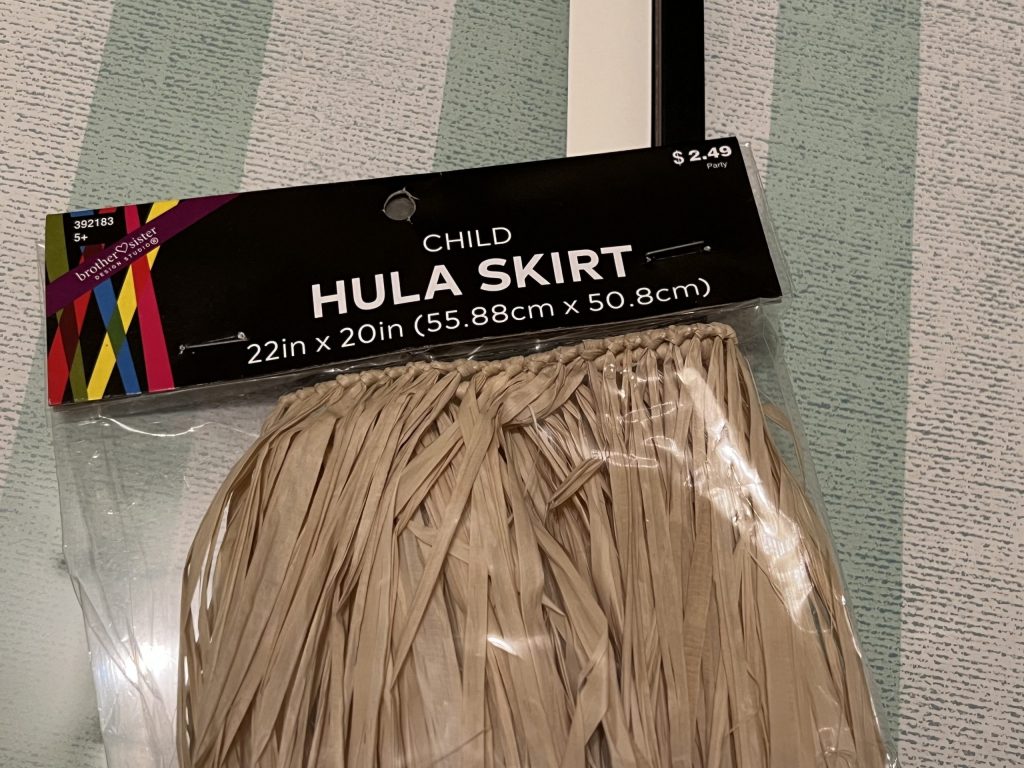
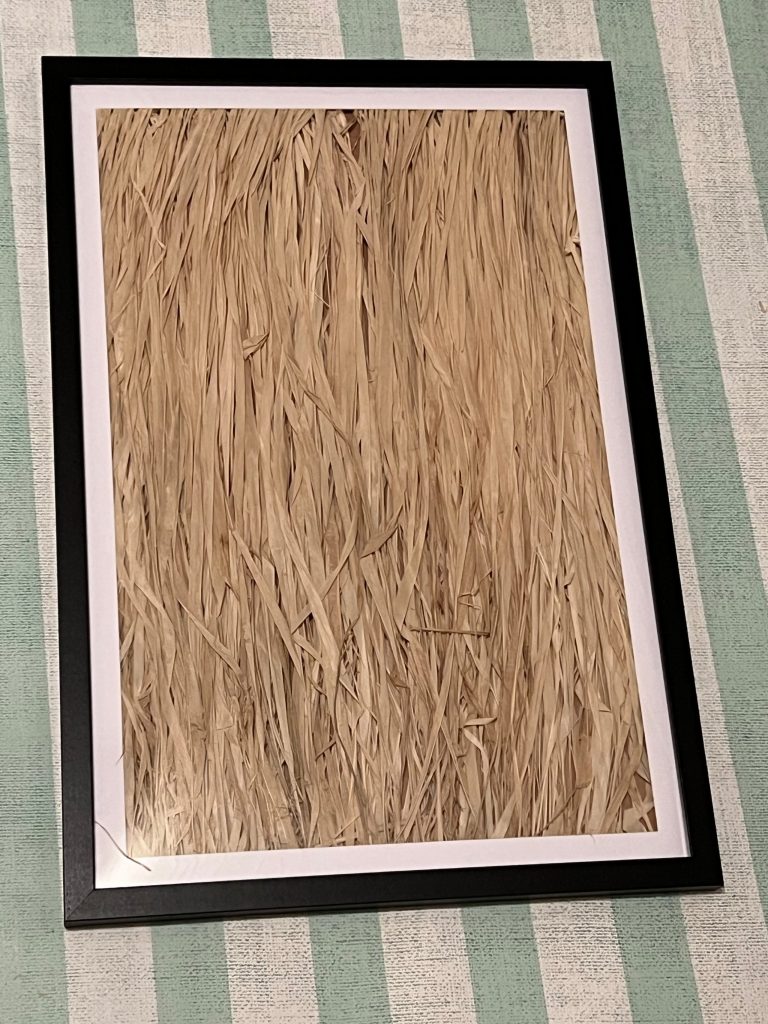
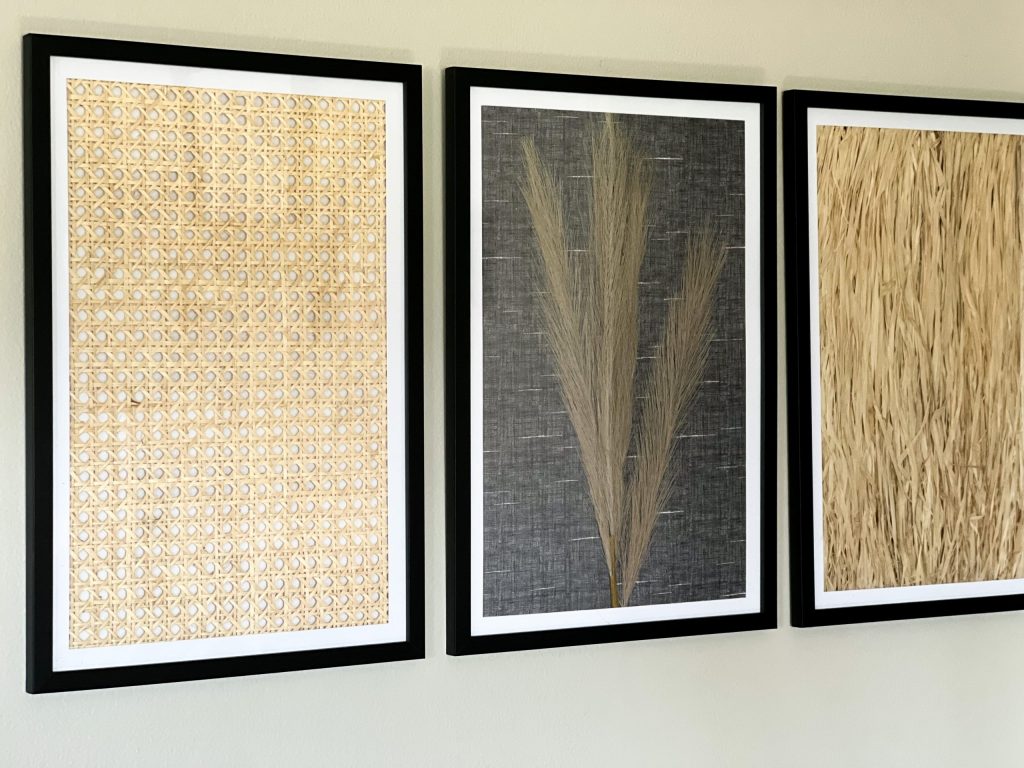
For the first frame, I decided to use a child sized grass skirt that I picked up at Hobby Lobby for $2.49. You know how I love raffia, and this was a STEAL for this much raffia…PLUS, it was already attached in perfect strips!
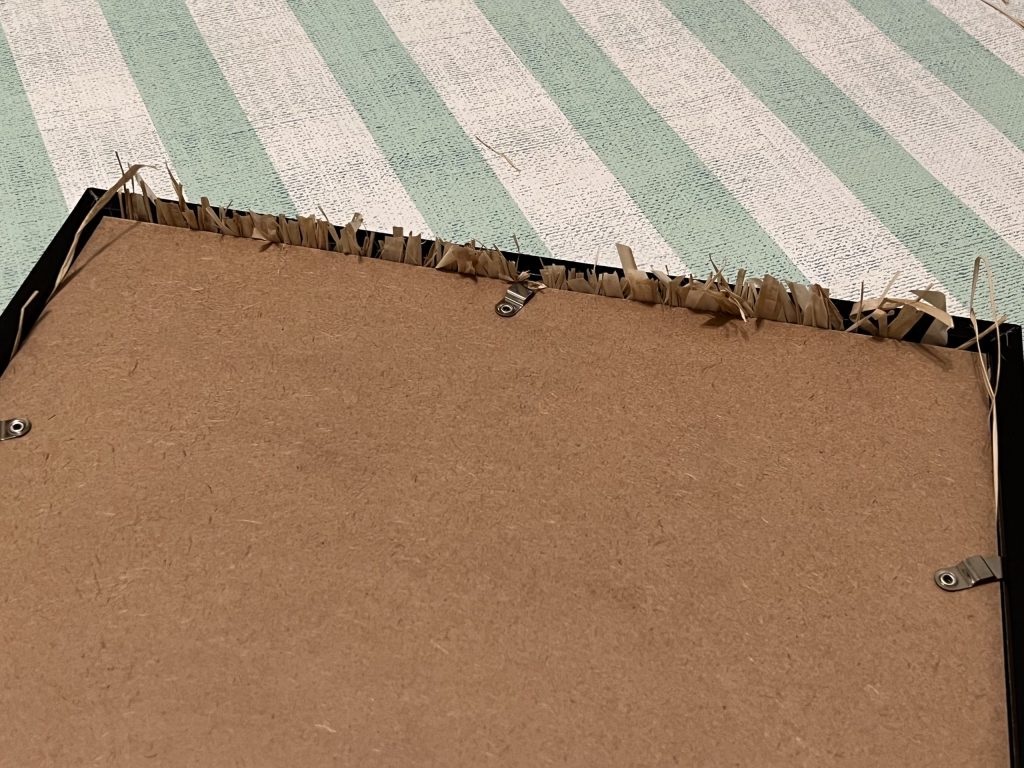
The first thing I did was remove the back of the frame and clean the plexiglass well. Then, I folded the skirt in half at the waist, so that it was double layered. I laid it inside the frame behind the mat.
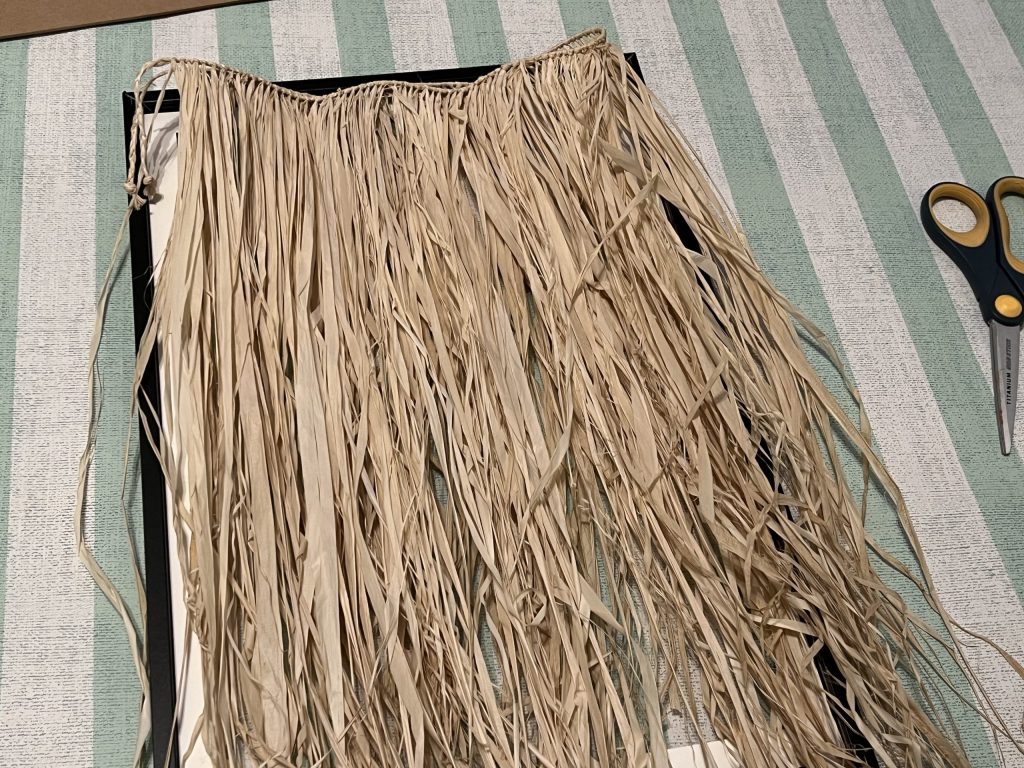
I gathered the skirt into the frame and ran my fingers through the strands to straighten them. I made sure that the waist portion of the skirt was behind the top portion of the mat and would not be seen from the front.
Next, I replaced the back on the frame. I waited to trim the bottom of the skirt until it was firmly secured in the frame. I didn’t want to risk cutting it too short.
Art piece #1 complete! I love the natural textures. It’s so neutral and fills a space without taking away from other pieces.
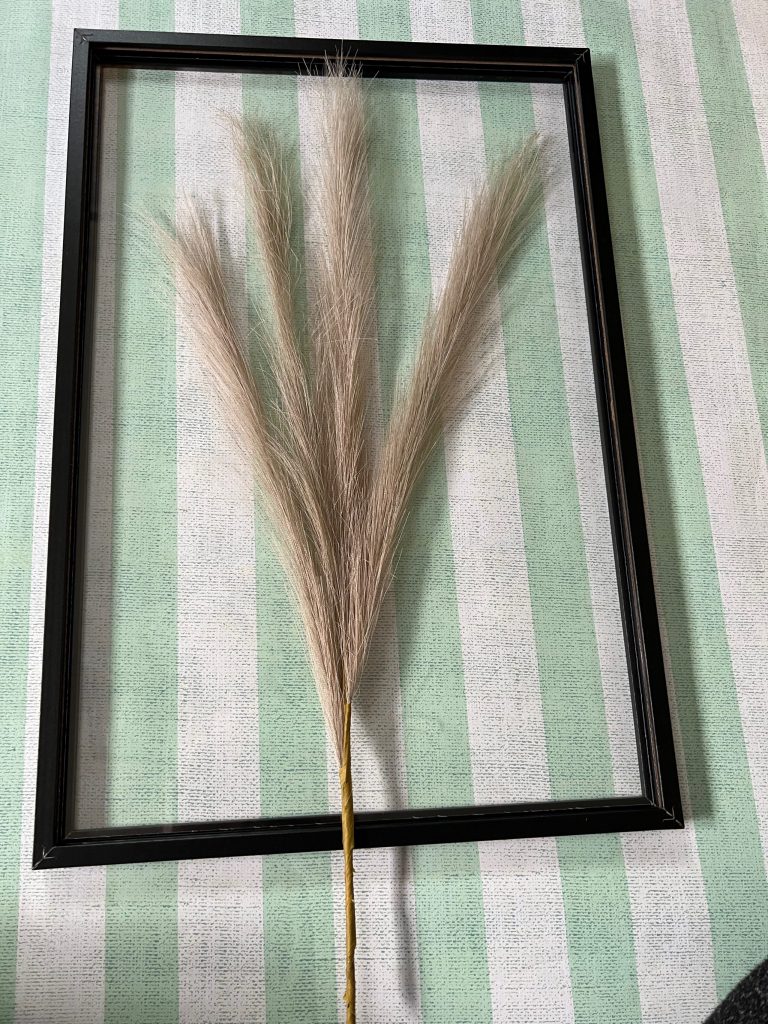
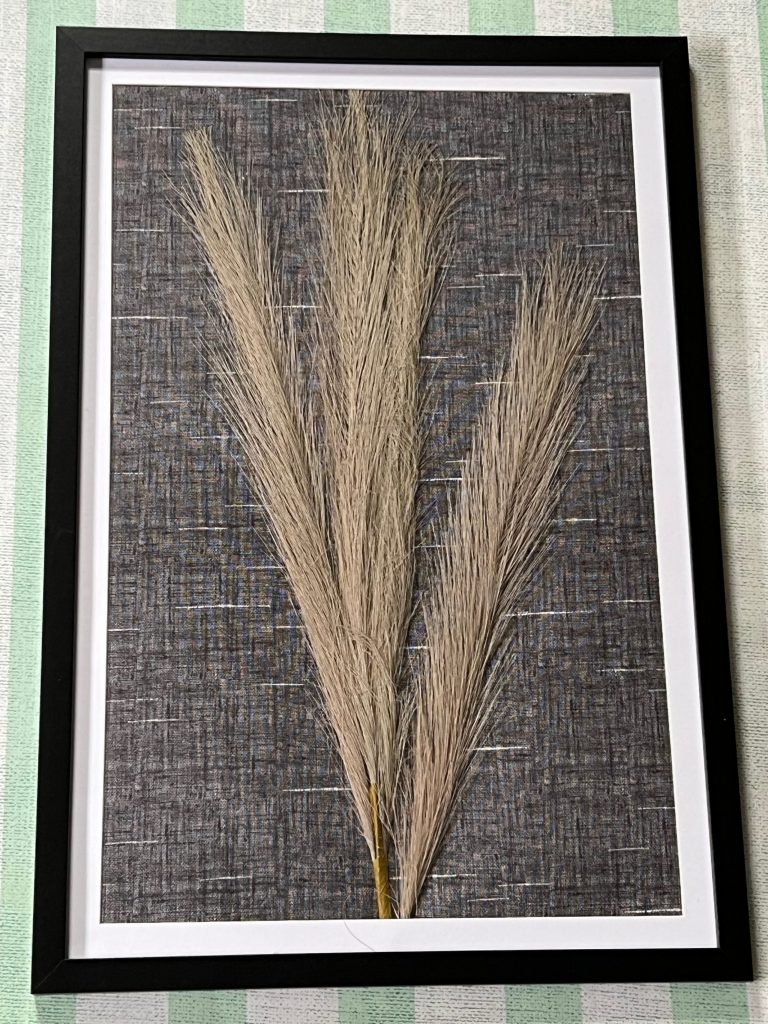
Next, I decided to frame a stem of pampas grass that I found at the Dollar Tree. I had previously purchased this craft paper from Hobby Lobby that had a black linen print, so I used it as the background.
After removing the back of the frame, I laid the pampas stem directly on the plexiglass. I cut the stem at the bottom.
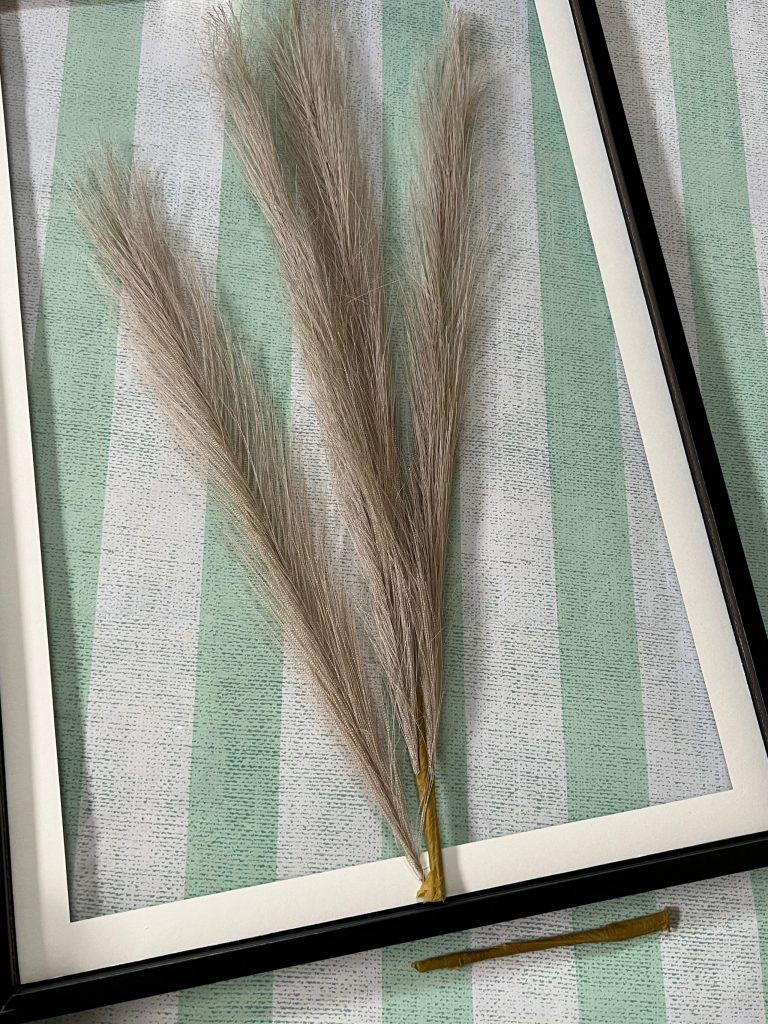
Next, I laid the black linen paper face down over the pampas grass and used my fingernail to crease the paper at the edges.
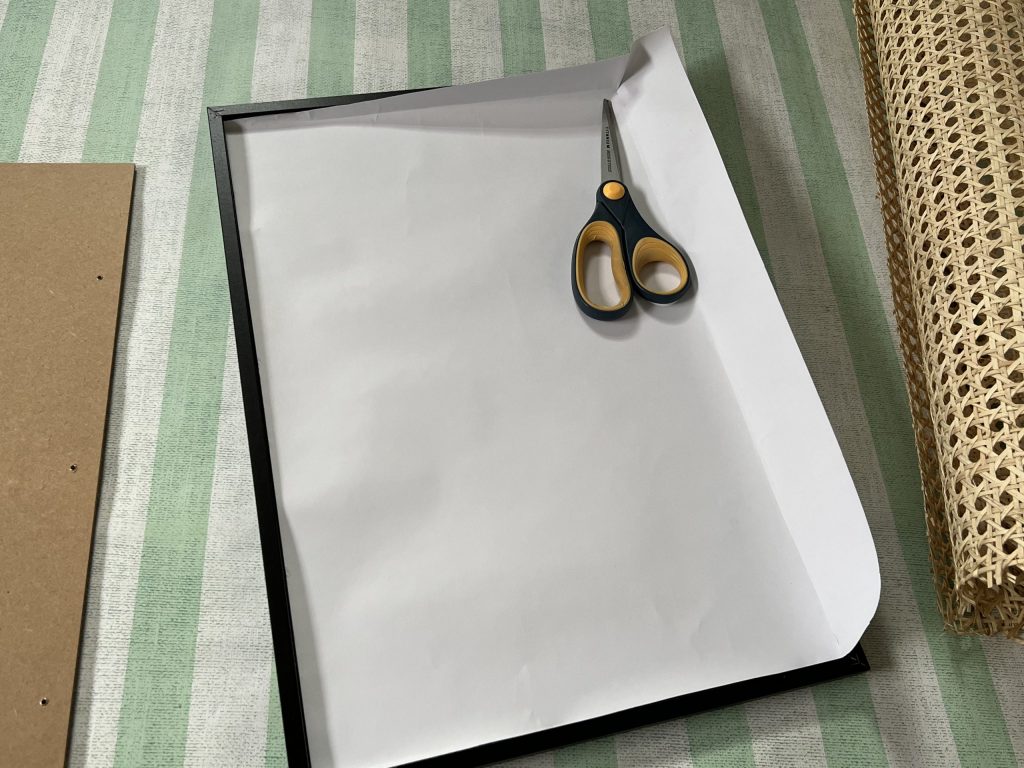
I cut the paper at the creases and taped the paper down at the corners to keep it secure.
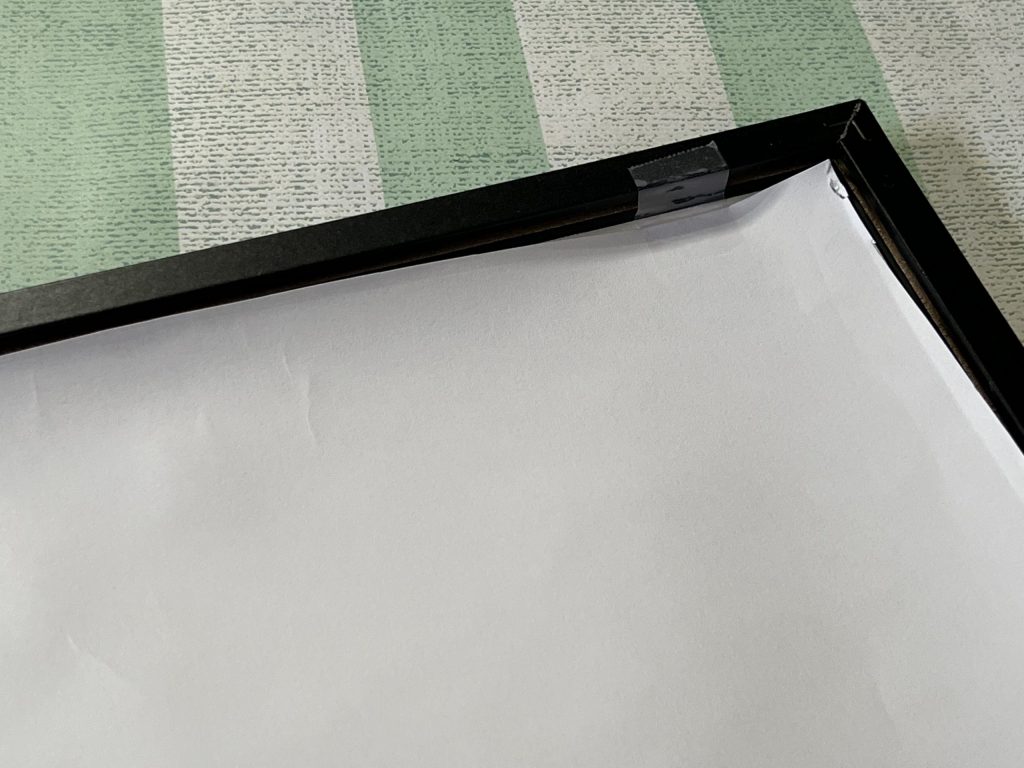
I replaced the back of the frame. How amazing does this look in the frame! It definitely has a polished appearance that looks much more expensive!
Finally, I had one more idea up my sleeve for these frames. I had purchased some cane webbing a few months back, knowing it would come in handy for a project. I decided to take a piece of it and frame it!
You can buy rolls of cane webbing on Amazon, but someone local was selling this roll for a bargain, so I scooped it up!
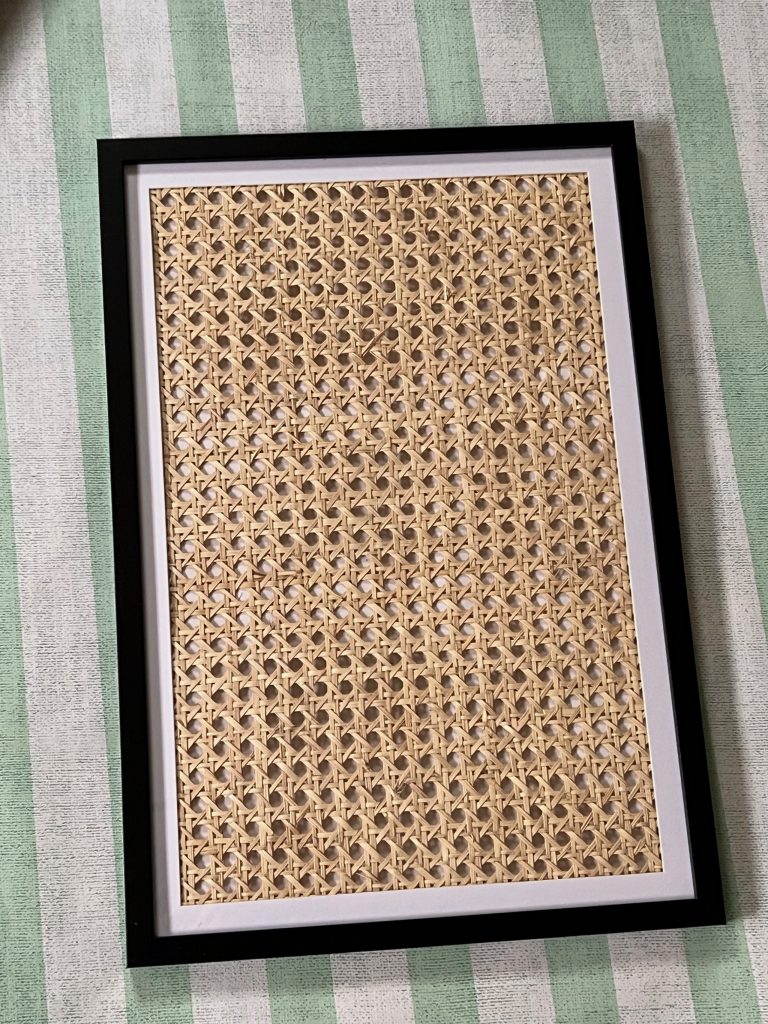
Cane webbing is very stiff. If using it for a furniture project, it’s best to soak it in water and then work with it. Since I was just using a small piece for framing, I skipped this step and just cut it to fit the frame.
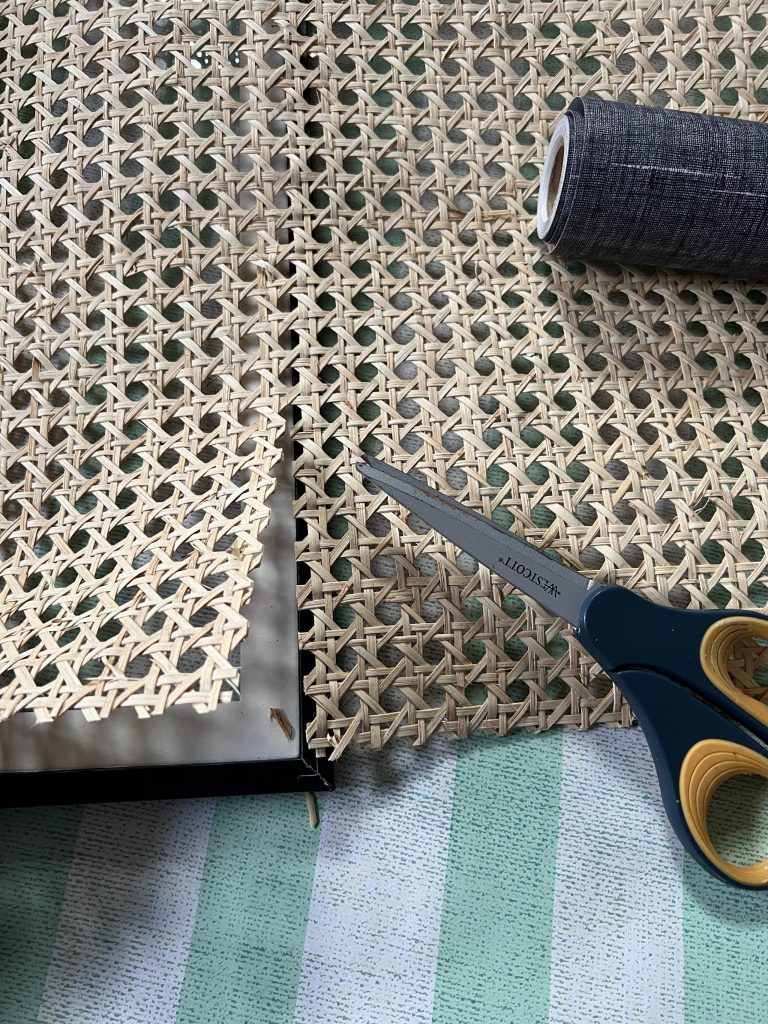
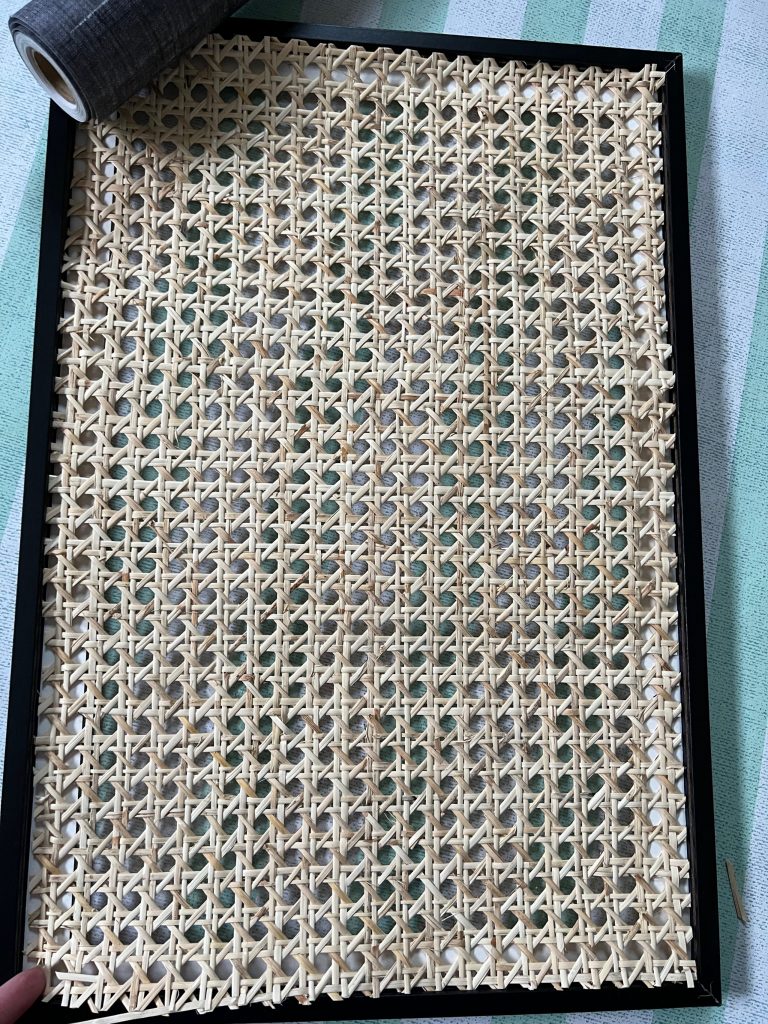
Once I had the piece cut, I replaced the frame backing and was done! This was super simple, and I think the end result looks fantastic!
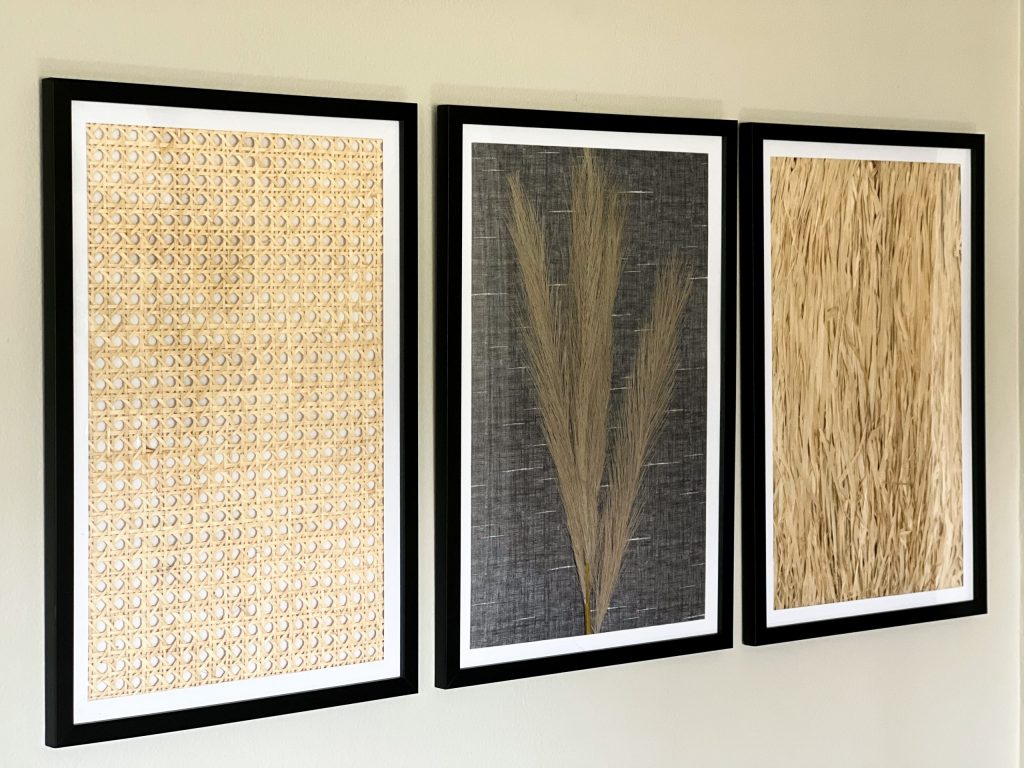
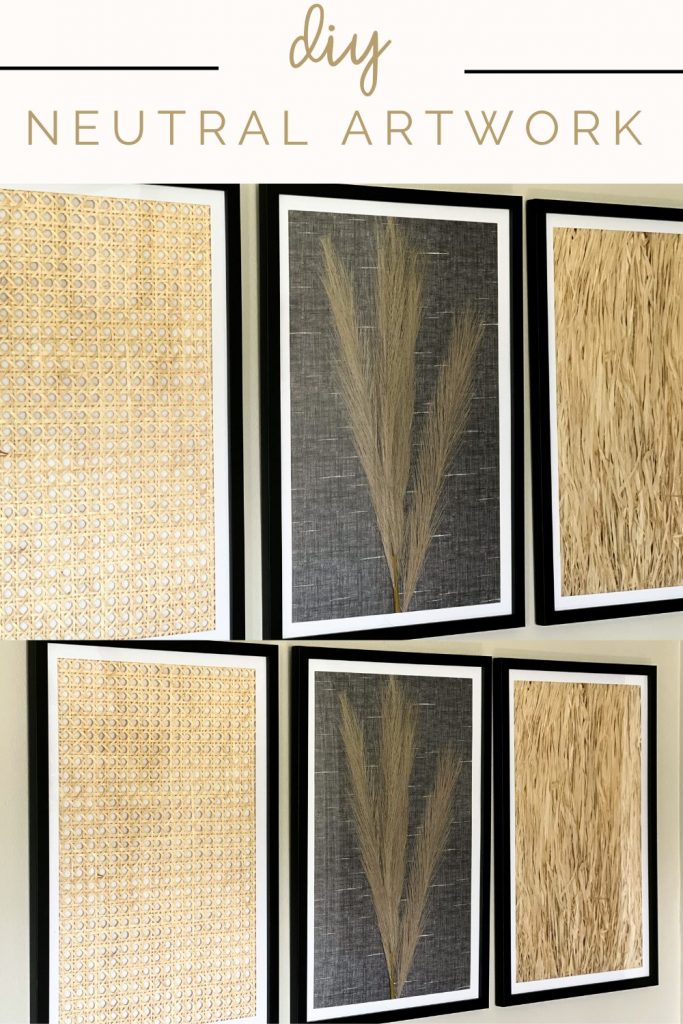
For less than $20, I have three framed art pieces for the wall! Y’all. I am OBSESSED with this!!! Seriously!
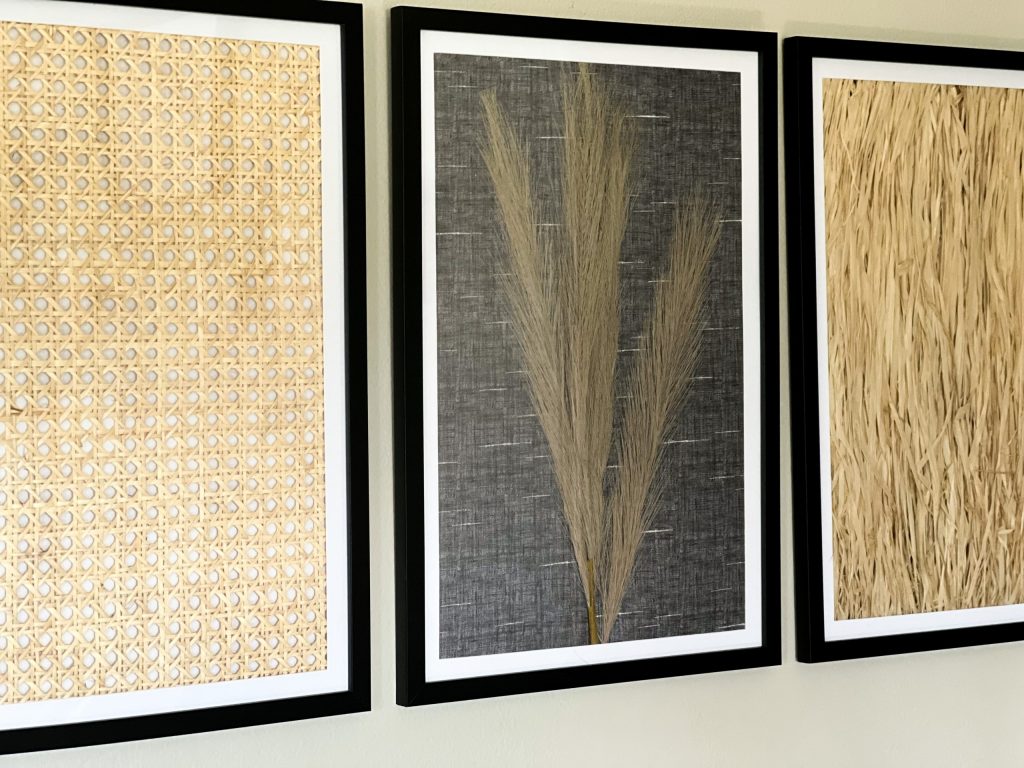
With just a little creativity, you can create very inexpensive wall décor for your home. Look for items with texture. Placemats are another great option! What items do you think would look great framed?
Be sure to PIN for later!
Last Updated on March 23, 2023

I definitely am doing this, I need to fill space behind my couch. Goodwill, here I come! Thanks Brooke
They look amazing.
Dang girl!
Your creativity amazes me!❤️
Such a nice display! I would NEVER have thought of doing any of those!
I love the way your creativity, sparks all these really cool ideas!!
Just great, organic wall art!
Thank you! ❤️
Love them all!