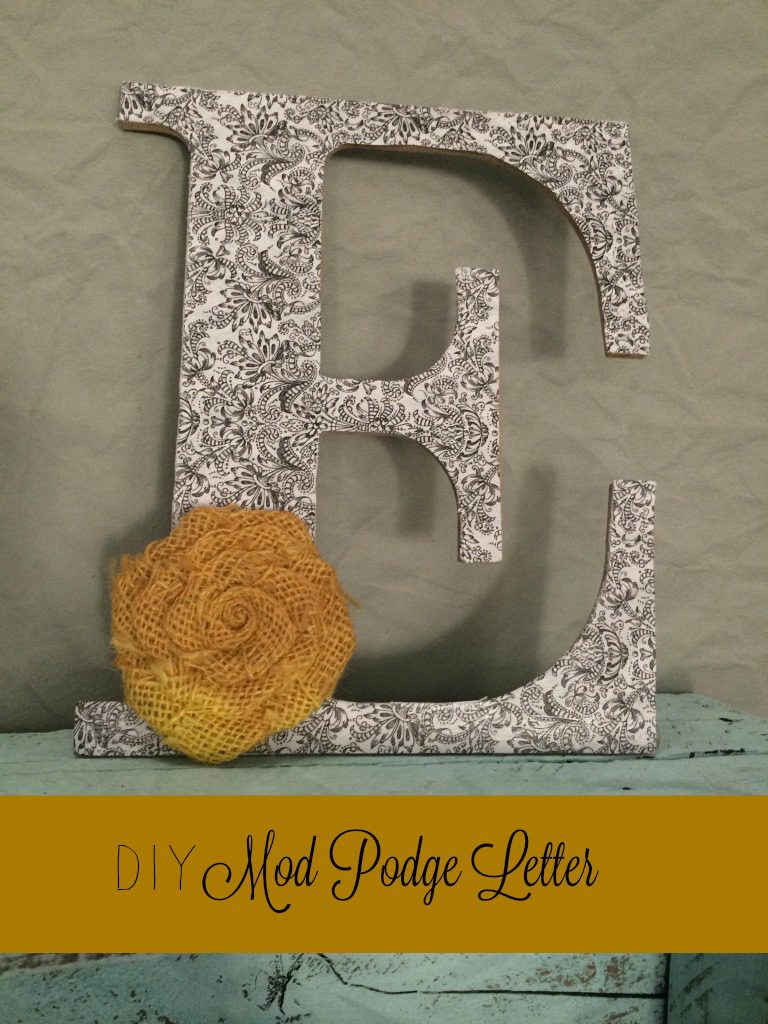
When you go shopping, everything you see has an initial on it. From wooden letters to soap dishes to toilet paper- you can find something with your initial on it. I don’t know about you, but I would prefer to stick with my Charmin, but to each their own 🙂
Who doesn’t love initials? It is one of the best ways to add personalized touches to your decor and makes great gifts!
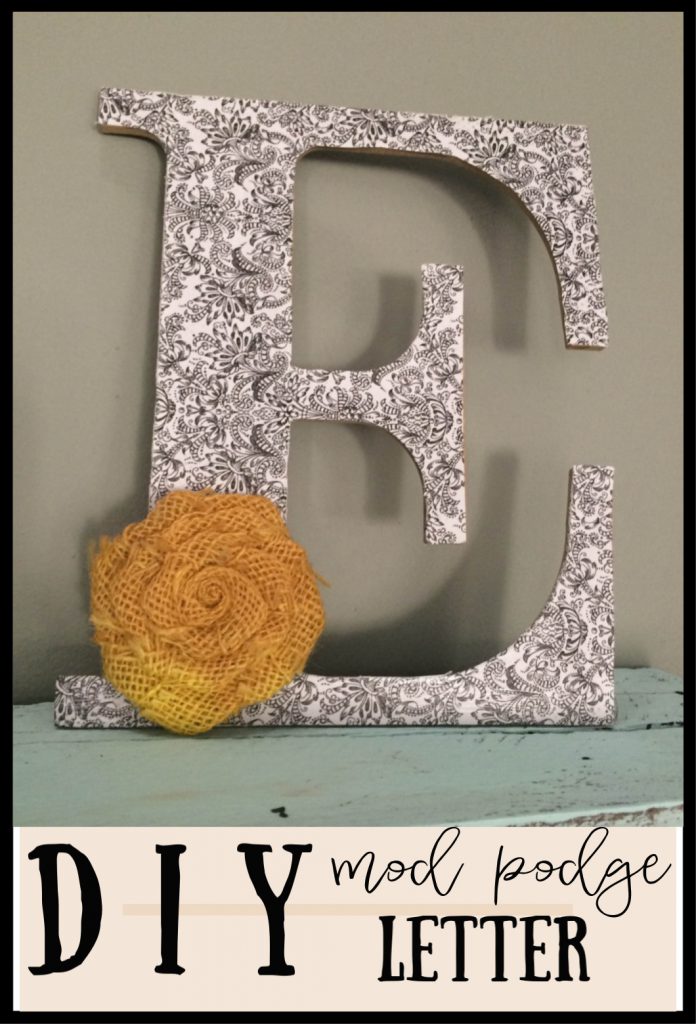
Today I want to share a tutorial with you on how to make a mod podge letter. It is so easy and CHEAP! You will be wondering why you haven’t done this before. If you are thinking- I am not fooling with that…I can just buy them. Well, you are right! You can buy them all day long. I looked around on etsy before writing this so that I could see about what price range 1 letter is going for, and basically- you can buy a letter anywhere from $8-$50! (Yikes) These letters I will show you can be made for $3.00 + embellishment cost if you wanted one. (assuming all you had to buy was the letter and the piece of scrapbook paper)
If you don’t know anything about mod podge (sometimes I take for granted that everyone knows this stuff), it is simply a glue substance that acts as glue (duh) and sealer. It can be used on pretty much all surfaces. It has been around forever, and it is a must have staple in the world of crafting. You can get it at any crafting store.
Supplies you will need:
Mod podge
small craft paint brush or foam brush
scissors
Wooden/chipboard letter ($2.49 full price- can catch them 1/2 off at Hobby Lobby often)
1 piece of scrapbook paper of your choice ($.50 MAX)
~Now, let’s get started!~
First, you will need to get your letter and your paper.
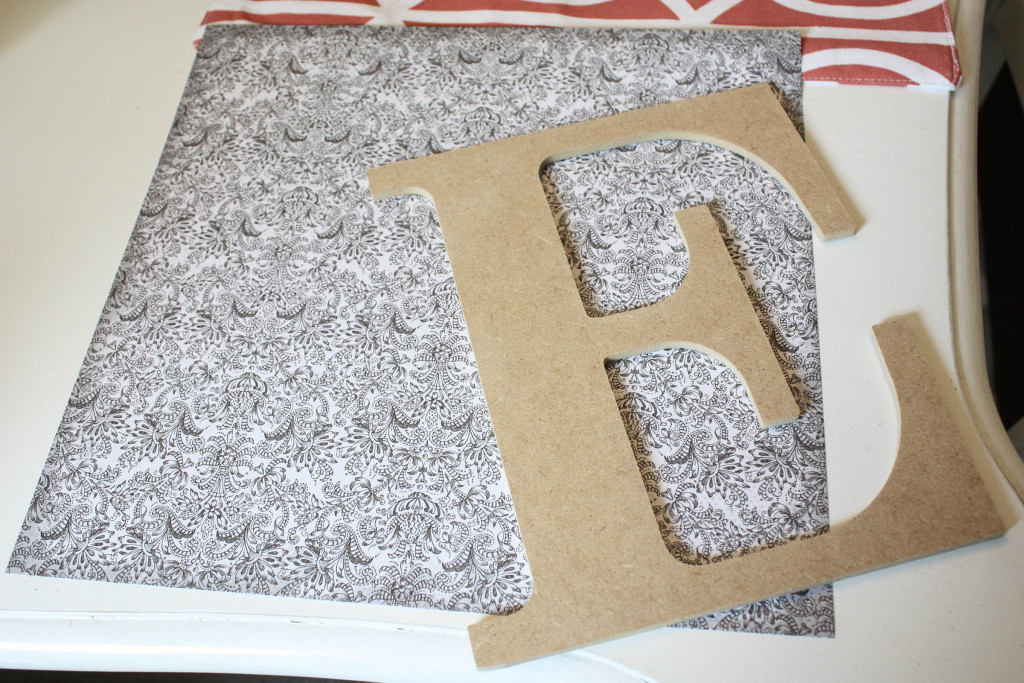
Secondly, you will need to turn your paper over where only the white side is showing. Then you will position your letter on the paper and trace the letter with a pen or pencil.
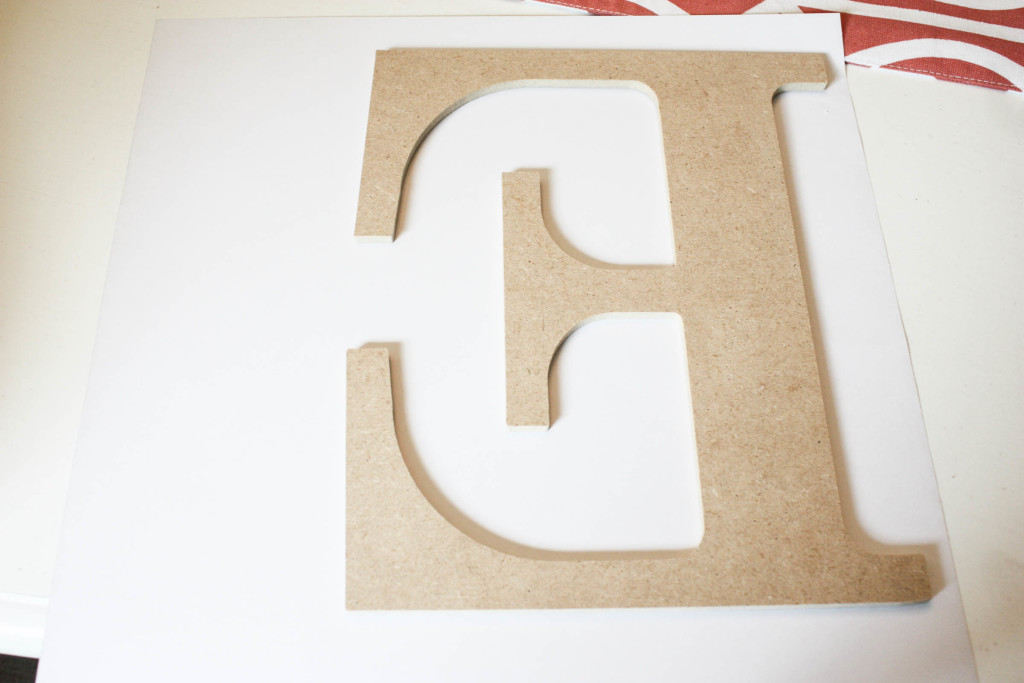
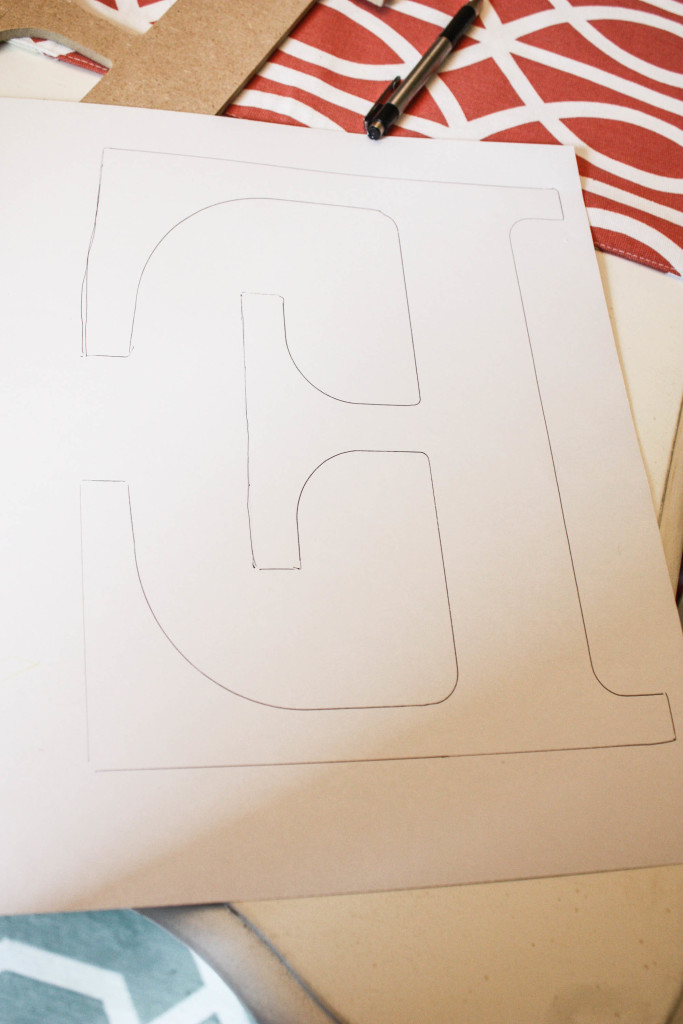
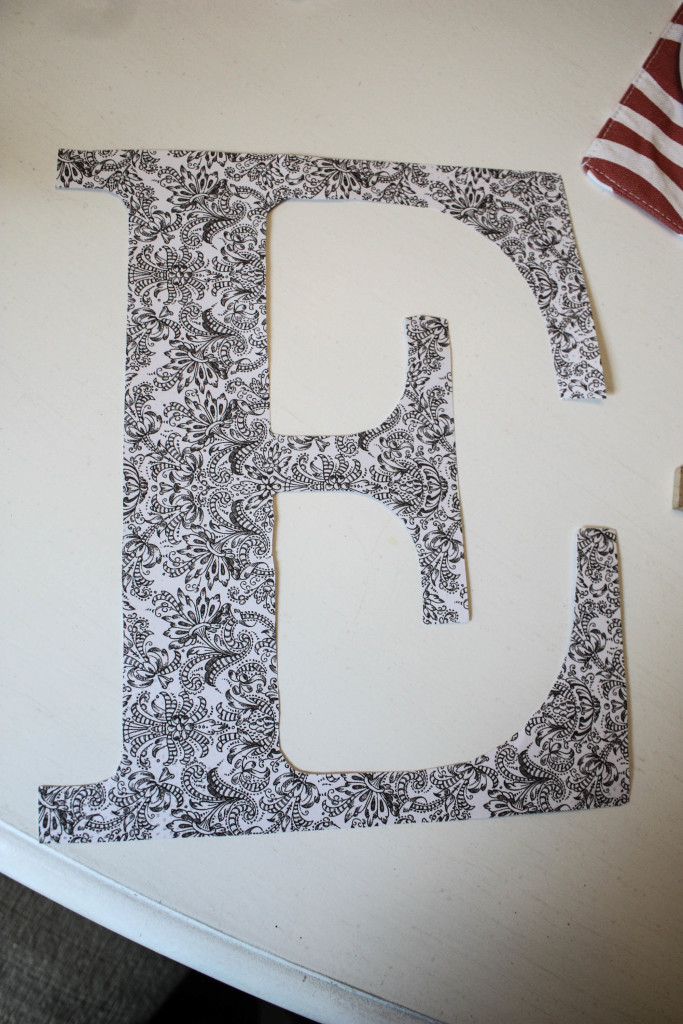
After tracing your letter, it is time to cut the letter out and place it pretty side up onto your wood letter (just to make sure it fits properly). As you can see, the paper fits perfectly over my letter. If there are any portions that hang over a little bit, you will take care of that at the very end.
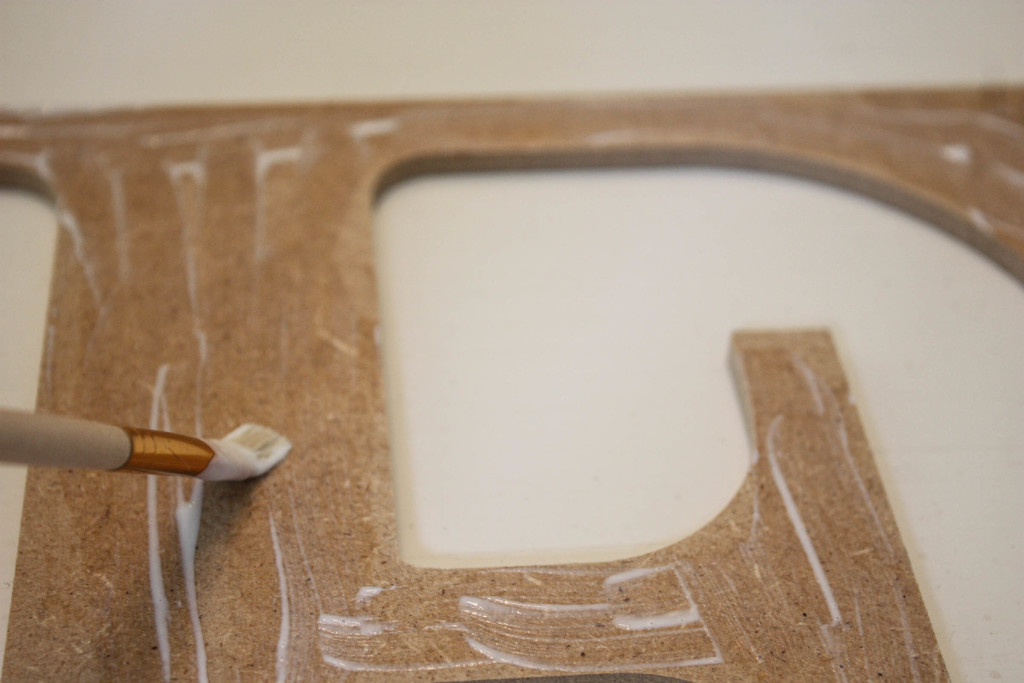
The next step is to start putting on the mod podge! This stuff dries FAST, so be quick! All you need to do is start painting your modge podge all over your letter. Be sure to cover the entire letter in a thin layer.
When you have lathered your letter in modge podge, it is time to put your paper over the top and smooth it down. *Be sure to lay the paper as flat as possible. It can bubble fairly easy, so you really need to make sure it is flat. I recommend taking a credit card or something of that nature to flatten it out really well to ensure no bubbling!
When it is on there, check to make sure none of the paper is hanging over the sides. If it is, take a piece of sand paper and gently rub the edges. This will give it a finished look and will rub away the extra paper!
It is up to you as to whether or not you chose to put another coat on the outside of the paper. Sometimes I do, and sometimes I don’t. This particular letter does have a coat on the outside. If you decide to do that, you will simply make sure the mod podge is dry underneath and then apply another layer of the mod podge with your brush to the outside of the paper, in just the same way you did before. It will dry completely clear.
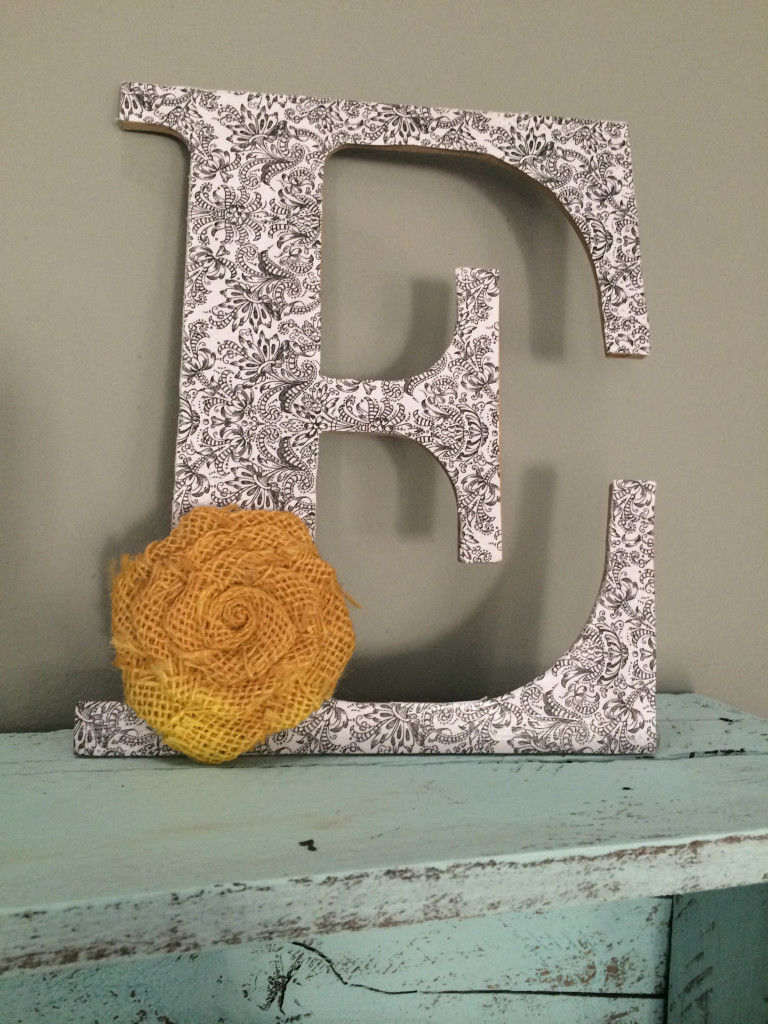
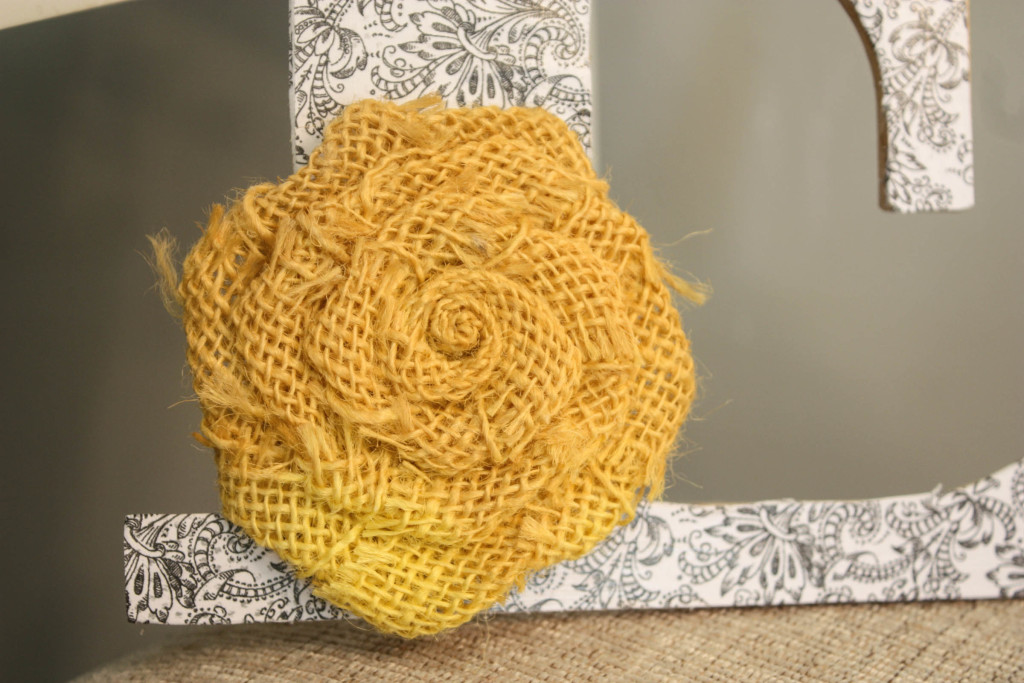
After that, you are finished! Add any embellishment you wish- or leave as is! I had this cute yellow flower left over from a previous project, and I thought it looked really cute, so I hot glued that bad boy on. I love the way it turned out!
PIN FOR LATER!
Last Updated on February 17, 2020

Love the DIY Modge Podge Letter! You obviously have some fabulous decorating skills! I really like the project and the finished product.
Added this pin to my Pinterest site as well. Here is the link: https://www.pinterest.com/melredd/blog-link-parties-and-blog-link-ups/
Blessings,
Melanie
Thank you!!! I love decorating! I appreciate the compliment. It really does mean alot! And thank you for pinning!
Can’t wait to try this!