I don’t know if y’all know this, but to me…leopard is a neutral. I say that all the time in my boutique, but I also see it that way minimally in decorating too!
If you saw my FALL MANTEL, you noticed that I have a tad of leopard print peeking through, and I absolutely LOVE it.
While perusing the scrapbook paper aisle at Hobby Lobby the other day, I saw this leopard scrapbook paper! AHHHHH! I had NO idea what I would use it for, but of course I had to have 2 pieces!
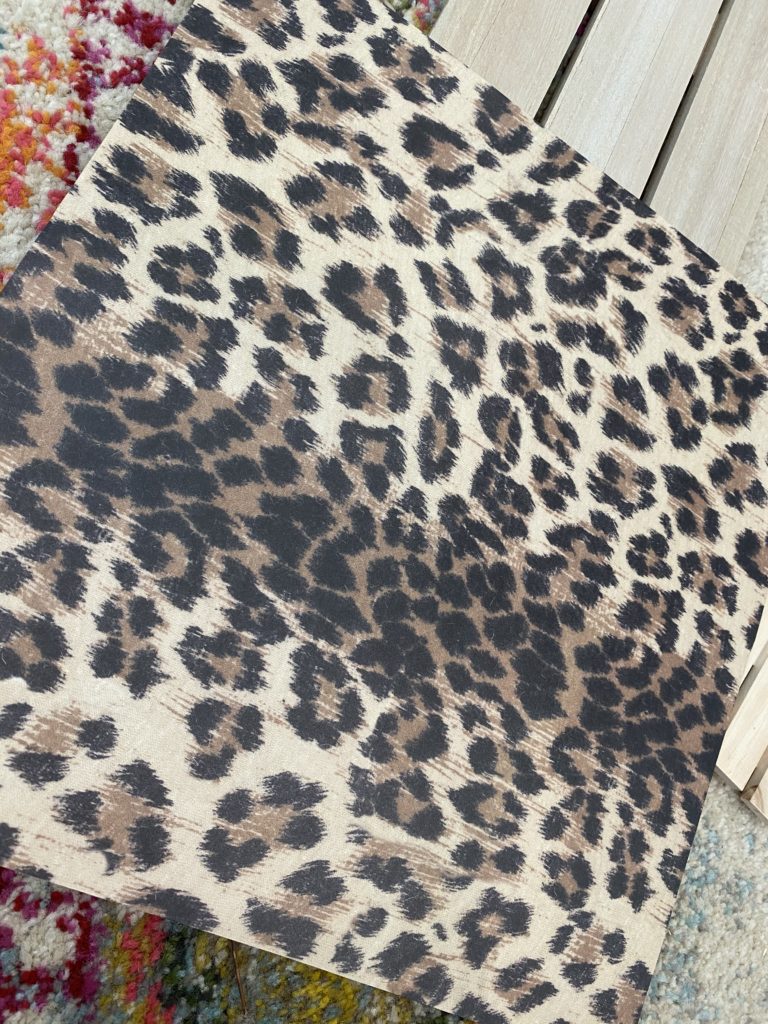
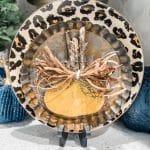
Today, while checkin’ out my stash of supplies, I had an AHA moment! I would make a PUMPKIN (imagine that, huh?!)…and I would use my little Dollar Tree pallet as the pumpkin base!
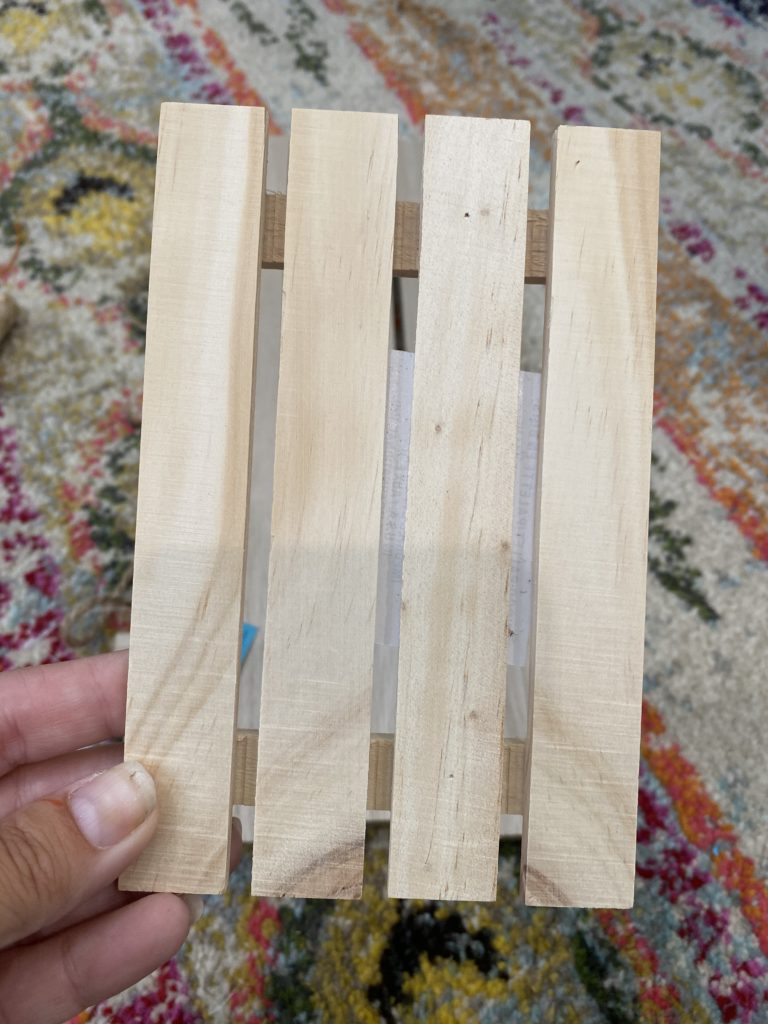
That little baby was only $1…and I had NO clue what I was gonna use it for when I bought it, but of course…I had to have it when the creativity hit- which it did today!
So, let me tell you what I did….
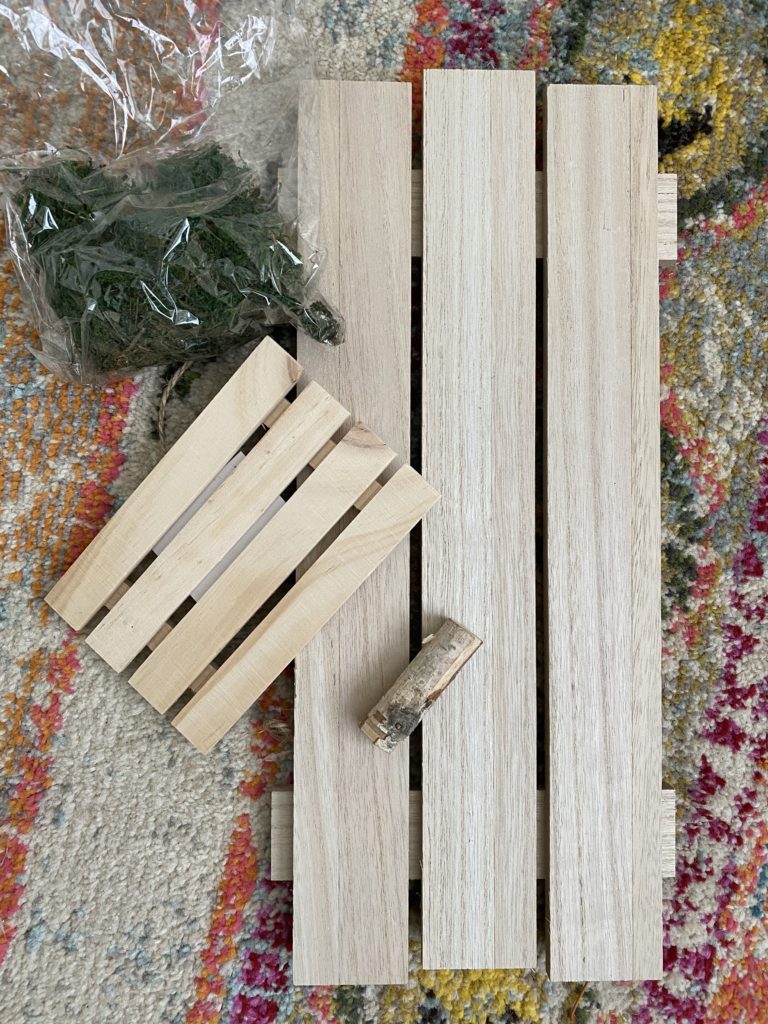
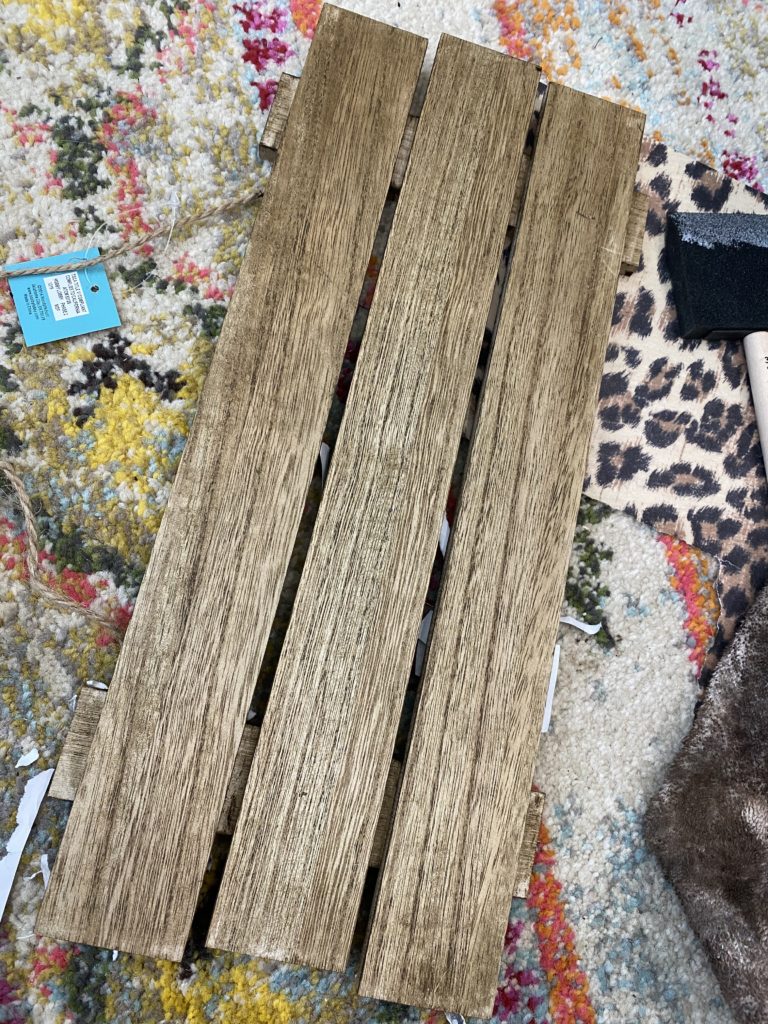
First, I stained my larger board. This board came from Hobby Lobby and was only $5.00.
I used my KILZ dark wax from Walmart. You have seen me use this many times. It is my favorite.
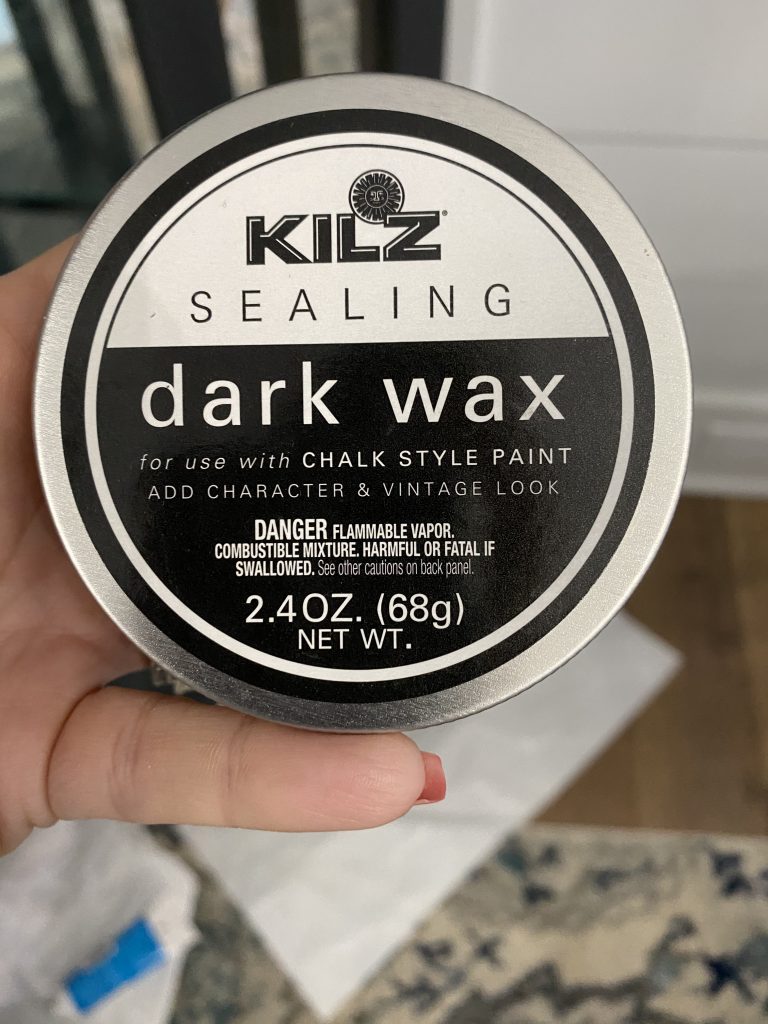
I simply brushed it all over my board and then wiped it off with my old rag.
Then, I proceeded to mod podge my pumpkin. HERE is a good tutorial on all steps for that!
Since the slats provide a little harder base, I will walk you through the whole process of how I got it looking just right.
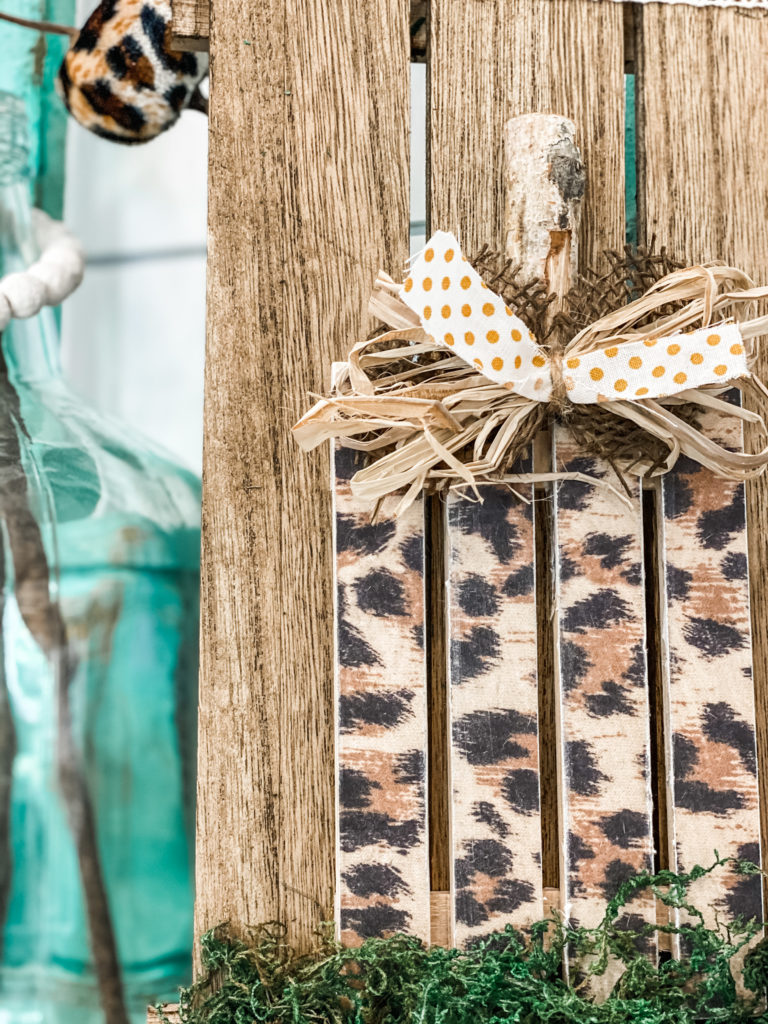
First, I took the mod podge and simply put it all over the pallet, and then I covered it with my paper. As you can see, I tore my paper out instead of cutting it, for more visual appeal.
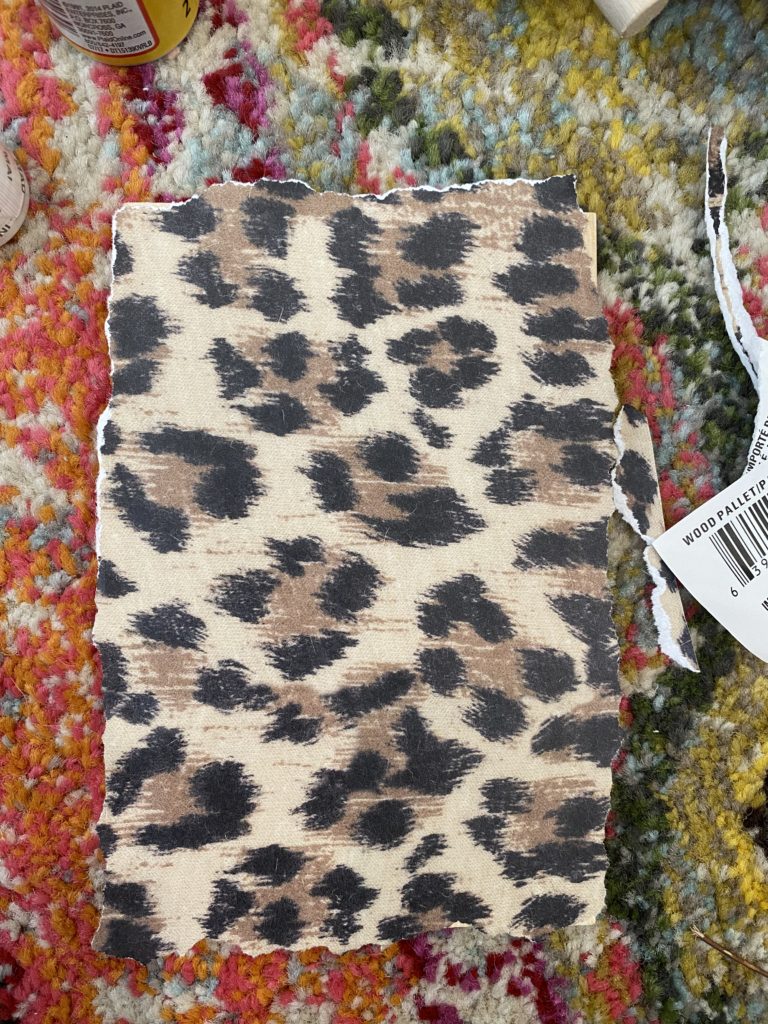
After that, I took my finger nails and separated the slats. It was super easy.
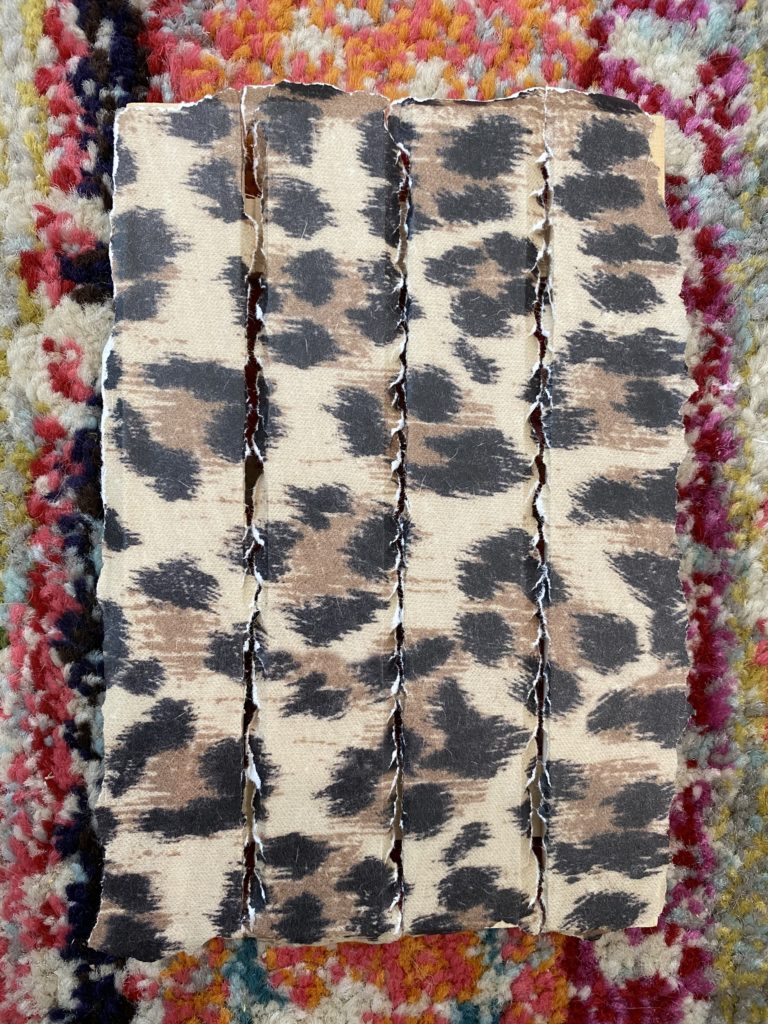
Then, I took my sanding block and sanded all the sides and the insides of the slats really well, so that the excess would just peel right off! Worked like a charm!
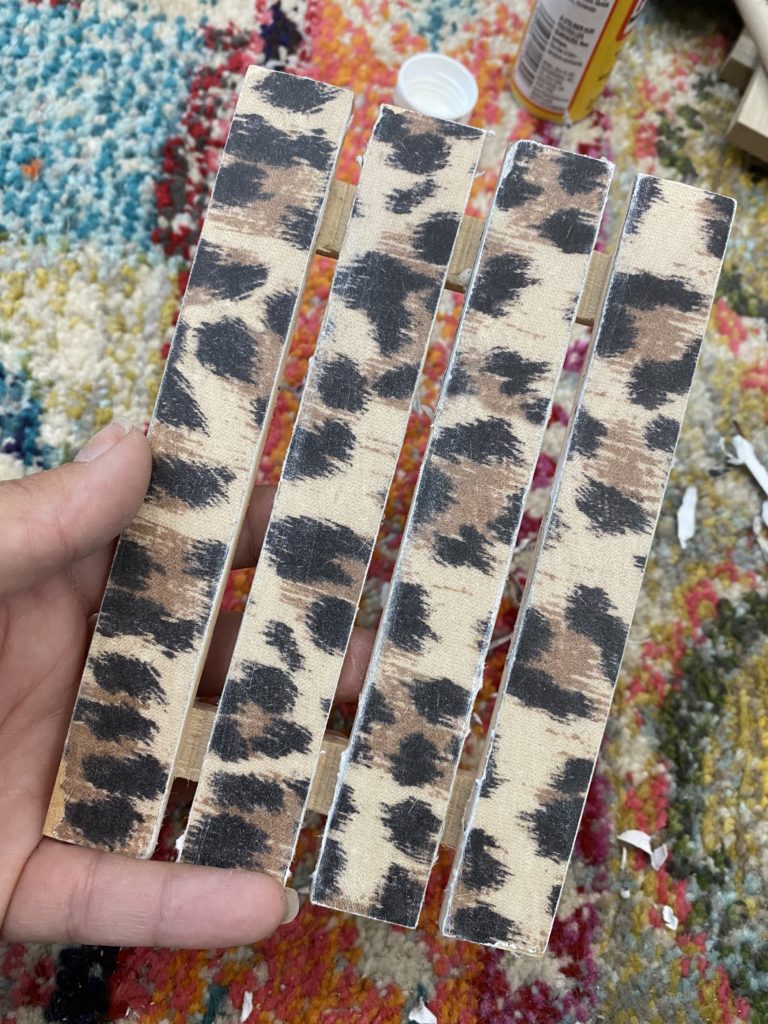
After that, I hot glued my leopard piece onto my stained board.
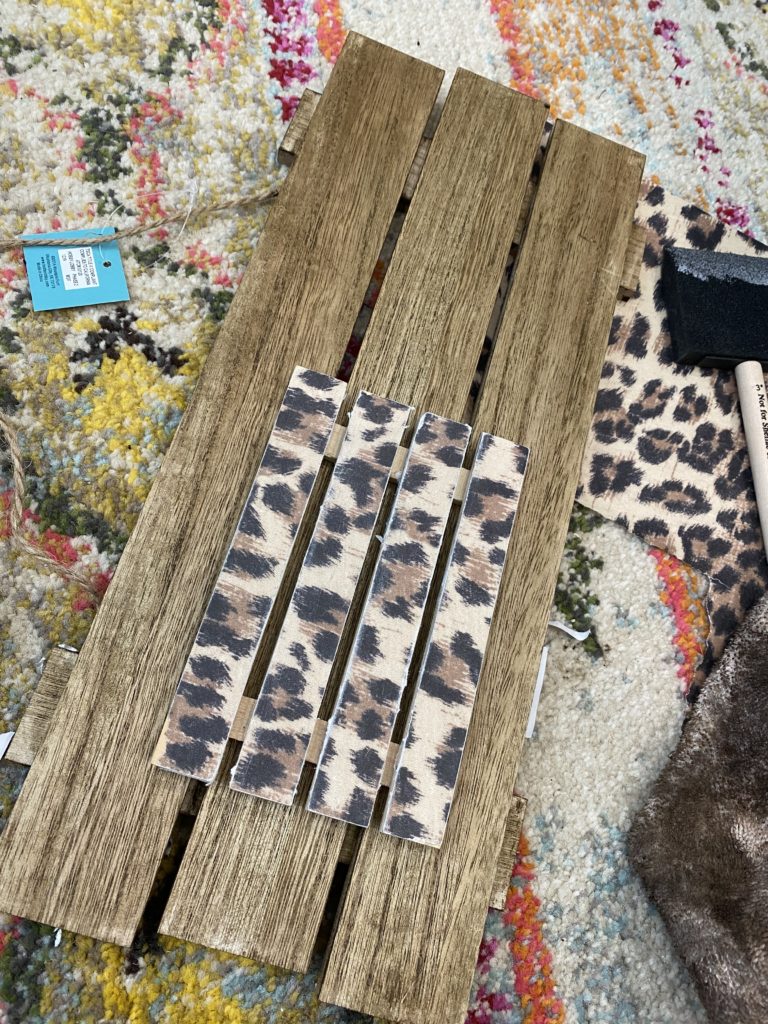
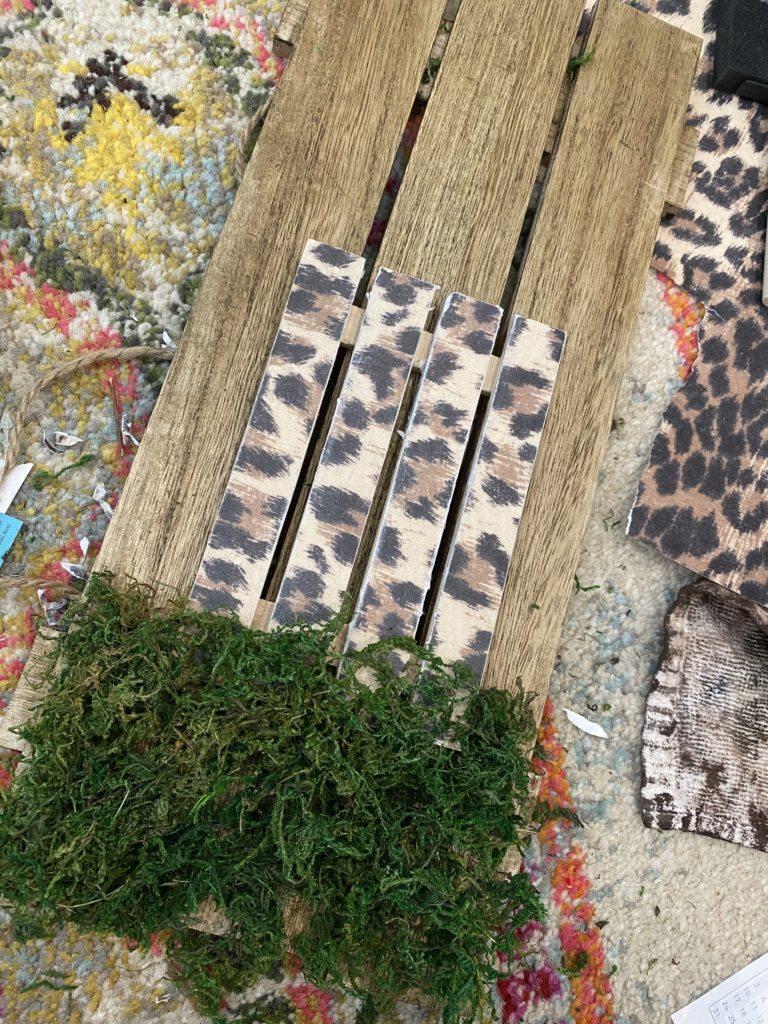
For the “patch” or grass…I added some Dollar Tree moss and hot glued it in place below my pumpkin and covering the bottom just a tad.
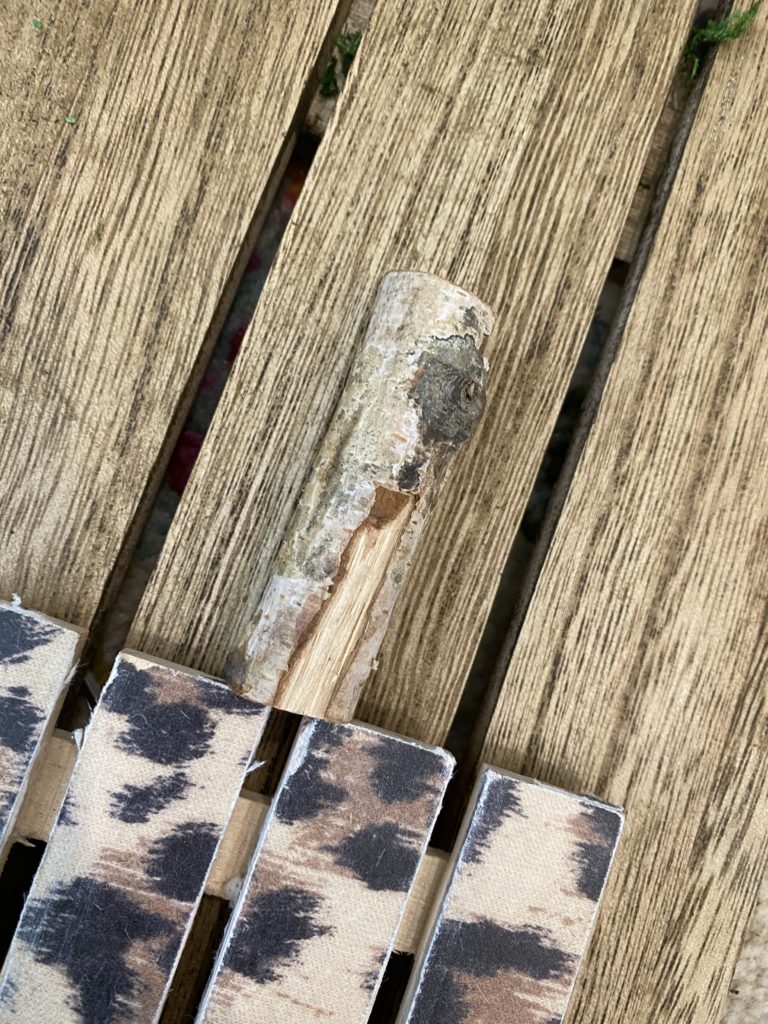
Then, I needed a stem…so of course I used one of my sticks from my Dollar Tree haul last year (they had bags of them for just $1).
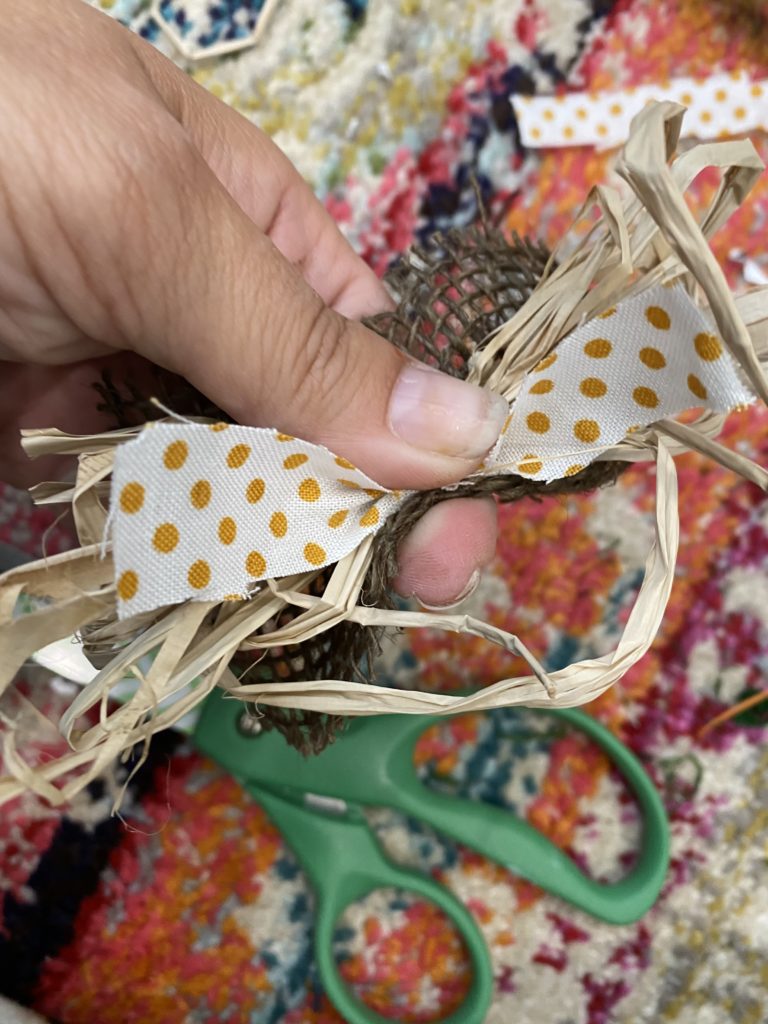
No pumpkin is complete without a cute BOW.
This bow was soooo easy. I scrunched up some raffia, took one little piece of buralp and cut a piece of fabric and placed them all together, pulling them together with a piece of twine. I then hot glued it on my pumpkin! SO CUTE!
Y’all…I can’t even with this project. It is SERIOUSLY one of my very favorite fall projects EVER…and even if you are not a leopard print fan, you can take this and make it your own!!!
and you may notice that the top has 2 pieces of lace. Well…I felt like it needed something, so I had this ribbon from Dollar Tree, and it made the perfect accent!
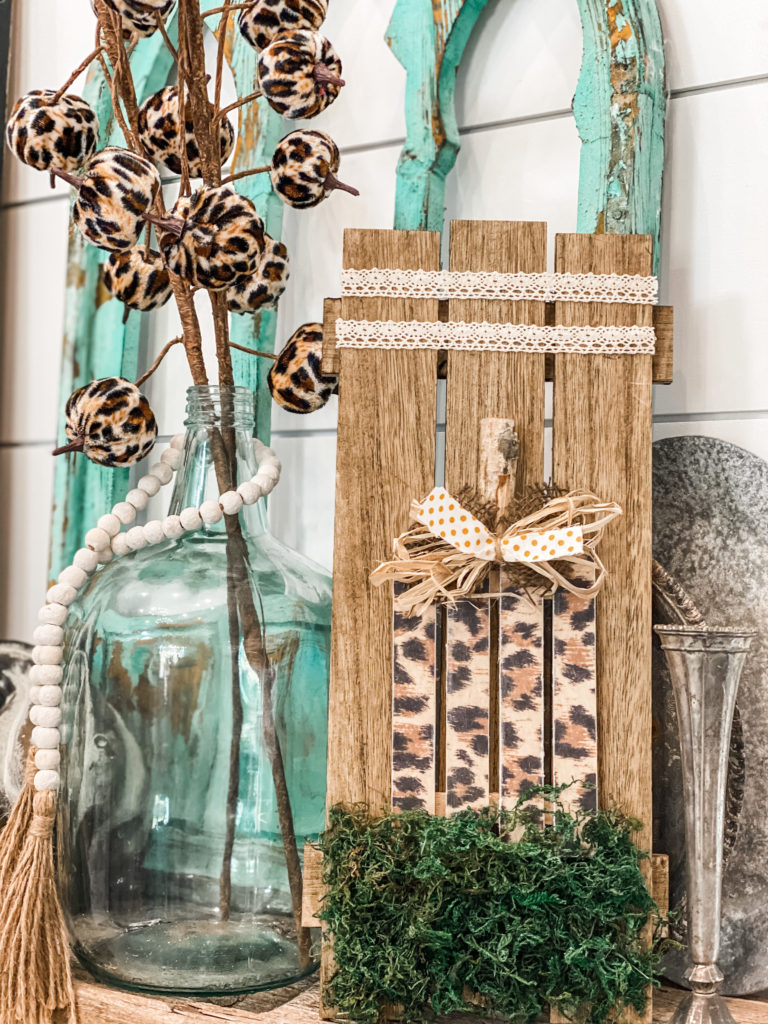
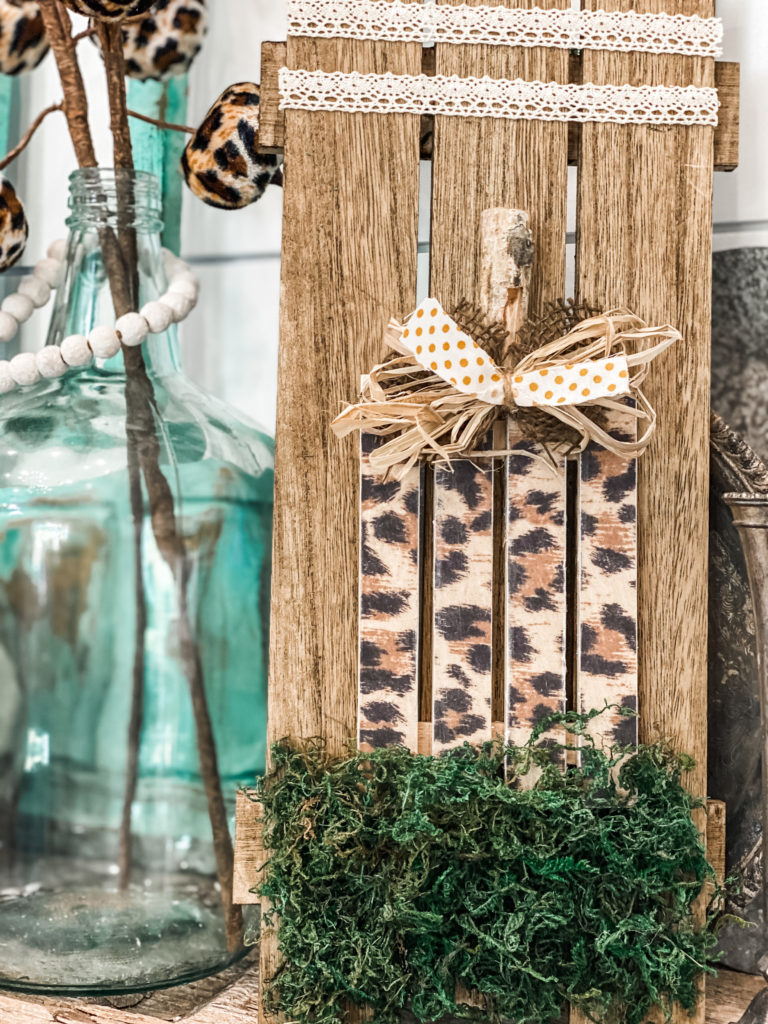
Do you love this as much as I do?! If you do, would you share it with a friend and pin it on Pinterest?! PRETTY PLEASE!
PIN FOR LATER!
Last Updated on November 4, 2020

So cute. I am amazed that the little pumpkins on the limb are exactly the same leopard tones as the paper! There’s so much variation in the shades of leopard prints. Love the look.
Too cute, love it❤️❤️
Loving the Cheetah pumpkin sign. I couldn’t wait to see what you were going to do with this cheetah print decor.
Oh my hosh, how cute!
I love how it turned out!
Love this pumpkin craft ❤️ All your crafts are just adorable, enjoy watching your lives on YouTube as well. Your so uplifting!
One of my favorites you created!!!!! Well done girl!!!
I love watching you tutorials of crafts! I never knew Dollar tree or DG carried the amount of craft supplies that they do.