I’ve learned over time to NEVER discredit something because of its looks. Think outside the box! That’s exactly what I did when I saw this clock on clearance at Hobby Lobby. The framework for a masterpiece was there, but it lacked functionality because of the busy background image. It got my creative juices flowing, and I decided to give it a little makeover!
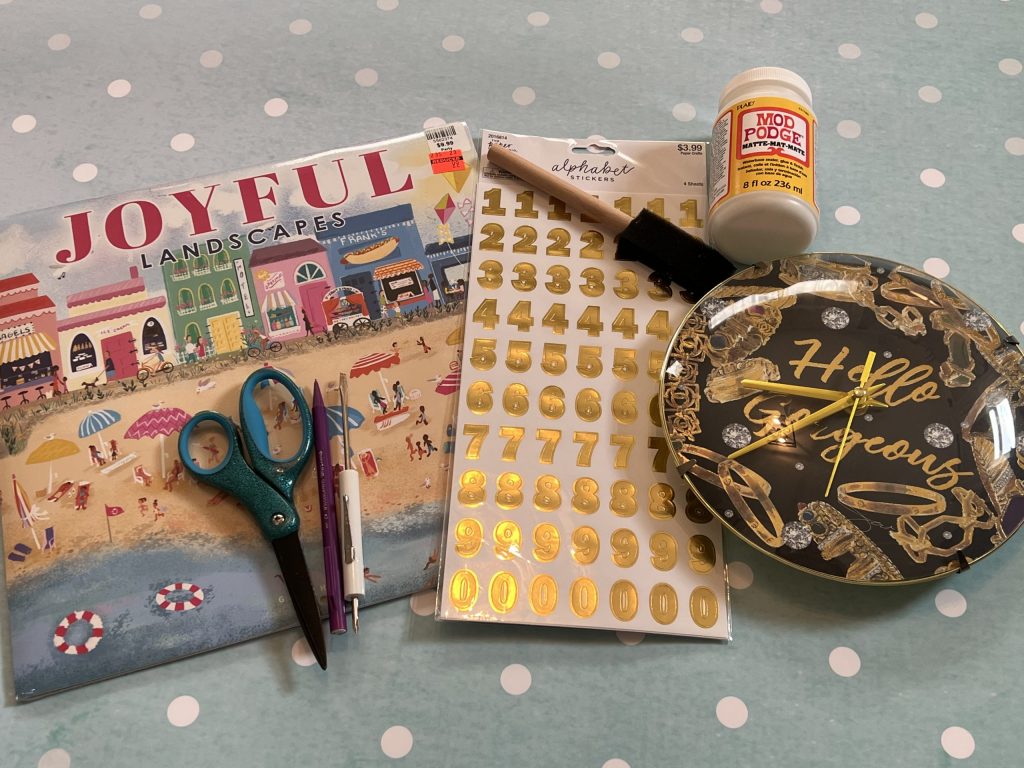
I used the following supplies:
- Clearance clock from Hobby Lobby
- Gold number stickers from Hobby Lobby
- Calendar for photo (scrapbook paper would also work)
- Mod podge
- Foam brush
- (1) piece of printer paper
- Scissors
- Pencil
- Small screwdriver
- Razorblade
- Tape measure or ruler
Let me start by saying that calendars are PERFECT to use for décor! I found this adorable calendar a few weeks ago at Hobby Lobby for $1! ALWAYS look for pretty calendars!
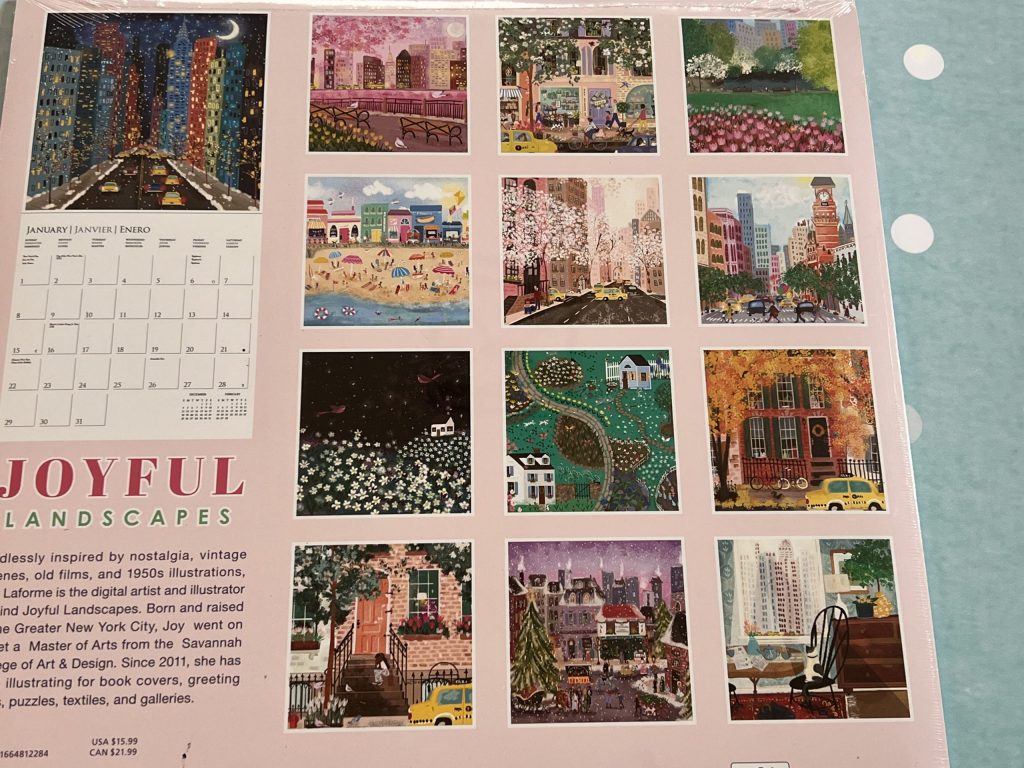
It has the most vibrant and beautiful colors! I purchased this calendar for the sole purpose of using the photos for décor and crafting. I just LOVE it!
Okay, back to the project…I had this clock, and I loved the shape and overall size. The gold accents were right on trend, and it had a little easel back for it to stand alone. HOWEVER, the background was very busy and it lacked any numbers, so it really didn’t function well as a clock.
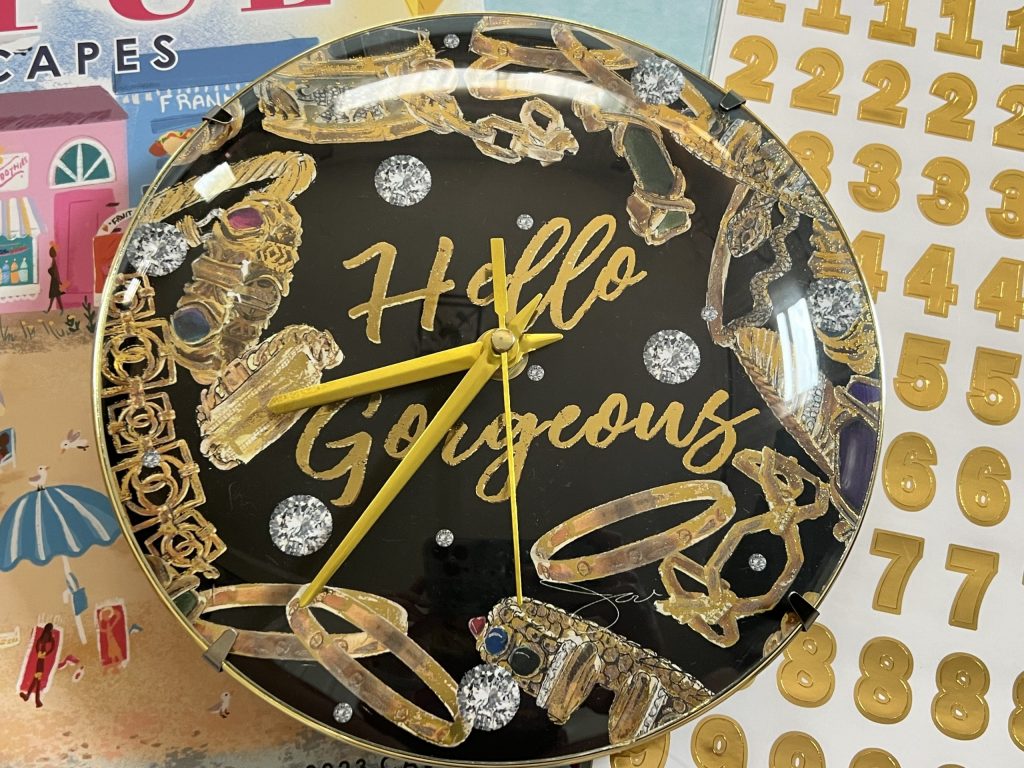
I decided to replace the background and add some numbers! The first thing I did was turn the clock over face down on a piece of white printer paper. Using my pencil, I traced around the clock to create a template for the clock face.
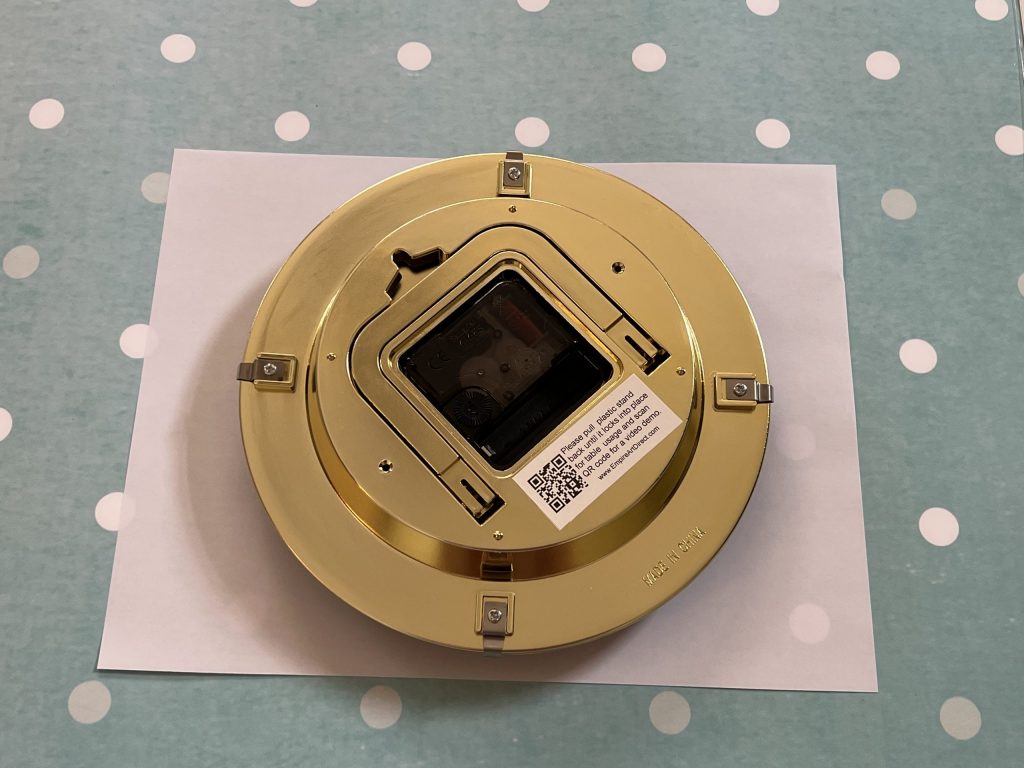
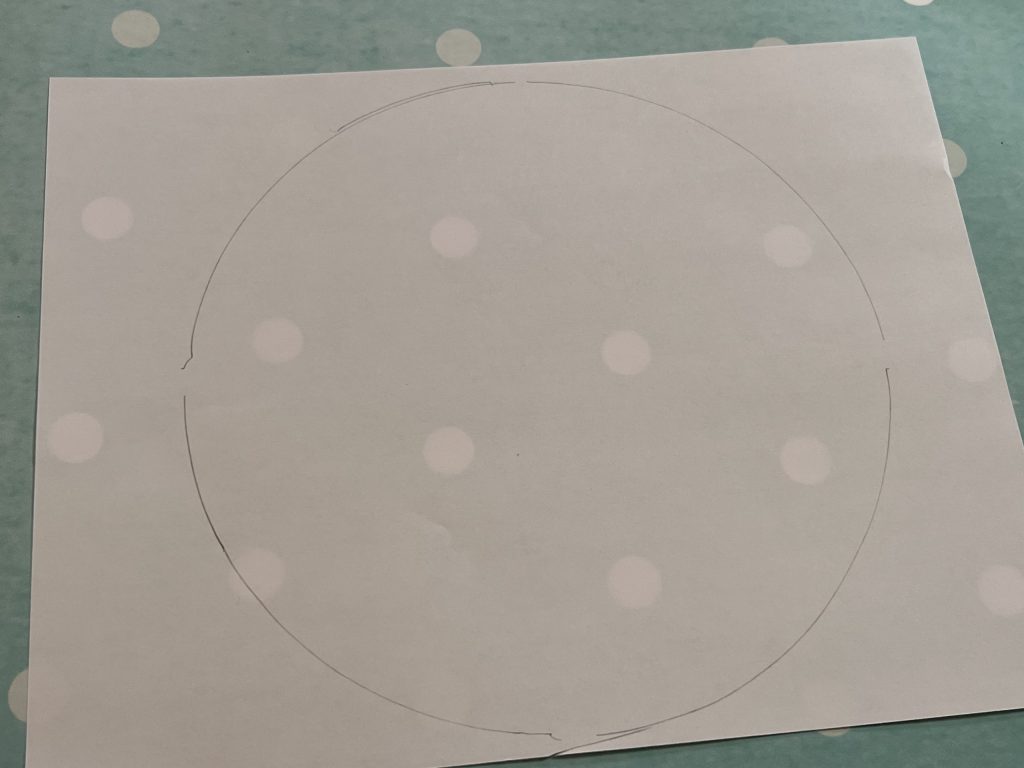
After cutting out the template, I then needed to decide what picture I was going to use for the background. The template allowed me to place it over the pictures in mind and get a general idea of what will be seen in the background.
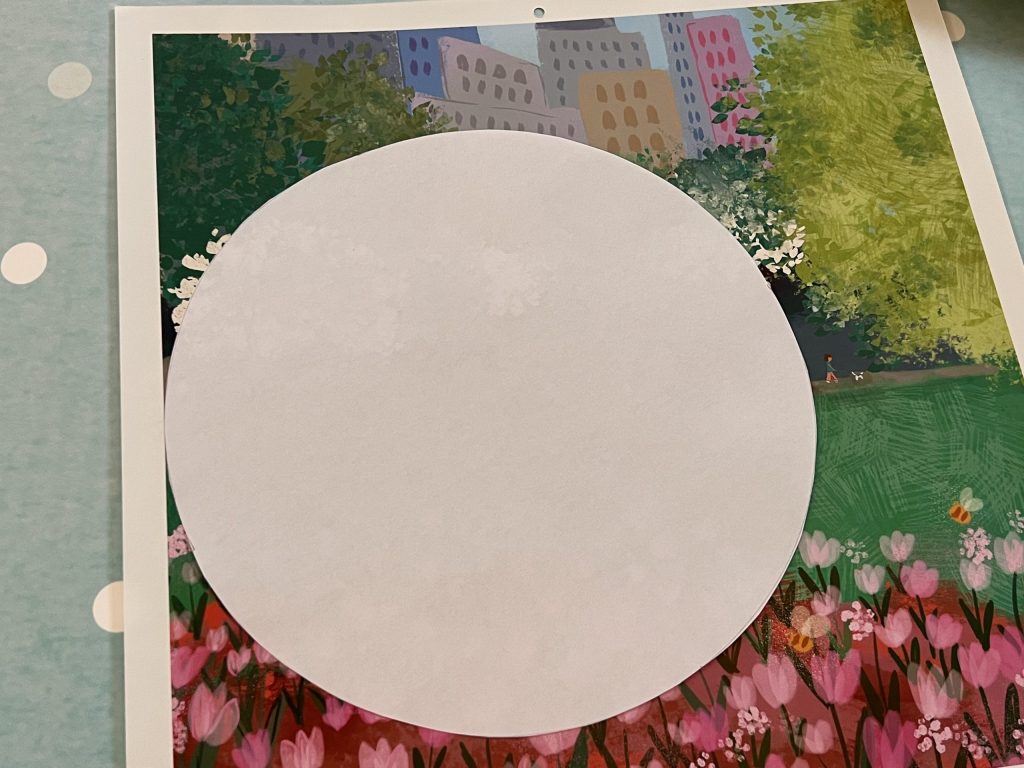
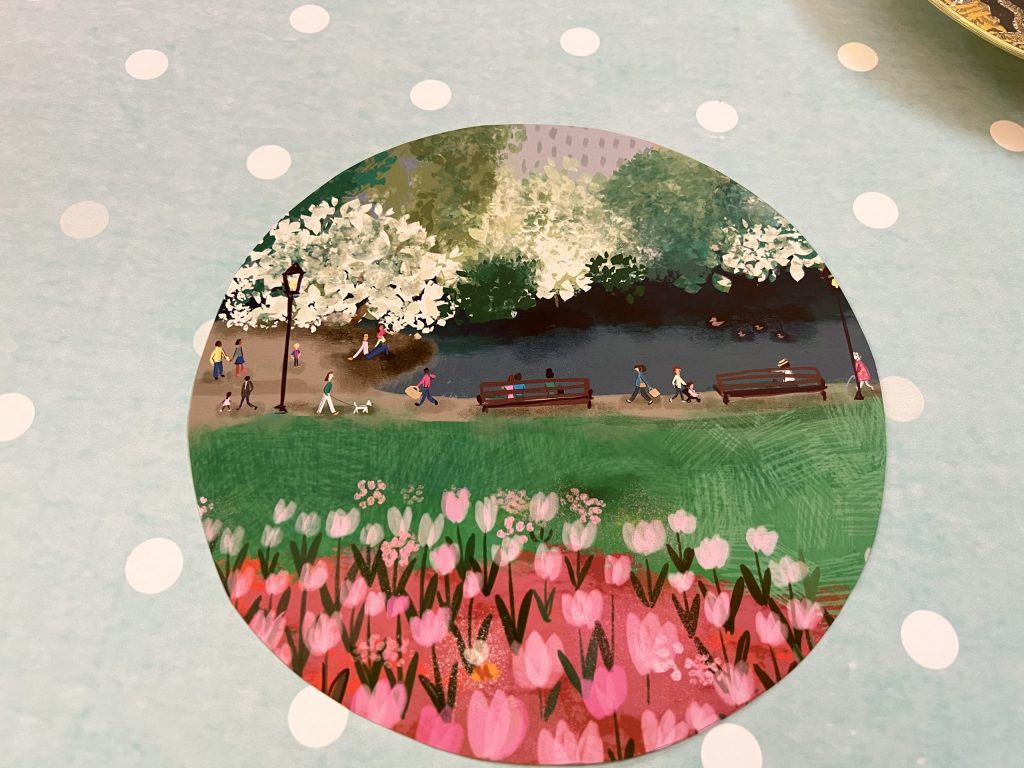
Once I selected an image, I traced my template onto the photo and cut it out. Aren’t these colors just gorgeous?!
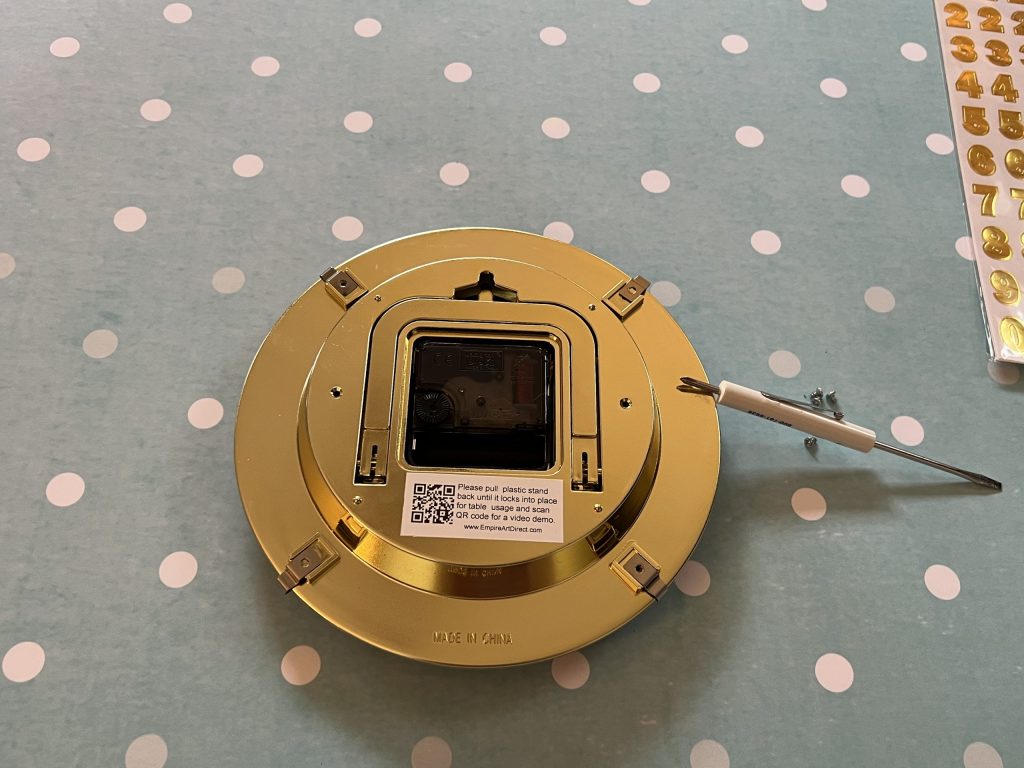
Next, I removed the screws on the back of the clock that secured the plastic dome on the front.
The next part took a little bit of measuring and some eyeballing. I measured the diameter of the clock, took half of that to get my center point and then marked the center on the back of my cut out.
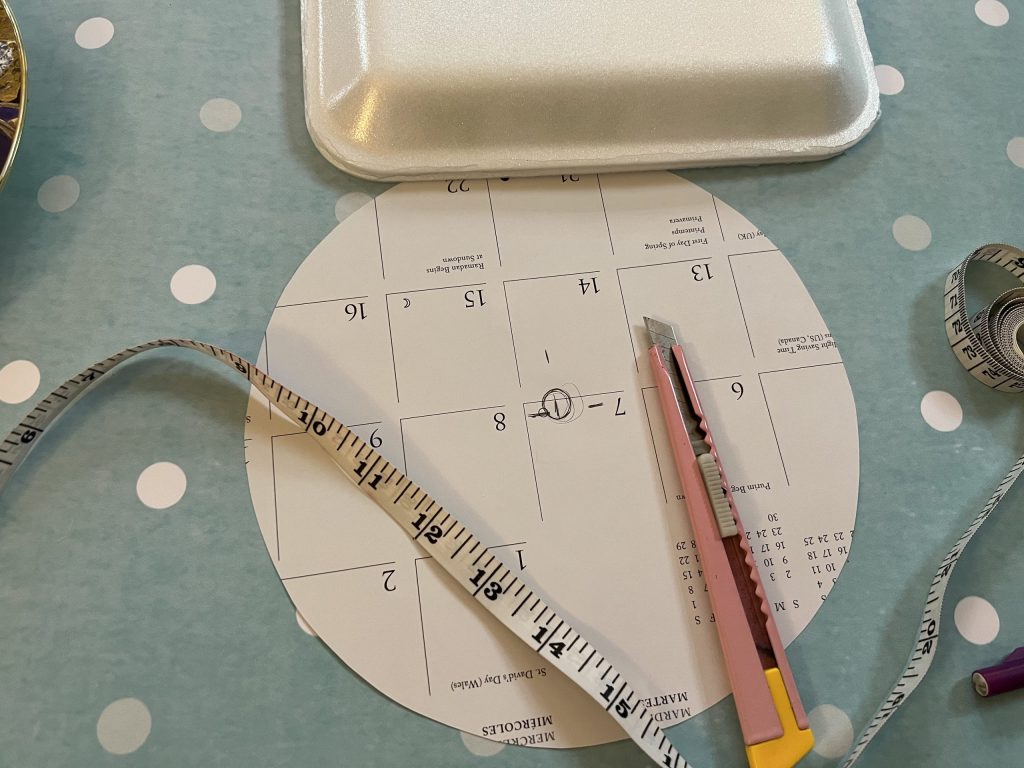
I sort of just eyeballed the size of the opening in the center and used a razorblade to cut a nice clean circle.
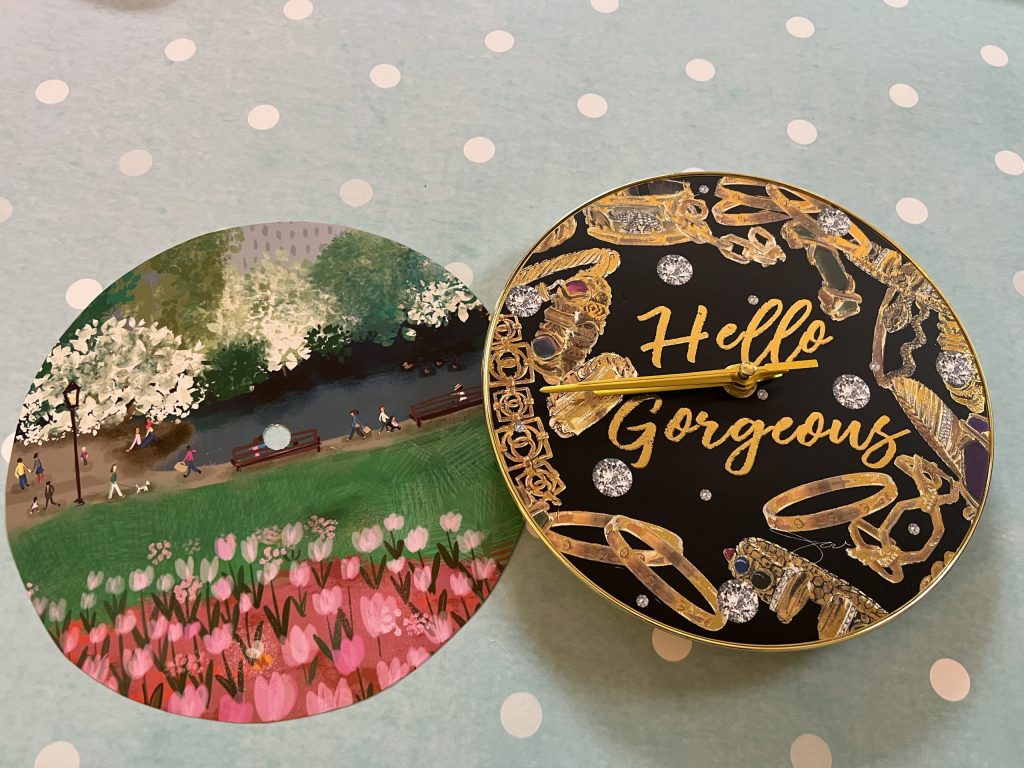
So, now we have just a tiny opening, and we need to get it behind the clock hands. With the battery out, I carefully pushed the clock hands clockwise until all three hands were in the same position. (I took the picture before I moved them all to the twelve o’clock position.)
Using the razorblade or scissors, you will cut a straight line at the bottom of the center circle. (In this case, I cut a line from the bench in the center of my picture down to the top of the light pink flowers.)
Then, I slid all three clock hands through the circle opening on the picture cutout.
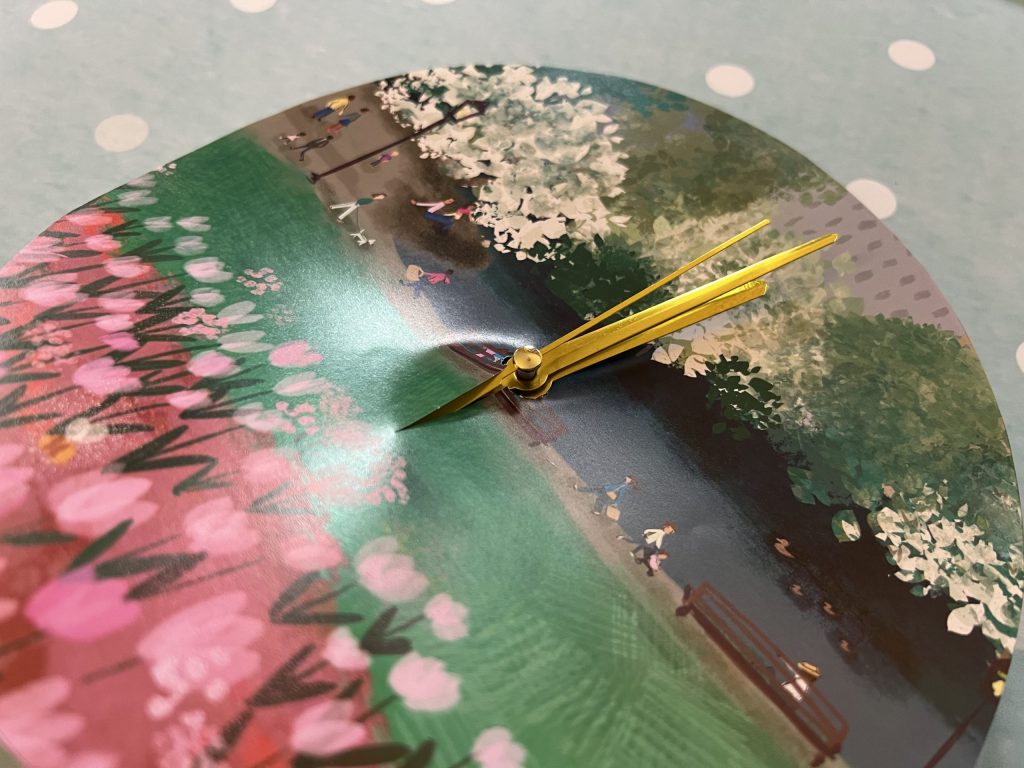
Very carefully, I maneuvered the clock hands through the opening and pressed the paper flat to the clock face.
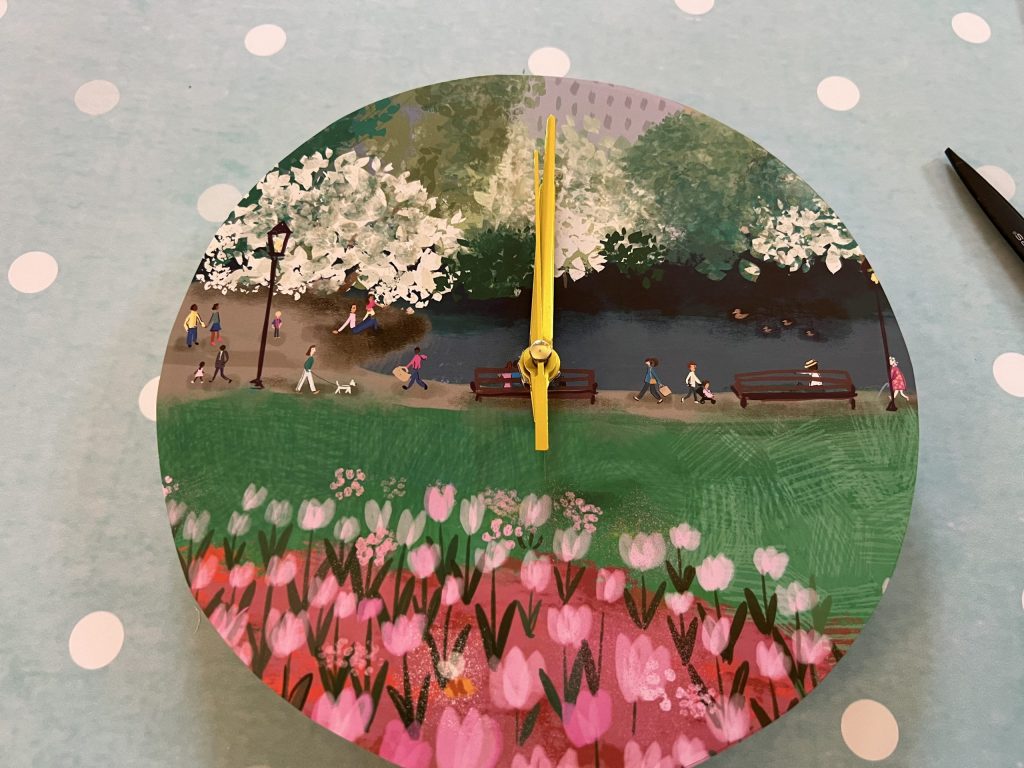
Shew, we got through the most difficult part! Next, I applied a VERY light coating of Mod Podge on the clock face to help secure the paper in the right position.
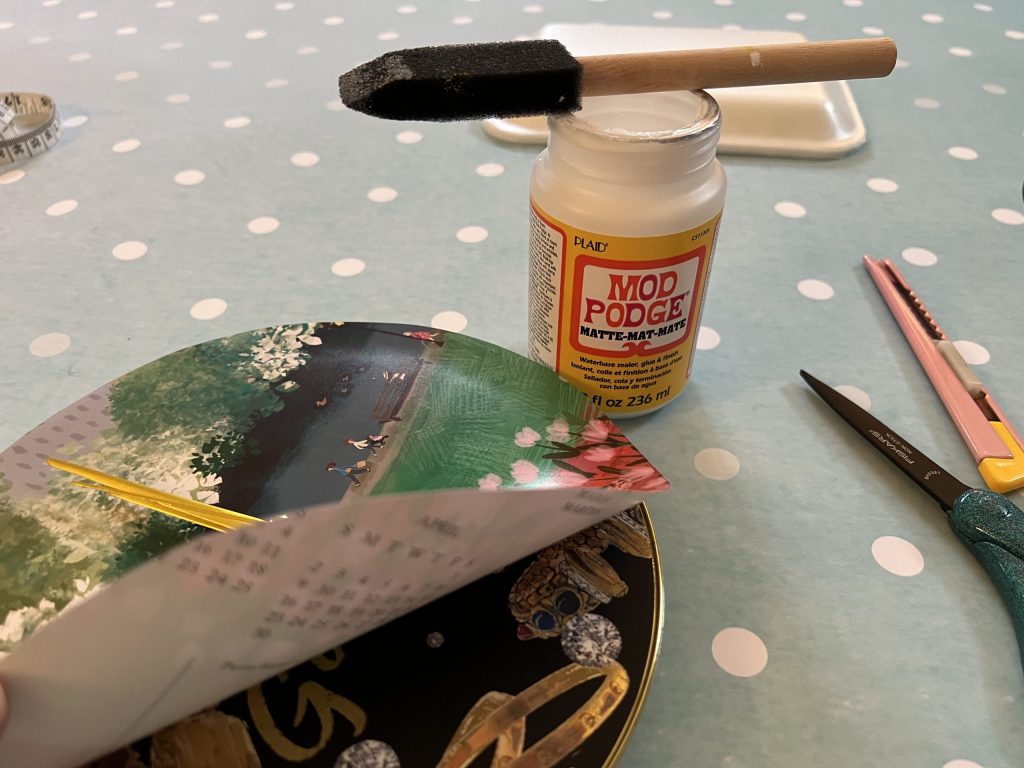
Now, we need to cut the excess paper, because our background is larger than the clock.
For this part, I used my fingernail to push the paper around the rim of the clock. This gave me a good edge to see where to cut.
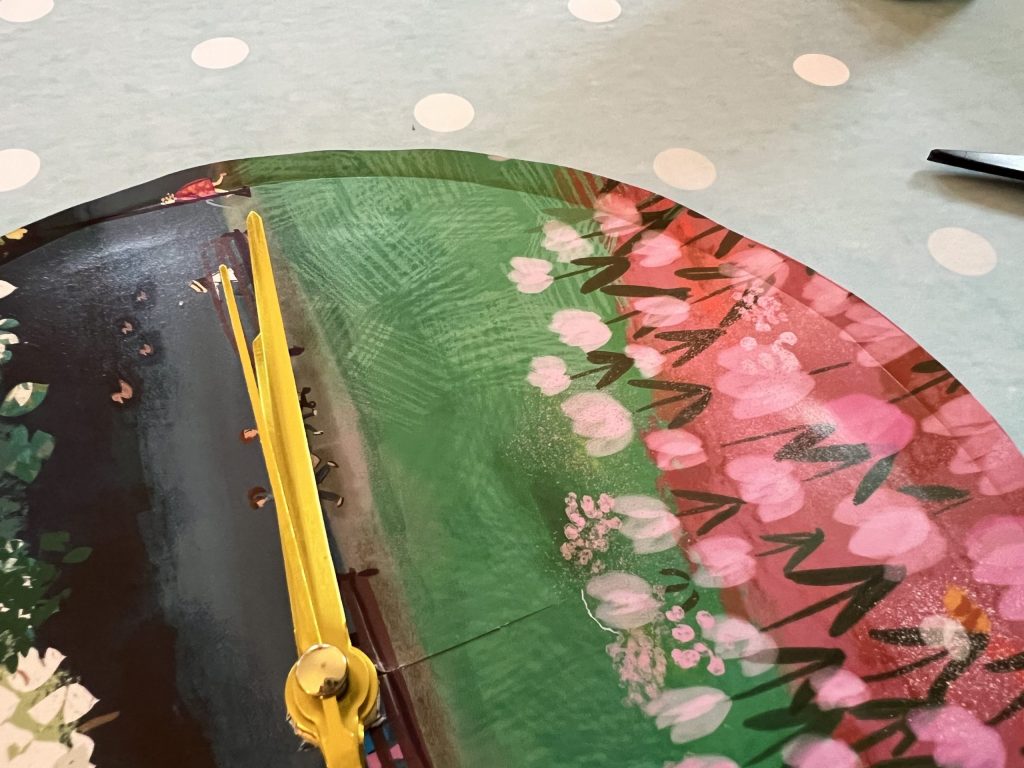
Using my razorblade and applying minimal pressure, I carefully cut the excess paper from the front of the clock.
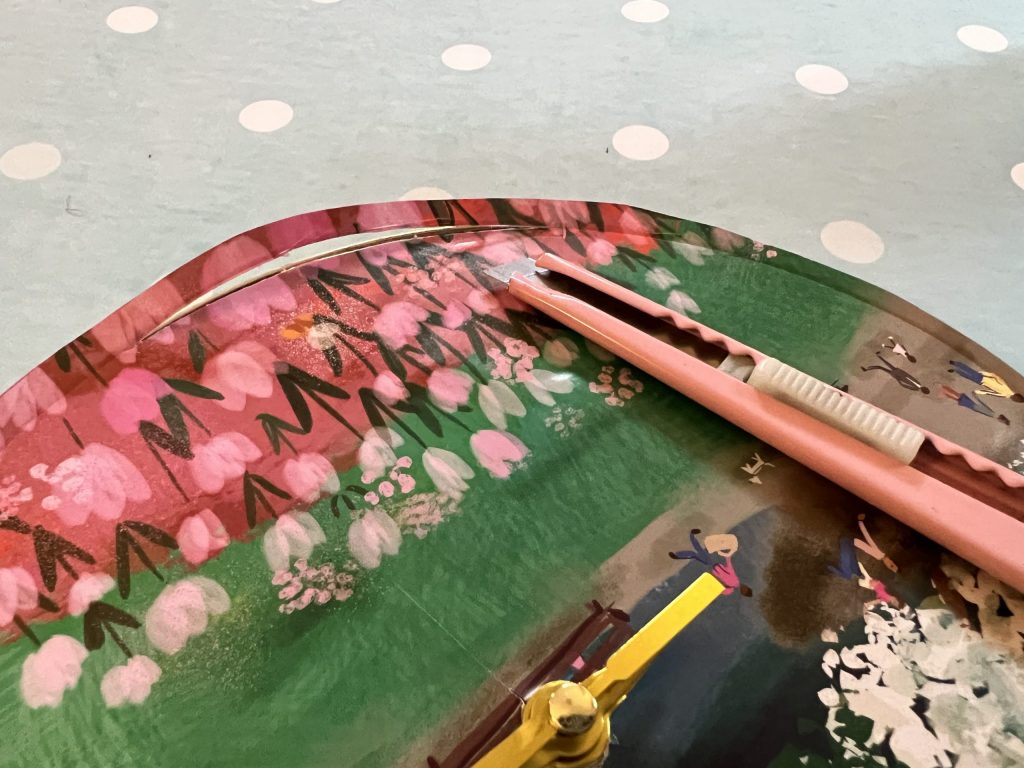
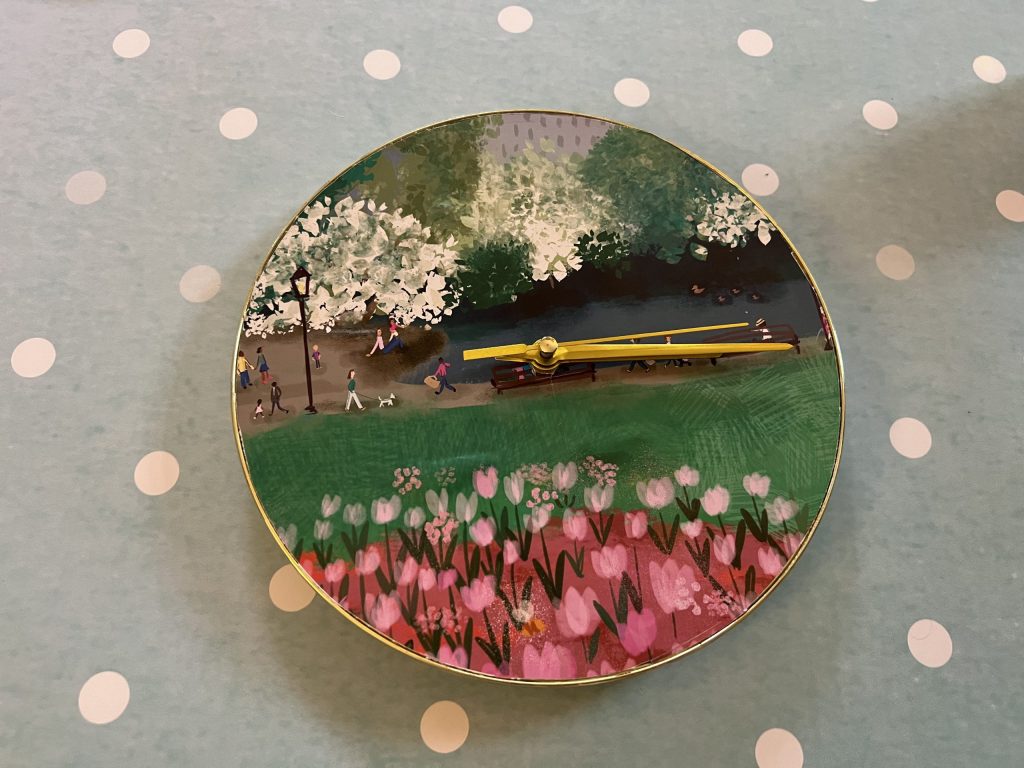
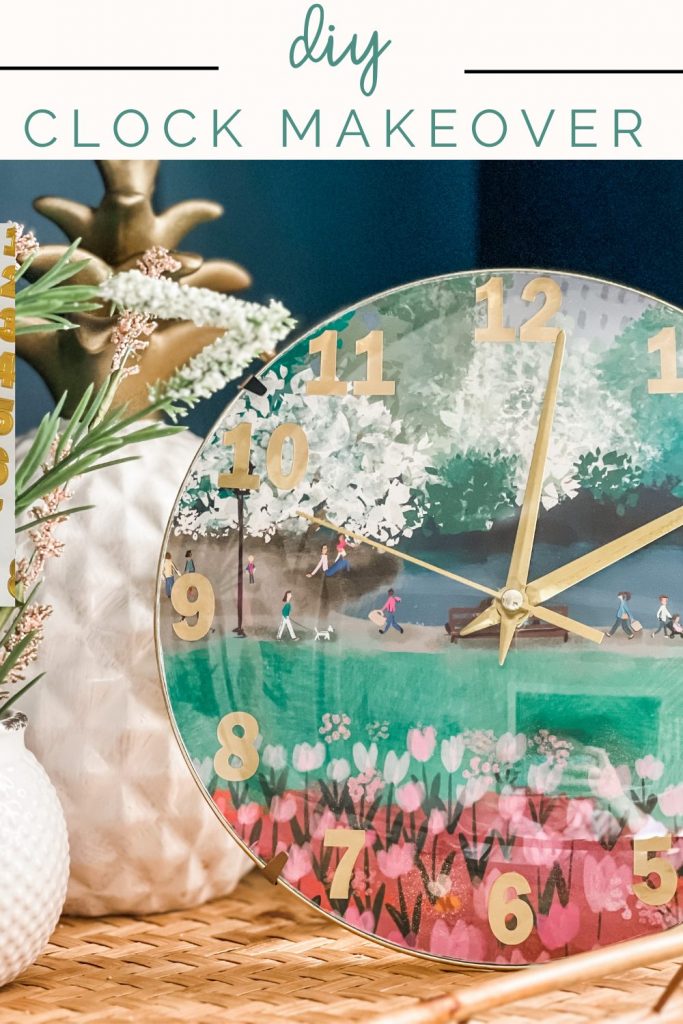
I really love how this turned out, but it definitely needed some numbers! I purchased a package of gold number stickers from Hobby Lobby, and I placed them around the clock. I started with twelve, three, six and nine. I did not measure anything for this step. Again, I just eyeballed where they should go!
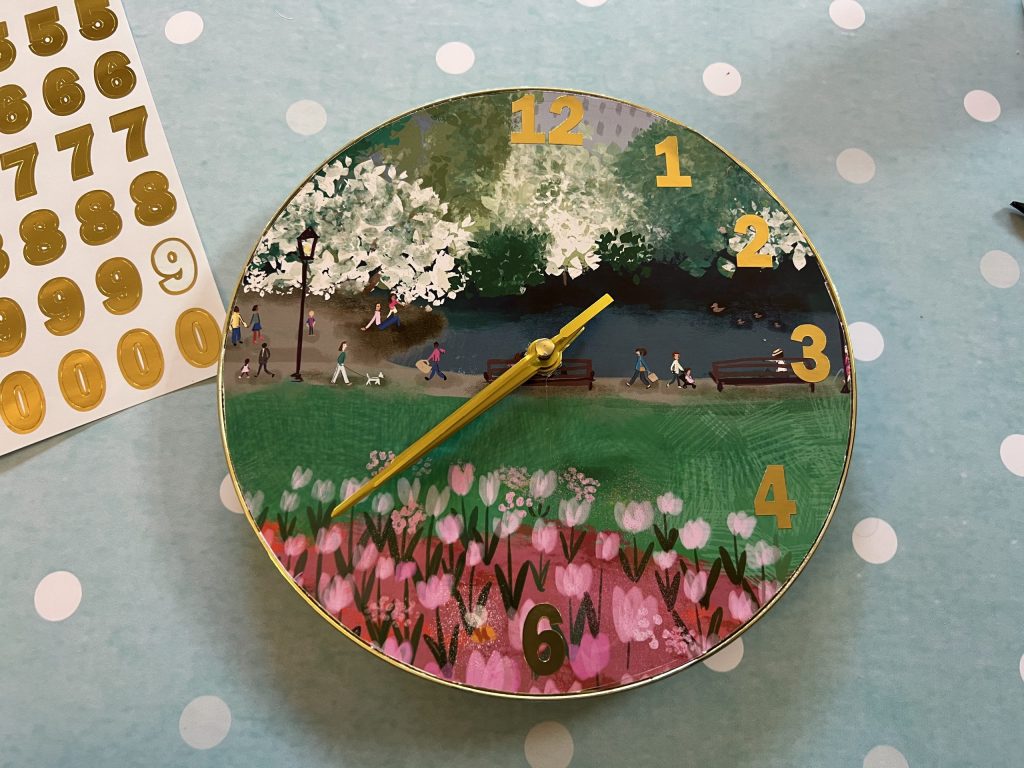
Finally, I replaced the front plastic cover!
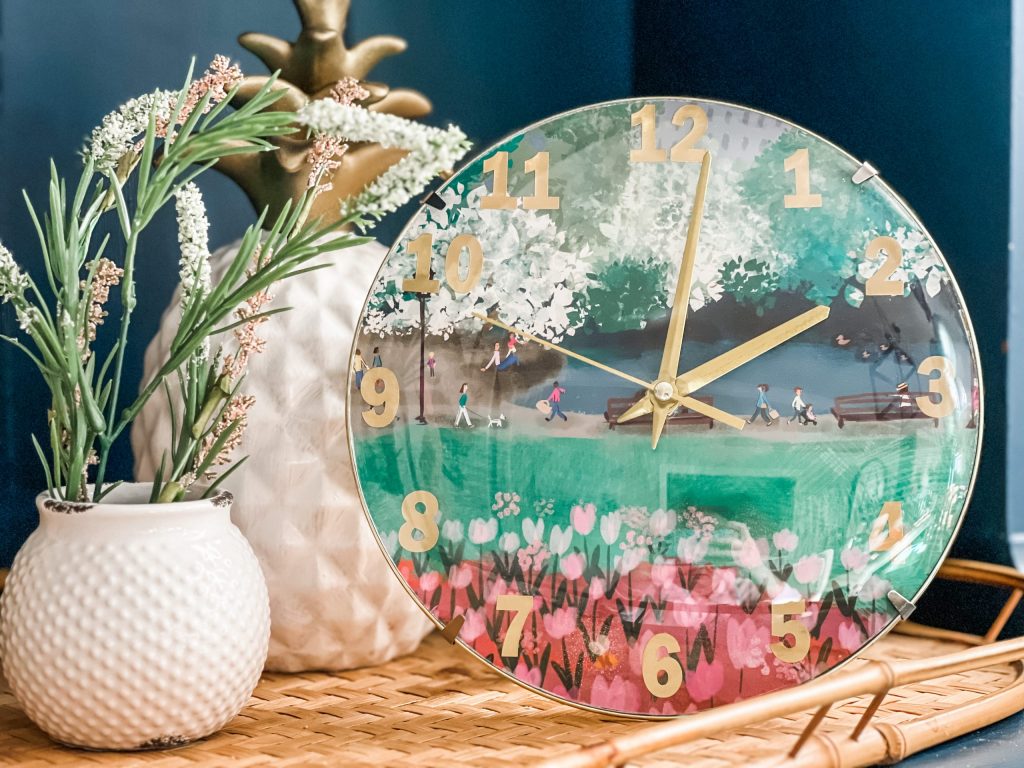
Isn’t she lovely…isn’t she wonderful?!!! I may have just started singing that in my head!
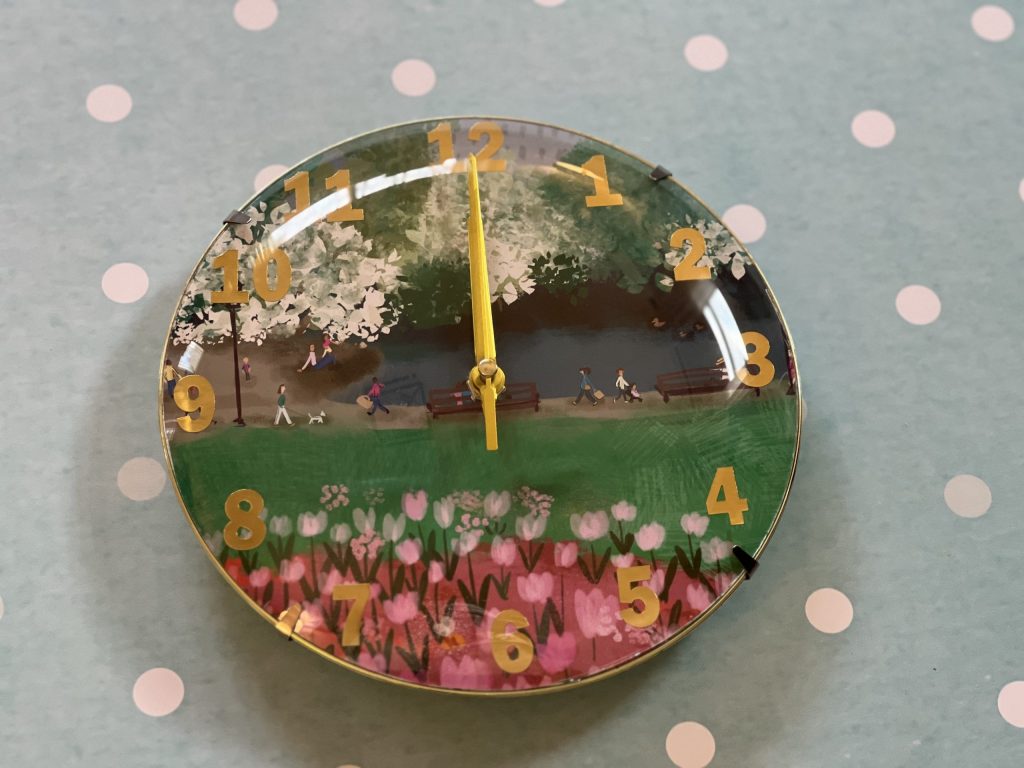
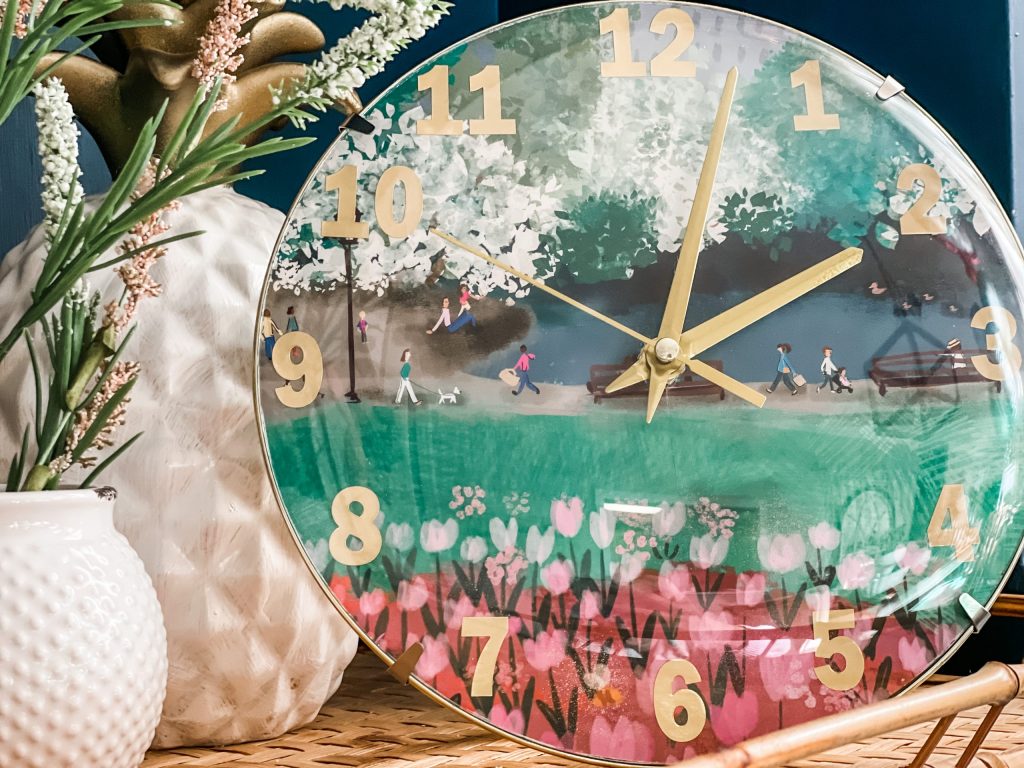
I am absolutely in love with all the colors! It is so joyful and fun and just EXTRA creative!
Be sure to pin for later!
Last Updated on March 22, 2023





So much better. It is gorgeous!
I’m in love 😊 this is ADORABLE 😍 what a cleaver chicky 🐥🐥 you are …❤️ YOU ARE THE BEST ☀️🥰
LOVE IT!!!
Cute idea!!
Fabulous! I Love it!! Isn’t it wonderful when you create something new and it comes together perfectly! That’s how I feel about my Flip Flop sign. It makes the clunkers like my lemon door hanger not make me feel so bad.
Beverly
Beautiful!
Beautiful