I am excited to show you the most SIMPLE, yet super cute, farmhouse shelf ever! This little shelf is very budget friendly, and it can be done by anyone, no matter your level of knowledge in the DIY world!
Here is what you need:
Scrap Board
2 decorative brackets (mine pictured are from Lowe’s)
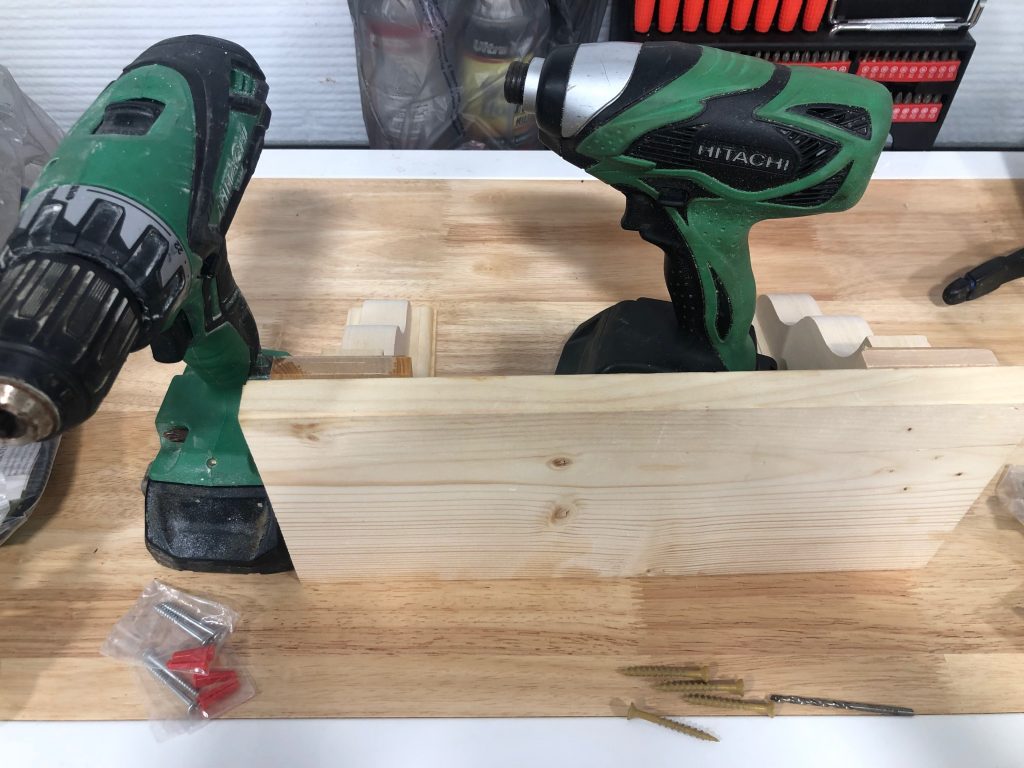
Drill
Screws
Stain of your choice (I love Minwax gel in Walnut)
Old rag for stain
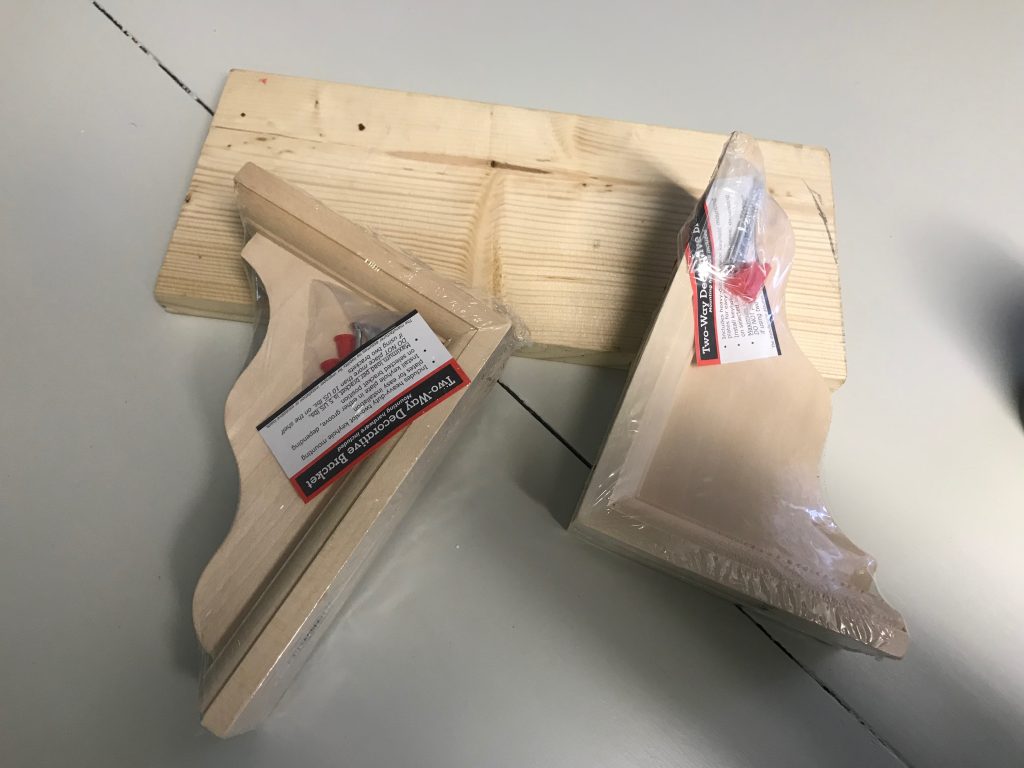
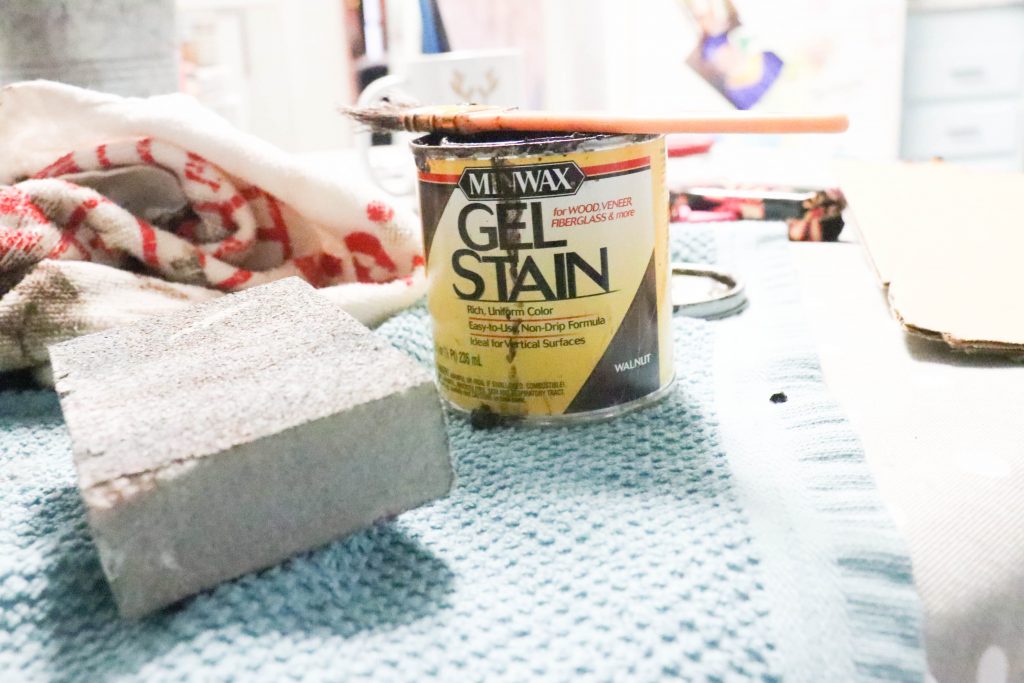
So, this process is super simple. Take your 2 brackets and place them on each end of your board. There is not a certain length that you need your board to be. It is up to you how long you want your shelf to be. If you do it too long, you may wish to add more support in the middle.
After you place your brackets on the ends, take your drill and drill your screws through the top of the board into your brackets.
This is what it looks like when put together!
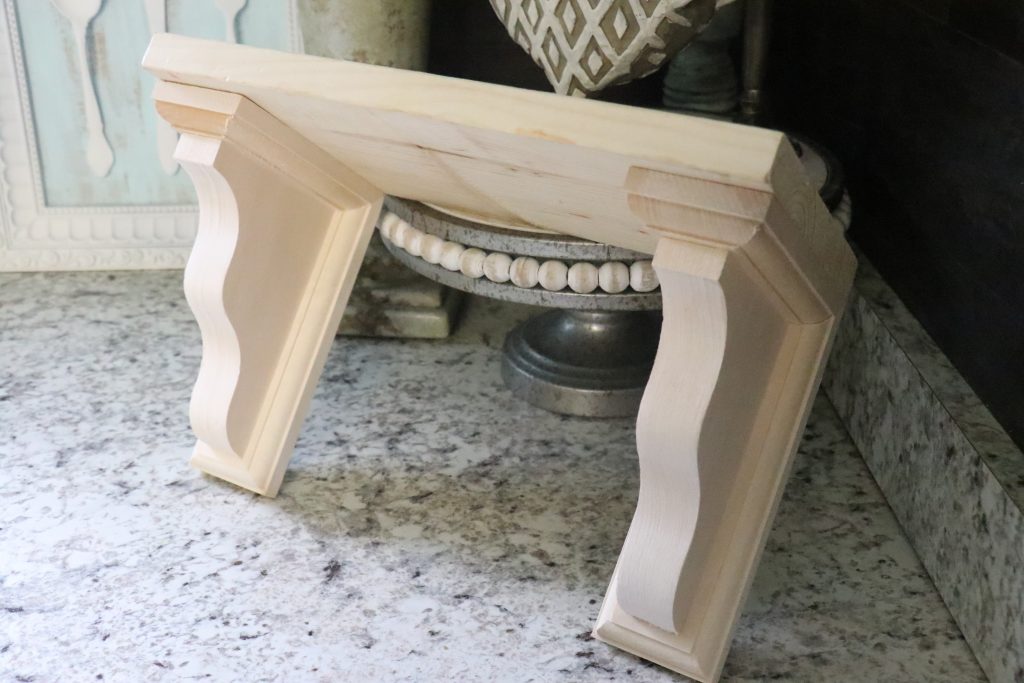
Now, you are ready to stain!
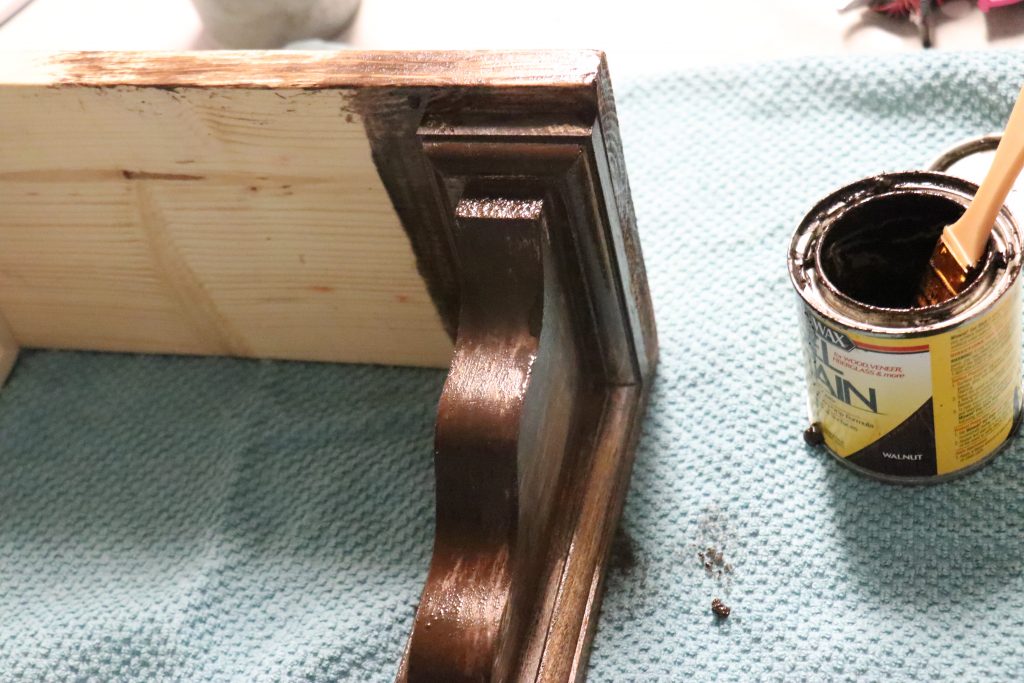
If you have never used stain before, this is the easiest way for me to do it…
Take a chip brush (they are super cheap at any craft store or home improvement store), brush the stain onto your wood in sections. After brushing it onto your wood, take an old rag and wipe it off. Be sure to do this in sections, because do you do not want it to dry!
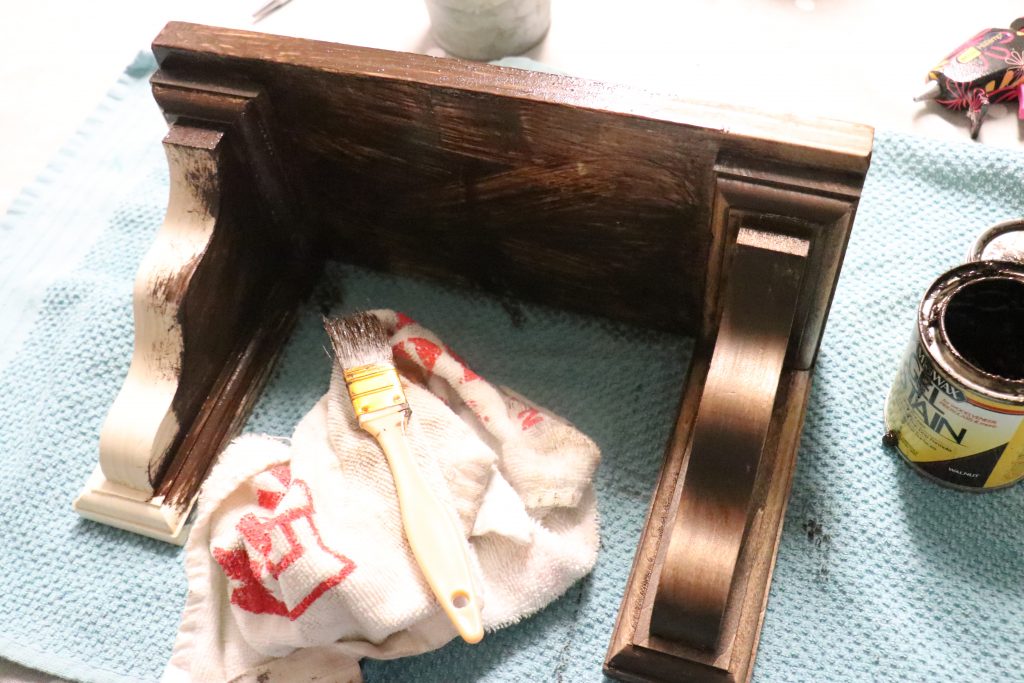
During the process….
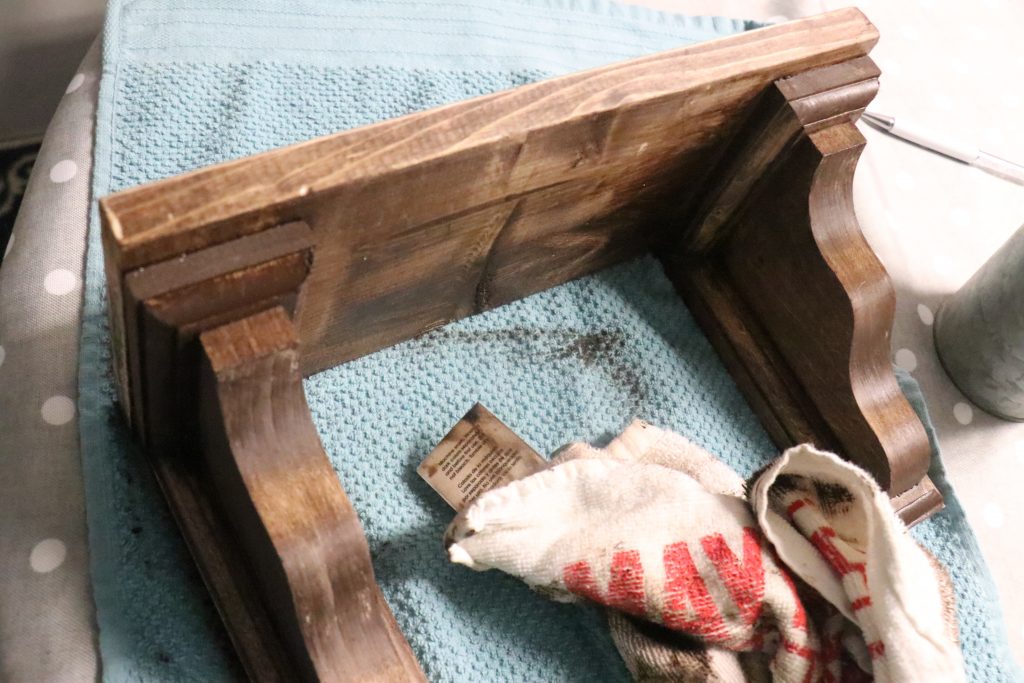
Complete and ready for my next step.
This next step is completely optional. I didn’t like the look of one of my sides, so I took some little round embellishments that I already had on hand and hot glued them onto both of my sides.
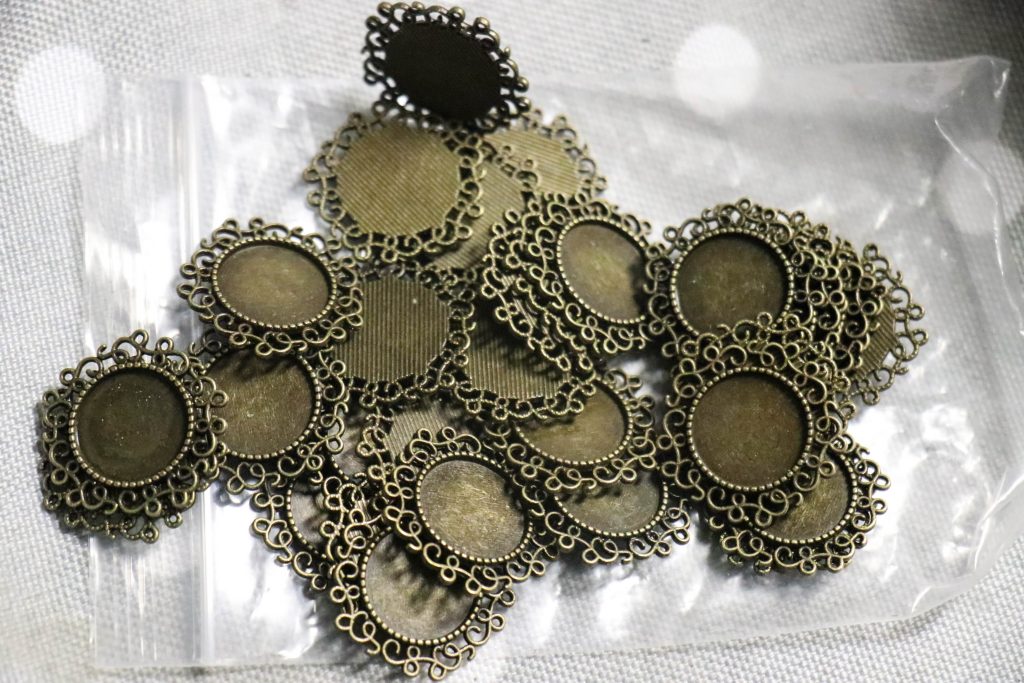
It turned out SUPER cute!
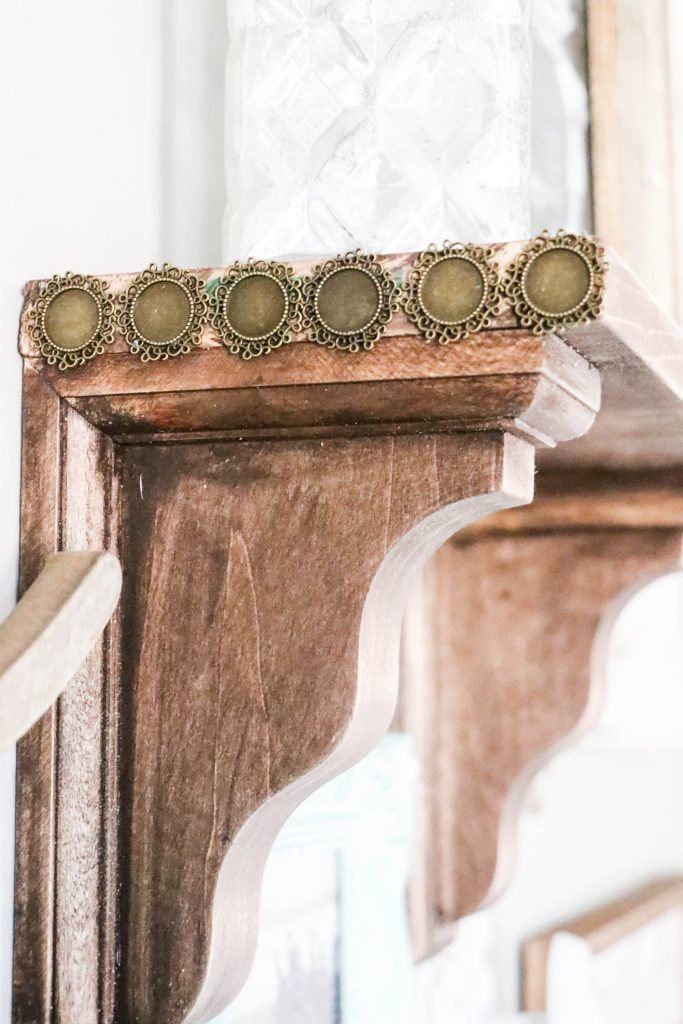
I am using this cute little shelf on my gallery wall, and I am LOVING how it turned out!!!
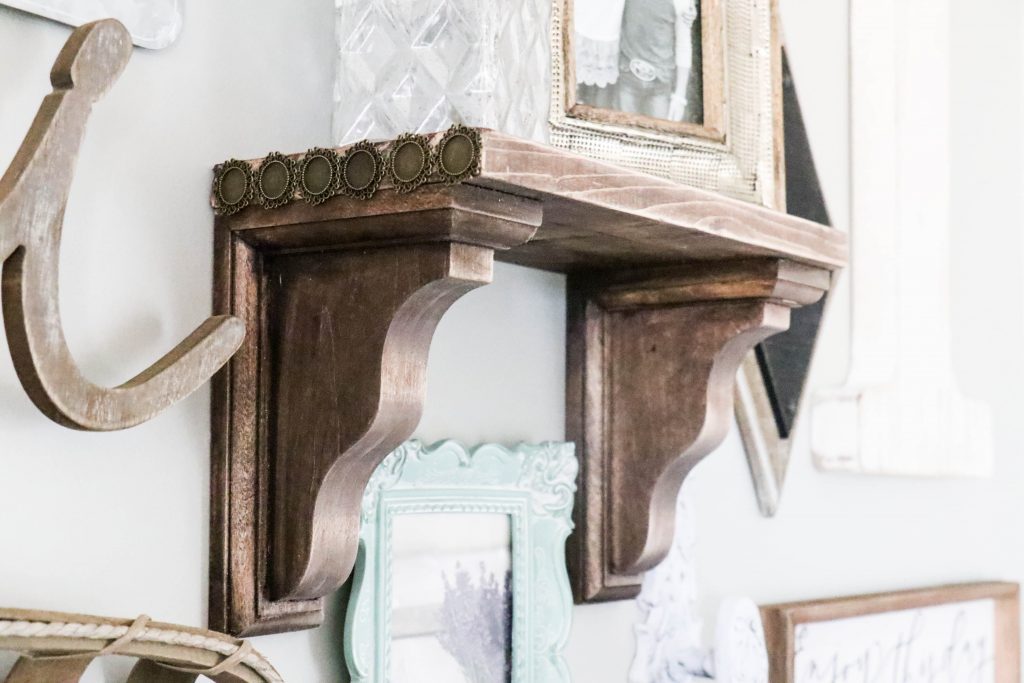
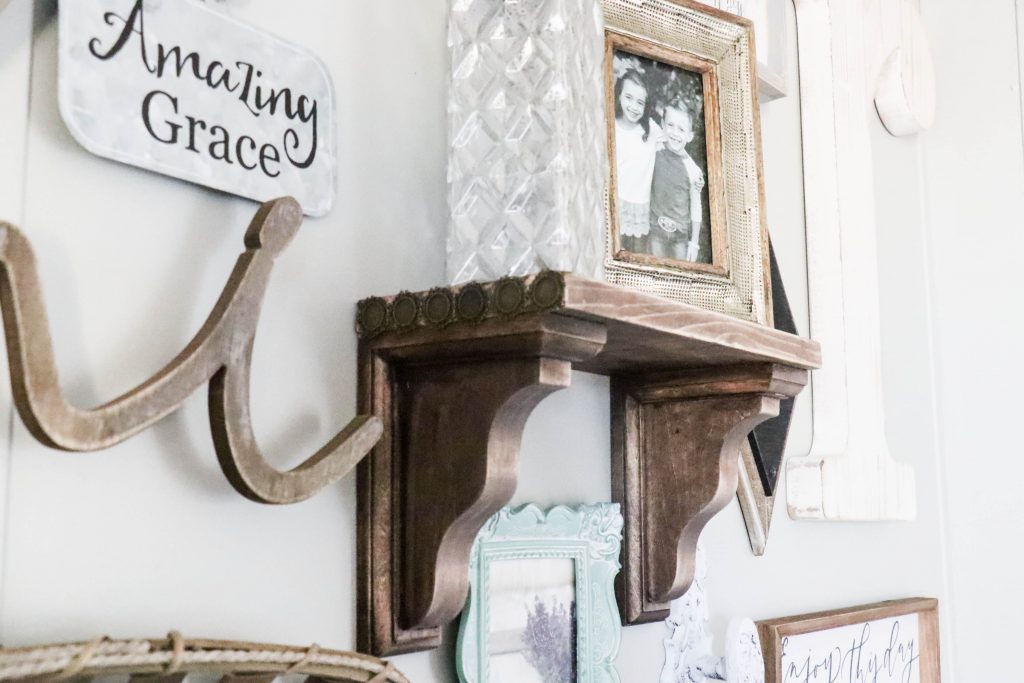
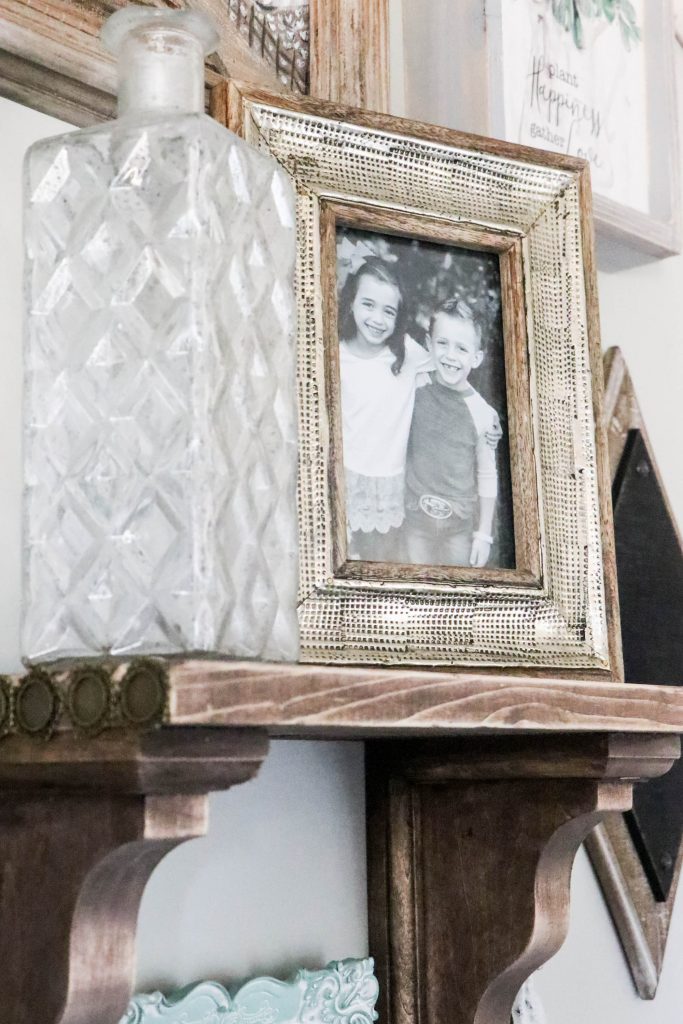
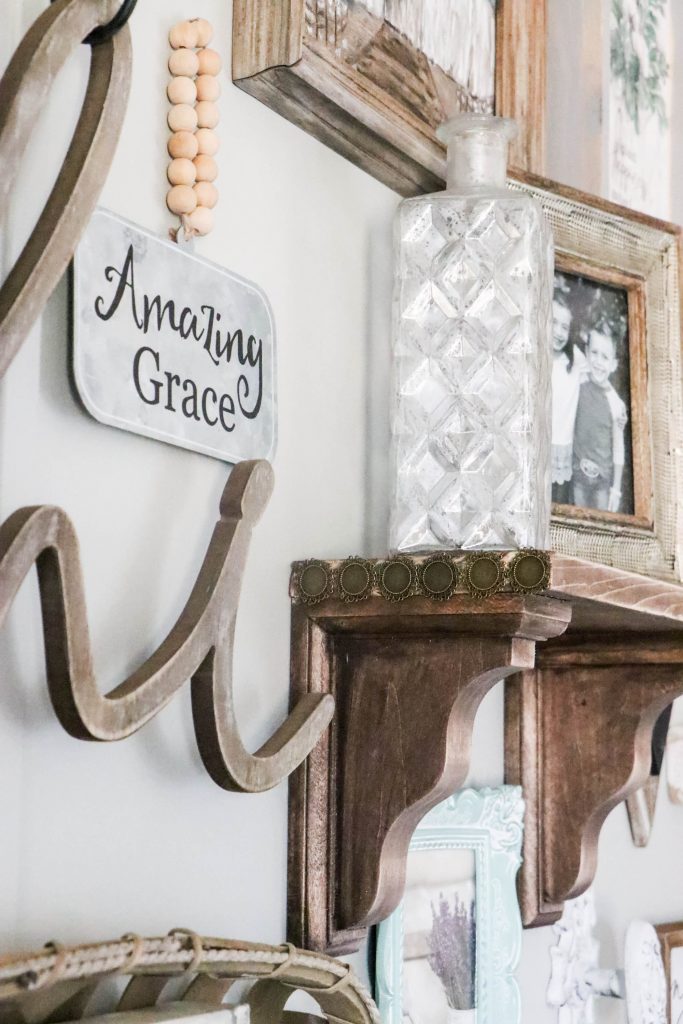
So, what do you think??? SUPER EASY and so stinkin’ cute!!!!
Be sure to PIN FOR LATER!
Follow Along on Social Media!
Facebook/Instagram/Pinterest/Email/Youtube
Last Updated on November 4, 2020




Will you please show the whole wall that you put your shelf on? I wanted to see how the gallery wall looks. Thanks!
So super cute!!