Food presentation can take things to a whole new level, and today, I have a super easy DIY that will leave you RUNNING to the Dollar Tree! Easter will be here before we know it, and who doesn’t love a cute tray to display your homemade goodies? This is a VERY inexpensive option if you don’t want to purchase a new tray…PLUS, you don’t have to worry about it breaking!
Almost everything came from the Dollar Tree! You might as well go ahead and start your car!
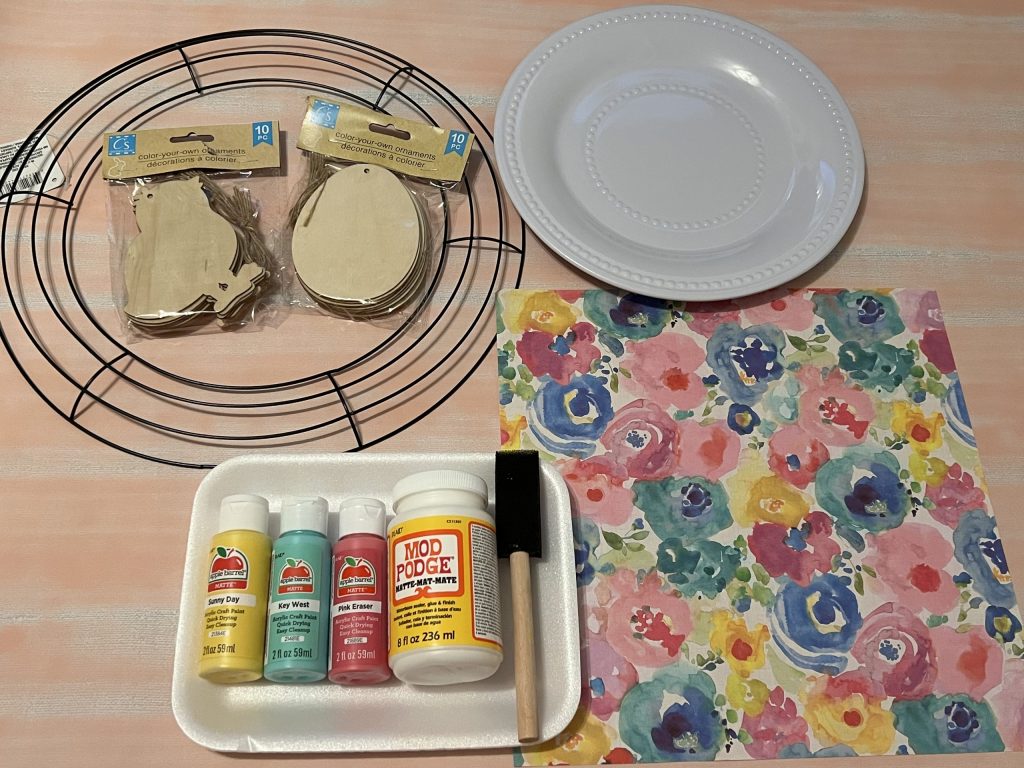
For this project, I used the following supplies:
- Dollar Tree 14” round wire wreath form
- Dollar Tree 10.5” white plastic dinner plate
- Dollar Tree wooden egg ornament set
- Dollar Tree wooden chick ornament set
- 12”x12” scrapbook paper – mine is from Hobby Lobby
- Apple Barrel paints – Sunny Day mixed with Yellow, Key West and Pink Eraser
- Mod Podge
- Foam brush
- Scissors
- Pencil
- Hot glue gun
- Sanding block
Each pack of ornaments came with ten, so I took out six chicks and six eggs.
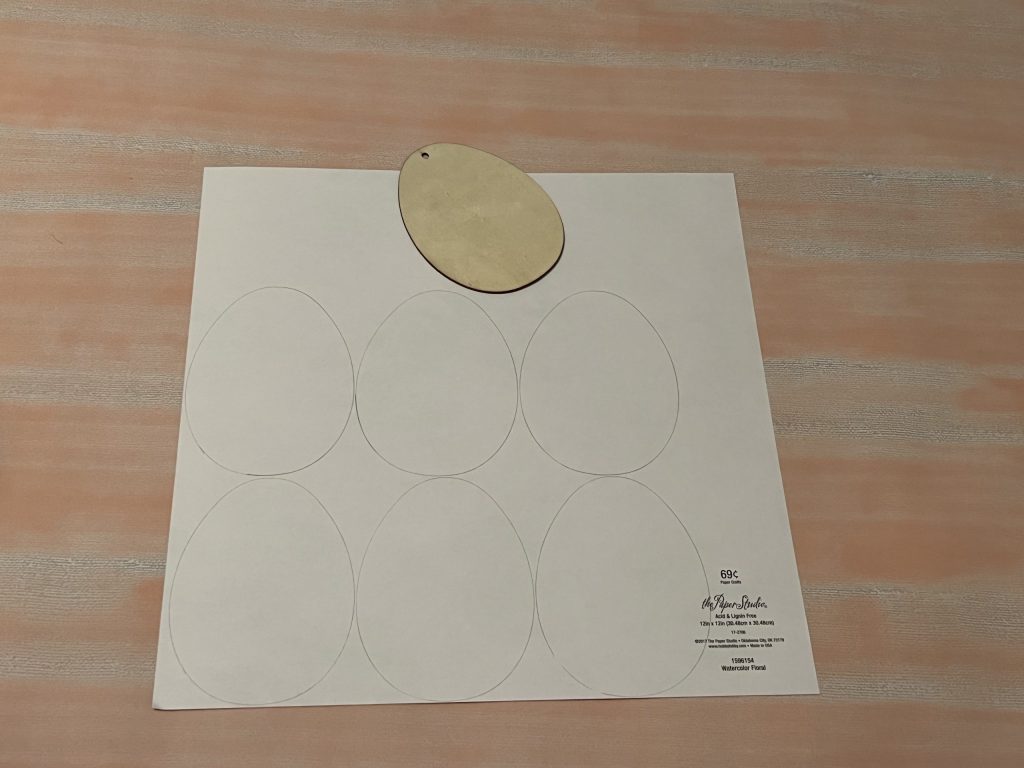
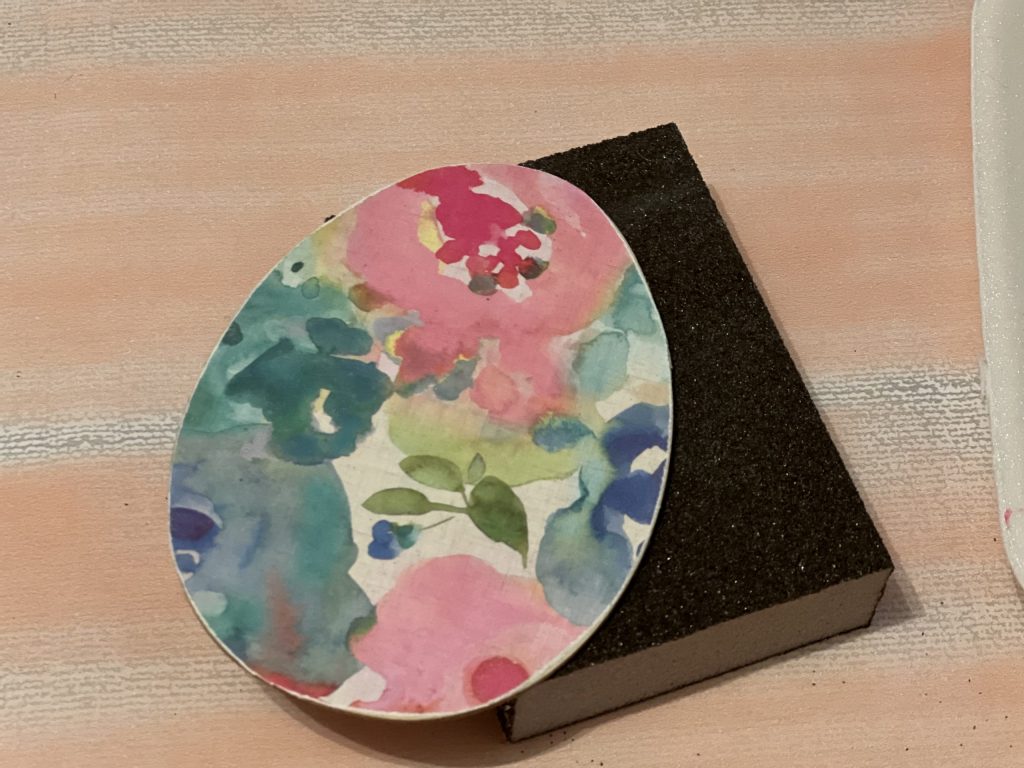
I saw this beautiful watercolor scrapbook paper at Hobby Lobby and fell in love! I decided to cover the eggs with this paper, so I traced six eggs on the back of the paper and cut them out.
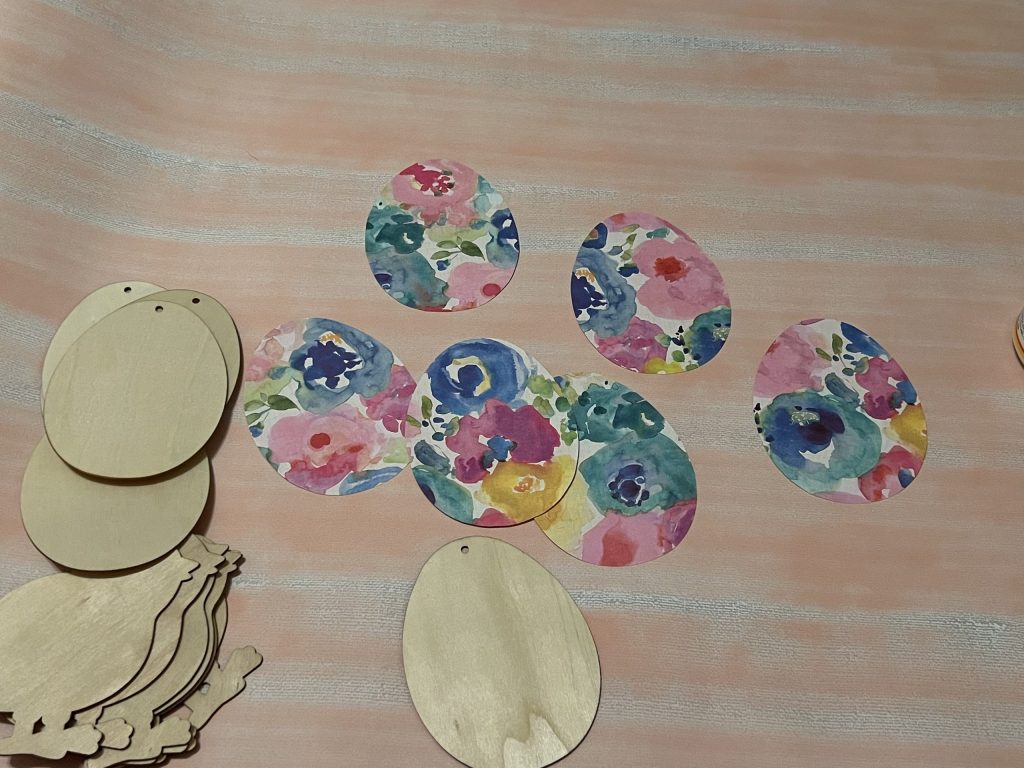
Next, I applied Mod Podge to one side of the eggs and laid the paper egg cutout on the tops. I smoothed down the paper, making sure to remove any bubbles in the paper. I then applied a second coat of Mod Podge on top of the paper to seal it well.
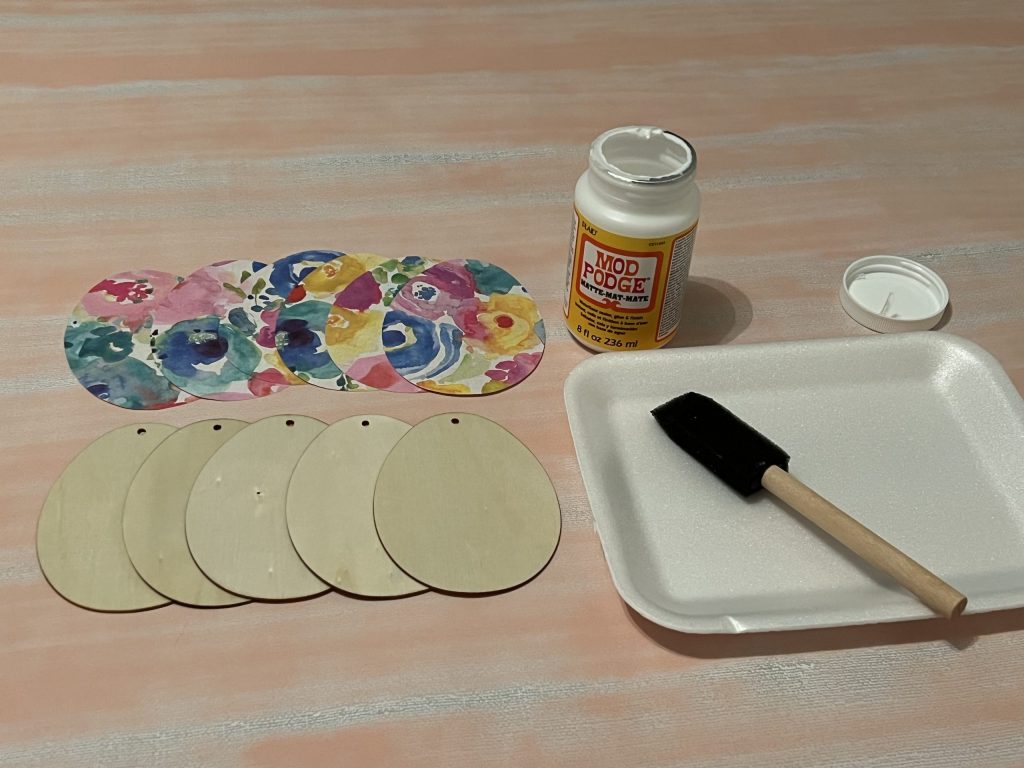
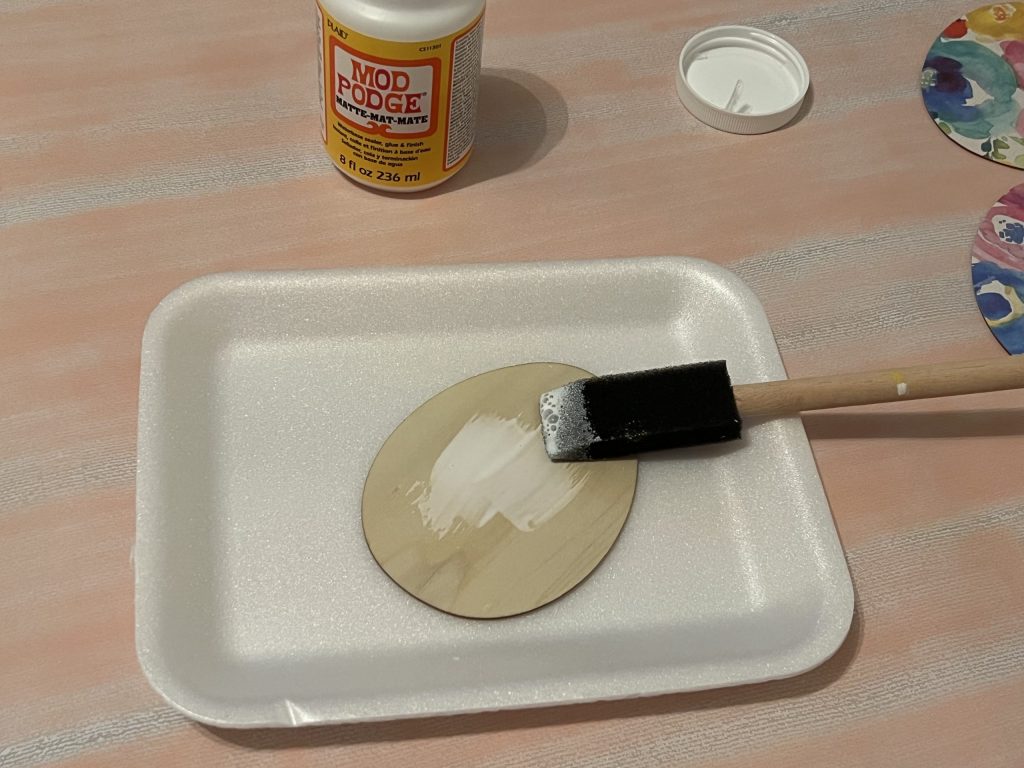
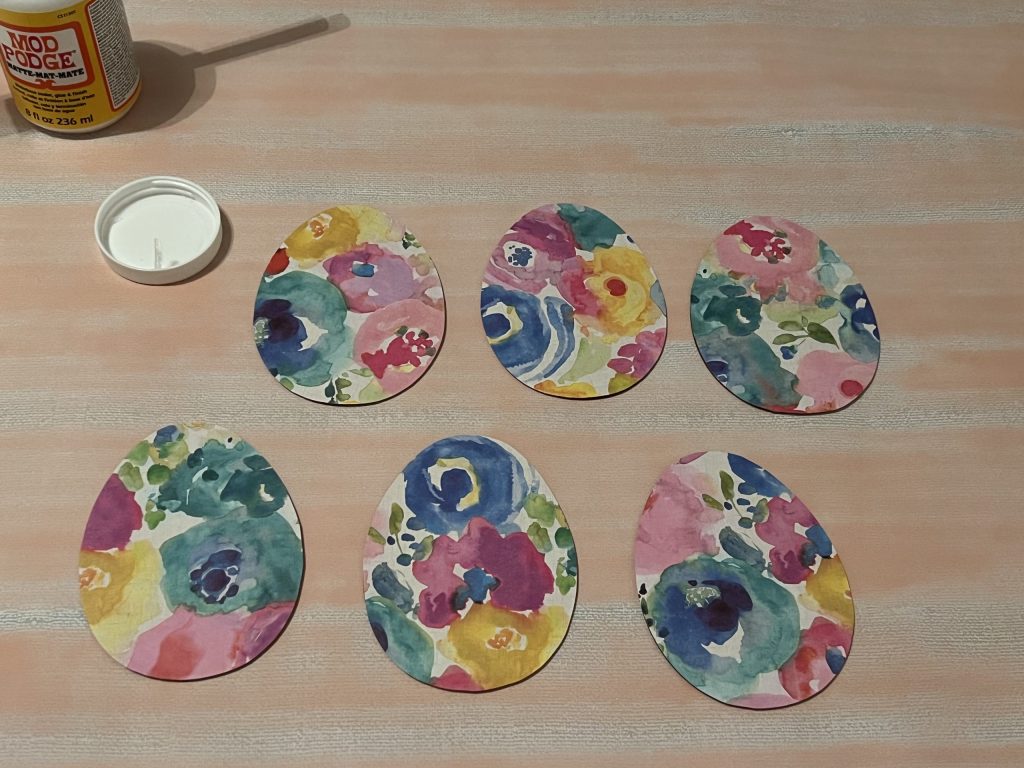
While the eggs were drying, I painted the chicks. I had six chicks, so I painted two of each color. CONFESSION – I forgot to take pictures of the painting process! Y’all, I sometimes just get carried away with painting and forget to snap pictures of the process…oops! I will show you how they turned out!
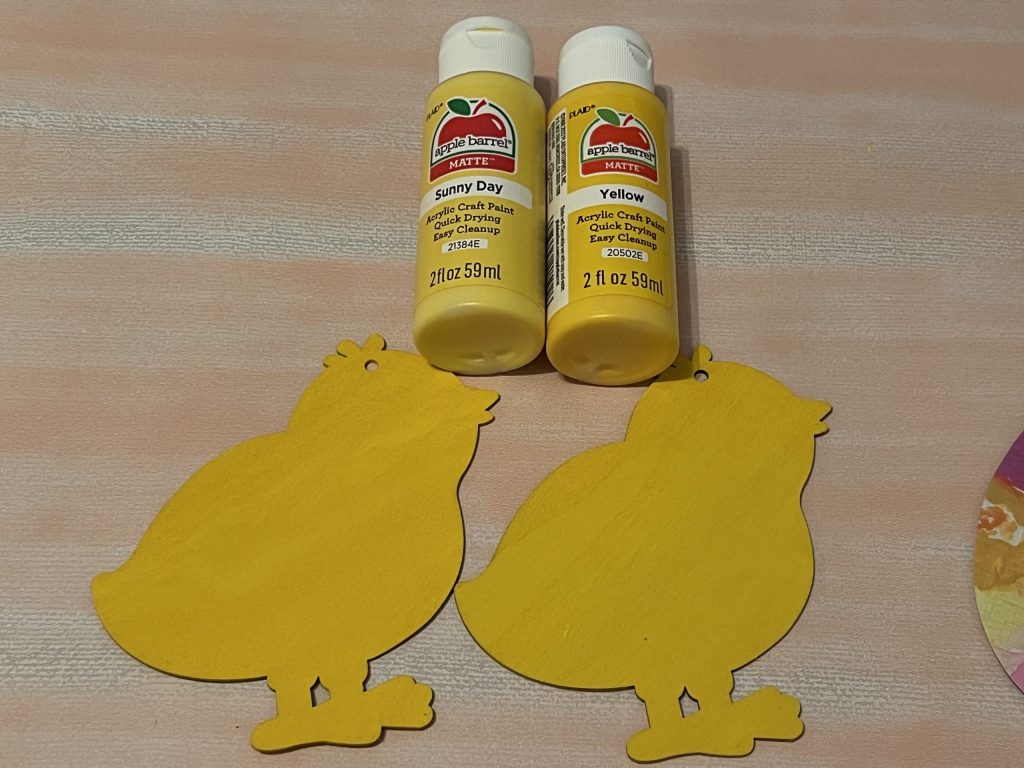
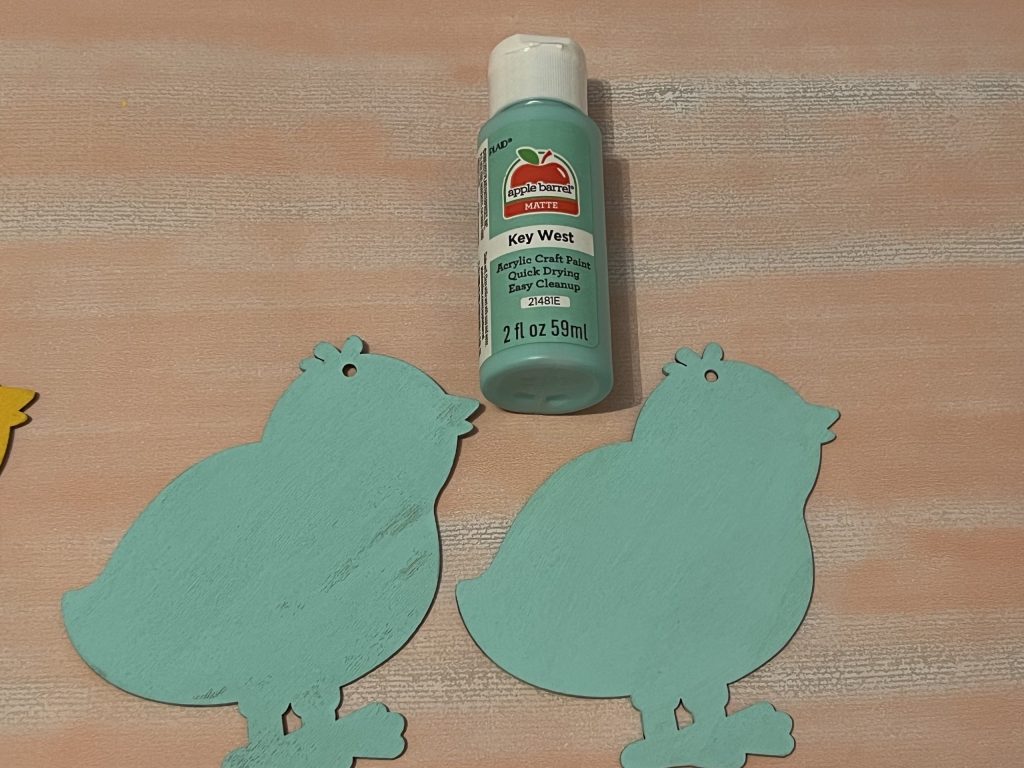
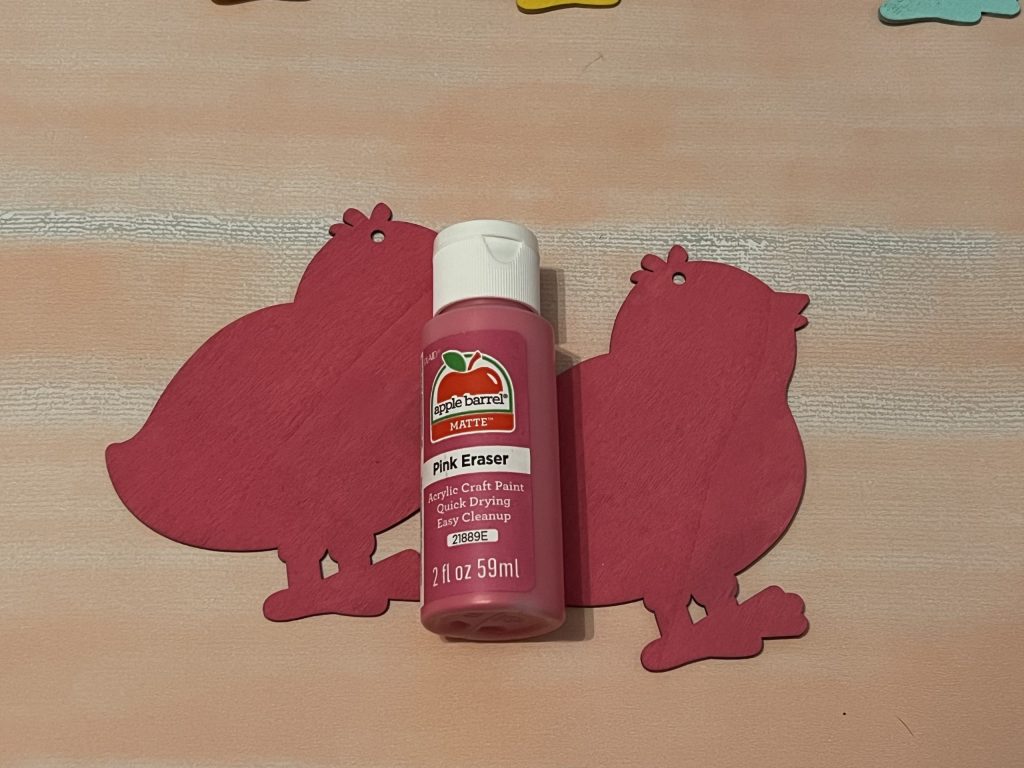
After everything had dried, I went over everything with a sanding block, because I like how it gives the painted surfaces a little bit of a worn look…not the “fresh paint” look. See how it smooths out the paper on the eggs to give them a more finished appearance?
Now it was time to assemble everything!
I flipped the wire wreath form over, so that the rounded side was facing down on the table.
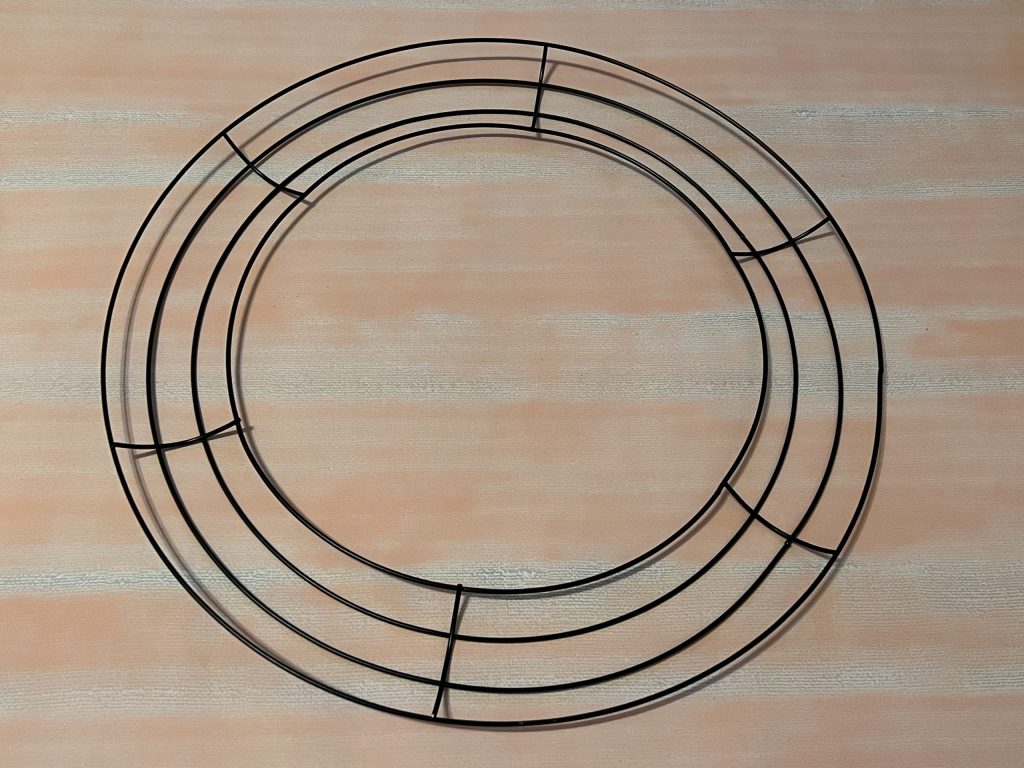
Then, I started arranging the eggs and chicks. There are six sections on the wreath form, so each section will have an egg and a chick.
Using my hot glue gun, I glued the eggs down on the wire.
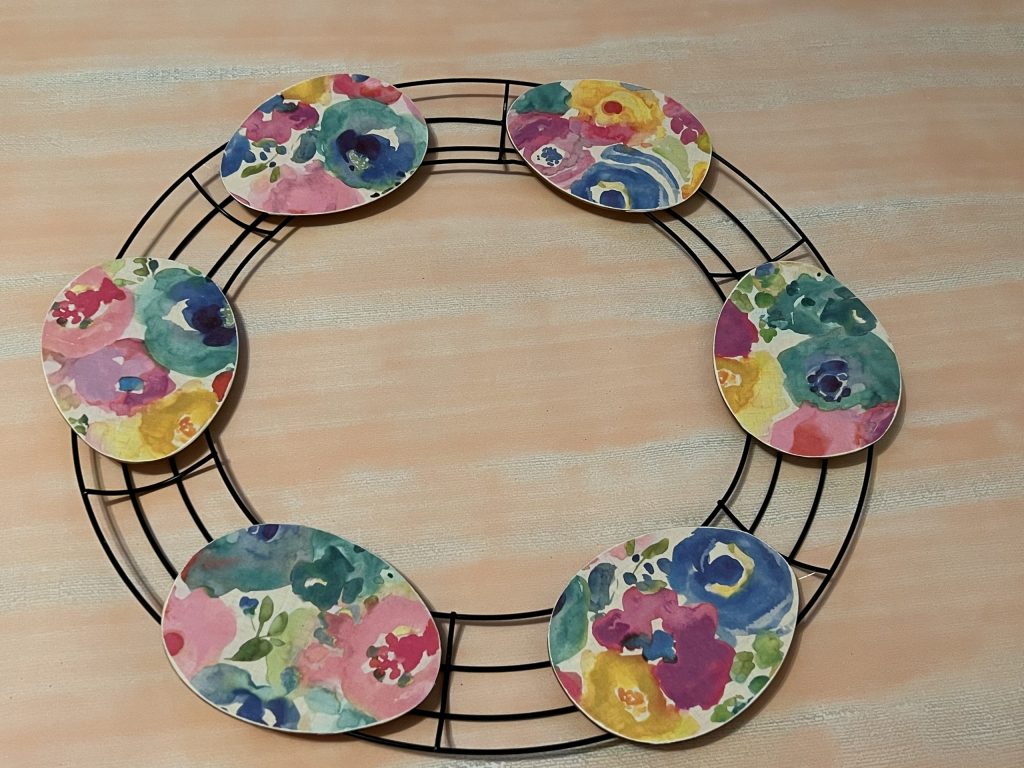
I flipped the wreath over and applied hot glue to the back as needed.
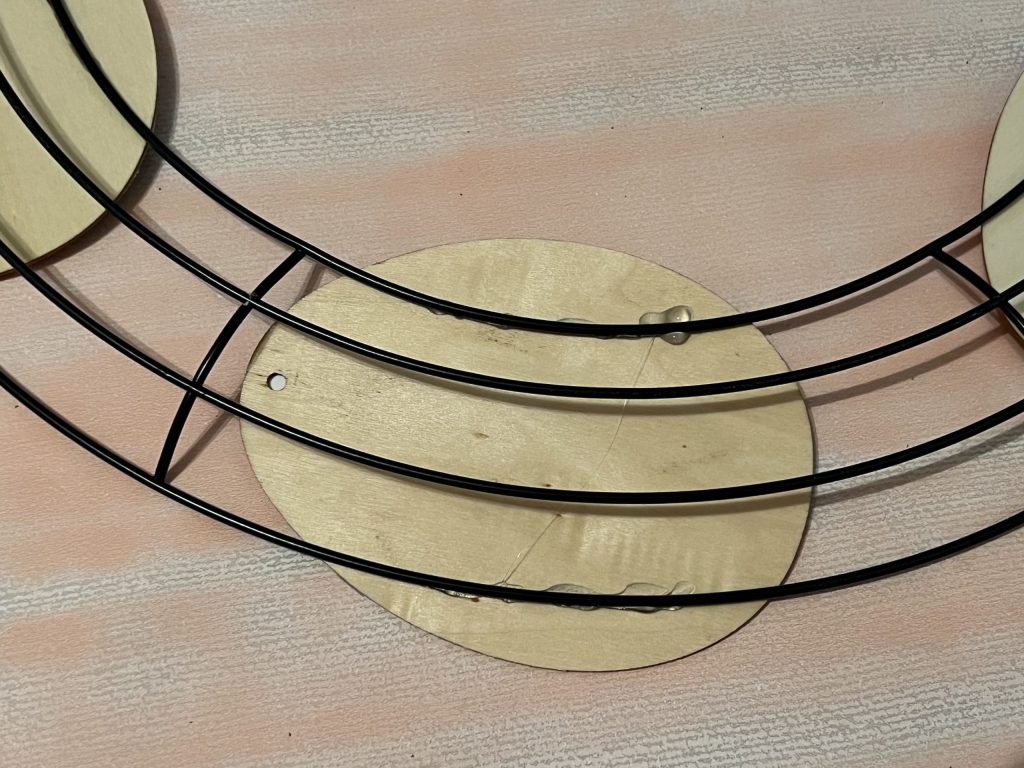
Next, I took the chicks and started gluing them in between each egg. You can turn the chick however you like. I applied the glue to the top of the egg, because the chick is not touching any of the wire.
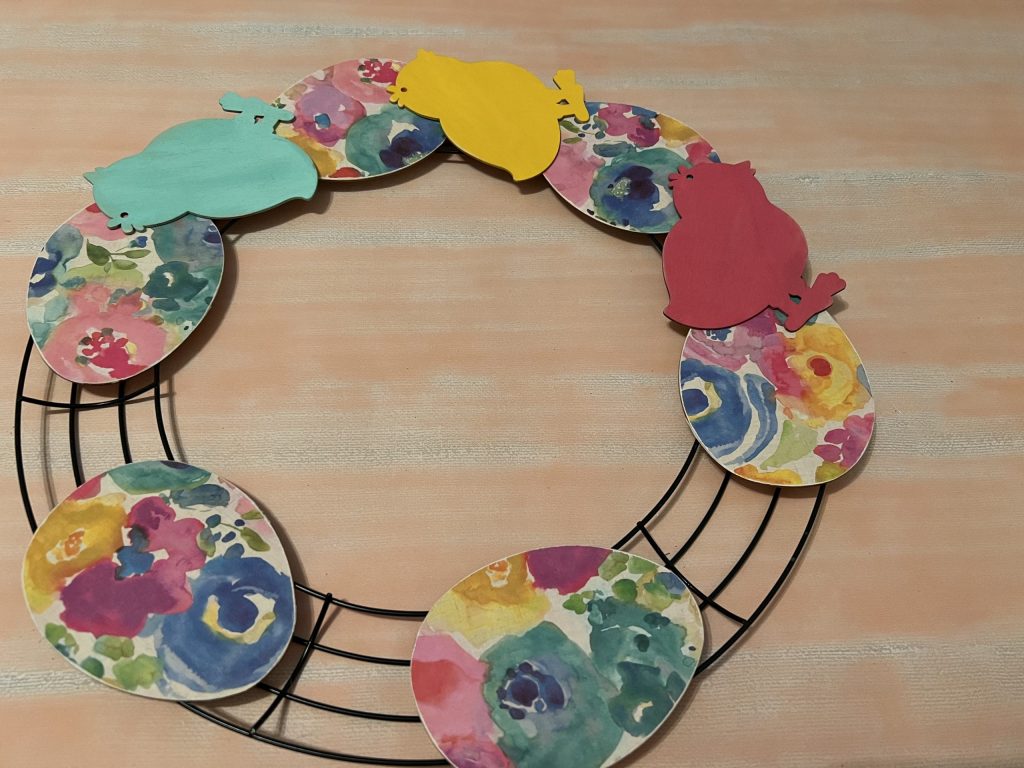
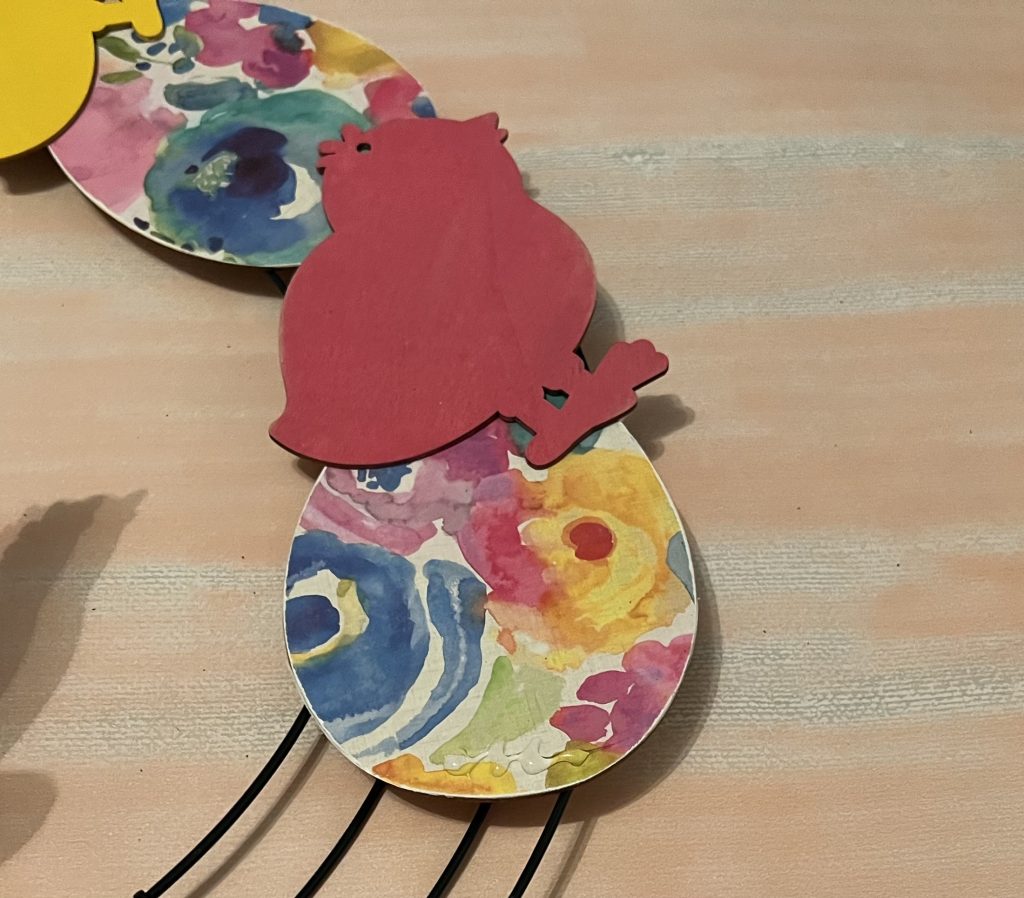
After I completed that process, I had a wreath of chicks and eggs! You could definitely use it as a wreath if you wanted, but I had other plans!
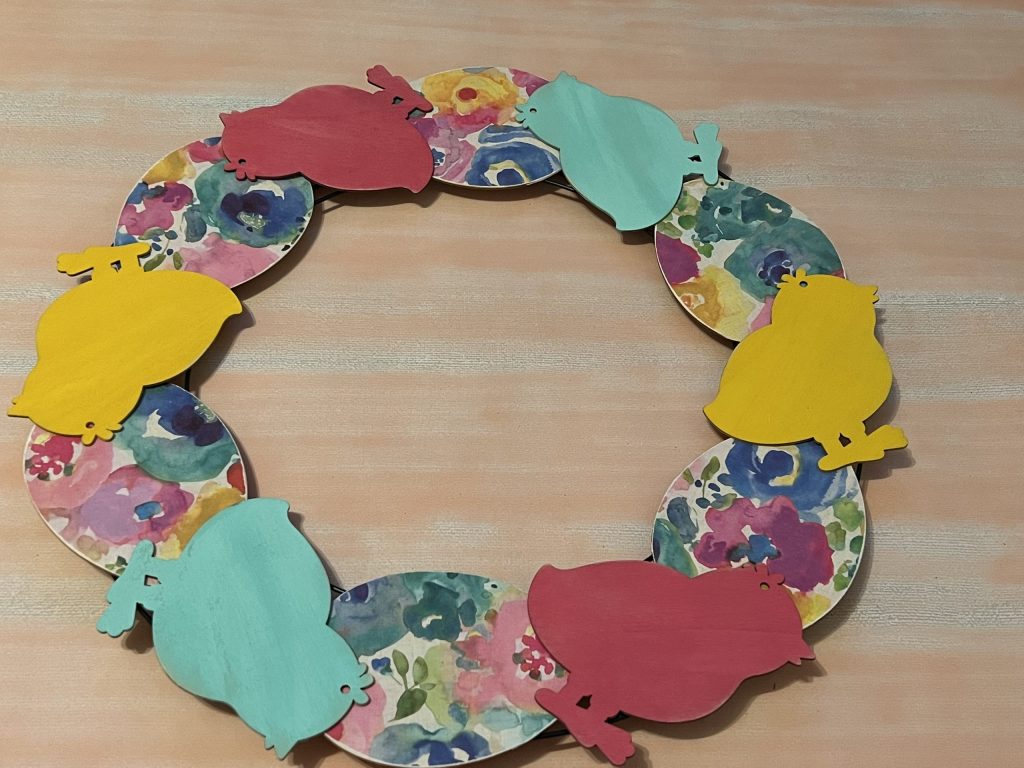
Next, you will grab your plate and set it inside the frame. It fits perfectly and does not slip through.
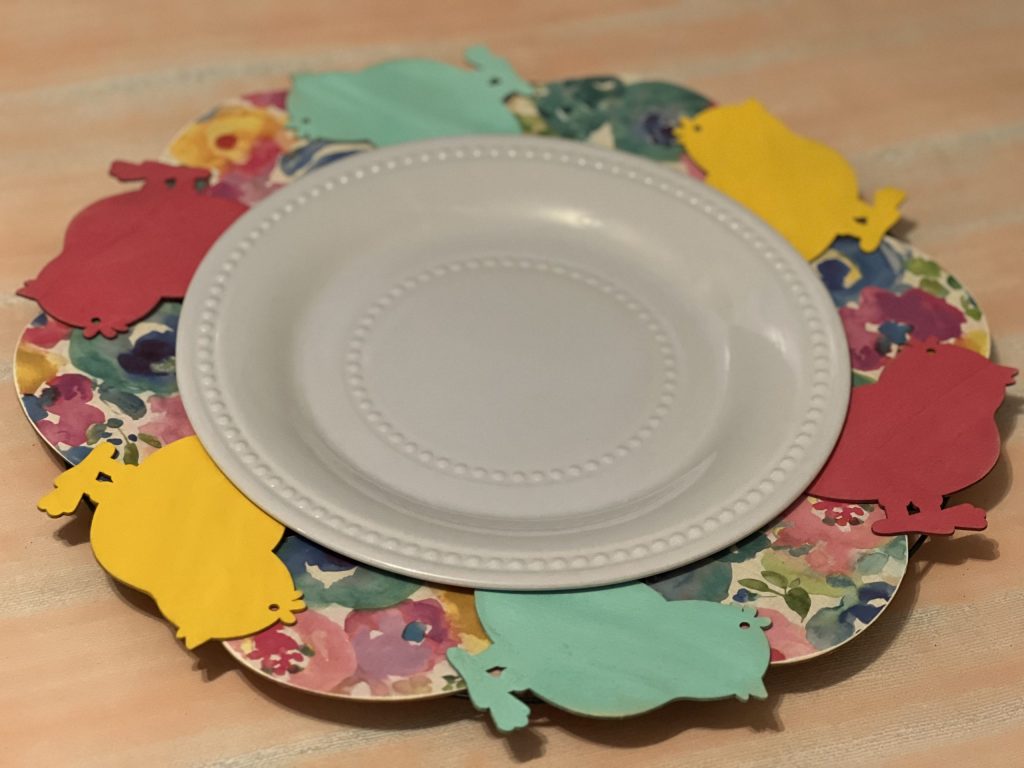
Now you can remove it easily to wash! It’s super lightweight and easy to store! How precious! I absolutely ADORE the colors!
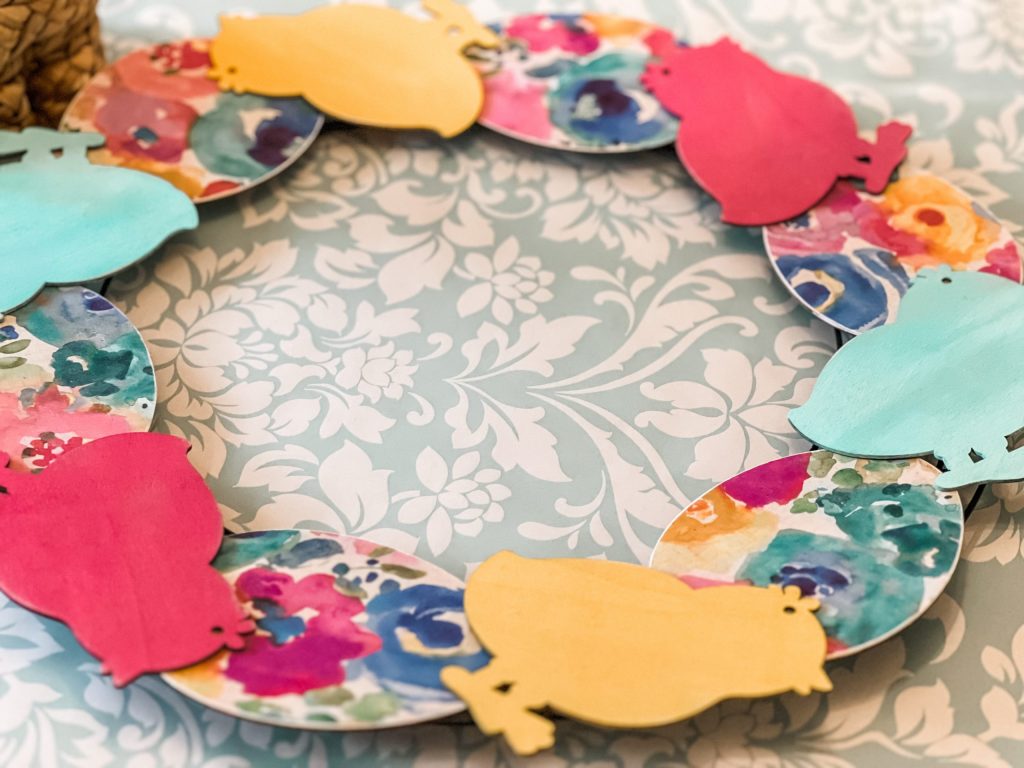
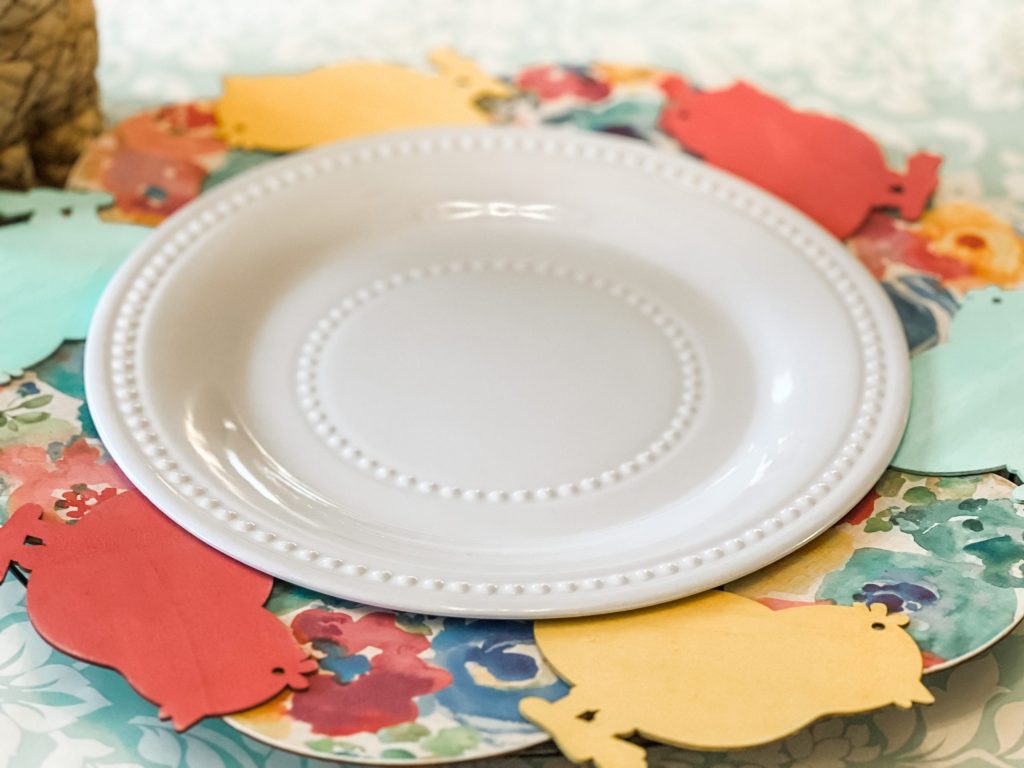
This project was SUPER simple and inexpensive! I had so much fun selecting the colors I wanted to use. I will definitely be using this idea for other holidays too!
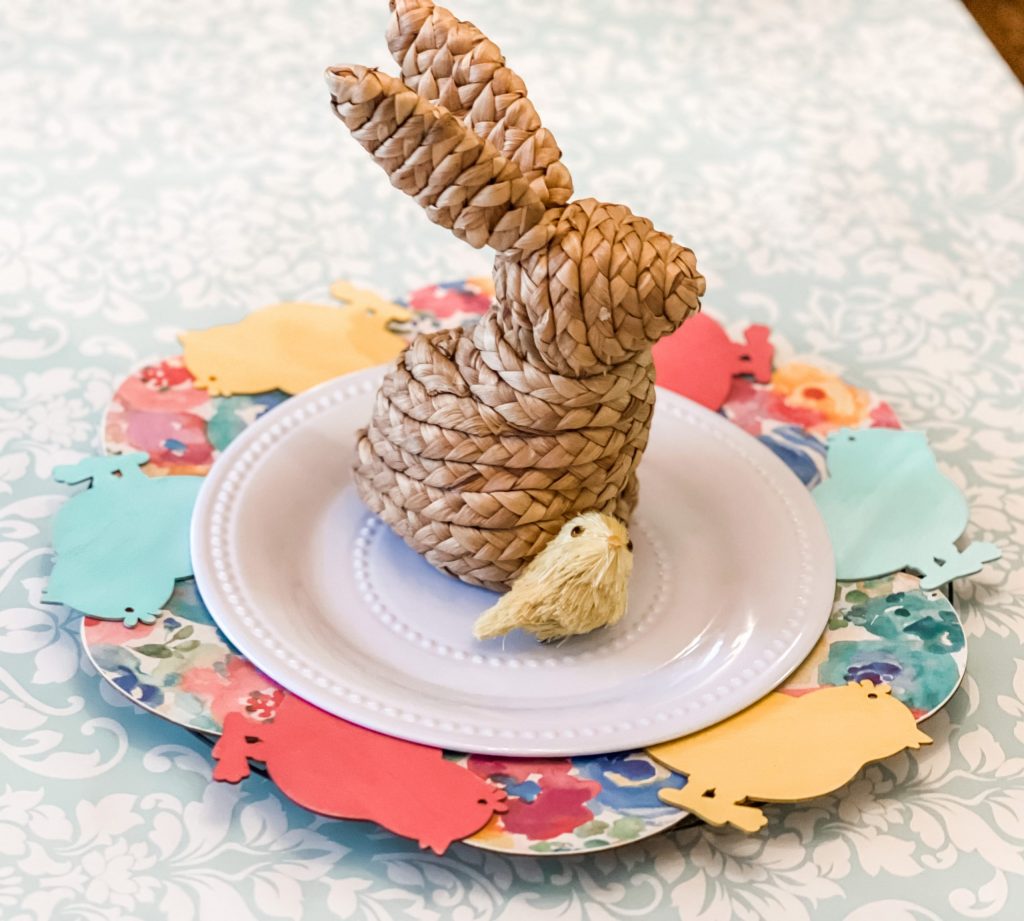
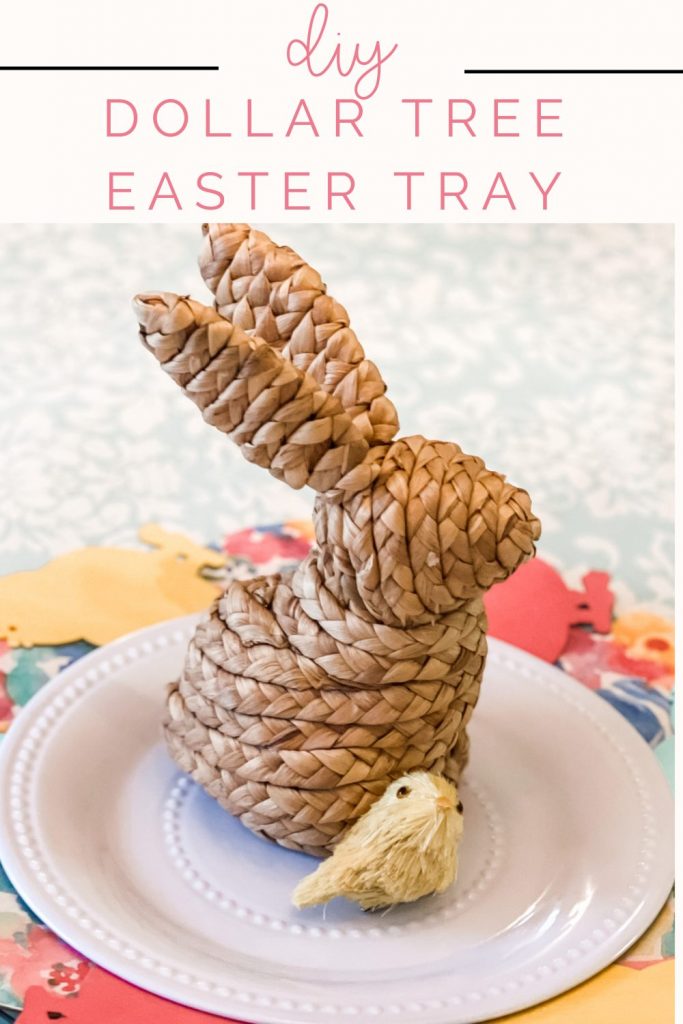
Be sure to pin for later!!
Last Updated on March 16, 2023




Oh what a cute idea! I love this one so much. And I have everything I need to make it! So that makes it even better! Thank you for another great inspiration! You are the best!
Adorable! Love it!
So adorable! I never thought of using a wreath beneath a plate before! Love it.
How clever!! You’re so innovative with how you rethink items, and make them work as something completely different!!
That’s adorable!
What a great idea!! I love this!!❤️🩷💙🩵💗
Thank you!! ❤️