I made this little ornament on a whim while on Facebook live, and I decided to give it away to one of my viewers… long story short, I loved it SO much, that I wanted to make one for myself to keep!
I ended up tweaking it a little bit, and adding a Re-Fabbed bow!! This is the perfect little DIY to make for yourself, or to give as a gift… and did I mention that this only cost me $3 to make?!?!? Anyways, let’s get into the tutorial!
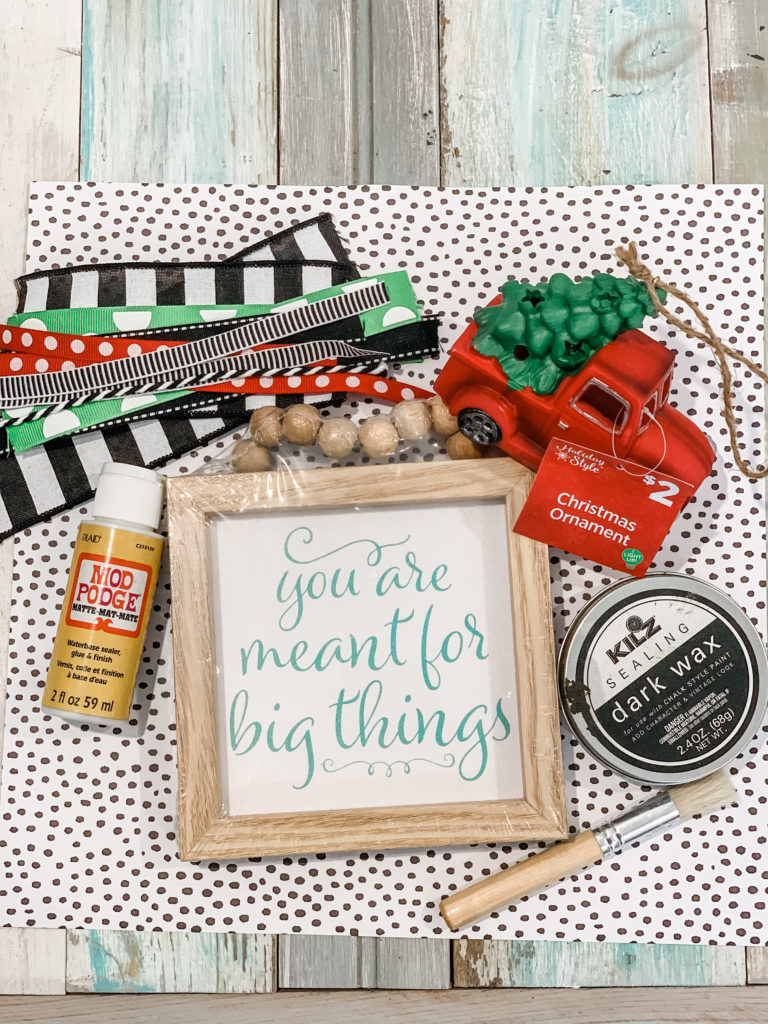
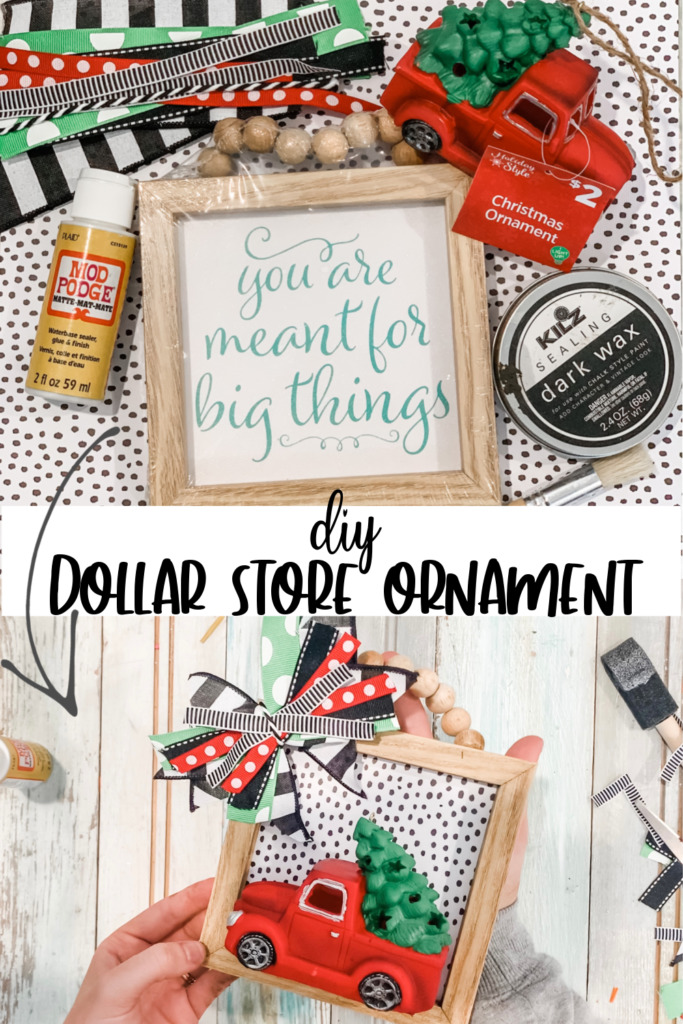
Here’s what you’ll need:
- wooden sign from Dollar Tree
- truck ornament from Dollar General
- mod podge
- ribbon
- scrapbook paper
- stain (optional)
- hot glue gun
- scissors
- paper towel
- pen
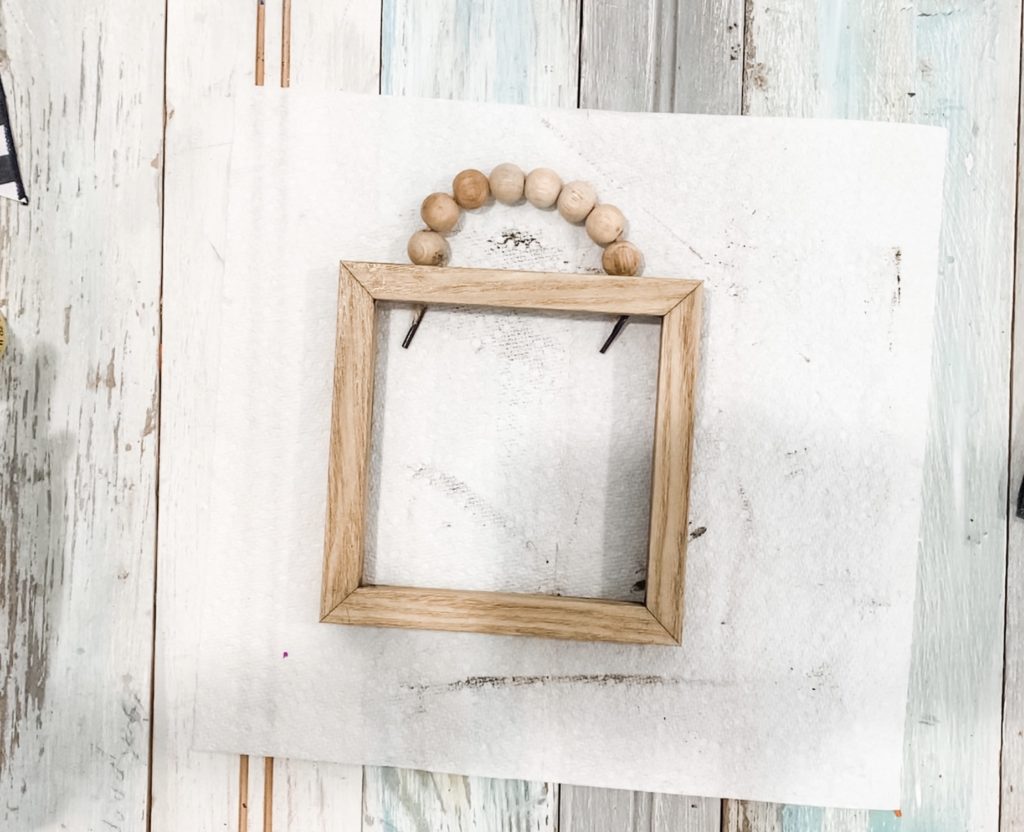
First, take the picture out of the frame.

Next, I took my FAVEEEE Kilz Dark Wax (which you can purchase HERE) and stained the frame. You totally don’t have to do this, but I just wanted the frame to be a tad bit darker.
Once you have the stain applied, take a paper towel and rub it down gently. Set aside to dry!
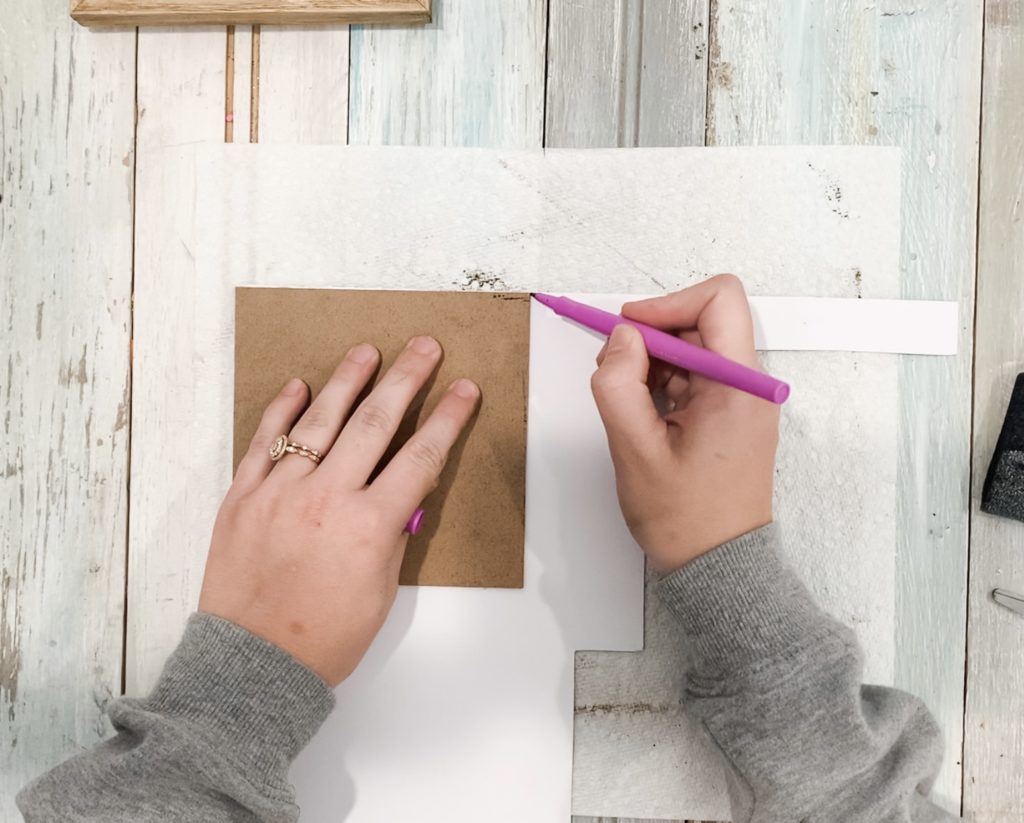
Now, take the picture that was inside the frame, and set it where you want to trace on the scrapbook paper. I flipped the paper over, so you wouldn’t see my pen marks. Then, cut out your tracing!
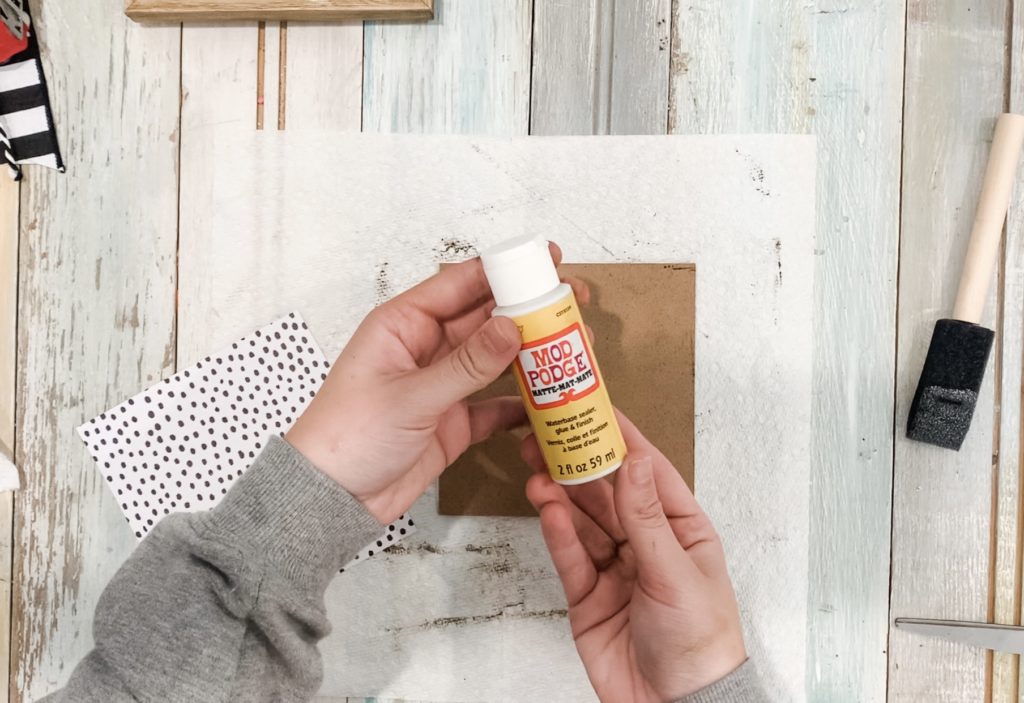
Take your mod podge and brush it onto the picture. Don’t be shy with it- get a good coating on there so your paper will stick! Then, place your paper onto the mod podge, and flatten it to get out any bubbles.
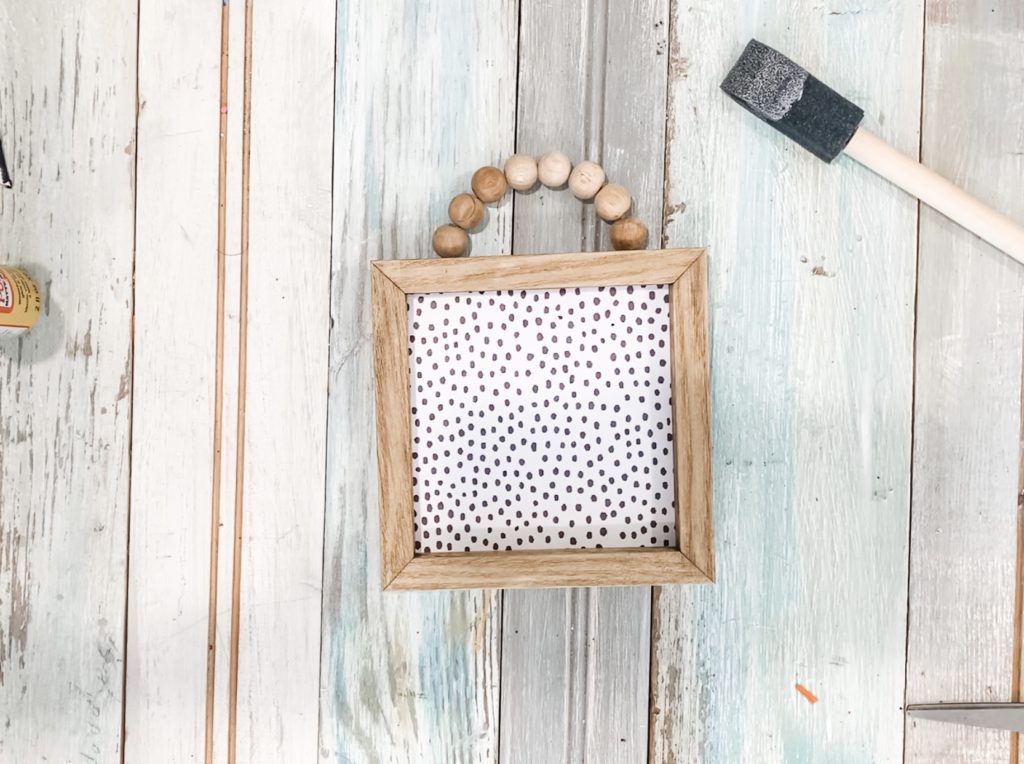
Now stick your picture back into the frame!

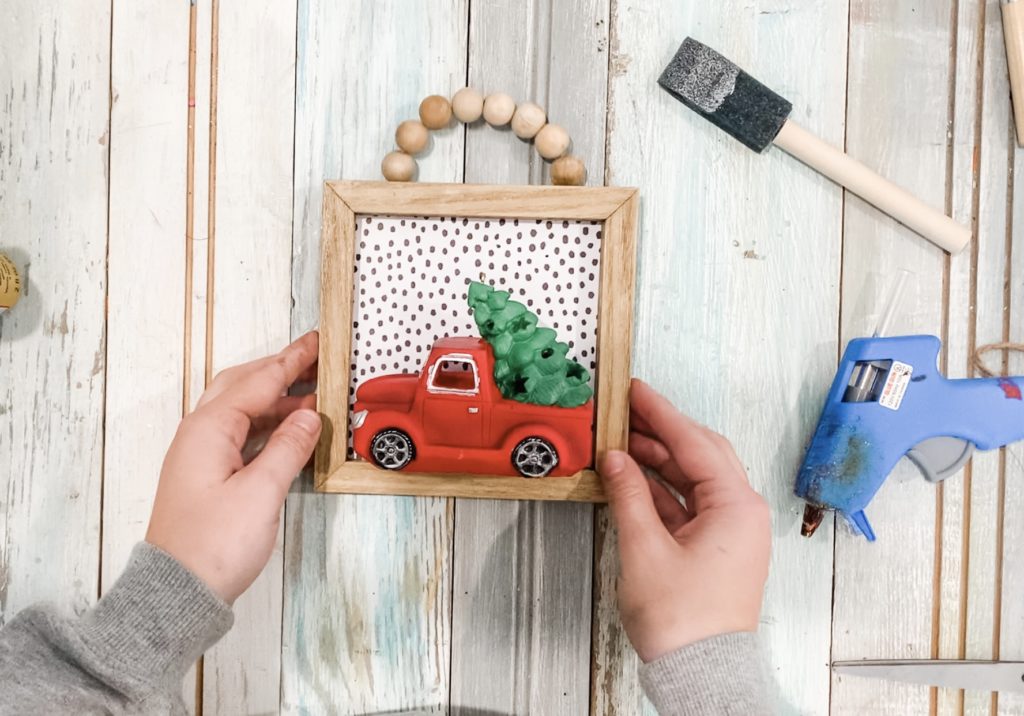
Now it’s time to hot glue your truck ornament onto the picture! I’m telling you… this project is SUPER simple!!!!
So, you could TOTALLY leave it like this, but y’all know me… I just HAD to add in a Re-Fabbed bow!!!!

If you’ve never seen how to make a Re-Fabbed bow, it’s literally the easiest bow you will ever make. You can see the tutorial right HERE!
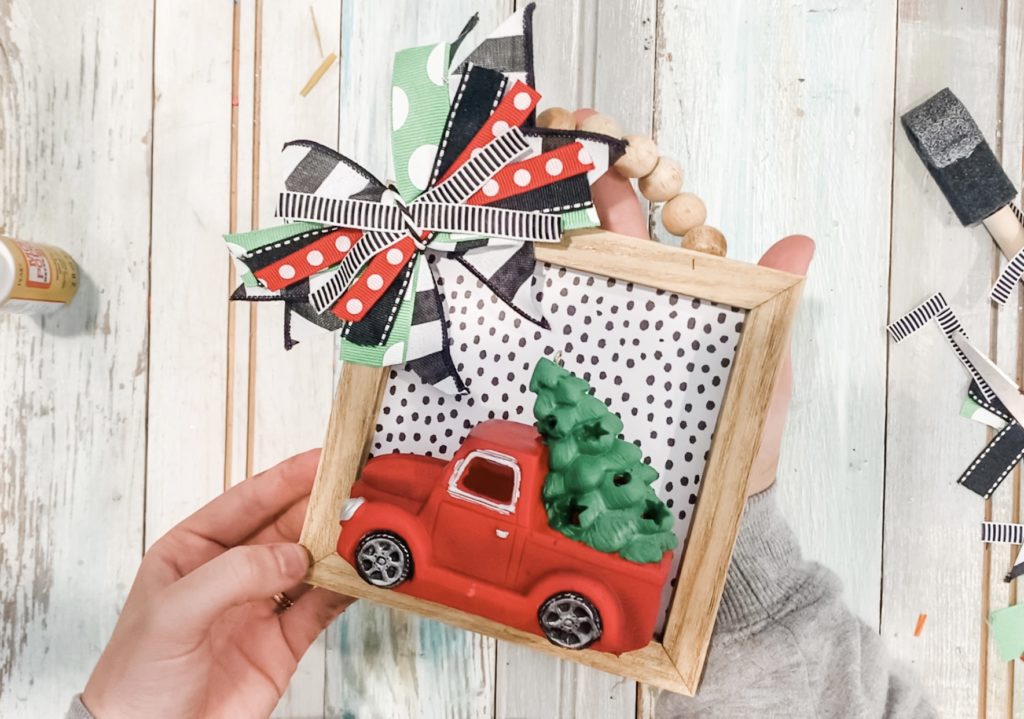
Here was the final product!!! For this only costing me a total of $3, I am SUPER impressed!!!!
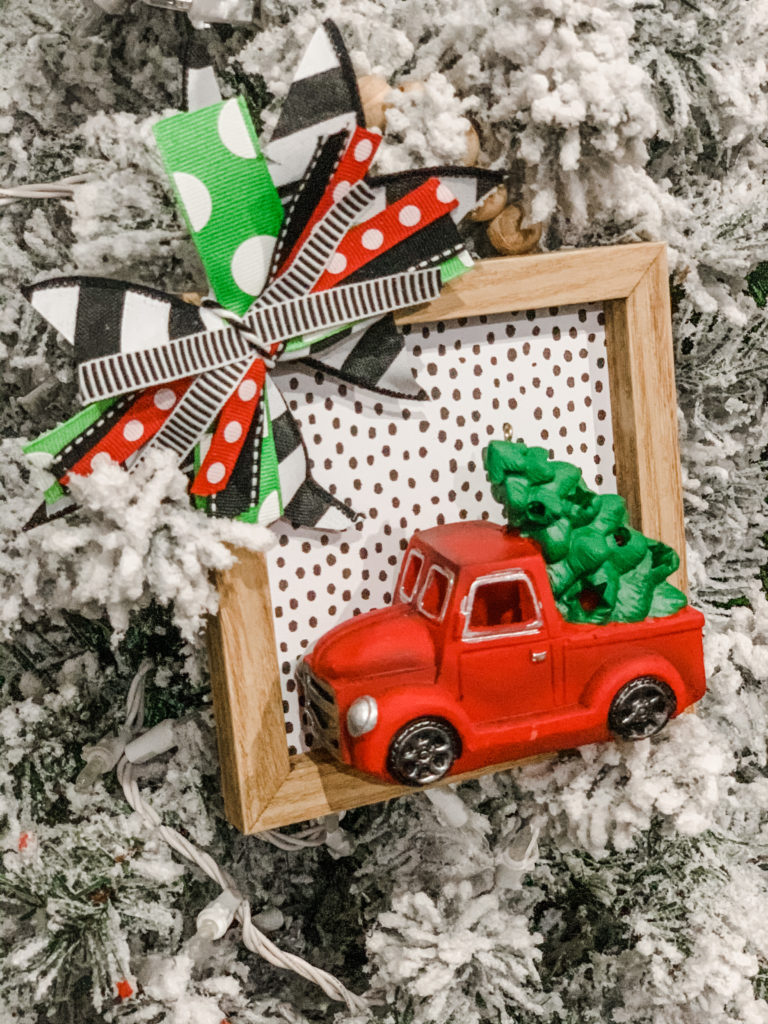
Of course I had to stick it on a tree to see how it would look… and I LOVE IT!! I can’t wait to get all my Christmas decor out, and actually display it!!!!
Don’t forget to pin for later!!!!!

Last Updated on November 4, 2020

So adorable ! My favorite Christmas tradition is taking pictures of my daughters in matching P.J’s.
I just LOVE this craft! The Re-Fabbed bow just makes it special!!
I made one here is mine
I love love love love ❤️ anything from you~ Brooke ????
You are a fabulous human and a amazing crafter ????
Adorable! Love it!
Another very cute craft. I never see you doing lives anymore just videos. Anyway good idea.
I’ve been doing lots of lives. Make sure to check my FB page and look at videos.