Just a quick question for ya… have you checked out Dollar General’s Valentines Day section?!?! They are KILLING IT! I ended up finding this heart ornament for $1, and of course I took it home and gave it a nice makeover to match my Valentines Tree!
You could absolutely leave it the way it is, but it just didn’t quite match my tree. And in all honesty, I love it 10x more now that I gave it a quick makeover!
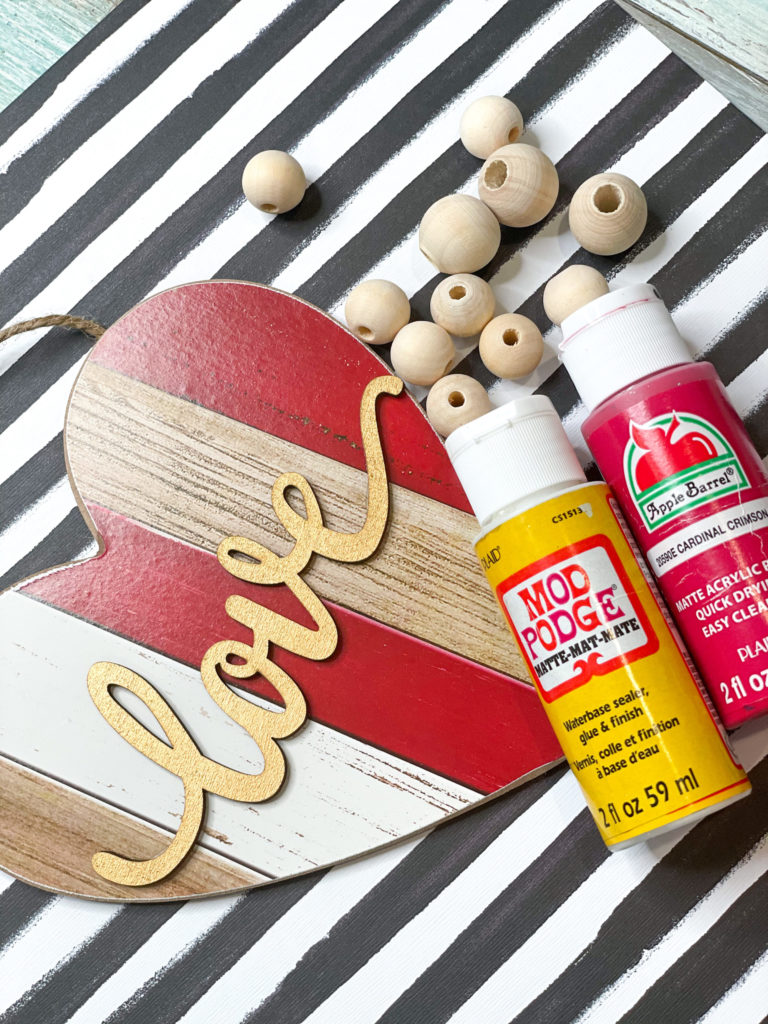
Here’s what you’ll need…
- heart ornament from Dollar General
- one piece of scrapbook paper
- red paint (I used cardinal crimson by Apple Barrel Paints)
- mod podge
- sanding block
- scissors
- hot glue gun
- wood beads (optional)
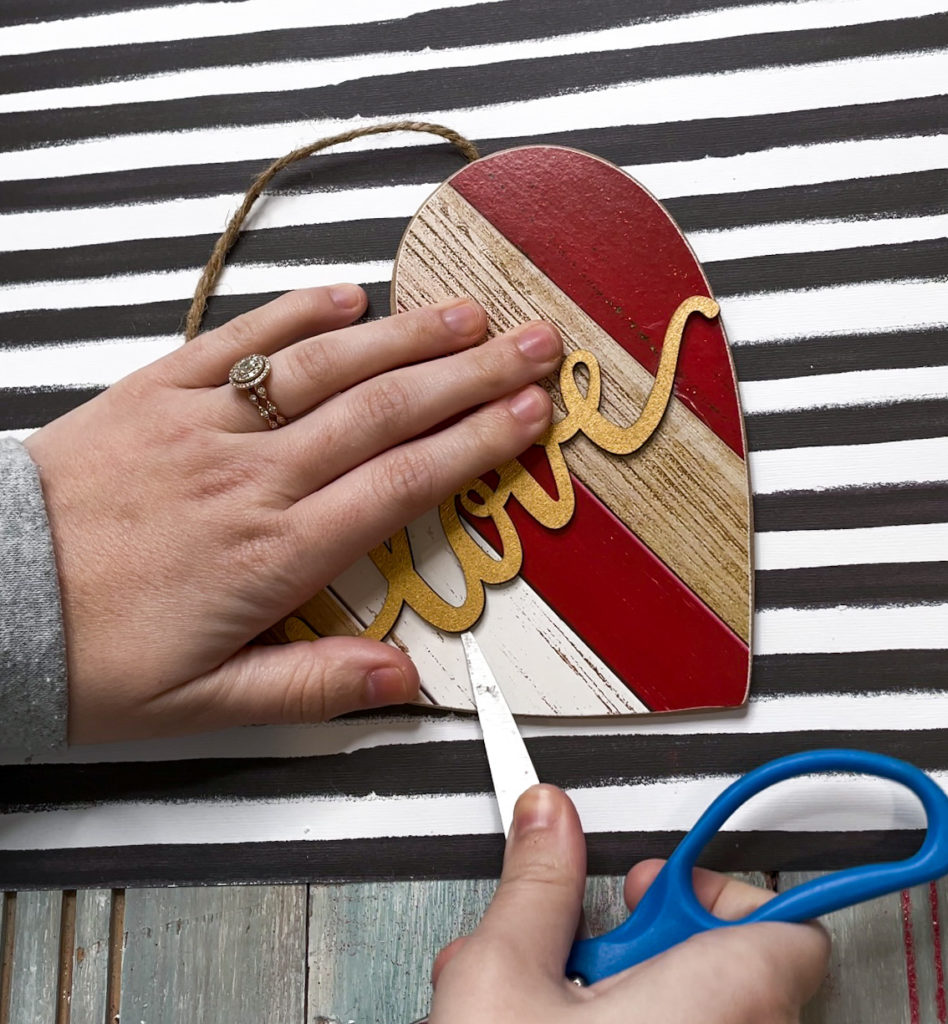
The very first thing I did was pop off the love word! I’ll be honest… this was a little tougher than I expected it to be, but I managed to pry it off with my scissors!
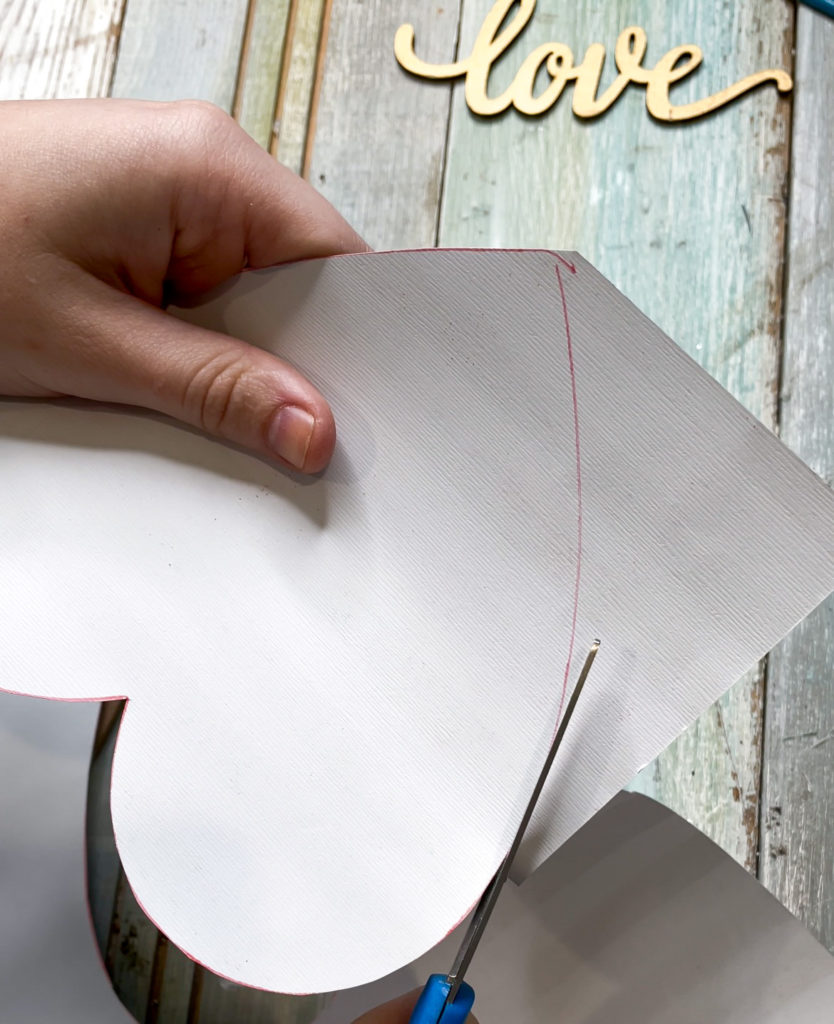
After that’s done, take whatever scrapbook paper you chose and flip it to the back. Trace out your heart, and cut!
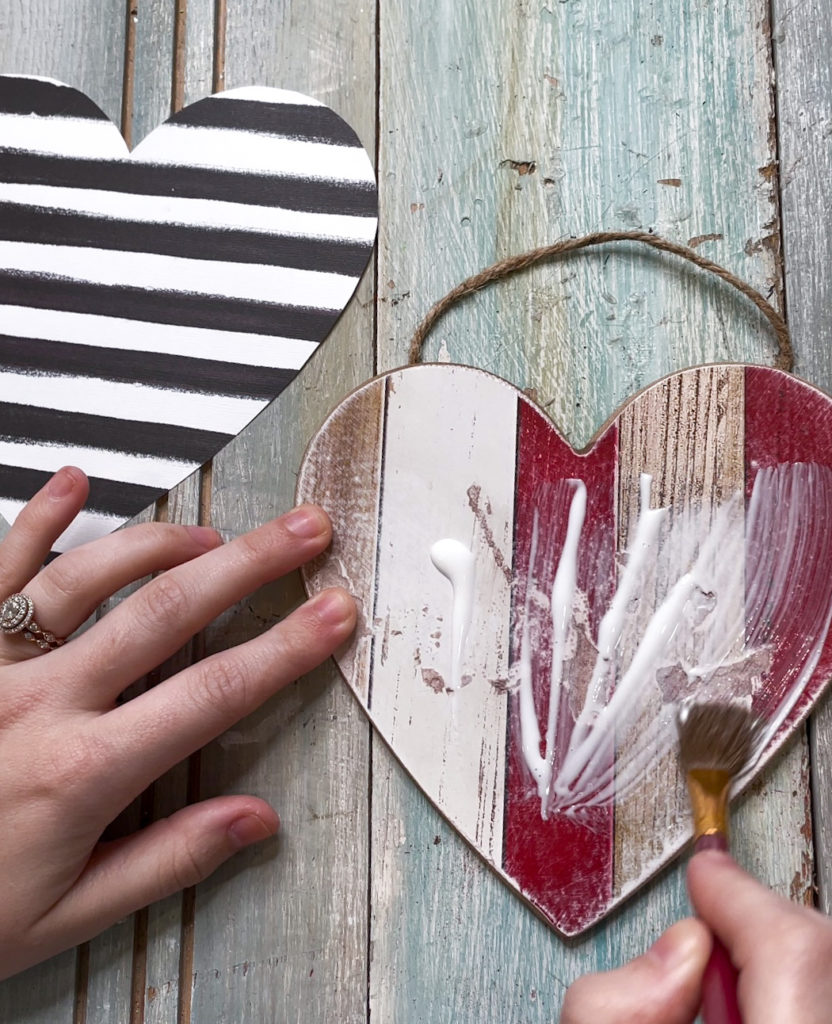
Now that you have that cut out, mod podge it on to your heart! I did end up sanding the heart down a little, just to flatten the areas where the love word was attached.
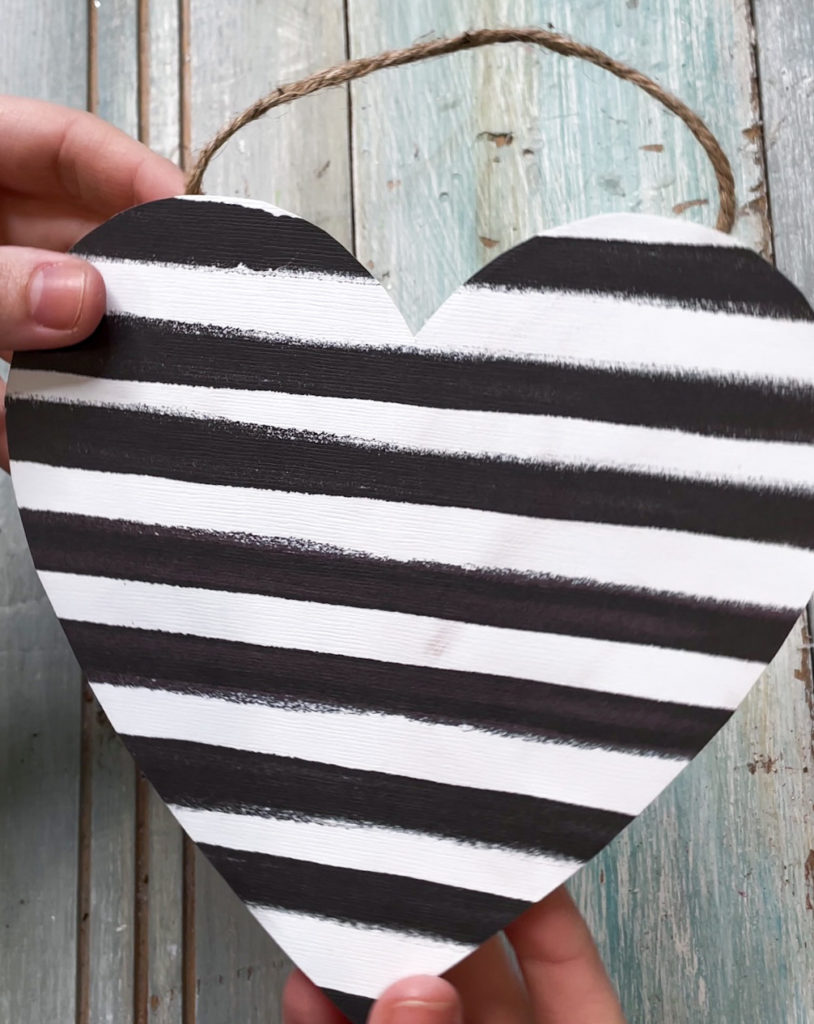
Here’s what it should look like so far!
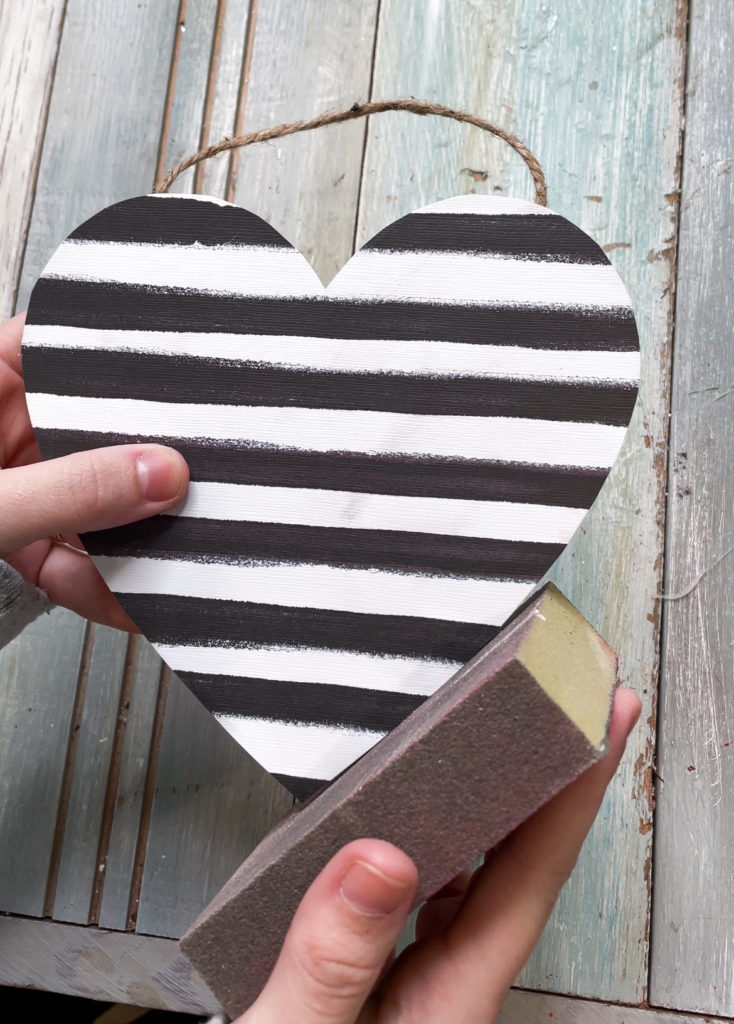
If you’ve been here awhile, then you know I LOVE doing this step. Just sand around the edges to make it look more finished!
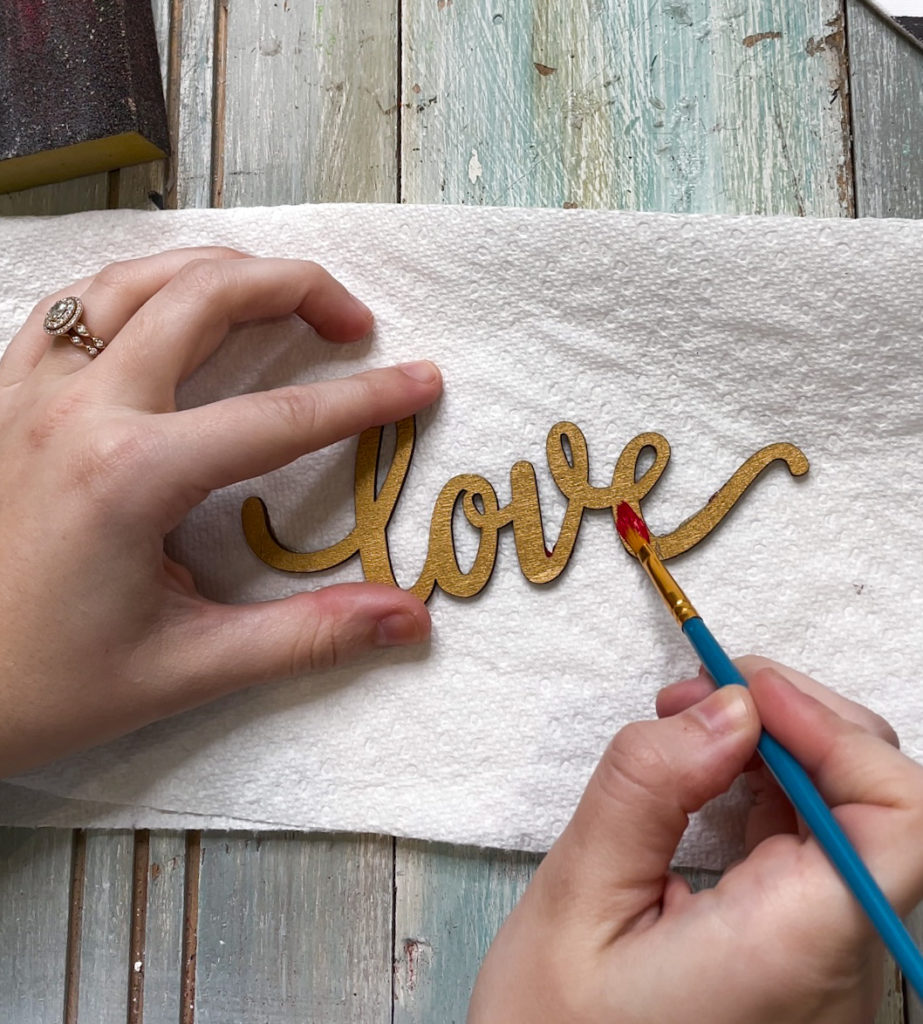
Now it’s time to paint our love word! I chose red, because my tree is predominately reds… but feel free to choose whatever color you wish!
After the paint was dry, I did sand it just a smidge so it looked less flat.
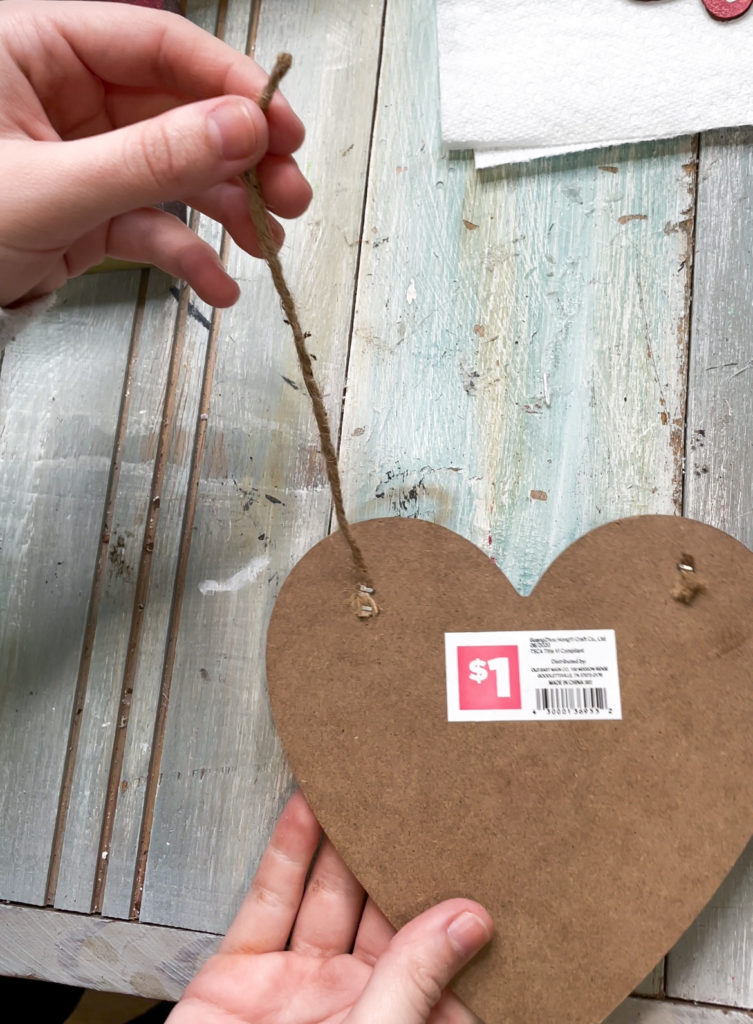
This part is totally optional, but I liked the extra “pizaaz” it gave! I cut off one end of the twine hanger, and began stringing it with wood beads.
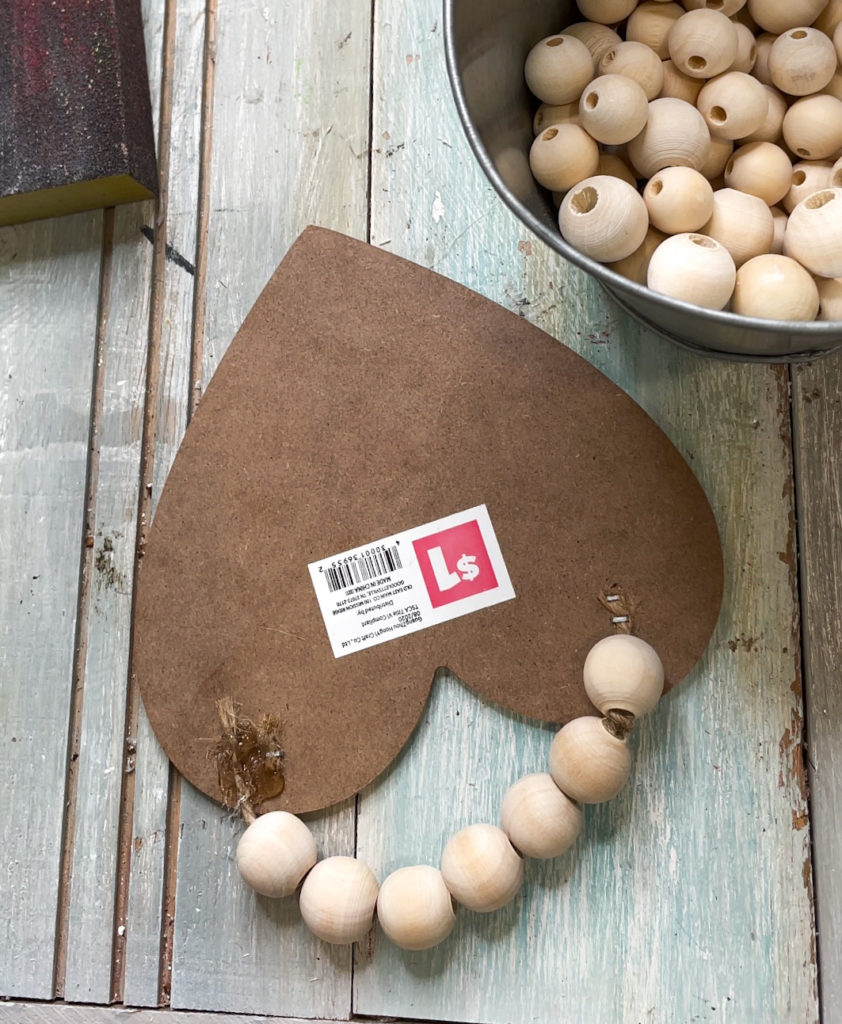
If you aren’t sure where you can find wood beads, I usually order mine off amazon! After you have all your beads strung on, just hot glue the end back down. Then we’re DONE!
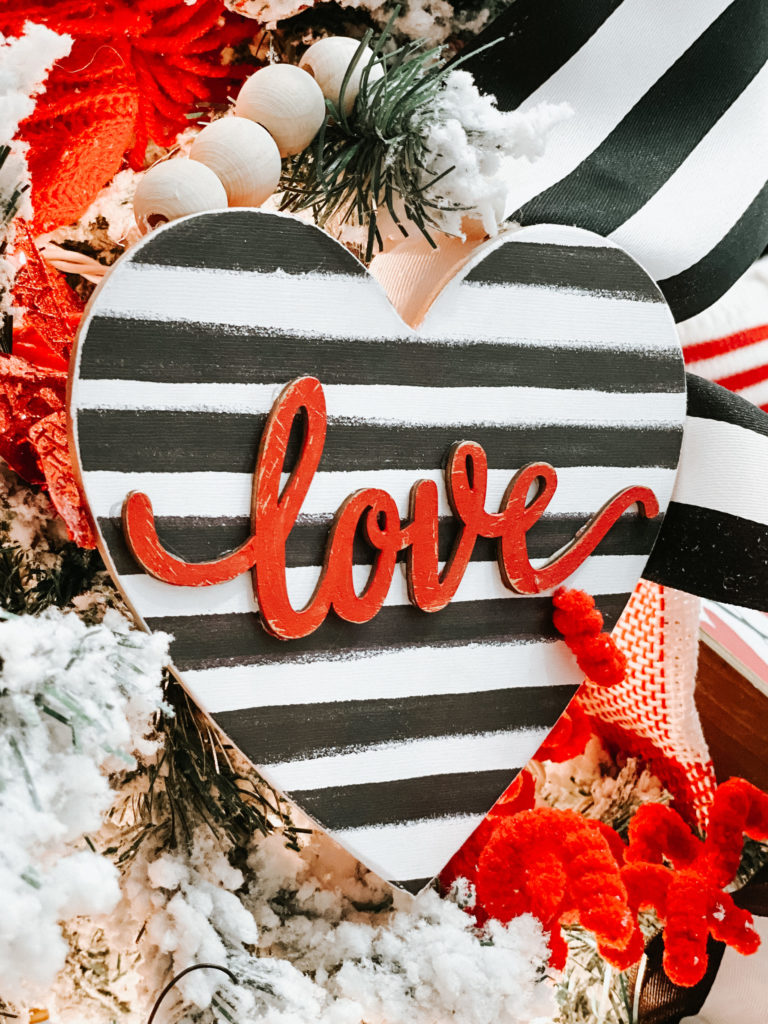

I honestly couldn’t love it more!!! It looks so good on my tree (which will be revealed later today!) and doesn’t even look like it only cost me ONE BUCK!!! The possibilities are endless with this project… use any design of scrapbook paper (or fabric) and paint your love word any color. Seriously, get creative with this one y’all!
PIN THIS FOR LATER!

Last Updated on January 6, 2021

Red wood balls would make this POP!
Love it.
Thank you!